How to Grow and Care for Broccoli Successfully
Grow broccoli in spring or fall with climate-aware planting dates, transplant and direct-sowing steps, spacing, feeding, pest prevention, and harvest cues.
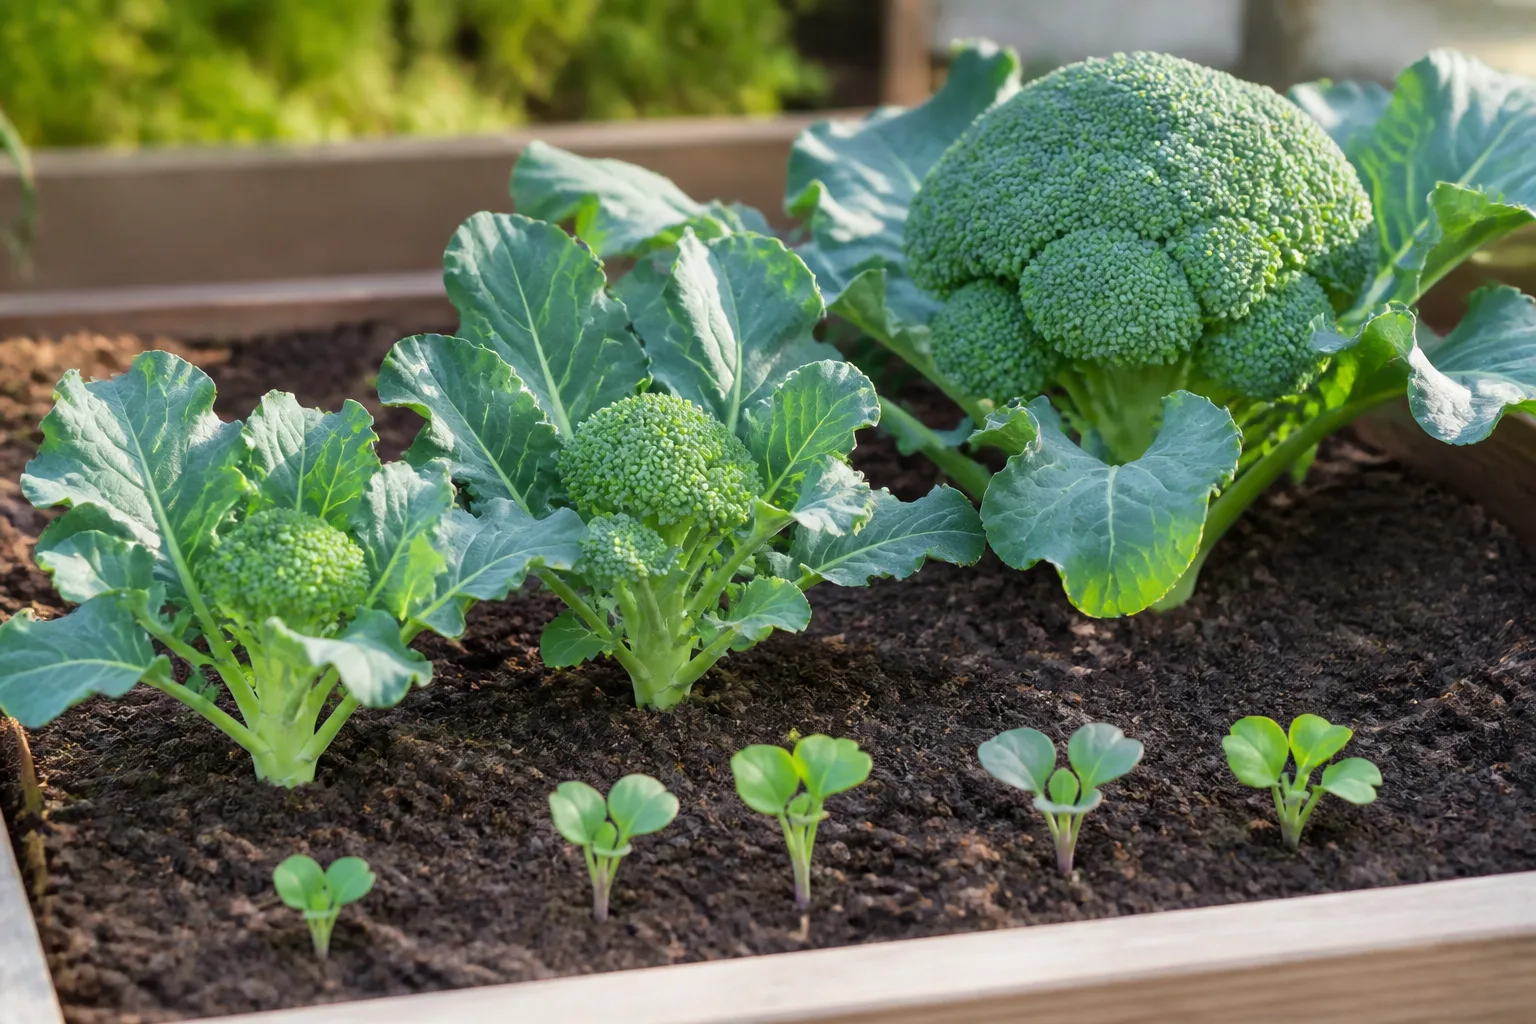
Broccoli usually fails for a predictable reason: the plant reaches its most important stage just as the weather turns too hot, the roots dry out, or caterpillars move in. Plan the crop around your local cool-weather window, then keep growth steady from transplant to harvest. That matters more than chasing a particular fertilizer or trying to force a large head from a stressed plant.
The familiar supermarket-style crown is a cluster of unopened flower buds. In the garden, a healthy plant first makes a large central head and may then produce smaller edible side shoots. The steps below cover both spring and fall crops, including how to choose the right variety, protect the leaves, and know when the buds are ready to cut.
Quick-start growing profile
Broccoli is a cool-season brassica that grows best in fertile, well-drained soil with consistent moisture. Give it a sunny bed, but use light afternoon shade to help young plants establish when fall transplants must go into a hot garden. A useful soil target is slightly acidic to neutral; Cornell’s home-gardening guide lists a pH range of 6.0 to 7.5 and emphasizes plentiful, steady moisture (Cornell University).
| Growing decision | Practical starting point |
|---|---|
| Season | Spring or fall; choose the window that stays cool through head formation |
| Light | Full sun in cool weather; some afternoon shade can help in hot climates |
| Soil | Fertile, well-drained, rich in organic matter; test pH before adjusting |
| Seed depth | About ½ to ¾ inch for direct sowing |
| Spacing | Roughly 18 inches for full-size central-head types; follow the seed packet |
| Harvest cue | Tight, closed buds before any yellow flowers open |
These are starting points, not a promise that every variety will behave identically. Seed packets differ in maturity time and mature size, and a local planting calendar is more useful than a hardiness-zone label by itself.
Time planting around your climate
Broccoli needs enough cool weather to grow a sturdy leafy plant and form its head before heat makes the buds open. Use the expected temperatures during the head-forming period, not simply the date you can put a seed in the ground. Your local extension’s planting calendar, your average frost dates, and the variety’s days to maturity give you a better estimate than a national month-by-month chart.
Check whether the packet counts days to maturity from sowing or from transplanting; many vegetable varieties list a transplant-based estimate. Add time for the seedling stage if you start indoors, and leave a buffer because cold spells, heat, transplant shock, and short days can all slow growth. A small sowing-date notebook turns those estimates into a more accurate schedule for your own garden.
Plan a spring crop
For a spring harvest, start seeds indoors about six to eight weeks before the average last spring frost. Set hardened transplants outside roughly two to three weeks before that date if the bed is workable and a hard freeze is not forecast; direct-sow once soil can be prepared and seedlings can be protected from pests. Cornell likewise recommends indoor sowing six to eight weeks before last frost and notes that broccoli seed can germinate in soil as cool as 40°F (Cornell University).
The spring window is short in places where warm weather arrives quickly. Choose an early variety and have seedlings ready to plant as soon as conditions allow; waiting until the garden feels summery can leave a large leafy plant with a small, loose crown. A hardened broccoli transplant can tolerate light frost better than an unacclimated seedling, but protect young plants from severe freezes and wind.
Plan a fall crop
Fall broccoli is often easier in regions where summer heat disrupts spring heading. Work backward from the period when your garden usually cools: sow indoors early enough to produce a transplant before that window, then set plants out as the worst heat eases. In mild-winter climates, fall varieties can keep producing into cool weather, but heavy frost and waterlogged soil still limit the season.
The tricky part is getting seedlings through midsummer heat. Start them in a bright, sheltered place where trays do not bake, water consistently, and use temporary shade to reduce afternoon stress. Transplant promptly once the bed cools; a root-bound seedling left in its cell or a seedling planted into scorching dry soil can stall before the favorable weather arrives.
For a fall sowing, direct-seed in midsummer only if you can keep the seed zone evenly moist and protect emerging plants from insects. Savvy Gardening also recommends starting fall seedlings indoors and using a floating row cover to shield the crop from common brassica pests (Savvy Gardening). If the first frost comes early in your area, pick a faster-maturing variety and avoid trying to grow a long-season type from a late start.
Choose the right broccoli type
Read the description on the packet before buying. Most U.S. gardeners seeking a large central green crown want heading broccoli, often described as Calabrese or simply broccoli. It produces one main head and usually smaller side shoots after that cut; sprouting broccoli types, common in British gardening references, produce a longer sequence of smaller spears instead of one broad central crown.
Broccoli rabe, also called rapini, is a different crop with leafy stems and buds and does not make the same dense head. Romanesco is another specialty brassica often sold alongside broccoli seeds, but it forms its own distinctive pointed head. Choose a cultivar whose listed maturity and harvest type match your season, and favor varieties advertised for heat tolerance if the crop must mature as temperatures rise.
If you want a steady supply instead of one large glut, sow a small batch at intervals rather than planting every seed on one weekend. That staggered approach works best when each planting still has enough cool days to mature; it will not rescue a late crop from sustained heat.
Choose a sunny, fertile site
Pick a bed with at least six hours of direct light, good drainage, and enough room for a broad leafy plant. Broccoli tolerates some light shade, but it may mature more slowly; plants crowded against a fence or taller vegetables also receive less airflow and are harder to inspect. Avoid a low spot where winter or spring rain leaves soil saturated, because roots need both moisture and oxygen.
Broccoli has a shallow root system, so improve the bed before planting rather than repeatedly digging around established plants. Mix in mature compost if the soil is low in organic matter, remove perennial weeds, and use a soil test to decide whether pH or nutrient amendments are needed. Cornell advises avoiding even shallow cultivation after planting and using mulch to protect roots, reduce weeds, and conserve moisture (Cornell University).
Rotate broccoli and other cabbage-family crops away from the same bed for at least three to four years when possible. That reduces the chance of carrying brassica-specific soil diseases forward; avoid placing it after cabbage, kale, cauliflower, Brussels sprouts, turnips, or radishes if you can choose a cleaner rotation. Do not lime soil by guesswork: test first, because a pH adjustment is not a substitute for rotation or healthy planting material.
Start broccoli seeds indoors or direct-sow
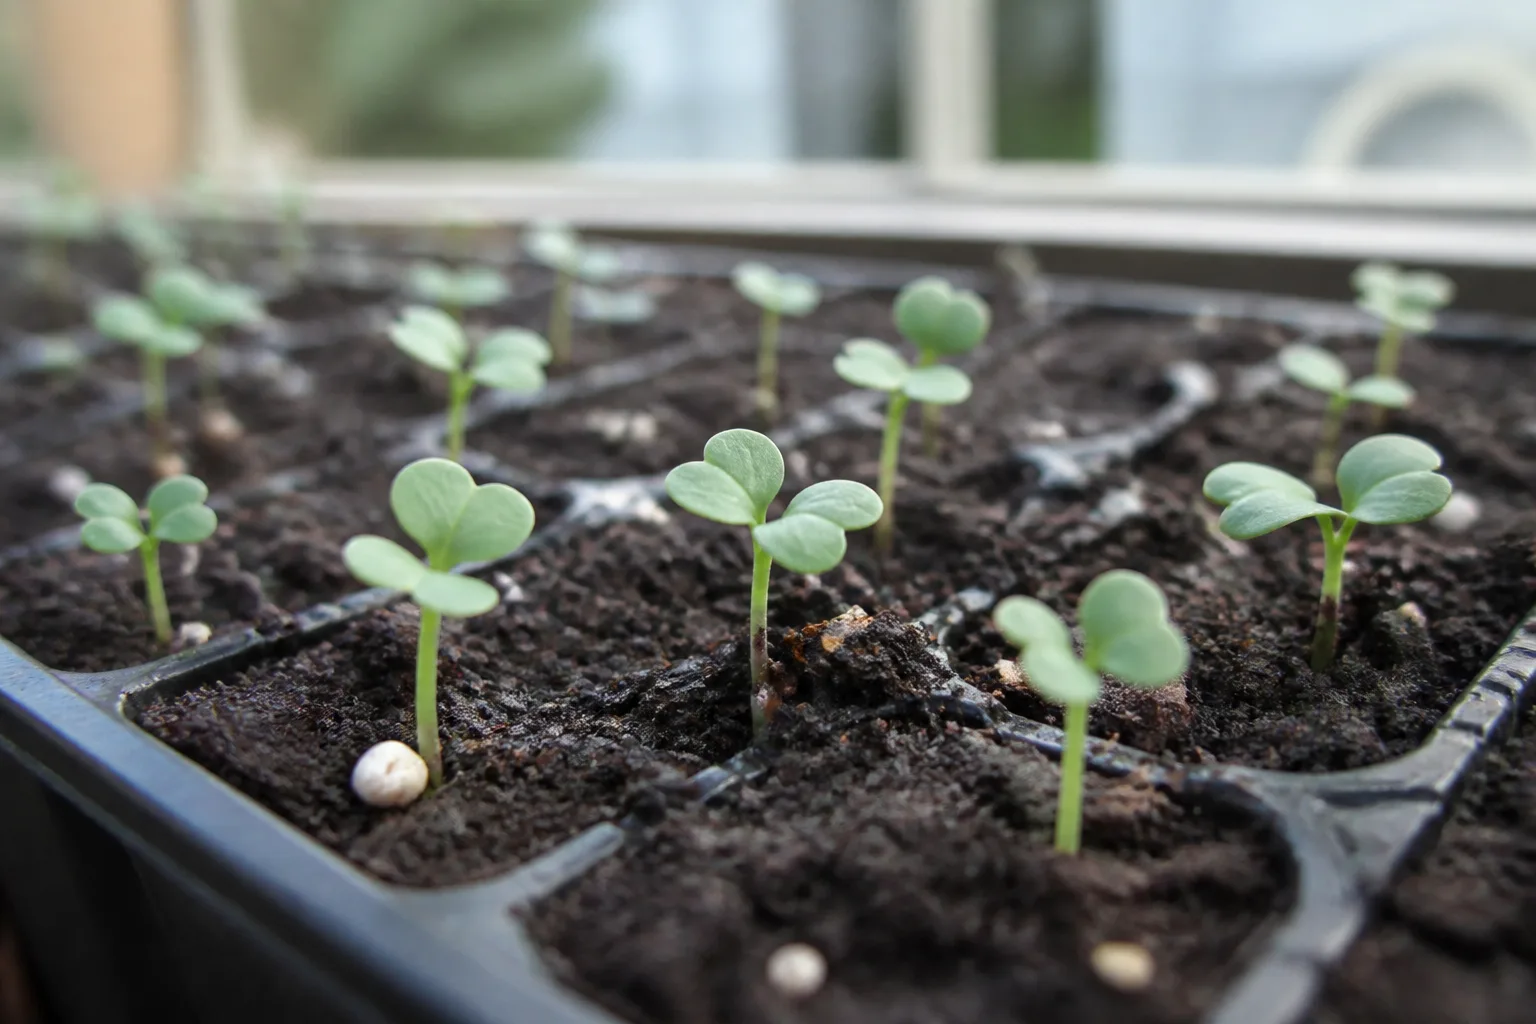
Starting your own seed gives you more variety choices and lets you control planting dates. Use clean trays and a fine seed-starting mix, keep the mix moist but not saturated, and label each cultivar with its sowing date. Once seedlings emerge, provide strong light and keep them from becoming tall and thin; weak seedlings are more vulnerable to wind and transplant stress.
If you buy transplants, choose compact plants with several healthy true leaves and no yellowing, chewing, or roots circling densely through the pot. Avoid plants that already have a tiny central button. A stressed, root-bound or over-mature transplant may head prematurely before it has built enough leaves to support a full crown.
Starting transplants
Sow seeds indoors six to eight weeks before you expect to transplant. Cornell recommends warm conditions for germination and cooler conditions afterward, while Savvy Gardening describes seed-starting and gradual acclimation as key steps for a sturdy transplant (Cornell University; Savvy Gardening). Once the first true leaves develop, keep seedlings growing steadily rather than holding them in tiny cells until roots are crowded.
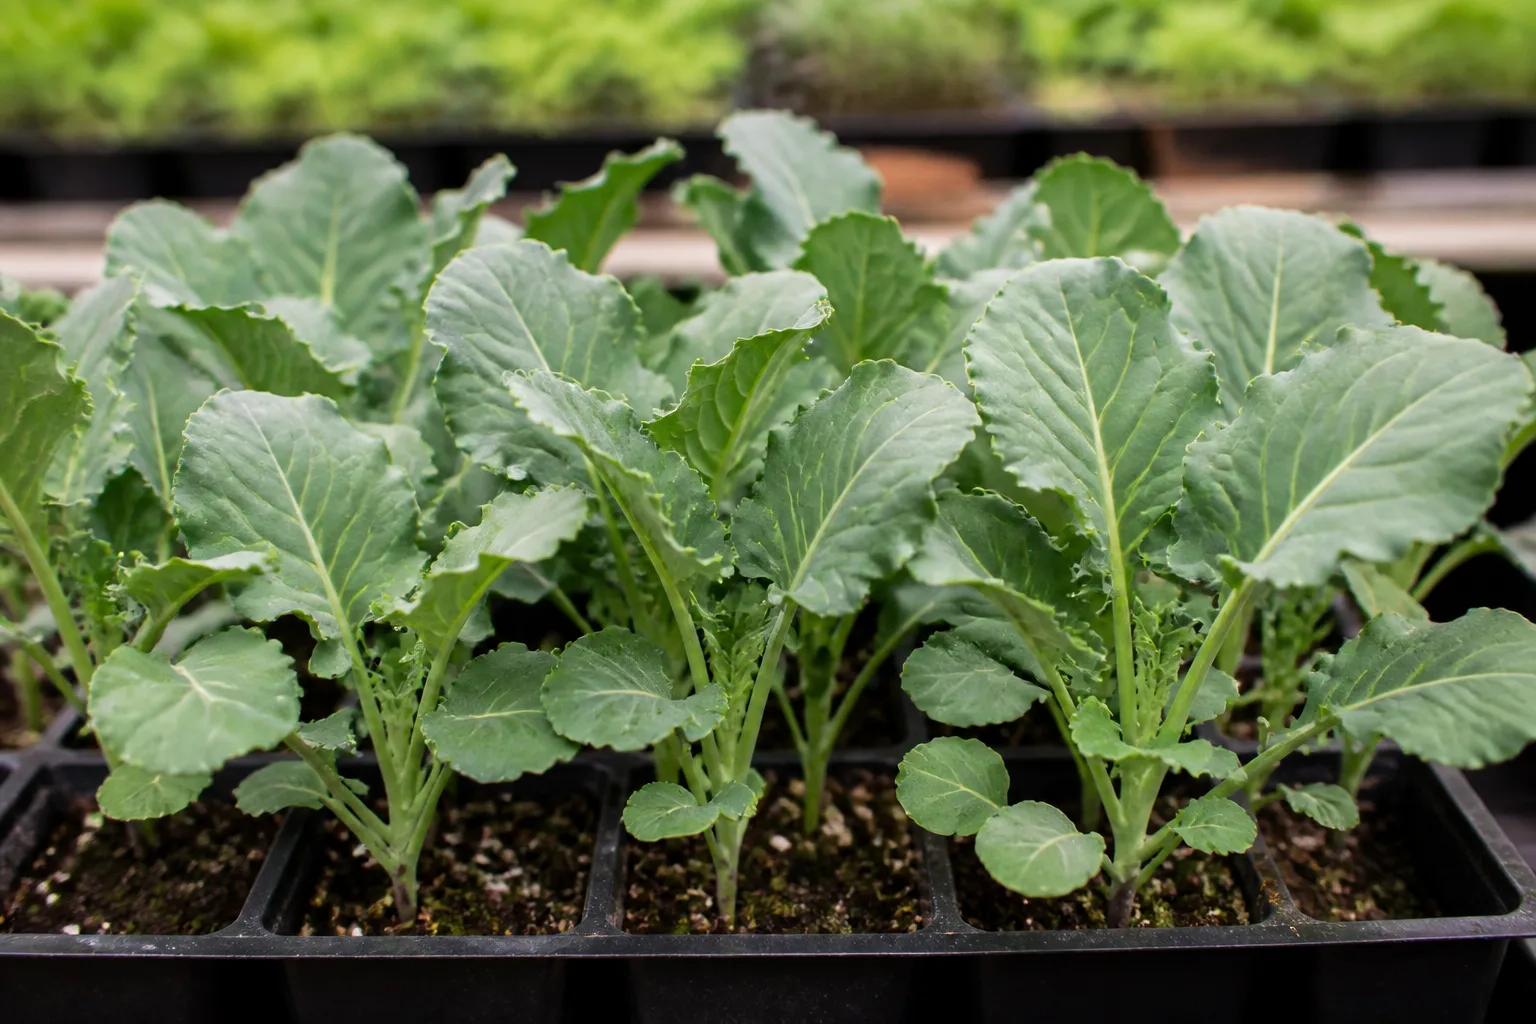
Water from below or near the mix surface without leaving trays standing in water. If the seed mix contains no fertilizer, use a mild, balanced seedling feed according to its label only after true leaves appear; do not compensate for weak light with stronger fertilizer. The goal is a stocky plant with a dense root ball, not rapid, soft top growth.
Direct sowing
Direct sowing avoids transplant shock and works particularly well for fall crops or climates with a long mild season. Prepare a fine, moist seedbed; sow about ½ to ¾ inch deep and a few inches apart, then thin the seedlings to the final spacing while they are small. Cornell notes that broccoli can be direct-seeded as soon as soil is workable and gives a similar seed depth and early spacing (Cornell University).
Keep the top layer of soil from drying until seedlings emerge, which can take longer in cold or unevenly moist ground. Cover the row with insect mesh as soon as you sow, securing the edges so flea beetles and egg-laying butterflies cannot reach tender leaves. If seedlings emerge too close together, snip the extras at soil level instead of pulling them and disturbing neighboring roots.
Harden off, transplant, and space plants
Seedlings raised indoors need a gradual transition to outdoor sun, wind, and temperature changes. Over seven to fourteen days, increase their time outside and their exposure to direct morning sun, bringing them into shelter if a hard freeze or severe weather is expected. Savvy Gardening describes hardening over about two weeks; skipping the process can cause leaf scorch, wilting, or a pause in growth (Savvy Gardening).
Transplant when plants are about four to six weeks old and have several true leaves. Water the seedlings before moving them, set them at about the same depth they grew in their cells, firm the soil gently, and water the bed thoroughly. Avoid handling the stem or breaking the root ball; broccoli’s shallow roots make a rough transplant more likely to sulk.
For a full-size central head, space plants about 18 inches apart, with roughly 24 to 30 inches between rows so leaves have room to spread and you can reach each plant. Smaller cultivars may be planted closer if the seed packet recommends it. Cornell notes that closer spacing can yield smaller central heads, while wider spacing supports larger ones; if you want many side shoots, closer spacing may still provide a good total harvest (Cornell University).
Install a low hoop or floating row cover immediately after planting if cabbage-family pests are common. Secure the edges, but leave enough slack or height for the crop to grow. Check plants before covering so you do not trap caterpillars or eggs inside, and lift the barrier briefly for weeding or inspection before closing it again.
Water and feed for steady growth
Broccoli grows quickly when soil moisture stays even. Water deeply when the top inch of soil begins to dry, aiming to moisten the root zone rather than sprinkling the leaves every day; a mulch layer helps slow evaporation. During hot or windy weather, check more often, especially around recently transplanted seedlings and plants growing in pots.
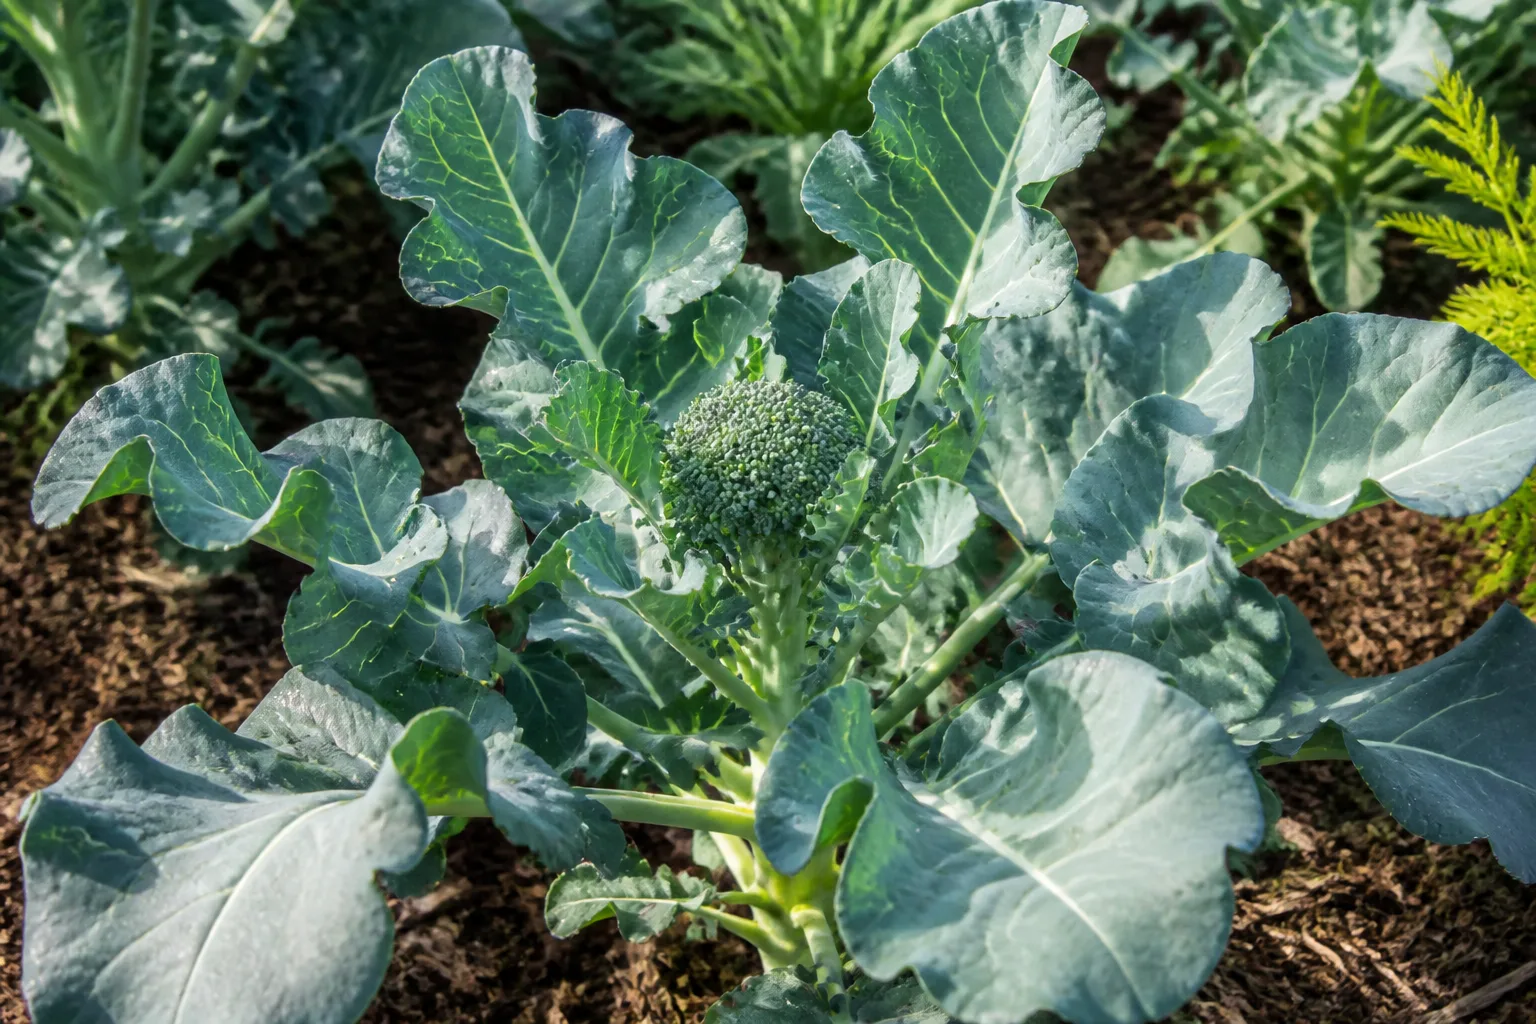
A common gardening target is about an inch of water per week from rain and irrigation, but treat that as a starting point rather than a fixed rule. Sandy soil dries faster than loam, while compact or poorly drained soil can stay wet long after rain. The practical test is to check the soil below the surface and watch plant growth: repeated wilting, dry margins, or a stalled crown calls for a closer moisture check.
Prepare the soil with compost before planting and base fertilizer decisions on a soil test. Broccoli needs adequate nitrogen to make the leaves that support head growth, but heavy feeding is not automatically better. Cornell recommends low-nitrogen fertilizer at planting and warns that excessive nitrogen can contribute to hollow stems (Cornell University).
If growth is pale or slow and your soil test indicates low nitrogen, apply a modest side-dressing when plants are established, following the product label and keeping fertilizer off the leaves and stem. Stop adding nitrogen once heads begin forming unless a soil test or local extension recommendation says otherwise. Overfeeding can produce lush foliage without solving heat, crowding, root damage, or inconsistent watering.
Protect plants from pests and disease
Broccoli is a magnet for insects that also feed on cabbage, kale, and related crops. Prevention is easier when a physical barrier goes on early, before butterflies lay eggs or flea beetles find the seedlings. Keep the bed weeded, inspect leaf undersides regularly, and do not wait until the central head is nearly ready to discover a long-standing infestation.
Catch insect pests early
Cabbageworms and cabbage loopers chew irregular holes and may hide along leaf veins or beneath the foliage. Look for green caterpillars, eggs, and dark frass, then remove caterpillars by hand; if you use a control product, confirm that it is labeled for the crop and pest and follow the label exactly. Cornell recommends hand-picking cabbageworms and using row covers to prevent early damage (Cornell University).
Flea beetles leave many tiny round holes, especially on seedlings. Insect mesh installed at sowing or transplanting is more reliable than trying to rescue a heavily chewed plant, and removing weeds near the bed reduces alternate hiding and feeding sites. Make sure the cover is sealed to the ground, because a loose edge is an easy entrance.
Aphids cluster on tender growth and beneath leaves. A firm stream of water can dislodge them from sturdy plants; repeat as needed and check whether beneficial insects are already feeding on them before reaching for a spray. Root maggots are harder to manage once larvae attack roots, so rotate crops, use covers early, and remove badly wilted plants rather than assuming they simply need more water.
Prevent brassica diseases
Clubroot causes swollen, distorted roots and plants that wilt even while the soil is moist. The pathogen can persist in soil, so remove infected plants and attached soil carefully, clean tools, and avoid planting brassicas in that location for several years. A row cover prevents some insects but does not cure soil disease; crop rotation and clean transplants matter more.
Black rot and other leaf diseases can spread in wet, crowded conditions. Give plants enough space, water at soil level when practical, remove badly diseased leaves, and avoid working among wet foliage. Cornell recommends a three- to four-year rotation for broccoli and related cole crops to help reduce disease problems (Cornell University).
Do not compost severely diseased brassica plants unless your home compost system reliably reaches disease-killing temperatures. Remove crop debris at the end of the season and avoid leaving volunteer cabbage-family plants and weeds in the bed, since they can keep pests or disease cycles going.
Diagnose small, loose, or missing heads
A broccoli plant can look leafy and healthy yet produce a disappointing crown. First check the planting date and weather during head formation; sustained heat can make buds loosen or flower before the head reaches the size you expected. Harvest any tight heads you do have promptly, because waiting for a bigger crown can mean missing the edible stage entirely.
Small heads often follow stress while the plant is young: a root-bound transplant, a damaged root ball, crowding, dry soil, or a prolonged temperature swing. A tiny button at the center of a small plant usually means the plant began forming a head before it built enough leaf area. Older transplants exposed to cold conditions are more likely to button; Cornell warns that mature transplants can form small heads after a cold spell (Cornell University).
If the plant makes leaves but no head, check for too much shade, excess nitrogen, heat, and whether the cultivar is a sprouting type rather than a central-heading type. Correct the cause for the next planting rather than trying to force a stressed plant with extra fertilizer. Even a small central head can be harvested, and some varieties will still make side shoots afterward.
If the head starts to separate or show yellow buds, cut it now. The florets are still usable once flowers begin opening, but texture and flavor decline as the plant moves into bloom. Heat-related early flowering is a crop-timing signal: choose a spring or fall window that keeps the head cool next time.
Grow broccoli in containers
One broccoli plant needs more room and water than a small herb, so use a container at least 12 inches deep and wide, with drainage holes; a larger 5-gallon or bigger pot gives roots more volume and soil a longer moisture reserve. Plant one full-size central-heading broccoli per pot unless the variety is specifically compact. Use a high-quality potting mix rather than dense garden soil, which can drain poorly in a container.
Set the pot where the plant gets plenty of sun in cool weather and afternoon shade during hot spells. Containers warm and dry faster than beds, so check moisture daily in warm conditions and water until excess drains from the bottom. Feed sparingly according to the potting mix and product label; a container flushes nutrients with repeated watering, but overfeeding still will not fix heat or root crowding.
Containers are useful where cabbage-family soil diseases have been a problem, but they are not pest-proof. Cover the plant with insect mesh, inspect leaves, and keep the pot away from old brassica debris. A container also makes it easier to move a fall crop into afternoon shade during a heat wave.
Harvest central heads and side shoots
Harvest the main head when the buds are firm, tight, and still closed. The crown is often several inches across, but the seed packet’s expected head size and the bud condition are better guides than a ruler. The RHS guide for sprouting broccoli also emphasizes cutting before buds open and harvesting the central spear first so side shoots can follow (RHS).
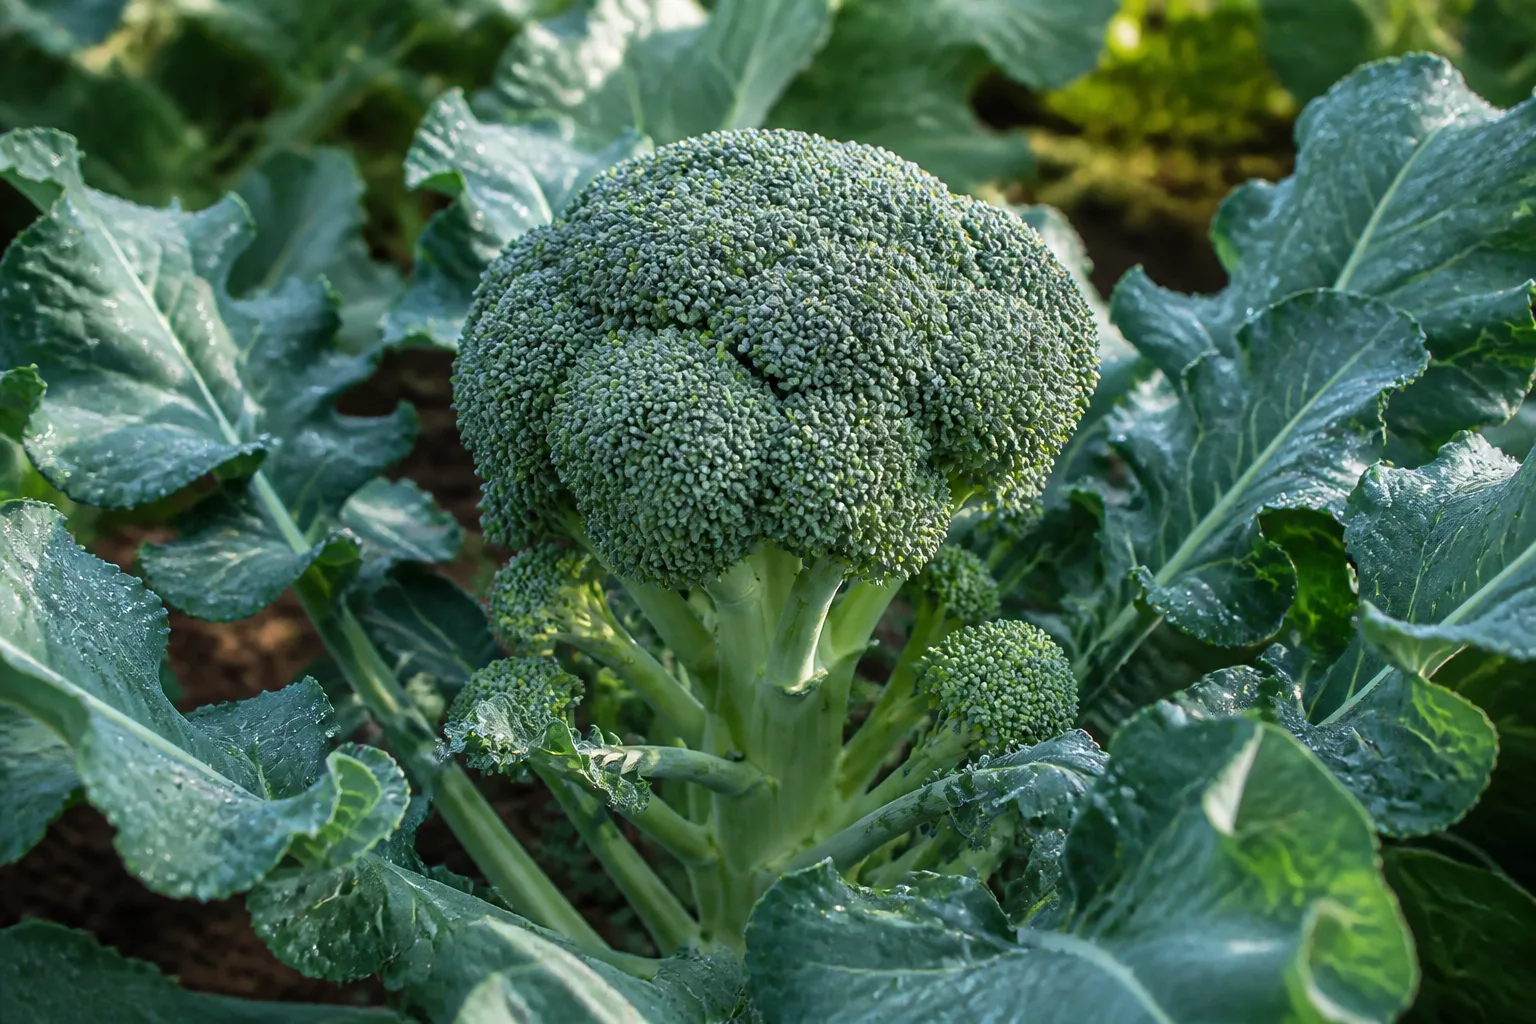
Use a clean, sharp knife to cut the central stem below the head without damaging the leaves or side-shoot buds. Check the plant every day as harvest approaches; a warm spell can open buds quickly. If some florets begin to flower, cut the head anyway and use it promptly rather than leaving it on the plant.
Leave the rest of the plant in the ground after the central head is removed. Many heading cultivars send up smaller shoots from the leaf joints, giving you a series of modest harvests over the following weeks while temperatures remain favorable. Keep watering and inspecting for pests, but stop expecting another central-size crown from the same stem.
For the best texture, harvest in the cool part of the day and refrigerate the heads soon after cutting. Do not rinse them until you are ready to cook; moisture trapped among the florets can shorten storage life. Side shoots are smaller, but they are fully usable—pick them while their buds are tight and tender.
Conclusion
Broccoli rewards a gardener who schedules it around cool weather and keeps growth even. Choose a cultivar suited to the length of your spring or fall, start transplants on time, give each plant room, and protect the leaves from pests before damage begins. Keep soil consistently moist without waterlogging or excess fertilizer, then harvest the crown while the buds remain closed.
If a head is small or loose, review the weather, transplant age, spacing, and moisture before changing your feeding routine. The next planting can often be improved simply by moving the sowing date, using a younger transplant, or choosing a faster, more heat-tolerant variety. Leave healthy plants in place after the main cut and the side shoots can extend the harvest.



