How to Grow Celery From the Base, Step by Step
Learn how to grow celery from the base in water or soil, spot roots ready to transplant, prevent rot, and harvest useful celery leaves without expecting a full bunch.
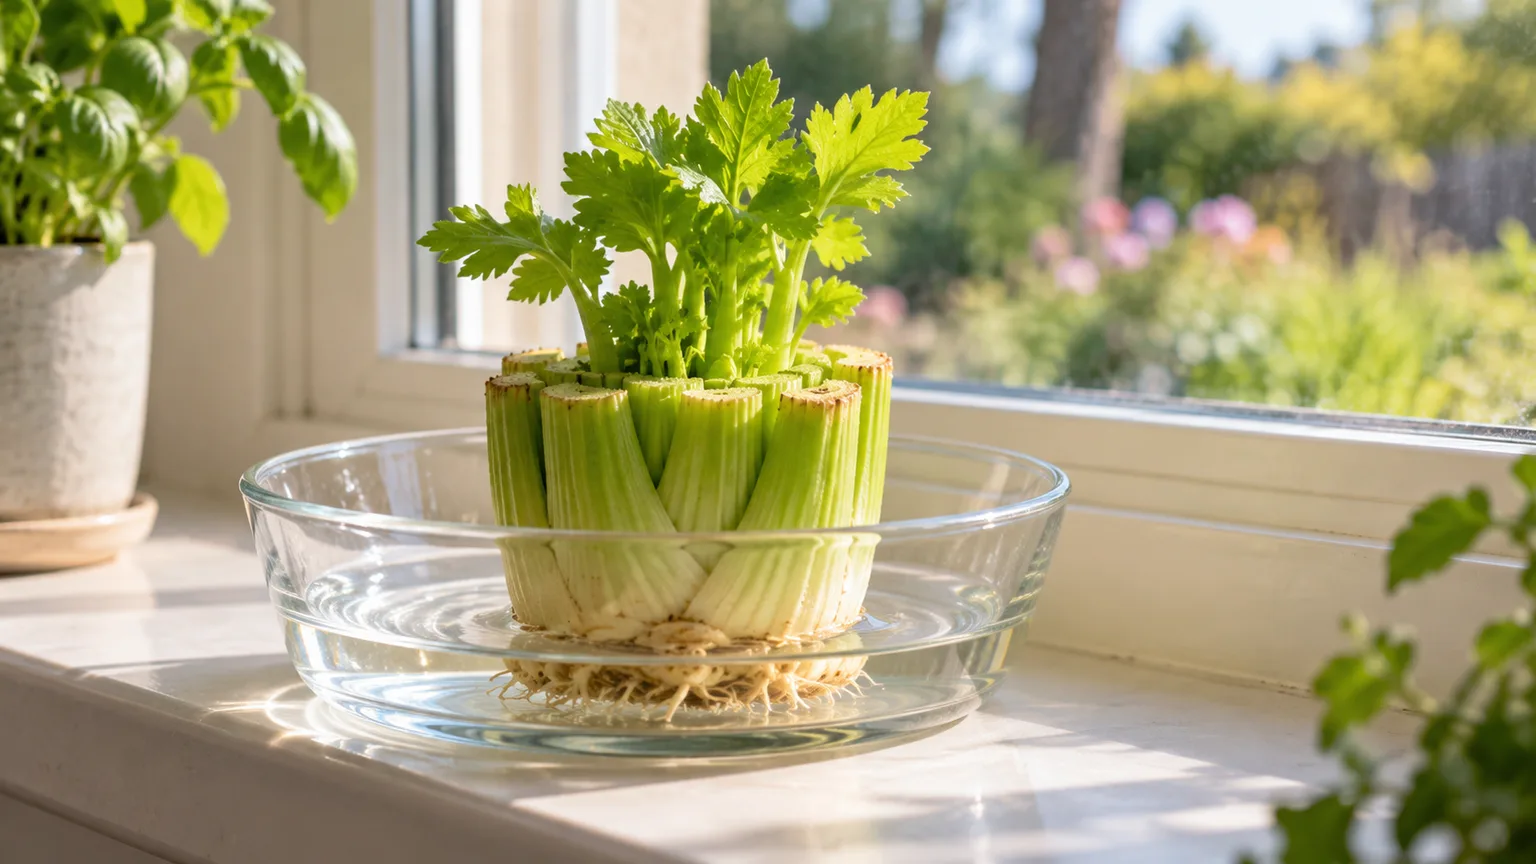
A celery base can turn into a small, leafy plant, and with a long enough mild growing season it may grow usable stalks too. The trick is to treat the cut bottom as a living crown that needs to make roots and resume growth, not as a glass of water that will refill itself with a new grocery-store bunch.
You can begin in a shallow dish of water, watch for new leaves and roots, then move the rooted crown into potting mix or a garden bed. This guide explains how to choose a viable base, keep it from rotting, tell when it is ready for soil, and decide whether the eventual harvest is worth the space.
How a celery base regrows
The bottom of a bunch contains the celery crown: the short, compact base where the stalks join and the center growth point sits. When you cut away the stalks, that growing point may still be alive. It can push out small new leaves, while the bottom of the crown may form roots if it stays moist and gets light.
Water is a temporary starting medium, not a complete growing system. It keeps the cut base hydrated while it wakes up, but it does not supply the balanced nutrients, root space, or stable moisture the plant needs for sustained growth. Once the crown is rooted and making new leaves, moving it to soil gives it a better chance to continue.
This is vegetative regrowth from a piece of the original plant, not a new seedling. That distinction matters: the base has limited reserves, and its future growth depends on whether the central crown is sound and whether the weather and growing season suit celery.
What a celery base can and cannot produce
A fresh crown usually makes leaves first. Those leaves are often the most reliable reward: they have a concentrated celery flavor and can be snipped for soups, stocks, sauces, and salads. The new inner growth may look like tiny celery stalks, but it will not immediately become a full bunch.
A rooted base can sometimes become a larger plant outdoors, especially if it is transplanted early enough into cool, fertile, consistently moist soil. Gardener Getty Stewart describes having some regrown bases reach full size while others failed, which is a useful reminder that the method can work without being predictable. A single crown is best treated as a low-cost experiment or a source of greens, not as a dependable replacement for a seed-grown crop.
For thick, mild, uniform stalks, start celery from seed or buy a healthy transplant. Utah State University Extension notes that celery is normally transplanted with an established root system and grows best with steady moisture and cool conditions. A scrap-grown crown can catch up in favorable conditions, but it begins with a smaller root system and an unknown history.
Choose a fresh, intact base
Start with a firm bunch that has crisp, green inner leaves and a base that is not slimy, deeply cut, or bruised. Save roughly 2 inches of the bottom, measured from the point where you cut across the stalks. That gives the crown enough structure to sit in water without burying its center. Penn State Extension uses a similar cut height for celery grown from kitchen scraps.
Look closely at the center before you set it aside. The small inner leaves or bud should still be present; a base cut so close that the growing point is removed, or one that has dried hard after sitting in the refrigerator, is less likely to restart. A little browning on an old outer edge is not automatically fatal, but discard any base with a sour smell, spreading black or mushy tissue, or mold throughout the crown.
Use a clean knife and a clean board, then rinse away loose debris. If the outermost stalk pieces are crushed or starting to decay, peel or trim those loose layers gently. Keep the central growth point intact; tearing it while cleaning can remove the part you are trying to regrow.
Gather a simple water or soil setup
For a water start, use a shallow saucer, small glass dish, or low container wide enough to hold the base upright. A clear-sided container makes it easier to notice water clouding and root growth, but opaque containers work too. You do not need fertilizer, rooting hormone, or a special propagation kit for the first stage.
For the later soil stage, prepare a pot with drainage holes and fresh potting mix, or choose a garden spot where soil drains well but does not dry out quickly. A pot around 10 to 12 inches wide gives one plant room and provides more soil volume to buffer moisture changes than a tiny nursery pot. Set the pot on a saucer only while draining; do not leave it standing in runoff water.
Keep the setup simple. More water does not make the base grow faster, and adding fertilizer to the water can leave a concentrated solution around the cut crown. Wait until roots are growing in soil before feeding; if you later use a liquid or granular fertilizer, follow its label rather than guessing at a strong dose.
Start celery in water
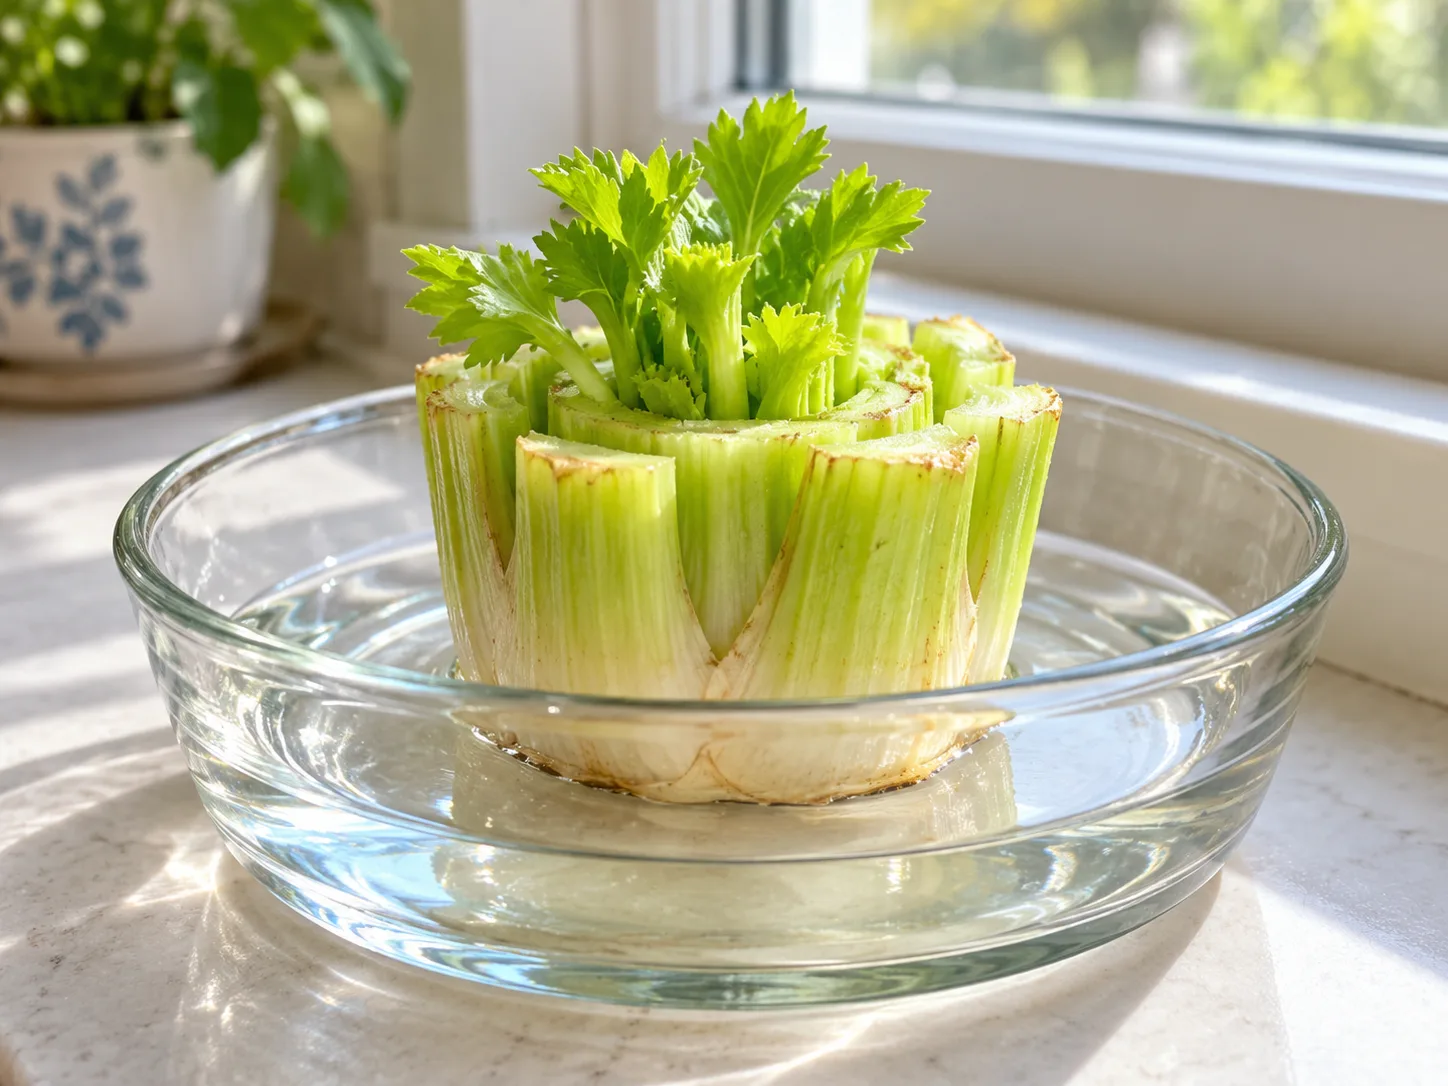
Set the base cut-side down in the dish and add enough room-temperature water to cover only the bottom edge, about half an inch. The crown should rest securely while its center and most of the cut surface remain above the waterline. Penn State Extension’s kitchen regrowth method also keeps celery in about a half inch of water and recommends a sunny location.
Place the dish in a bright spot with good daylight. A bright windowsill is convenient, but avoid a hot pane or intense afternoon sun that warms a small volume of water and can stress or soften the base. If the room is dim, move it closer to a bright window or add a grow light; weak light often produces pale, stretched leaves that are less useful to harvest.
Expect the center to change before the bottom does. Small leaves may begin to rise within several days, while visible roots can take longer; temperature, freshness, light, and the condition of the crown all affect timing. Do not transplant simply because one green point has appeared. Wait for active leaf growth and roots that are visible enough to hold the base in place.
Keep the water shallow and clean
Check the dish daily. Top it up if the cut base is drying, but do not raise the water around the central leaves. If the water turns cloudy, smells stale, or develops a slippery film, replace it and rinse the dish. Penn State Extension recommends cleaning and refreshing the container every three to four days; gardening writer Getty Stewart changes her dish every one to two days. For a small home container, a practical routine is to refresh it every day or two if it clouds, and at least every few days even when it still looks clear.
When you refresh the water, lift the base by its sides rather than pulling at new leaves or roots. Rinse the dish with warm water and return the base to fresh water; avoid leaving soap residue in a container used for regrowth. If a loose outer piece has turned soft, remove that piece without cutting into the firm crown.
Do not worry if the outside of the base looks less attractive as the center grows. Old outer tissue may discolor or break down while the new growth stays firm. The key distinction is whether decay remains on a loose edge or is spreading through the crown: isolated outer decay can be trimmed, but a soft, smelly center is a reason to start again with a fresher base.
Water start or direct soil?
Water makes it easy to see whether the crown is alive and whether roots are forming. It is a good choice for a windowsill project, a first attempt, or a gardener who wants to use the new leaves before committing a pot to it. Its drawback is that the base must adjust from water to soil later, so a weak crown can stall during transplanting.
You can also put the base directly into a pot of damp, well-drained mix. Set the bottom into a shallow planting hole and firm soil around the lower sides, keeping the center leaves and crown exposed. Water it in gently and keep the mix evenly moist while it roots. This avoids a water-to-soil transfer, but the growing point is harder to inspect, and planting too deeply or using soggy mix can encourage rot.
| Starting method | Best when | Main trade-off |
|---|---|---|
| Shallow water | You want to watch for roots and new leaves | Needs water changes and a later transplant |
| Directly in soil | You already have a suitable pot or bed | Viability is less visible; moisture and planting depth need attention |
If you are unsure whether the base is viable, begin in water. If it is clearly firm and you can keep the soil damp but airy, direct planting is reasonable. Neither method can guarantee a full crop.
Move rooted celery into soil
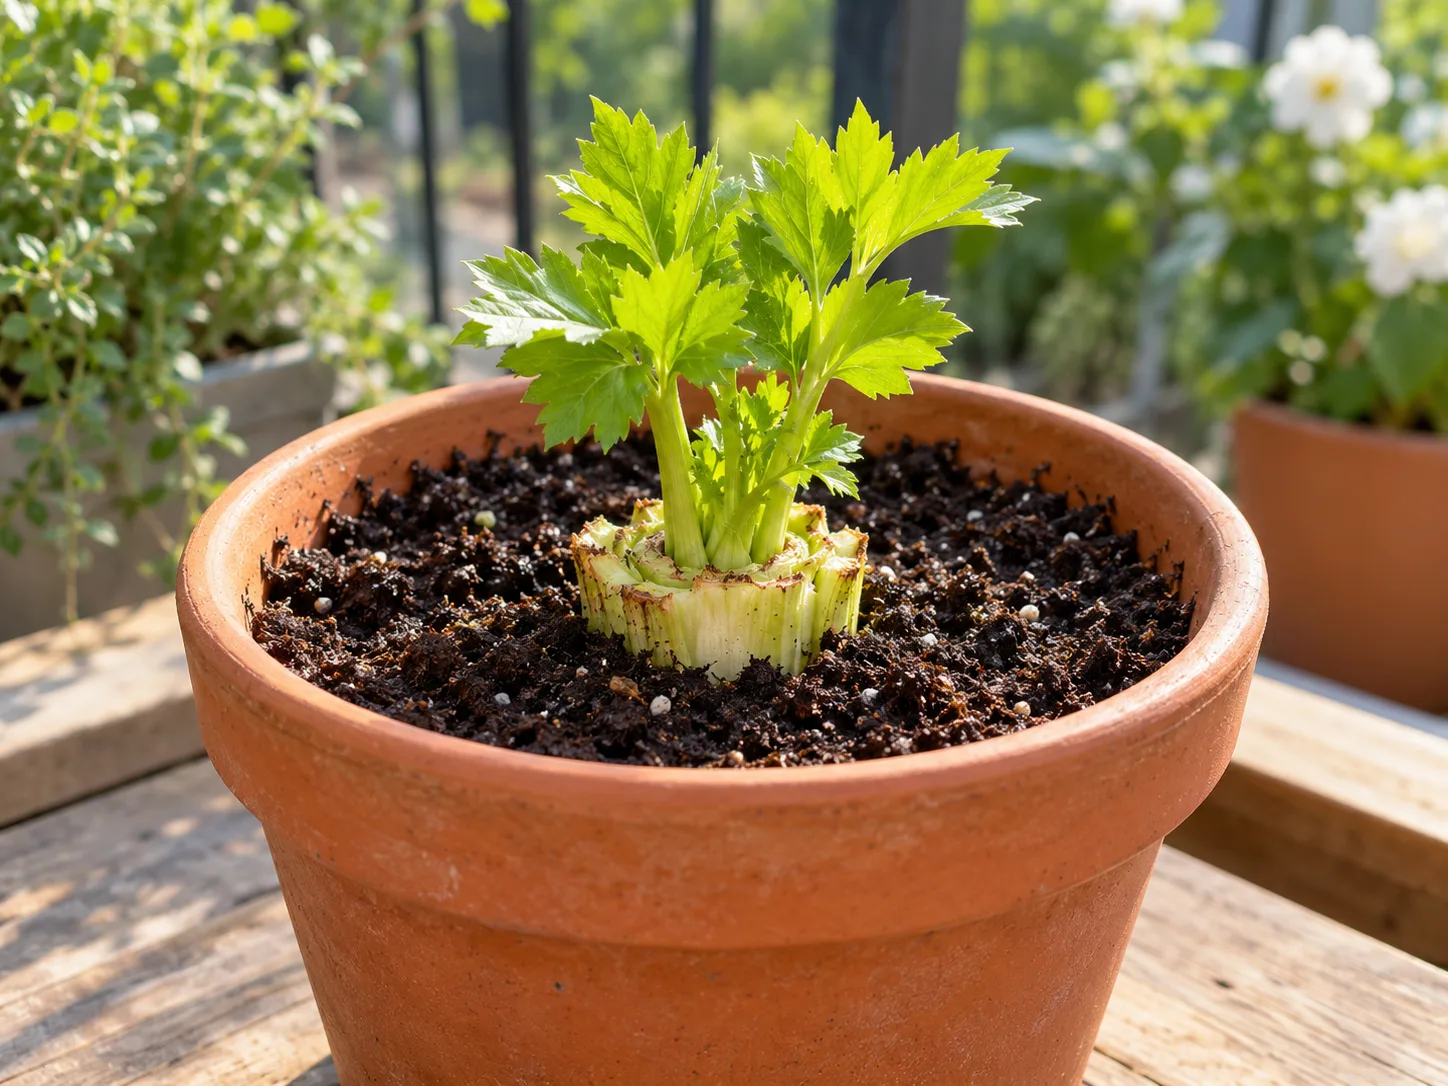
Transplant once the base has both healthy new leaves and visible roots. Getty Stewart reports moving her celery after about 20 days, but that is an example, not a deadline. A cooler room or a tired base may take longer; a vigorous crown may be ready sooner. Use the plant’s condition rather than the calendar: roots should be emerging from the lower crown, and the center should be actively growing.
Fill the pot with moistened potting mix, make a shallow hole, and set the crown so the lower root area is in contact with soil while the center stays at soil level or just above it. Backfill around the base and press lightly to stabilize it, then water until the mix is evenly damp and excess drains out. Do not bury the whole crown under an inch of soil; packed, wet mix around the growing point can smother or rot new leaves.
For the first week, check the soil with a finger rather than watering on a fixed schedule. If the top layer is beginning to dry, water thoroughly and let the pot drain. Keep it out of harsh afternoon sun while the roots adjust, then gradually give it stronger light as new growth continues.
Choose a pot or a garden bed
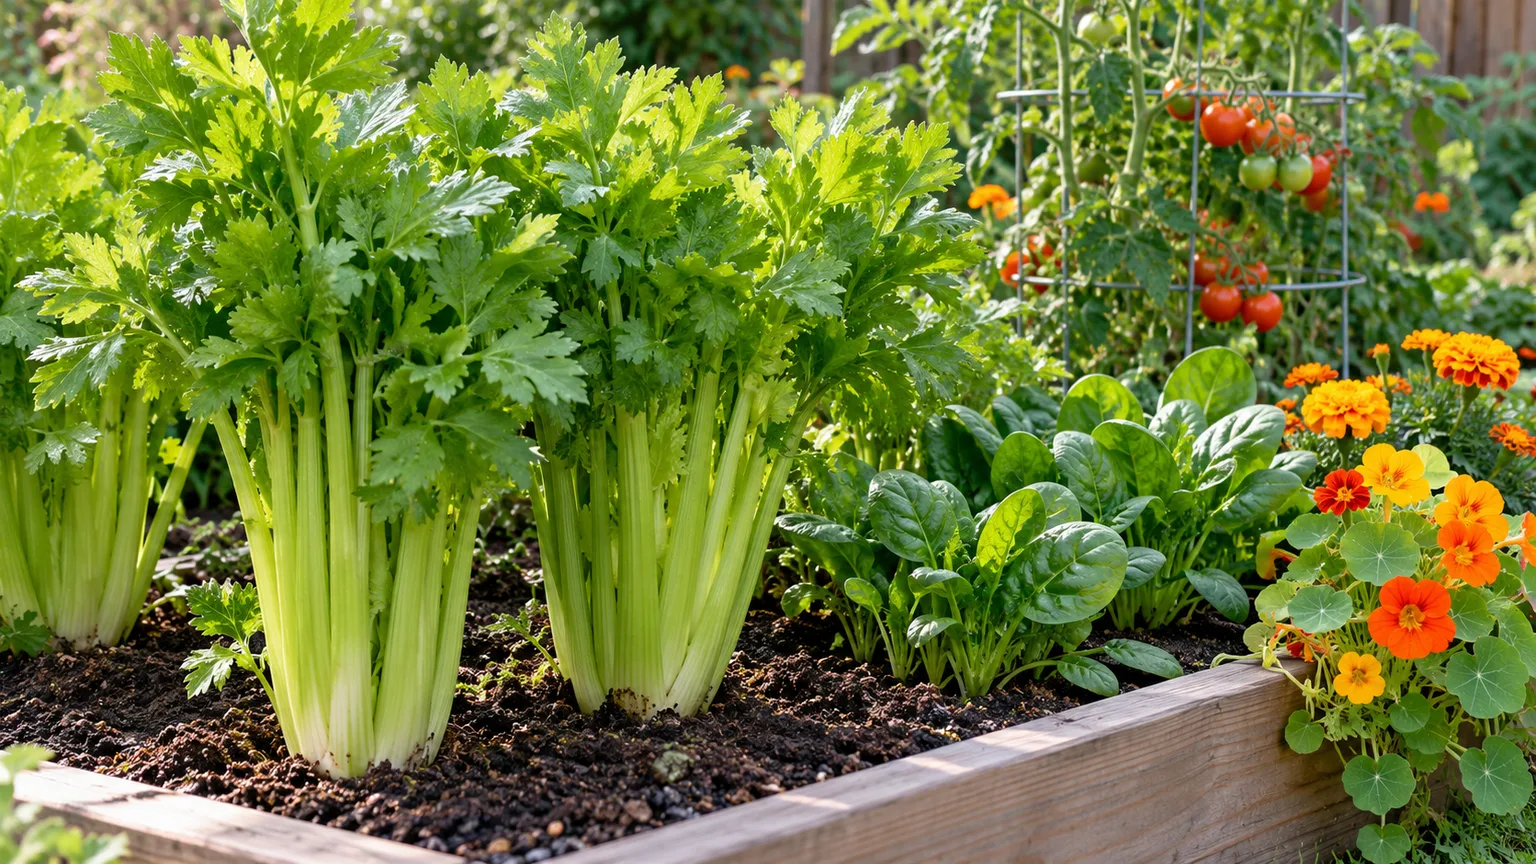
A container is usually the easiest way to keep track of one regrown base. Choose a pot with drainage and enough width to hold the expanding plant; a 10- to 12-inch pot is a practical minimum for a single crown, though a larger container is easier to keep evenly moist. Use a quality vegetable potting mix with compost or other organic matter, not dense garden soil packed into a pot.
A garden bed can support more sustained growth if your season is mild and the soil holds moisture without staying waterlogged. Pick a sunny or lightly shaded spot with fertile, well-drained soil, and leave room around the crown for leaves to spread. Utah State University Extension recommends wider spacing for mature celery plants than a windowsill pot provides; avoid crowding a transplanted crown against larger plants that will shade it or compete for water.
If the base has been indoors, harden it off before planting outside. Over about a week, place it outdoors in a sheltered, shaded spot for a few hours at first, then increase its time and light gradually. Bring it inside if frost is forecast or if wind and sun cause it to wilt. A plant that looks fine in a window can scorch or collapse when moved straight into a full-sun bed.
Care for celery after transplanting
Celery is a cool-season crop with shallow roots and a strong preference for consistent moisture. Utah State University Extension gives an ideal temperature range of about 55 to 65°F for celery and warns that prolonged exposure to cool temperatures can trigger flowering. Warm, dry weather can also make stalks tough and strongly flavored. A sheltered spring or fall location is often easier than a hot summer windowsill.
Give the plant bright light, but manage heat as well as sun. In a cool climate, full sun helps it grow; where afternoon temperatures are high, morning sun and afternoon shade can reduce stress. If growing indoors, choose the brightest available window and rotate the pot occasionally so the plant does not lean toward one side. A grow light can supplement a dark room, but it cannot compensate for a hot, dry spot.
Keep moisture even and protect the plant from temperature swings
After roots establish, water the soil deeply enough to wet the root zone, then let excess drain. Utah State University Extension recommends one to two inches of water a week for garden celery, counting rain and irrigation, but a potted plant may need water more often because its smaller soil volume dries faster. Use the soil as your guide: it should remain lightly moist, not bone dry and not saturated.
A mulch layer in a garden bed can slow evaporation and reduce weeds around the shallow roots. In a pot, avoid leaving water in the saucer and do not let the mix swing between drought and soggy conditions. Water stress is more than a cosmetic problem for celery: the extension guidance notes that inconsistent moisture can lead to stringy stalks and stronger flavor.
Celery can be sensitive to temperature swings. Utah State University Extension notes that several weeks of cool exposure can prompt a plant to flower, while temperatures above about 85°F increase stress. If a flower stalk appears, the plant is bolting; the flavor and texture of the stalks may change as it shifts toward flowering. Harvest the leaves or any acceptable young stalks promptly, and consider the plant a short-lived harvest rather than trying to reverse bolting with more fertilizer.
Feed only after the plant is growing steadily in soil. Celery has a small root system and benefits from fertile soil; compost incorporated before planting is a gentle start. If it continues growing for weeks in a container, use a balanced vegetable fertilizer at the label rate and interval. Harvest to Table’s horticulturist Stephen Albert also emphasizes regular moisture and steady feeding for celery, but a weak, newly transplanted crown is not the time to overfertilize it.
When to harvest the new growth
You can snip a few leaves once they are large enough to handle without pulling the crown apart. Use clean scissors and take leaves from the outer growth, leaving the smallest center leaves intact. That growing point produces the next flush; stripping the middle or taking every leaf at once leaves the plant with little leaf area to support new growth.
If the plant establishes in soil and makes substantial outer stalks, harvest those individually as they reach useful size. Utah State University Extension describes outer petioles around a foot long as harvestable and a whole plant around three inches in diameter as ready to use. A base-grown plant may never reach those dimensions, so judge each stalk by its firmness and flavor rather than waiting for a perfect bunch.
Taste a small piece before harvesting the whole plant. Homegrown celery can be more strongly flavored than the mild, pale supermarket stalks, especially if it has grown through warm or dry weather. Use the leaves and smaller stems in cooked dishes if they are too intense to enjoy raw.
Use the celery leaves well
Celery leaves are edible and often more aromatic than the stalks. Chop them into soups, beans, stews, potato salad, egg salad, or a herb sauce. They also work in stock, where their stronger flavor blends with onion, carrot, and other vegetables. Start with a small handful, taste, and add more if you want a pronounced celery note.
To save extra leaves, rinse them and dry them thoroughly before refrigerating in a breathable container with a paper towel. For longer storage, dehydrate clean leaves until crisp, cool them completely, and crumble them into an airtight jar. You can mix dried celery leaf with salt for a simple celery salt; begin with equal parts by volume, then adjust after tasting. Keep any dried seasoning dry and discard it if moisture or an off smell develops.
The base itself is not the main harvest once it has rooted. Treat it as the living crown that keeps producing leaves, and harvest around it instead of cutting across the bottom. If the plant stops making healthy growth, becomes stringy, or begins to flower, use what remains and start another base or a seed-grown plant for the next round.
Troubleshoot slow or unhealthy regrowth
Regrowth speed is variable, so diagnose the plant before changing several things at once. A fresh base with a firm center, shallow clean water, and bright light has the best chance. If the base is declining, first check whether the crown is still firm and whether water or soil is staying too wet.
No roots or new center leaves
If nothing changes after a week, check that the cut end is actually touching water and that the center of the base was not removed. Move the dish to brighter light if the leaves are pale or stretched, and use room-temperature water. Give a firm, viable base another week or two; roots and shoots do not always appear on the same schedule.
If the base dries, shrivels, or has a hard brown center, it may have been stored too long or damaged when it was cut. Starting over with a fresh bunch is more effective than adding fertilizer or submerging the whole crown. Do not keep a stagnant dish simply because the outer base still looks green.
A soft base, mold, or a wilted transplant
A soft, slippery base usually points to decay, often made worse by water covering too much of the crown or by water that has not been refreshed. Lift it out, discard loose damaged layers, wash the dish, and keep the remaining firm bottom in shallow clean water. If the center is mushy or smells rotten, discard the base; the growing point is unlikely to recover.
A little white fuzz on dead outer tissue is different from healthy roots. Remove the affected loose tissue, rinse the base and container, and improve air movement. Do not plant moldy material deeply in soil. If a transplant wilts, shade it temporarily, check whether the root zone is dry or waterlogged, and keep the soil evenly moist while it settles; avoid adding fertilizer until it resumes growth.
When seeds or a nursery transplant are a better choice
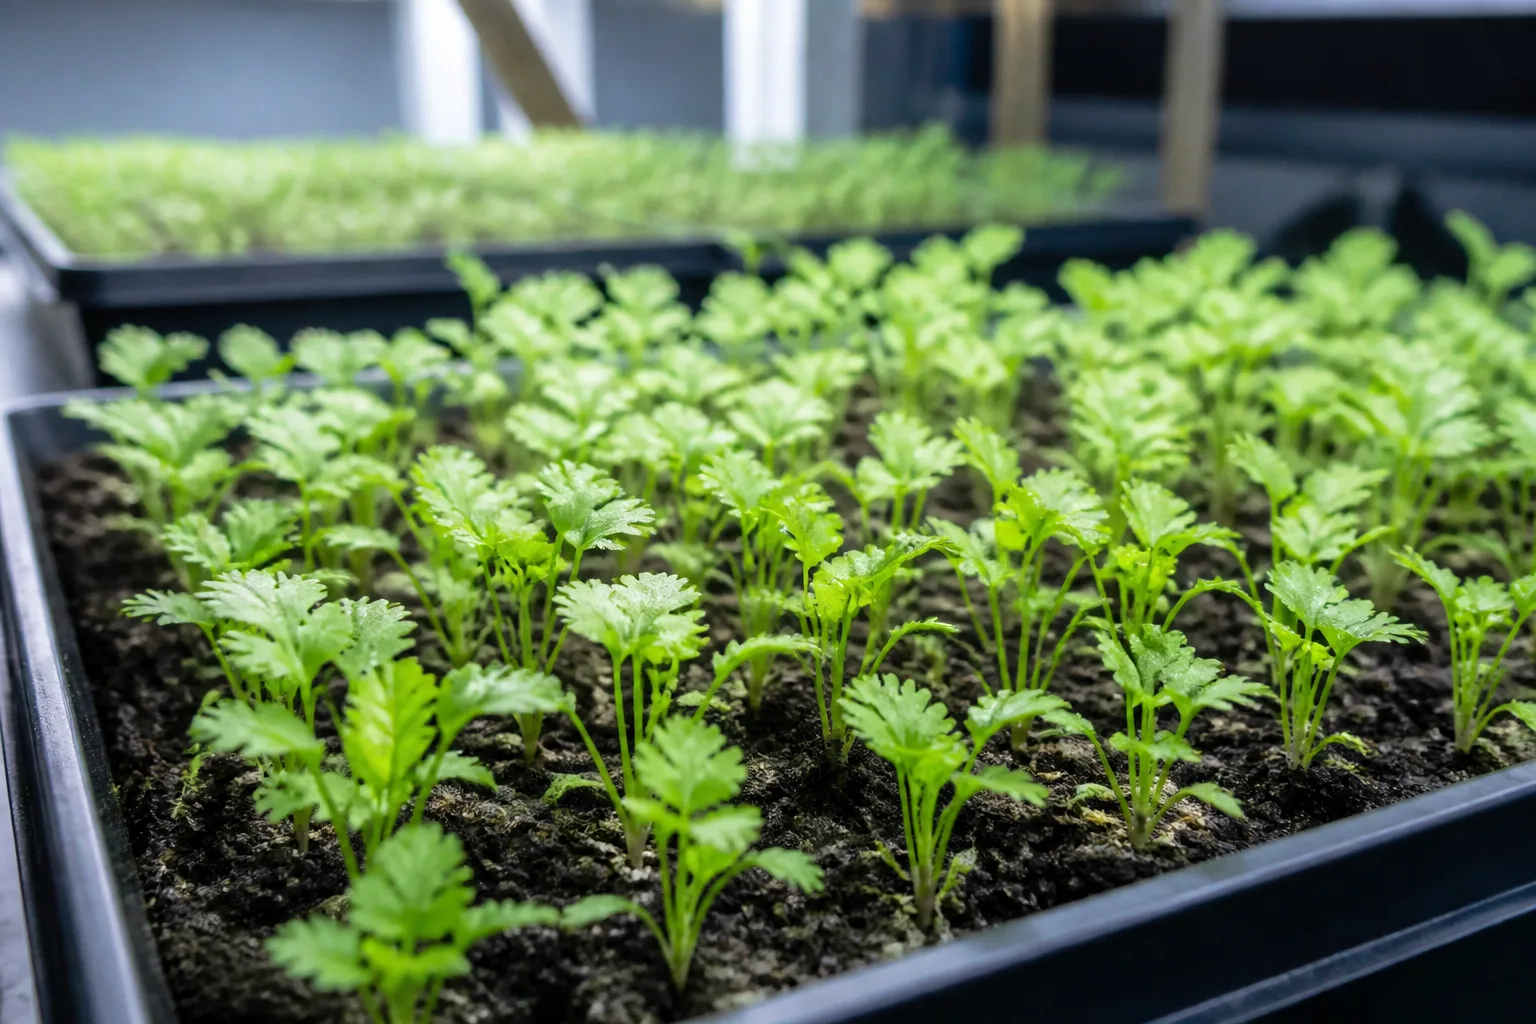
Choose a seed packet or a nursery transplant if your main goal is a full celery crop, several plants, or stalks that are thick and consistent enough for fresh eating. Seed-grown celery starts with a full growing season ahead and gives you more variety choice. A purchased transplant already has roots and a more predictable start, which matters in regions with short summers.
Use a saved base when the fun is seeing a kitchen scrap restart, when you want celery leaves for cooking, or when you have room to experiment without depending on the harvest. If you are trying it outdoors, begin early enough in the cool part of the season for the plant to root and grow before heat arrives. If the timing is too late or your summers are very hot, keep it as a leafy container plant and treat stalk production as a bonus.
Conclusion
To grow celery from the base, save a firm crown with its center intact, rest its cut bottom in about half an inch of clean water, and give it bright light. Refresh the water regularly, wait for roots and active new leaves, then transplant the crown into moist, fertile soil with the growing point exposed. Keep moisture steady and protect the plant from heat, drought, and abrupt outdoor changes.
The most reliable result is a fresh crop of celery leaves. A long, cool growing season may let the base develop useful stalks, but it cannot promise a grocery-size bunch or an endless supply. If you want to watch a scrap regrow, try it; if you need a dependable stalk harvest, start from seed or a nursery plant.



