How to Grow Roses in Pots: A Complete Care Guide
Grow roses in pots with a setup that drains well and is easier to maintain. Get practical advice on pot size, sunlight, watering, fertilizer, pruning, and winter.
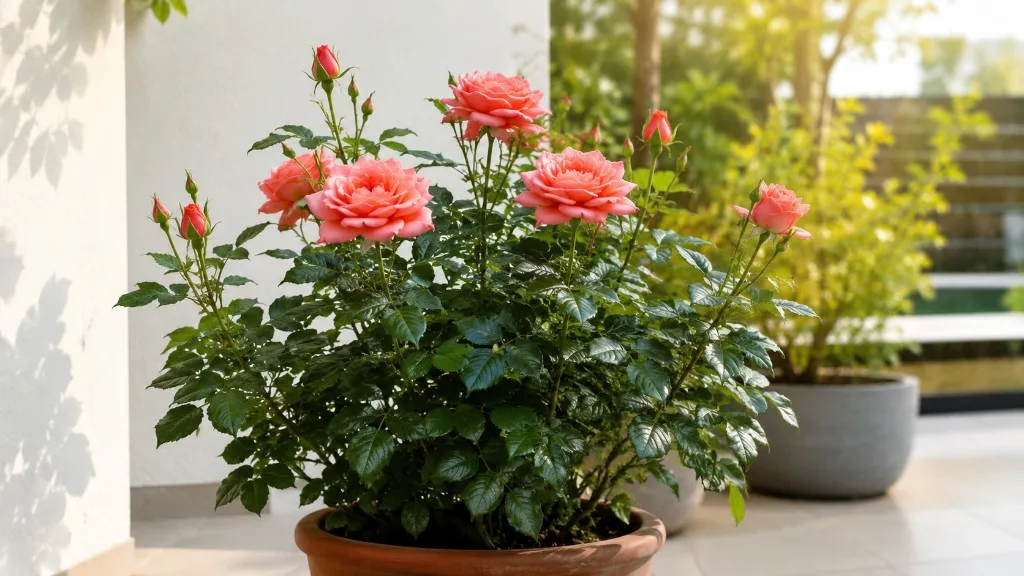
Roses can grow well in pots when the container is large enough for the mature plant, drains freely, and does not dry out between checks. Start with a compact variety, give it a sunny outdoor position, and build a routine around the moisture in the mix rather than a fixed watering or feeding calendar.
Container growing is useful when you have a balcony, patio, paved yard, or soil that is difficult to improve. It also puts more responsibility on you: a pot has a limited supply of water and nutrients, and its roots experience sharper temperature swings than roots in the ground. The setup matters as much as the variety, so choose the pot and winter plan before you buy the rose.
Choose a rose that fits a container
Look first for a plant whose mature height and spread suit the space, not simply the one with the prettiest nursery flowers. Patio and miniature roses are usually the easiest starting points because their compact growth is better proportioned to a pot; some low, compact ground-cover roses also work. A compact floribunda can suit a larger container, while a vigorous shrub or climbing rose needs more root room, support, and pruning than many balconies can provide.
The Royal Horticultural Society’s container-rose guide notes that patio and miniature roses can grow in fairly small but deep containers, while more vigorous compact ground-cover roses and climbers need larger pots. Read a plant label for its mature dimensions and growth habit, and ask whether the cultivar repeats bloom, tolerates your local winters, and has good disease resistance. A label that says “compact” is a useful clue, not a guarantee that the plant will stay tiny.
Buy a rose from a nursery that identifies the cultivar and explains whether it is grafted or grown on its own roots. Own-root plants can regrow true to type from their roots after winter dieback, while a grafted rose has a bud union whose placement and winter protection need to follow local rose guidance. Do not choose a climber unless you have a stable trellis and enough room to train its canes without blocking a walkway.
Pick a pot around the mature root system
Choose a pot by the rose’s mature size, the available footprint, and how often you can check it. For a patio or miniature rose, a deep pot around 14 to 18 inches across is a forgiving starting point; a larger shrub rose may need a container closer to 20 to 24 inches in both width and depth. These are practical starting ranges rather than universal standards: use the cultivar’s mature size and the nursery’s instructions to decide whether to go larger.
The RHS lists depths of about 9 to 14 inches for patio and miniature roses and 12 to 18 inches for compact, more vigorous types. Treat the lower end as a tight fit, especially where summers are hot, windy, or dry. More potting mix gives roots room and gives you a larger moisture reservoir, but an oversized pot is not automatically better if the rose is small and the mix stays wet for too long.
Every container needs open drainage holes. If water has nowhere to leave, even a well-aerated mix can become saturated around the roots; put a screen over a large hole if mix is washing out, not a layer of gravel across the bottom. Raise the pot slightly on feet so the holes are not sealed against a patio or deck, and empty any saucer after watering or rain.
Material changes the watering and stability equation. Unglazed terracotta breathes and can dry faster; light plastic or resin is easier to move but may tip in wind; glazed ceramic, stone, and heavy wood hold their position and moisture but are harder to move. If you expect to move the rose for winter, choose a pot and rolling base that remain safe to handle after they are filled and watered.
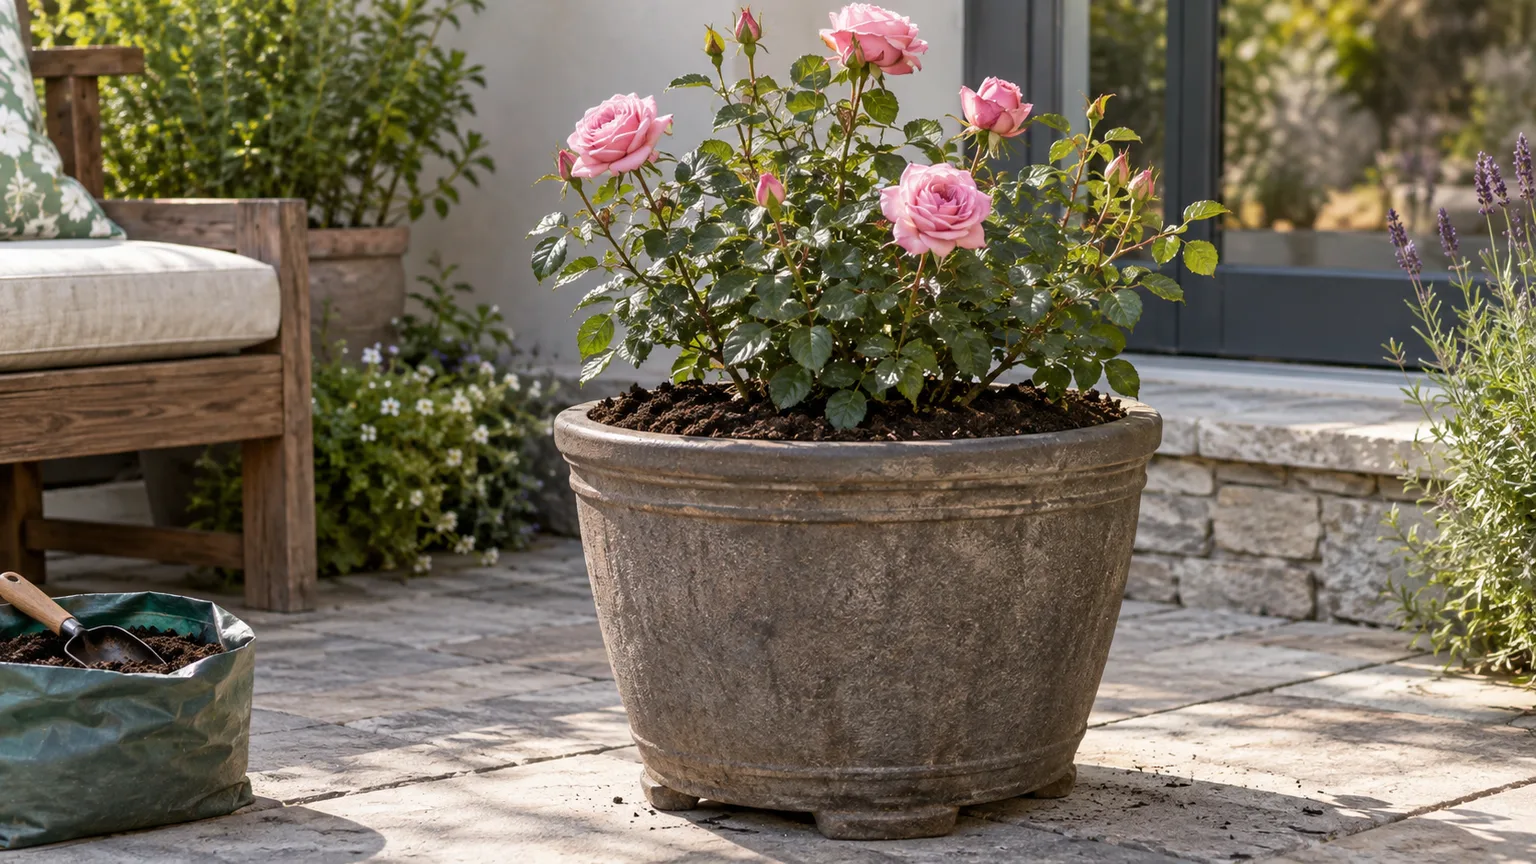
Use a container mix that drains and holds moisture
Use a fresh, outdoor potting mix made for containers. It should hold enough moisture for roots to take it up while allowing excess water to drain and air to return to the root zone. Garden soil is usually too dense for a pot and can settle into a slow-draining mass; do not fill a container with soil dug from a border, even if that soil grows roses well in the ground.
The RHS’s general container-growing advice stresses drainage holes and regular attention to water in containers. A quality container mix is a more predictable base than a recipe built from equal parts garden soil, compost, and manure. If a commercial mix dries unusually fast, blend in a modest amount of finished compost or use a mix formulated for outdoor shrubs; avoid turning the pot into a heavy, manure-rich bed.
Skip routine additions of bone meal, blood meal, or granular fertilizer unless the product label or a soil test gives you a reason to use them. A rose in a limited volume of mix can be harmed by excess fertilizer salts, and mixes that already contain controlled-release feed need to be treated differently from plain mixes. Do not put stones, gravel, or broken pots under the mix to “improve drainage”; holes and a suitable mix do that job.
Plant the rose at the right depth
Water the nursery pot before planting so the root ball is evenly moist and easier to handle. Add mix until the rose will sit at the depth recommended by its grower, then slide it out of the nursery pot and inspect the roots. If a few roots circle the outside, loosen them gently; if the root ball is a tight web, tease the outer roots apart without shredding the whole root system.
Set the plant in the middle of the container and fill around it in stages, firming the mix lightly with your fingertips. Leave a little space between the mix surface and pot rim so water can soak in instead of spilling over. Water slowly until the root ball and surrounding mix are thoroughly wet and water drains from the holes; add more mix if settling exposes roots, but do not bury the crown or graft union by guesswork.
Bare-root roses need a little different handling. Keep the roots moist while you work, discard only damaged or dead pieces, and spread the roots over a small mound of mix rather than bending them into a tight circle. Follow the nursery’s planting-depth directions for that cultivar and your region, because graft-union recommendations vary with climate and winter protection; own-root roses do not have a graft union.
Put the pot in its final location before filling it if it is heavy. A large container that is easy to position empty can become difficult or unsafe to move after it holds wet mix and a mature rose. Check that the base remains stable, drainage holes stay clear, and runoff will not stain or damage the surface underneath.
Give roses sun while protecting roots from heat
Most roses bloom best with at least six hours of direct sun. A Better Homes & Gardens rose-care guide gives six to eight hours as a useful target; a sheltered balcony that gets bright light but only a short window of direct sun may keep a rose alive yet produce fewer flowers and weaker growth.
Container roots can heat up faster than garden soil, particularly in a dark pot against a south- or west-facing wall. In very hot climates, keep the foliage in good light while moving the container where its sides get afternoon shade, or use a larger, lighter-colored outer pot with space around the inner pot. A thin mulch layer on the mix can slow surface drying, but keep it away from canes and the crown.
Leave enough room around the rose for air to move through the plant and for you to inspect the leaves. Crowding pots together may save floor space but makes foliage stay damp longer and hides early pest activity. If the site is exposed to strong gusts, use a heavier pot or move it behind a windbreak rather than staking a tall rose to a lightweight container.
Water when the mix is drying, not by a calendar
Check the pot every day during hot, windy weather, but water only when the mix needs it. Feel the top inch or two; when that layer is dry and the mix below is only lightly moist, water slowly over the whole surface until excess runs from the drainage holes. Do not wait for the rose to wilt as your routine, because wilting is a late signal and repeated dry-down can interrupt growth and flowering.
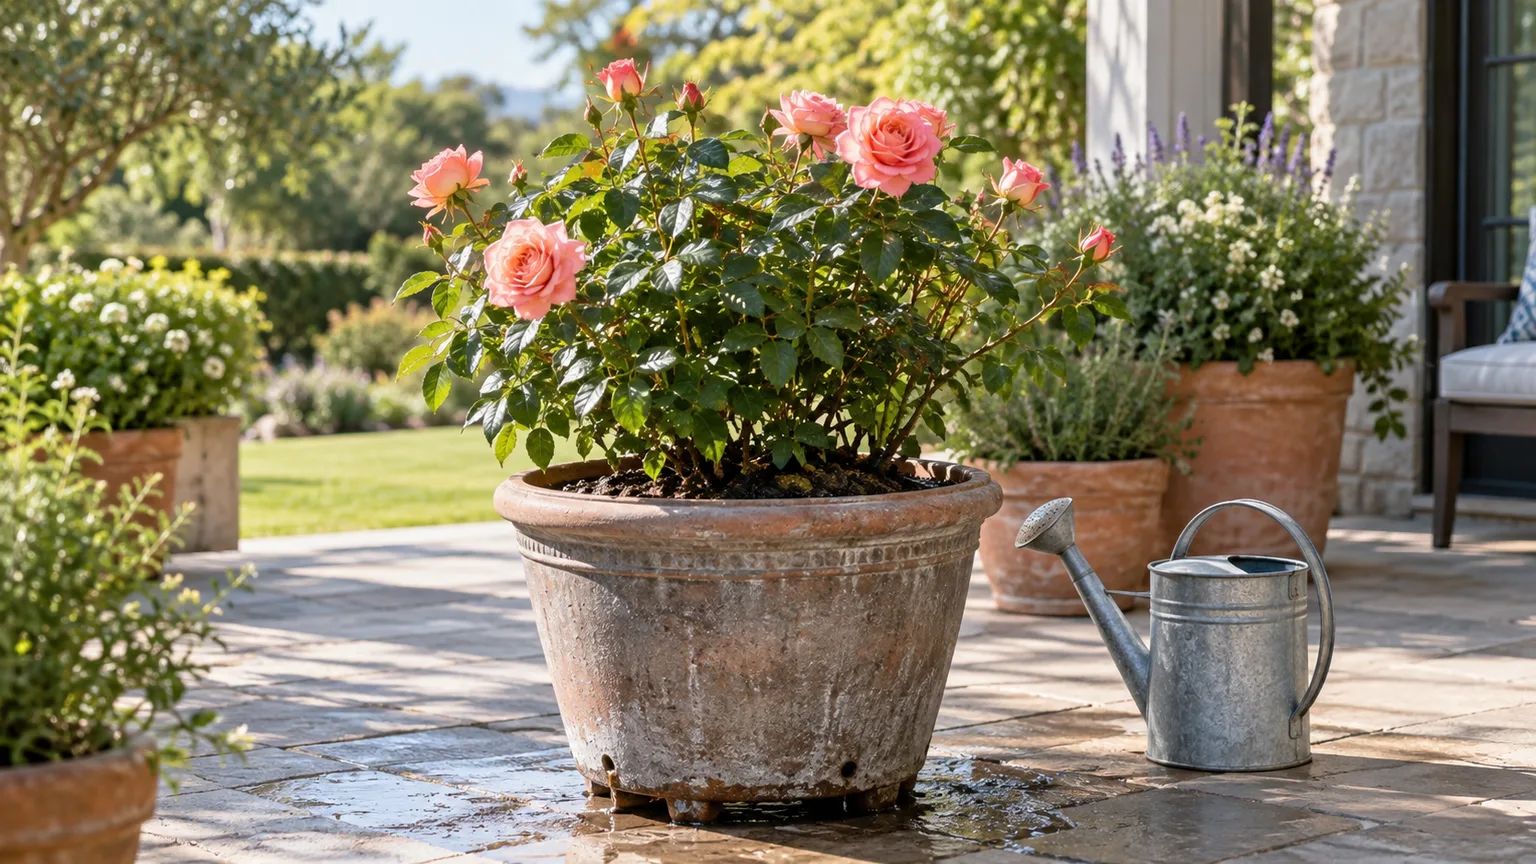
In cool or rainy weather, a large glazed pot may need water only occasionally. In summer, a small terracotta pot on a sunny balcony may dry quickly enough to need water daily. The Philadelphia Horticultural Society’s rose-container guidance similarly recommends checking the soil and watering deeply when its surface begins to dry, while recognizing that peak heat can increase frequency.
| What you notice | What to do |
|---|---|
| Mix still feels cool and damp below the surface | Wait and check again; do not add water because the leaves look tired without checking the pot |
| Top layer is dry and the pot feels lighter | Water slowly across the mix until water drains out |
| Water runs down the sides without wetting the root ball | Apply it in two or three passes, allowing each pass to soak in |
| Pot stays heavy and wet for days | Clear the holes, remove standing runoff, and assess the mix before watering again |
| The rose dries very quickly in sun or wind | Check daily, add surface mulch, and consider a larger or less porous container |
Water at the soil surface in the morning when practical. A watering can with a narrow spout makes it easier to avoid repeatedly soaking the foliage, though rain and overhead watering are not automatically harmful. What matters is that leaves do not remain wet in dense, stagnant conditions and that the root zone drains after a thorough soak.
Do not leave the pot standing in a saucer full of water. A reservoir can keep the lower mix saturated even when the top looks dry, so tip out runoff and check the moisture in more than one place. For broader rose-watering guidance, see our guide to watering roses; its soil-check approach also applies to containers, with more frequent checks in small pots.
Feed during active growth without overdoing it
A rose in a container cannot draw nutrients from a wide area of garden soil, but that does not mean it needs a strong feed every two weeks. Start by checking the potting-mix label: if it contains a slow-release fertilizer, follow its stated release period before adding more. For plain mix, use a fertilizer labeled for roses or flowering shrubs at the rate and interval on its label while the plant is actively growing.
Container feeding is a trade-off between reliable nutrition and salt buildup. In a Garden Basics interview with a professional rose grower, the grower favors a lower-strength liquid feed for young roses in containers because excess granular fertilizer can concentrate around roots. That is one practical approach, not a rule that all granular products are unsafe; correct dosing and the product instructions matter more than the form.
If leaf tips turn brown after feeding, a pale crust appears on the mix, or growth declines soon after an application, stop adding fertilizer and review how much was used. Do not compensate for yellow leaves by applying more feed until you have checked moisture, drainage, and the pattern of discoloration. Stop seasonal feeding early enough for your rose to slow down before cold weather, using the fertilizer label and local rose guidance rather than a fixed month that ignores your climate.
Prune and deadhead for a compact, repeat-blooming plant
Pruning helps keep a potted rose balanced, accessible, and open to air, but the right amount depends on its class. Remove dead, broken, or diseased canes whenever you spot them with clean, sharp pruners. For a repeat-flowering patio or modern shrub rose, do the main shaping prune in late winter or early spring as new growth begins, following the cultivar’s pruning guidance.
Cut out weak or crossing stems that rub against one another, and shorten overly long growth to an outward-facing bud when you need to keep the plant in bounds. Avoid shearing every cane to the same height; a few well-placed cuts preserve a natural shape and reduce the dense tangle that can trap moisture. Older garden roses and once-blooming types can flower on older wood, so check their class before giving them a hard spring prune.
Deadhead faded flowers if you want a tidier plant or more repeat blooms. Cut back to a healthy leaf or side shoot rather than removing only the petals, but do not expect deadheading to make a once-blooming rose flower again immediately. Some modern roses set decorative hips or self-clean, so leaving a few spent blooms is a reasonable choice if you like the fruit or want less maintenance.
Prevent disease and catch pests early
Good spacing and a careful weekly look are more dependable than spraying on a calendar. Check the undersides of leaves, fresh tips, and unopened buds for aphids, mites, or chewing damage, and remove fallen leaves from the pot surface. Keep the rose watered at the root zone and avoid crowding it between other plants; these habits make problems easier to spot and reduce prolonged dampness around foliage.
If you find aphids, first assess whether they are concentrated on a few tips or spreading across the plant. A firm stream of water can dislodge a small group; repeat the inspection after a few days and avoid damaging tender growth. For recurring pests or disease, identify the problem before choosing a treatment and follow the product label and local extension advice, especially if pollinators are visiting the blooms.
Read symptoms before you treat
Yellow leaves do not identify one cause. A few older leaves may yellow as part of normal turnover, while widespread yellowing with persistently wet mix points you to drainage and watering first; yellow leaves with dry mix suggest the opposite direction. Check soil moisture, look for black spots or stippling, and inspect the roots only if the pot stays wet or the plant continues to decline.
Black spots with yellowing leaves are consistent with rose black spot, but do not diagnose a disease from one discolored leaf. Remove fallen infected foliage, improve air movement, and avoid leaving wet leaves in a crowded corner; consult a local extension or rose society if symptoms continue or spread. Pale, dusty patches, distorted buds, or fine webbing call for a closer pest or disease identification, not a stronger dose of fertilizer.
If a rose has healthy foliage but few flowers, count its hours of direct sun before changing the feeding routine. Too little light, a pot that dries repeatedly, pruning at the wrong time for its class, and excessive nitrogen can all shift growth away from flowers. Correct one likely cause at a time and watch the next flush of growth before adding another intervention.
Repot when the rose or potting mix needs it
A rose does not need a larger pot just because a calendar says it is time. Repot when roots fill the container and circle densely, water drains straight through without wetting the root ball, the mix has collapsed and stays soggy, or the pot dries much faster than it used to despite reasonable weather. A healthy plant can remain in the same container while you refresh the upper layer of mix and keep drainage clear.
When you do repot, move up one practical size rather than placing a small root ball in a huge volume of wet mix. Choose a container with a similar depth and a few inches more width, loosen only tightly circling roots, and use fresh outdoor potting mix. The Philadelphia Horticultural Society suggests refreshing or repotting container roses every two to three years, but treat that as a planning interval, not a deadline that overrides the plant’s condition.
Spring, as active growth resumes, is a convenient time to repot most container roses. Avoid combining a major root disturbance with extreme heat, drought, or a hard freeze. Water the rose in, protect it from the harshest afternoon sun for several days if it looks stressed, and return it gradually to its normal position.
Protect container roses through winter
Winter is harder on a rose in a pot because cold reaches the roots from the sides and bottom, while garden soil provides more insulation. A cultivar that survives outdoors in a border may still be vulnerable in an exposed container. The American Rose Society’s guidance on winterizing potted roses recommends choosing a rose rated at least two USDA hardiness zones colder than the gardener’s zone for outdoor overwintering; treat that as a conservative starting point, not a guarantee against an unusually severe winter.
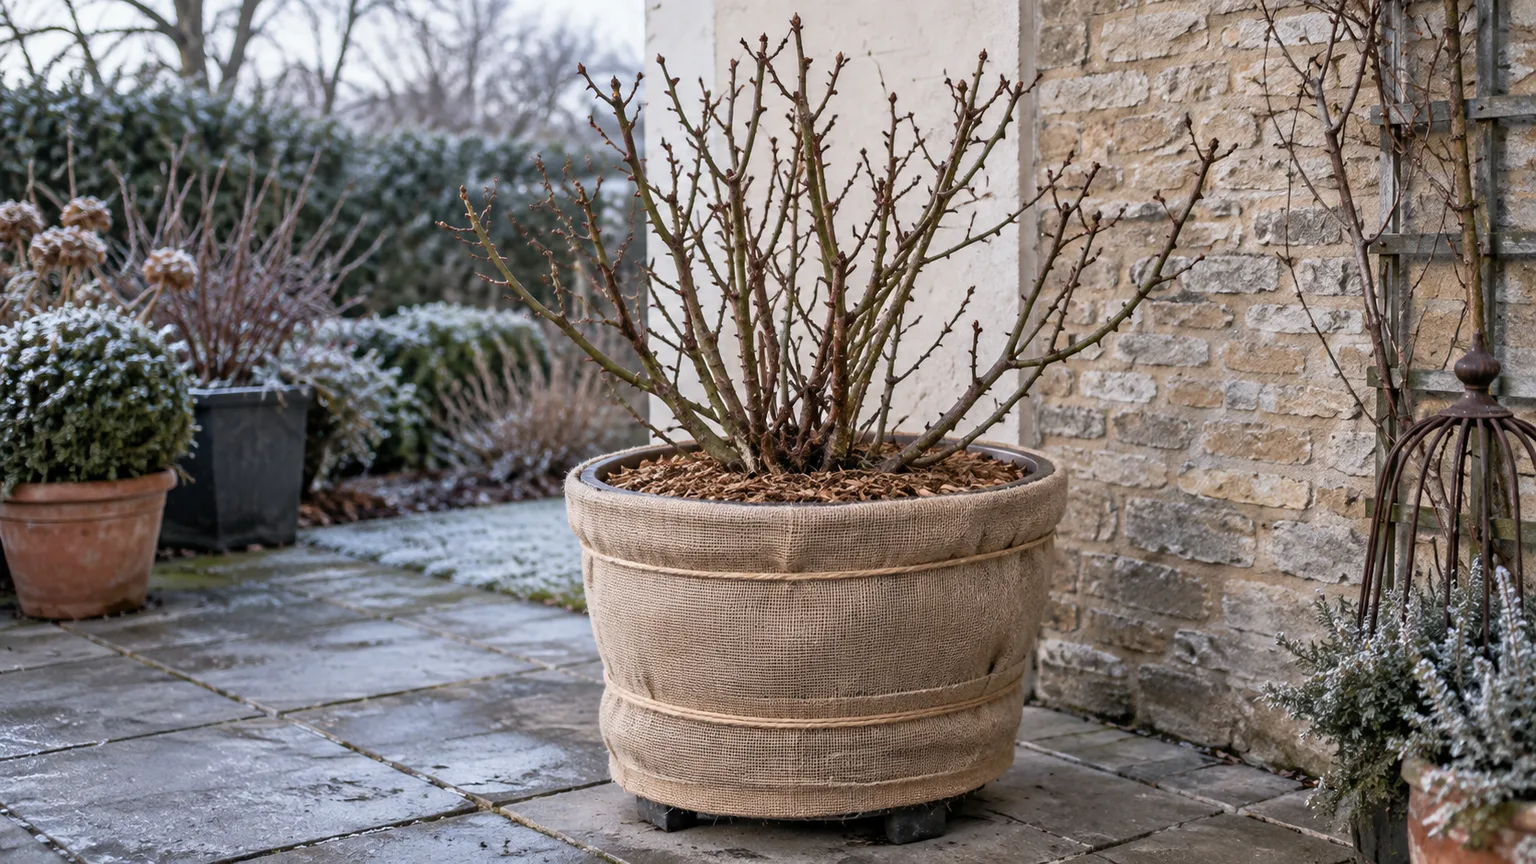
Before cold weather arrives, confirm the cultivar’s hardiness, pot material, and the coldest likely conditions at your site. Move the pot out of a wind tunnel, keep drainage open, and stop fertilizer early enough for the plant to harden off. Do not bring a dormant rose into a heated living room as a winter-storage shortcut; warmth can prompt tender growth when light is limited.
Choose an overwintering method your space can support
If the pot is small enough to bury safely, set it into a garden bed before the ground freezes and mulch around the container. The surrounding soil buffers temperature swings, and you can lift the pot again in spring. This option is less practical for heavy tubs or gardeners without an open bed.
For a movable rose, wait until it has gone dormant, remove fallen leaves, and store it in a cool, unheated garage or shed that does not become warm enough to trigger growth. Check the mix every couple of weeks and add a modest amount of water if it is becoming completely dry; the goal is barely moist, not wet. The American Rose Society notes that dormant pots can still dry out, so “indoors” should not mean forgotten until spring.
If the container must stay outdoors, group pots close together in a sheltered spot and insulate the sides of the pot with a breathable wrap or mulch around the outside. Keep the rose’s crown and canes from sitting in wet packing material, and leave drainage holes unobstructed. In the coldest regions, outdoor protection may not be enough; choosing a hardier cultivar or growing the rose in the ground may be the more reliable option.
RHS container-maintenance guidance also recommends grouping pots near a wall in winter to reduce exposure. A wall is a windbreak, not a substitute for insulation in a severe freeze, and a sunny wall can warm the pot during the day before temperatures drop at night. Check local extension or rose-society advice for your climate, since winter strategies depend on how cold, wet, and variable your winters are.
Follow a seasonal routine
In late winter or early spring, check the pot for blocked drainage, remove dead canes, refresh a little surface mix if needed, and prune according to the rose’s class. When new growth begins, return the plant to full light gradually if it was stored indoors, then start feeding only if the potting mix and fertilizer label call for it.
During spring and summer, check moisture more often as temperatures, wind, and plant size increase. Water thoroughly when the mix is drying, deadhead if you want repeat flowers, and inspect leaves and buds each week. If a pot starts drying out within a day, look at the container material and sun exposure before simply adding more fertilizer or watering on autopilot.
As autumn approaches, stop feeding according to the label and your local first-frost timing, clear fallen foliage, and decide whether the rose will be buried, moved to a cool protected space, or insulated outdoors. Make that decision while the pot is still manageable and before the ground freezes. After leaf drop, keep a stored rose cool and check its mix occasionally through winter.
Conclusion
The most dependable potted rose starts with a compact cultivar, a deep, stable container with open drainage, and fresh outdoor potting mix. Give it sun, check moisture before watering, feed according to the product label, and prune to suit its rose class rather than forcing every plant into one schedule.
The biggest difference from growing a rose in the ground is the container’s limited water and root-temperature buffer. Once you choose a pot that fits the plant and decide how you will protect it in winter, the rest becomes a repeatable cycle of checking, watering, and small adjustments.



