Fall Houseplant Care: 8 Steps for Winter
Use this fall houseplant checklist to acclimate outdoor plants, clean leaves, decide whether to repot, and adjust light, water, heat, humidity, and feeding.
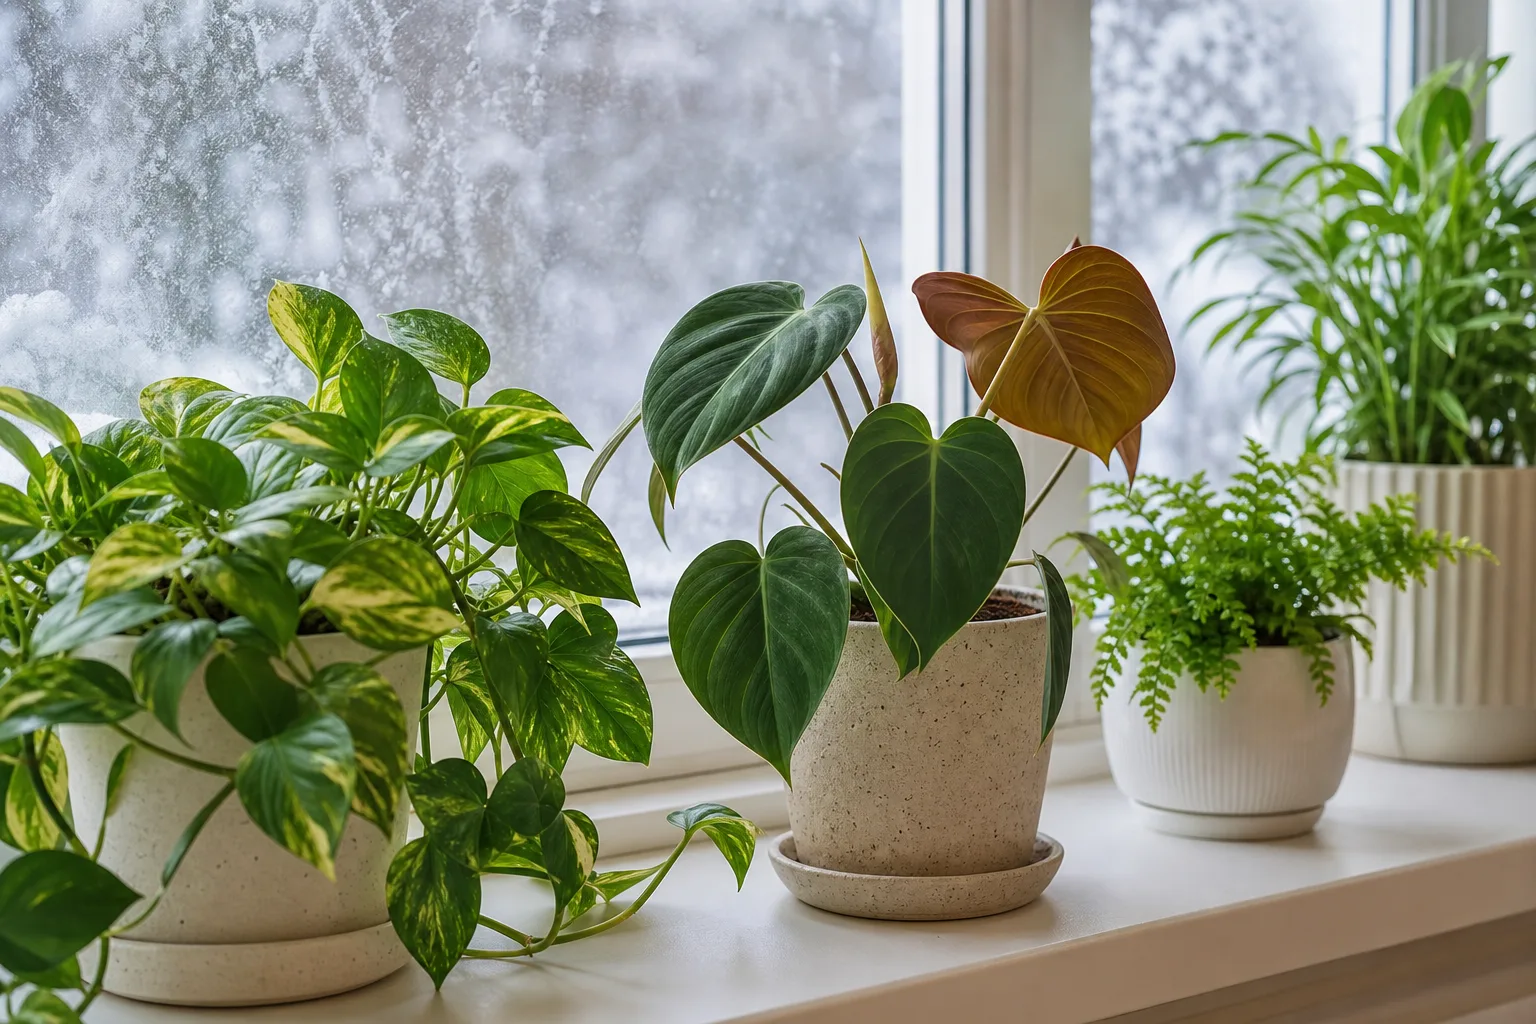
Fall houseplant care is a reset, not a single watering day. Outdoor pots are moving into a home with different light, air movement, temperature swings, and pest pressure, while plants that stayed indoors are heading toward shorter days and slower growth.
The goal is not to force summer growth through winter. It is to match each plant’s care to the conditions it actually has: warm or cool, bright or dim, actively growing or resting, thirsty or still damp. Work through the eight steps below in order, then keep a short weekly check-in until new growth returns.
1. Decide Which Plants Need to Come Inside First
Start with the weather forecast, not the date printed on a calendar. The Philadelphia Horticultural Society recommends using consistently cool evening temperatures around 50°F as a cue to bring houseplants indoors, and that is a useful conservative rule for many tropical foliage plants.
Bring in the most cold-sensitive plants first: tropical foliage, begonias, hibiscus, coleus, citrus, and anything that has already started to droop after cool nights. Succulents and some bromeliads may tolerate a little more cool weather, but “more tolerant” does not mean safe from a surprise freeze, wet cold, or a chilly night beside an unprotected wall.
Use night temperature as the cue, not the calendar
A forecasted first frost is a hard deadline, not the ideal appointment. If the forecast calls for a sudden dip, move tender plants to shelter for the night even if daytime temperatures are still warm; Savvy Gardening’s overwintering guidance makes the same practical distinction between watching the forecast and waiting until cold damage has already occurred.
If you cannot bring everything in at once, triage by value and vulnerability. Put the most tropical plants and any plant you cannot replace in the warmest protected space, take cuttings from easy-to-propagate favorites, and leave genuinely hardy outdoor plants outside only when their species and container exposure make that a reasonable choice. A pot has less insulation around its roots than garden soil, so a hardy plant in a small exposed container may still need protection.
Make a quick inventory before you start carrying pots. Write down each plant’s name if you know it, its current light level, whether it is in active growth, and any existing symptoms; a phone photo of the plant and its soil surface is enough. That record helps you tell the difference between an adjustment after the move and a problem that was already developing outdoors.
Also decide which plants are worth overwintering as whole plants, which are better as cuttings, and which are seasonal annuals you can let go. A crowded indoor collection creates its own problems, and saving a healthy cutting from coleus or a trailing plant may be more successful than giving a huge, sun-hungry specimen a dim corner for five months.
2. Acclimate Outdoor Plants Instead of Moving Them in One Trip
Outdoor light is usually much brighter than indoor light, even when the patio feels shaded. Bringing a plant straight from full sun to a dim living room can trigger shock, leaf scorch, or sudden leaf drop; moving it from outdoor shade to a bright window can also be too abrupt if the leaves have adapted to lower light.
About two weeks before the move, shift plants toward a protected, brighter-than-indoor but less intense location for part of each day. Then bring them inside for the coldest nights and extend their indoor time as the forecast cools. The University of Minnesota Extension notes that an abrupt change from outdoor conditions can cause shock, and the same principle applies in reverse when plants go back outside in spring.
The best indoor spot is not automatically the closest windowsill. Measure the light your plant needs against the room you can offer, leave space between foliage and cold glass, and make sure the plant is not blocking a heating vent or sitting in a draft path. If a large plant will not fit indoors with enough light, it may be healthier to keep a few cuttings than to cram the whole plant into a dark, overheated corner.
3. Inspect, Wash, and Quarantine Before Plants Join the Collection
Treat every plant that spent summer outside as a possible hitchhiker, even if it looks healthy from across the room. Aphids, spider mites, scale, mealybugs, whiteflies, and eggs can hide under leaves, at stem joints, in leaf axils, or on the soil surface, then multiply quickly once the plant is warm and close to its neighbors.

A pest inspection checklist that catches what leaves hide
Work in bright light with a flashlight and inspect one plant at a time. Look for stippling or fine webbing, sticky residue, cottony clusters, shell-like bumps, pale flying insects, distorted new growth, and tiny insects moving when you tap a leaf over white paper.
Check these places before you carry the pot inside:
- both sides of every accessible leaf, especially the undersides and midribs
- stems, leaf joints, new tips, and the crown or growing point
- the pot rim, drainage holes, saucer, and surface of the potting mix
- weeds, moss, fallen leaves, or debris caught at the base of the plant
Rinse foliage with a gentle stream of lukewarm water if the plant tolerates it, then let it drain completely. For a confirmed pest, isolate the plant and use only a product labeled for that plant and pest; an insecticidal soap must contact the insect to work, and a single treatment rarely handles every life stage. The PHS recommends starting inspections well ahead of the move so there is time to repeat treatment when needed.
Keep new arrivals and treated plants away from the main collection for at least a couple of weeks while you monitor them. A yellow sticky card can help reveal flying adults, but it is a monitoring tool, not a complete treatment for an infestation in the soil or on foliage. Do not make a 15-minute pot dunk your default pest cure: it saturates the root zone, may not reach insects on leaves, and can create a watering problem before the plant has even settled indoors.
If you find a serious infestation, keep the plant isolated and decide whether the specimen is worth repeated treatment. Remove heavily damaged leaves, bag and discard them, clean the nearby shelf, and inspect plants that shared the outdoor space; do not move an infested plant from quarantine to the “temporary” spot beside your favorite fern. For pesticide use, read the label for the crop, pest, application site, protective equipment, and re-entry directions, and never improvise a stronger concentration because a treatment did not work on the first try.
4. Clean Leaves, Saucers, and the Potting Area
Once pests are ruled out or contained, clean the plant’s winter landing zone. Remove dead leaves, spent flowers, broken stems, and debris that can hide insects or keep the soil surface wet; use clean, sharp pruners for necessary cuts and avoid removing healthy green growth simply to make a plant smaller.
Wipe broad, sturdy leaves with a soft damp cloth, or rinse plants that can handle a shower. Clean leaves can photosynthesize more effectively than leaves coated with dust, but fuzzy, waxy, hairy, or delicate foliage may be damaged by rubbing, so use a gentle brush or leave those leaves alone. Never use leaf-shine oil or household cleaner.
Empty and wash saucers before the move. Outdoor saucers often contain rainwater, fertilizer residue, algae, insects, or soil; bringing that residue inside can keep the pot wet and create a home for pests. Also wipe the outside of the container and check that the drainage hole is open before you put the plant on a shelf or floor.
5. Repot Only Plants That Need It—and Fix Drainage
Fall is a convenient time to repot outside because potting mix is messy, but convenience is not the same as plant need. A healthy plant with an airy, draining mix and room for its roots can usually wait until the plant is actively growing again; unnecessary root disturbance is one more transition to manage when light is already declining.
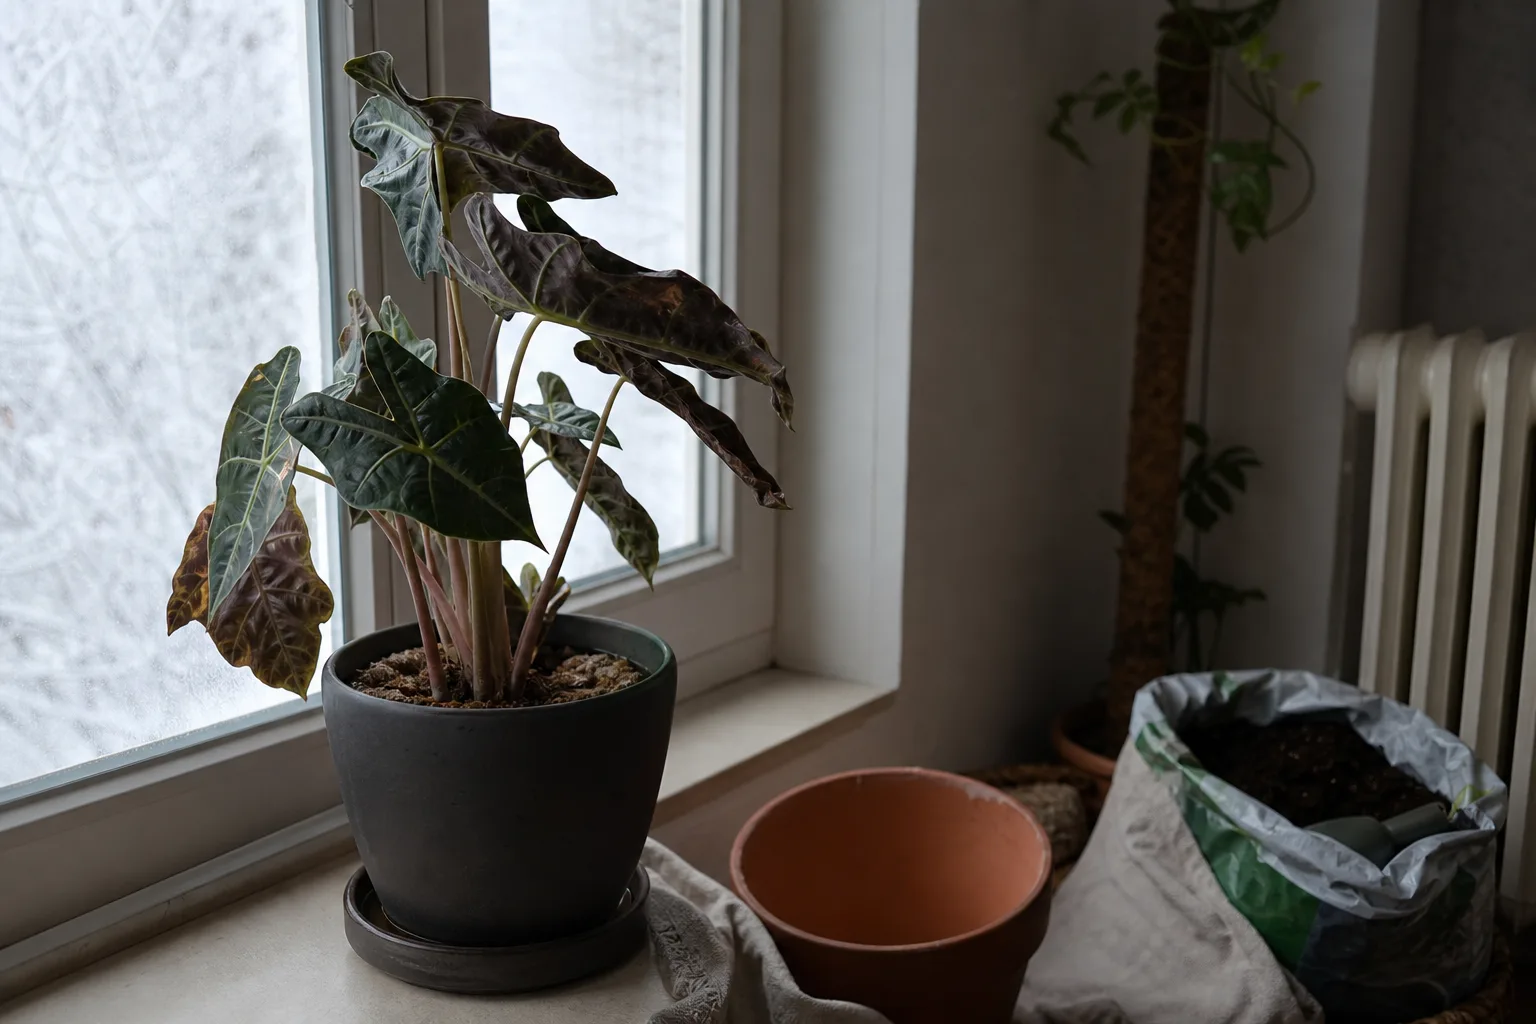
When fall repotting is worth the disturbance
Repot before bringing a plant inside when the current pot is cracked or unstable, roots are tightly circling and water runs straight through, the mix stays wet for an unusually long time, roots smell sour or look damaged, or you need to remove a clear pest or drainage problem. Choose a container only modestly larger than the root ball, use fresh mix appropriate to the plant, and keep the pot’s drainage hole unobstructed.
Do not automatically move a plant into a much larger decorative pot. Extra mix holds extra water around a smaller root system, which is a common way a fall repot turns into winter root rot. If the plant is merely a little root-bound but otherwise healthy, a light root check and a spring repot may be the lower-stress choice.
After repotting, water the mix according to the plant’s needs and let the container drain fully. Do not leave runoff in the saucer, and do not place a freshly repotted plant in the darkest room “to recover” if it needs strong light to keep growing. A stable, appropriately bright spot is more helpful than a blanket rule about where every repotted plant should go.
6. Rebuild Your Watering Routine for Shorter Days
The summer schedule is now bad data. Shorter days, cooler rooms, less outdoor airflow, and slower growth can make the same pot stay wet longer, but a brightly lit plant beside a grow light may still be actively growing and may not need a dramatic cutback.
The Cornell Cooperative Extension’s winter houseplant guidance summarizes the useful rule: most houseplants need less frequent watering in winter, while actively growing plants need more than plants at rest. That means “water every ten days” is not a plan; check every few days, then water only the pots that have reached their dry-down point.
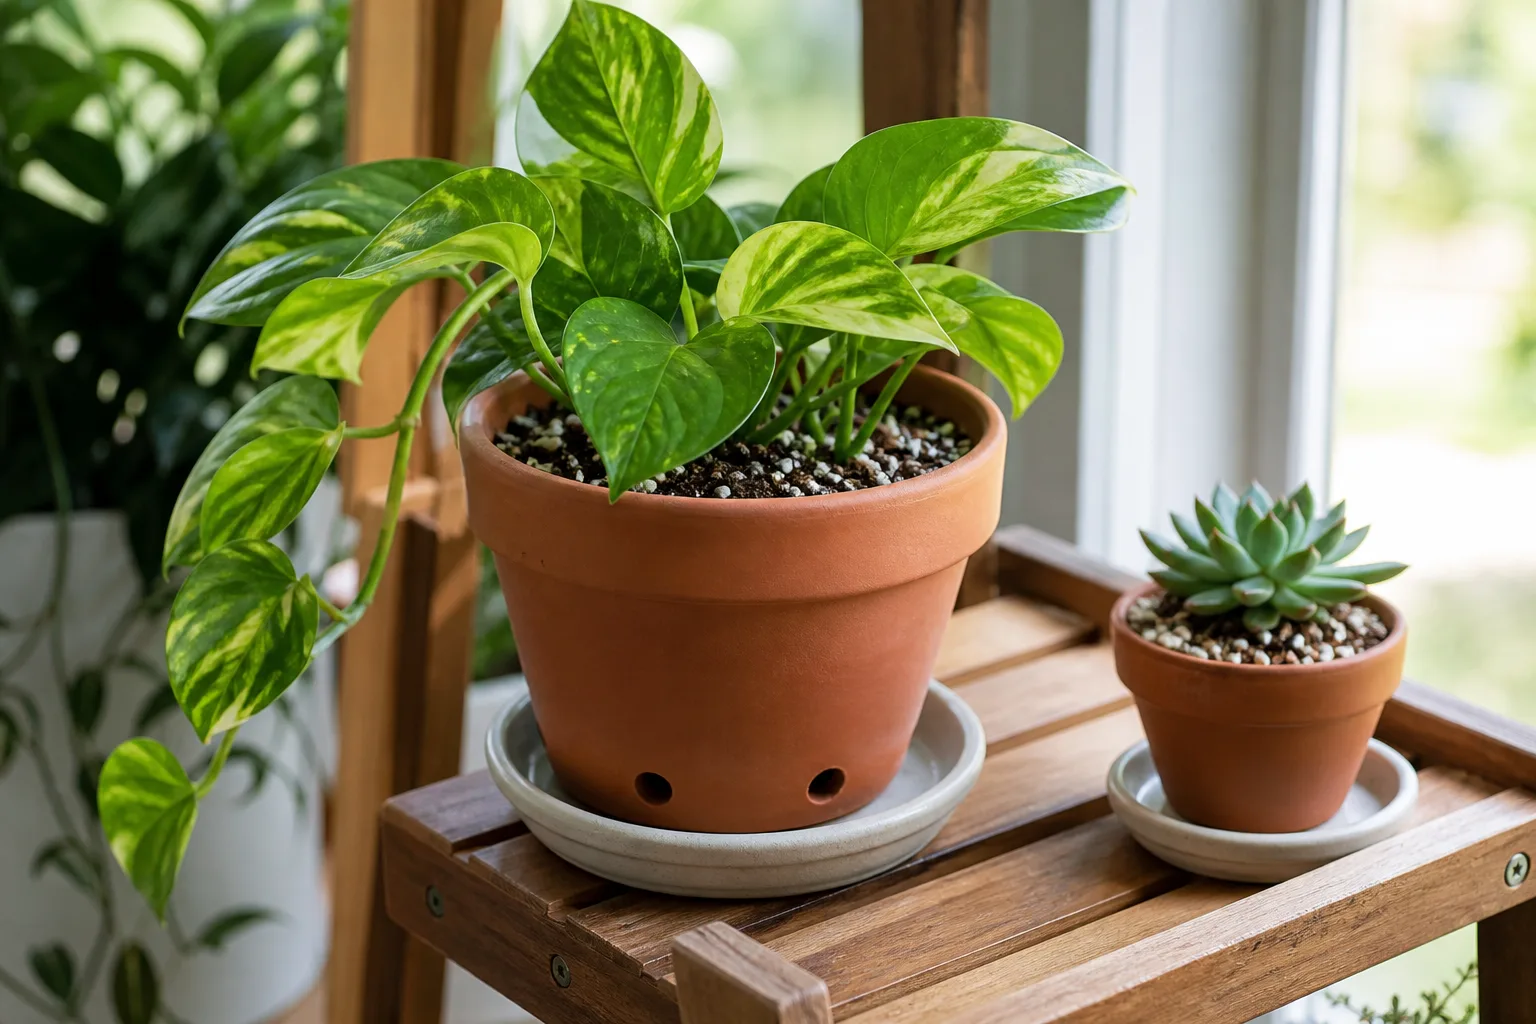
Use a plant-specific dry-down test
Push a finger, wooden skewer, or moisture probe into the root zone rather than judging the pale surface alone. For many tropical foliage plants, let the top inch or two dry before watering; ferns may need a more even moisture cycle, while cacti, jade, haworthia, and other succulents usually need most of the mix to dry first. The Gardening Know How winter-care guide also recommends room-temperature water and warns that excess winter moisture can contribute to root rot.
When a plant is ready, water thoroughly enough to moisten the full root ball, allow excess to drain, and empty the saucer. If the mix is still damp but the leaves droop, do not add water automatically; check for root damage, cold stress, low light, or a blocked drainage hole. If the pot dries extremely slowly, increase light and airflow before you simply stretch the calendar interval, because a chronically wet root zone can remain unhealthy even when you water less often.
Pay attention to the pot as well as the soil. A decorative cachepot can hide a half-inch of standing runoff, and a saucer placed on a cold windowsill can keep the lowest part of the root ball chilled and wet. Lift the inner pot after watering, pour away collected water, and leave enough space around the drainage hole that it can actually drain rather than sealing against a flat surface.
Water quality can matter more in winter because plants receive fewer flushes of fresh water and the mix may dry slowly. If a sensitive plant develops recurring brown tips despite sensible moisture and humidity, compare room-temperature filtered or rainwater with your normal water for several weeks, while remembering that brown tips can also come from roots, salt buildup, cold air, or low humidity. Do not change water, light, fertilizer, and soil all at once or you will lose the evidence that tells you which adjustment helped.
Succulents deserve a separate decision. A sunny succulent near a window or grow light may still use water, while one moved to a cool, dim room may need very little; firm leaves and dry mix are more useful than the month. Conversely, do not let a fern or thirsty tropical plant go bone-dry just because a general winter checklist said to water less.
7. Rebuild Winter Light Before Leaves Stretch
Light is the quiet variable that makes every other winter adjustment harder. When a plant receives too little light, it uses water more slowly, stretches toward the window, produces smaller leaves, and may not use fertilizer efficiently; adding more water to compensate only keeps the roots wetter.
Choose between a brighter window and supplemental light
Start with the brightest safe location that matches the plant. Sun-loving succulents, citrus, herbs, and many flowering plants generally need much more direct light than a fern or a pothos, but a south- or west-facing window can become cold at night or hot and intense on a sunny winter afternoon. Keep foliage from touching cold glass, rotate plants so one side does not do all the work, and watch the leaves for scorch after a move.
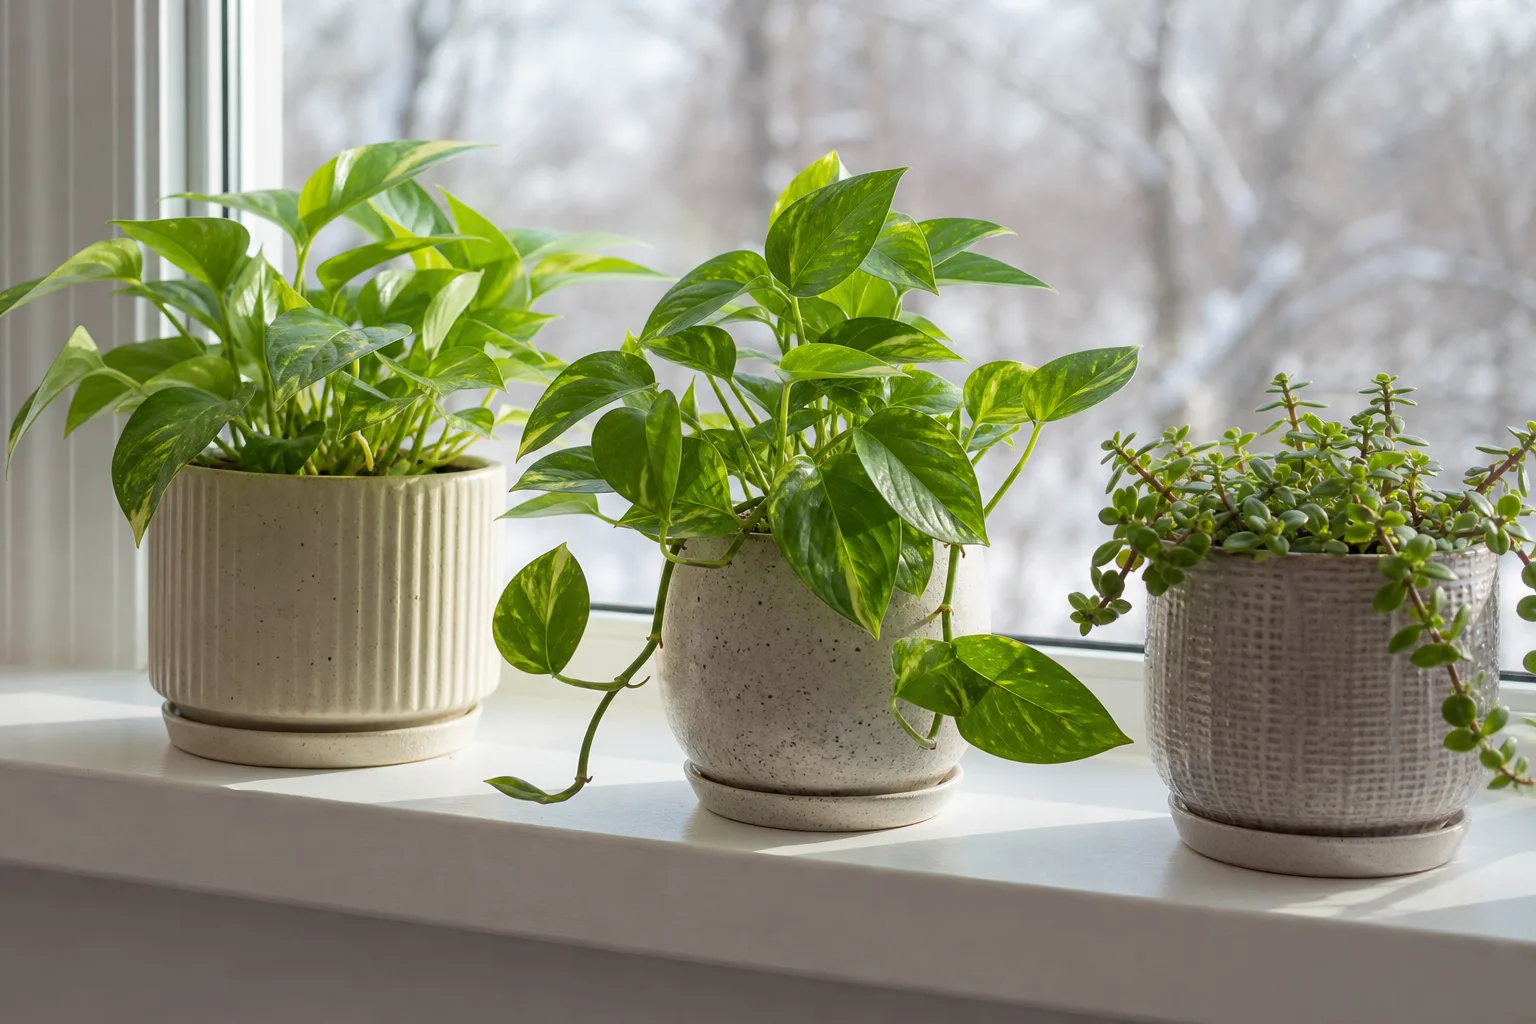
If new growth becomes long and widely spaced, leaves angle sharply toward the window, or a plant that flowered in summer stops growing entirely, test a brighter position before changing soil or fertilizer. If the room still cannot provide enough light, add a grow light on a timer and keep the fixture close enough to deliver useful light without heating or bleaching the foliage. Follow the fixture’s directions; a decorative bulb several feet away may look bright to you while providing little usable light to the plant.
Use a sheet of white paper or your hand to look for a hard shadow at midday as a rough comparison between rooms, then let the plant confirm the choice over time. A sudden move to intense sun can bleach or scorch leaves that were developed in shade, so a sheer curtain or a position just back from the glass may be the right intermediate step. Light is a gradient, not a label: “bright room” does not tell you how much light reaches the actual leaves.
Many plants benefit from a consistent light-and-dark cycle rather than a light left on all night. Build the setup around the plant’s needs and the room’s natural daylight, then adjust after observing new growth for several weeks. A light meter can help compare locations, but the plant’s growth pattern and soil-drying speed are still valuable feedback.
8. Stabilize Temperature, Humidity, and Feeding
Houseplants usually struggle with rapid swings more than with a room that is simply a few degrees different from summer. The Cornell Cooperative Extension lists 65–75°F days and 60–65°F nights as a useful general winter range, but species vary, and a stable room within a plant’s normal tolerance is more useful than chasing one perfect number.
Keep plants away from drafts and heat blasts
Do not park a plant directly over a radiator, beside a furnace vent, against a frequently opened exterior door, or in the stream of a portable heater. A plant can be warm on one side and cold on the other, and hot moving air can dry foliage while the potting mix remains wet. Leave a little clearance around foliage, watch the temperature at night, and use a curtain or insulating window treatment to soften a cold window without blocking all daylight.
Raise humidity without keeping soil wet
Dry heated air can make tropical foliage, calatheas, ferns, and peace lilies develop crisp margins even when the root ball is moist. Move humidity-loving plants together, use a room humidifier that you clean regularly, or place the collection in a naturally more humid bathroom when light and ventilation are adequate.
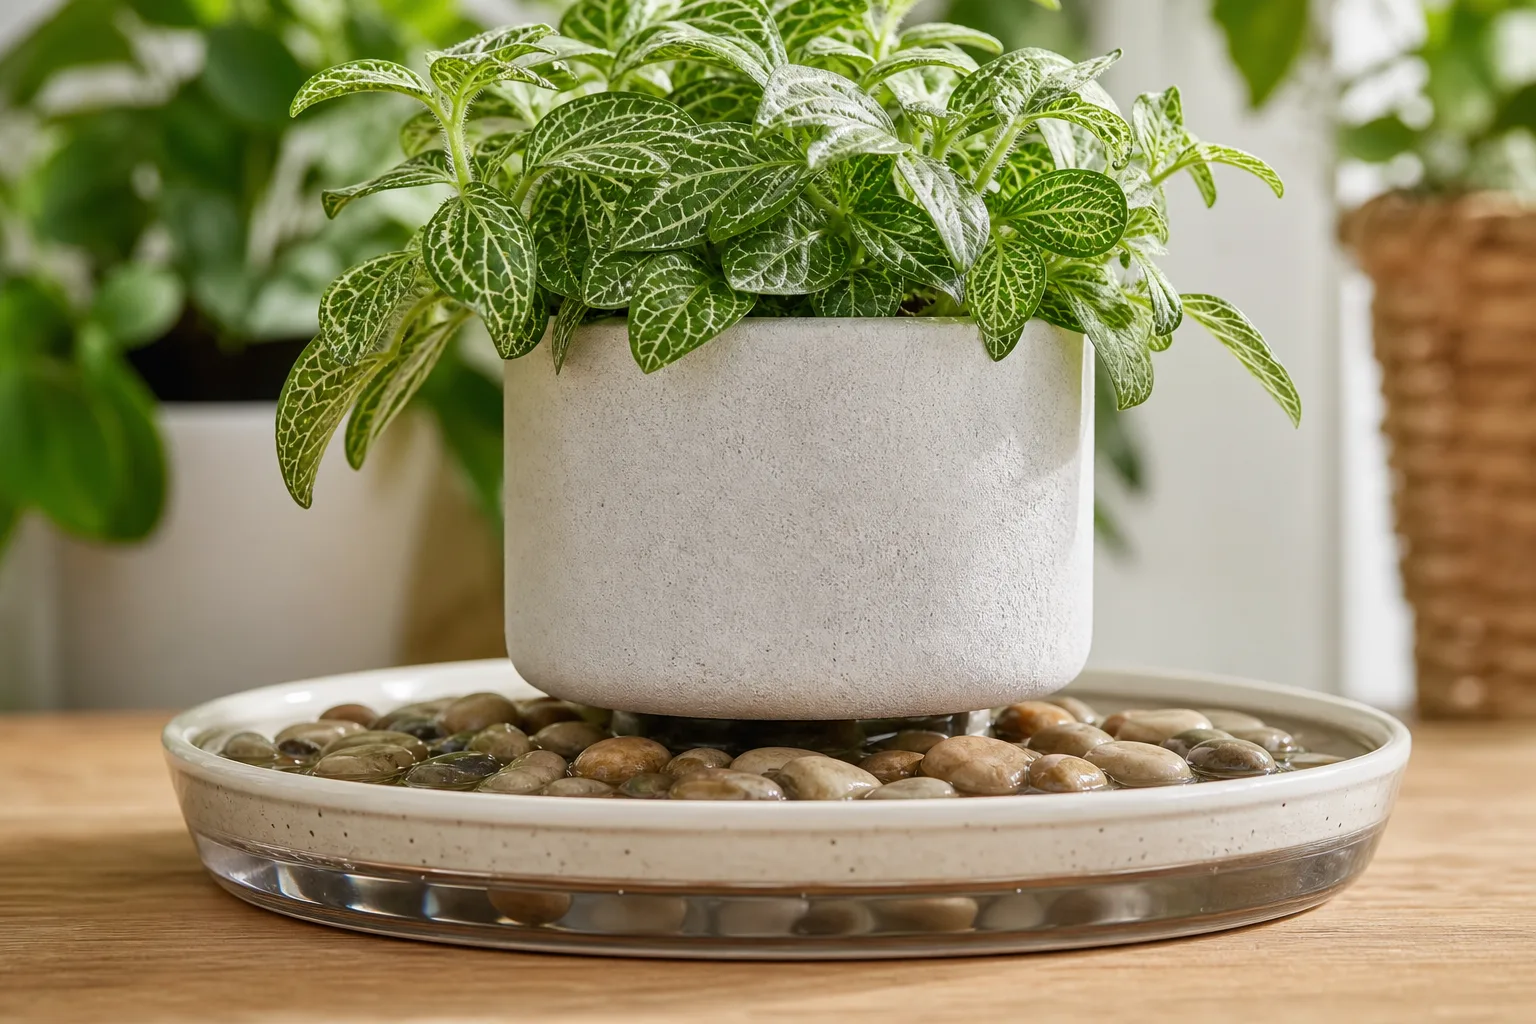
A pebble tray can be a useful small-scale buffer when it is built correctly: use a shallow watertight tray, fill it with pebbles, add water below the tops of the stones, and set the pot on the stones so its base is above the water. That setup is different from putting the pot in standing water. Misting may briefly wet leaf surfaces, but it does not reliably change room humidity or replace a sound watering routine; Gardening Know How likewise points readers toward humidifiers, bathrooms, and correctly used humidity trays.
Humidity is not a substitute for airflow. If leaves stay wet for long periods, plants are crowded tightly together, or the room feels stagnant, move plants farther apart and improve gentle circulation. The goal is a stable environment, not a sealed cloud around the leaves.
Routine fertilizer is usually unnecessary for a plant that has slowed or stopped growing. The CCE guidance notes that feeding is generally not needed while most plants are resting; pause regular fertilizer for those plants, and resume when you see sustained new growth. A plant under a grow light in a warm room may remain active, so judge by growth and the plant’s normal care instructions rather than by a blanket “never feed in fall” rule.
Make Fall Care a Four-Week Check-In
The first day indoors is only the beginning. Use a short check-in once a week for the first month, then reduce the frequency when the collection is stable.
Week one: Confirm that each plant has the right temperature and light, empty every saucer, and look again for pests. Note which pots are still wet and which dry quickly; this is your baseline for the new room.
Week two: Rotate plants, inspect new growth and leaf undersides, and adjust spacing around vents and windows. If a plant drops a few older leaves after the move, remove only leaves that are fully yellow or dead and check the roots and soil before changing three care variables at once.
Week three: Reassess the light. Stretching, leaning, pale new leaves, and unusually slow drying can all point to a location that is too dim, although each symptom has other possible causes. Make one change, observe it, and keep the watering decision separate from the lighting decision.
Week four: Decide which plants are resting and which are still growing. Keep the former on a lighter-touch routine, while the latter may need their normal moisture, light, and feeding pattern adjusted only for the conditions in your home.
This check-in prevents the most common fall mistake: reacting to one yellow leaf with a new pot, fertilizer, a humidity tray, and more water on the same day. Change one environmental variable at a time whenever possible, and give the plant enough time to show whether the change helped.
Conclusion
The healthiest winter houseplants are not the ones that receive the most attention. They are the ones placed in a suitable room, inspected before they join the collection, watered when their root zone is ready, and left undisturbed when they are resting.
Use cool night temperatures as your cue to move tender plants, acclimate them gradually, quarantine before mixing, and repot only when drainage or roots demand it. Then let light, temperature, humidity, and actual growth—not a rigid calendar—set the routine. If you complete that reset now and keep checking for changes, your plants can spend the darker months conserving energy instead of recovering from preventable stress.



