How to Get Rid of Maggots in a Trash Can Fast
Get rid of maggots in a trash can by removing the food source, washing the bin, drying it fully, and sealing wet waste before flies can lay eggs.
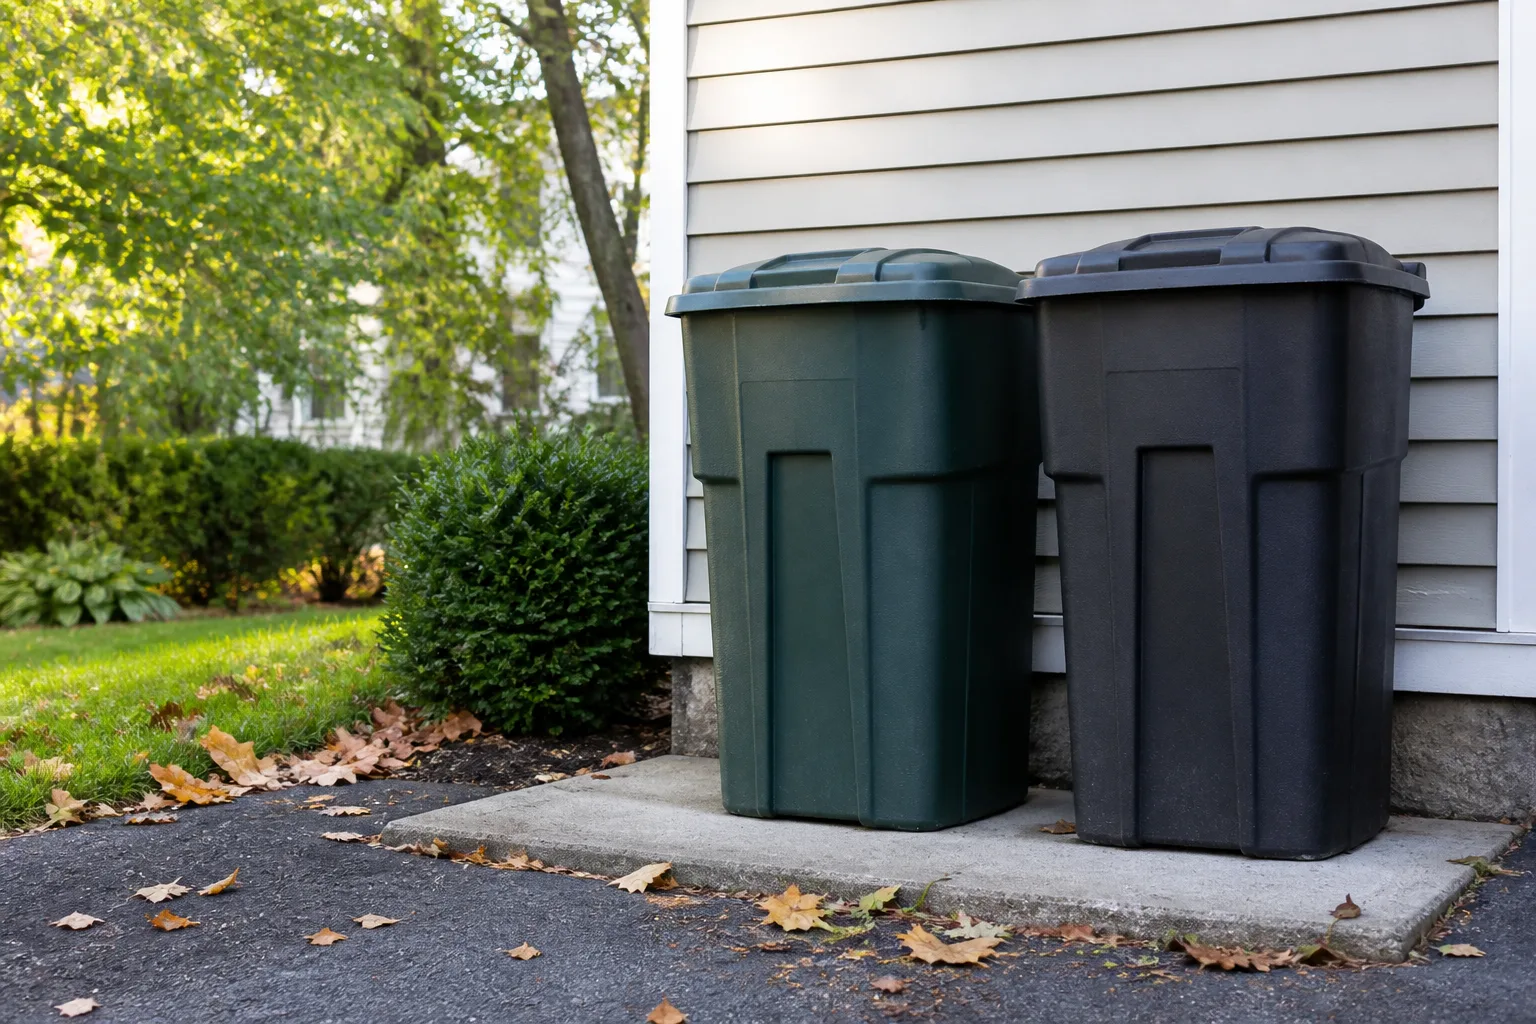
Seeing pale larvae writhing in a trash can is a fast way to lose your appetite. The fix is a sequence, not a mystery spray: contain the bin, remove the waste that is feeding the larvae, wash away the residue, dry the can, and then change the way wet garbage is stored.
If you have only a few minutes, close the lid, keep children and pets away, and move the problem outdoors if you can do so without spilling the bag. Do not start by pouring undiluted bleach into the can or creating fumes in a closed kitchen. The safest fast solution is the one that removes the breeding material and leaves no wet, food-smeared surface behind.
The Fastest Safe Route: Remove, Wash, Dry, Prevent
The practical order is remove → collect → wash → disinfect if needed → dry → prevent. Each part solves a different piece of the problem. Killing visible larvae while leaving a leaking bag, food film, or pupae under the rim simply gives the next batch a place to develop.
The time required depends on the mess, but the logic does not change. The University of California Statewide Integrated Pest Management Program identifies removal of larval development sites as the most efficient fly control and recommends sealed garbage, tight-fitting lids, and regular washing of cans. (UC IPM’s fly management guidance)
Why Maggots Show Up in a Trash Can
Maggots are fly larvae. In household garbage, the likely culprits are nuisance flies such as house flies or blow flies, but you generally cannot identify the species from a quick glance. Adult flies find a moist, organic food source, lay eggs, and the larvae feed where those eggs were placed.
Garbage is attractive because it combines food, moisture, odor, and shelter. Raw meat packaging, pet waste, diapers, spoiled produce, wet paper, and liquid that has collected at the bottom of a liner can all create the conditions flies need. Utah State University Extension lists decaying organic matter—especially garbage and dumpsters—as a house-fly egg-laying site and recommends sanitation, clean garbage areas, and closed lids. (Utah State University Extension’s house-fly profile)
Trash-can larvae versus compost larvae
Not every pale larva found near organic matter means the same thing. A sealed household trash bag with rotting food is a breeding site you should remove. A properly managed compost bin is a different ecosystem, and some compost larvae—especially plump black soldier fly larvae—can be part of the decomposition process rather than a sign that the compost is ruined.
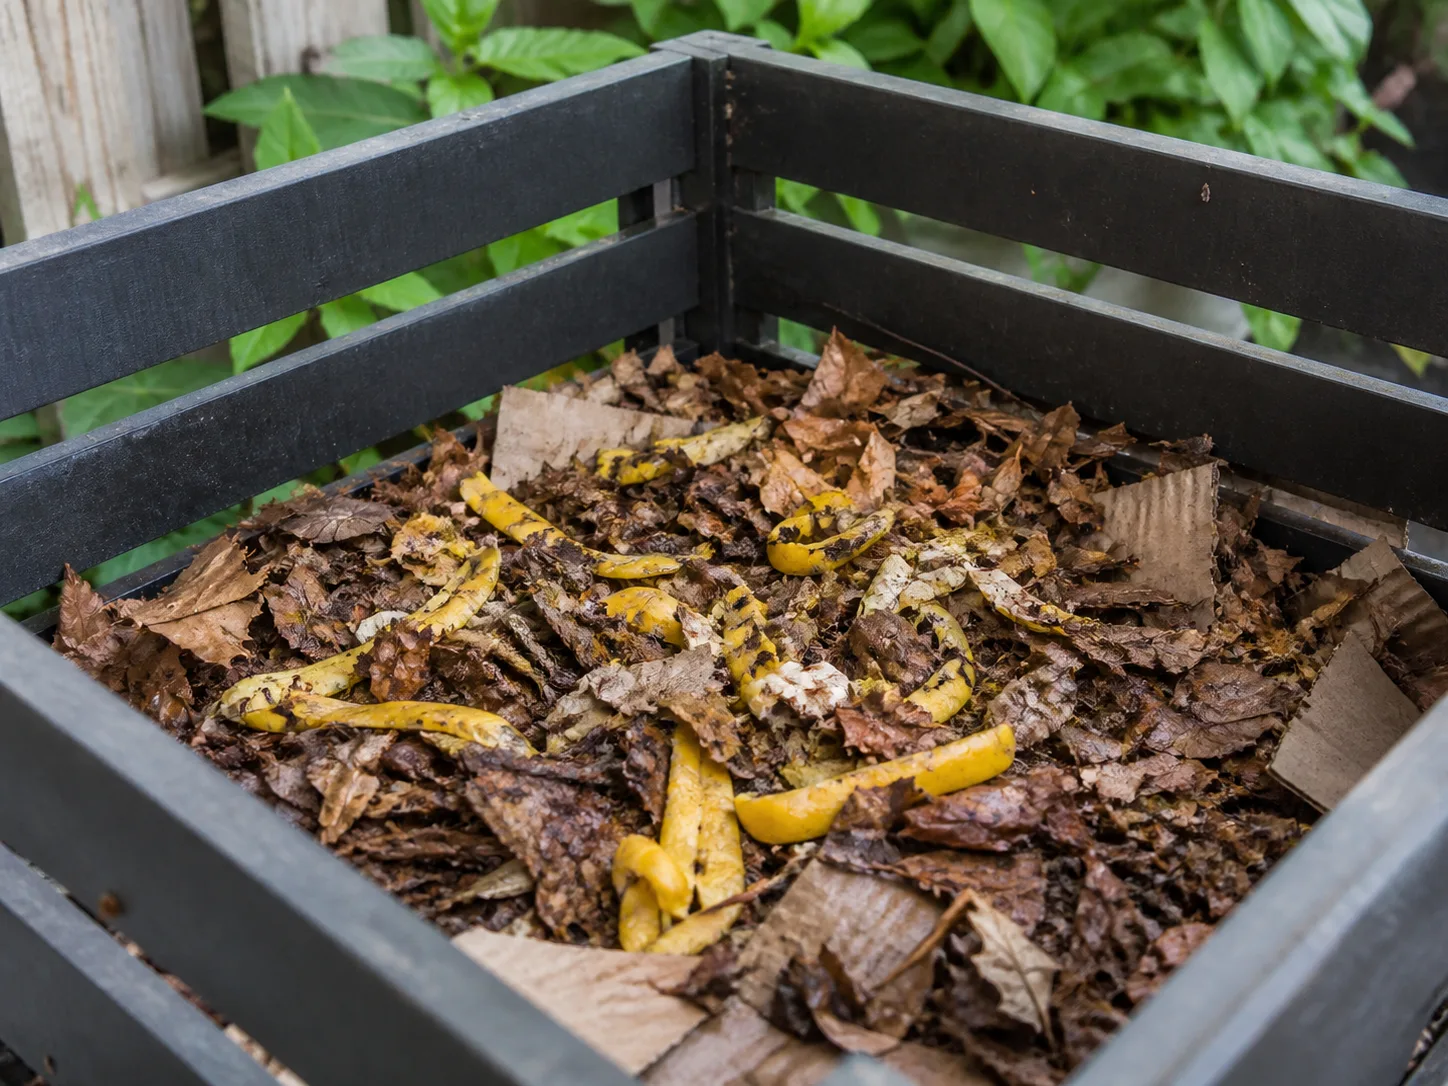
Epic Gardening’s horticulture-reviewed explanation notes that black soldier fly larvae are common in warm, moist compost and can process food scraps quickly. Gardening Know How similarly recommends burying wet “green” material under drier “brown” material and turning a fly-heavy compost pile to improve heat and decomposition. (Epic Gardening’s compost-larvae guide) (Gardening Know How’s compost-fly guidance)
That exception does not apply to a kitchen trash can. Do not add bleach, disinfectant, or household trash to compost to solve a larva problem. Identify the container first, then use the cleanup method that belongs to it.
Why they seem to appear overnight
Warm weather makes the problem feel sudden because fly development speeds up and food scraps spoil faster. UC IPM notes that blow flies can develop from egg to adult in as little as seven days under ideal temperatures, and their larvae may leave the food source to find a drier, protected place to pupate.
That explains why you may find larvae on the lid, outside wall, wheels, or floor even after you close the bag. They are not necessarily “escaping” because the treatment failed; some may already be moving away from the original food source. Clean the bin and its immediate surroundings, not only the visible pile.
Contain the Infestation Before Cleanup
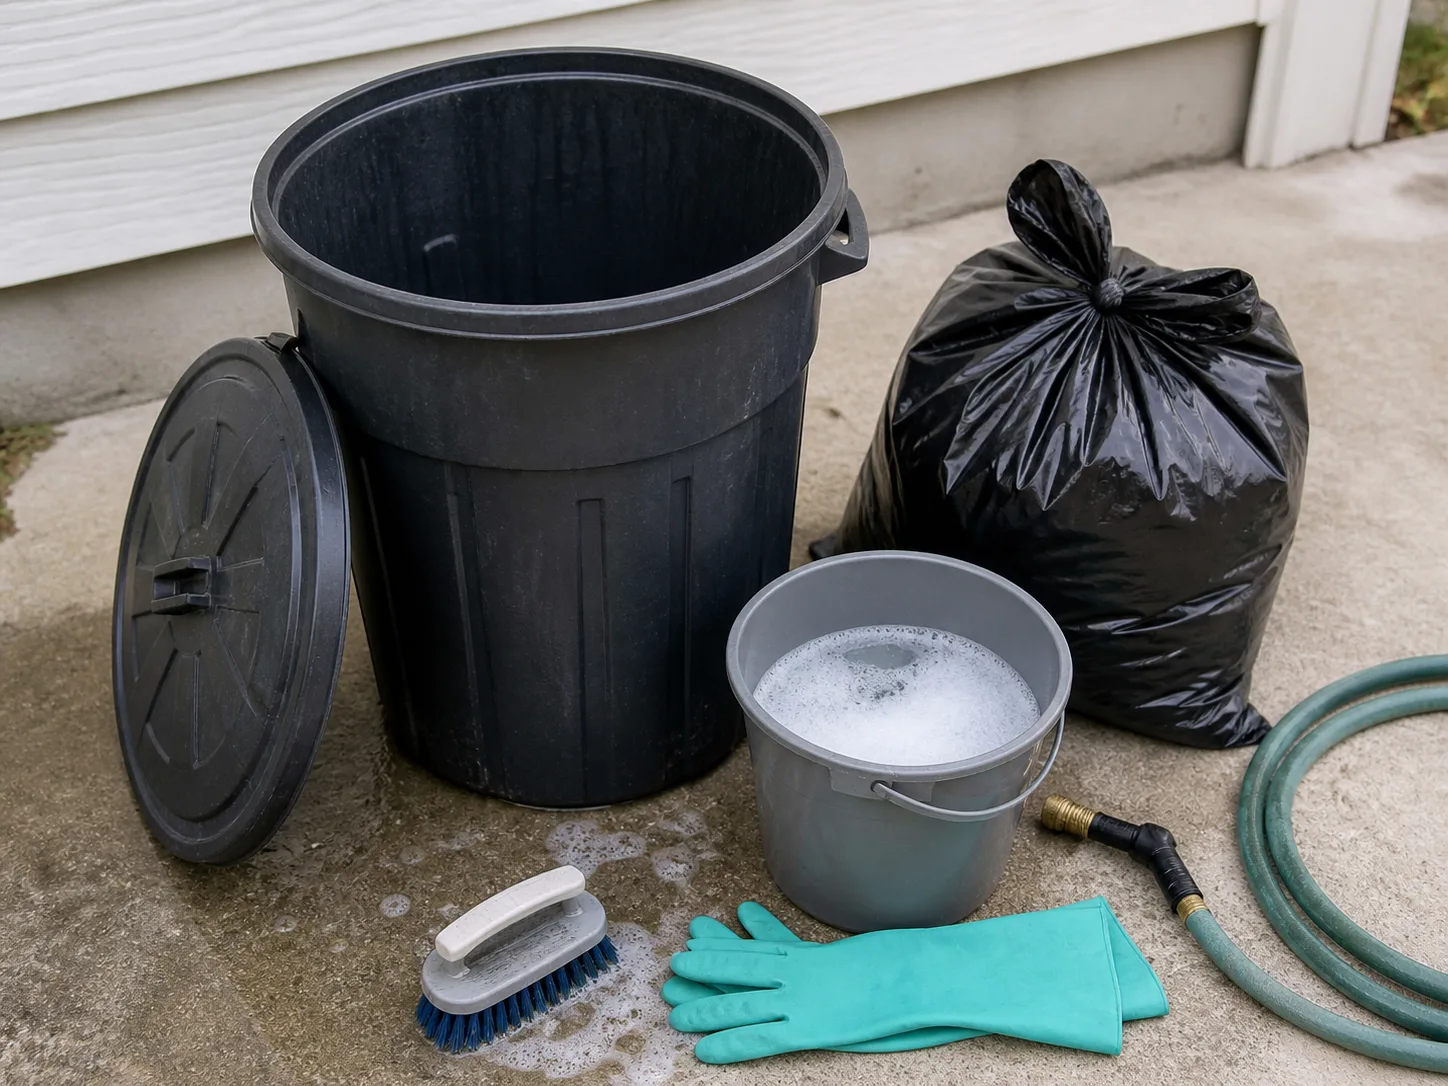
Put on disposable or washable gloves and, if splashing is possible, eye protection. Keep the work area ventilated, block access for pets and children, and move food, pet bowls, and clean tools away from the bin.
If the trash bag is intact, tie it securely before moving it. If it is leaking or too full to tie, place the entire bag inside a second heavy-duty bag or a rigid lidded container before carrying it outside. Lift from the bottom rather than dragging it, because dragging can leave a trail of liquid and larvae.
If the bin is indoors and you cannot move it safely, close the lid and place a second bag or lidded container around the leaking waste. Do not spray insecticide, bleach, or a homemade chemical mixture into an enclosed kitchen while you are still trying to handle the source. Containment buys you time and keeps the cleanup focused.
The Cleanup Sequence That Actually Ends It
1. Remove the breeding material
Take the tied or double-bagged waste to the outdoor collection point or the next available pickup. If collection is several days away, keep the bag sealed in a lidded outdoor cart or another approved refuse container; do not leave it open on a porch or beside the house.
Inspect the bottom of the empty bin before washing it. Look for pooled “garbage juice,” wet cardboard stuck to the base, food under the liner, and residue around the lid hinge. Those leftovers are more important than the last few visible larvae because they are what make the bin attractive to the next adult fly.
2. Collect stragglers without spreading them
Use a disposable scraper, dustpan, stiff card, or paper towel to lift larvae from the rim, lid, handles, wheels, and ground. Drop everything into a small tied bag and place it with the contaminated refuse. If you crush larvae on a hard surface, follow with detergent and water; do not assume that a chemical smell equals a clean surface.
For a floor, patio, or driveway, work from the cleanest edge toward the dirtiest area so you do not track residue through the house. Avoid using a household vacuum unless you can empty and clean it outside immediately. A dustpan and disposable material are easier to contain.
3. Wash away the residue
Rinse the empty bin outdoors, then scrub the interior, underside of the lid, rim, handles, wheels, and seams with warm water and dish detergent. Pay special attention to grooves and the lower wall where a thin film can remain after a quick hose-down. Cleaning is the step that removes dirt, food, and organic residue; it is not the same as disinfecting.
Rinse until the water runs clear and the bin no longer feels slippery. Manage the dirty water on a surface where it can be collected or drained responsibly rather than sending concentrated food residue toward an edible garden or storm drain. If the bin is metal, check the manufacturer’s instructions before using strong chemicals because corrosion and finish damage are possible.
4. Disinfect only after cleaning
Most households do not need to fog or fumigate a trash can. If the bin held raw meat, pet waste, bodily fluids, or a large amount of decaying material, surface disinfection can be a reasonable final step after washing. Use an EPA-registered disinfectant according to its label, or use regular unscented household bleach only if the product and bin surface allow it.
The Centers for Disease Control and Prevention says to clean visibly dirty surfaces before disinfecting, ventilate the area, use appropriate protective equipment, and never mix bleach with another cleaner or disinfectant. If the bleach label does not provide directions, the CDC lists 5 tablespoons, or one-third cup, per gallon of room-temperature water; keep the surface visibly wet for at least one minute when no other contact-time instruction is available, then follow the label for rinsing. (CDC guidance on cleaning and disinfecting with bleach)
Do not pour pure bleach into the bin, soak a towel in bleach to create fumes, or combine bleach with vinegar, ammonia, toilet cleaner, or any other product. Dangerous vapors can form, and the fumes are not a safe substitute for removing the waste. Never use bleach around children or pets, and leave the area if you develop coughing, burning eyes, chest tightness, or breathing trouble.
5. Dry the bin completely
Turn the bin upside down or leave it open in a well-ventilated outdoor place until the interior, lid hinge, rim, and bottom seam are dry. A sunny spot can help evaporate water, but sunlight is not a guaranteed disinfectant and should not replace cleaning or the label-directed contact time of a disinfectant.
Do not put a new liner into a damp bin. A wet base traps the drips that caused the original problem and gives flies a more favorable surface when the next food scrap arrives. Once the can is dry, install a sound liner and keep the lid closed between deposits.
If Maggots Escaped the Trash Can
Start with the nearest one-meter area: the floor under the bin, the wall behind it, the lid, wheels, and any ledge or drain where liquid could have collected. Scoop visible larvae into a sealed bag, then wash the hard surface with detergent and water. If the surface is food-contact adjacent, follow with an appropriate disinfectant and rinse according to its label.
Next, search for the source rather than spraying the room. Check a leaking pet-food bag, an open bowl of wet food, a recycling container with residue, a compost caddy, a forgotten produce drawer, a diaper pail, a floor drain, or a dead animal in a wall or attic. If adult flies remain after the trash is gone, the bin may not be the only breeding site.
Do not spread larvae into plant pots or compost unless you have identified the material and intend to manage it as compost. Household trash residue does not belong in soil, and moving it outdoors without sealing it can simply relocate the problem.
Bleach, Boiling Water, Salt, and Vinegar: What Helps and What Does Not
Bleach: Treat bleach as an optional hard-surface disinfectant after cleaning, not as a fumigant. It may damage metal, discolor surfaces, and release dangerous vapors when mixed with other products. The CDC’s sequence—clean first, ventilate, use the label, and never mix—matters more than using a stronger concentration.
Boiling water: Very hot water can kill larvae it contacts, but carrying a kettle around a slippery, contaminated bin creates a burn risk, and sudden heat can deform thin plastic. If you use hot water, do it outdoors, keep your face and feet out of the splash zone, and use it only as a knockdown step after the bag is secured. Warm soapy water plus scrubbing is the more controlled everyday choice.
Salt: Salt can dry small exposed larvae, but sprinkling salt into an active bag does not remove wet food, eggs, residue, or pupae hidden in seams. It is not a substitute for taking out the waste and washing the can, and large amounts can create a disposal or runoff problem.
Vinegar: Vinegar may help with odor or a small hard-surface cleanup, but it is not a reliable way to solve a full trash-can infestation. Most importantly, never use vinegar before or after bleach unless the surface has been thoroughly rinsed and the products’ labels permit the sequence; mixing an acid with bleach can release chlorine gas.
Fly traps and insecticide: A trap can reduce adult flies in the right location, but a trap beside active garbage is competing with a much stronger attractant. UC IPM says traps work best when they are not placed next to garbage or animal waste and notes that pesticides are rarely needed in typical home situations when sanitation and exclusion are possible. If you use a pesticide, choose only a product labeled for the exact site and pest, follow the label, and never spray food, pet bowls, children’s areas, or an unlisted trash interior.
How to Prevent Maggots in Your Garbage Can
Prevention is mostly moisture and access control. Flies need a reachable food source, and the bottom of a can becomes far less attractive when wet waste is sealed, the lid fits, and the container is washed before residue ages.
The hot-weather routine
During hot weather, tie bags before they overflow and take high-moisture waste out more frequently. Wrap meat, fish, bones, diapers, and pet waste in a small bag before placing them in the main liner. If local rules and your storage space allow it, freeze especially wet food scraps until collection day rather than leaving them warm in a kitchen bin.
After collection, inspect the empty can before replacing the liner. If you see a leak, smell sour garbage, or find residue on the bottom, wash and dry the bin immediately. UC IPM recommends setting garbage out at least weekly because waste that sits longer can produce adult blow flies, and it recommends regular soap-and-water washing to remove residues.
Better bagging, lids, and bin placement
Choose a liner that fits the can instead of stretching a small bag until it splits. Tie the bag closed before the top becomes a wet, exposed shelf for flies. Keep the lid fully closed and replace a warped or cracked lid; a gap that seems too small to matter can still allow adult flies to enter.
Store the outdoor bin as far from the main entry as is practical, on a surface that can be cleaned, and away from open pet food or a compost pile. Keep doors and window screens in good repair so adult flies do not move between the outdoor breeding site and the kitchen. Rinse food containers before recycling when local rules require it, then let them drain rather than adding rinse water to the trash.
If you compost, use a secure lid, cover wet scraps with brown material, and turn the pile according to the type of compost system you use. Do not treat a living compost bin like a household trash can: the goal there is balanced decomposition, not chemical sterilization.
When to Look for a Different Breeding Source
A clean, dry trash can should not keep producing maggots by itself. If larvae return within a day or two, the liner may be leaking, the lid may be admitting flies, or another source is nearby. Recurrence is a diagnostic clue, not proof that you need a stronger chemical.
Look beyond the can if you notice a foul smell with no obvious trash, adult flies gathering at one window, larvae in a ceiling or wall edge, or maggots near a drain, pet area, crawl space, or garage corner. A dead rodent or bird, neglected pet waste, a leaking compost caddy, and a forgotten food spill can all create a new breeding site.
When to Call a Pest Professional
Call a licensed pest professional when the infestation is widespread, keeps returning after the waste source and bin are cleaned, or appears to come from a wall, ceiling, crawl space, attic, drain, or inaccessible void. Professional help is also sensible if you cannot safely handle the waste because of mobility limits, respiratory sensitivity, chemical exposure, or a large amount of contaminated material.
Ask the technician to identify and remove the breeding source, not simply apply a spray to adult flies. UC IPM describes sanitation and source removal as the foundation of fly management; treating adults without removing the larval site usually produces short-term relief and another generation later.
Conclusion
The fastest reliable way to get rid of maggots in a trash can is to remove the food source, seal it, collect the stragglers, scrub the bin with detergent, disinfect only when appropriate, and let every seam dry before replacing the liner. That sequence is safer and more durable than using undiluted bleach fumes or relying on salt, vinegar, or a fly trap to do the whole job.
Keep wet waste sealed, close the lid, wash the can whenever it leaks or smells, and shorten the time garbage sits during hot weather. If maggots return after a genuinely clean, dry bin, stop escalating chemicals and search for the other breeding site.



