4 Ways to Repurpose Dying Plants
Before you pull fading plants, use this triage guide to save seeds, make cuttings, build better compost, dry flowers, and avoid spreading disease.
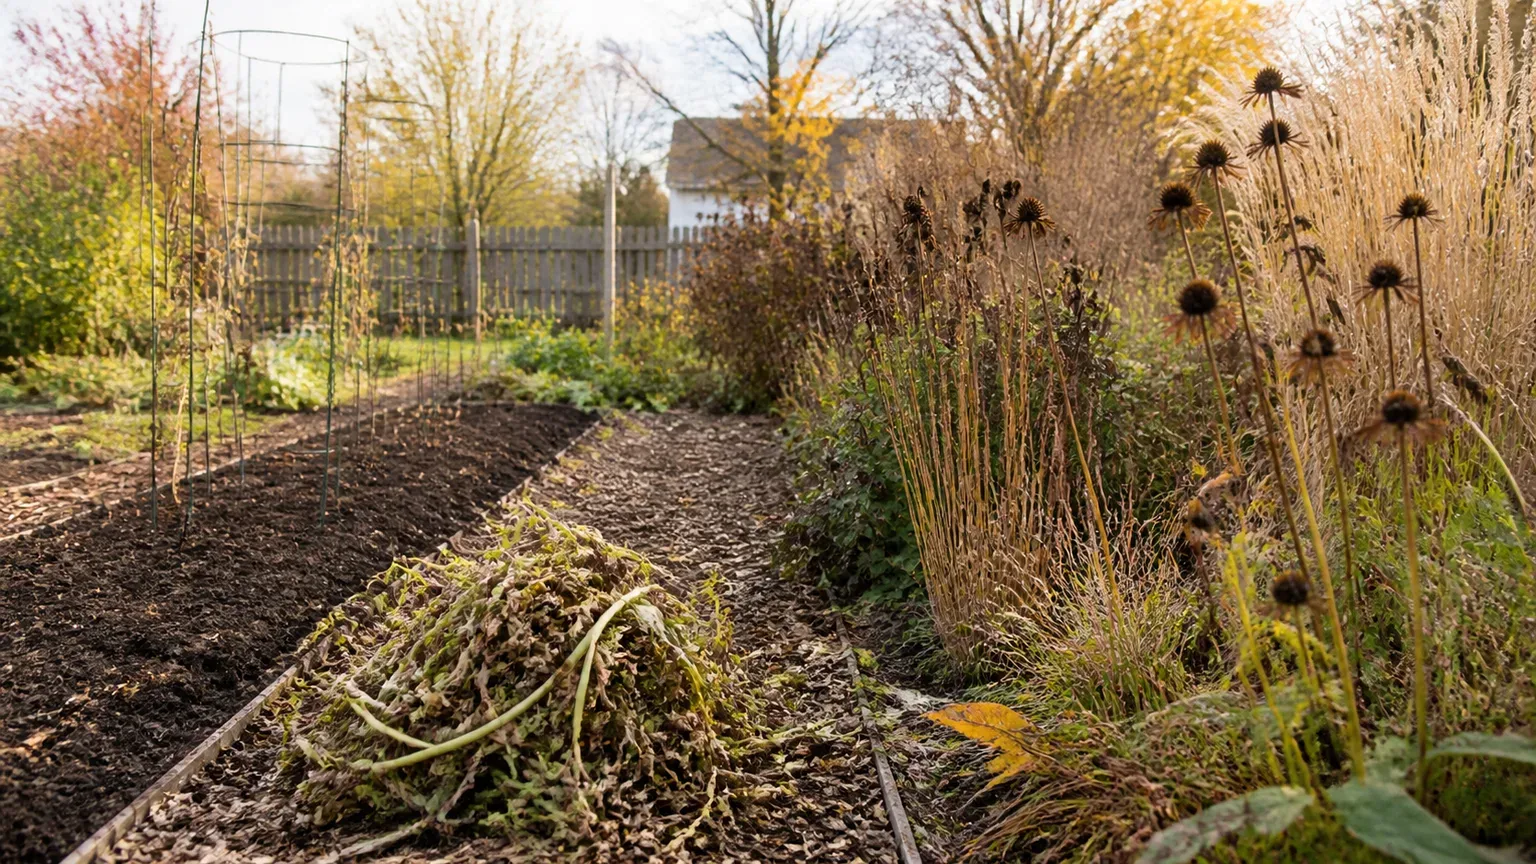
The end of the season does not turn every brown plant into rubbish. A faded zinnia may be carrying mature seed, a long stem may still have a viable node, and a pile of clean annuals can become next year’s soil improver. The useful question is not “Is this plant pretty anymore?” but “What is this piece of plant material still capable of doing?”
I sort spent plants before I pull them. I look for four possible outcomes—seed, a new plant, compost, or a dried display—and I leave a fifth option on the table: letting seed heads stand for birds and beneficial wildlife. That short pause prevents two common mistakes: composting material I wanted to save and spreading a disease I should have removed.
Start With a Three-Way Triage
Start with the whole plant, then inspect the part you want to reuse. Spent means the flower has finished or the plant is naturally senescing; stressed means it is struggling but may still have firm, healthy tissue; diseased or infested means you can see a spreading pattern, soft rot, obvious pests, or a problem that could move to another plant. Those categories lead to different actions.
Use this quick sort:
| What you see | Best first choice | Why |
|---|---|---|
| Dry seed head, firm pods, no disease | Save seed or leave some for birds | The plant is finishing reproduction |
| Firm green stem with a node and healthy leaves | Take a cutting | A small piece may root even when the parent is being cleared |
| Clean leaves, stems, and annuals with no seed problem | Compost or chop as surface mulch | This material can return organic matter to the garden |
| Mold, rot, spreading spots, pests, or invasive weeds | Bag or use approved green-waste disposal | Reuse can spread the original problem |
| Interesting flower heads, pods, grasses, or herbs that are dry but clean | Air-dry for decoration | Shape often survives after color fades |
Do this inspection before watering, cutting, or dragging the plant through the garden. If the soil is still warm but nights are becoming cool, tender plants may be declining from cold rather than dying from disease; you can take healthy cuttings or move a rooted container indoors, while the damaged foliage goes elsewhere.
Leave Some Seed Heads for Wildlife
Saving every seed head is not always the best ecological choice. Birds can use dry coneflower, sunflower, black-eyed Susan, and other seed-filled heads when fresh food becomes less abundant, so I usually mark the best heads for seed and leave a few more standing. The RSPB describes home propagation as one way to make a green space more wildlife-friendly, which is a useful reminder that a tidy garden does not need to be a lifeless one. (RSPB)
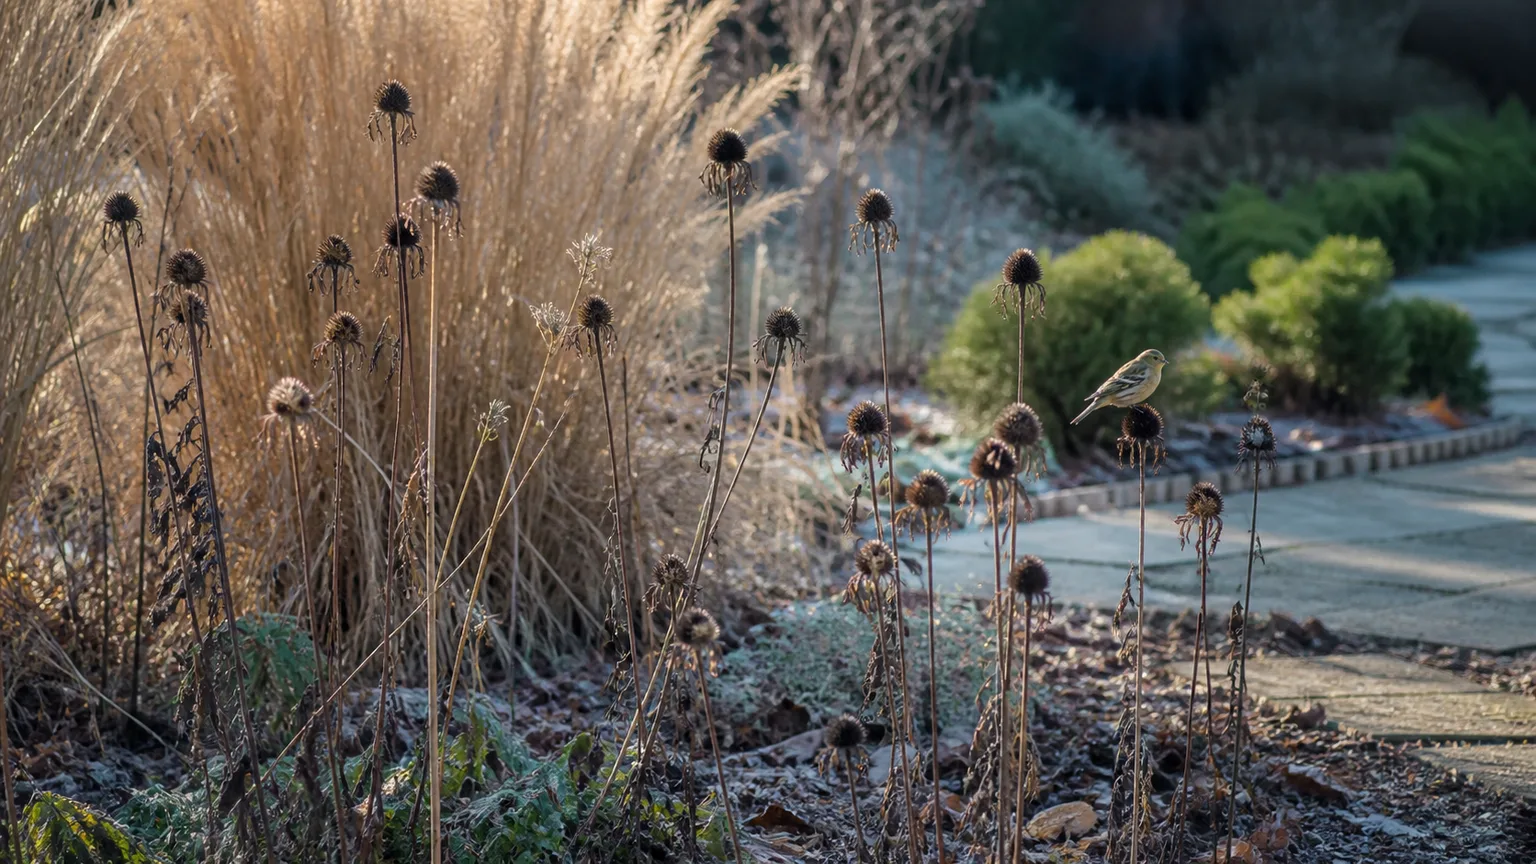
The compromise is simple: collect from the healthiest, most representative plants, then leave a generous share of the rest. If you need to tidy a path, cut only the heads that obstruct it and leave the back of the bed intact until birds have had a chance to feed. Do not bag a clean, dry seed head just because it looks brown; brown is often the sign that the seed is nearly ready.
1. Save Mature Seeds for Next Season
Seed saving is the most literal way to repurpose a fading plant: let it finish its job, then store a small promise of next year’s garden. It works especially well for annual flowers such as calendula, marigolds, nasturtiums, morning glories, globe amaranth, and zinnias, all of which Penn State Extension lists among flowers that can be good candidates for home seed saving. (Penn State Extension)
Choose seed from a plant that performed well, not simply from the first flower that turned brown. A healthy parent with the height, color, disease resistance, or bloom period you liked is more useful than a weak plant that happened to set seed early. If a plant is a named hybrid, the saved seed may germinate but the offspring may not resemble the parent, so label it honestly as a hybrid and treat the result as an experiment.
Know When a Flower Seed Is Ready
The colorful petal is not the target; the seed head or pod is. Wait until the flower head, its base, and often part of the stem have become dry and brown, but harvest before the head crumbles or the wind scatters everything. Penn State Extension suggests checking many flower heads roughly two to three weeks after bloom, while the exact timing still depends on the plant, weather, and whether the seed head opens by itself. (Penn State Extension)
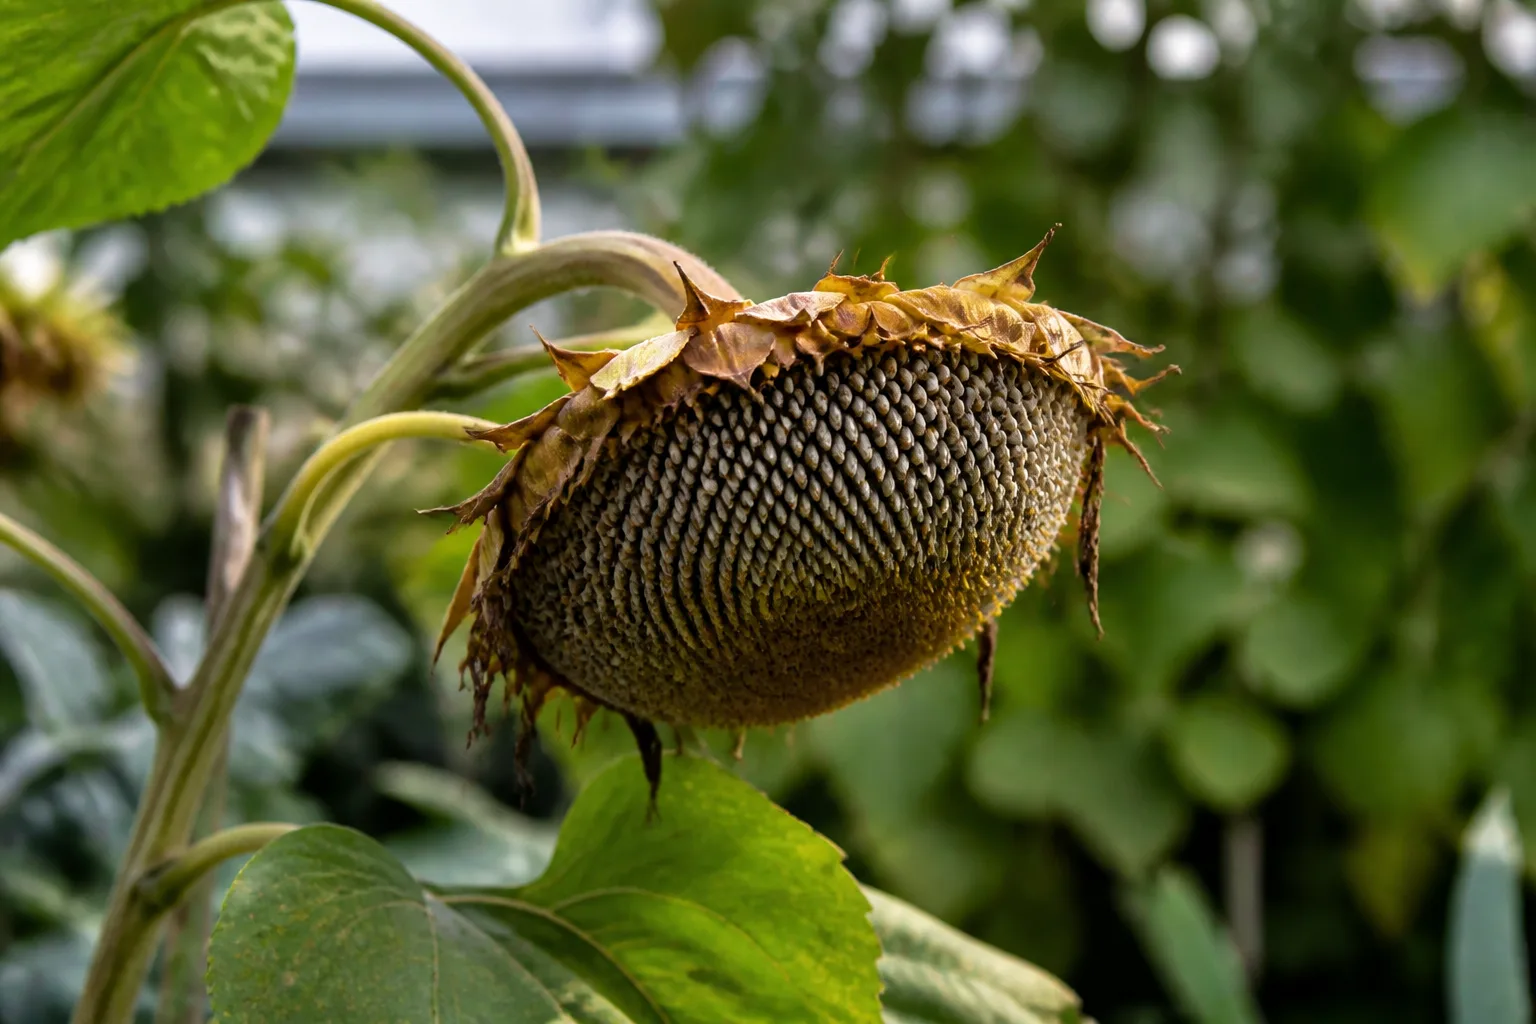
Use a few physical checks rather than a calendar. Mature seeds are usually firm and developed rather than soft, pale, or hollow; a dry pod may become brittle, and a sunflower head may droop while its back turns yellow-brown. For small or wind-dispersed seeds, slip a paper bag over the head and cut the stem into the bag so you do not lose the crop during transport.
If rain is coming, cut a nearly mature head with a length of stem and finish drying it indoors in a warm, dry, airy place. Do not seal a green or damp head in plastic. Moisture trapped around the seed is an invitation to mold, and mold can ruin both the saved seed and the paper label you were counting on.
The parent plant matters as much as the harvest date. Open-pollinated varieties are the safest choice when you want plants with the same general traits, although pollen from another variety of the same species can still change the outcome. Seed Savers Exchange explains that hybrids generally do not produce offspring identical to the parent and that cross-pollination depends on the species and pollination method, not just on how similar two flowers look. (Seed Savers Exchange)
Dry, Label, and Store Seeds
Break apart dry flower heads over a tray, shallow bowl, or sheet of paper. Separate obvious chaff when it is easy, but do not spend an hour trying to make ornamental flower seed laboratory-clean; a little dry plant material is harmless for personal use as long as the seed itself is mature and dry.
Spread the seed in a single layer where air can move around it. Seed Savers Exchange recommends a cool, dark, dry location with good airflow and gives a practical dryness test: seeds should snap or shatter rather than bend, squish, or smear. For a small batch, leave the seed out for several days and check a sample before packaging. (Seed Savers Exchange)
Use a paper envelope for a modest amount of seed, or an airtight container only after you are certain the seed is completely dry. Write the plant name, variety if known, collection date, and a note such as “hybrid” or “open-pollinated” on the packet. A mystery envelope is not a seed collection; it is a delayed identification problem.
Store packets in a cool, dry, dark place away from heaters and humid windows. If you use a refrigerator or freezer, moisture control is the real issue: seal only thoroughly dry seed in a moisture-resistant container and let it return to room temperature before opening it. Germination declines at different rates by crop, so plan to sow saved flower seed the following season and sow a few extra seeds rather than assuming every packet will perform perfectly.
2. Turn Healthy Stems Into New Plants
Cuttings are a better use for healthy green growth than for a plant that is collapsing from rot. Propagation does not cure a diseased parent; it multiplies whatever is present on the piece you cut. If the plant has firm stems and clean leaves but is too large to bring indoors, taking a few cuttings can preserve it without carrying the whole container through winter.
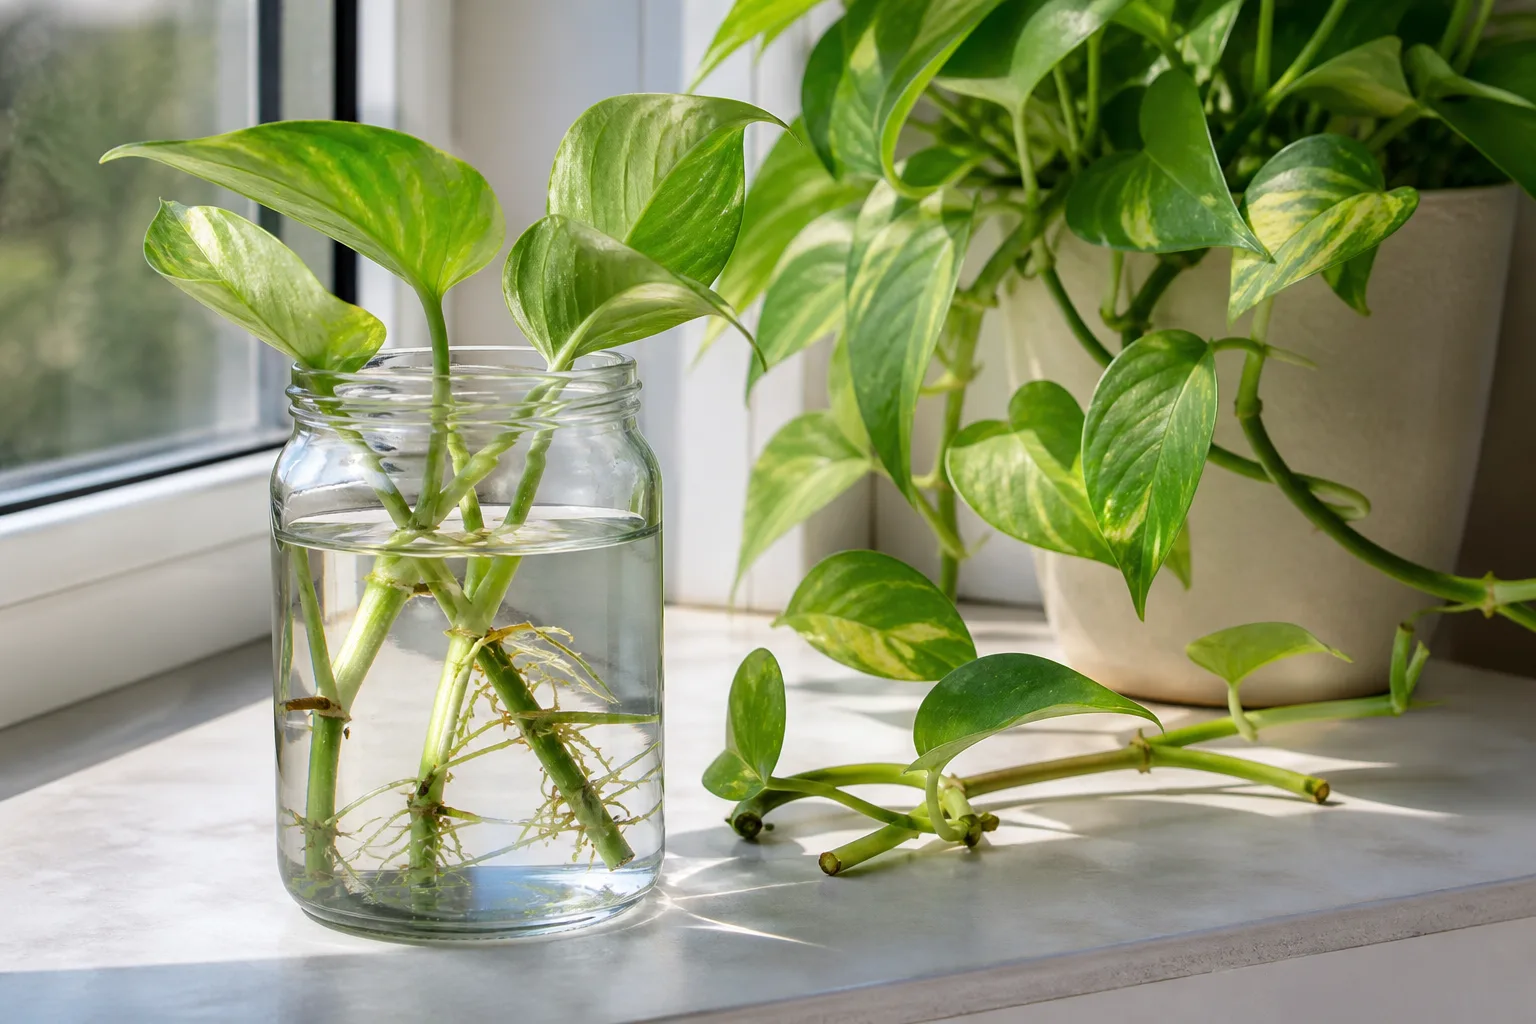
The method is called vegetative propagation because the new plant comes from a stem, leaf, root, or bud rather than a seed. The advantage is that a cutting is a genetic copy of the parent, so a prized flower color or unusual foliage is preserved; the trade-off is that any systemic problem or hidden pest can travel with it.
Choose the Right Cutting
Look for a firm, non-flowering stem with active growth and at least one clear node, the point where a leaf joins the stem. Avoid mushy sections, blackened tissue, leaves covered in pests, and the oldest woody base unless the plant is one that roots from hardwood cuttings. The RSPB advises choosing new stem without buds or flowers and keeping only a small number of leaves at the top. (RSPB)
Clean your snips before you move between plants. Make the lower cut just below a node, remove the lower leaves, and keep one or two leaves—or a small cluster—above the rooting medium. A large leafy cutting loses water faster than it can replace it, while a bare stick with no node has little reason to root.
For a tender annual, take several cuttings rather than relying on one. Cuttings are insurance, not a guarantee, and late-season light, cool nights, or dry indoor air can slow rooting. If the parent is an angel wing begonia, coleus, mint, fuchsia, or another plant known to root readily, you can afford to test a few methods; if it is an unfamiliar species, search its specific propagation habit before taking a large number.
Root Cuttings in Water or Mix
Water propagation makes the node visible, which is useful when you are learning. Put the prepared stem in a clean glass with the node below the water and every leaf above it. Keep the glass in bright light without hot direct sun, refresh cloudy water, and watch for roots rather than a fixed deadline; RHS notes that many houseplant cuttings root in about three to four weeks under suitable conditions, but species and season change the pace. (RHS)
Soil or rooting mix is often the smoother transition for plants that dislike having water-grown roots moved later. Use a small pot with drainage and an airy, free-draining medium; RSPB suggests making compost more free-draining with grit, while RHS describes a peat-free compost and perlite mix for houseplant cuttings. Insert the stem so the node is covered, firm the medium gently, and water it in without leaving the pot sodden. (RSPB)
Humidity helps a cutting while it has no roots, but a sealed, wet tent can turn a stem to mush. Use a loose clear bag supported above the leaves if the room is dry, open it briefly each day, and remove it once the cutting holds itself upright or begins new growth. Keep the medium just moist, not constantly saturated, and place the pot somewhere warm and bright but shielded from midday sun.
Pot up a rooted cutting when it has a usable root system or new growth, not merely one white nub. Handle the roots gently, use a small pot rather than a large wet reservoir, and acclimate the young plant to stronger light over several days. If a cutting blackens at the base, smells sour, or repeatedly wilts despite moist mix, discard it and clean the container before trying again.
3. Build Compost From Safe Plant Debris
Compost is the right destination for a large amount of clean, uninteresting plant material: pulled annuals, chopped stems, leaves, and faded flowers that you have already checked for disease and unwanted seed. A compost pile is not an instant trash can or a magic sterilizer; it is a managed biological process that needs the right mix, air, and moisture.
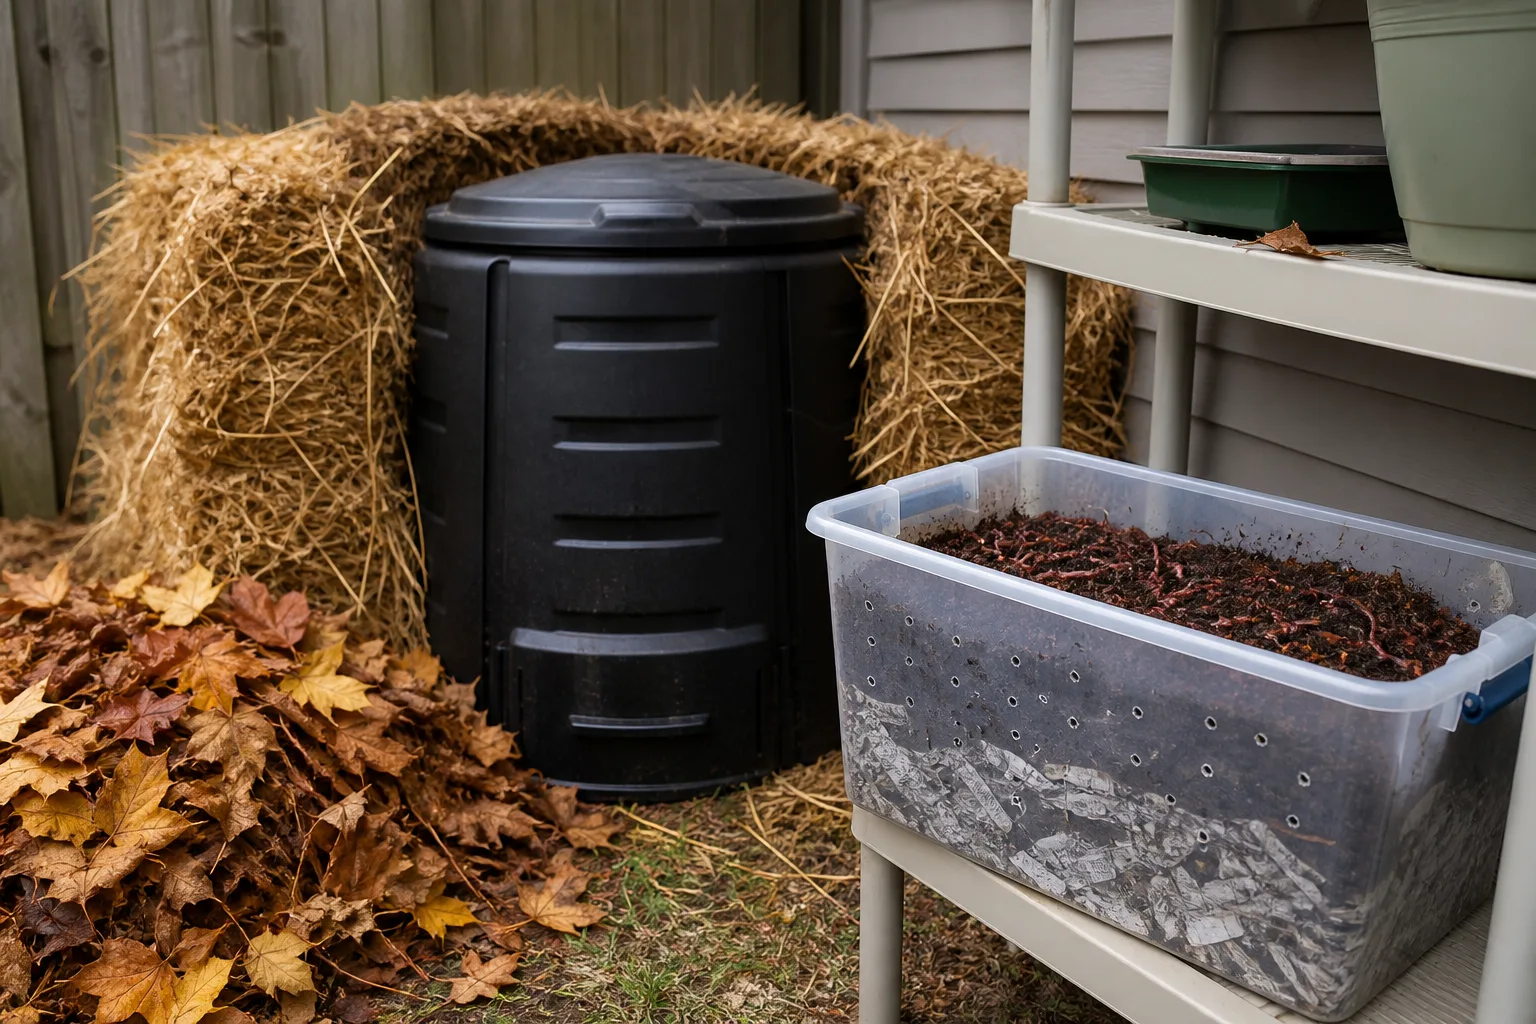
RHS describes finished garden compost as a soil improver that can improve structure, aeration, moisture handling, and biodiversity. That makes it a useful long-term return for plants that are no longer worth saving as plants, but only if you keep problem material out of the cycle. (RHS)
Balance Green and Brown Materials
Fresh, soft, leafy stems are green material: they contribute nitrogen and moisture. Dry stems, dead leaves, straw, shredded paper, and chopped woody prunings are brown material: they contribute carbon and structure. RHS gives a rough guide of 25–50 percent soft green material and 50–75 percent brown material, which is more useful than trying to measure every bucket precisely. (RHS)
Chop long stems before adding them and mix each armful rather than dumping a whole bed of wet annuals in one layer. If the pile turns slimy or smells sour, it is usually too wet or compacted; add dry brown material and turn it to restore air. If it stays dry and fibrous with little change, add some green material and enough water to make it evenly moist, not dripping.
Keep the pile accessible. A small bin in partial shade can work in a limited garden, while a larger bay handles bulky autumn cleanup more efficiently. Finished compost is dark, crumbly, and earthy-smelling, but it may take months to a couple of years depending on the system, weather, material size, and how often you mix it. (RHS)
Keep Diseased or Seedy Weeds Out
Do not compost plant material simply because it is dead. If you see spreading leaf spots, active mildew, viral-looking mosaic patterns, soft rot, a heavy pest infestation, or a plant disease you cannot identify, the safer home-garden choice is to remove it from the compost stream. Pathogens vary widely in how they survive outside a host, and a backyard pile may not reach or maintain the conditions needed to suppress every one. (Gardener’s Path)
Be equally cautious with weeds carrying mature seed or creeping roots. A cool household pile may decompose leaves while leaving viable seed behind, and a few persistent roots can re-establish when the finished compost is spread. Pull weeds before seed set when possible; if the seed heads are already dry or the roots are aggressive, use your local green-waste rules or a sealed disposal route instead.
The same boundary applies to plants treated with a product whose label restricts composting or to material contaminated with trash, pet waste, or invasive plants. When in doubt, ask your local extension office or municipal compost program what they accept. It is better to lose one load of questionable debris than distribute a problem through every bed where you hoped to use the finished compost.
4. Dry Flowers, Seed Pods, and Herbs for Decor
Drying gives attractive plant parts a second life without asking them to root or germinate. Flowers that are already past their showiest stage can still have strong stems, interesting silhouettes, and useful texture; seed pods, ornamental grasses, lavender, statice, strawflower, hydrangea, and sunflower heads are often more forgiving than soft, water-rich blooms.
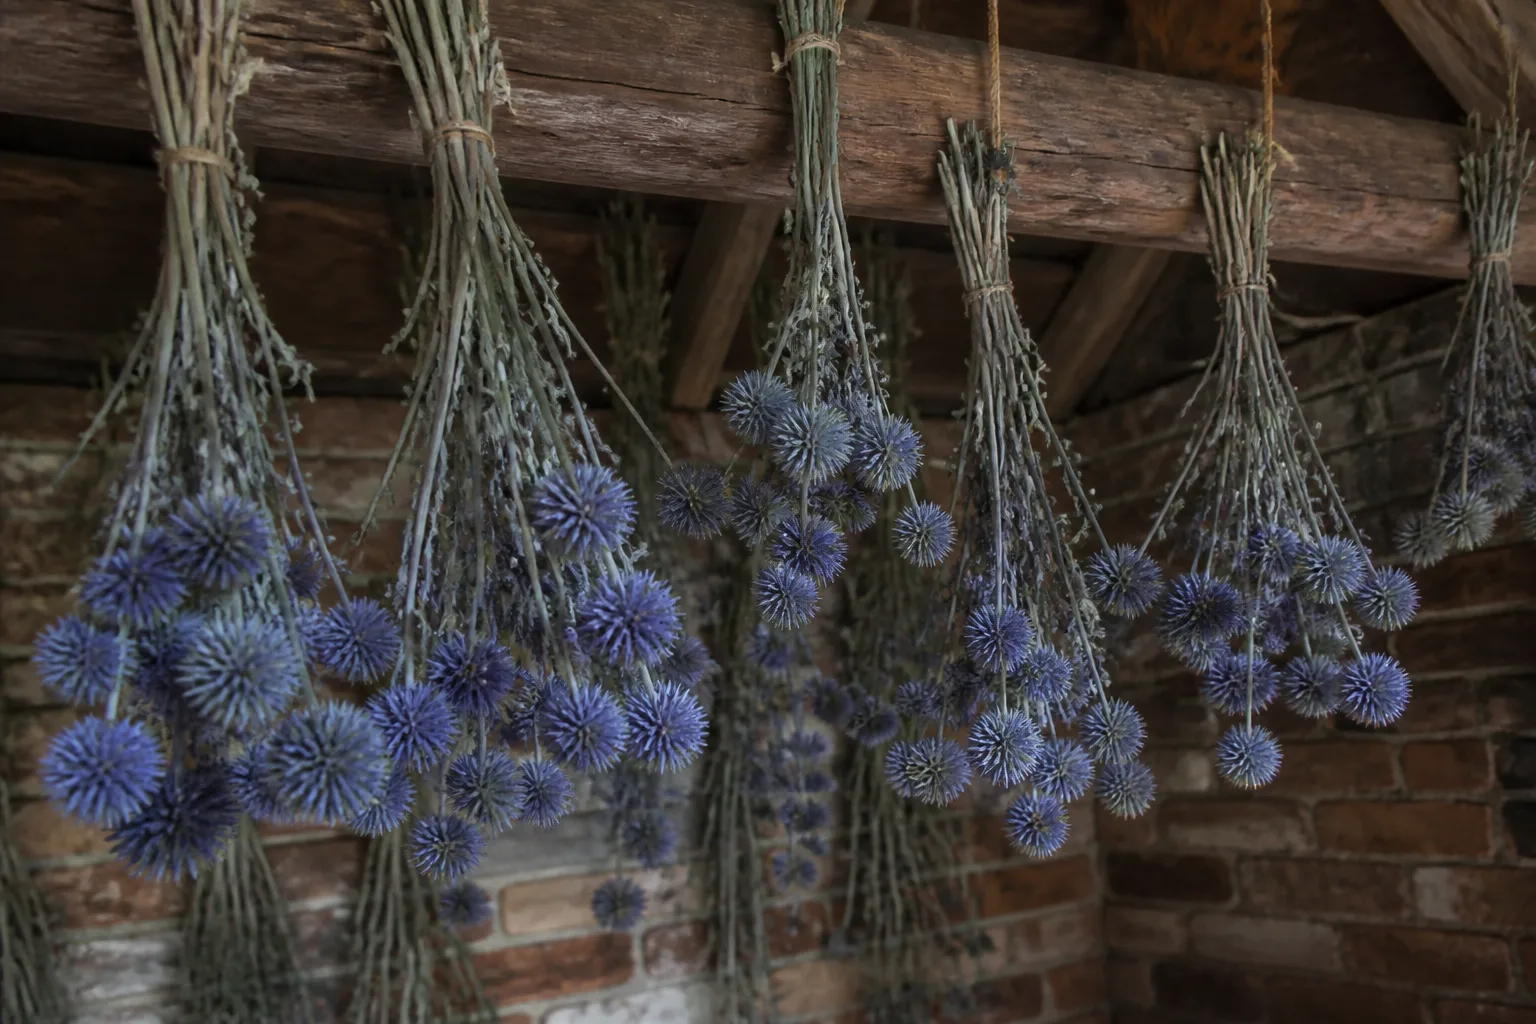
Choose clean material before it becomes limp or moldy. Remove insects, wet leaves, and any tissue that smells sour. If you also want seed from the same plant, collect a few heads for seed first and reserve the sturdier, clean stems for decoration; do not mix a damp seed bag with flowers you are trying to dry.
Air-Dry for Shape and Color
Air-drying is the simplest method for stems and small bunches. Remove heavy foliage, group the same type together, and secure the stems with an elastic band because stems shrink as they dry. Hang the bunches upside down in a dry, dark, reasonably warm place with room for air to circulate; direct sun can fade color, while a humid cupboard can encourage mildew. (Flying Flowers)
Keep bunches small. A dense bundle dries on the outside first and traps moisture in the center, which is how pretty fall cuttings become a dusty, moldy mess. Check after the first week, then continue until the petals feel rigid and rustle when touched; Flying Flowers gives two to three weeks as a common air-drying window, but thick stems and humid rooms take longer. (Flying Flowers)
For a single large flower head, use a separate stem rather than crowding it with delicate flowers. You can also dry heads or pods in a shallow box with airflow, but avoid high heat unless you are following a plant-specific method and can monitor it closely. The goal is to remove moisture slowly enough that the shape holds, not to cook the flower.
Make a Durable Display
Once fully dry, shake out loose debris outdoors and handle the stems gently. Arrange the material in a vase, tie a simple bundle, build a wreath, or place a few seed pods in a shallow bowl. Dried plants are brittle, so choose a location away from constant brushing, open windows that create damp swings, and strong direct sunlight.
Do not add dried plant material to potpourri or sachets just because it smells pleasant. Some plants can irritate skin, stain surfaces, or be unsafe around pets, and scent fades quickly once the tissue is dry. Keep unknown or potentially toxic plants labeled and out of reach, and use dried stems as decoration rather than food or tea unless you have positively identified the species and know it is appropriate.
What to Do With Plants That Are Not Good Candidates
Some plants are too far gone for a useful cutting, have no mature seed, or carry a problem you do not want to recycle. That is not a failure. The purpose of repurposing is to keep useful material in circulation, not to force every scrap into a risky project.
If a plant is frost-killed but clean, you can usually separate the dry, healthy stems for compost or decoration from any wet, collapsed tissue. If it is merely drought-stressed, inspect the base and tips for firm green tissue before discarding it; a cutting may still work even when the parent looks tired. If it has a recurring disease, active pests, or a foul-smelling root zone, choose removal over sentiment.
When to Bag, Bin, or Use Municipal Collection
Place questionable debris in a bag or the disposal stream recommended by your local authority. Do not burn unknown plant material, dump it in a natural area, or leave invasive roots where they can re-root. Municipal green-waste programs may use larger, hotter, or professionally managed systems than a backyard bin, but acceptance rules vary, so check before loading the material.
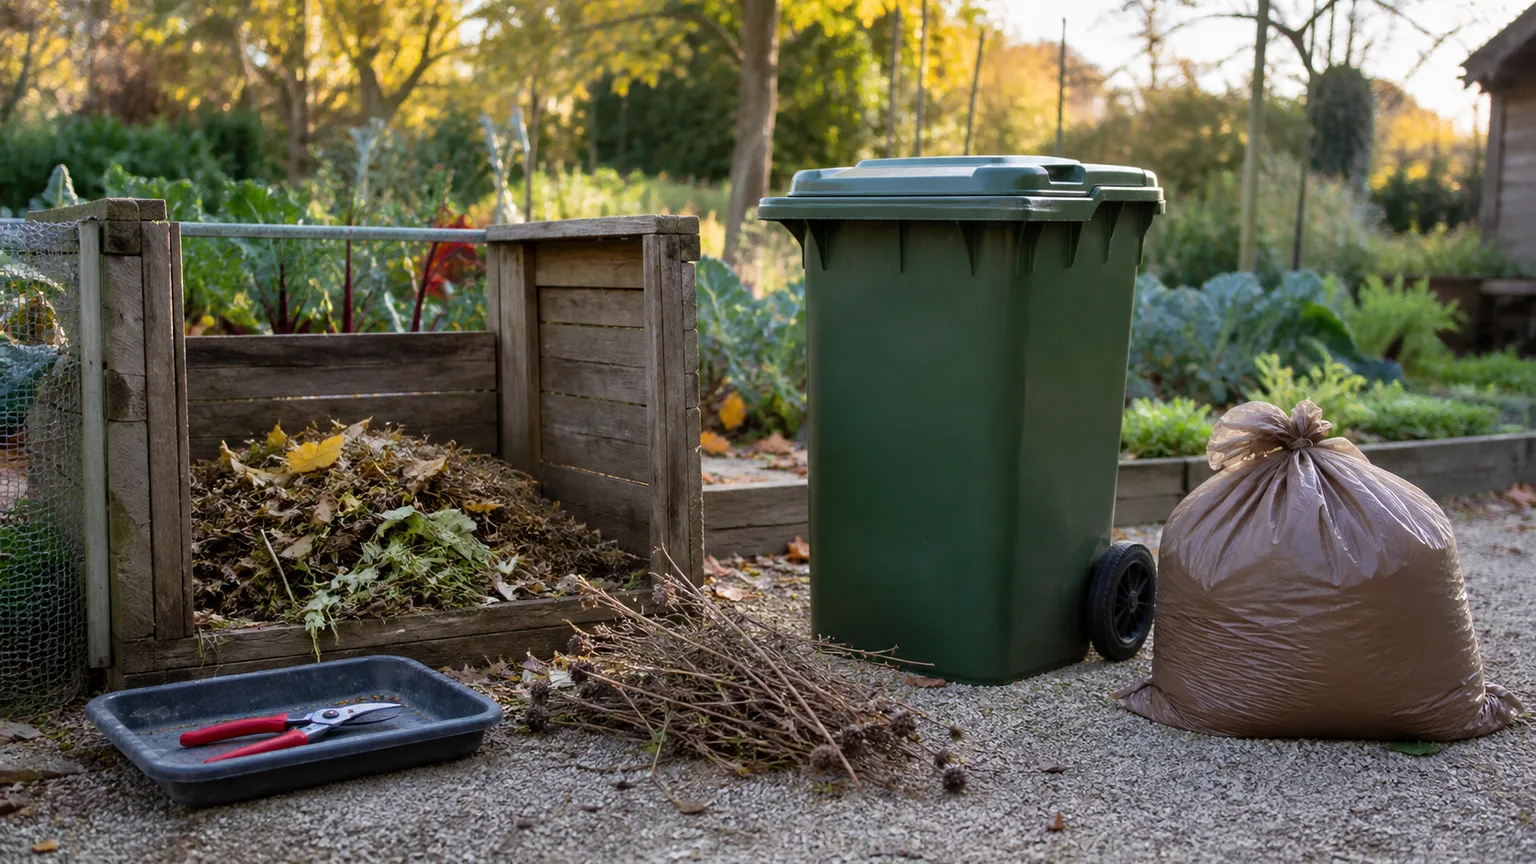
Clean your pruners, gloves, trays, and work surface after handling diseased or infested material. Wash soil from reusable pots before bringing a replacement plant indoors, and do not share cuttings from a plant you have not inspected. These small hygiene steps often matter more than a complicated “rescue” recipe.
A Fall Workflow That Takes One Afternoon
I make cleanup faster by working in passes instead of deciding on every stem as I go. Set out five containers or zones labeled seed, cuttings, compost, dry, and dispose, then work through the garden with clean snips and a paper bag.
- Scout and mark. Identify plants that are spent, stressed, pesty, diseased, or simply still useful to wildlife. Leave a few clean seed heads standing before you start cutting.
- Collect seed first. Take mature heads from the healthiest plants, finish drying them indoors if needed, and write the label immediately. Do not trust yourself to remember a flower’s color next spring.
- Take cuttings second. Choose firm, non-flowering stems with nodes, make clean cuts, and place each cutting into water or prepared rooting mix before it wilts. Keep cuttings from different plants labeled and separate.
- Make the compost pile. Chop clean green material and mix it with dry brown material. Add water only if the pile is dry, and turn it when it becomes compacted or smells sour.
- Prepare the dry bundle. Select clean, sturdy heads, strip heavy leaves, make small bundles, and hang them upside down in a dark, airy room. Keep seed packets away from the drying flowers until both are dry.
- Remove the problem material. Bag diseased, pest-infested, invasive, chemically restricted, or mature-seeded weed debris. Clean your tools before you move back to healthy plants.
This order protects the most time-sensitive work. Seeds can scatter, cuttings can wilt, and damp flowers can mold, while clean compost material can wait in a bucket for a few hours. The garden looks tidier at the end, but the useful parts have not been mistaken for waste.
Conclusion
Repurposing dying plants starts with an inspection, not a compost bin. Save mature seed from the plants you want to repeat, root only firm and healthy stems, compost clean debris with enough brown material and air, and dry strong flower heads or pods before they become damp and fragile. Leave some seed heads for birds, and remove anything diseased, infested, invasive, or likely to spread a problem.
The best seasonal cleanup is selective. By sorting first, you turn one fading garden into several useful outcomes: new plants for the windowsill, seed for spring, compost for the soil, a winter display, and a little more habitat for wildlife.



