How Long Does Garlic Take to Grow? Planting to Harvest
How long does garlic take to grow? Learn the 8–9 month fall timeline, spring-planting trade-offs, harvest signals, curing steps, and storage tips.
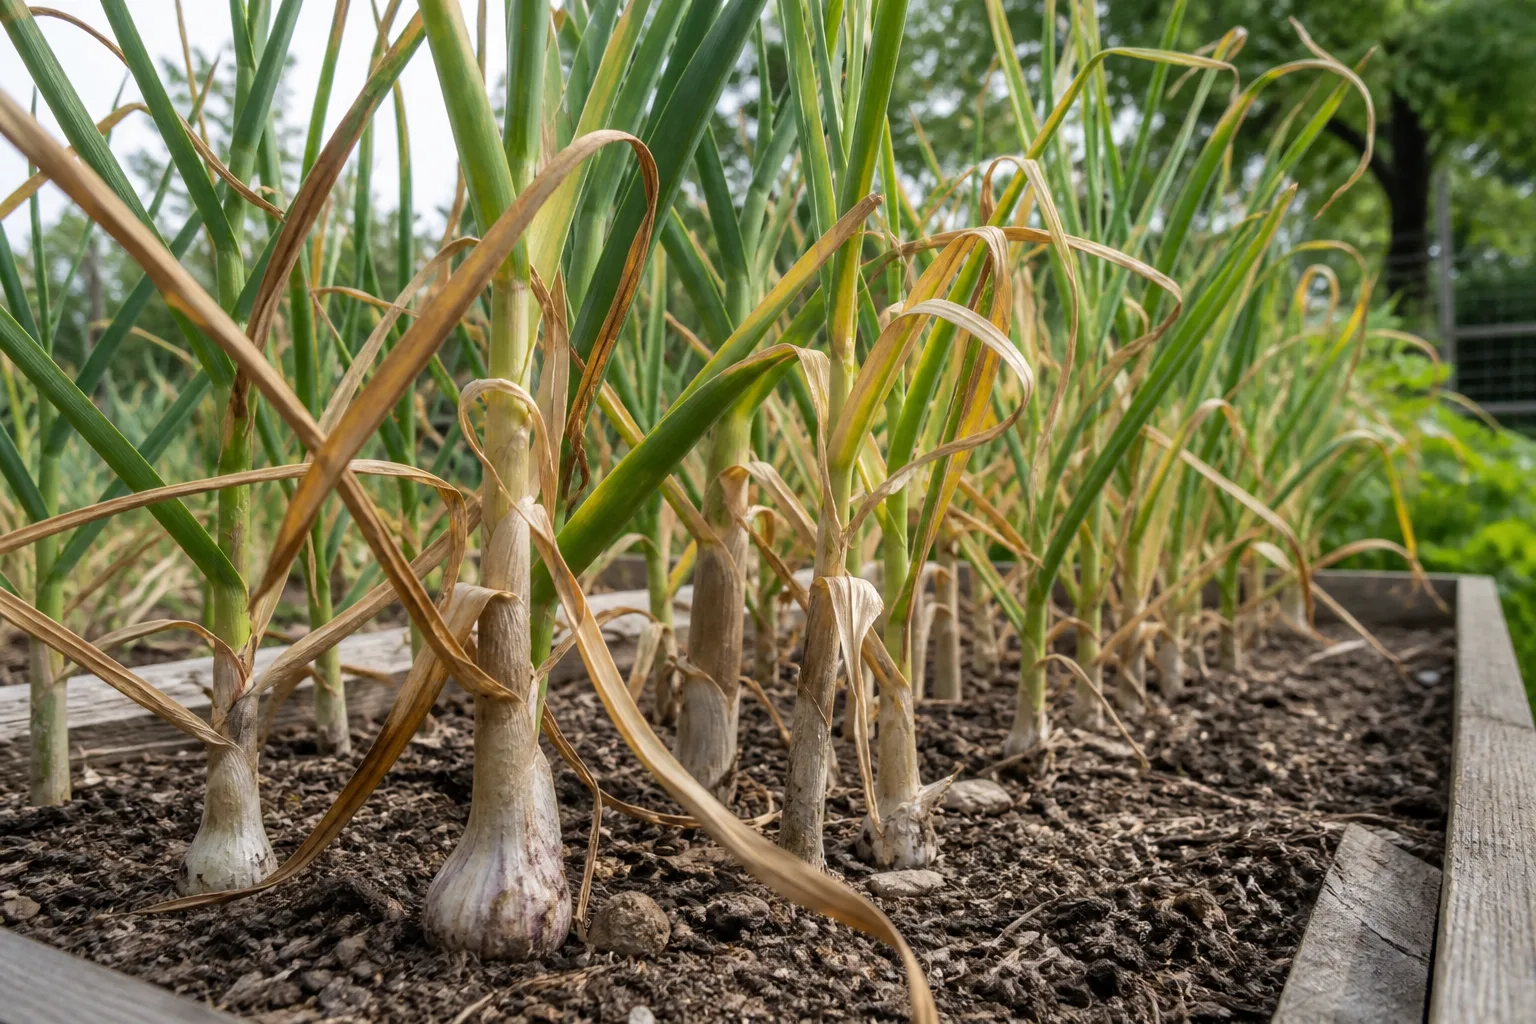
If you plant one garlic clove and expect a finished bulb in a few weeks, the plant will teach you patience. Fall-planted garlic usually takes about eight to nine months to become a full-size, harvestable bulb, although the exact window depends on the variety, winter chill, spring weather, soil drainage, and when the plant breaks dormancy.
That long estimate includes a quiet stretch that is easy to misunderstand. The clove is not doing nothing in winter: it is establishing roots, experiencing the cold period that helps trigger bulb formation, and waiting for the combination of longer days and warmer soil that drives spring growth. A spring-planted crop can produce usable garlic in roughly three to five months, but it generally makes smaller bulbs and may not store as long. Green garlic can be harvested earlier still, before the clove divides into a mature head.
The short answer: fall-planted garlic takes 8–9 months
For a storage crop, count from planting to harvest rather than from the day you see green leaves. A clove planted in October might be ready from late May through July in one garden, while a similar clove planted at the same time elsewhere may not mature until mid-summer. The calendar gives you an estimate; the leaves and bulb wrappers tell you when to dig.
The long-season estimate is supported by the practical difference between fall and spring planting. A fall clove has time to root before winter and then resumes vigorous growth as the days lengthen. A spring clove has less time to build a large root system and may receive too little cold exposure for ideal bulb division. The Harvest to Table garlic growing guide describes fall-planted garlic as an approximately eight-month crop for the largest bulbs and spring-planted garlic as a shorter route to smaller heads. The result is often a bulb that is perfectly edible but closer to a single large clove or a small head than the plump, well-separated bulb you pictured.
There are three useful “finish lines”:
- Green garlic: harvest while the leaves are tender and the underground clove has not fully divided. This is an early, fresh crop, not a cured storage bulb.
- Fresh mature garlic: lift when the bulb is formed and the wrappers are still intact, then use it soon if you do not want to cure it.
- Storage garlic: harvest at the right leaf stage, cure for several weeks, and store the dry bulbs in a cool, dark, well-ventilated place.
Garlic’s growth timeline, month by month
Garlic grows in a sequence that explains why rushing one stage usually creates a problem later. The dates below are a planning model for a fall-planted crop in a temperate garden, not a rigid schedule for every latitude.
Stage 1: Rooting after planting
In the first weeks, the clove’s main job is to make roots. Split a firm planting bulb into individual cloves, keep each papery skin intact, and put the flat root plate down with the pointed tip up. A clove that is planted upside down can still send up a shoot, but the curved route through the soil costs energy and can leave the plant weaker or awkwardly anchored.
The shoot may remain short, or a few green leaves may appear before winter. That is not automatically a sign that you planted too early. In northern gardens, University of Minnesota Extension recommends staying close to the normal local planting window and using a substantial straw mulch if shoots emerge before a hard freeze. The goal is a rooted clove with protected soil, not a completely leafless bed.
Stage 2: Winter dormancy and chilling
Garlic is a cool-season bulb crop, and many varieties need a period of cold to form a good head. The RHS garlic-growing guide advises that most types benefit from about one to two months at 0–10°C (32–50°F). This cold response is often called vernalization. It is one reason a fall planting is more reliable for large bulbs than a last-minute spring planting.
Winter growth above ground may pause, but roots can remain active whenever the soil is workable. Keep the bed protected from weed competition and severe frost heaving, but do not keep it wet. A clove sitting in cold, saturated soil is more likely to rot than to turn into a bigger bulb. Raised beds, a mound, or a container can make the difference in a garden where winter water lingers.
Stage 3: Spring leaf growth and bulb formation
When growth resumes, garlic uses its leaves to collect the energy that will eventually be stored underground. This is the stage where full sun, steady moisture, low weed pressure, and adequate nutrition matter most. Every healthy leaf also contributes to a wrapper layer around the bulb, so removing foliage or letting weeds shade the plants can reduce both size and storage quality.
Water when spring and early-summer weather is dry, keeping the root zone evenly moist but not waterlogged. Avoid routine overhead watering that leaves foliage wet for long periods. If a soil test shows that nitrogen is needed, a spring application is more useful than loading the bed with all the nitrogen in autumn, when some can leach away before the crop is actively growing.
Stage 4: Scapes and final bulb fill
Hardneck garlic sends up a stiff central flower stalk called a scape, often in late spring or early summer. It may curl into a loop before straightening. Cutting the tender scape while it is still young gives you a useful kitchen harvest and prevents the plant from spending as much of its late-season energy on flowers and bulbils.
Removing a scape does not make garlic mature immediately. Give the plant several more weeks to fill the underground bulb, then start watching the leaf ratio. Softneck garlic usually does not make a rigid scape, although unusual weather or stress can produce a flowering stalk. If that happens, treat a tender stalk like a scape and keep the main leaves intact.
Fall vs. spring planting: which gives the shortest useful path?
The fastest route to some garlic is not always the fastest route to a large, storable bulb. Choose your planting season based on the result you want, not just on how soon you want to put a clove in soil.
Fall planting for full-size bulbs
Plant in fall when the soil has cooled and there is enough time for rooting before the ground freezes. A common guide is several weeks before a hard freeze, but soil temperature and local weather are more dependable than a universal date. In cold-winter areas, hardneck types are often a natural fit. In mild-winter areas, choose softneck varieties adapted to your region or provide the cold treatment recommended for the cultivar.
Fall planting wins because it gives the clove a head start underground. Roots establish before winter, the cold period occurs naturally, and spring leaf growth begins with a longer runway for bulb enlargement. For a gardener who wants large bulbs for cooking and next year’s seed stock, this is usually the best trade.
Mulch after planting with clean straw or another airy material. The mulch moderates temperature swings, reduces weed growth, and helps protect shallow-rooted cloves from frost heaving. Do not bury the bed in a dense, wet layer that stays matted against the stems; the purpose is insulation and soil cover, not a permanently soggy blanket.
Spring planting for smaller bulbs or green garlic
Spring planting is a valid rescue plan when fall passed, when winter soil was too wet, or when you garden in a climate where a fall crop is difficult to establish. Plant as soon as the soil can be worked, using a cultivar suited to spring production if one is available. A pre-plant cold period may help, but its length and temperature should follow the supplier’s guidance rather than an arbitrary refrigerator recipe.
Expect a shorter, more compressed season. Spring-planted garlic can be ready in mid-summer to early autumn, often after roughly 100–150 days, but the bulbs are commonly smaller than fall-planted bulbs. If your clove has made good green growth but never divides into a recognizable head, harvest it as green garlic or use it fresh rather than leaving it indefinitely in wet summer soil.
Match variety to climate and storage goals
Variety changes the timeline and the quality of the finish line. The right question is not simply “Which garlic grows fastest?” It is “Which type can receive the cold, heat, and storage conditions my garden actually provides?”
Hardneck garlic
Hardneck garlic has a stiff central stem, fewer but often larger cloves, and a reliable tendency to produce scapes. Many hardnecks perform well where winters are cold enough to provide the needed chill. Their bold flavor and easy-to-peel cloves are attractive, but their thinner wrappers usually mean a shorter storage life than softneck types.
The RHS plant profile for garlic describes hardneck garlic as storing for about four to six months when properly dried, though cultivar and storage conditions can move that range. Plan to use hardneck bulbs first, save your largest healthy heads for planting, and enjoy the scapes before the bulb harvest. Named groups include Rocambole, Porcelain, and Purple Stripe, but local performance matters more than a type label printed on a packet. Grow Organic’s hardneck-versus-softneck comparison is useful for the same practical split: hardnecks offer scapes and large cloves, while softnecks usually store longer and braid more easily.
Softneck garlic
Softneck garlic has flexible stems, many tightly packed cloves, and better braiding potential. It is often the more practical choice for mild-winter gardens and is commonly selected when long storage matters. Softneck types can still grow in colder areas if the cultivar is suitable, but a local supplier is a better guide than assuming every softneck behaves identically.
RHS guidance notes that softneck bulbs can store into the following winter and, under good conditions, potentially up to a year. That is a storage advantage, not a promise of faster maturity. A softneck bulb may mature around the same general season as a hardneck in the same bed; the wrapper structure, scape habit, cultivar, and climate determine how you use the harvest afterward.
Elephant garlic deserves a separate label in your notes. It is more closely related to a leek than to true garlic, produces very large mild cloves, and needs a long warm season. It can be fun to grow, but do not use its size as a benchmark for how quickly ordinary garlic should mature.
How to plant for predictable timing
Start with firm, healthy seed garlic from a reputable garden supplier or a disease-free crop you grew yourself. A grocery-store bulb may sprout, but it may be treated to slow sprouting, selected for a different climate, or carrying problems you do not want to introduce into a bed. The RHS specifically cautions that supermarket bulbs can give disappointing results and create biosecurity concerns in its gardening context.
Prepare a sunny bed with loose, well-drained soil and plenty of organic matter. Garlic tolerates cold better than it tolerates standing water. If the site is heavy clay or stays saturated through winter, use a raised or mounded bed, improve drainage, or start cloves in modules and transplant them with minimal root disturbance when conditions improve.
The RHS recommends spacing cloves about 15 cm (6 inches) apart, with rows roughly 30 cm (1 foot) apart. Cover the tip with about 2.5 cm (1 inch) of soil as a baseline, planting a little deeper in light soil if frost heaving is a concern and avoiding excessive depth in heavy soil. Keep the papery skin on the clove, do not bruise it, and do not compress wet soil around the planting hole.
Record the planting date, cultivar, bed location, and whether the crop was fall- or spring-planted. That small note turns a vague “garlic takes forever” impression into useful information. Next year you can compare the same cultivar against the actual date of shoot emergence, scape appearance, and harvest readiness.
Care through the long growing season
Garlic is low maintenance, but low maintenance does not mean no maintenance. Keep weeds down before they become large enough to compete with the crop or force you to hoe close to developing bulbs. Hand weed or cultivate shallowly; deep tools can nick bulbs that you cannot yet see.
Keep soil moisture steady during active spring growth, especially in a container or raised bed that dries quickly. As the bulbs swell and the lower leaves begin to yellow, taper irrigation. A wet bed at the end of the season can delay drying and increase the risk of rot. Do not use a calendar alone: feel the soil and check the weather.
Feed from a soil-test result rather than guessing with repeated high-nitrogen applications. The University of Minnesota Extension recommends supplying only part of the nitrogen before planting because the crop does most of its growth in spring; the exact rate depends on soil organic matter and the production system. For a home bed, the practical takeaway is simple: build soil with mature compost, avoid fresh manure, and reserve any needed nitrogen for active spring growth. The University of Minnesota Extension planting-season notes also recommend checking seed garlic for disease concerns before planting, which is a good reason to buy from a reputable supplier.
Leave healthy leaves in place. Harvesting a few leaves for garnish is possible, but stripping the plant reduces the photosynthetic surface that powers the bulb. On hardnecks, cut scapes while tender; do not cut every green leaf just because the plant is nearing harvest.
How to tell garlic is ready to harvest
Begin with the leaves, not the promised harvest month. As garlic matures, the oldest lower leaves turn yellow and then brown while the upper leaves remain alive. This is the plant building and then drying the wrapper layers that protect the cloves.
For hardneck garlic, a useful field cue is roughly half the leaves brown, often three to four weeks after scapes were removed. For softneck garlic, wait until the foliage has flopped and about one-half to three-quarters of the leaves have yellowed, while some upper leaves are still green. Gardener’s Path’s harvest guidance explains why the ratio matters: each healthy leaf corresponds to a wrapper layer, and leaving the plant until every leaf dies can leave the cloves exposed. These are practical ranges, not laboratory thresholds; a week of hot rain or a sudden drought can change how quickly the plant dries down.
If you are unsure, lift one test plant at the edge of the bed. Brush off soil without peeling the bulb. A mature bulb should have distinct cloves wrapped in several firm, papery layers. If the head is still poorly divided or the cloves feel tightly fused, give the crop more time and test again in about a week. If the wrappers are breaking down and the cloves are separating, you waited too long for maximum storage life.
Yellow leaves can also mean stress, disease, or wet roots, so do not harvest solely because one leaf changed color. Look at the whole bed, the season’s progress, drainage, and the bulb itself. A mature, uniformly drying crop is different from plants collapsing early in patches.
Harvest without reducing storage life
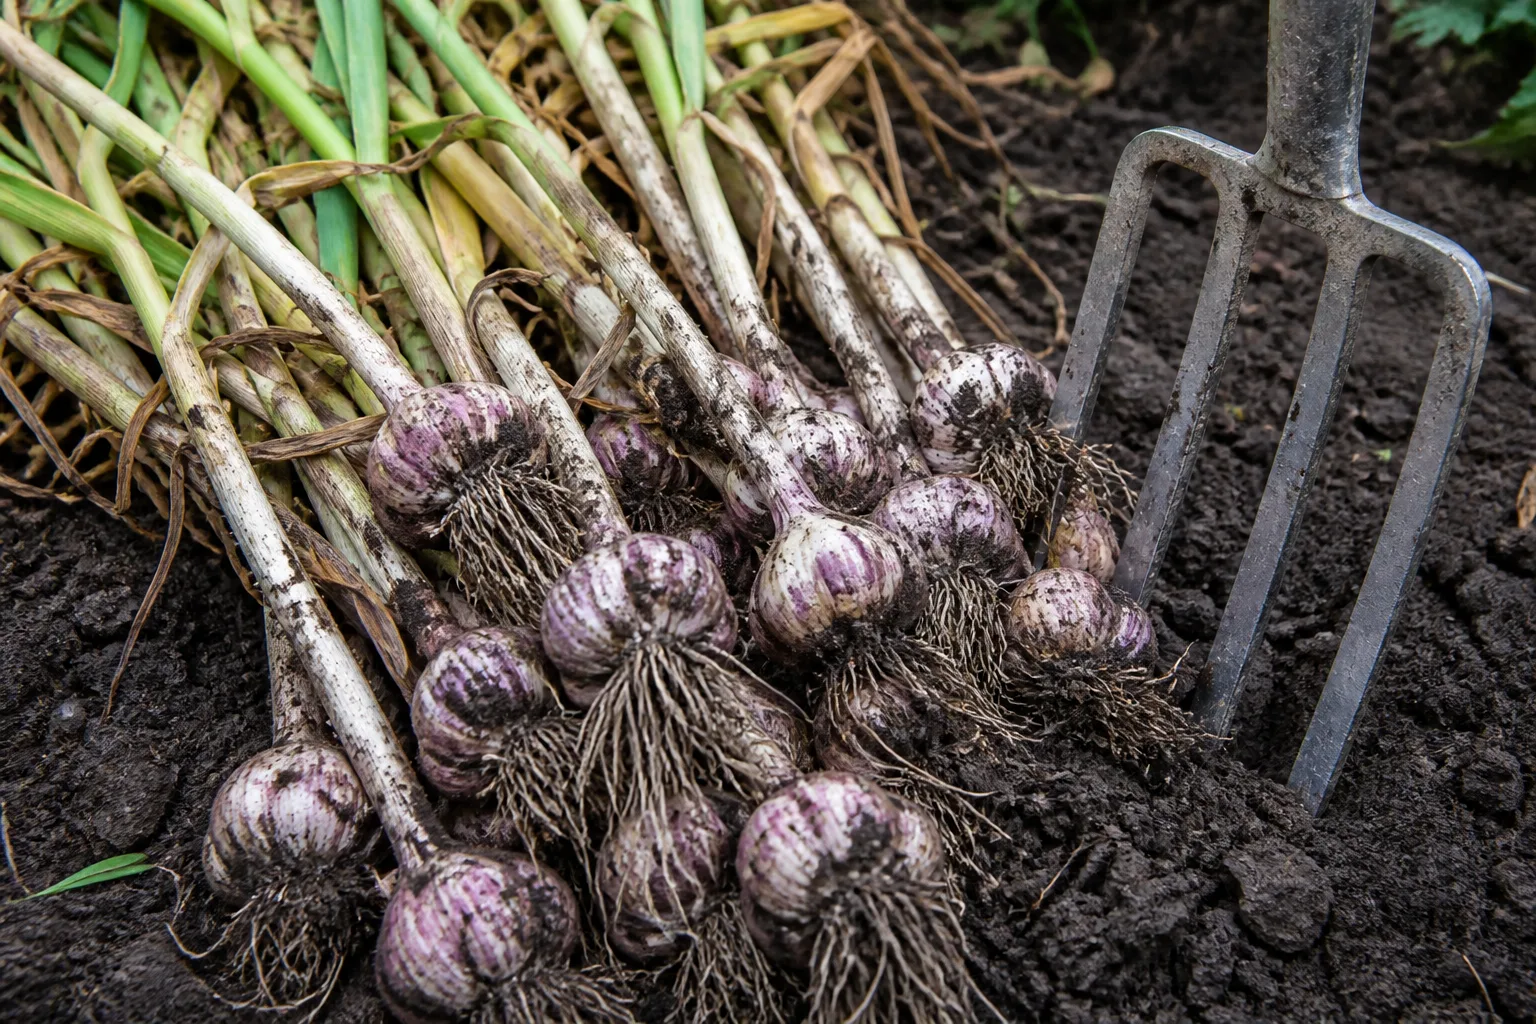
Stop routine irrigation as the crop approaches maturity, provided the weather is not dangerously hot and dry. Dry soil is easier to work and helps the bulb begin the transition toward curing, but do not leave plants in severe drought just to force an earlier harvest.
Choose a dry day and loosen the soil with a garden fork several inches away from the stem. Lift gently from underneath rather than yanking the leaves. A cut or bruise may look minor at harvest and become the entry point for rot during storage.
Brush off loose soil and leave the wrappers on. Do not wash storage garlic. Water trapped under the wrappers adds moisture exactly where you want the bulb to dry. Separate damaged, soft, or visibly diseased bulbs from the sound harvest and use them first; do not save questionable bulbs as planting stock.
Freshly lifted bulbs can be used immediately, but they will not yet have the dry wrapper and tight neck that make storage possible. Set aside the largest, healthiest, best-shaped cured bulbs for next year’s planting. Garlic reproduces clonally from cloves, so the quality of the head you select influences the likely size and health of the next crop.
Cure and store garlic so the harvest lasts
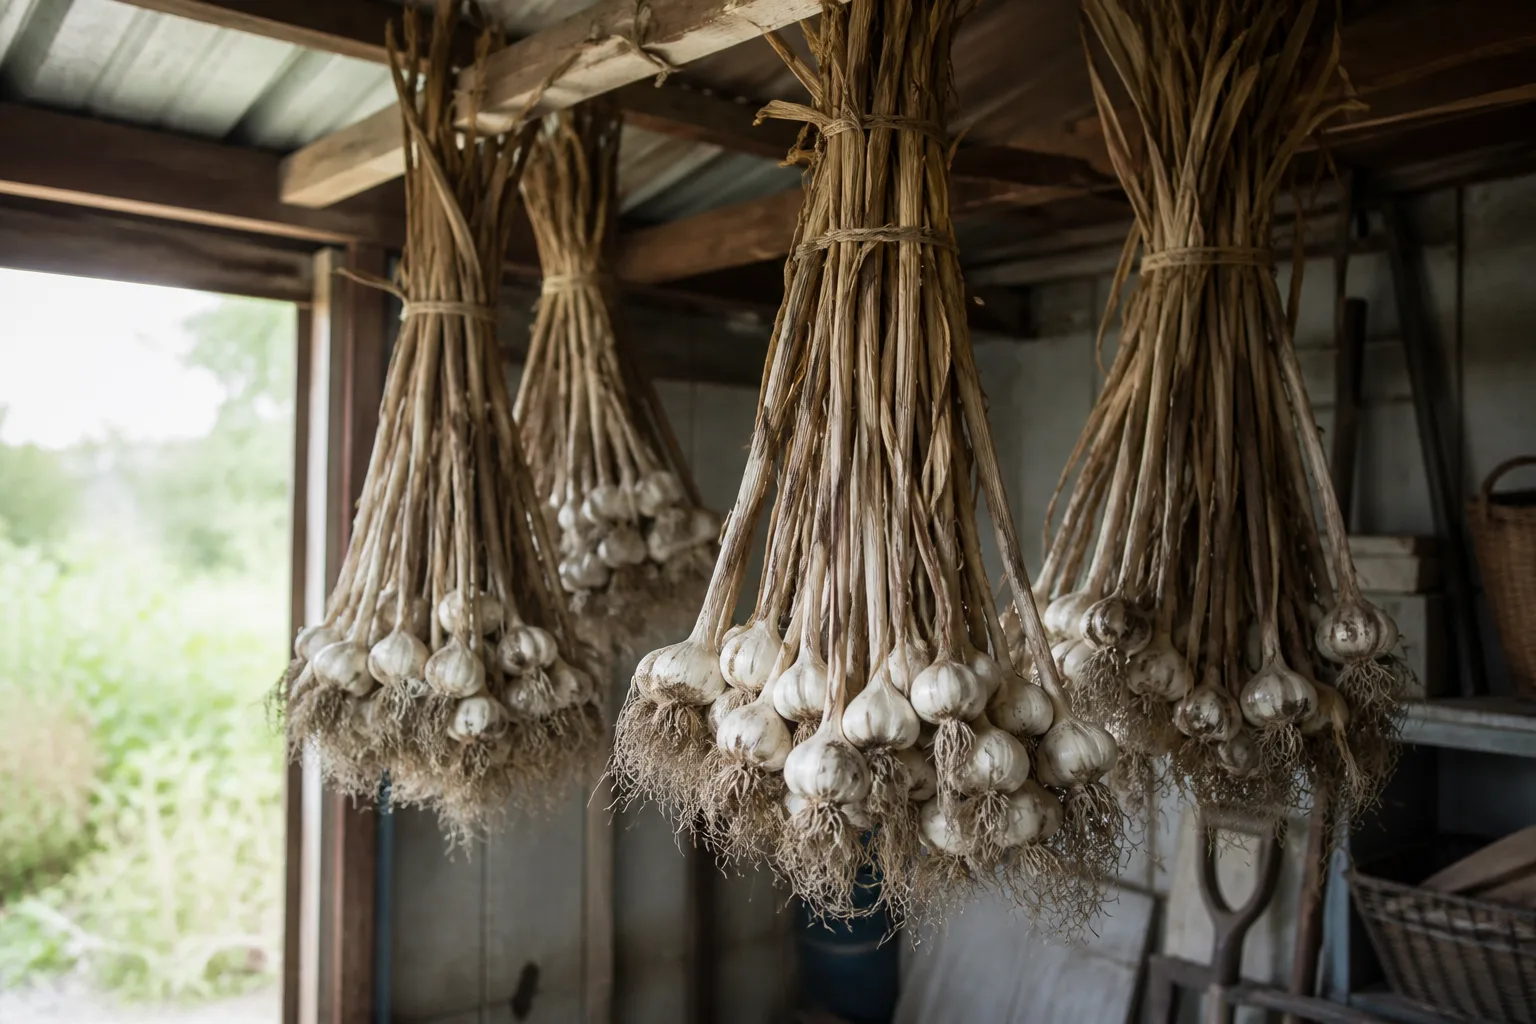
Curing is the post-harvest part of the growing timeline that many short guides skip. It usually takes two to four weeks, depending on bulb size, humidity, airflow, and temperature. The RHS guide recommends drying bulbs in a single layer in a well-ventilated greenhouse or dry shed, avoiding excessive heat; Harvest to Table and other trusted horticulture guidance also emphasize protecting bulbs from rain and harsh direct sun.
Hang bulbs in loose bunches or place them in a single layer with space around each one. Keep the leaves and stalk attached while they dry, then trim the roots and tops after the neck feels tight and the outer skins rustle and turn papery. If a bulb develops mold, blue-green spots, soft tissue, or a sour smell, remove it from the curing group so the problem does not spread.
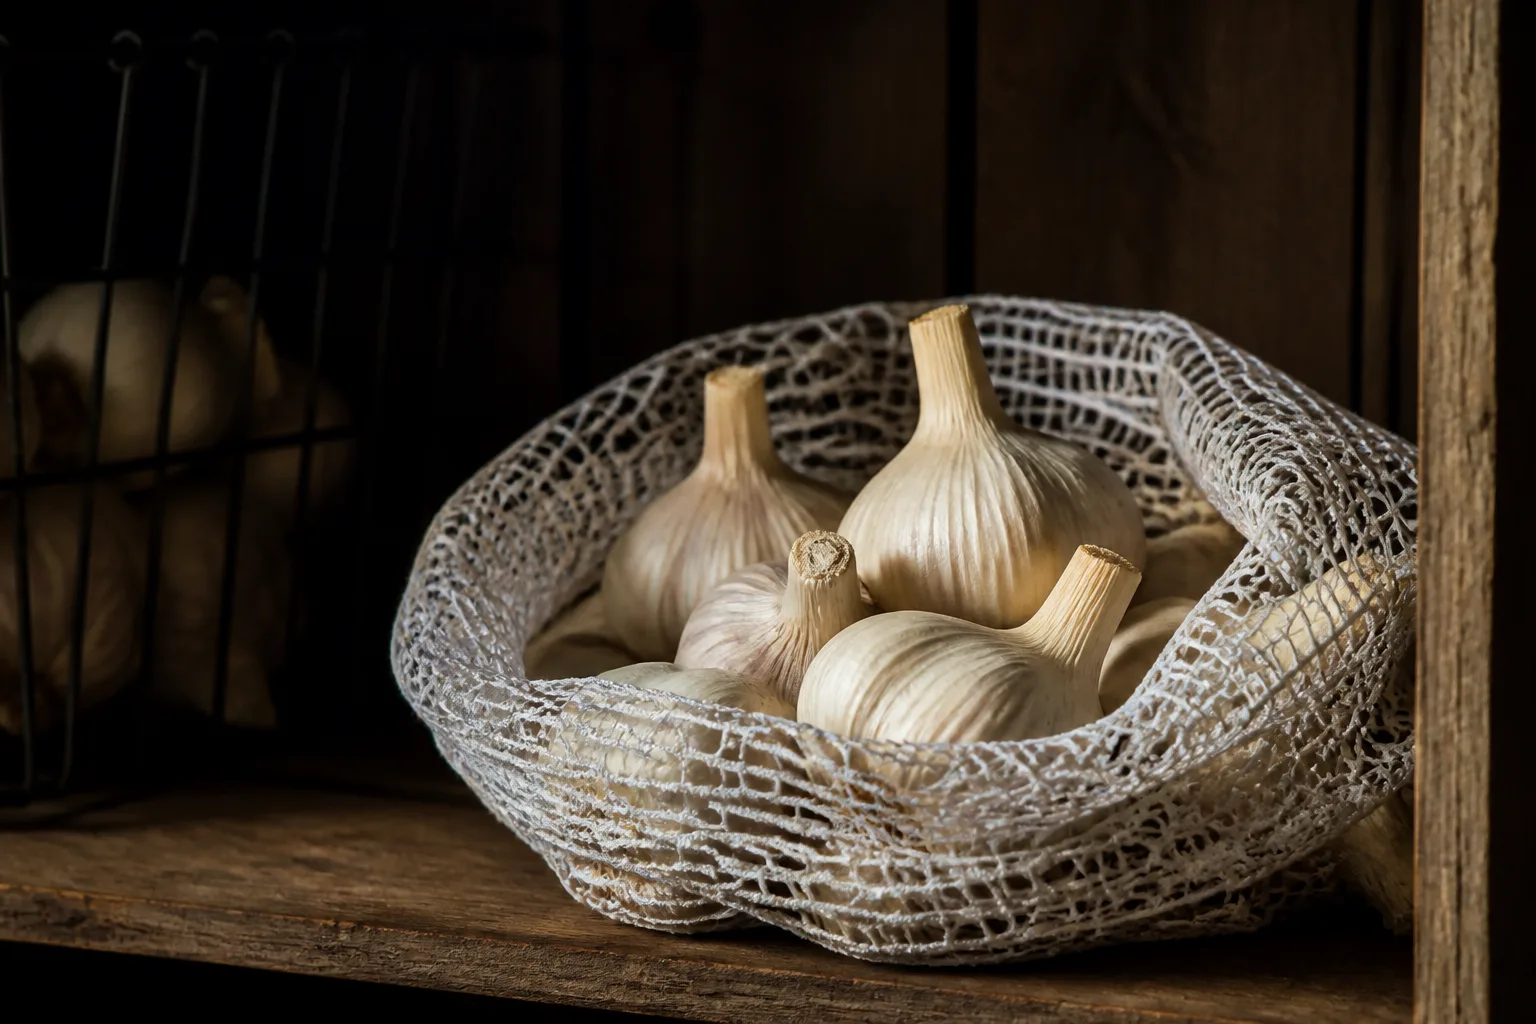
Once cured, store bulbs in a cool, dry, dark place with good air circulation. A mesh bag, open basket, or breathable container works better than a sealed plastic bag. Softneck garlic usually outlasts hardneck garlic in storage, but every storage estimate is conditional on proper curing, cultivar, temperature, humidity, and the absence of bruises.
Why garlic is late or small—and how to adjust next crop
The bulbs are small. The most common explanations are spring planting, a clove that was small at planting, insufficient winter chill, too little spring sun, weed competition, or a root zone that dried repeatedly while bulbs were filling. Plant the largest healthy cloves, choose a climate-matched cultivar, and improve spring moisture consistency before reaching for more fertilizer.
The bulb never divided. Insufficient cold exposure is a likely explanation, especially when a mild-winter variety was planted in a warm climate. Some cultivars need more chill than others. In the next crop, choose local seed garlic or follow the supplier’s cold-treatment instructions rather than chilling cloves indefinitely.
The bulbs split or open in the ground. Late harvest is a major risk: once too many wrapper layers have dried, cloves can separate and lose storage protection. Uneven moisture near maturity can also make the finish less uniform. Start test-lifting as the lower leaves brown, and do not wait for every leaf to die.
The foliage collapses early. Do not assume the crop is ready. Check whether the soil is staying wet, whether leaves show disease spots or streaks, and whether plants are failing in patches. A plant that is yellowing from root trouble has a different timeline from a healthy plant naturally drying down for harvest.
Bulbils appeared on the flower stalk. Hardneck garlic can form aerial bulbils. They are useful for propagation, but the USDA Agricultural Research Service notes that it takes several successive years of growing them out to obtain good-sized heads. If your goal is a reliable full bulb next season, save large healthy cloves rather than relying on bulbils alone.
Conclusion
For most gardeners, the honest answer to “How long does garlic take to grow?” is about eight to nine months from a fall-planted clove to a mature storage bulb. Spring planting can shorten the calendar to roughly three to five months, but usually at the cost of bulb size and storage life. Green garlic gives you an earlier harvest when you are willing to use the plant before it finishes dividing underground.
Plan the crop around the result you want: plant a named, climate-suitable cultivar in well-drained soil, give it winter protection and spring moisture, remove hardneck scapes while tender, and begin test-lifting when the leaves show the right balance of green and brown. Then cure the bulbs patiently. The harvest is not finished when it leaves the soil; it is finished when the wrappers are dry, the necks are tight, and you know which bulbs are good enough to carry the next season forward.



