How Many Potatoes Grow From One Potato?
Find out how many potatoes grow from one potato, how cutting eyes changes plant count, and how soil, spacing, water, and harvest timing affect yield.
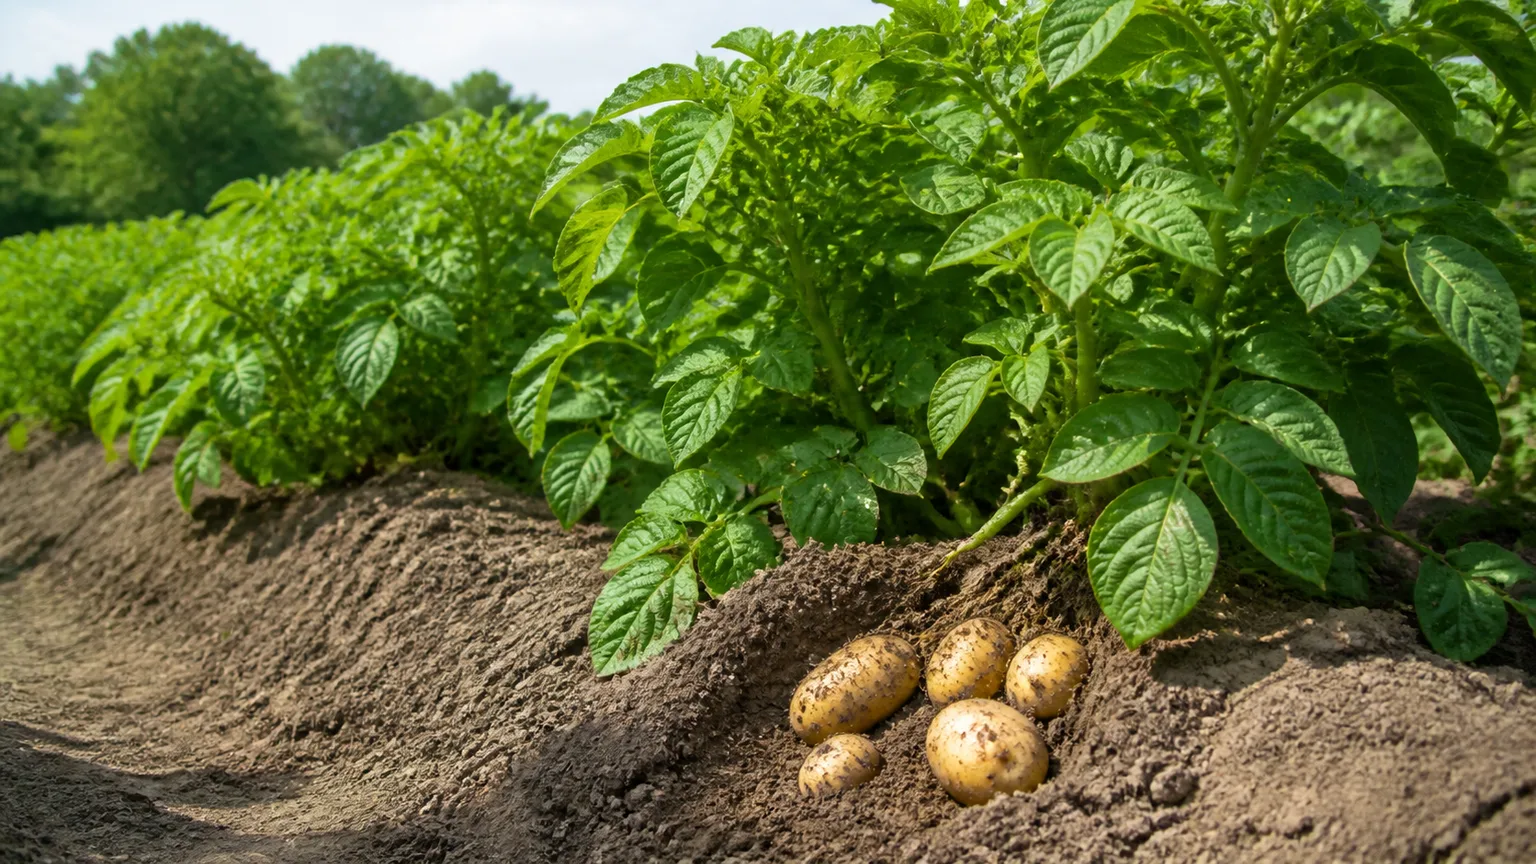
If you plant one small seed potato whole, it usually becomes one potato plant that produces a handful of new tubers. A useful first-season expectation is roughly 5 to 10 potatoes per plant, but that number can be lower or higher, and it says nothing about whether the harvest will be five tiny potatoes or several large ones.
The bigger question is what you mean by “one potato.” A large seed potato can be cut into several pieces, and each healthy piece with an eye can grow into its own plant. In that case, one starting tuber may produce several plants and a much larger total harvest—but only because you created several planting units, not because one plant suddenly multiplied its output.
The quick answer: expect a handful, not a fixed number
For a home garden, think in three layers: one seed piece, one plant, and one harvest. One whole small tuber or one cut piece generally makes one plant. That plant may produce a handful of tubers, while the final weight depends on variety, season length, soil volume, water, foliage health, and how long you leave the crop in the ground.
The most honest answer is therefore a range. Plan around 5 to 10 tubers from one healthy plant if you want a simple count, then allow for fewer but larger potatoes when plants are widely spaced or harvested young. With a long, cool growing season and good conditions, a plant may set more tubers; with heat, drought, disease, poor soil, or crowding, it may produce only a few.
Weight is often a better planning measure than count. Washington State University Extension lists about 20 pounds per 10-foot row and about 10 plants in that row, which works out to roughly 2 pounds per plant as a broad home-garden planning figure—not a promise for every cultivar or climate (WSU Extension). If your goal is dinner rather than a precise number of spuds, estimate pounds first and use tuber count as a rough cross-check.
The math starts with eyes, not the whole tuber
Potato eyes are nodes on the tuber that contain buds capable of producing new growth. They are not seeds and they are not tiny potatoes waiting to swell; they are the starting points for shoots and stems. The International Potato Center explains that the plant sends starch down underground stems called stolons, and those stolon ends swell into the tubers you harvest (International Potato Center).
That biology explains why a single starting potato can produce more than one plant. A large tuber with eyes distributed around its surface can be divided into several blocky pieces. Each piece is a separate seed piece, and each viable piece can send up stems and build its own underground stolon network.
Whole seed potatoes versus cut pieces
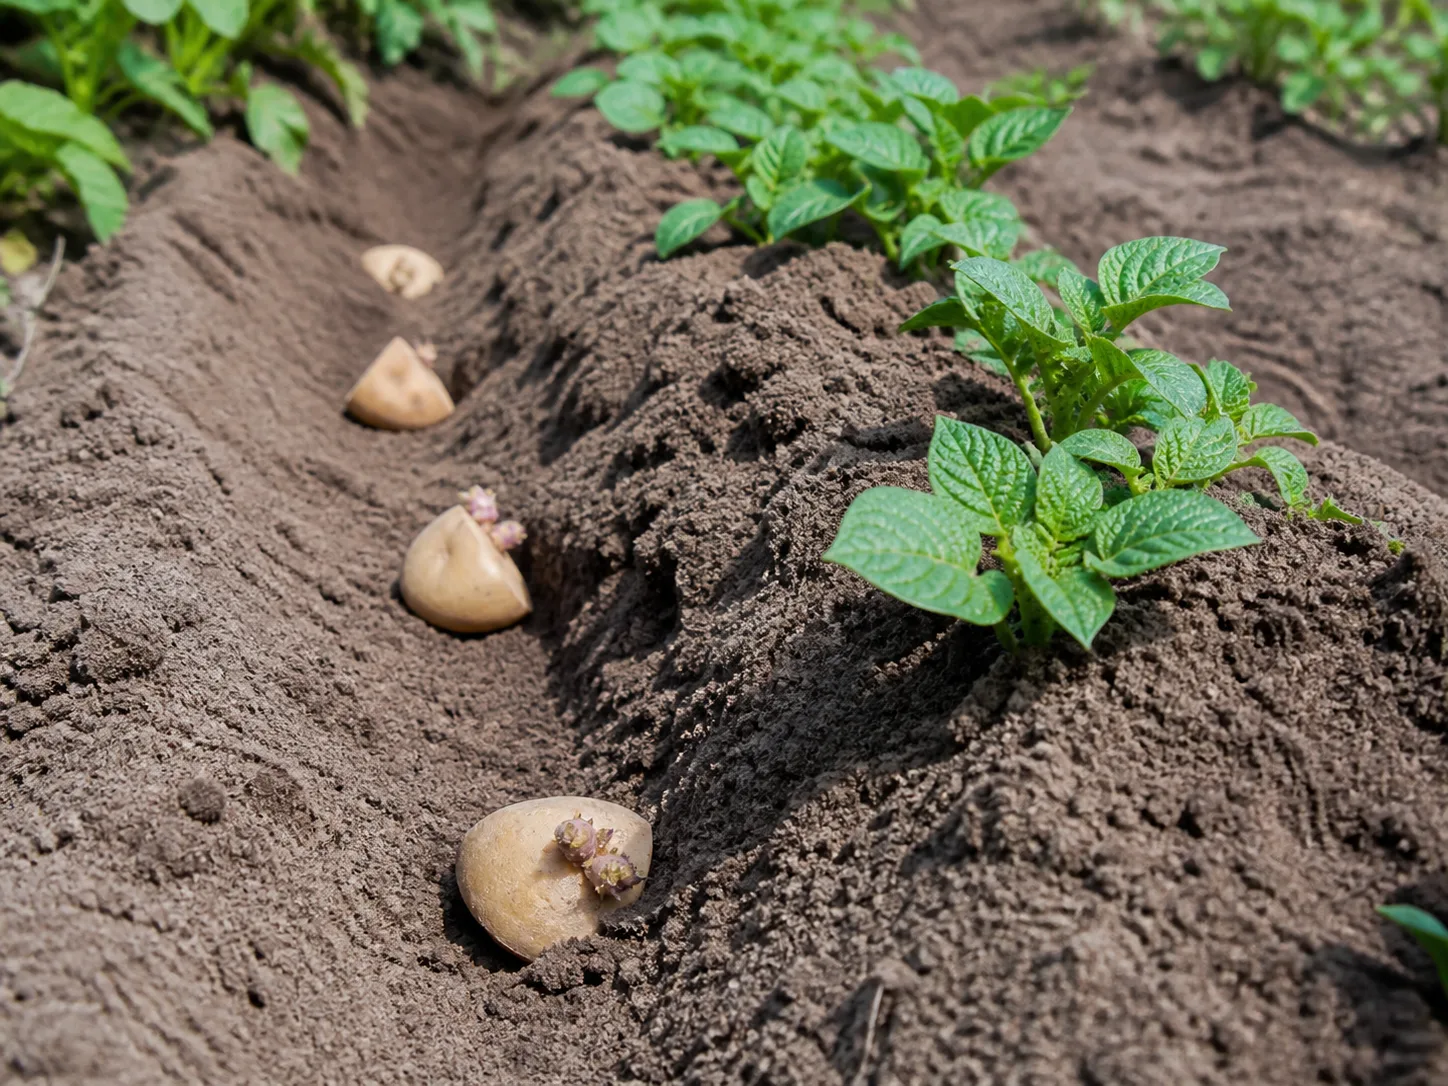
Plant a small, healthy seed potato whole when it is already close to the recommended seed-piece size. You get one planting unit, one plant site, and a simpler start with less exposed cut surface. Whole tubers are especially useful when you want fewer plants with room to produce larger potatoes.
Cut a large seed potato when you want to stretch the planting stock into more plants. A practical piece is at least about 1.5 ounces, roughly golf-ball sized, with one or more good eyes; North Dakota State University Extension recommends pieces around 1.5 ounces or more and commonly two or three eyes (NDSU Extension). Do not turn a large potato into tiny scraps. A piece without a viable eye, or one that dries out or rots before planting, is not a productive plant in waiting.
The trade-off is important: cutting can increase the number of plants, but more plants or more stems in one area can shift the harvest toward smaller tubers. If you want baking-size potatoes, give each seed piece enough soil volume and spacing. If you want many small salad potatoes, a somewhat higher stem density can make sense.
Why an eye is a potential stem, not a guaranteed potato
An eye can produce a shoot, but not every visible eye becomes a strong stem. Some are dormant, damaged, or poorly positioned on a cut piece. The number of stems that actually emerge depends on seed age, sprouting conditions, piece size, temperature, and disease pressure.
That is why “one eye equals one potato” is the wrong mental model. An eye helps create a stem; the stem supports leaves; the leaves make carbohydrates; stolons use those resources to form tubers. The final harvest is the result of the whole plant staying productive long enough to bulk those tubers.
Plan the harvest by weight as well as count
Count is satisfying at harvest, but pounds are more useful when deciding how much to plant. A 10-potato harvest might be disappointing if every tuber is marble-sized, or excellent if the crop includes several large potatoes for baking. Harvest date changes the count too: digging early captures small new potatoes before the plant has finished bulking them.
Use this simple planning model:
- Count planting units. Every whole seed potato or viable cut piece counts as one intended plant site.
- Estimate weight. Start with roughly 1 to 3 pounds per plant for a home-garden planning range, using about 2 pounds per plant as a middle estimate when conditions are good. This is an inference from extension row-yield guidance, not a guaranteed yield.
- Adjust for the goal. Expect fewer, larger tubers when you give plants more space and leave them to mature. Expect more small tubers when you grow an early variety, use higher stem density, or harvest young.
- Subtract risk. Reduce the estimate for a short season, hot weather, poor drainage, known disease pressure, a small container, or any period when the foliage is damaged.
For example, four healthy seed pieces might give you four plants and a planning range of about 4 to 12 pounds in a productive bed. That could be 20 small potatoes, 10 medium potatoes, or a mix. The same four pieces in a shallow container may produce less because the roots and stolons have less usable soil volume and the container dries faster.
A simple seed-to-harvest planning example
Suppose you have one large certified seed potato weighing 8 ounces and want to grow potatoes for roasting. Rather than cutting it into four small pieces automatically, cut it into three blocky pieces of roughly 2 to 2.5 ounces, keeping at least one strong eye on each. Plant those three pieces about 10 to 12 inches apart in a well-drained bed.
Your starting math is now one tuber → three seed pieces → three plants, not one tuber → one guaranteed harvest. If each plant reaches a middling 2-pound harvest, the rough goal is 6 pounds. A hot spell during tuber bulking, a broken stem, or a blight problem can cut that number sharply; a long, favorable season can raise it.
The five factors that move potato yield
The same number of seed pieces can produce very different harvests. The biggest drivers are not mysterious: they control how many stems develop, how long the leaves photosynthesize, and whether the underground tubers can expand without stress.
Variety and time in the ground
Potatoes are commonly grouped as early, mid-season, and late or maincrop types. Early potatoes finish sooner and are often grown for fresh, small tubers. Maincrop varieties stay in the ground longer and generally have more time to bulk up, provided temperatures and moisture remain suitable.
Do not compare a plant dug for new potatoes with a plant allowed to mature and then conclude that one variety “only makes” a few potatoes. A new-potato harvest is an intentional early snapshot. BBC Gardeners’ World Magazine describes first earlies as the earliest crop, second earlies as a later new-potato crop, and maincrop potatoes as the larger, longer-season group suitable for storage (BBC Gardeners’ World).
Cultivar also affects natural tuber number, tuber shape, maturity, and disease response. Use the maturity information on the certified seed label as a planning window, then let the plant and a test dig tell you what is actually happening in your soil.
Seed-piece size, stem number, and spacing
Seed-piece size and spacing work together. Larger pieces tend to produce more stems, especially when they carry more eyes. University of Minnesota Extension summarizes the key trade-off: higher stem density can raise total yield while shifting the size profile smaller, whereas lower stem density tends to produce fewer but larger tubers (University of Minnesota Extension).
NDSU Potato Extension makes the same point in production data: a higher stem number can increase the proportion of small tubers and reduce marketable yield even when total yield is not dramatically different (NDSU Potato Extension). In a home garden, the takeaway is simple:
| Your goal | Better starting choice | Likely effect |
|---|---|---|
| Large baking potatoes | Moderate or wider spacing, one sound piece per site | Fewer competing stems and more room for individual tubers to bulk. |
| Many small new potatoes | Early variety, moderate-to-higher stem density, early harvest | More small tubers, but less time and space for them to reach mature size. |
| A balanced harvest | Pieces around 1.5–2.5 ounces, about 10 inches apart | A middle ground between plant count and tuber size. |
Spacing is not a contest to fit the most seed into a container or bed. Overcrowding can give you a lush canopy and a disappointing number of usable potatoes because each plant is competing for light, water, nutrients, and loose soil.
Soil, sunlight, and moisture
Potato plants need a productive leaf canopy to fill underground tubers. Full sun, loose soil, reliable drainage, and even moisture during tuber formation matter more than a special trick. WSU Extension describes potatoes as a crop for spring through early fall and recommends well-spaced seed pieces in rows, while Oregon State University Extension warns that both excessive wetness and dry conditions can damage crop performance, with dry conditions especially harmful during tuber bulking (WSU Extension; Oregon State University Extension).
Aim for soil that is moist but not saturated. A rule of thumb such as about 1 inch of water per week can help you notice when rainfall is short, but sandy soil, clay soil, heat, mulch, rainfall intensity, and container size all change how quickly the root zone dries. Check the soil rather than watering on autopilot.
Foliage damage matters because leaves are the plant’s food-making system. Colorado potato beetles, late blight, frost, heat, and physical breakage can reduce the green canopy before the tubers finish bulking. The plant may still look alive while producing far fewer or smaller potatoes than its potential.
How to turn one potato into several healthy plants
Start with certified seed potatoes when you want the most predictable result. Certified seed has been inspected for quality and disease; a grocery potato may sprout, but it may also be treated to slow sprouting or carry problems you do not want to introduce to the garden. The NDSU guidance recommends certified seed and notes that produce-section potatoes are often treated with sprout inhibitors (NDSU Extension).
True potato seed is a different thing again. It comes from the small berries that can form on potato plants and is useful for breeding or experimenting, but the seedlings are genetically variable and will not reliably reproduce the same variety, appearance, yield, or quality as the parent. For an ordinary home harvest, plant seed tubers or pieces of seed tubers.
Cut and heal seed pieces safely
Use this sequence for a large seed potato:
- Choose a firm, disease-free tuber with several healthy eyes.
- Use a clean, sharp knife and cut blocky pieces rather than thin slivers.
- Keep at least one viable eye on each piece; two eyes give you useful insurance when one fails.
- Aim for pieces of about 1.5 ounces or more, with roughly 2 ounces a practical target for many garden situations.
- Let the cut surface heal in a cool, airy, humid place for a few days if planting conditions allow, or plant promptly only when the soil is suitable and the seed source guidance supports it.
- Discard pieces that are soft, leaking, badly bruised, or showing rot.
Healing, also called suberization, gives the cut surface a protective layer. Planting freshly cut pieces into cold, wet soil increases the chance of decay; planting into hot, dry conditions can dehydrate them. University of Minnesota Extension recommends clean tools, airflow, and controlled healing conditions, while NDSU gives a three- to four-day healing window for home gardeners (University of Minnesota Extension; NDSU Extension).
Plant, hill, and protect the developing tubers
Plant pieces with the eyes facing up, about 4 inches deep in a well-drained bed, and roughly 10 to 12 inches apart in the row. The exact depth and spacing vary with cultivar and soil, but starting too shallow leaves tubers vulnerable to light and temperature swings, while crowding makes it harder to build a productive plant.
As shoots grow, pull loose soil around the stems in one or more rounds. Hilling gives developing tubers more covered soil and helps prevent greening. It is not a magic command that forces unlimited potatoes along every buried inch of stem; its dependable jobs are protecting tubers from light, adding usable soil volume, and keeping the planting ridge workable.
Keep the soil evenly moist through emergence and especially during tuber bulking, but do not keep it waterlogged. Feed based on a soil test or a fertilizer labeled for vegetables rather than pushing high nitrogen simply because the foliage looks small. A huge canopy is not the same as a large harvest if the plant is slow to set or bulk tubers.
Container math is different from garden-bed math
One seed potato in a grow bag does not have the same yield potential as one seed potato in a deep, open bed. Containers are useful for early potatoes, balconies, and poor native soil, but their boundaries are real: limited soil volume, faster drying, warmer roots, and less room for a spreading stolon zone.
Use the container’s usable growing volume to decide how many seed pieces to plant, not the number that fits on the surface. BBC Gardeners’ World recommends large bags or containers for early and salad potatoes and spaces seed potatoes about 25 centimeters apart in containers (BBC Gardeners’ World). A small bag may take one piece; a large, deep bag may take several, but crowding it with extra pieces rarely produces a proportional increase.
Containers also make watering mistakes more severe. Check moisture more often during warm weather, keep drainage holes open, and add soil or compost around growing stems gradually so tubers stay covered. If your priority is maximum total weight, a well-prepared bed usually gives each plant more root-zone and stolon space than a small pot.
Why a leafy potato plant can still produce very little
Potato foliage is only half the story. A plant can look tall and green while the underground crop is weak if it has been overfed with nitrogen, grown in shade, planted too densely, or stressed during the short period when tubers are setting and bulking.
Use the pattern to narrow the cause:
- Tall, dark-green vines with few tubers: suspect excess nitrogen, too much shade, excessive stem density, or a variety that needs more time.
- Small plants that stop growing: check cold soil, poor seed pieces, compacted soil, drought, or early disease.
- Many tiny tubers: look at crowded spacing, many stems per seed piece, early harvest, or a short season.
- Green patches on exposed tubers: the hilling or soil-cover problem is immediate; green potatoes should not be eaten.
- Wilted, spotted, or collapsing foliage: inspect for pests or disease before adding fertilizer or water.
- Soft seed pieces or missing plants: cold, wet soil, decay, or poor healing may have reduced the stand before yield was possible.
The right response is rarely “add more fertilizer.” First confirm that the plant has light, healthy foliage, usable soil volume, and stable moisture. Then adjust the next planting’s seed-piece size, spacing, cultivar, or timing.
When to dig for new potatoes or a full harvest
Harvest timing changes both count and size. For new potatoes, begin checking after flowering or around the early variety’s expected harvest window. Gently feel below the plant or make a small test dig, taking only what you need and leaving the rest to bulk.
For mature potatoes intended for storage, wait until the foliage naturally yellows and dies back or until the cultivar reaches its stated maturity window. Test one plant before digging the whole row: mature skins should resist rubbing rather than peeling off easily. Harvest on a dry day when practical, lift carefully to avoid bruising, and keep damaged tubers separate.
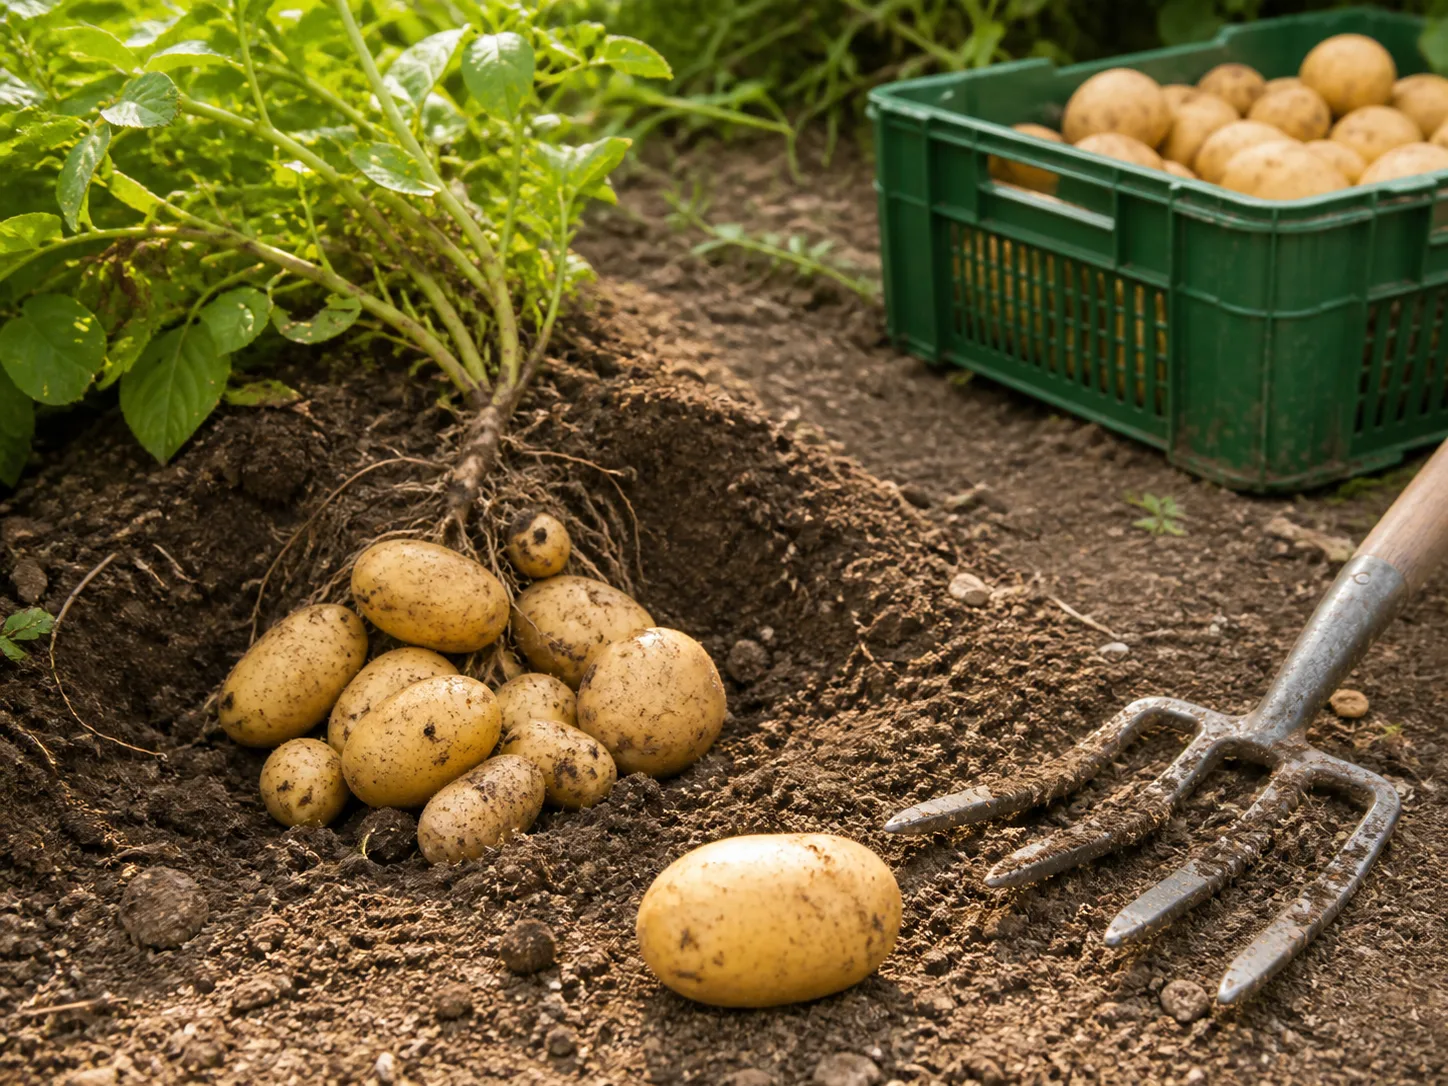
Do not use flowers as a universal signal that every variety has finished. Flowers can tell you that new potatoes may be forming, but they do not guarantee full-size tubers. Likewise, a calendar date is only a starting point because soil temperature, planting date, cultivar, and weather change the timeline.
Troubleshoot a disappointing harvest by reading the clues
If you harvested fewer potatoes than expected, work backward instead of guessing. Count how many seed pieces actually became healthy plants. If four pieces were planted but only two plants emerged, your final harvest is already limited by stand loss. Inspect the missing sites for rotted seed, cut pieces that were too small, animal disturbance, or waterlogged soil.
Next, ask whether the plants had enough green leaves for long enough. A crop that lost foliage to blight, beetles, frost, or drought before bulking ended may have set tubers but failed to fill them. If the canopy was healthy, check spacing and stem count: a crowded planting often gives many small tubers, while one under-spaced plant may have had insufficient soil volume or moisture.
Finally, separate low count from low size. A low count points you toward poor seed-piece viability, low stem production, cultivar traits, or severe stress. A normal count of tiny potatoes points more toward early harvest, high stem density, crowding, drought during bulking, or a variety harvested before maturity. That distinction tells you what to change next season.
Conclusion: count the plants, then set realistic harvest goals
One whole seed potato usually gives you one plant, and one healthy plant often produces a handful—roughly 5 to 10—of harvestable potatoes. A large potato can be cut into several properly sized, eye-bearing pieces, turning one tuber into several plants and multiplying the total harvest by plant count.
The reliable way to plan is to count viable seed pieces, give each one enough space, and estimate pounds as well as tubers. Use certified seed, cut and heal pieces carefully, hill to keep tubers covered, maintain even moisture, protect the leaf canopy, and choose your harvest date based on whether you want new potatoes or mature storage potatoes. Those choices matter more than any single promised number.



