How to Grow an Avocado From Seed
Learn how to grow an avocado from seed using water or soil, orient the pit correctly, manage warmth and moisture, and pot the sprout without damaging its roots.
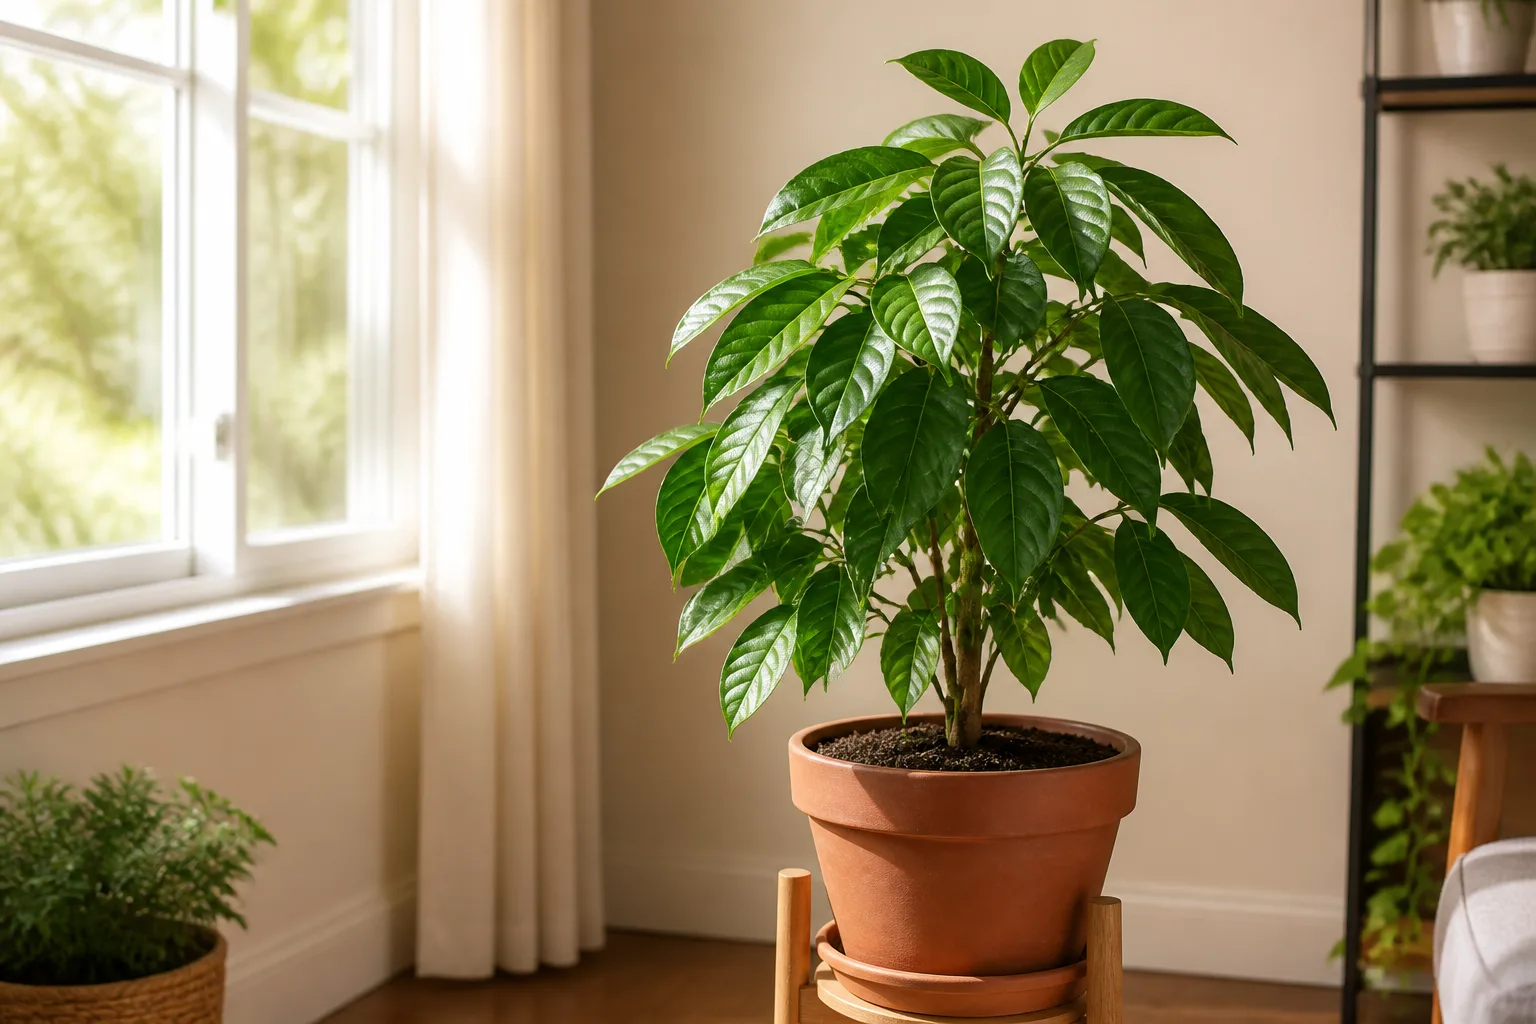
An avocado pit can become a handsome houseplant, and watching its root emerge is a satisfying project. Start with a fresh pit, keep it warm, and give the new root oxygen as well as moisture. You can suspend it over water or plant it directly in a pot; neither method turns a grocery-store avocado into a predictable fruit tree.
The flat end of the pit is the base, where the root emerges. Keep that end damp, place the pointed end upward, and resist the urge to dig the seed up every few days to see what is happening. Below are both reliable home methods, cues for moving a sprout into soil, and realistic expectations for the tree that follows.
What to Expect From a Seed-Grown Avocado
Growing from a pit is best treated as a low-cost propagation experiment or a way to raise a leafy indoor plant. It is not a dependable way to reproduce the avocado you ate. UF/IFAS Extension explains that most avocado varieties do not come true from seed, which is why commercial trees are propagated vegetatively, commonly by grafting. A seedling can look attractive while still growing into a tree with unknown fruit quality, size, and bearing habits.
The Royal Horticultural Society (RHS) describes seed-grown avocados as interesting foliage plants that usually do not flower or fruit in a home. Fruiting can take a decade or longer and requires conditions most rooms cannot provide, including strong light, warmth, humidity, and space. If your goal is a named variety or a predictable harvest, buy a grafted tree suited to your climate. If you want to watch a seed germinate and raise a tropical-looking plant, a kitchen pit is a fine place to begin.
Choose a Germination Method
The water method makes the root and shoot easy to observe, which is why many people enjoy it. Direct sowing avoids transferring a water-grown root into potting mix and lets the seed establish in the medium where it will continue growing. Both can work; the seed’s freshness, warmth, moisture, and drainage matter more than a supposed trick that promises unusually fast results.
| Method | Choose it when | Main trade-off |
|---|---|---|
| Suspended over water | You want to see the root and shoot develop | You must monitor water level and move a delicate root into soil later |
| Directly in potting mix | You prefer fewer handling steps and a soil-grown start | Germination is hidden, so you need patience and careful moisture checks |
The RHS supports both approaches: starting the pit in water or sowing it in damp seed compost. Pick the one you are more likely to maintain steadily. Do not switch methods repeatedly because a seed has not changed in a week; avocado germination is not that predictable.
Prepare the Pit
Choose a plump pit from a ripe, healthy avocado and start it soon after removing it. Rinse away all fruit flesh, because residue left in a warm, wet setup can encourage surface mold. Pat the pit dry so it is easier to handle, but do not leave it out for days until it shrivels. If the thin brown skin is already loose, you may peel it gently; removing it is optional, and prying at a tight coat can damage the seed.
Find the two ends before planting. The broader, flatter end, often marked by a pale circular scar, is the base and should point down. The narrower, slightly pointed end is the top, where the shoot will emerge. Avoid cutting, splitting, or carving the pit; a nick can injure the embryo and gives rot an easier entry point.
Method 1: Start the Seed in Water
Use a clean glass or jar with a mouth narrow enough to support the pit, or use three or four clean toothpicks. Rinse the pit, then suspend it with the broad base down and the pointed end up. Set the waterline so it touches and covers only the bottom portion of the pit; do not submerge the whole seed.
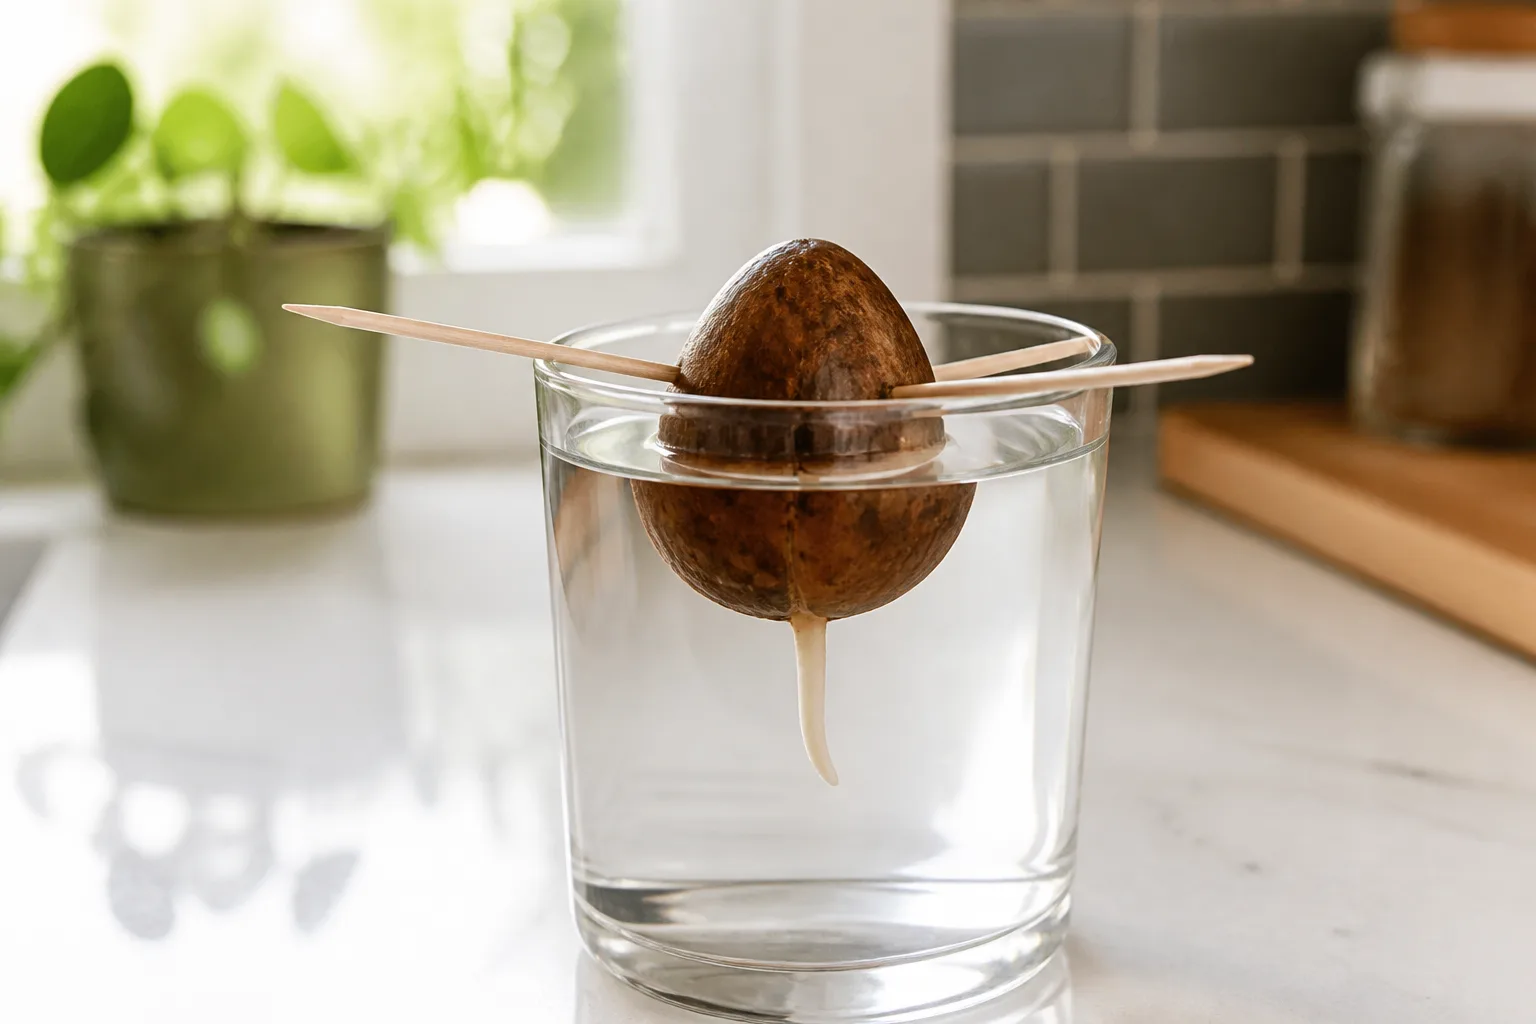
Place the jar in a consistently warm spot with bright light nearby, but out of harsh direct sun that heats the glass. Keep the base in contact with water as it evaporates, and refresh the water regularly rather than letting it become cloudy or slimy. The root usually emerges from the broad base after the seed coat cracks; the shoot then grows from the upper end.
Maintain the Water Method
Check the jar every few days. Top it up if the waterline drops, and replace the water if it becomes cloudy, develops an odor, or has visible film. Rinse the glass during a water change so old residue does not build up around the pit. There is no need to add fertilizer, sugar, or rooting products to the water.
Warmth is more useful than an aggressively sunny windowsill. The RHS recommends about 20–25°C (68–77°F) for the water method and notes that germination may take eight weeks or more. A cooler room can slow the process, so move the jar away from cold windows and drafts before deciding that the seed has failed. If the pit becomes soft, collapses, or smells rotten, discard it and start again with a fresh one.
Method 2: Sow the Seed in Soil
Direct sowing suits anyone who wants to skip the glass stage. Choose a small pot with drainage holes and fill it with a loose, free-draining seed-starting or houseplant mix. Moisten the mix evenly before planting; it should feel damp, not muddy, and water should drain freely from the pot.
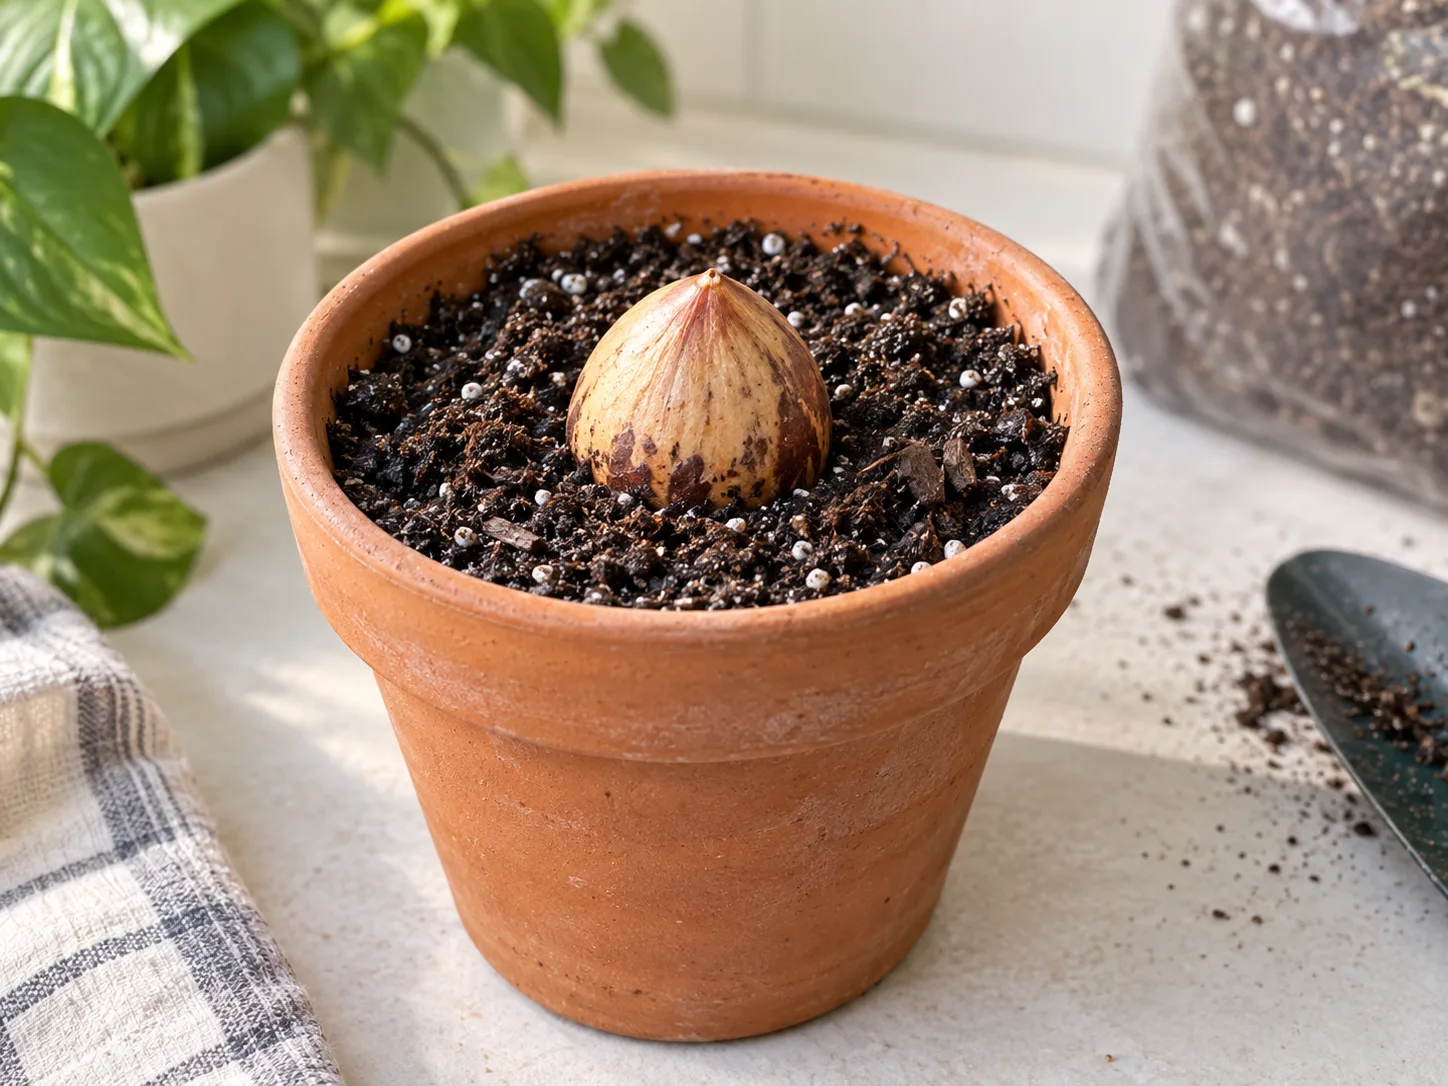
Place the pit in the center with the base down and pointed end up. Keep the pot warm in bright, indirect light, and check the mix with a fingertip rather than watering on a fixed daily schedule. The top may dry slightly between waterings, but the seed itself should not be left to desiccate.
Set the Pit at the Correct Depth
Set the lower half of the seed in the mix and leave the upper half visible. This keeps the base moist while allowing air to reach the exposed part, and it makes it easier to notice splitting or early growth. Do not bury the entire pit or press the mix into a dense, soggy plug around it.
Use a pot only modestly wider than the pit. A very large container holds more wet mix than a small seedling can use, which can leave the root zone airless for longer. Make sure the drainage holes are open, empty any water that collects in the saucer, and avoid placing the pot directly over a heater.
How Long Germination Takes and What You’ll See
Expect weeks rather than days. The RHS says water-started seeds may take eight weeks or more; some pits take longer, and the exact timing depends on seed condition and temperature. A crack in the seed is usually a normal part of germination, not a sign that the pit has split in half and failed. First look for a root from the flat end, then a shoot from the pointed end.
For a water-started pit, keep maintaining the setup while the root lengthens and the shoot develops. For a soil-started pit, do not dig it up to check for a root: repeated disturbance can snap new growth. If nothing has emerged after several weeks, confirm that the seed is warm, the base has not dried out, and the medium is damp rather than waterlogged. If the pit stays firm and healthy, waiting longer is reasonable; if it turns soft and foul-smelling, it is rotting rather than simply slow.
Pot a Water-Started Seedling at the Right Stage
Do not transfer the pit as soon as the first root tip appears. Let the root grow and branch, and wait until the shoot has leaves; the RHS recommends moving it once the plant has several leaves and plenty of fibrous roots. That gives the young plant more ability to take up water after the change from a jar to potting mix.
Choose a pot with drainage holes and a well-draining mix. Make a planting hole wide enough for the root to sit naturally without bending it sharply. Lower the root into the mix, keep the seed upright with about half of it exposed above the surface, and firm the mix lightly around the root. Water once to settle the medium, let excess drain, then keep the plant warm while it adjusts. A little pause in visible growth after transplanting is normal; constant sogginess is not.
Give the Seedling Light and Warmth
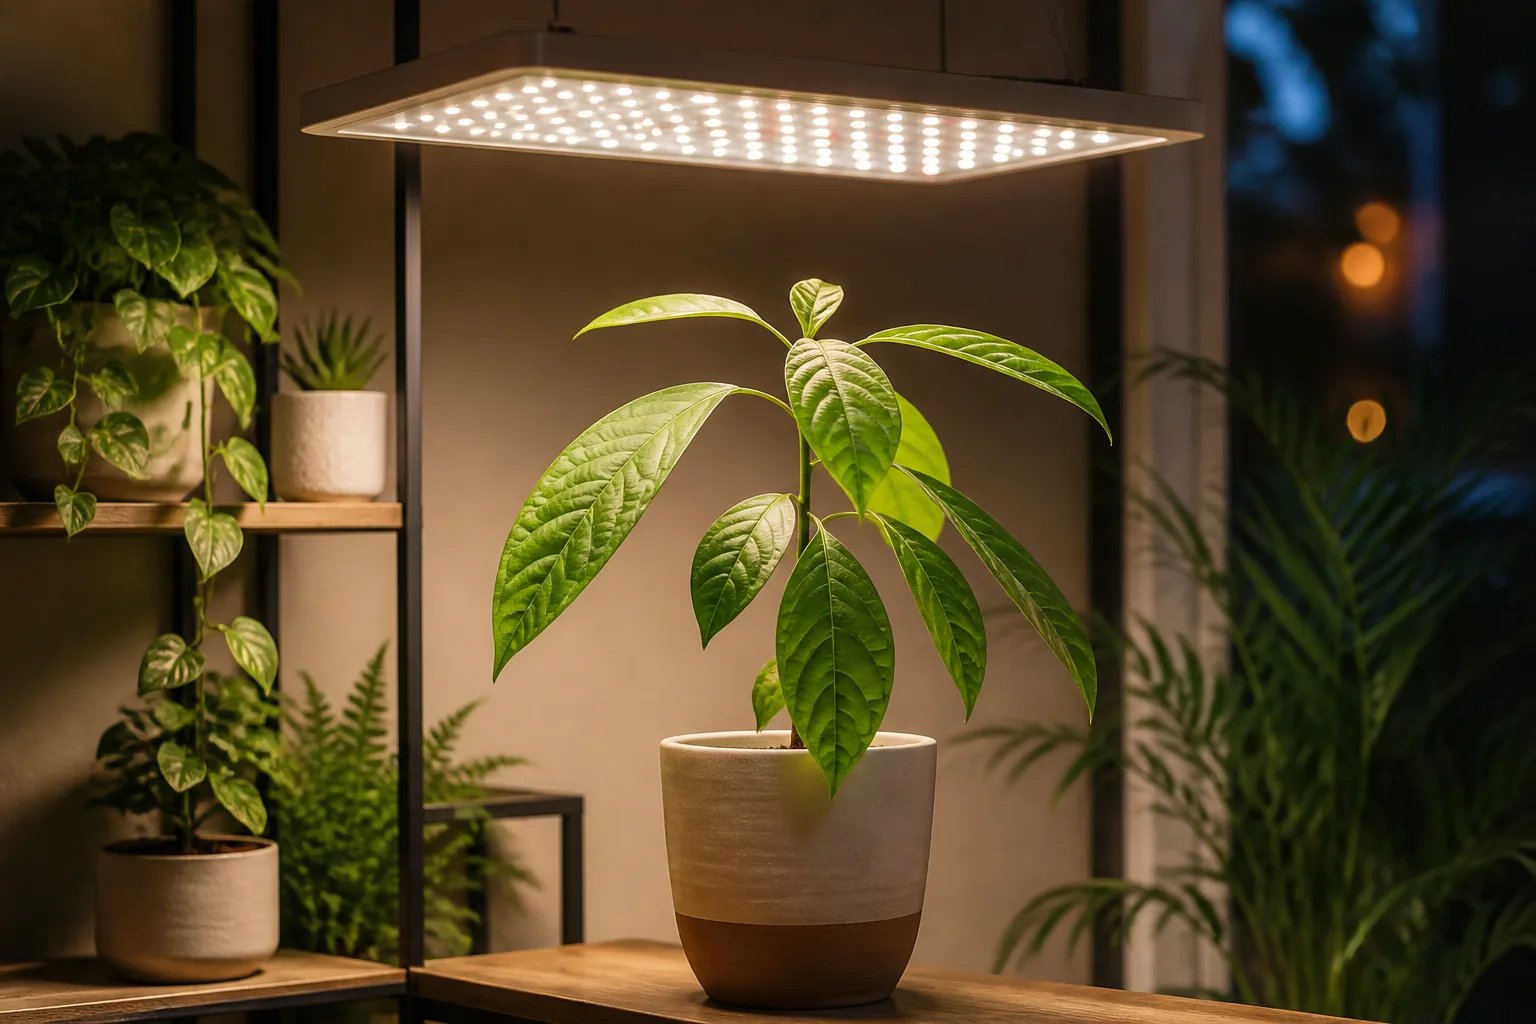
Once leaves appear, move the plant to the brightest position available while protecting it from cold drafts and sudden temperature swings. A bright window with several hours of strong light is a useful start; if the stem leans sharply toward the glass or grows long with wide gaps between leaves, it is asking for more light. A grow light can help in a dim room, especially through winter, but place it according to the fixture’s instructions rather than assuming every lamp can sit close to foliage.
Avocado is a tender tree, not a frost-hardy houseplant. Keep a young seedling indoors when nights are cold, and do not leave it against a freezing window. RHS guidance recommends keeping indoor plants at roughly 13–18°C (55–65°F) in winter; warmer, stable conditions support growth, but an overheated radiator can dry the pot and leaves.
Water by Checking the Potting Mix
A seedling needs steady moisture, but its roots also need air. Push a finger about 2–3 cm into the mix; water when the top layer has begun to dry, then soak the root ball until water exits the drainage holes. Empty the saucer afterward. Do not keep the pot standing in water or follow a schedule that ignores the room, pot size, and season.
If leaves droop while the soil is wet, adding more water is likely to make matters worse. Check that the pot drains, that the mix is not compacted, and that the base of the stem is not sitting in a puddle. UC IPM notes that avocado roots are vulnerable in poorly drained or standing water, and overwatering predisposes trees to root and crown rot. That guidance concerns established avocado trees, but the same practical warning applies to a small container: use a drainable mix and let excess water escape.
Feed, Repot, and Shape the Plant Gradually
Do not fertilize an unsprouted pit. After the seedling has settled into its pot and is producing new leaves, feed lightly during active growth using a balanced fertilizer labeled for container plants, following the package rate. More fertilizer will not force a dormant pit to sprout, and concentrated feed can injure young roots.
Repot when roots reach the drainage holes or the mix dries unusually quickly, not just because the plant has added a few leaves. Move up one pot size at a time and keep the seed at the same height in the mix. To encourage a bushier shape, you can pinch or cut back the growing tip after the stem is established and has several sets of leaves. This is optional: leaving the tip intact lets the plant grow taller, while pinching trades some height for branching.
Move the Plant Outdoors Without a Cold Shock
In a warm, frost-free climate, a seedling can eventually grow outdoors in a sheltered site with strong light and freely draining soil. In cooler regions, treat it as a container plant that spends warm weather outside and returns indoors before cold nights. A seedling grown on a windowsill is not acclimated to direct midday sun, wind, or outdoor temperature swings.
Harden it off over about a week: begin in bright shade for a few hours, then gradually increase its time outside and its exposure to gentle morning sun. Bring it back in if nights turn chilly, leaves scorch, or strong wind is forecast. UF/IFAS Extension emphasizes that avocado cold tolerance varies by variety and conditions, and even named trees can be injured by low temperatures; a seedling of unknown parentage is an especially poor candidate for an unprotected cold-climate planting.
Understand the Odds of Getting Fruit
A seedling may eventually become a tree, but it does not preserve the cultivar of the fruit it came from. UF/IFAS Extension describes seed-grown trees as genetically variable and explains why growers use grafting to reproduce desirable varieties. Fine Gardening likewise presents the toothpick-and-glass approach as a fun way to start a plant, while warning that fruit from a seedling can take many years.
Indoor plants rarely receive the combination of light, humidity, space, and maturity needed to flower and set fruit. Even outdoors, a seed-grown tree may take a decade or more, grow larger than expected, and produce fruit unlike the parent—or none that is worth harvesting. If your aim is reliable fruit, choose a grafted variety recommended for your local climate and growing space. If your aim is a leafy plant and an engaging project, enjoy the seedling for what it is.
Troubleshoot a Pit That Stalls or Rots
Use the seed’s condition and the growing setup to decide what to change. A normal split is part of germination; a mushy, collapsing pit with a sour smell has deteriorated. For a stalled seed, make one correction at a time rather than peeling, cutting, soaking, and repotting it in quick succession.
| What you see | Likely issue | What to do |
|---|---|---|
| No change after a few weeks | Cool conditions, old seed, or simply slow germination | Move to a warmer stable spot, keep the base moist, and give a firm seed more time |
| Water turns cloudy or smells | Water has not been refreshed or the pit is decaying | Rinse the jar and replace the water; discard a soft, foul-smelling pit |
| Pit cracks but no shoot appears | The seed is still developing, or conditions are too cool | Keep it warm and avoid pulling the root or separating the halves |
| Soil stays wet for days | Pot is too large, mix is compact, or drainage is blocked | Clear the holes, empty the saucer, and let the surface dry slightly before watering again |
| Seedling wilts in wet mix | Roots may be oxygen-starved or damaged | Stop watering until the mix begins to dry and confirm that water drains freely |
Surface fuzz alone does not prove the seed is lost; fruit residue and constant dampness can grow mold on the outer coat. Rinse the seed gently, clean the glass or pot rim, and improve air exchange around the setup. If the seed itself is soft or breaking down, replacing it is usually more useful than applying a household fungicide.
Common Avocado-Seed Growing Mistakes
- Pointing the wrong end down: set the broad, flat base toward water or soil so the root can emerge downward.
- Submerging the entire pit: keep only the base in water; full immersion deprives the upper seed of air.
- Keeping soil saturated: damp is not the same as waterlogged; drainage holes must remain open.
- Expecting a quick result: a few quiet weeks are normal, and eight weeks or longer is possible.
- Transplanting a tiny water root: wait for a longer, branched root and several leaves, then handle it gently.
- Assuming the pit will make the same fruit: seed-grown trees vary, while grafted plants preserve a known cultivar.
The simplest routine works best: fresh pit, correct orientation, stable warmth, enough moisture, and patience. When the seedling has roots and leaves, shift your attention to light, drainage, and gradual potting rather than trying to hurry it with fertilizer or extra water.
Conclusion
To grow an avocado from seed, clean a fresh pit, point its broad base down, and choose either a water jar or a small pot of moist, free-draining mix. Keep it warm, refresh water or check soil moisture regularly, and wait for the root and shoot instead of disturbing the seed. A water-grown plant is ready for potting when it has several leaves and a healthy, branching root system.
After that, give the young avocado bright light, warmth, careful watering, and room to grow. Enjoy it as a foliage plant or propagation project; for dependable fruit, start with a grafted tree selected for your climate.