How to Grow Beets: Timing, Spacing, and Harvesting
Grow beets with a seed-to-harvest plan: choose varieties, sow for your climate, space seedlings, manage water and pests, and store roots and greens separately.
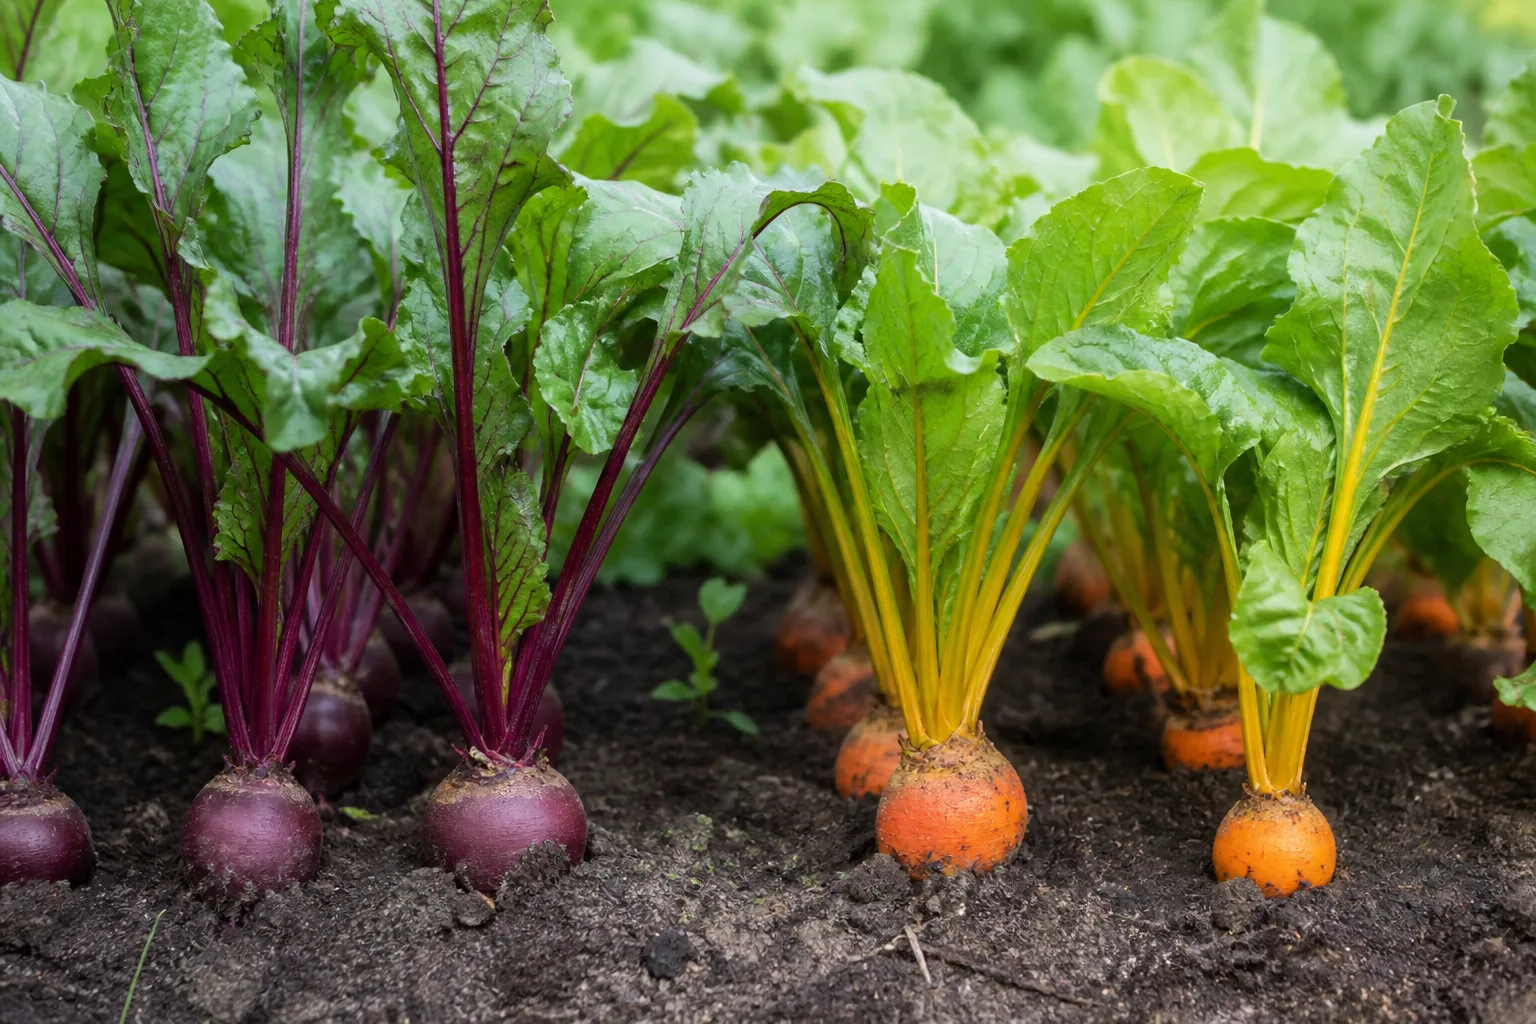
Beets are most dependable when you sow them straight into loose soil during a cool part of the year, then thin each seed cluster so one plant has room to swell. Keep the seedbed damp until seedlings emerge and maintain even moisture as roots develop; crowding, compacted soil, heat, and alternating dry and wet spells are more common reasons for disappointing roots than a lack of fertilizer.
You can harvest the leaves and roots from the same planting, but they ask for different things: frequent leaf picking favors greens, while a generous canopy helps roots size up. Plan around your local temperatures, choose a variety for the kind of beet you want, and harvest in stages so a few roots do not get too large while the rest are still small.
Choose a Beet for Your Harvest Goal
Most garden beets belong to Beta vulgaris. Garden centers and seed catalogs sell round red roots, golden or white varieties, red-and-white striped types, and longer cylindrical cultivars. The difference is useful, not merely decorative: a compact round beet fits a small bed, a cylindrical root makes uniform slices, and a golden or striped cultivar adds different colors to meals. Fine Gardening’s variety overview also notes that beet foliage is edible and that some cultivars are grown as much for their leaves as for their roots. (Fine Gardening)
| If you want… | Consider… | What to keep in mind |
|---|---|---|
| Dependable round red roots | ‘Detroit Dark Red’ or ‘Red Ace’ | A versatile choice for fresh eating and preserving; check the packet for days to maturity. |
| An earlier harvest | ‘Early Wonder’ or another early cultivar | Earlier maturity helps where spring turns hot quickly, but the weather can still slow or speed the crop. |
| Yellow roots | ‘Golden’ or a named golden hybrid | Color varies by cultivar; follow the supplier’s germination notes if past seed lots emerged unevenly. |
| Striped roots | ‘Chioggia’ | The ringed interior adds a contrasting pattern when sliced. |
| Long, even slices | ‘Cylindra’ or another cylindrical type | Allow depth and space for the shape; harvest while roots are tender. |
| More leaves | ‘Bull’s Blood’ or ‘Lutz Green Leaf’ | Both have attractive, useful tops; leave enough foliage on plants whose roots you also want. |
Days-to-maturity figures vary by seller, seed lot, and conditions, so treat them as a prompt to start checking—not a guaranteed harvest date. Iowa State Extension lists examples ranging from roughly 40 days for young ‘Bull’s Blood’ roots to 80 days for ‘Lutz Green Leaf’; a cool spell, dry bed, or late-season short day length can stretch the timeline. (Iowa State University Extension)
Time Planting Around Cool Weather
Beets are a cool-season crop. They can handle light frost, but seed germination and root growth are less reliable when soil is cold and waterlogged or when a newly emerged crop is held in prolonged chill. Utah State University Extension reports that seed can be sown once soil reaches about 40°F (4°C), germinates best around 55–75°F (13–24°C), and may germinate less well above 80°F (27°C); plants grow best before temperatures regularly exceed about 85°F (29°C). Use soil temperature and the local forecast as guides, not just a calendar date. (Utah State University Extension)
Spring sowing
In a cold-winter climate, sow outdoors as soon as the bed is workable and the soil has warmed enough for germination. That is often two to four weeks before the average last spring frost, but a stretch of cold, wet weather can make an earlier planting stall. If you sow into cold soil, expect slower emergence; the important conditions are a prepared bed that drains and a seed row that does not dry out or crust.
For a longer spring harvest, sow a short row every two or three weeks while weather remains mild. Stop sowing into a spell of sustained summer heat, especially if nights stay warm and the soil surface dries quickly. A second sowing can be timed for late summer once temperatures begin to ease. In hot-summer regions, shade cloth during establishment and careful moisture management may help, but beets still perform more predictably in the cool season than in midsummer heat.
Fall sowing and mild-winter climates
For fall roots, count backward from the first hard freeze using the maturity range on your packet, then add a buffer for slower growth as autumn days shorten. Many gardeners sow about eight to ten weeks before a likely hard freeze; a fast cultivar and mild fall can need less time, while a short-season garden may need more. Sow early enough for roots to size before growth slows, and irrigate consistently during hot late-summer weather while seedlings establish.
In mild-winter climates, fall or winter sowings can replace the spring-and-fall pattern used in colder regions. Avoid the hottest months, then sow as nights cool and soil moisture becomes easier to maintain. Where summers are cool, successive sowings can continue longer. Frost dates are estimates, not guarantees: harvest before a hard freeze if the bed is exposed, and use a low tunnel or row cover only when it fits the local forecast and pest history.
Beets are biennial: if they survive through winter and experience the right chilling conditions, they may send up a flower stalk in the next growing season. Cold exposure can also trigger premature bolting in plants started too early. If a beet begins flowering, harvest roots that are still firm and usable; it is unlikely to return to steady root growth. (University of Maryland Extension, Utah State University Extension)
Prepare a Root-Friendly Site and Soil
Give beets a sunny bed that receives about six or more hours of direct light. They can grow with some afternoon shade, particularly where summers are warm, but less light usually means slower root sizing. In a raised bed or garden row, choose a spot you can weed and water without stepping on the soil around the plants.
Roots expand best in soil that is loose, stone-free, and well drained. Before sowing, loosen the top 8–10 inches with a fork and remove rocks, sticks, and dense clods that may split or distort a developing root. Heavy clay does not make beets impossible, but compacted clay and standing water make root shape and disease problems more likely. Blend in mature compost to improve structure; avoid digging in fresh manure, which can be salty, lumpy, and too rich in readily available nutrients.
Beets tolerate a fairly broad soil range, but mildly acidic to neutral soil is a safe target. Cornell’s beet production guide recommends avoiding soil below pH 6 and lists a 6.5–6.8 target; for a home garden, use your local soil test and Extension recommendations to decide whether pH correction is needed. If you garden in a tight space, a raised bed can be easier to keep friable and weed-free than a compacted lawn-edge strip. (Cornell Cooperative Extension)
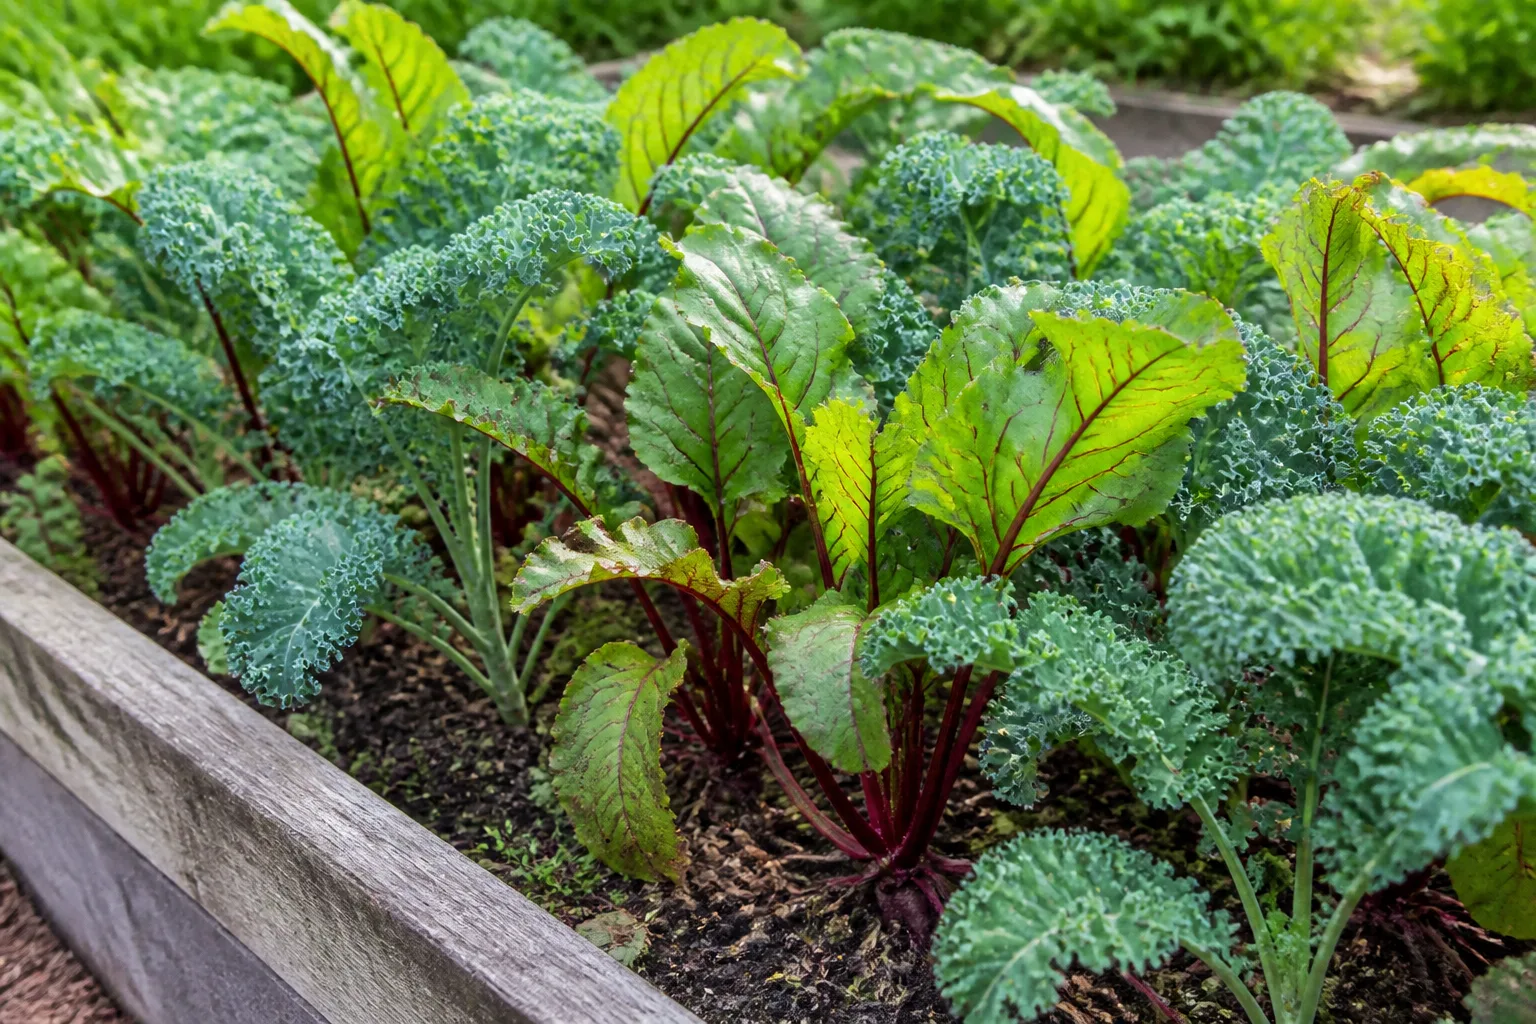
This bed image shows beets next to kale, but do not crowd roots simply because the neighboring crop has a different root system. Keep enough open space for beet tops, airflow, and weeding, and rotate beets to a different bed from the previous year when possible. Rotation helps reduce the buildup of soilborne problems; it cannot prevent every pest, especially leafminers that move among several vegetable hosts. (Cornell Vegetables)
Sow Seeds Directly
Direct sowing is the easiest way to grow well-shaped roots because it avoids disturbing the taproot. Make a shallow furrow about ½ inch deep, sow seeds 1–2 inches apart, and cover them with fine soil. Space rows roughly 12–18 inches apart so you can reach the bed and weed between them. The Royal Horticultural Society gives similar sowing depths and spacing for outdoor beetroot; check the seed packet if it gives different guidance for a particular cultivar or pelleted seed. (Royal Horticultural Society)
Water the row gently after sowing so seeds make firm contact with the soil. Keep the top layer evenly damp until the seedlings emerge, which can take a week or two in favorable soil and longer when it is cold. A fine layer of sifted compost or light mulch can reduce crusting and help retain moisture, but do not smother the row with a thick mulch before seedlings break through. If rain is heavy, use a gentle spray or watering can to avoid washing seed into a clump.
The rough object sold as a beet “seed” is usually a dry fruit cluster containing multiple embryos, so one spot may produce several seedlings. A monogerm type has one embryo per fruit and can simplify spacing, but check the packet; do not assume every seed is a single plant. Pelleted seed is easier to place precisely, but the pellet must stay consistently moist until it dissolves and the seed germinates. (University of Maryland Extension, Johnny’s Selected Seeds)
You can soak untreated seeds overnight if your seed packet recommends it or if germination has been slow in your garden. It is optional, not a substitute for keeping the seedbed moist. After soaking, sow promptly and maintain even moisture; dried soaked seed and standing water both make establishment less predictable.
Thin Seed Clusters for Straight Roots
Thinning is the step that converts a crowded tuft into individual roots. When seedlings have their first true leaves and are around 2–3 inches tall, choose the strongest plant in each cluster and clip the others at soil level with small scissors. Pulling seedlings can loosen the plant you want to keep, especially in a dry or crusted row. Thin to about 3–4 inches between plants for ordinary round roots; give larger storage varieties a little more room. For baby beets, you can keep them closer and harvest earlier.
If you prefer a staggered harvest, thin in two passes: first remove the weakest seedlings when clusters become clear, then take alternate plants later as baby roots and leave the remaining beets to size. Use the removed seedlings as greens if they are clean and tender. Fine Gardening’s practical guide stresses that each beet fruit can contain multiple seeds and that careful thinning is what gives roots room to develop. (Fine Gardening)
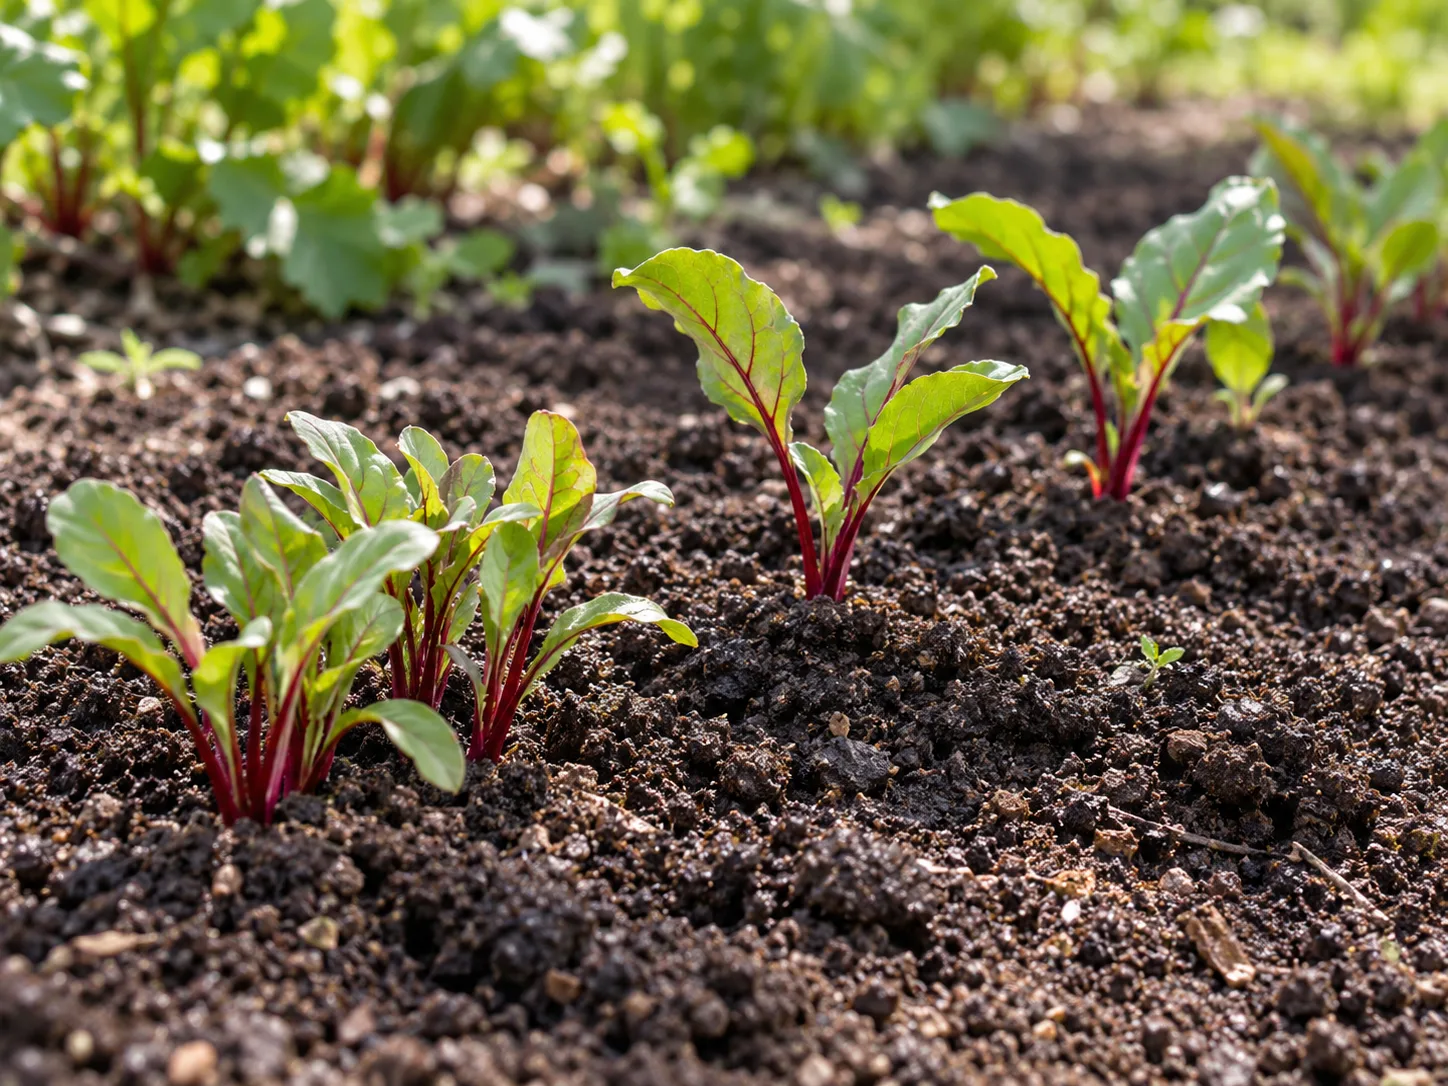
You may see advice to grow several beets as a clump, but that trades uniform, round roots for more small or misshapen ones. It can work if the goal is greens or very small roots and the seed packet supports that method. If you want full-size beets, leave one plant per position so each root has an unshared pocket of soil.
Water, Weed, and Feed for Steady Growth
Aim for evenly moist soil, especially from germination through early root development. A rough starting point is about an inch of water per week from rain and irrigation combined, but sandy soil, a hot spell, wind, and containers can require more frequent watering. Check moisture a finger’s depth below the surface; water deeply when that zone is beginning to dry rather than sprinkling a little every day after seedlings establish.
Irregular moisture can slow growth and contribute to cracked roots. Utah State University Extension notes that moisture fluctuations may cause cracking, slow leaf development, and low yields. If the soil dries hard, rewet it gradually instead of flooding a parched bed, and mulch lightly once seedlings are established to reduce evaporation. Water at soil level when possible; keeping leaves wet overnight encourages leaf-spot diseases. (Utah State University Extension)
Keep the row weed-free while beets are small. Beet seedlings grow slowly at first and do not compete well with weeds, so remove invaders while they are tiny. Cultivate shallowly and pull weeds close to the surface; deep hoeing can cut fine beet roots or damage the shoulder of a developing root. Once a light mulch is in place, check underneath it periodically so weeds are not hidden against the stems.
Do not fertilize by calendar if the bed is already fertile. A soil test is the best guide; too much nitrogen can push abundant leaf growth at the expense of roots. If a test shows low fertility, use a balanced vegetable fertilizer according to its label before sowing or early in growth, keeping granules away from leaves and stems. Beets need boron, but the margin between too little and too much is narrow, so do not add borax or boron supplements without a test and local recommendations. (Cornell Vegetables)
Grow Beets in Containers
Choose a container with drainage holes and at least 10–12 inches of usable depth for ordinary round beets; longer varieties need more depth. A pot that is wide enough for several plants is more useful than a narrow, deep pot because each beet needs room across the row as well as below the surface. North Carolina State Extension lists an 8-inch minimum depth for beets, but a deeper container gives the roots and watering routine more margin, especially in warm weather. (NC State Extension)
Fill the pot with a loose, well-drained potting mix rather than dense garden soil, which can compact in a container. Sow seeds directly into the final pot, then thin to the same spacing you would use in a bed. Select a compact round or baby-beet variety for a shallow container; use a deeper pot for cylindrical or larger storage roots. Set it where plants receive several hours of direct sun, and expect container soil to dry faster than a garden bed. Check moisture daily in hot, windy weather without leaving the roots in standing water.
Prevent Pests and Spot Common Problems
Inspect the row once or twice a week, looking under leaves and around the crown. Early detection gives you a chance to remove a few damaged leaves, correct watering, or cover young plants before a problem spreads. Avoid spraying at the first hole or spot: many beet crops recover from light leaf damage, and an unnecessary pesticide can harm beneficial insects without fixing the underlying issue.
Leaf miners and flea beetles
Leafminers leave pale winding trails or blotches inside beet leaves as larvae feed between the leaf surfaces. They may make greens unattractive, but minor leafminer damage often has little effect on a beet grown primarily for its root. Remove a badly mined leaf if the damage is small; keep sound leaves on the plant. Minnesota Extension says natural enemies often keep leafminers in check and that treatment is generally unnecessary on root beets when only the leaves are affected. Fine-mesh row cover can help in a bed without a recent leafminer history, but it is less useful if pupae overwintered under the cover. (University of Minnesota Extension)
Flea beetles make many small holes in young leaves and can slow seedlings before they establish. Protect newly emerged rows with a securely anchored lightweight cover if these beetles are common in your garden. Remove it when plants outgrow the cover or when conditions make it too hot underneath, and avoid placing it over a bed with a known soilborne pest problem.
Leaf spots, root rot, and boron symptoms
Round tan or gray leaf spots can indicate Cercospora or other leaf-spot diseases, especially when foliage stays wet and crowded. Thin plants for airflow, water at the base, remove badly diseased leaves, and rotate the crop next season. A beet root that is soft, foul-smelling, or rotting is different from a firm root with a dark, corky internal lesion; discard rotted roots and correct drainage before replanting.
Black or sunken areas inside a root can be associated with boron deficiency, but similar symptoms may have other causes. Cornell notes that boron deficiency and Phoma root rot can look alike, and that boron is toxic to many plants when overapplied. Get a soil test or local Extension diagnosis before amending. For root rots, focus first on improving drainage, rotating crops, and removing infected plants and residue rather than applying a fungicide by guesswork. (Cornell Vegetables)
Harvest Roots and Greens
Most beets begin to mature roughly 50–70 days after sowing, but cultivar, weather, and the size you want all matter. Start checking near the variety’s packet date. A root shoulder that peeks above the soil tells you the beet is swelling, but it does not show the full diameter; brush soil away gently or test-dig one root. Many round beets are tender between about 1½ and 3 inches across, and smaller baby roots are ready earlier. Larger is not always better: oversized or heat-stressed roots can become fibrous. (Iowa State University Extension, Utah State University Extension)
Harvest selectively rather than pulling the whole row at once. Loosen soil several inches away with a fork or trowel, then lift the beet without stabbing or twisting the crown. If soil is dry and hard, water lightly the day before; if it is saturated, wait until the bed drains so roots are less likely to tear. Choose the largest roots first and leave smaller, healthy plants growing while the season remains favorable.
You can take beet greens while roots grow, but leave most of the canopy intact. Snip one or two outer leaves from each plant, or harvest a small amount from the thinnings; do not remove the growing center or repeatedly strip a plant that you want to produce a large root. Young leaves are tender raw or cooked, while larger leaves and stems are usually better sautéed or simmered. If greens are your main crop, sow more densely and harvest the leaves young, accepting that the roots will stay small.
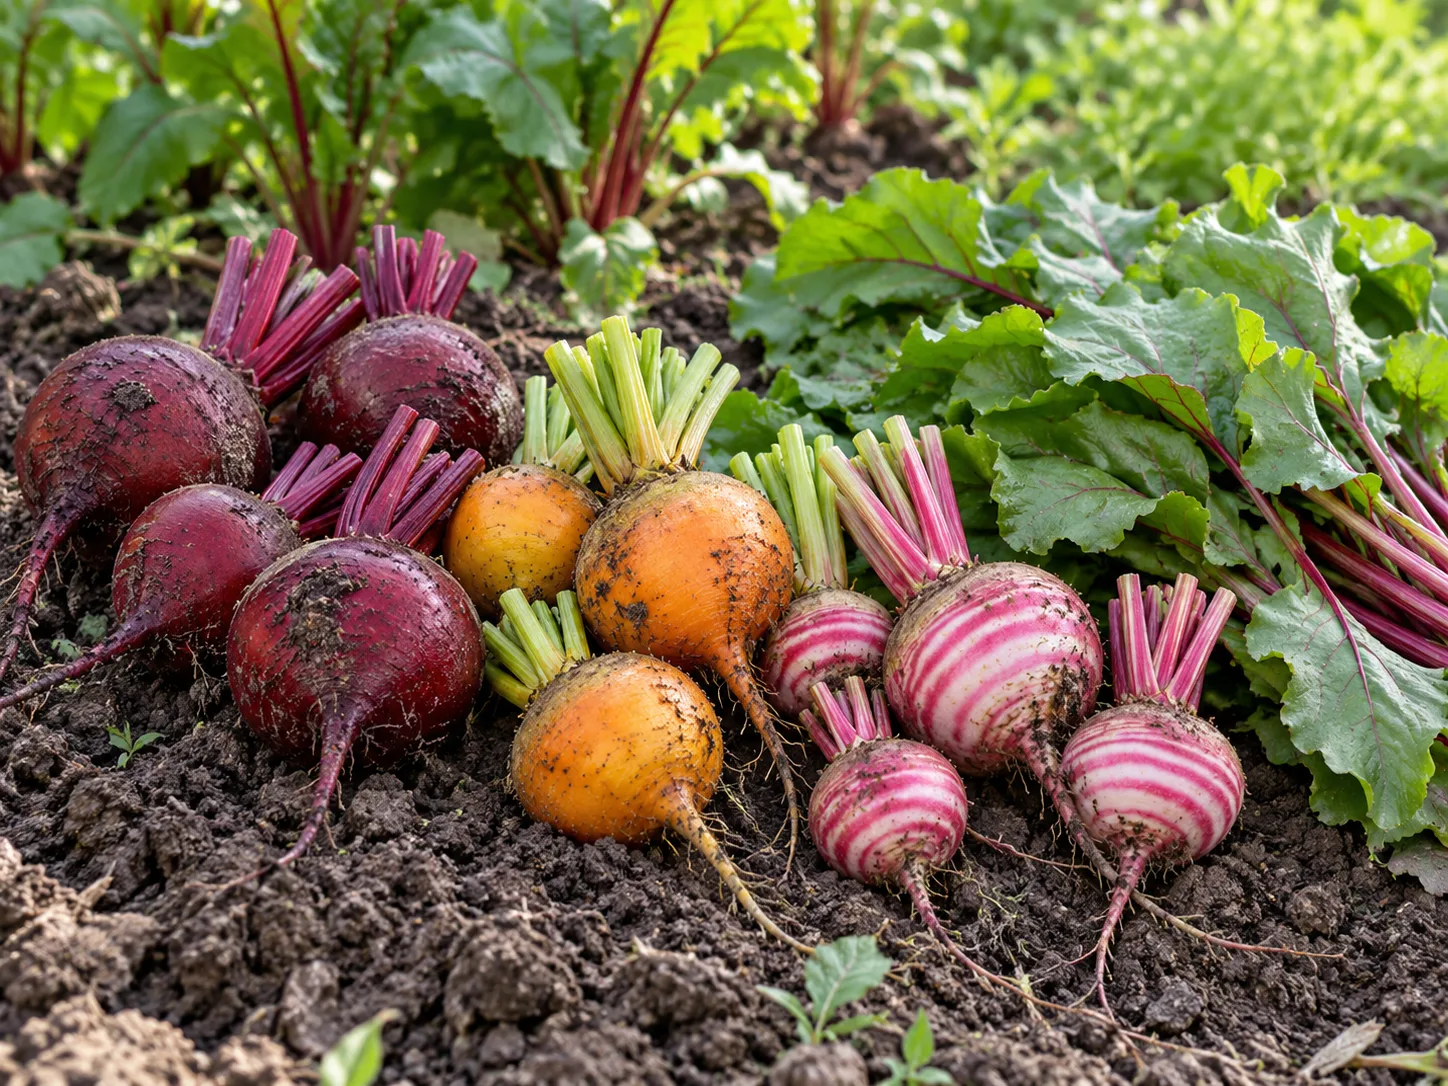
Harvest roots before a hard freeze if the soil is likely to freeze solid. In a mild-winter garden, a light layer of mulch may extend the season, but it does not make roots immune to prolonged freezing, rodents, or wet soil. In spring, any overwintered beet that starts to flower should be used promptly if the root is still firm.
Store roots and greens separately
Twist or cut off greens soon after harvest, leaving about ½–1 inch of stem on each beet. That short stem helps limit moisture loss and bleeding. Brush off loose soil, separate damaged roots, and refrigerate greens in their own bag or container; the leaves lose quality sooner than the roots. Wash roots just before use if you plan to store them for more than a day or two.
For short-term home storage, keep roots in a perforated bag in the refrigerator crisper and check them regularly for shriveling or soft spots. A root cellar or dedicated storage area near 32°F (0°C) with high humidity can hold firm, unwashed roots for several months, but most household refrigerators do not maintain that exact environment. Iowa State gives a three-to-four-month range under cool, humid conditions; Minnesota Extension lists an estimated five months in cold, moist storage. Treat those as ideal-condition estimates, not a promise for every refrigerator drawer. (Iowa State University Extension, University of Minnesota Extension)
Understand Common Beet Failures
If beets make large tops but only pencil-sized roots, check for a dense seed cluster that was never thinned, a nitrogen-heavy fertilizer, or too much shade. Thin plants to the final spacing, stop feeding unless a soil test shows a need, and let a healthy crop continue in moderate weather. If roots are already crowded, harvest some as baby beets to give the remaining plants room.
If roots are small and tough, consider heat and moisture first. A long hot spell can slow growth, while cycles of drying and heavy watering can crack roots or make them fibrous. Mulch after establishment, water deeply when the root zone begins to dry, and time the next sowing for a cooler window rather than trying to push a crop through peak summer.
If seeds fail to emerge, check whether the soil dried after sowing or formed a hard crust after rain. Keep the seed row lightly moist, cover it with fine soil, and water gently. A second sowing can fill gaps, but wait until you know the first row has failed; some seedlings emerge more slowly in cool soil. If plants send up tall central stalks, harvest usable roots and shift the next planting away from the prolonged cold period that can trigger bolting.
Conclusion
To grow beets well, start with cool weather, loose soil, and direct-sown seed. Keep the row moist until it emerges, thin multigerm clusters to one plant per root space, and maintain even moisture as beets size up. Those few choices do more for root quality than a complicated feeding schedule.
Harvest by checking the root, not just the calendar or foliage. Pick larger beets first, take greens sparingly if you want substantial roots, and trim the tops before storing roots and leaves separately. Match each sowing to your local growing window and you can enjoy tender beets in stages instead of ending up with one crowded, overgrown crop.



