How to Grow Peppers in Your Garden: A Practical Guide
Learn how to grow peppers from seed or transplants, choose varieties for your climate, keep fruit setting through heat, and harvest bells and chiles on time.
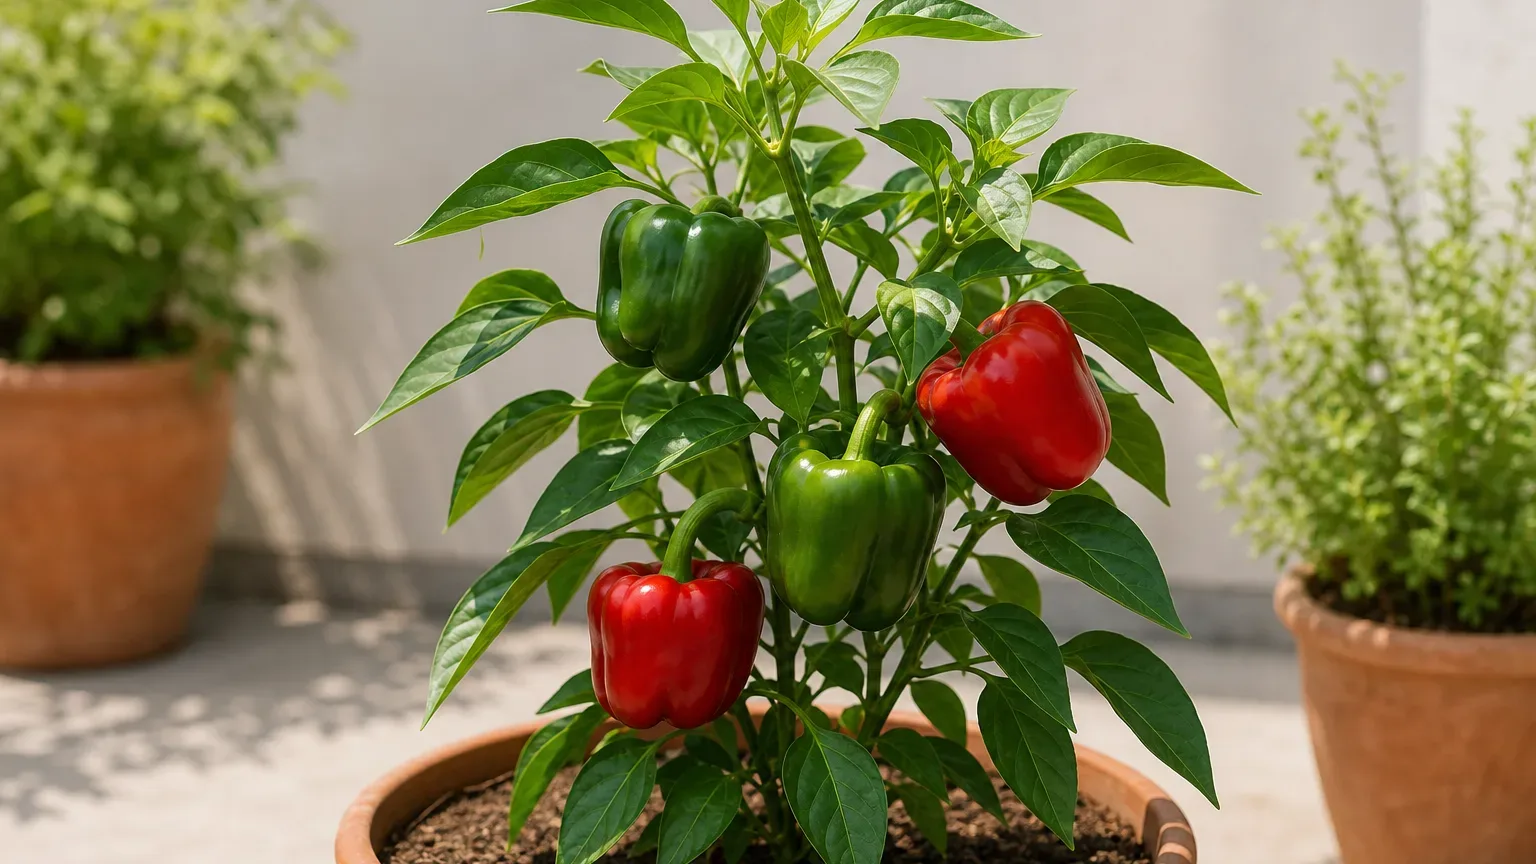
A productive pepper plant starts with warm soil, steady moisture, and a cultivar that can finish before your weather turns. The date on the calendar matters less than whether frost has passed, the soil has warmed, and nights are staying mild enough for roots and flowers to work.
For most home gardens, choose a sunny, well-drained bed; start seed indoors about eight to ten weeks before transplanting or buy sturdy young plants; then set them out when soil at root depth is at least 65°F and nights are consistently above about 55°F. Keep water even, avoid excess nitrogen, and harvest fruit with clean snips so brittle branches stay intact.
Choose a pepper that fits your season
“Pepper” includes a wide range of Capsicum cultivars: compact plants with small fruit, large blocky bells, long frying peppers, and hot chiles. The easiest choice is not always the most familiar one. Match the plant’s days to maturity, fruit size, and preferred ripe color to the length and temperature pattern of your growing season.
In a cool region with a short summer, an early, smaller-fruited cultivar is a safer bet than a late, thick-walled bell that needs a long stretch of warm weather to color fully. In a hot region, choose a variety described by its breeder or local Extension office as heat tolerant, and plan spring and fall plantings around the hottest months. A long season gives you more options, but it does not make a pepper immune to heat or water stress.
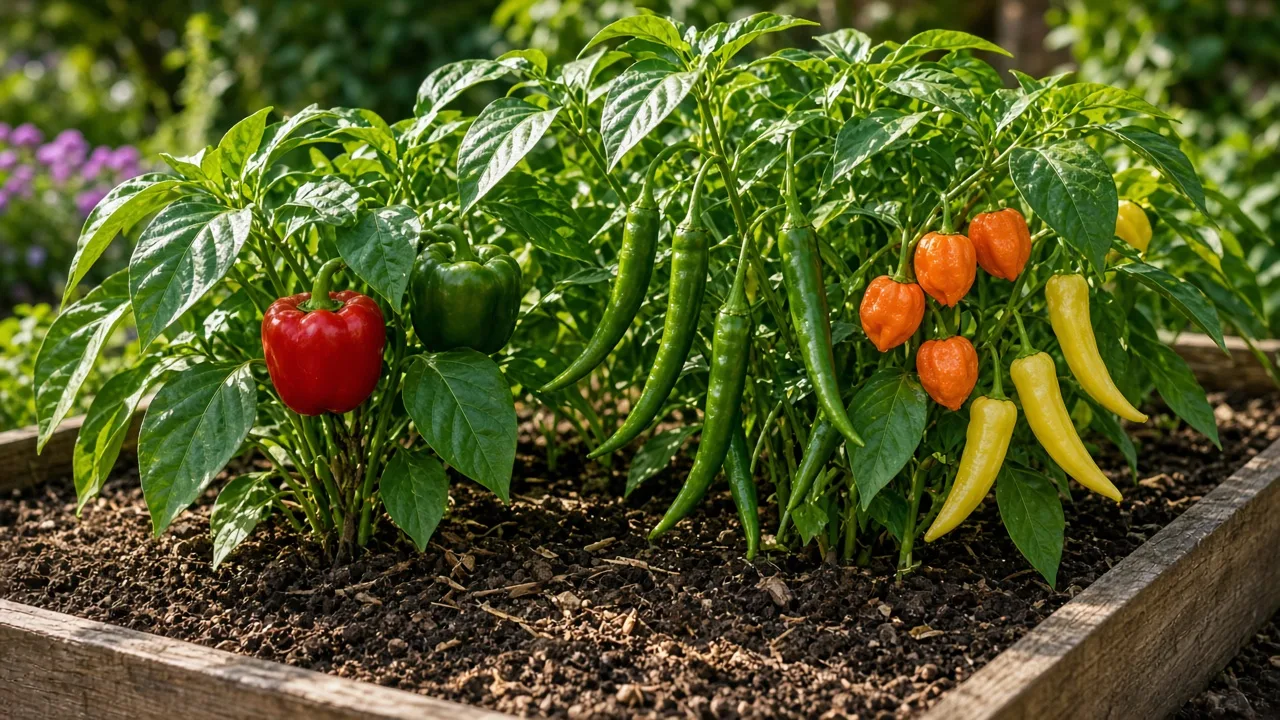
Sweet and hot peppers need the same basics, but not identical timing
Most familiar garden peppers are in Capsicum annuum, including bells, jalapeños, serranos, cayenne, and many sweet peppers. Habaneros, Scotch bonnets, and several very hot types belong to C. chinense. These species labels tell you something about ancestry, but the seed packet’s cultivar description is more useful when you are choosing for flavor, mature color, plant size, disease resistance, and days to harvest. UConn Extension outlines this diversity in its home-garden pepper guide.
Sweet bell peppers are typically picked green while they are still immature or left on the plant to ripen to red, orange, yellow, purple, or another cultivar-specific color. Many hot peppers can also be eaten green, but their intended mature color and flavor vary by type: a jalapeño may be harvested green or red, while a common habanero is usually grown to orange. Read the variety description before deciding what “ripe” means; color alone does not tell you the heat level.
Large bells often take longer to size up and color than small-fruited chiles. Oklahoma State University Extension notes that many bell cultivars need roughly 75–80 days from transplanting, while chile types can take longer to reach mature color; cultivar and climate shift those estimates. Use “days to maturity” as a planning range, not a promise, and check whether a packet counts from sowing or transplanting.
Choose by fruit size, maturity, and resistance
Choose one or two cultivars for how you cook, then add one early or smaller-fruited type as insurance if your summers are brief or erratic. Bells are useful for stuffing and raw eating but demand more time to reach full size; banana and Italian frying peppers are often picked earlier; jalapeño and serrano plants provide smaller green or red chiles; Anaheim and poblano types give you long, mild-to-medium fruit; cayenne and habanero add more heat but may take longer to mature.
Look for disease-resistance codes if bacterial leaf spot, mosaic viruses, or another named problem has affected your garden before. “Resistant” usually means a plant is less likely to be seriously affected by a particular disease, not invulnerable to every strain or to poor growing conditions. The University of Minnesota Extension recommends using disease-resistance information and maturity estimates when choosing peppers, especially where the warm season is short.
A simple planning check helps: count backward from your usual first fall frost, not just forward from the last spring frost. If the packet’s transplant-to-harvest range leaves little margin, select an earlier cultivar or buy a larger transplant rather than starting an especially slow variety late.
Plan around warmth, not just the last frost
Peppers are frost-sensitive warm-season crops. Planting after the average last frost lowers frost risk, but cold soil can still stall a young plant for weeks; it may survive while making little new growth. Use a soil thermometer to check the bed at planting depth in the morning for several days, and watch the forecast for chilly nights as well as frost warnings.
A practical target is soil at 65°F or warmer before transplanting, with nights mostly above 55°F. UConn Extension advises waiting for 65°F soil; UMN Extension notes that peppers establish poorly in very cool conditions and advises bringing seedlings inside during hardening off if nights fall below 55°F. These are working thresholds rather than a guarantee: warm soil encourages roots, while a string of cold, rainy days can still slow growth.
Fruit set has a narrower comfort zone than simple survival. Oklahoma State Extension reports poor fruit set when days rise above 90°F or nights fall below 60°F, and UConn notes that sustained nights below 60°F or above roughly 75°F can also interfere with setting fruit. Local cultivars and humidity change the exact response, but when blossoms drop during hot spells, don’t assume the plant needs extra fertilizer.
Sun and soil give roots a head start
Give peppers at least six hours of direct sunlight; eight hours is a useful target where summers are mild. In very hot inland or desert gardens, morning sun with temporary afternoon shade during a severe heat wave can reduce stress, but a permanently shady bed usually produces fewer flowers and slower ripening. Where cool summers are the main problem, use the sunniest sheltered spot available, such as a south-facing wall that reflects warmth without blocking airflow.
Peppers do best in fertile, well-drained soil with a pH around 6.0–6.8. A soil test tells you whether lime, compost, or fertilizer is actually needed; adding amendments by habit can push pH or phosphorus higher than the crop needs. If water puddles after rain or the bed stays saturated, plant in a raised bed or improve drainage before planting. Warm roots are useful; waterlogged roots invite trouble.
Rotate peppers away from tomatoes, eggplants, potatoes, and other peppers for about three years when possible, especially if the previous crop had wilt or fruit rot. They share soilborne pathogens, so moving the crop to a different bed reduces repeated exposure. Raised beds and clean containers make that rotation easier in a small garden.
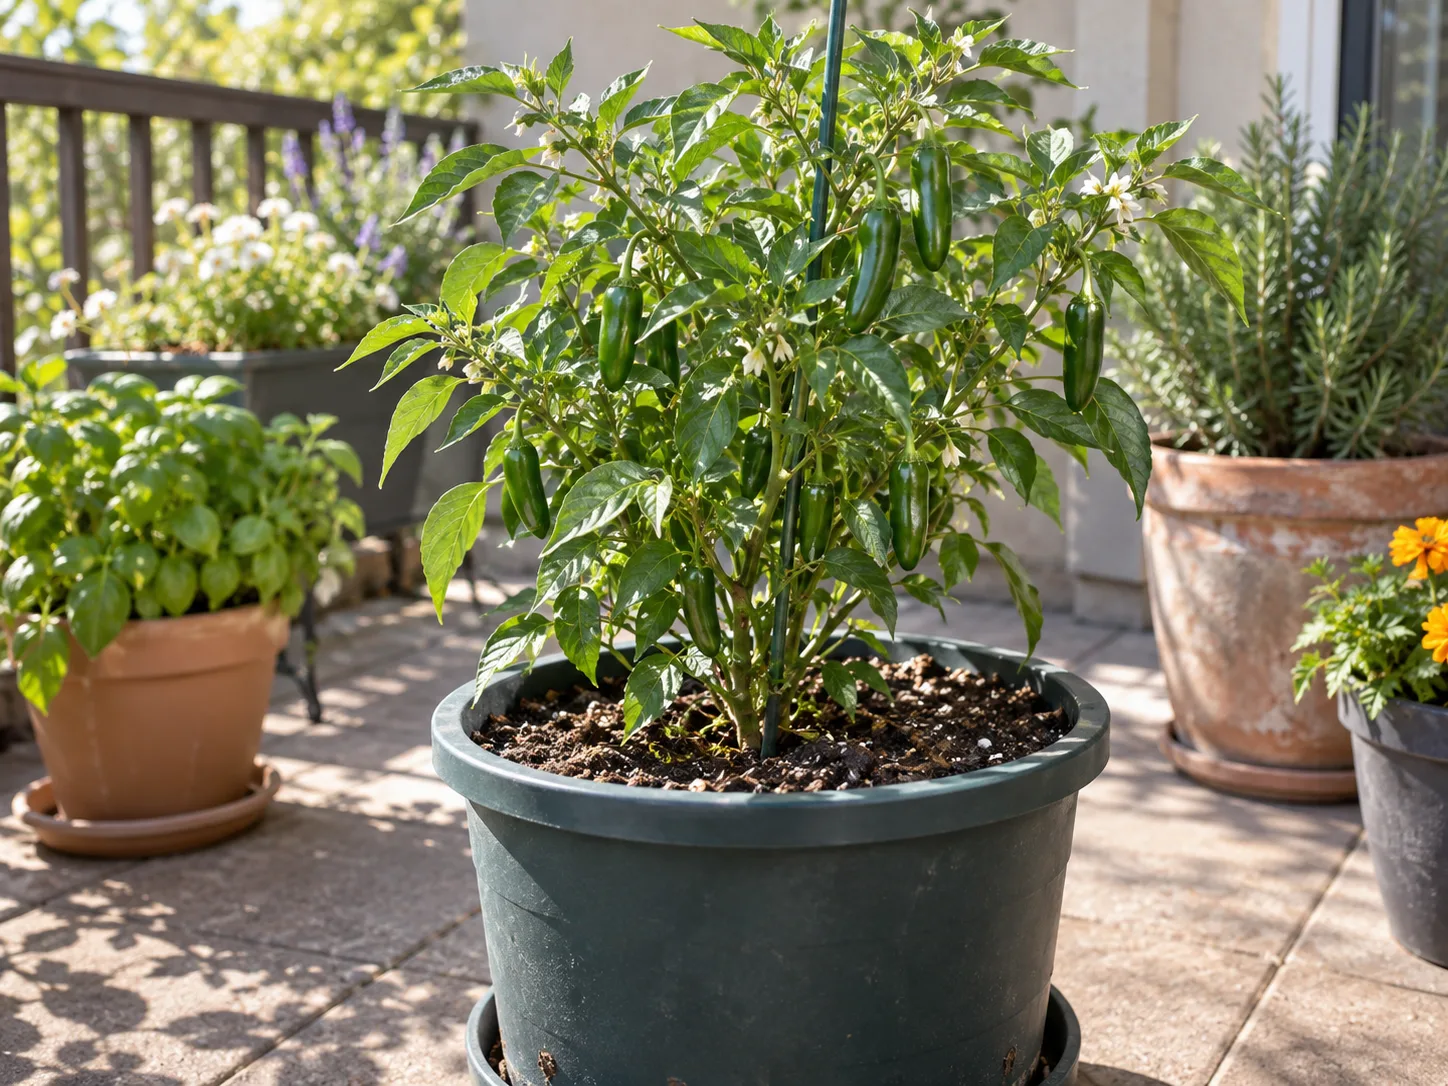
A patio container can solve poor soil or a cramped yard, but it dries and heats faster than an in-ground bed. Use a large pot with unobstructed drainage, quality potting mix, and one plant unless the container is genuinely oversized; compact cultivars are easier to manage than sprawling plants. In midsummer, check a pot every day, though water only when the root zone needs it.
Start seeds or buy a transplant
Buy transplants when your frost-free season is short, you need only a few plants, or indoor space and light are limited. Pick compact, sturdy seedlings with healthy leaves and no spots, webbing, or visible insects. A tall, pale plant crowded into a small cell may take longer to establish than a shorter transplant with a strong stem and intact root ball.
Starting from seed gives you more choice of color, flavor, heat, and disease resistance, and it lets you grow cultivars local stores rarely carry. It also takes advance planning: peppers grow slowly at first, and older, leggy seedlings are not automatically better. Count backward from the outdoor transplant window and avoid sowing so early that plants become root-bound or begin carrying fruit indoors.
Starting seeds indoors
Sow seed about eight to ten weeks before the date you expect to transplant, using clean cells and sterile, fine-textured seed-starting mix. Keep the mix evenly moist rather than soggy; pepper seeds germinate more evenly with warmth, and a heat mat can help if your room is cool. University of Minnesota Extension gives an 80–90°F range for the seed flat until emergence and says warm soil is important; after seedlings appear, remove them from excessive bottom heat and provide bright overhead light.
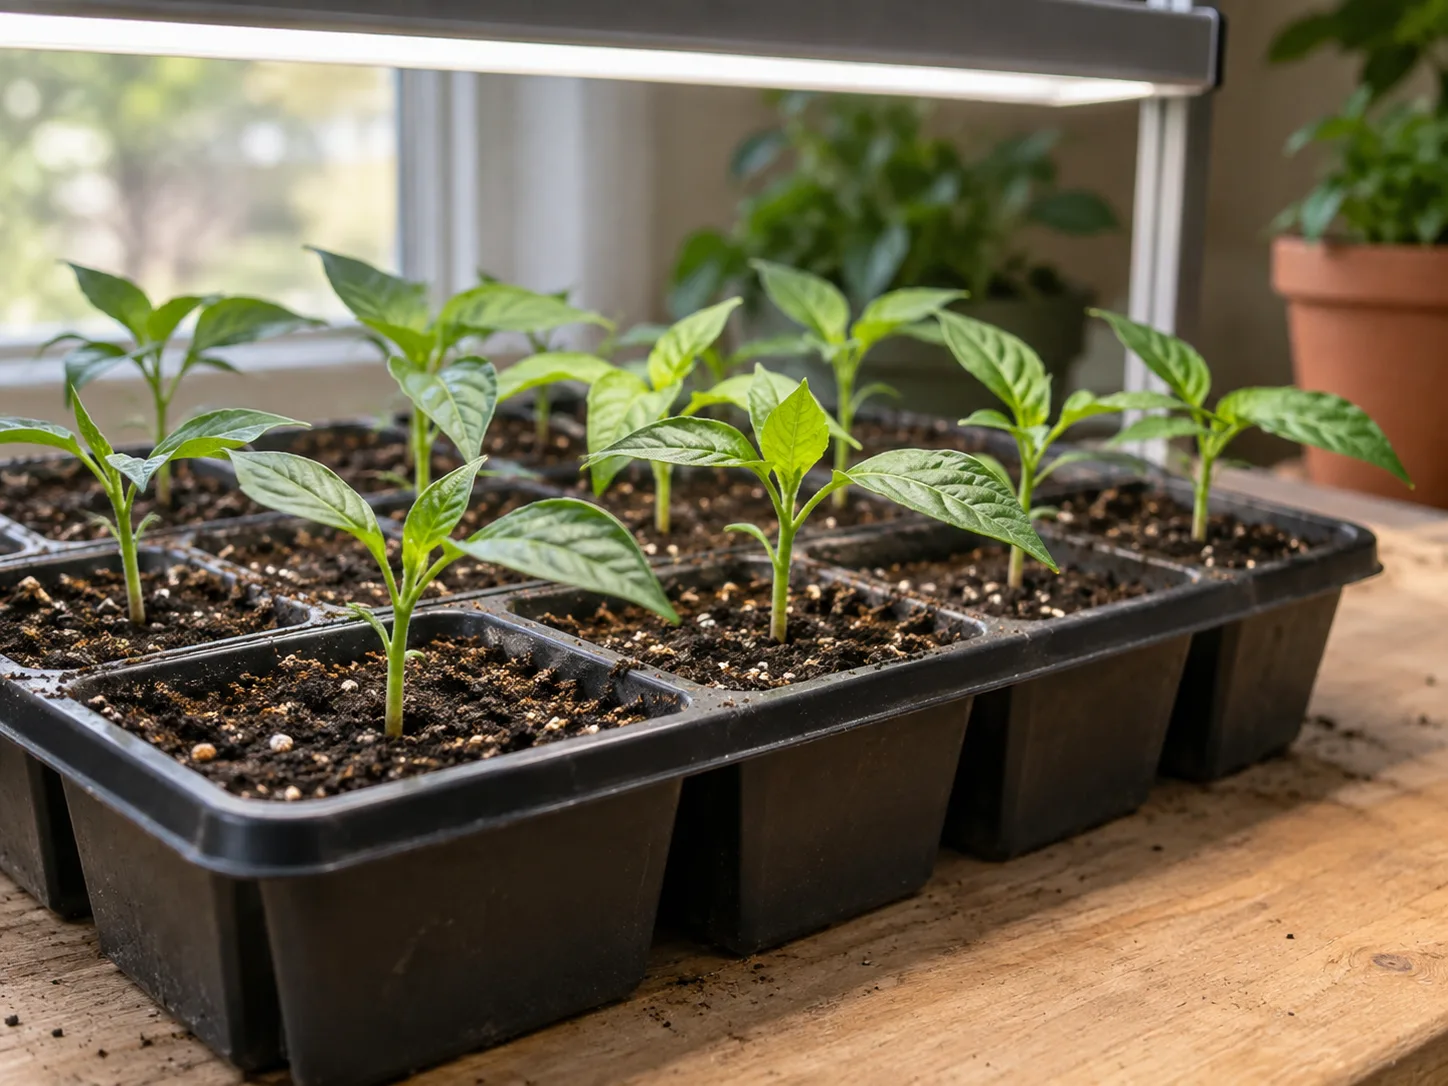
Once seedlings have true leaves, pot up crowded plants into individual containers before roots tangle. Keep the light close enough to prevent stretching while leaving space for leaf growth, and turn trays if the light is uneven. Water when the mix begins to dry near the surface; constantly wet cells encourage weak roots and damping-off, while a heat mat can dry small cells faster than expected.
Do not force growth with strong fertilizer while the seedling is tiny. A fresh seed-starting mix may contain little nutrition, so follow the mix or seedling fertilizer label and begin gentle feeding only after true leaves appear. If a seedling flowers well before planting time, pinch off the early flower cluster so it can build a sturdy root system and canopy first.
Hardening off without chilling seedlings
A week or two before transplanting, acclimate seedlings gradually to outdoor sun, wind, and temperature. Start them in a sheltered, bright-shade spot for a few hours; add direct sun and outdoor time over several days, then leave them out longer only if nights stay mild. Bring them in or protect them when the forecast calls for nights below about 55°F, strong wind, or a sudden cold rain.
Hardening off is not just “leave the tray on the porch.” Indoor leaves can scorch in afternoon sun, and a wind-whipped seedling can lose water faster than its roots replace it. If a plant wilts slightly in its first few hours outdoors, move it back to shelter, water when the mix is actually dry, and resume the gradual transition the next day.
Transplant after soil and nights warm
Transplant on a cloudy, calm afternoon or in the early evening to limit water loss. Water the seedlings before planting, handle the root ball gently, and set the stem at the same depth it grew in its pot; peppers do not need to be buried deeply like tomato seedlings. Firm soil around the root ball, water it in, and keep a lightweight cover handy if the forecast unexpectedly turns cold.
For most garden peppers, space plants about 18–24 inches apart, with roughly 30–36 inches between rows so you can reach the fruit and leaves dry after rain. Compact cultivars may tolerate closer spacing; large plants in humid climates benefit from the wider end for airflow. The UMN Extension planting guide uses 18 inches between plants and 30–36 inches between rows, while local guidance may vary with cultivar and bed design.
Black plastic mulch can warm cool soil and reduce weeds; lay it before planting if you use it, and make sure water can still reach roots. Organic mulch is better added after the soil has warmed, since a thick straw layer applied too early can hold the bed cold. Row covers can protect new transplants from wind and cool nights, but remove or vent them when flowers begin: trapped heat can worsen flower drop, and a cover can reduce access for pollinators.
Water evenly from flowers through harvest
Use about an inch of water a week from rain and irrigation as a starting point, not a rigid schedule. Sandy soil, raised beds, containers, hot wind, and heavy fruiting plants may need more frequent watering; clay soil or a rainy week may need much less. Check moisture a few inches down before watering, then soak the root zone rather than wetting the surface for a few minutes.
A plant that wilts every afternoon and recovers overnight is signaling stress, not a useful drought-training routine. Long dry periods can weaken blossoms and small fruit; a sudden flood after dry soil can contribute to blossom-end rot. UMN Extension advises a thorough weekly soak when rainfall is short of about an inch, with more frequent irrigation in sandy soil, and Oklahoma State Extension likewise emphasizes even soil moisture.
Water at soil level with a soaker hose or drip line when practical. Wet leaves are not the sole cause of disease, but splashing soil onto foliage and leaving leaves wet overnight can help some pathogens spread. Mulch once the bed is warm to reduce evaporation and soil splash; keep mulch a few inches away from stems so the crown stays dry.
Feed for fruit instead of an overgrown canopy
Start with a soil test and follow its recommendations for pH and nutrients. If the bed is already fertile, adding more fertilizer may produce a big leafy plant without more peppers. High nitrogen is a common overcorrection: it pushes soft vegetative growth, can delay fruiting, and may make dense plants harder to inspect.
Mix mature compost into poor soil before planting, but do not pack a concentrated fertilizer or fresh manure into the transplant hole. If a soil test calls for fertilizer, apply the recommended amount and keep granules away from stems; if you use a product labeled for vegetables, follow its pepper directions and reapplication interval. UConn Extension warns that too much nitrogen can favor leaves at the expense of fruit and recommends tying nutrient choices to a soil test.
When plants begin flowering or holding young fruit, assess vigor before feeding again. Pale, slow growth in soil with a low nutrient reading may justify a light side-dressing; dark green, lush plants with few flowers need less nitrogen, not more. Do not switch automatically to a high-phosphorus “bloom booster”—extra phosphorus will not repair cold roots, heat stress, poor pollination, or saturated soil.
Diagnose flower drop before changing fertilizer
Peppers naturally make more flowers than they can hold, so one fallen blossom is not a diagnosis. If a whole flush drops without setting fruit, first note the weather during flowering: cold nights and repeated days above 90°F commonly disrupt pollen and fruit set. In a heat wave, protect soil moisture, use temporary afternoon shade if practical, and wait for cooler conditions before deciding the crop has failed.
Next check water, roots, and plant size. A dry root ball, a bed that stays wet, recent transplant shock, or an overloaded young plant can all reduce set. If the plant is otherwise healthy and lush, do not add fertilizer reflexively; wait for stable weather, keep moisture even, and see whether new flowers hold.
Flowers also need suitable conditions for pollination, even though peppers can self-pollinate. Insect visitors can improve pepper pollination, so avoid covering blooming plants continuously and keep broad-spectrum sprays away from flowers; Illinois Extension summarizes the role pollinators can play in pepper production. Do not mistake a temporary pause during heat for a permanent loss of productivity; a few weeks of better weather can restart flowering and fruit set.
Scout pests and use controls in the right order
Inspect the growing tips, undersides of leaves, and young fruit once or twice a week. Aphids cluster on tender growth and may leave curled leaves, sticky honeydew, and shed white skins; flea beetles make many small “shot holes”; mites cause fine stippling and sometimes webbing; caterpillars leave ragged chewing and dark droppings. A small hole in fruit or a soft, decaying pepper can have several causes, so cut one open and look for feeding, frass, or larvae before treating the whole bed.
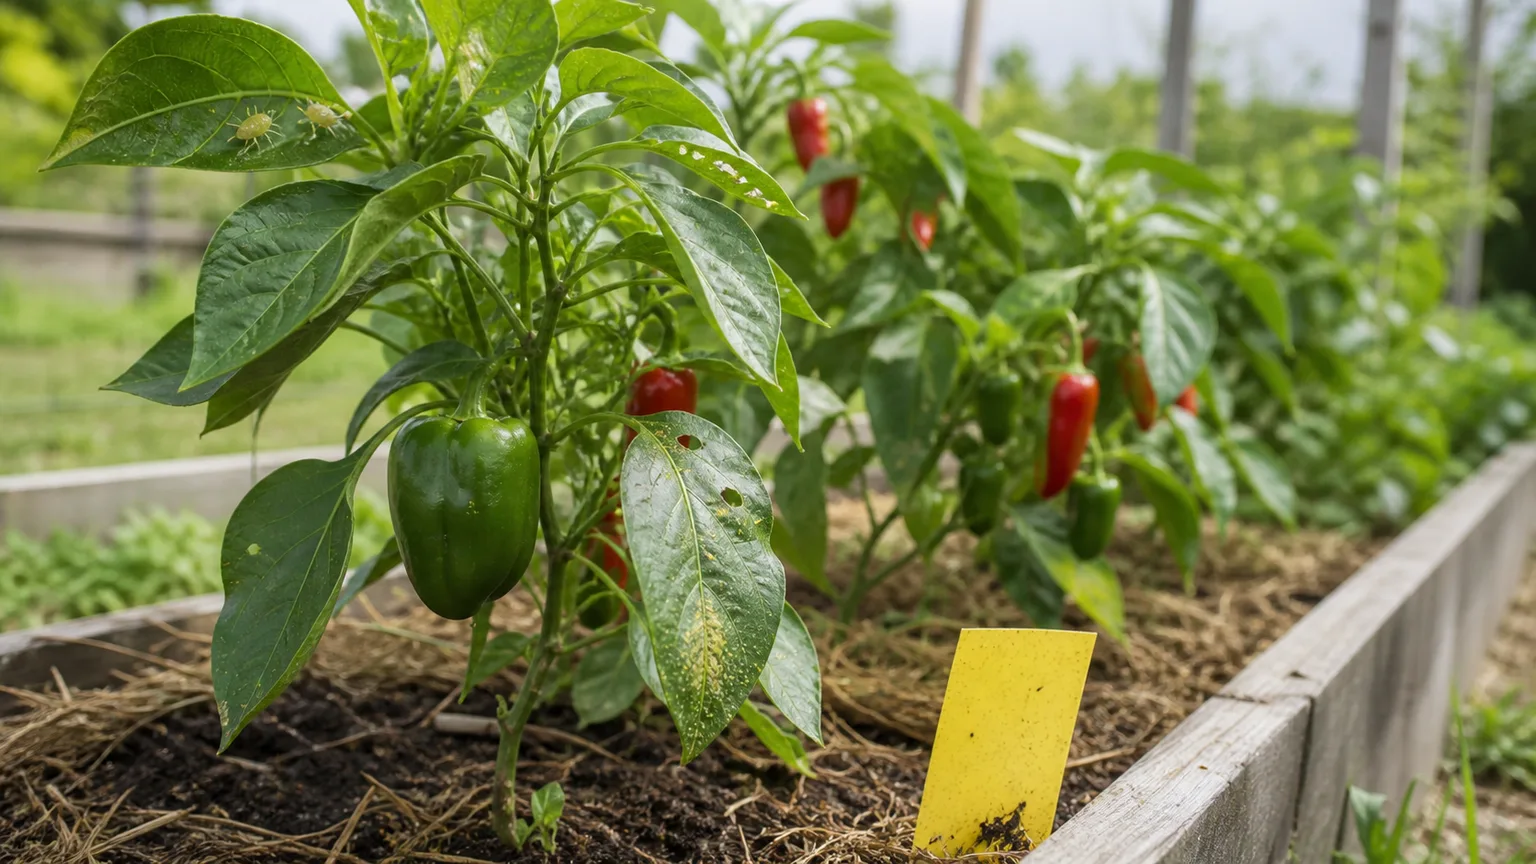
The pepper maggot is a regional risk rather than a universal backyard pest. Its larvae feed inside fruit, where spraying after damage is visible will not solve the problem; remove infested fruit and ask a local Extension office whether the pest is common in your area. If your garden has recurring pest damage, use a local pest-management guide to match the insect to its life stage before choosing a control.
Start with the least disruptive effective action: hand-pick caterpillars, remove badly infested leaves, knock aphids off with water, and use row covers before pests arrive if the cover can be removed at flowering. Check plants again after a few days to see whether damage is increasing. If an insecticide is needed, use only a product labeled for edible peppers and the pest, follow all directions and harvest intervals, and avoid spraying open flowers or harming beneficial insects.
Tell disease from heat, water, or sun damage
Look at where damage begins and how it spreads. A dry, bleached patch on the side of a pepper facing the sun is more consistent with sunscald than an insect: preserve enough healthy leaf cover to shade fruit and avoid heavy pruning during hot weather. A dark, sunken patch on the blossom end of fruit points to blossom-end rot, a calcium-transport disorder commonly worsened by uneven moisture; adding calcium without a soil test may not fix it.
Small water-soaked or brown spots on leaves, sometimes with yellowing around them, can indicate bacterial or fungal leaf disease, particularly when the weather is wet and foliage stays damp. Bacterial spot can also roughen fruit. Avoid working among wet plants, water at the base, remove badly affected foliage, sanitize tools between suspect plants, and rotate out of peppers and related tomatoes, eggplants, and potatoes for several seasons. UConn Extension describes pepper bacterial spot and other diseases in its pepper disease overview.
Rapid wilting in wet soil, dark lesions at the soil line, or soft, water-soaked fruit raise concern for Phytophthora blight or another root and crown rot. This is different from a plant that droops on a hot afternoon and recovers after sunset; a plant with progressive wilt despite wet ground needs prompt assessment. The UC IPM pepper guide separates disease, insect, and environmental disorders, and its Phytophthora root and crown rot page notes the importance of drainage and avoiding prolonged soil saturation.
Mottled, distorted new growth or ring-shaped patterns may point to a virus, but symptoms overlap and cannot always be identified by appearance alone. Remove a severely affected plant if a local Extension specialist confirms a likely virus, and do not compost diseased material. When several plants develop the same unusual pattern, photograph both leaves and fruit and send those images to a diagnostic service before applying a pesticide or fertilizer.
Support branches and protect developing fruit
Pepper stems can snap when a heavy fruit hangs from a branch, especially after wind or a late-season rain. Add a small stake or cage while plants are young so you do not drive a support through mature roots later. Tie stems loosely with soft ties, and support tall, heavy-fruiting cultivars before branches start bending.
Do not strip leaves simply to expose every pepper to sun. Leaves feed fruit and protect it from sunscald; removing too many can leave fruit with pale, leathery patches on the exposed side. If the forecast brings intense heat, keep root moisture steady and consider a temporary shade cloth over the hottest afternoon hours rather than pruning the canopy.
Weed around the base while weeds are small, then maintain a thin mulch layer to reduce competition for water. Avoid deep hoeing close to stems because pepper roots occupy the surface soil. At the end of the season, remove old pepper and related crop debris, particularly if it was diseased, and clean stakes and cages before storing them.
Harvest by cultivar and desired flavor
Check the seed packet or plant label for mature fruit size and final color. A bell pepper can be picked green once full-sized and firm, even though it is technically immature; leaving it longer on the plant lets it change to the mature color listed for that cultivar. Fully colored fruit is often sweeter and more complex, while early green harvest gives you edible peppers sooner and can make room for later fruit.
Many hot chiles are harvested green or allowed to ripen to red, orange, yellow, brown, or another named color. Habaneros, for example, have different mature colors by cultivar; PepperScale’s habanero planting guide emphasizes checking the specific variety rather than assuming every habanero turns orange. Harvest color is a better maturity cue than gloss alone, and hotness can vary with genetics and growing conditions.
Cut peppers with clean scissors or pruners, leaving a short piece of stem attached. Pulling can break the branch or uproot a shallowly established plant; Oklahoma State Extension recommends regular harvests and cautions that pepper branches break easily. The Old Farmer’s Almanac also recommends snipping pepper stems, a simple habit that makes repeated picking safer.
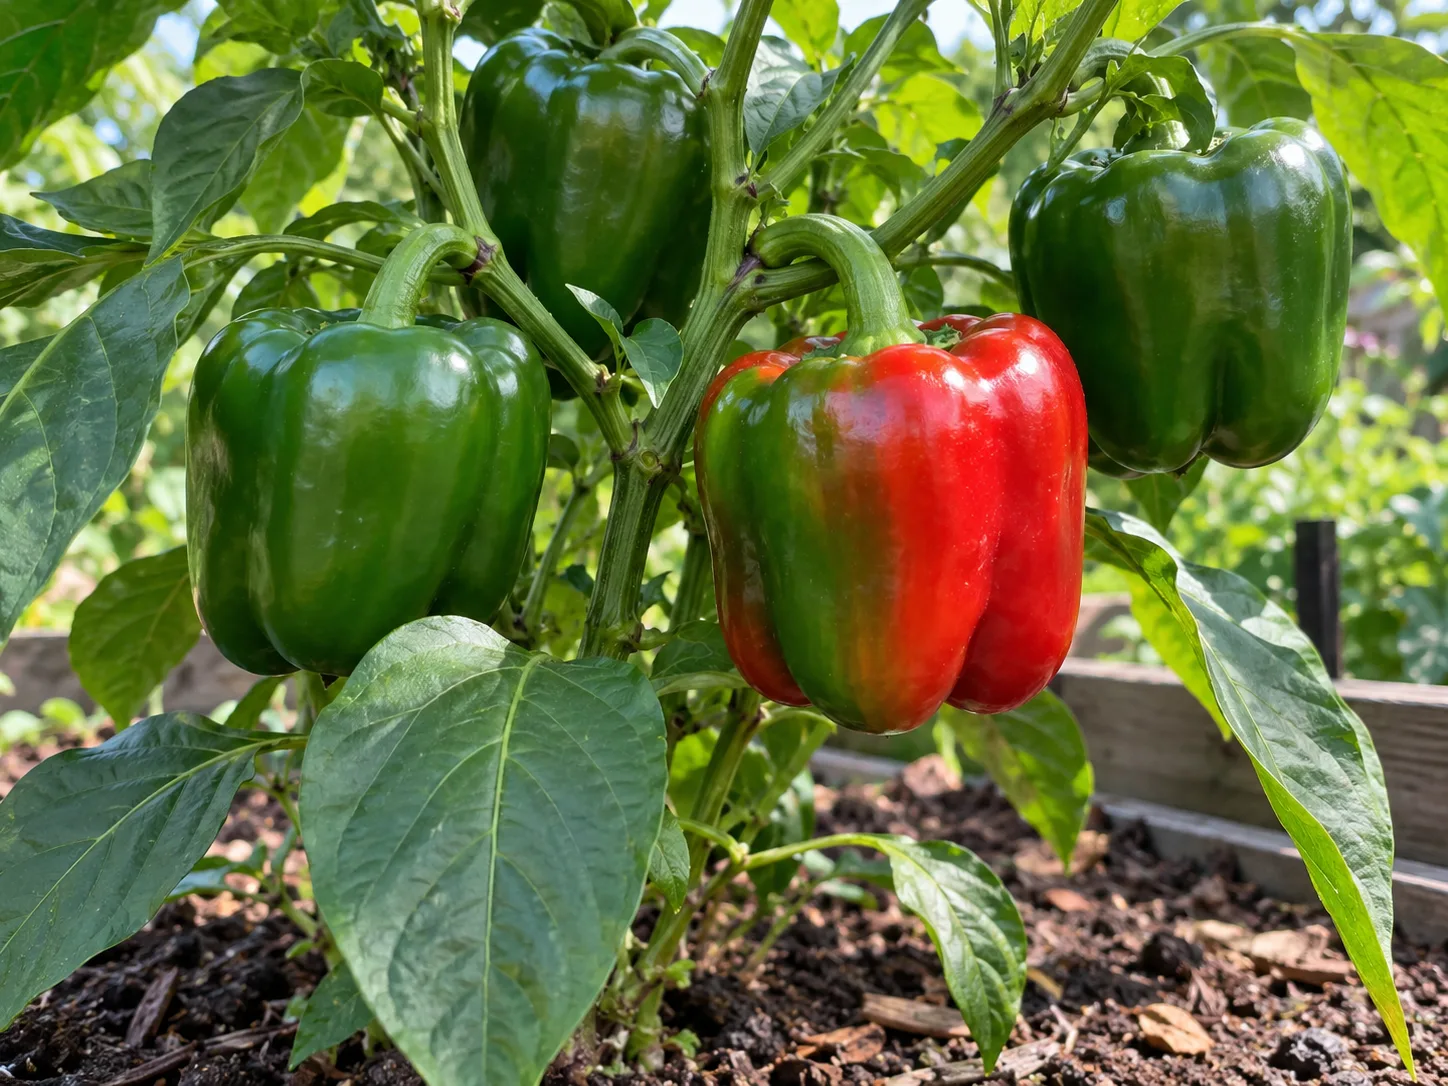
Harvest through the season instead of leaving every full-sized fruit on the plant until fall. Picking mature fruit regularly keeps the plant from carrying an unnecessary load, while a final sweep before frost saves usable green peppers even if they will not reach their ripe color. Sort damaged or soft fruit promptly; use sound peppers fresh, freeze them, or dry suitable hot varieties.
Store fresh peppers and save seeds
Keep freshly harvested peppers dry and cool, and use or preserve them before they soften. If you are saving seeds, choose a healthy, fully mature fruit from an open-pollinated variety, remove the seeds, and dry them thoroughly before storing in a labeled envelope in a cool, dry place. Hybrid seed may not grow true to the parent, and nearby varieties can cross-pollinate, so seed-saving requires more care than simply taking seeds from a pepper you liked.
Do not save seed from a diseased plant or a fruit that matured poorly. Label the cultivar and harvest year, and keep different varieties separate. For most gardeners, buying fresh seed each year is simpler; saving seed is most useful when you want to preserve a stable open-pollinated variety and can keep it isolated from unwanted crosses.
Conclusion
The reliable way to grow peppers is to match the cultivar to your season, wait for warm soil and mild nights, then keep roots evenly moist without overfeeding. Give plants full sun in ordinary climates, temporary afternoon relief during extreme heat, enough space for airflow, and a support before branches carry heavy fruit.
When blossoms drop, check recent temperatures and moisture before adding fertilizer. When leaves or fruit develop spots, compare the pattern with likely pests, disease, sunscald, or water stress and get a local diagnosis if symptoms spread. Harvest each variety by its full-size and mature-color cues, using snips to protect the plant; that small routine carries you from the first green pepper through the last ripe fruit.



