When to Harvest Potatoes: New vs. Storage Crops
Learn when to harvest potatoes for fresh eating or winter storage, how to dig without cuts, and how to cure, sort, and store the crop safely.
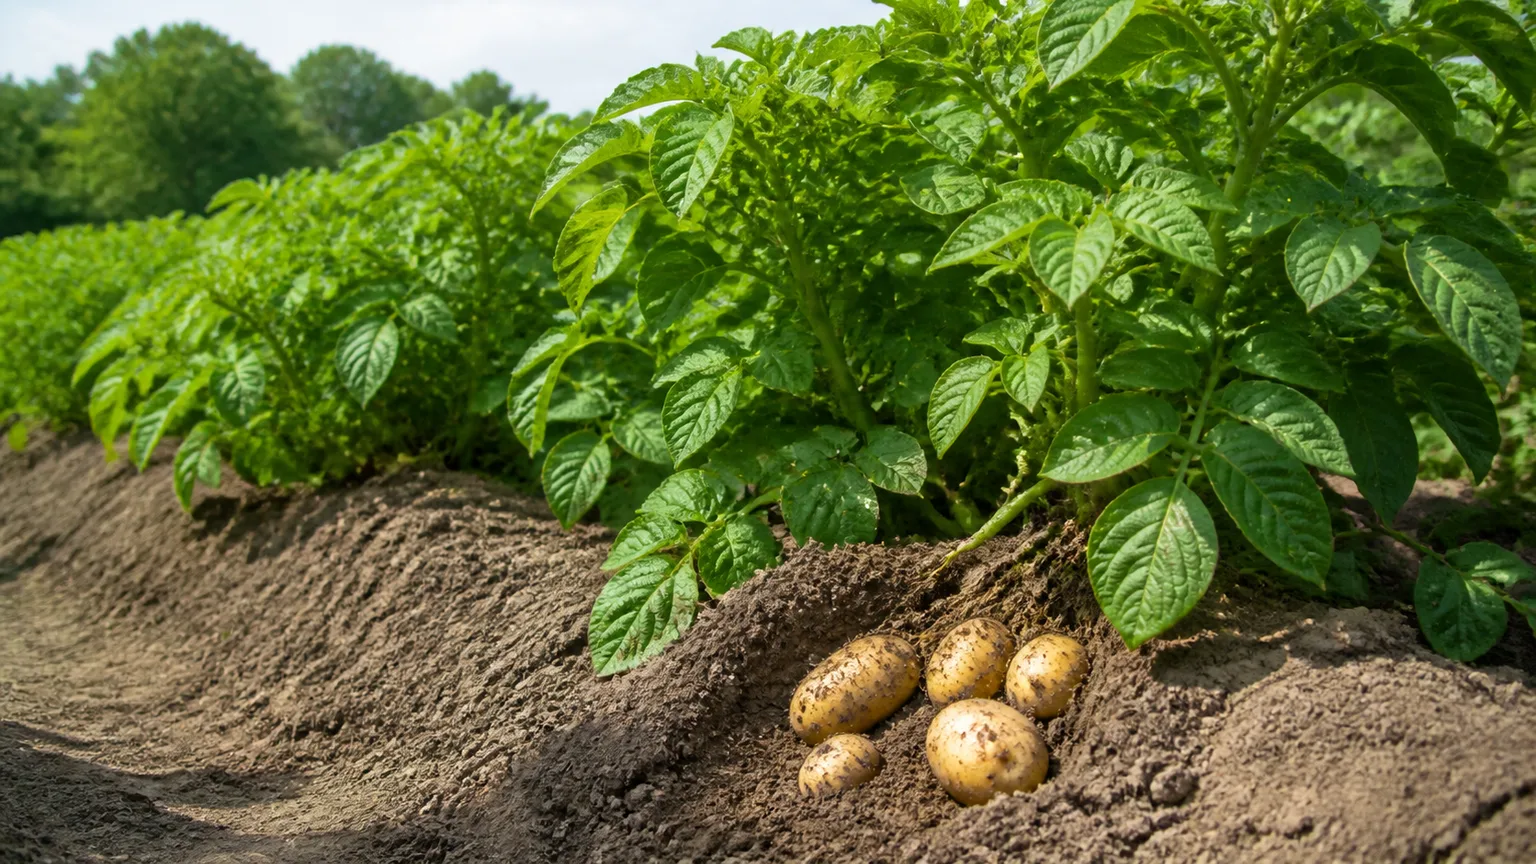
Potatoes are ready to harvest at more than one point in the season. You can dig a few while the plants are flowering for tender new potatoes, or wait until the tops finish their life cycle for larger, thicker-skinned potatoes that can be cured and stored.
The best harvest date therefore depends on two things: the type of potato you planted and what you want to do with it. A calendar estimate can help, but the plant’s flowers, foliage, skin, and the weather will give you a better final answer.
The quick answer: harvest for the way you will use the potatoes
Harvest new potatoes when the plants are flowering or when the first flowers begin to fade. At this stage, the tubers are usually small, tender, and thin-skinned. The Royal Horticultural Society describes first early potatoes as a crop to lift in early summer for cooking soon, because they do not keep as well as mature potatoes.
For potatoes you want to keep, wait until most of the foliage has yellowed, wilted, and died back. Leave the tubers in the ground for roughly another two weeks when the soil and weather are safe, then check that the skins stay in place when you rub one with your thumb. Mature skins are part of the crop’s storage protection; if they slide off easily, treat those potatoes as fresh eating potatoes instead.
Do not let a month name make the decision for you. Early varieties may be ready in late spring or summer, while maincrop varieties often finish in late summer or fall, but planting date, latitude, heat, rainfall, variety, and whether the crop is in a container all shift the timing.
New potatoes and storage potatoes are different harvests
“New potato” describes how young the tuber is when you harvest it, not necessarily a specific potato species. Almost any variety can be eaten young, although first and second early varieties are bred to produce a useful crop sooner and are especially good at the tender stage.
The Savvy Gardening guide to potato harvests puts early varieties in a broad range of about 50–100 days from planting, with the fastest crops ready in roughly eight to twelve weeks. Maincrop or storage varieties commonly need a longer season, often around 15–20 weeks, but the seed-packet description and your growing conditions matter more than a generic number.
| Harvest type | Best cue | Skin and texture | Best use | Keeping life |
|---|---|---|---|---|
| New potatoes | Flowers fading or buds dropping | Thin, tender skin | Cook soon | Usually days to a few weeks |
| Mature potatoes | Foliage fully dies back; skin stays firm | Thicker, set skin | Fresh eating or storage | Weeks to several months in good conditions |
Use flowers for an early harvest and foliage for a mature crop
When an early potato flowers, it is a signal that the plant has begun putting energy into underground tubers. You can reach into the side of the hill or carefully loosen the soil near the base and take a few. Lovely Greens notes that fading flowers or dropped buds are useful signs for early potatoes, while the foliage may still be green.
Flowers are not a perfect alarm bell. Some varieties flower late, flower briefly, or do not produce noticeable flowers at all. Do not wait for blooms if the seed packet gives a clear maturity window and the plant is already declining; use the rest of the plant’s condition and a test dig.
For a mature crop, yellowing lower leaves are an early transition, not always the finish line. Storage potatoes are closest to ready when the stems and foliage have mostly collapsed and dried. If the plant turns black or brown unusually early, especially with spots or lesions, consider disease rather than assuming it has naturally matured.
Confirm maturity with a test plant and the skin rub test
If you do not know the variety, do not guess by plant height. Dig one plant from the edge of the row or empty one small container section, then inspect the tubers. This sacrifices a sample but protects the rest of the crop from being harvested too early.
For new potatoes, the test is mostly about size and tenderness. If you like small potatoes, harvest when they are roughly egg-sized or simply large enough for the meal you have planned. If you want more volume, leave the plant growing and check again in a week or two, provided the foliage is healthy and the soil will not freeze.
For storage potatoes, rub the skin lightly with your thumb. A skin that slips, flakes, or scuffs away easily has not fully set. A firm skin that stays attached is a better sign that the tuber can tolerate curing and handling. This is not a laboratory test, so use it with full foliage dieback, dry weather, and the variety’s expected maturity rather than relying on it alone.
Keep a note of the planting date and variety as soon as you plant. A label that says “early,” “midseason,” or “maincrop” is more useful than a generic harvest month, and a crop planted into cool spring soil may need longer than the same variety planted into warmer soil. In hot climates, potatoes can stop sizing when the soil becomes too warm, so a short season does not always mean the tubers are immature; the test dig tells you whether you have usable potatoes and whether the skins are ready for storage.
When only one plant looks ready, harvest that plant rather than clearing the whole row. Nearby plants may have been shaded, planted at a different depth, or slowed by uneven moisture. A row can contain potatoes at slightly different stages, especially when seed pieces were not identical or emergence was staggered.
Choose a dry, safe harvest window
Plan to dig after a few dry days if possible. Dry soil releases from the tubers more cleanly, reduces the amount of mud you carry into storage, and gives cuts or scrapes less immediate exposure to wet conditions. The University of Alaska Fairbanks Cooperative Extension recommends harvesting in the morning after dew has dried and before the day’s heat builds, then removing field heat in a cool place.
Stop routine watering as mature vines finish and the tubers approach harvest, but do not deliberately stress a still-growing crop during a hot, dry spell. The purpose of the dry-down is to avoid digging saturated soil and to help the skins set, not to leave plants wilting for weeks. If heavy rain has just passed, wait until the bed is workable rather than forcing a muddy harvest.
Frost needs context. A light frost that only damages the leaves does not instantly freeze tubers below the soil, but a hard freeze or prolonged exposure to freezing soil can damage the crop. Once the tops die from frost, harvest promptly when the soil is safe to work. In a warm climate, the larger concern may be heat, wet-season rot, or a crop that stays in warm soil long enough to sprout.
How to harvest new potatoes while the plant is still growing
New-potato harvest is a selective dig, not necessarily the end of the plant. Start at the side of the hill, not at the stem, and use your fingers or a small hand fork to feel for tubers near the surface. Take only the potatoes you need, then push the soil back around the remaining stems and tubers so they are covered again.
This approach lets the plant keep its leaves and continue sizing the tubers. It works best when the foliage is green and healthy. If the plant is collapsing from natural maturity, showing suspicious disease symptoms, or the soil is about to freeze, lift the whole plant and sort the crop instead of repeatedly disturbing the hill.
New potatoes bruise easily because their skins are still delicate. Place them in a shallow basket rather than dropping them into a deep bucket, keep them out of direct sun, and cook them soon. Their thin skin is part of their appeal, but it also means they are a poor candidate for months of storage.
How to dig mature potatoes without cutting the tubers
Use a garden or spading fork rather than driving a shovel straight down through the hill. The Harvest to Table harvest guidance recommends starting about 10–18 inches from the stem and working inward; that distance gives you room to loosen soil before the tines reach the main tuber zone.
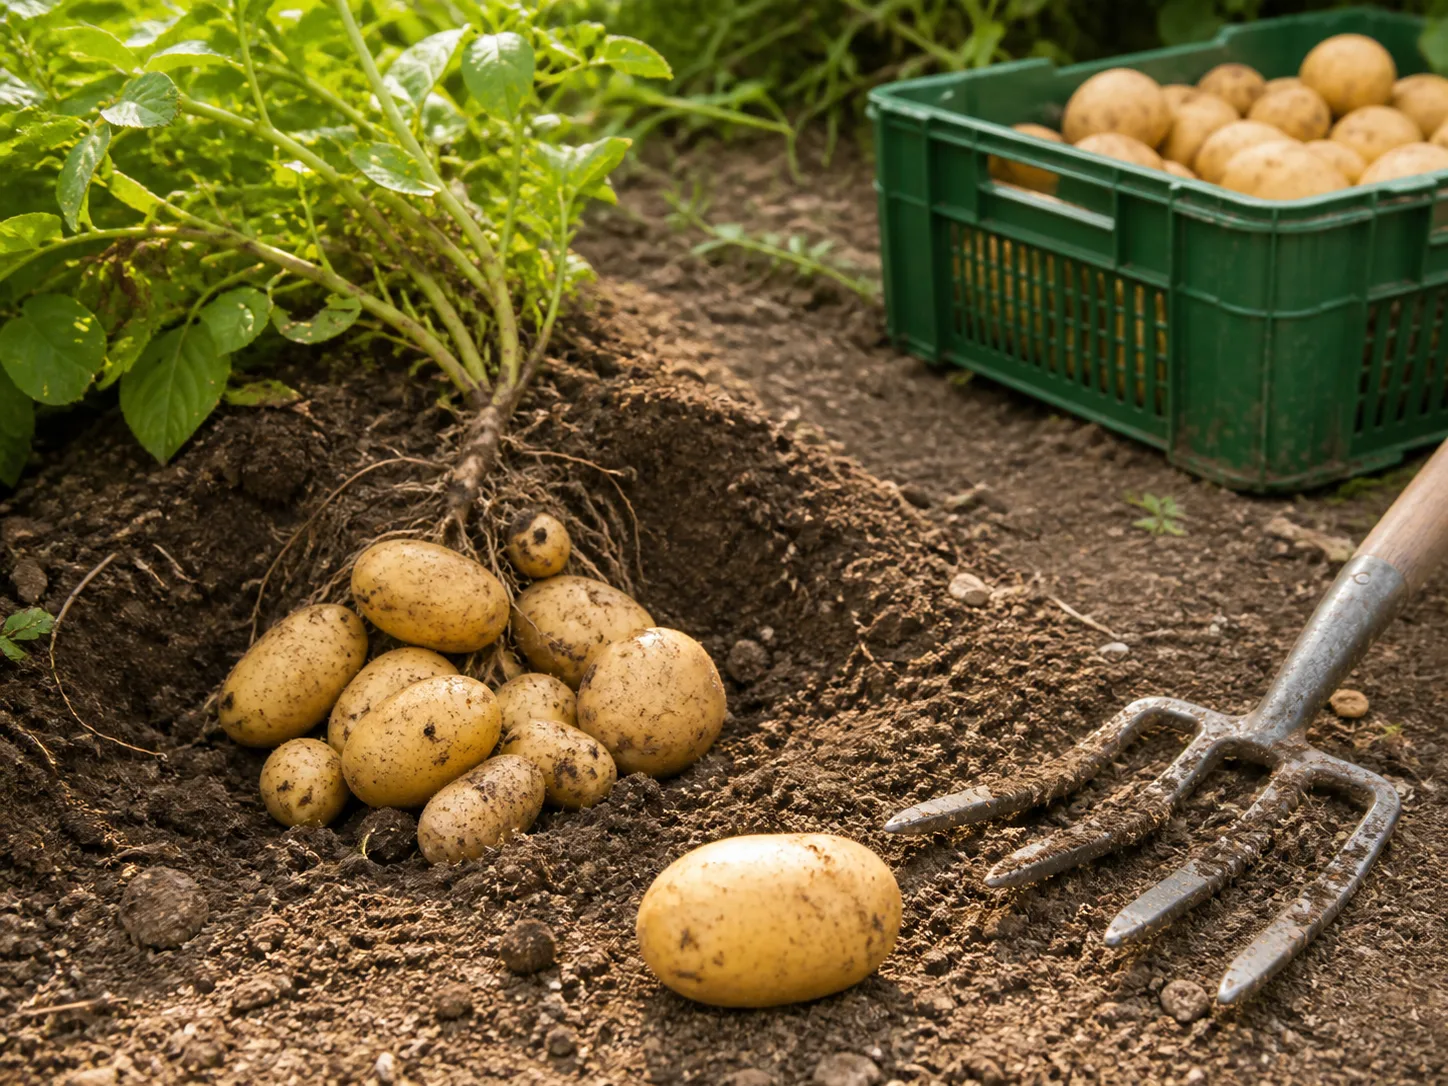
- Clear away dead vines and loose mulch so you can see the center of the hill.
- Insert the fork at the outer edge of the planting area and lever the soil upward gently.
- Lift the loosened soil onto the surface instead of chopping repeatedly into the hill.
- Pick through the soil with your hands for missed tubers, especially around the sides and below the first lift.
- Put cut, punctured, or badly bruised potatoes in a separate container for immediate use.
Most tubers form in the upper several inches of a well-hilled row, but do not assume every variety or container has the same depth. Work in small sections and stop using the fork once the soil is loose enough to sift by hand. One careful lift is usually safer than many fast jabs.
Adapt the method for beds, containers, grow bags, and mulch
In a raised bed or open garden row, make your first fork insertion farther from the plant than feels necessary. In a very loose straw or compost mulch, pull the covering aside with your hands and collect the exposed tubers before disturbing the soil below. No-dig methods are gentler on the crop but can hide a few potatoes underneath the original planting layer.
For a container or grow bag, do not pull the plant by its stems. Tip the container onto a tarp, wheelbarrow, or clean sheet, then sift through the growing medium by hand. If the container is too heavy to move, remove the upper layers gradually and finish with a hand search around the root mass.
Container soil can be warmer than garden soil, so container plants may size differently from a row planted on the same date. Use the same signals—flowers for a young harvest, dieback and skin set for storage—but give the pot’s actual moisture and temperature more weight than a bed-based calendar.
Sort the crop before curing it
Do not put every potato you dug into the storage pile. Make three groups: clean, firm tubers for curing; lightly scuffed or shallowly damaged potatoes to eat first; and wet, soft, badly cut, moldy, or foul-smelling potatoes to discard.
Brush off clumps of dry soil once the surface has dried. Avoid washing potatoes destined for storage because water left in crevices and eyes can shorten their keeping life. If you need to wash a few for dinner, keep them out of the curing and storage batch.
Treat green potatoes and sprouts as a food-safety decision, not merely a cosmetic problem. Poison Control explains that light and warm storage can increase the glycoalkaloids solanine and chaconine, and that cooking does not reliably eliminate them. Their practical advice is to discard potatoes that have turned green or grown sprouts, especially when the greening is extensive or the tuber is bitter.
Potato leaves, flowers, berries, and sprouts are not part of the edible harvest. Keep children and pets away from discarded plant material, and never choose green, diseased, or rotting tubers as next season’s seed.
Cure mature potatoes in the dark
Curing is a short rest that lets the skin toughen and minor surface wounds dry and seal before storage. Spread unwashed mature potatoes in a single layer in a dark or shaded place with good air movement, moderate-to-high humidity, and a temperature around 50–60°F for about 7–14 days. The University of Alaska Fairbanks Cooperative Extension storage guide gives a similar warm curing period before potatoes move to colder storage.
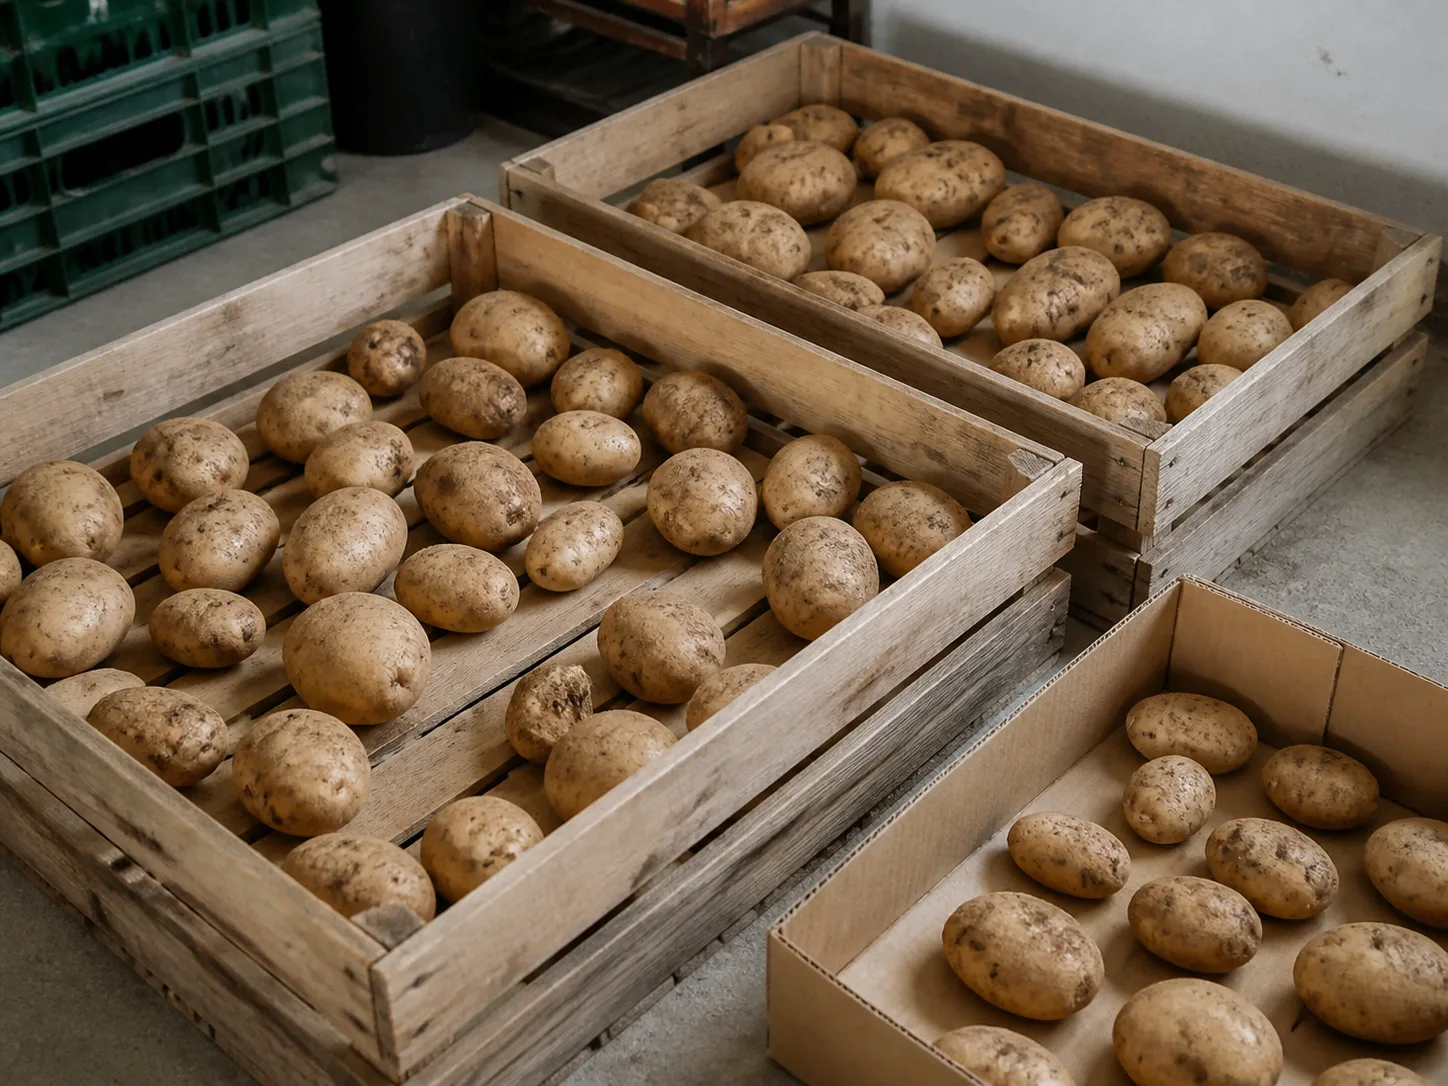
Avoid direct sunlight during this stage. A few hours of drying in shade can help, but a sunny patio or greenhouse can warm and green exposed tubers. Use shallow crates, trays, cardboard, or a screen that allows air to circulate; avoid a deep pile where one wet potato can spread decay through the group.
You do not need to scrub the skins or create a perfectly soil-free crop. A little dry soil is harmless and often helps shield the skin. What matters is that the potatoes are dry on the surface, the skins are firm, and there are no wet spots or soft areas before you pack them away.
Store potatoes with darkness, airflow, and steady cold
After curing, move the sound potatoes to a dark, cool, humid, ventilated location. A practical home target is about 38–45°F with roughly 85–90% relative humidity if you can maintain it. The UAF table lists potatoes at 38°F and 85–90% humidity for up to eight months under suitable conditions, while home storage life will vary with variety, maturity, disease pressure, temperature swings, and how often the container is opened.
Store potatoes in breathable paper bags, burlap, slatted crates, or boxes with ventilation holes. Do not seal them in an airtight plastic tub. Darkness prevents greening, and airflow limits the damp pockets that encourage rot. Keep the container off a wet floor and away from heaters, furnaces, sunny windows, and places that freeze.
Do not treat a refrigerator as the default root cellar. Household refrigerators are often too dry for bulk storage and can create unpleasant flavor or texture changes. If you only have a small amount, prioritize darkness, ventilation, and regular inspection over chasing a perfect number.
Choose containers and check the crop regularly
Label each container with the variety and harvest date. Use the most delicate or lightly scuffed potatoes first, and keep the best mature tubers for later. Recheck the crop every week or two at first, then at regular intervals, removing any potato that becomes soft, wet, moldy, or strongly sprouted before it affects its neighbors.
If the storage room warms, sprouts may appear sooner. A short sprout can be a reminder to use that batch promptly, but a green, heavily sprouted, bitter, or deteriorating potato belongs in the discard group. Never solve a storage problem by adding water to the bin; correct ventilation, temperature, or humidity at the room and container level.
Save healthy potatoes for next season’s seed
The safest starting material is certified seed potato from a reputable supplier, especially if your crop showed blight, scab, rot, or unexplained low yields. If you save tubers, choose only firm, healthy, undamaged potatoes from productive plants and store them separately from potatoes intended for the kitchen.
Keep seed potatoes cool, dark, and protected from freezing. Several weeks before planting, move them to a brighter, cool location so short, sturdy sprouts develop. Large tubers can be cut into pieces shortly before planting if each piece has at least one healthy eye, but let the cut surface dry and form a protective skin before planting.
Do not save a potato because it is the largest one if it has a soft spot, green skin, disease lesion, or extensive sprouting. Seed selection is an opportunity to reduce next year’s problems, not a way to carry them forward.
Harvesting mistakes that cost flavor or storage life
Harvesting by month alone. August or September may be reasonable in one garden and completely wrong in another. Combine the variety, planting date, plant signals, and frost forecast.
Digging a storage crop as soon as it flowers. Flowers are a useful early-harvest cue, but storage potatoes need time for tubers to size and skins to set.
Pulling up healthy early plants to take every tuber. If you want new potatoes, remove a few from the side and cover the root zone again. A whole-plant harvest ends the crop’s ability to size the remaining tubers.
Watering heavily right before digging. A saturated bed is harder to work and leaves muddy tubers that are more difficult to dry. Let a mature crop finish and the soil drain, while still protecting a living crop from severe drought.
Using a shovel in the center of the hill. A sliced potato may still be edible, but the wound greatly reduces its storage potential. Start at the edge and sift inward.
Washing the whole harvest. Water is useful for potatoes you are about to cook, not for a storage batch. Brush away dry soil after curing.
Leaving cured tubers in light. Even a beautiful basket of potatoes can turn green near a window. Storage must be dark.
Packing damaged potatoes with sound ones. One wet or rotting tuber can contaminate the surrounding pile. Sort at harvest and inspect often.
Planting grocery-store sprouts without checking the source. Sprouting is not proof that a tuber is disease-free or suitable for planting. Use certified seed when possible and rotate potato-family crops to reduce recurring soil problems.
A harvest-day checklist
Before you dig, confirm the following:
- You know whether the crop is for immediate eating or storage.
- New potatoes have flowers or fading buds, or a test dig shows usable tubers.
- Storage potatoes have mostly died back and pass the skin rub test.
- The soil is workable and the forecast does not include a hard freeze.
- You have a fork, hand tool, shallow baskets, a tarp for containers, and a shaded curing space.
- You can keep damaged, green, wet, and sound potatoes separate.
After digging, let the soil dry on the tubers in shade, brush off what releases easily, and start curing the mature, undamaged crop. Record the variety and date while the information is fresh. That small note makes next year’s harvest timing far easier to predict.
Conclusion
The answer to when to harvest potatoes depends on the result you want. Dig new potatoes around flowering for tender skins and immediate meals; wait for full dieback, a dry harvest window, and firm skins when you want mature potatoes for storage.
Handle the crop as carefully as you grew it: start digging at the edge of the hill, sift by hand, separate damage immediately, cure mature tubers in darkness, and store them cool, humid, and ventilated. Those decisions do more for flavor and keeping quality than any single harvest month.



