How to Prune a Monstera for More Leaves
How to prune a monstera safely for fuller growth, better shape, and new plants—plus timing, aerial-root rules, aftercare, and mistakes to avoid.
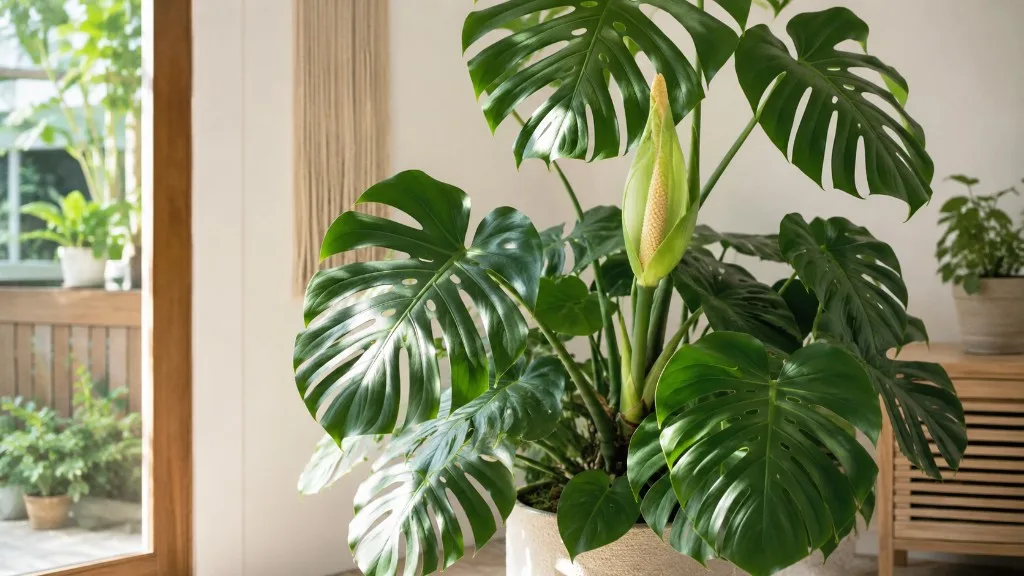
If your Monstera is long, lopsided, or crowding the room, pruning can help—but the cut itself is not a leaf-making button. The useful approach is to remove the right tissue, leave a healthy node on the parent plant, then correct the light and support conditions that determine what grows next.
For a fuller-looking pot, there are two different strategies. A careful cut above a node can encourage a dormant growth point on an established stem, while rooting node-bearing cuttings and planting them back into the same container is what actually adds more vines. The best results come from knowing which of those jobs you are asking pruning to do.
Quick answer: prune for growth you can support
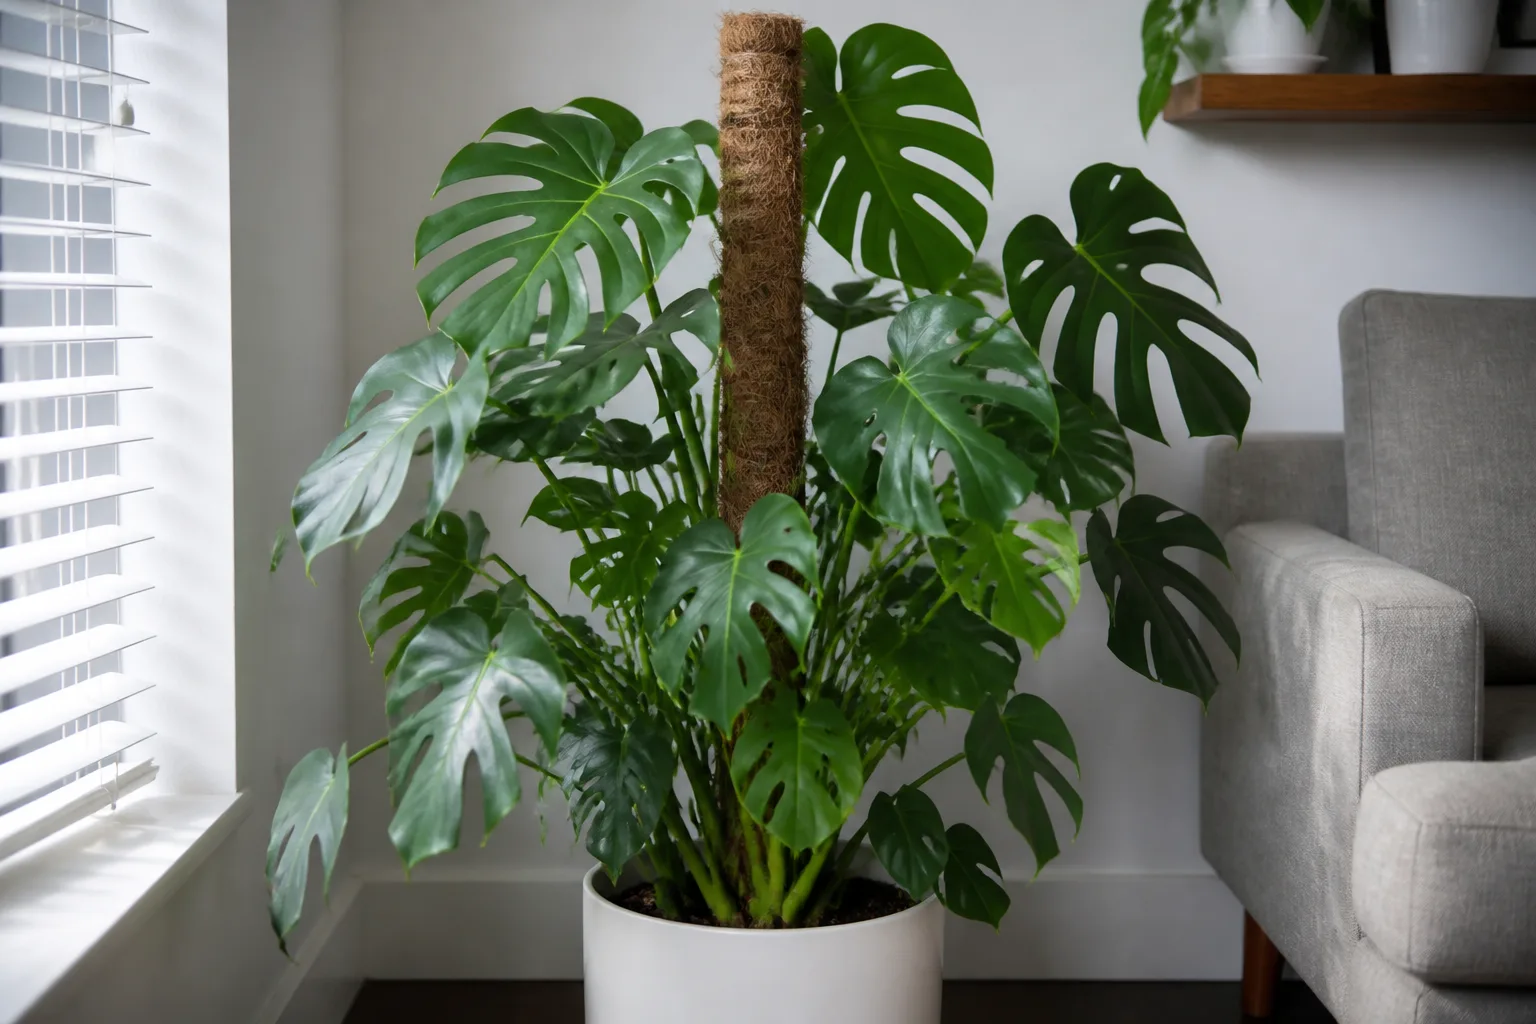
To prune a Monstera for more leaves, use clean, sharp pruners to remove dead, damaged, crowded, or excessively long growth. On a healthy stem you want to shorten, cut just above a visible node—the joint where a leaf, bud, or aerial root emerges—so the node stays attached to the parent plant. Do not cut randomly through a petiole or remove every leaf from a stem.
Then give the remaining plant bright, filtered light, stable moisture, warmth, and a sturdy support if it is a climber. If you want a genuinely fuller container rather than a neater single vine, save healthy node-bearing sections, root them, and add them back to the pot. Extension and horticultural references describe Monstera deliciosa as a vigorous climbing vine that naturally produces aerial roots and benefits from support, so shaping it works best when you work with that habit rather than fighting it. (NC State Extension Plant Toolbox, UConn Home and Garden Education Center)
What pruning can—and cannot—do for Monstera growth
Pruning can improve the plant’s silhouette, remove tissue that is already failing, open a congested center, and redirect attention to healthy growth points. It can also turn an overgrown stem into useful propagation material. Those are concrete benefits, even if the plant does not branch immediately.
Pruning cannot repair a plant that is chronically too dark, waterlogged, cold, root-damaged, or unstable. It cannot make an immature leaf develop mature fenestrations after the leaf has already unfurled, and it cannot turn a single climbing vine into a dense shrub overnight. The Royal Horticultural Society specifically cautions that new stems after cutting back may produce smaller, less mature leaves with fewer holes until the plant settles again. (RHS)
Why one Monstera looks full while another looks sparse
Monsteras are often sold as several young vines in one pot, which creates a full look from the start. A single cutting trained up a pole may look sparse even when it is healthy, because its leaves are arranged along one stem rather than emerging as a cluster. UConn notes both growth forms: Monstera deliciosa is a climbing vine, but it is also commonly sold as a cluster to create a shrub-like appearance. (UConn Home and Garden Education Center)
Light changes the spacing and quality of future growth. A Monstera in low light may stretch toward a window, producing longer gaps between leaves and a thinner outline; Penn State Extension also notes that low-light conditions can make the plant leggy. If you cut a stretched vine without moving it to better light, the new growth is likely to repeat the same pattern. (Penn State Extension)
Choose your pruning goal before you cut
Stand back and decide what you want the plant to look and grow like six months from now. Marking every long stem for removal before you pause to assess the whole plant is how people accidentally take too much.
Remove damage and congestion
If a leaf is fully yellow, brown and collapsing, badly torn, or carrying a confirmed pest or disease problem, remove it first. A leaf with only a small cosmetic mark can usually stay; green tissue still contributes energy, and removing it simply because it is imperfect reduces the plant’s reserves.
Next look at the lower interior of the plant. A few old leaves that touch the soil line or trap wet debris can be removed to improve access and airflow. Do not hollow out the center just to make the pot look tidy. Every healthy leaf you remove reduces the plant’s photosynthetic surface while it is trying to recover.
Shorten a leggy vine
For a long vine that has outgrown its space, choose the worst section first rather than cutting the entire plant back to the pot. Look for a node below the section you want to remove and make the cut just above that node. Leaving several healthy nodes and leaves on the parent gives it more options for continued growth.
If the plant has several stretched stems, shorten one or two, wait for a response, and reassess. A staged reset preserves more leaves and lets you see whether the real problem is light, the direction of the window, or a missing support structure.
Rebuild a fuller pot with cuttings
If “more leaves” really means “more stems in the container,” plan to propagate. A cutting needs a section of stem with at least one node; a leaf with its petiole is not enough. UConn’s propagation guidance recommends a stem cutting taken below a node and notes that aerial roots are useful when present. (UConn Home and Garden Education Center)
Keep the parent plant’s lower node attached, then take the removed section as a separate piece with its own node. One cut can therefore tidy the original vine and give you a future plant, but only if you place both cuts with the node in mind.
Find the node before making a cut
A node is the swollen joint on the stem where a leaf, bud, or aerial root can emerge. An internode is the stretch of stem between two nodes. A petiole is the stalk that connects a leaf blade to the stem. The long brown or tan cord coming from a stem is an aerial root, not a substitute for a node.
For shaping the parent plant, cut just above the node you want to keep. The short stub above the node can dry back, so do not leave an unnecessarily long tail. For propagation, cut below the node so the node travels with the removed stem section. That opposite-looking rule prevents the two most common mistakes: removing the growth point from the parent or trying to root a node-free leaf.
Use a flashlight or turn the pot slowly if the joints are hidden by petioles. Do not use the leaf stalk as your landmark; a clean-looking cut through a petiole may remove a leaf but leave no useful growth point and no viable cutting.
What you need for a clean, low-risk prune
For most indoor Monsteras, the setup is simple:
- sharp bypass pruners or sturdy scissors for the stem thickness
- a clean towel or paper to catch sap and plant debris
- disposable gloves, especially if you have sensitive skin
- 70% isopropyl alcohol or another tool-cleaning method you already use safely
- a glass or clean propagation vessel if you are saving node-bearing cuttings
- soft ties and a support if the plant is being trained after pruning
Clean the blades before the first cut and again after any visibly diseased section. A sharp blade makes a smooth cut; a dull blade crushes tissue and makes it harder to see whether the node has been damaged. Avoid smearing sap from one section to another, and keep cut plant material away from pets and children. Penn State Extension identifies Monstera as containing calcium oxalate compounds and recommends gloves because handling can cause contact dermatitis; the plant is also unsafe to ingest. (Penn State Extension)
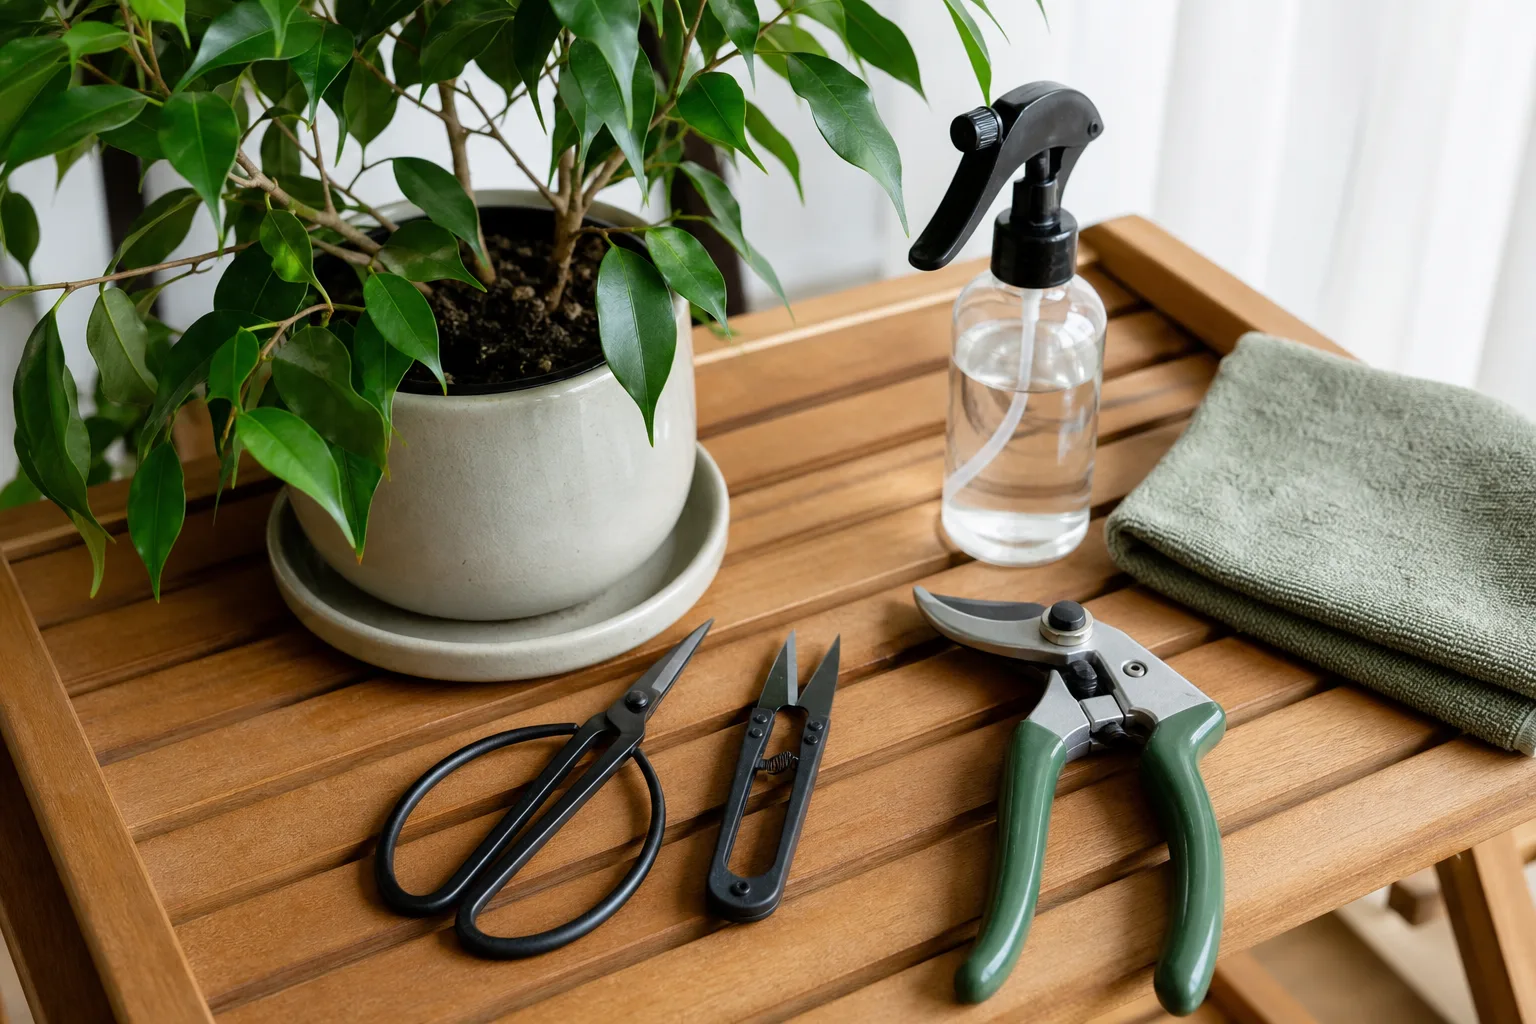
The step-by-step Monstera pruning method
The sequence below separates diagnosis from cutting. That matters because pruning is permanent, while moving a plant or adding a support can be adjusted.
1. Check health, moisture, and support
Inspect both sides of the leaves, the stem joints, and the soil surface. If the plant has widespread pests, mushy tissue, a sour-smelling mix, or several rapidly yellowing leaves, stop and address the underlying problem before doing a cosmetic reset. Removing a large amount of foliage from a stressed plant can leave it with too little leaf area to recover.
Check the root zone by pot weight and soil feel rather than watering on a calendar. A freshly watered, cold, or chronically wet plant is a poor candidate for heavy pruning because root problems limit the plant’s ability to replace lost foliage. UConn lists root and stem rot among Monstera disorders and emphasizes well-draining media, consistent watering, and avoiding standing water. (UConn Home and Garden Education Center)
Finally, see whether the vine is leaning because it needs a support rather than because it needs to be shorter. A heavy pot, a stable moss pole, trellis, or stake can solve a structural problem without removing healthy leaves.
2. Remove dead, damaged, or infested leaves
Start with the easiest cuts. Follow a damaged leaf’s petiole back to the main stem and cut the petiole close to the stem without gouging the node or nearby tissue. If a whole stem is diseased or soft, remove the affected section back to firm, clean tissue and sterilize the blade before touching another plant.
Do not trim a brown edge into a decorative shape if most of the leaf is still green. A narrow brown margin can be left, while a fully dead leaf can be removed. Cutting halfway across a green leaf does not make the leaf grow back; it simply leaves another wound and a blunt-looking margin.
For pests, prune only what you can confidently isolate. If a small number of leaves are heavily damaged, removal can reduce the problem’s surface area, but pruning does not replace identification, quarantine, and treatment. If a problem covers a large portion of the plant, preserving healthy foliage while you treat may be safer than stripping the plant bare.
3. Shorten the longest stems strategically
Untangle the vines gently and identify the front, back, and light-facing sides of the plant. Choose the longest or most disruptive stem first, then find a healthy node below the point where you want the new growth to emerge. Make one decisive cut just above that node rather than sawing back and forth.
Think in terms of direction, not just length. If the plant is empty on one side, keep a node that points toward that gap; if the stem is blocking a walkway, choose the node that leaves the remaining vine within the available footprint. You may not be able to predict exactly which way a new shoot will grow, but choosing the node’s position is more useful than cutting at an arbitrary height.
Leave enough leaves on the parent to keep it productive. A small Monstera with three healthy leaves does not need the same haircut as a mature, crowded plant with dozens. If several stems need shortening, make the first round modest and give the plant time to show you what it can support.
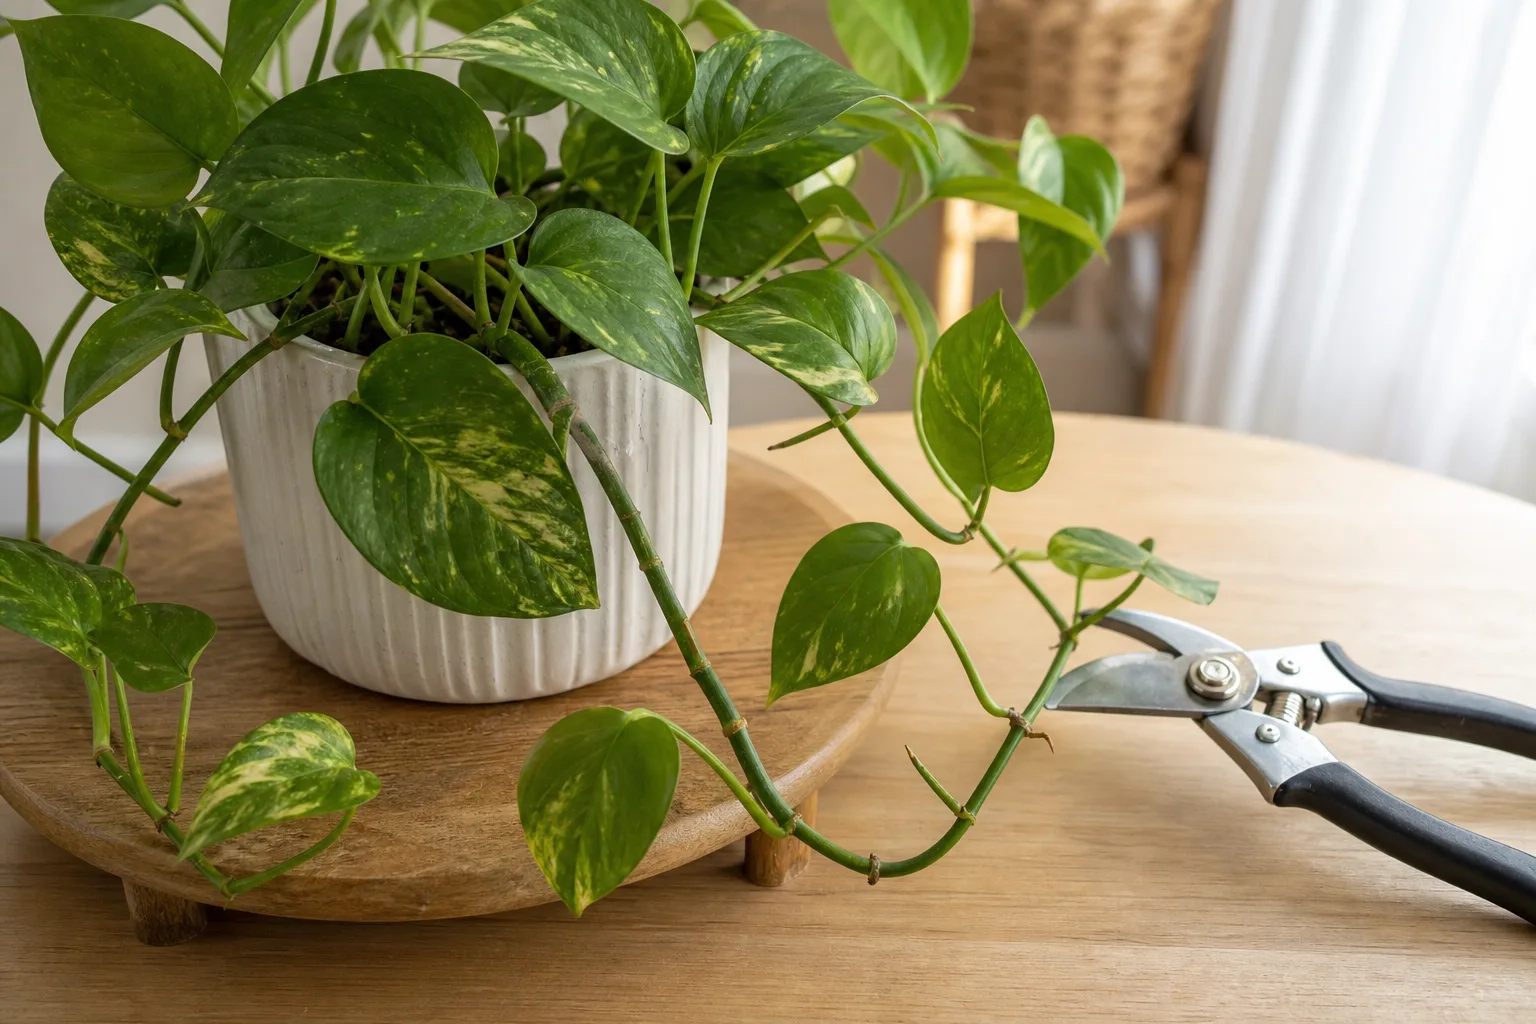
4. Finish with aerial roots and cleanup
Aerial roots are normal on a climbing Monstera. Leave them alone if they are helping the plant anchor, guide them toward a moss pole or trellis, or tuck a reachable root into the top layer of potting mix without burying a growing tip. You can trim an aerial root for appearance or because it is snagging on furniture, but do not cut into the stem while doing so.
The Royal Horticultural Society and university guidance both describe support as part of successful Monstera culture: these plants climb, and their aerial roots help them attach to a support. Removing every root can make the plant look cleaner in the short term while eliminating structures that would have helped it climb. (RHS, NC State Extension Plant Toolbox)
Collect fallen leaves and cuttings, wipe sap from the work surface, and clean the pruners before storing them. Do not paint, seal, or dust ordinary Monstera cuts with rooting hormone. A clean cut and good growing conditions are more important than a powder, and unnecessary products can distract from the conditions that actually control recovery.
How much Monstera to prune at once
A conservative starting point is to remove no more than about one-third of the plant’s foliage or living stem mass in one session. Treat that as a ceiling, not a target. A recently purchased, repotted, pest-damaged, drought-stressed, or low-light Monstera may need far less—or only the removal of dead tissue.
Use a pause after each major cut. Ask whether the silhouette is already improved, whether enough leaves remain to power recovery, and whether the next cut solves a real problem. The plant’s size, number of vines, season, root health, and indoor light all change how much it can tolerate, so a percentage cannot replace observation.
If you need to remove more than one-third because the plant is blocking a doorway or has severe damage, do it in stages when possible. For a truly diseased stem, sanitation may outweigh the one-third rule; for a healthy but oversized plant, staged cuts are usually kinder and easier to correct.
Timing: when to prune and when to wait
For shaping and size control, prune in spring or when the plant has clearly resumed active growth. Warmth and increasing light give the remaining nodes a better chance to push new growth. NC State’s plant guidance recommends pruning or repotting in spring when needed, while the RHS recommends cutting back an oversized Swiss cheese plant in spring. (NC State Extension Plant Toolbox, RHS)
You do not need to wait for a particular date if a leaf is fully dead, a stem is rotting, or a confirmed pest or disease problem must be isolated. Those are sanitation cuts, not a seasonal makeover. Remove the smallest necessary amount, then stabilize light, moisture, airflow, and treatment before considering more shaping.
Wait on heavy pruning when the plant has just moved homes, been repotted, experienced cold damage, or is sitting in persistently wet soil. A plant that is not growing cannot be pushed into producing a full replacement canopy by cutting harder. Fix the limiting condition first and prune only what is clearly necessary.
Light, support, and aftercare determine the next leaves
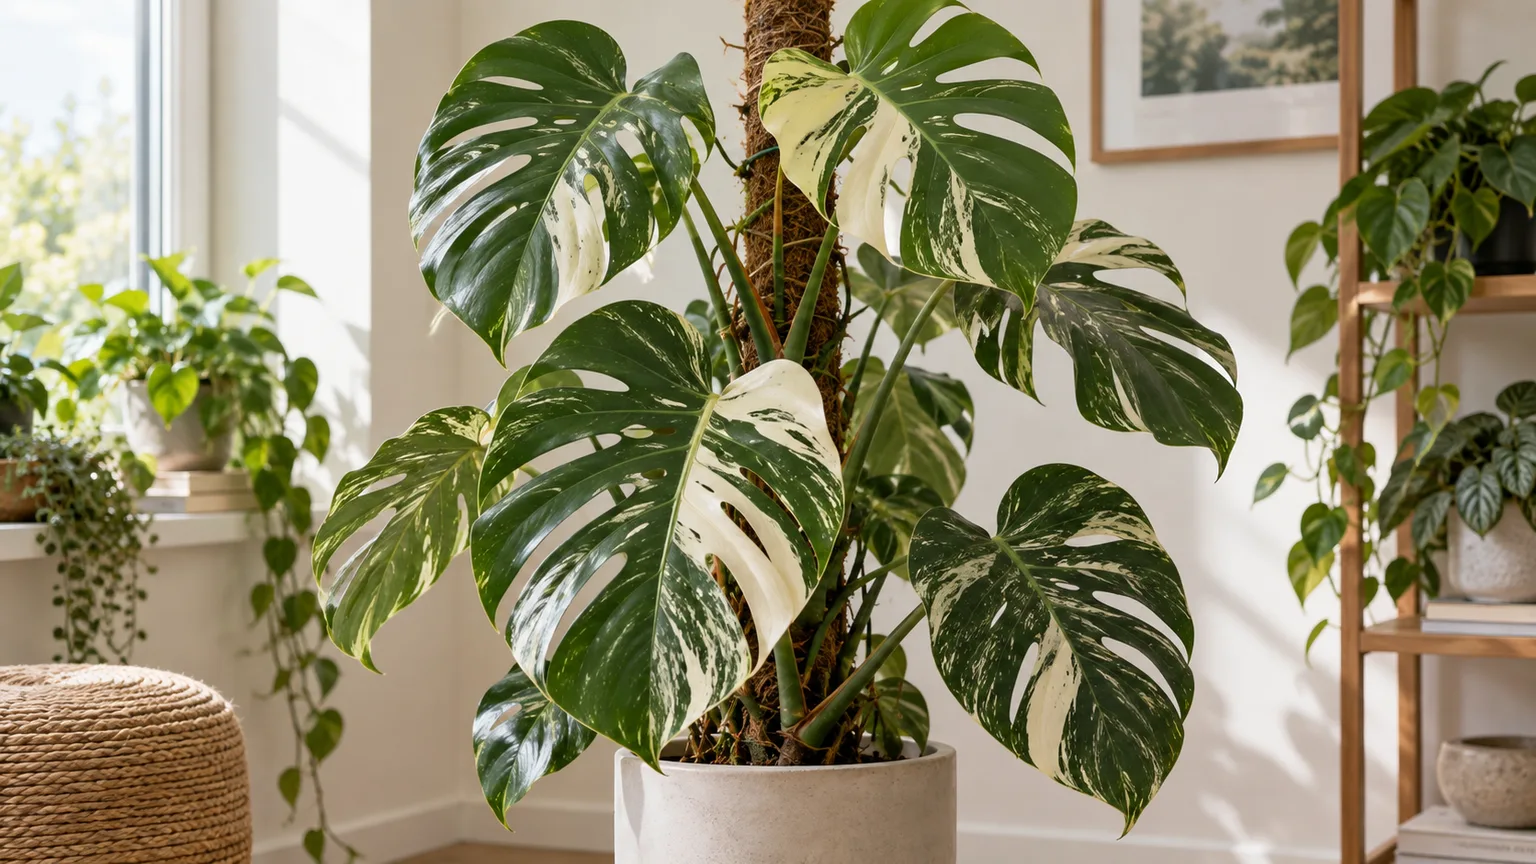
After pruning, place the Monstera in bright, indirect or filtered light and protect newly exposed leaves from sudden hot direct sun. NC State describes moderate brightness and high humidity for Monstera deliciosa, while Penn State recommends bright light without direct sun and notes that lower light contributes to legginess. Variegated cultivars generally need more usable light than dark-green plants, but they can still scorch when moved too quickly. (NC State Extension Plant Toolbox, Penn State Extension)
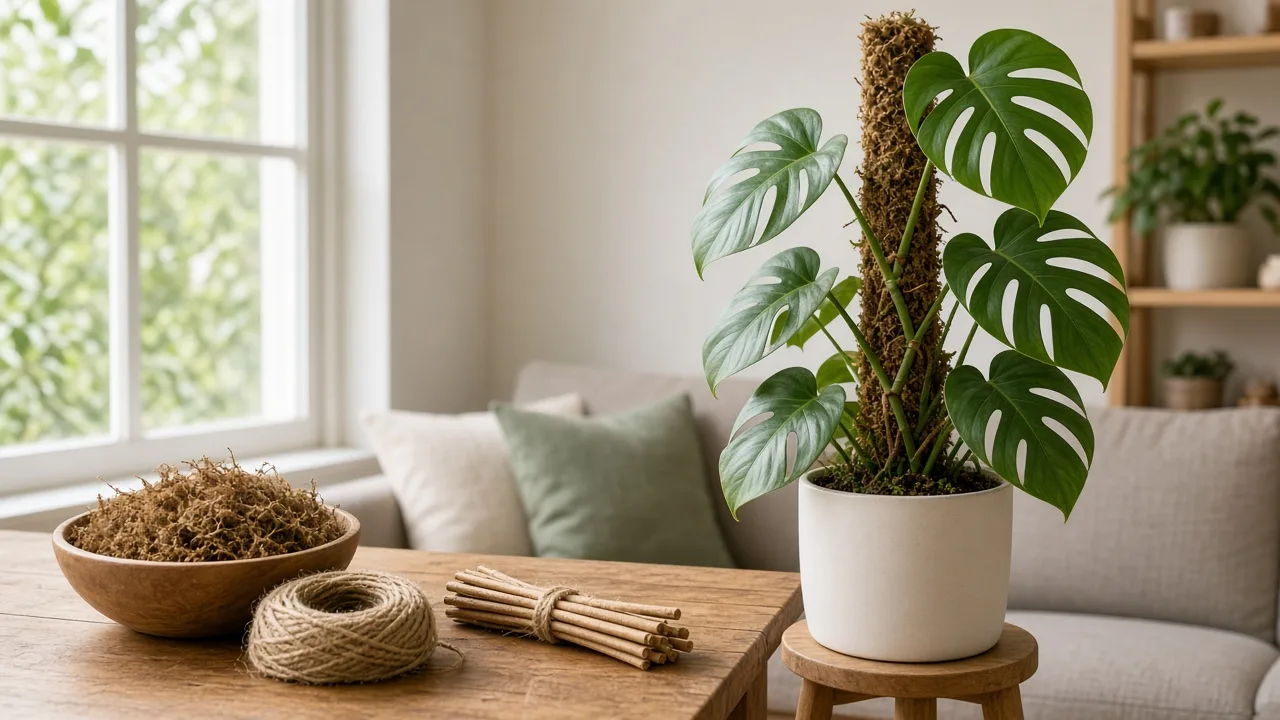
Give the stem a support before the new growth becomes heavy. A Monstera trained to a moss pole, trellis, or sturdy stake can hold its leaves upright and express its climbing form; UConn reports that leaf size typically increases once vines successfully attach to a moss pole. Tie the stem loosely with a soft material, keeping the tie on the stem rather than strangling a petiole. (UConn Home and Garden Education Center)
Keep watering consistent, but do not compensate for pruning by keeping the soil constantly wet. Water thoroughly when the mix has reached its usual dry-down point, let excess drain, and empty any saucer. Avoid fertilizer immediately after a severe cut if the plant is stressed; resume a normal, modest feeding routine once active growth returns rather than trying to force a leaf flush.
Expect the node to take time. A dormant bud may swell and produce a shoot in weeks or months depending on warmth, light, season, and plant health. No new bud after a cut does not automatically mean the pruning failed; it may mean the node is dormant, the plant lacks energy, or the cut was made through a damaged or non-viable section.
Propagate healthy cuttings—and know when root pruning fits
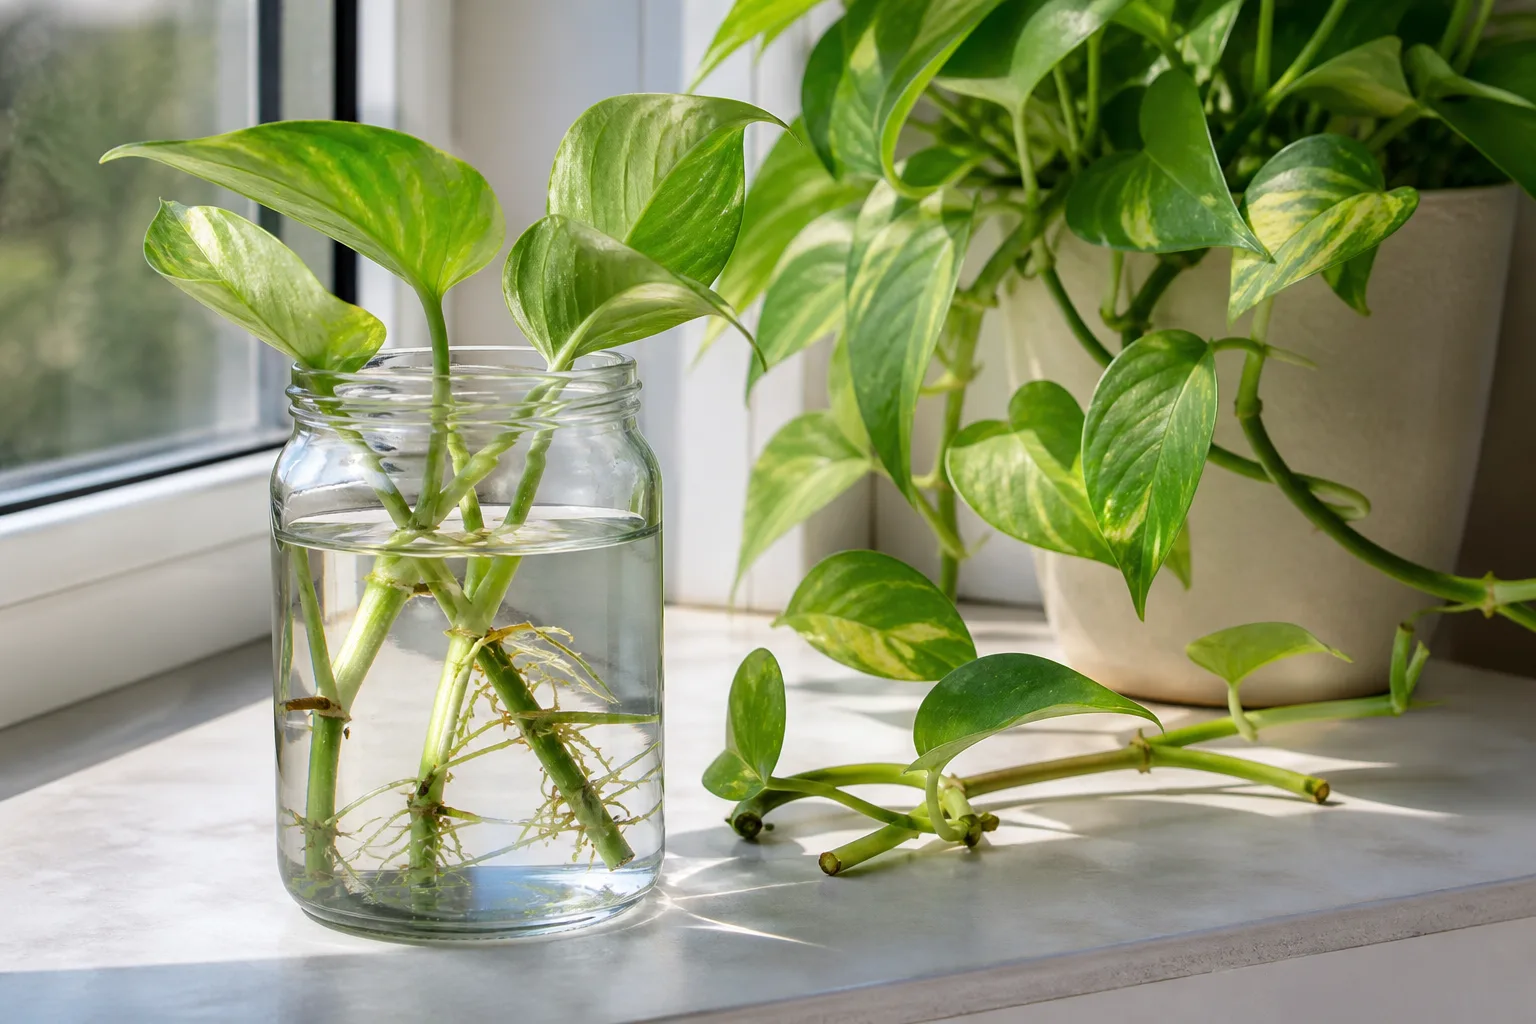
Use only healthy, firm cuttings with at least one node. A section with a node and aerial root is especially convenient, but the aerial root is a bonus; the node is the essential growth point. Place the cutting in clean water or an airy propagation medium with the node contacting the medium and the leaf above it, then give it warm, bright, indirect light.
If you root in water, keep the node submerged but keep most of the leaf and petiole above the waterline. Change the water when it becomes cloudy and pot the cutting once it has a useful root system rather than waiting for a tangled mass. If you put rooted cuttings back into the parent pot, position them around the empty side and keep the new section at a similar depth to its original rooting setup.
RHS says Swiss cheese plants are readily propagated from stem cuttings from spring through late summer, and UConn lists stem cuttings, layering, and cane cutting as propagation methods. (RHS, UConn Home and Garden Education Center)
Root pruning is a different job from stem pruning. It can slow a vigorous plant that must stay in the same container, but it also disturbs the root system and is not the first fix for a leggy or crowded Monstera. First check whether the roots are actually congested, the pot drains properly, and the plant is otherwise healthy. UConn advises repotting only when roots have reached the bottom and sides of the pot and warns that Monsteras tolerate being somewhat pot-bound better than being over-potted. (UConn Home and Garden Education Center)
If root pruning is appropriate, do it during active growth, keep the root reduction modest, use a clean tool, and replant into the same clean container with fresh, well-draining mix. Do not combine a major root prune, a hard stem cut, a move to a new light level, and aggressive feeding in one day. Each is a stressor; stacking them makes it difficult to tell what the plant is reacting to.
Conclusion
The best Monstera pruning cut is the one that supports a clear goal. Remove dead or diseased tissue promptly, shorten a leggy or inconvenient stem just above a healthy node, and leave aerial roots in place when they are helping the plant climb. Then improve the light and support so the next growth is stronger than the growth you removed.
If you want more leaves in the pot rather than simply a shorter plant, propagate the healthy node-bearing cuttings and plant them back after rooting. Pruning can open the door to fuller growth, but the plant’s light, roots, climbing structure, and recovery time decide whether it walks through it.