How to Kill Grass Without Digging It Up
Learn how to kill grass without digging using sheet mulch, solarization, sod removal, or careful treatment near plants.
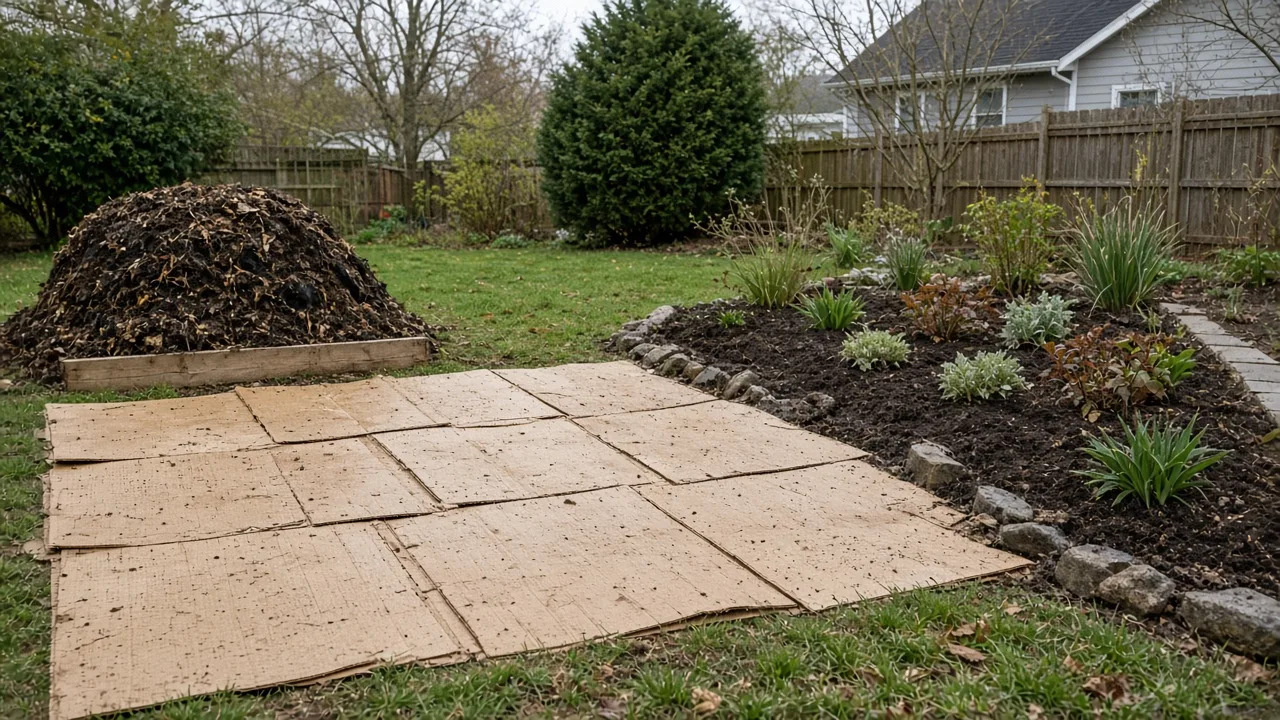
The best way to stop unwanted grass depends on whether you are clearing an empty patch for a new bed or trying to rescue an established border full of plants. For a future bed, sheet mulching or solarization can kill the turf in place with little soil disturbance. Beside established flowers, shrubs, and trees, careful hand removal and a repaired edge are safer because a broad cover or spray can injure roots and crowns you want to keep.
There is no universal “grass killer” that is both permanent and harmless to every plant. Turf can spread by seed, above-ground stolons, or underground rhizomes, and each growth habit changes what counts as success. Use the guide below to choose the least disruptive method that is still strong enough for your site.
Start by deciding what “grass” you have
Before cutting, covering, or spraying, inspect the base of the plant. A tight clump in a planned position may be an ornamental grass, sedge, liriope, or mondo grass. A volunteer in fresh mulch may be an annual grassy weed. A shoot entering from the lawn may be connected to a stolon or rhizome that will keep producing new crowns after the visible leaves are removed.
The distinction matters because a young annual seedling is usually easy to lift, while a creeping perennial can return from pieces left in the soil. If you cannot identify it, photograph the leaf base and seed head, mark the plant, and use a local extension weed guide before treating a whole patch. Misidentifying a desirable grass is an irreversible mistake; you can always remove a confirmed weed tomorrow.
Seedling weeds versus creeping turf
Annual grasses such as crabgrass generally begin as isolated seedlings in warm, bare soil or thin mulch. They have fibrous roots and are easiest to remove when small, before a seed head forms. Bag mature seed heads rather than shaking them across the bed, and do not assume a home compost pile will reliably destroy every weed seed.
Perennial lawn grasses are more persistent. Follow one shoot toward its crown and look for pale runners below the surface or stems traveling across the soil. A shallow chop may remove the leaves while leaving the growth point alive. University of Minnesota Extension’s quackgrass information is a useful example of why rhizomes deserve attention: underground stems can root at joints and produce new shoots when fragmented.
Choose a method by speed, risk, and site
Use this table as a first decision, then read the method’s limitations before you start. “Natural” does not mean risk-free: plastic can overheat a planted bed, cardboard can bury crowns, and a homemade spray can injure soil and foliage.
| Situation | Best starting method | Typical pace | Main trade-off |
|---|---|---|---|
| A few seedlings in mulch | Hand fork or trowel | Minutes to days | Must repeat after rain or irrigation |
| Grass woven through flowers | Section-by-section hand removal | Days to weeks | Slow, but gives the most control |
| Empty patch for a future bed | Cardboard sheet mulch | Several weeks to months | Requires thick, overlapping layers |
| Hot, sunny empty area | Clear-plastic solarization | About 4–8 weeks | Needs strong sun and an unsightly cover |
| Large area needed quickly | Rented sod cutter | One work session | Removes soil and requires hauling or reuse |
| Compacted site with little existing planting | Rototiller, cautiously | One work session | Can chop and spread rhizomes |
| Grass that cannot be reached physically | Label-compliant herbicide | Product-dependent | Drift and plant-injury risk; label controls |
If the area borders valuable plants, start with the method that lets you see the roots as you work. If the area is empty and your priority is preserving soil structure, cover it. If the area must be ready immediately for construction, physical sod removal may justify the labor and disposal.
The safest approach beside established plants
Work when the soil is moist but not saturated. Soil that is slightly damp releases fine roots more readily, while wet soil compacts under your knees and tools. Cut the grass low with scissors or hand pruners if you need a clearer view, but do not scalp desirable plants that resemble the weed.
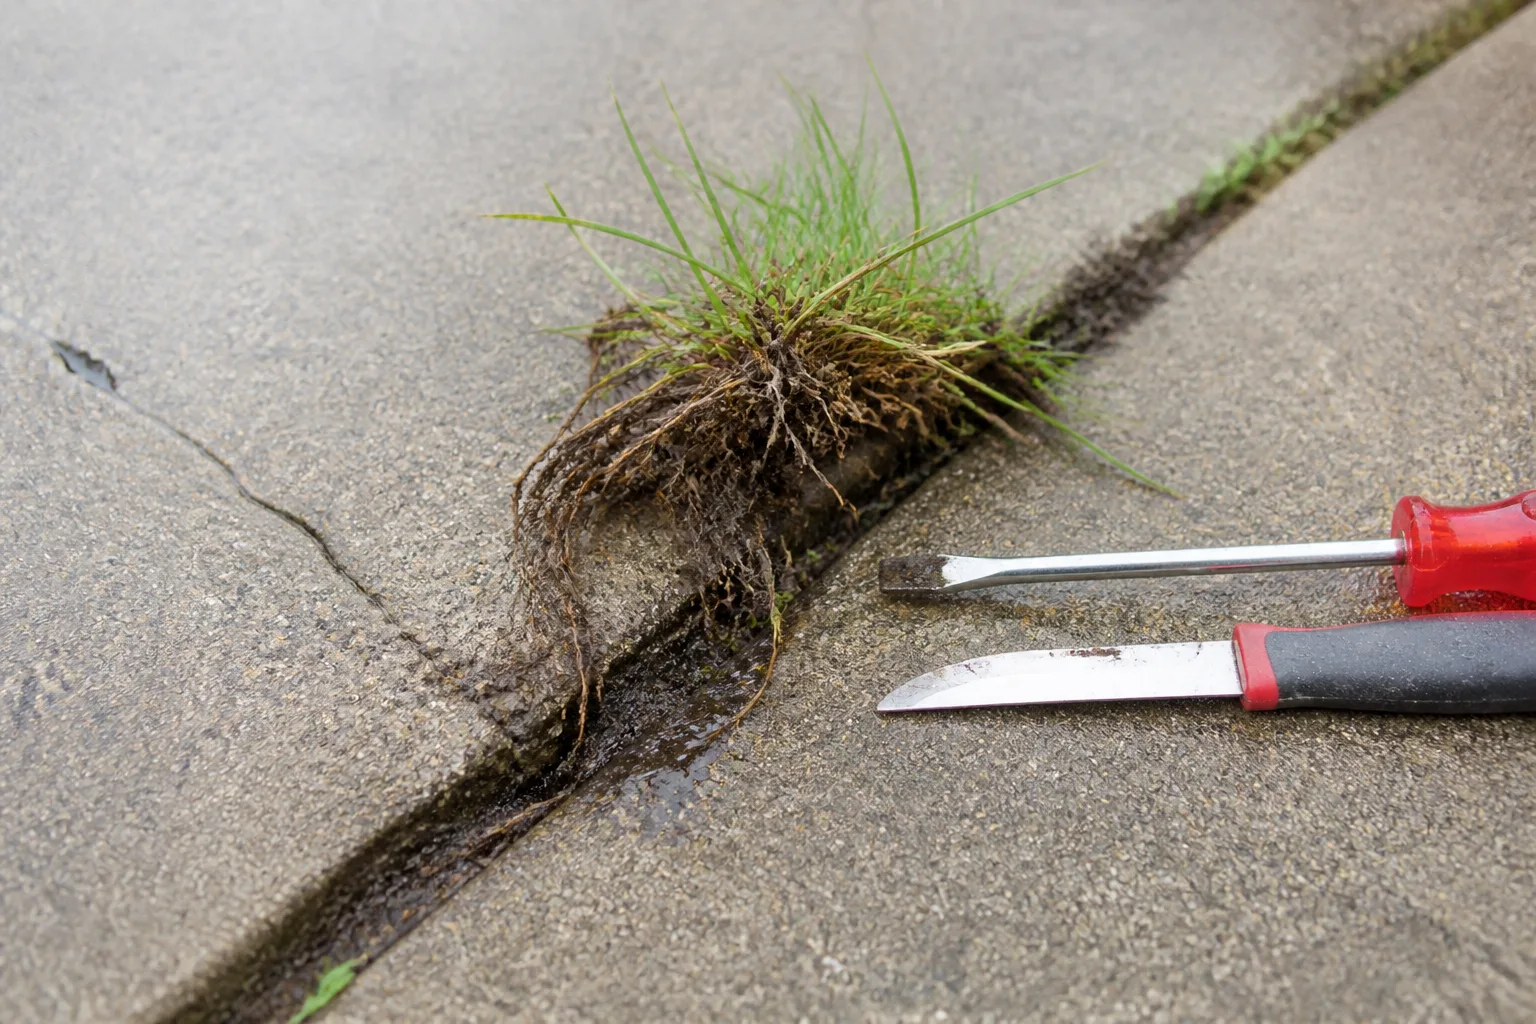
Start at the outside edge of the patch. Loosen soil beside the crown with a hand fork, hori hori, or narrow trowel, then lift from below while holding the grass low at its base. Put the removed clump into a bucket or onto a tarp so loose roots and seed heads do not fall back into the bed. Refill holes with the original soil and keep mulch away from plant crowns.
When a runner disappears under a flower, stop excavating blindly. Remove the exposed section, mark the spot, and watch for new shoots. Sacrificing part of a hidden grass root may be preferable to severing the crown or major roots of the perennial you are protecting. Repeated early removal is often more successful than one aggressive dig that creates collateral damage.
How to smother grass with cardboard or newspaper
Sheet mulching works best where you are converting lawn to a new flower or vegetable bed and can cover the entire area. Iowa State University Extension’s lawn-to-bed guidance treats cardboard, heavy mulch, and sod removal as different choices with different timing and labor costs. Mow the turf short, water it if the soil is dry, and lay plain cardboard or several overlapping layers of newspaper directly on the ground. Overlap seams generously so shoots cannot find a narrow light gap.
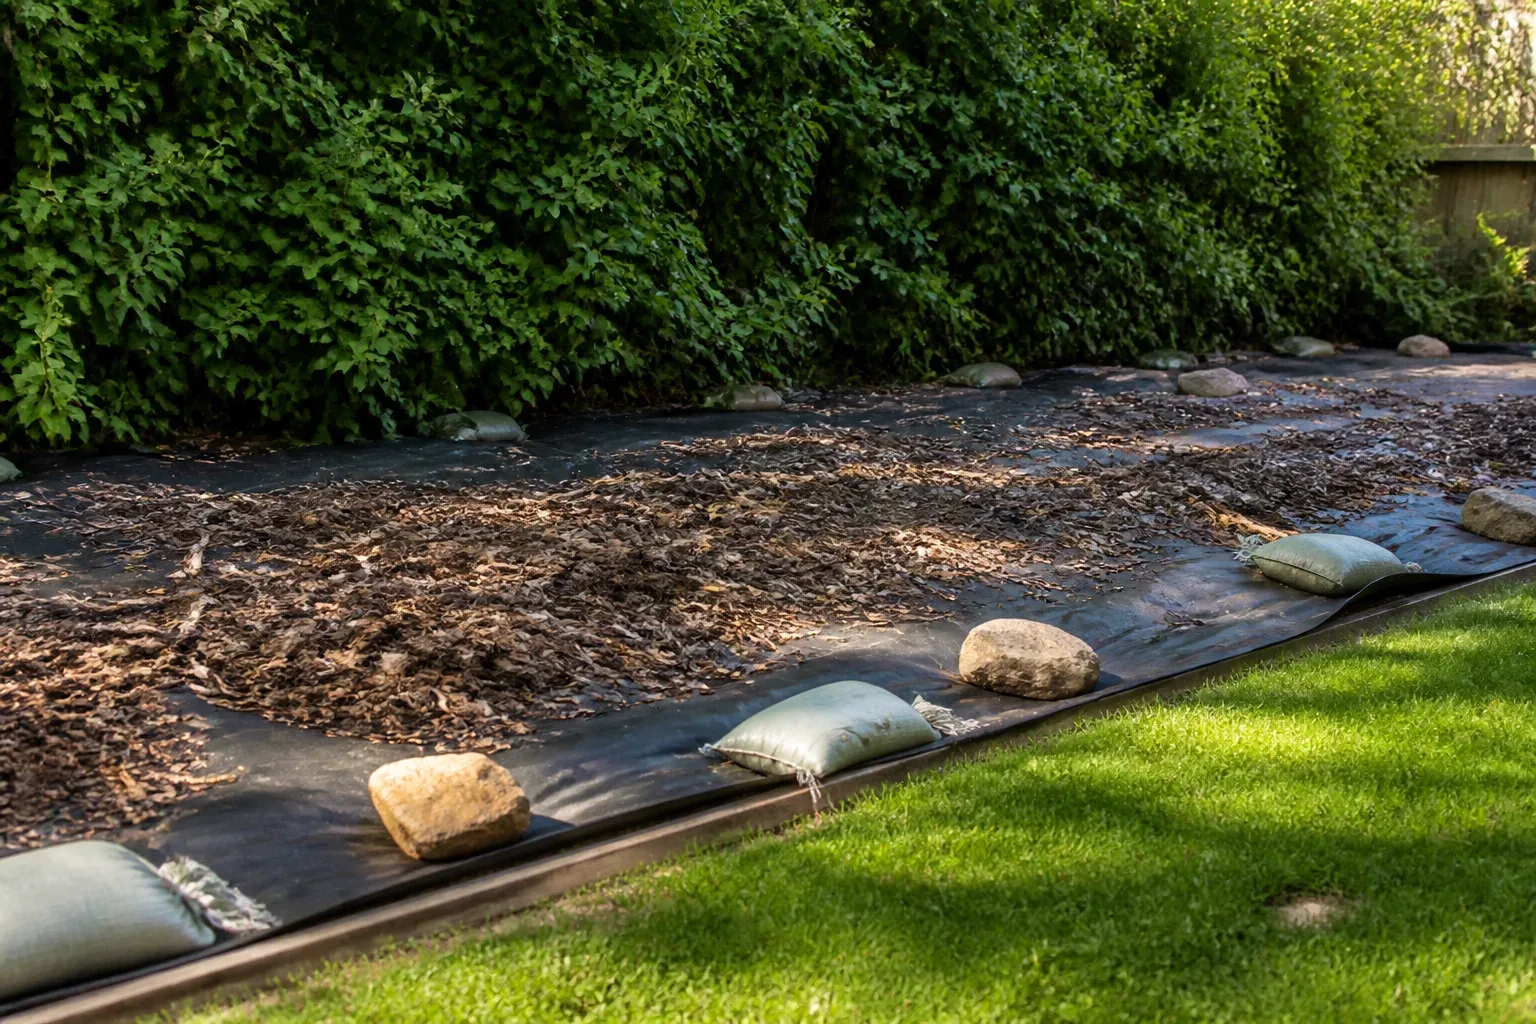
Cover the paper with a thick layer of compost, finished mulch, topsoil, or another weed-free organic material. A cover of roughly four inches helps hold the sheets in place and blocks light; thinner layers are more likely to shift, dry out, or leave seams exposed. Keep the material off tree trunks, shrub stems, and perennial crowns. Cardboard should be plain and free of glossy coatings, tape, and plastic labels.
Build a sheet-mulch layer that stays effective
The common failure is treating cardboard like a magic barrier. It kills what is underneath only when the layer stays continuous, damp enough to decompose, and thick enough to exclude light for long enough. Perennial grasses with vigorous rhizomes may need a longer wait or a second layer after inspection.
Use this sequence:
- Mow or cut the grass as short as practical and remove bulky seed heads.
- Mark the bed boundary and check for irrigation lines, shallow roots, and plants you want to keep.
- Lay overlapping cardboard or newspaper, extending slightly beyond the visible turf edge.
- Wet the sheets so they conform to the ground, then cover them with about four inches of organic material.
- Leave the cover in place while the grass dies and the paper softens; this can take weeks to months depending on weather and turf vigor.
- Inspect the perimeter and any seams. Pull shoots that escape before planting densely.
This method preserves more soil structure than tilling and lets the dead turf decompose in place. It is not a good shortcut around plants that are already rooted through the proposed cover. Cutting cardboard tightly around stems still leaves a seam, and piling wet material against a woody trunk can create a separate rot or pest problem.
When solarization is the better cover method

Solarization uses clear plastic to trap solar heat in moist soil. It is most useful on an empty patch during a hot, sunny stretch of summer. Mow first, water the soil thoroughly, lay one or two layers of clear plastic, and bury or heavily anchor every edge so heat cannot escape and wind cannot lift the sheet.
Allow roughly four to eight weeks as a starting range, then check the result at an edge before removing the cover. Cloudy weather, cool climates, shade, poor soil contact, or a short treatment period can reduce the effect. Clear plastic is generally used for solar heating; opaque black plastic works by light exclusion but should not be treated as interchangeable with solarization.
Solarization is a poor choice over established flowers, shallow-rooted shrubs, or valuable trees. The heat and trapped moisture can stress roots, and the plastic blocks normal access to the bed. Remove the cover when the treatment is complete rather than burying plastic in the soil. If the patch will be planted immediately, rake lightly instead of deep-tilling and check for surviving crowns around the edges.
When sod cutting makes sense
A sod cutter is the fastest route to a relatively clean slate for a large, empty area. Its horizontal blade removes a shallow layer of turf and roots in strips or rolls. You can reuse healthy sod elsewhere, compost it if your process can handle it, or arrange disposal rather than leaving rolls to dry beside the new bed.
The speed comes with costs. Sod cutting removes some topsoil, creates heavy rolls to move, and may expose compacted or uneven soil underneath. Call utility-locating services before operating powered equipment, wear eye and foot protection, and avoid cutting saturated ground. Afterward, level and test the exposed soil rather than assuming it is ready for planting.
Physical removal is the most dependable option when the area must be available soon and you need to remove the living crowns instead of waiting for decomposition. It still does not guarantee that every rhizome or seed is gone; inspect the boundary and any remaining soil before installing a dense planting.
Why rototilling can create a second grass problem
Tilling loosens compacted soil and mixes organic matter, but it also chops living turf into many pieces. If those pieces include viable crowns or rhizomes, the machine may distribute the problem through the whole plot. This is especially risky with spreading perennial grasses and in warm, irrigated soil.
Use a tiller only on a mostly empty area when you understand the grass involved and have a follow-up plan. Tilling is not a substitute for killing the turf first. If you do till, rake out visible runners and clumps, avoid repeated passes that pulverize the soil, and wait for regrowth so you can remove survivors before planting. In a bed already filled with flowers, do not till; the damage to desirable roots will outweigh the benefit.
Where herbicide fits—and where it does not
A nonselective herbicide can kill contacted grass and broadleaf plants, but it cannot distinguish a weed from a flower if spray reaches the wrong leaf. Near desirable plants, the safest choice is often to avoid spraying or to isolate the target with a shield and a very carefully directed application. Even then, drift, wicking, and root-zone restrictions matter.
Read the current product label before purchase or use. EPA pesticide-label guidance explains that the label controls the legal site, target, rate, personal protective equipment, weather limits, re-entry interval, and planting restrictions. Do not infer that a product is safe around ornamentals because it is marketed as a “grass killer”; some products target grasses and can injure ornamental grasses, while broad-spectrum products can injure almost any green tissue they contact.
Avoid salt, bleach, boiling-water experiments beside plants, and concentrated vinegar mixtures presented as permanent fixes. These can burn foliage or disrupt soil and are especially hazardous to skin and eyes at stronger concentrations. University of Maryland Extension’s vinegar comparison also distinguishes the quick burn of vinegar from the systemic action and label restrictions of registered herbicides. If you cannot confidently protect the plant, remove the grass by hand.
Timing the job for better results
Choose timing based on the method and your next use of the space. Sheet mulch is easiest to install when the ground is workable and you can leave the area covered for weeks. Solarization needs the strongest sun and a period when the bed can remain unused. Sod cutting is easier when the soil is moist enough to cut but not so wet that equipment leaves ruts.
For hand removal, act after irrigation or light rain, not during a saturated period. Remove annual grasses before seed heads mature. For creeping turf, inspect during active growth because new shoots reveal where crowns and runners survived. If a label-compliant herbicide is the only practical option, follow its weather and re-entry instructions exactly rather than choosing a date from a generic calendar.
Protecting trees, shrubs, and perennial roots
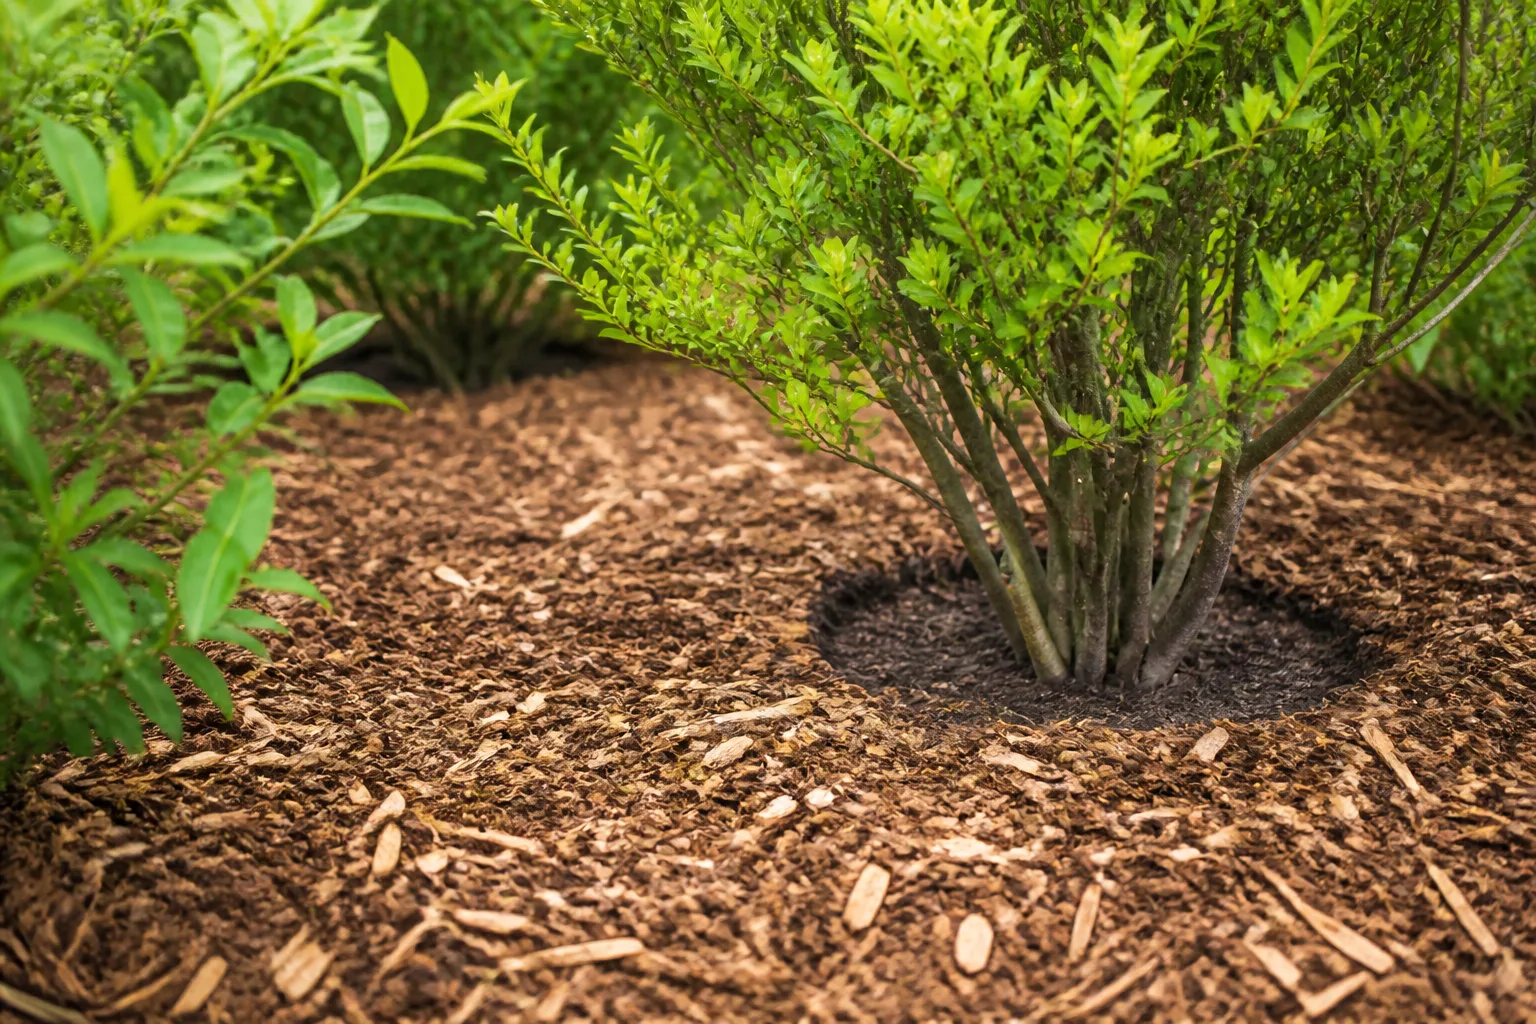
Do not bury the root flare of a tree or pile mulch against stems. A new lawn-to-bed conversion can tempt you to raise the grade with compost and topsoil, but adding several inches over established roots can reduce oxygen in the root zone. Keep the finished bed level compatible with existing plants, drainage, and hardscape.
When covering near a tree, leave the root flare and trunk base clear, use thinner layers near woody stems, and monitor moisture rather than assuming more mulch is safer. Where flower roots are mixed with the turf, work in small sections and accept that perfect eradication may be less important than preserving the plant. The best garden boundary is one that remains maintainable next season.
What to do with dead grass and removed sod
Dead grass left under a sheet mulch layer can decompose and return organic matter to the soil. Removed sod is more complicated: a roll that contains live rhizomes can re-root if left on damp ground. Stack it turf-side down in a contained pile, or use a controlled composting process that reaches conditions appropriate for killing plant material and seeds.
Do not spread questionable sod around the yard just to avoid disposal. If the grass is diseased, heavily seeded, or known to be invasive in your region, keep it out of ordinary compost and follow local waste guidance. Clean soil from tools before moving from the cleared area to another bed, especially when you found rhizomes or persistent weeds.
Prepare the soil before planting
Once the grass is dead or removed, resist the urge to immediately dump fertilizer into the new space. Check drainage, compaction, grade, and soil texture first. A soil test can tell you whether pH or nutrients actually need correction; compost is useful for organic matter, but it is not a universal answer to poor drainage or compacted subsoil.
If you used herbicide, observe the label’s re-entry and planting restrictions before digging or planting. If you used cardboard or solarization, remove any remaining plastic, tape, and large undecomposed pieces. Loosen only the top layer needed for planting, because deep disturbance can bring buried weed seed to the surface and undo some of the work.
Prevent grass from crossing the new edge

The most permanent improvement is often not a stronger kill method but a better boundary. Create a clean, inspectable edge between lawn and bed, then keep mulch from spilling onto turf where it can hide runners. A narrow trench, mowing strip, or properly installed edging can make the next inspection much easier.
Do not rely on edging alone if the grass spreads underground. Trace runners back to the lawn, remove visible crowns, and check the edge during the growing season. Keep the bed covered with a settled mulch layer after planting, but remember that mulch suppresses new seedlings more reliably than it kills an established rhizomatous grass.
How to check for regrowth
Schedule a follow-up inspection instead of declaring victory when the leaves turn brown. Walk the perimeter after rain or irrigation, look at cardboard seams and plastic edges, and search for pale shoots emerging through mulch. Early regrowth is easier to lift and less likely to seed.
If the same patch returns, diagnose the failure before repeating the method. A shoot at the boundary suggests an untreated runner. Many shoots across a covered area suggest gaps, insufficient cover, or a resilient rhizome. A patch that returns only after tilling may contain chopped crowns distributed through the soil. Change the sequence—remove crowns, repair the cover, or expand the boundary—rather than repeating the identical mistake.
Common mistakes that waste the work
The first mistake is choosing a method because it sounds fastest without matching it to the site. Spraying beside flowers, tilling a rhizomatous grass, or laying a thin cardboard sheet over dry turf may produce quick-looking results but poor control. The second is ignoring the perimeter: many “returns” are actually new shoots entering from the lawn.
Other avoidable errors include burying plant crowns, covering tree trunks, leaving plastic in the soil, working saturated ground, and composting mature seed heads casually. Do not use a product outside its label or assume household ingredients become safe because they are familiar. The goal is a healthy bed with manageable maintenance, not a scorched patch that needs another repair.
Conclusion
To stop grass from taking over without damaging your plants, match the method to the ground in front of you. Hand-lift small patches and grass tangled with roots. Sheet-mulch an empty future bed when you can wait. Solarize an unused sunny area in summer. Use a sod cutter when speed and a clean slate justify equipment and soil removal, and treat rototilling or herbicide as specialized choices with meaningful downsides.
Whatever you choose, finish the job with a repaired edge, a soil check, and a planned regrowth inspection. Grass control becomes much easier when you remove or exhaust the living growth point, protect the plants you want, and make the next escape visible before it becomes another takeover.



