How to Plant a Peach Seed and Grow a Tree
Turn a peach pit into a tree with a reliable cold-treatment method, planting depth, first-year care, and honest expectations about fruit.
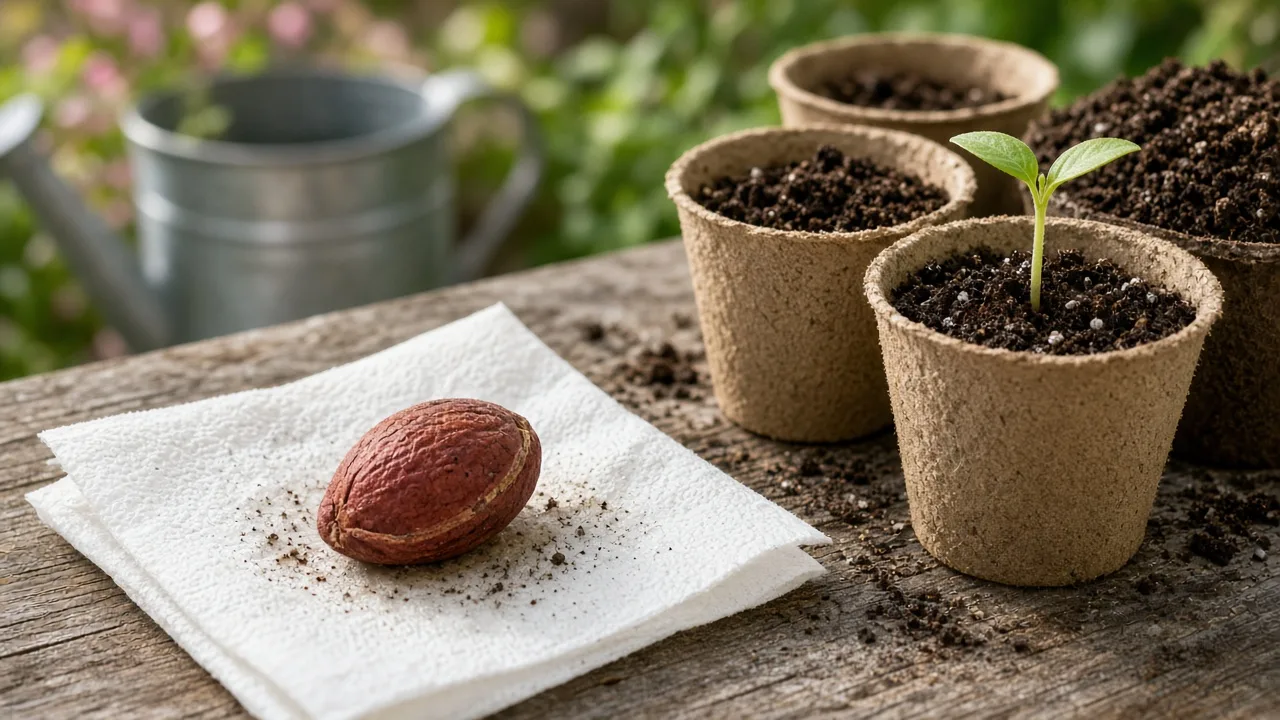
You can grow a peach tree from the pit of a ripe peach, but the project has two separate goals: germinating a seed and raising a productive fruit tree. The first is an enjoyable experiment. The second takes the right climate, several seasons of care, and a willingness to accept that the fruit may not match the peach you ate.
The most dependable indoor method is cold-moist stratification: clean the pit, chill the seed in a barely moist medium for roughly 10 to 16 weeks, then plant it in a deep container. If you live where winter is reliably cold, you can also sow a clean pit outdoors in fall and let nature provide the chill. The refrigerator method gives you more control and makes it easier to inspect for mold, roots, and damage.
Decide Whether a Peach Seed Is the Right Starting Point
Start with a seed if you want to watch a tree develop, teach children about dormancy, experiment with local fruit, or grow a vigorous young plant at low cost. Start with a grafted nursery tree if you want a named variety, a predictable harvest window, known disease performance, or fruit as soon as practical. A seedling is not a cheaper version of a grafted tree; it is a genetically different plant.
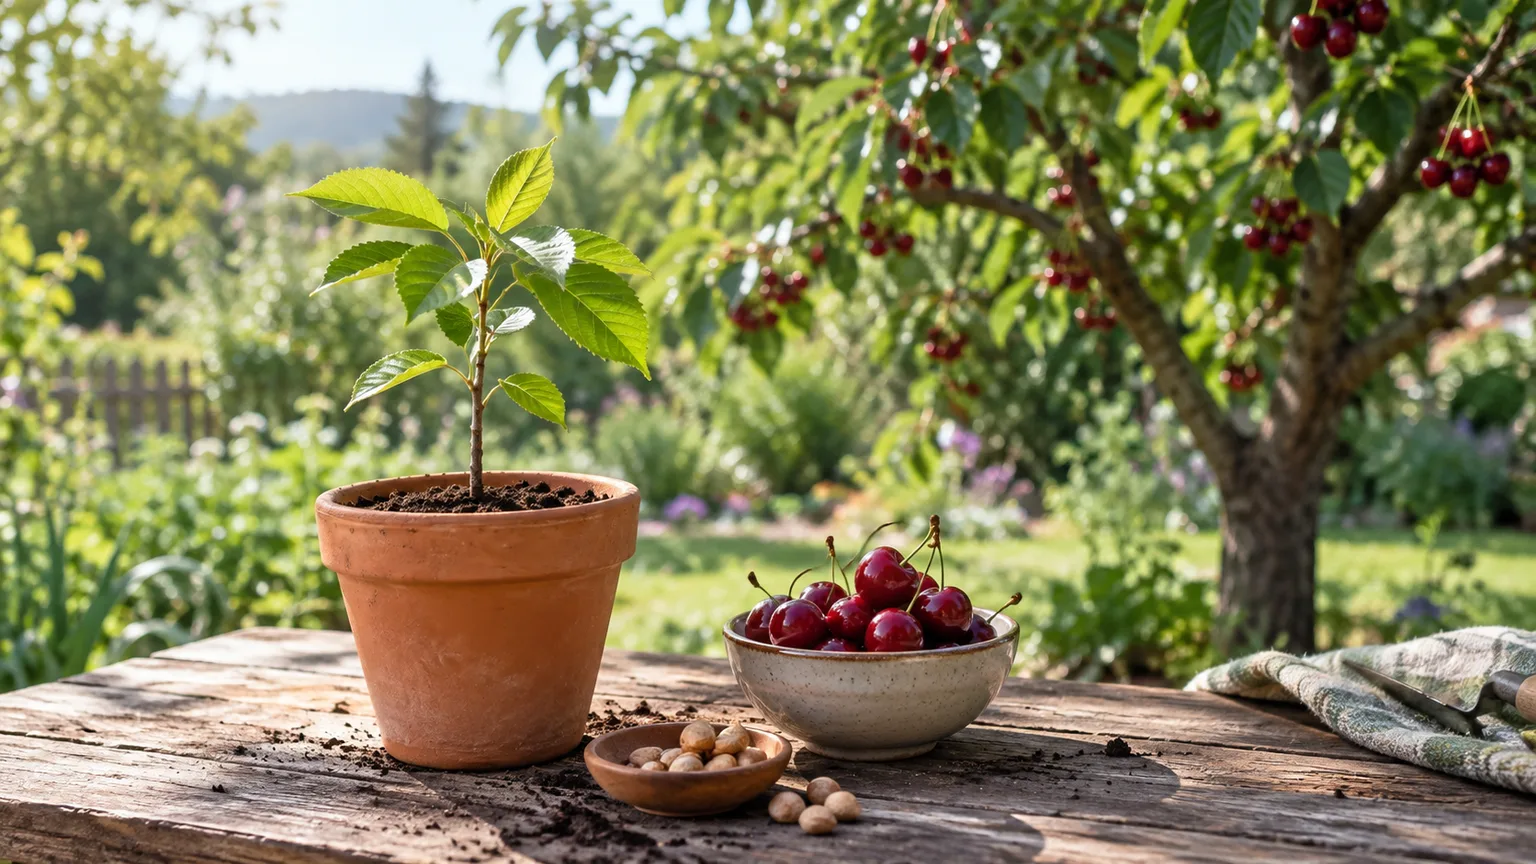
Peaches are commonly self-fertile, so one established tree can set fruit without a second peach nearby. BBC Gardeners’ World likewise notes that peaches can be grown as a single tree, while early blossom and frost can still limit the crop. Flowering time, winter chill, spring frost, summer heat, drainage, pruning, pests, and the seedling’s inherited traits all affect the result.
What a Seedling Can and Cannot Promise
The seed formed after pollen from one peach flower met the ovule of another. Its tree may be more vigorous, less vigorous, earlier, later, hardier, or more disease-prone than the parent. The flesh may be excellent, mediocre, or unlike the original fruit. This is why commercial growers graft a known cultivar onto selected rootstock instead of planting pits and hoping every tree is true to type.
The best odds come from a fully ripe peach grown in a climate similar to yours. A local farmers’ market peach is often a more useful starting point than an unknown supermarket fruit shipped from a distant region. Even then, treat the result as a chance seedling, not a guaranteed clone.
Choose a Viable Peach Pit
Choose a peach that is fully ripe, healthy, and free of visible rot. Save several pits if you can; germination is not an all-or-nothing promise, and one damaged or immature embryo can fail while another sprouts normally. Later-season fruit is sometimes recommended by growers because its seed may have had more time to mature, but variety and growing conditions matter more than a calendar rule.
Remove every strand of flesh. Fruit left in a closed bag becomes a food source for mold, and mold is much harder to manage than a clean pit. Rinse the pit, scrub it gently with a soft brush, and let the hard shell surface dry overnight before deciding whether to open it.
Clean and Inspect the Pit Safely
Use water and a soft toothbrush to remove sticky pulp from the grooves. You do not need to sterilize the pit with household bleach or coat it with a fungicide for a home germination project; those products add handling and plant-safety concerns without fixing a seed that is immature, dead, or kept too wet. Cleanliness, airflow during the initial drying period, and a controlled amount of moisture are the important safeguards.
Discard pits that smell sour, ooze, or are deeply cracked through the seed cavity. A small surface crack in the hard shell is not automatically a problem, but a crushed inner seed may have a damaged embryo. Do not eat peach kernels. Stone-fruit seeds contain compounds that can release cyanide when digested, so keep cracked pits away from children and pets and wash your hands and tools after handling them.
Remove the Inner Seed or Keep the Pit Whole
The hard, wrinkled pit is the endocarp. Inside it is the smooth, almond-shaped seed. You can stratify the whole pit, or gently crack the endocarp and stratify the inner seed. Opening the pit can speed germination because the root no longer has to push through the shell, but it also creates the easiest opportunity to crush or nick the embryo.
If you open it, let the dry pit rest on a stable surface and use a nutcracker or light, controlled pressure. Stop as soon as the shell splits. Do not pry aggressively with a kitchen knife, and do not scrape the thin seed coat from the inner seed. If the pit will not open cleanly, leave it whole; a slower intact seed is better than a fast, injured one.
Cold-Stratify the Peach Seed in the Refrigerator
Peach seeds have physiological dormancy. In nature, a pit spends winter in cool, damp ground before warmth triggers germination. Cold-moist stratification imitates that sequence. Garden Guides’ practical guidance, which points readers to Penn State and other extension references, gives peach and nectarine seeds a broad 120- to 130-day chilling window at about 33–50°F. For home use, plan on 10 to 16 weeks in a refrigerator that stays above freezing.
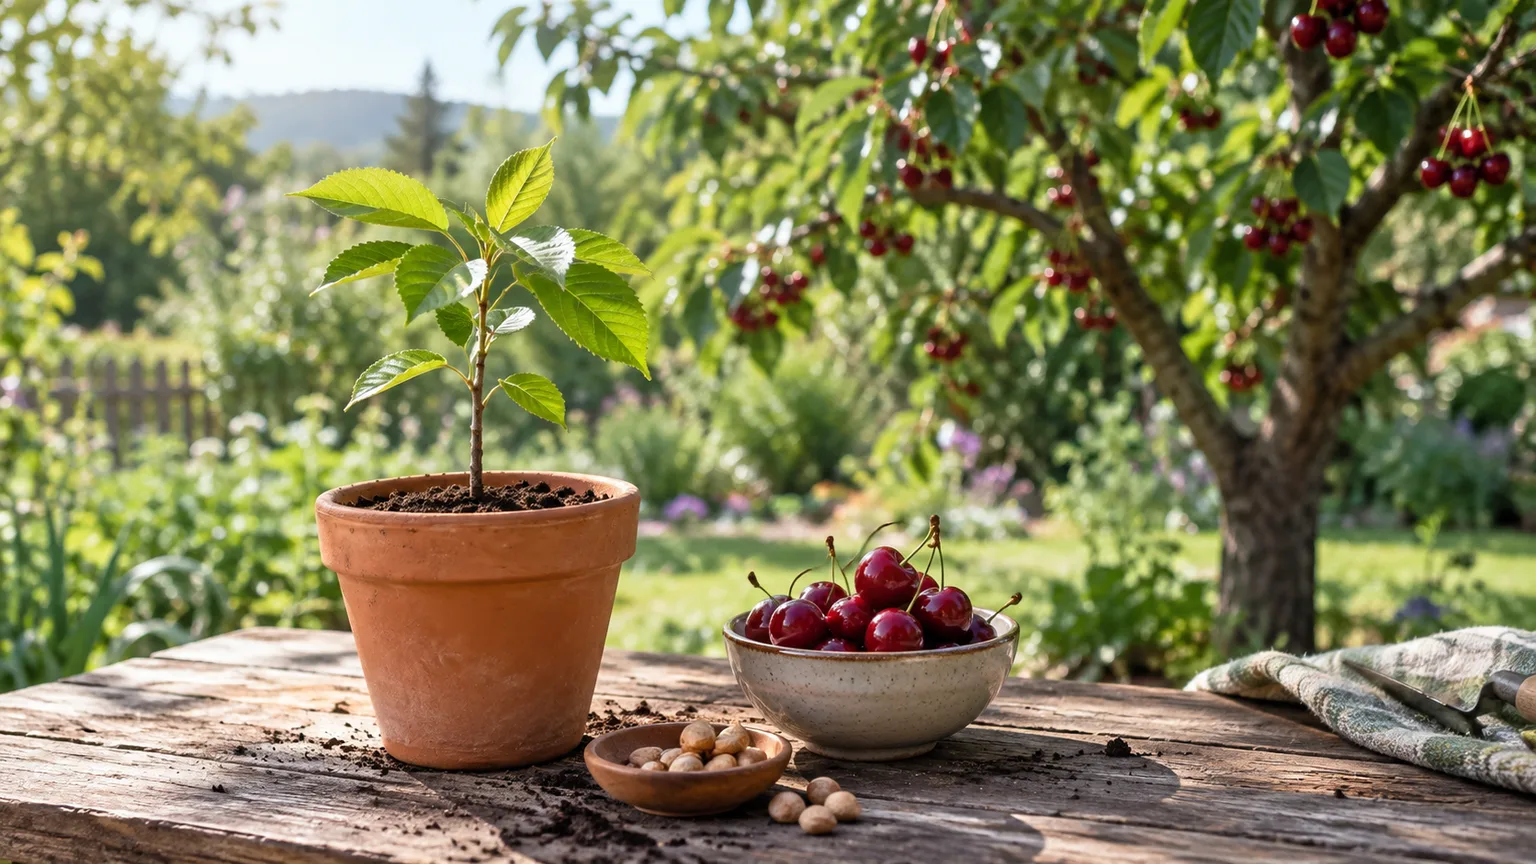
Put the cleaned pit or inner seed into a labeled food-safe bag or small container with a loosely closed lid. Surround it with a wrung-out paper towel, a little damp peat-free seed medium, or clean moist sand. The material should feel cool and damp, not wet enough to release water when squeezed. The seed needs moisture and air; a puddle invites rot.
Place the package in the main refrigerator compartment, away from the freezer and from produce that may crush it. Write the start date on the label. Check it every week or two. If you see fuzzy growth, remove the seed, rinse it, discard the contaminated medium, and repack it in fresh barely moist material. A firm seed with a swelling root is a good sign; a soft, black, foul-smelling seed is not.
The common mistake is treating stratification like soaking. A saturated paper towel can deprive the seed of oxygen and make the bag a miniature rot chamber. The other mistake is letting the medium dry completely, which can interrupt the process. Aim for the moisture of a sponge that has been squeezed almost dry.
Do not keep opening the bag every day. Temperature changes and handling are more disruptive than helpful. A weekly inspection is enough, with an earlier check if condensation is pooling inside.
Plant the Chilled Seed at the Right Depth
When the chilling period is complete—or when a root begins to emerge—plant promptly. Use a clean container at least 8–12 inches deep with drainage holes. Peach seedlings develop a strong early root, and a shallow tray encourages tangled roots that are difficult to transplant without injury.
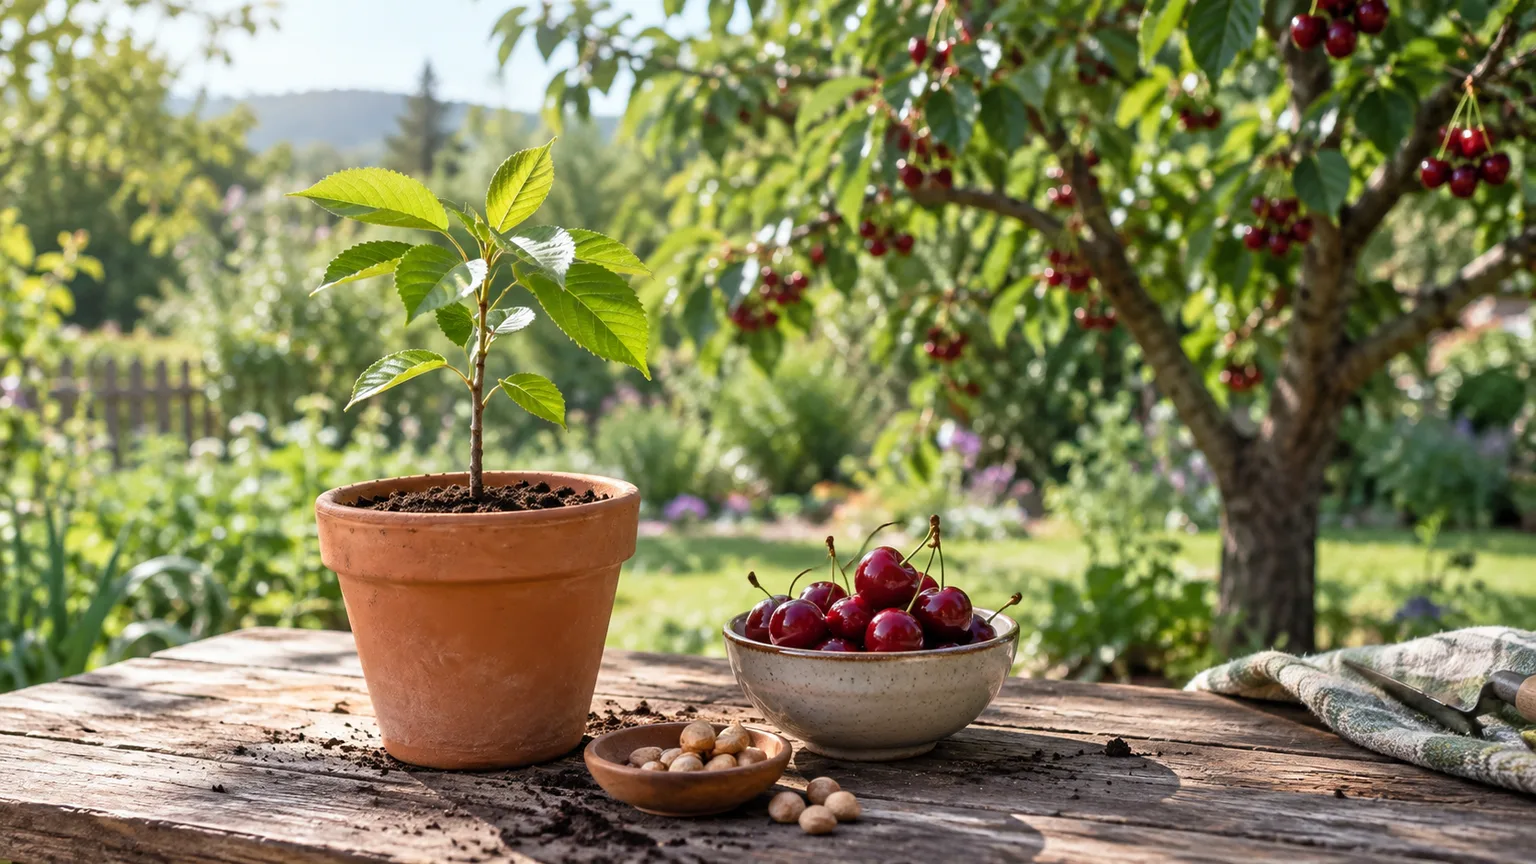
Fill the pot with a fresh, airy seed-starting or all-purpose potting mix. Avoid garden soil in a container because it can compact, drain poorly, and carry damping-off organisms. Make a hole about 1 inch deep for an inner seed. If you are planting the whole pit, cover it by roughly two to three times its thickness rather than burying it at a random deep layer.
Set the seed with the emerging root pointing down when that is obvious. Cover lightly, firm the mix just enough to remove a large air pocket, and water until a little drains from the bottom. The mix should remain evenly moist but never waterlogged. Add a plant label with the date and the peach’s source if you know it.
Give the Pot Warmth, Light, and Drainage
After cold treatment, move the container to a warm, bright location. A temperature around 65–75°F supports active germination, but the exact number matters less than consistency, fresh mix, and good drainage. A heat mat can help in a cool room; it is not a substitute for light once the shoot appears.
Keep the pot in bright light and turn it periodically if the stem leans. A clear cover is optional, not mandatory. If you use one, vent it daily and remove it as soon as the seedling emerges. High humidity with stale air is a reliable way to grow algae and fungal problems alongside the peach.
Do not fertilize immediately. The seed supplies the first reserve of nutrients, and strong fertilizer in a small pot can burn new roots. Once the seedling has several true leaves and is actively growing in fresh mix, use a dilute balanced fertilizer only if the plant needs it; more fertilizer will not compensate for insufficient light.
Read the Germination Signals
The root usually appears before the shoot. It may emerge in a few weeks after chilling, or take longer if the seed was planted inside the intact pit. First leaves are cotyledons and look different from the later true leaves. Wait for true leaves before judging the seedling’s long-term vigor.
Keep a simple record: chilling date, planting date, emergence date, and any change in color or firmness. This makes troubleshooting far easier than guessing whether “a long time” has passed. It also teaches you whether the next pit from the same fruit needs a longer chill.
Troubleshoot a Peach Seed That Will Not Sprout
No sprout after planting does not always mean failure. Give the seed reasonable warmth and moisture for several weeks, then investigate the likely constraint rather than watering more.
- No root, seed still firm: the seed may need more chilling time, or the embryo may simply be slow. Return an intact seed to cool, moist conditions for a few more weeks if it has not rotted.
- Seed is soft or smells bad: discard it. Rot cannot be reversed by moving it to a warmer shelf.
- White fuzz on the medium: replace the medium and rinse a firm seed. If the seed itself is fuzzy, slimy, or collapsing, start again.
- Seed coat split but no growth: give it time, warmth, and bright indirect light. Do not tug on a root or keep excavating it.
- Root emerged in the refrigerator: pot it immediately with the root down. A long root left to coil in the bag is harder to transplant.
- Several pits fail together: review the chilling temperature, moisture level, fruit freshness, and whether the inner seeds were damaged during cracking.
Do not use a freezer to “speed up” peach stratification. Freezing can injure a moist seed, and it does not provide the gradual cold, moisture, and time that dormancy release requires.
Move the Seedling Into a Larger Pot
Once the seedling is growing steadily and roots begin to circle the container or appear at the drainage holes, move it one pot size up. Slide the root ball out with the mix intact; do not pull the stem. If the taproot is already long, choose a deeper pot rather than a much wider shallow one.
The goal is not to keep the peach indoors forever. Indoor culture is a temporary nursery stage while the seedling develops a stronger stem and root system. Give it the brightest window available, protect it from a hot glass pane, and rotate the pot so growth remains balanced.
Harden Off Before Outdoor Planting
A peach raised indoors has not experienced wind, direct sun, or rapid temperature changes. When frost risk has passed and the seedling has at least two sets of true leaves, begin hardening off in a sheltered bright-shade location for a short period. Increase outdoor time gradually over 7–14 days, adding morning sun before exposing it to intense afternoon sun or drying wind.
Bring it in if temperatures drop unexpectedly, the mix dries rapidly, or leaves scorch. Pale new growth after moving outside often reflects a sudden light change, not a nutrient emergency. Gradual exposure is cheaper and kinder than trying to repair a sunburned seedling.
Choose the Permanent Planting Site
Select a site with full sun, excellent drainage, and room for a mature tree. Avoid a low pocket where cold air settles, a lawn that stays wet after rain, or a location that will be shaded as nearby trees grow. A sunny wall can provide shelter in cool climates, but do not place the trunk so close that roots or branches will be cramped.
Plant at the same depth the seedling occupied in its container. Spread roots naturally and backfill with the soil you removed. Do not bury the trunk, pile a volcano of mulch against the bark, or fill the planting hole with a rich pocket that drains differently from the surrounding soil.
Water deeply after planting, then monitor the root zone rather than following a rigid calendar. The young tree needs consistent moisture while establishing, but saturated soil can be more damaging than a short dry interval. A few inches of organic mulch can conserve moisture; keep it several inches away from the trunk.
Care for the First Growing Season
Keep competing grass and weeds away from the root zone. Inspect leaves weekly for aphids, chewing damage, distorted growth, and signs of peach leaf curl. Gardeners’ World notes that peach flowers can arrive early and that peach leaf curl is encouraged by wet conditions in late winter and spring; local extension advice should guide any disease treatment because products and regulations vary by region.
Do not make heavy pruning cuts on a small stressed seedling. Establish a strong central structure or the training form recommended for your climate after the tree is actively growing. Remove damaged or crossing shoots with clean tools, and learn the difference between shaping a young tree and forcing a seedling to fruit before it is ready.
Understand Chill, Frost, and Regional Fit
Winter chill is the period of cool weather a peach tree needs to exit dormancy normally. A seed’s refrigerator chill for germination is not the same thing as the mature tree’s cultivar-specific winter chill requirement. A named horticultural guide explains the broader principle of cold stratification: chilling imitates winter so a dormant seed can respond to warmth. A seedling’s mature-tree requirement is also less predictable because its genetics are unknown.
In a warm region, a high-chill seedling may break dormancy unevenly or crop poorly. In a cold region, a low-chill seedling may flower early and lose its blossoms to a late freeze. Garden Guides summarizes peach cultivar requirements as ranging from roughly 200 to more than 1,000 chill hours, which is a useful reminder to ask a local extension office or nursery what performs in your area rather than relying on a generic zone label.
If your garden freezes regularly or has a short, cool summer, a locally recommended grafted tree is usually the more rational choice. You can still grow a pit as an experiment, but keep the seedling in a pot until you understand its vigor and your site’s conditions.
Plan for Pollination, Pruning, and Disease
Most peaches are self-fertile, so pollination is usually not the first limitation. Flowering during cold, wet weather, a lack of pollinating insects, frost, or a tree that is too young can still mean no fruit. Hand-pollination is not a cure for a climate mismatch or a weak root system.
Peaches fruit on relatively young wood, so pruning eventually becomes a renewal process rather than simply cutting off the tallest branches. Learn the appropriate training system for your region before the tree becomes large. Also plan for peach leaf curl, bacterial canker, aphids, mites, and animal damage. Prevention—good air movement, a suitable site, clean tools, and locally timed care—usually beats reacting to a severe problem later.
Know When Fruit Is Realistic
A peach seedling may take roughly three to five years to produce its first fruit under favorable conditions, and some take longer or never become worthwhile producers. The first crop is not a quality test by itself; a young tree may need structural growth before it can carry a useful crop.
Expect the fruit to differ from the parent. If the first peaches are poor, the tree is too disease-prone, or the harvest timing does not fit your climate, replace it with a grafted cultivar rather than feeling obligated to keep a bad match. Growing from seed is valuable even when the final decision is to use the seedling as a learning project and plant a better nursery tree.
Seedling or Grafted Tree: Which Should You Choose?
| Starting point | Best choice when you want | Main limitation |
|---|---|---|
| Peach seed | A low-cost experiment and a genetically unique tree | Unknown fruit, vigor, chill needs, and disease performance |
| Grafted nursery tree | Predictable cultivar traits and earlier fruit | Higher cost and less of the seed-to-tree experience |
| Dwarf or compact grafted tree in a pot | A patio tree or movable plant in a marginal climate | Root restriction, drying, cold exposure, and smaller crops |
If you have a ripe local peach and patience, plant several seeds and enjoy the process. If your real goal is dependable peaches for eating, compare local grafted varieties first. The two approaches are not rivals: one gives you a biological experiment, while the other gives you a planned fruit-tree investment.
Conclusion
To plant a peach seed successfully, start with a clean seed from ripe fruit, provide a cool and moist dormancy period, plant it in a deep well-drained container, and give the emerging seedling strong light without drowning the roots. The most important expectations are just as practical: a seedling will not reliably reproduce its parent, fruit may be years away, and the tree must ultimately fit your local winter chill, frost pattern, summer heat, and available space.
Treat the pit as the beginning of a careful experiment, not a promise of a particular peach. That mindset lets you enjoy the sprout, recognize problems early, and switch to a locally adapted grafted tree when predictable fruit matters more than the adventure of growing from seed.



