How to Make a Fake Christmas Tree Look Real
Make a fake Christmas tree look real with a precise fluffing order, layered lights, realistic greenery, deeper ornaments, safer scent, and a polished base.

A fake Christmas tree looks convincing when its structure, texture, light, and decoration work together. The most expensive tree can still look artificial if its branches are compressed, its center pole is visible, every ornament sits on the outer tips, and the base disappears into a small or mismatched stand. A modest tree can look far more natural when you correct those tells in the right order.
The best sequence is to shape the bare tree first, hide its mechanical center, build light and ribbon into the branches, add a small amount of varied greenery, then hang ornaments at several depths. Better Homes & Gardens covers the same core progression—fluffing, lighting, ornaments, extra branches, fragrance, and the base—in its practical decorating guide, but the order matters more than any single accessory. If you decorate before fixing the silhouette, you end up using ornaments to disguise gaps that branch placement could have solved.
Choose a Base You Can Shape
If you are buying a tree, start with the frame and needle construction rather than the box photo. Look for hinged or hook-on branches that can be moved independently, several tip lengths, more than one green tone, and enough inner branches to soften the view of the central pole. Molded polyethylene, often abbreviated PE, tends to give some tips a three-dimensional needle shape, while flat PVC strips can still be useful as inner filler; the best-looking trees commonly combine textures instead of relying on one uniform needle shape.
The tree does not have to be the fullest model in the store. It does need enough branch flexibility to create a layered outline. A narrow tree with varied tips can look more natural than a wide tree whose branches form identical horizontal shelves. If you are working with a tree you already own, spend five minutes inspecting it before shopping for supplies: check whether the wire still holds a bend, whether the pole is visible from normal viewing angles, and whether the branches are simply compressed from storage.
What makes an artificial tree look believable
Real evergreens have irregular spacing, overlapping branch levels, changing tip lengths, and a mixture of light and dark surfaces. You are not trying to make every branch point outward at the same angle; you are trying to create a readable silhouette with enough variation that the eye stops noticing the repeated plastic tips.
Use this quick test. Stand where guests will usually see the tree, turn off the decorative lights, and look at the outline against a plain background. If the tree reads as a cone with flat shelves, a visible pole, or large evenly spaced holes, those are the first problems to fix. Buying more ornaments will not solve them.
Reset the Tree Before You Decorate
Take off old ribbon, picks, and ornaments, then dust the branches with a soft brush or microfiber cloth if they have collected lint. Put the tree in its final location before shaping it so you can judge the silhouette in the room, not in the middle of a crowded floor. Give yourself enough clearance to walk around it, and set the stand or collar in place early so you know where the bottom branches need to land.
Better Homes & Gardens recommends fluffing each branch before adding lights or decorations, and Greenery At Home estimates that a full-size tree can take roughly 30 to 60 minutes to shape thoroughly. That time is not a sign that you are doing it wrong; it is the main realism upgrade. Work in sections and step back often instead of trying to perfect the whole tree from one close-up angle.
Fluff each branch from the trunk out
Start at the bottom section and work upward. For each branch, separate the major limbs first, then spread the smaller tips so some point up, some angle sideways, and a few dip slightly down. Pull tips away from the center rather than only fanning the outermost ends; a branch that looks full at its edge can still leave an empty tunnel beside the trunk.
Do not force a sharp bend at the wire joint. Make small adjustments along the branch, especially on older trees whose wire or plastic coating may have become brittle. If the manufacturer’s instructions say not to bend a particular pre-lit section, follow those instructions and shape the loose tips instead. Gloves can make a long fluffing session more comfortable, but they do not give you permission to yank a branch until it breaks.
Fix the silhouette and hide the center pole
Once the tips are separated, walk around the tree and correct the large shape. A realistic outline usually has a slightly uneven edge, but it should still feel intentional: the bottom should be broad enough for the height, the middle should not pinch inward abruptly, and the top should taper without a long bare spike.
Next, pull a few inner branches toward the pole and rotate them so they overlap the open spaces. This is more effective than bending every branch farther outward. Check from the front, both sides, and the angle from which you enter the room. A pole that is invisible straight on may be obvious from a sofa or hallway, and a gap that looks tiny up close can become the focal point from across the room.
Build the First Layer With Lights and Ribbon
Decorations should add depth rather than merely cover the outside. Place the tree lights and ribbon before most ornaments so they establish a visual path through the branches. This also keeps you from crushing the shape you just created while reaching around a fully decorated tree.
Put lights inside the branches
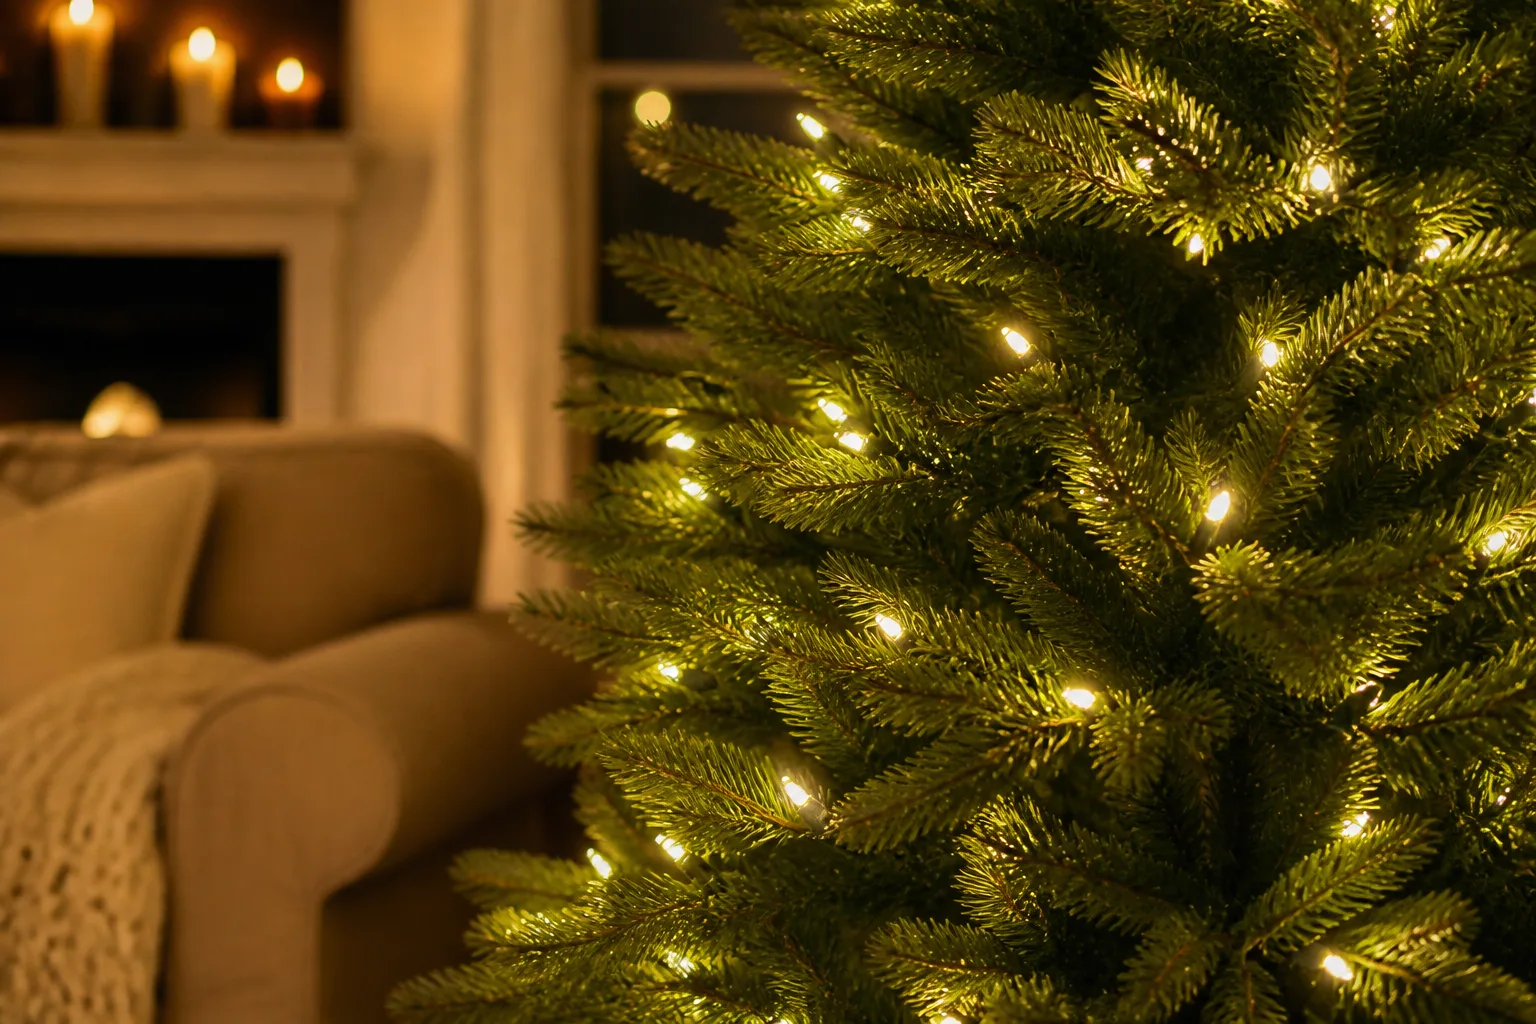
Run some lights toward the trunk and bring them back toward the tips, alternating the depth as you work around each section. The goal is not to bury every bulb. It is to create a few points of light behind the outer tips so the tree has an illuminated middle instead of a bright outline with a dark center.
If the tree is pre-lit, inspect the existing strands before adding anything. Replace or retire a strand with frayed, pinched, or damaged wiring, and do not connect more sets than the manufacturer allows. The U.S. Consumer Product Safety Commission recommends looking for a fire-resistant label on an artificial tree, never overloading electrical outlets, and never stringing together more than three sets of incandescent lights. Those are safety limits, not styling suggestions.
Warm-white lights usually make mixed green tips look cohesive, while multicolor lights can emphasize a playful or vintage style. Choose the light color for the room rather than adding more strands to compensate for branches that still need fluffing. A tree that is structurally sparse will remain structurally sparse under brighter bulbs.
Weave ribbon instead of circling the outside
A single tight spiral around the outside can make a tree look striped and expose every gap. Use wired ribbon in shorter sections, tuck each section into the tree, let it reappear farther out, and change the angle from one section to the next. The hidden portions pull the eye inward and make the decoration feel embedded rather than pasted on.
Keep ribbon away from outlets, plugs, and any part of a light string that needs to dissipate heat. If the ribbon repeatedly falls flat, make smaller loops and anchor them to sturdy inner branches instead of adding more ribbon. Two or three quiet curves that create depth are more believable than a thick layer that hides all the greenery.
Use Greenery to Break Up the Uniformity
A little variation helps an artificial tree look alive, but more greenery is not always better. Add it only after the original branches are shaped, because faux picks cannot rescue a flat silhouette and can make a crowded tree look heavier.

Faux picks versus fresh-cut branches
Faux pine, cedar, fir, or spruce picks are the easiest choice for a tree that will stay up for weeks. Match the new greenery to the tree’s overall color and needle scale, then choose a few pieces with a different but compatible texture—such as softer cedar sprays, small pinecones, or restrained berry accents. Faux picks are also easier to remove, reuse, and keep away from hot bulbs.
Fresh-cut branches can add the texture and scent people miss from a real tree, but treat them as a separate combustible decoration rather than as a harmless filler. A small amount of fresh greenery in a nearby vase or garland is easier to monitor than branches tucked around electrical connections. If you do use a few boughs in the tree, keep them away from heat sources and bulbs, secure them so they cannot fall onto lights, and remove them as soon as they become brittle or shed heavily.
The U.S. Fire Administration recommends inspecting lights, following the manufacturer’s instructions for the number of strands, keeping trees at least three feet from heat sources, and removing a live tree when it becomes dry. The same distance and dryness logic should guide any fresh foliage added to a faux tree. Real branches are a texture choice, not a reason to relax the safety rules that apply to the rest of the display.
Place foliage where the eye sees gaps
Do not line extra branches around the outside like a second artificial tree. Insert them partway into the existing canopy, with some tips behind the original outer layer and some emerging between it. Place one piece where the pole is visible, another where the silhouette pinches, and a few where the light catches a different green tone.
Stand back after every two or three additions. If you can identify the individual picks before you can read the tree as a whole, you have added too many or chosen a color that is too different. Natural variation is the goal; obvious patches are another kind of artificial tell.
Make Ornaments Create Depth
Ornaments can make a fake tree look much fuller when they are used as a three-dimensional layer, not a collection of decorations hung only at the edge. BHG and Greenery At Home both recommend using ornaments, ribbon, and lights to create a denser look; the useful refinement is to assign each ornament size and shape a job.
Layer sizes from trunk to tips
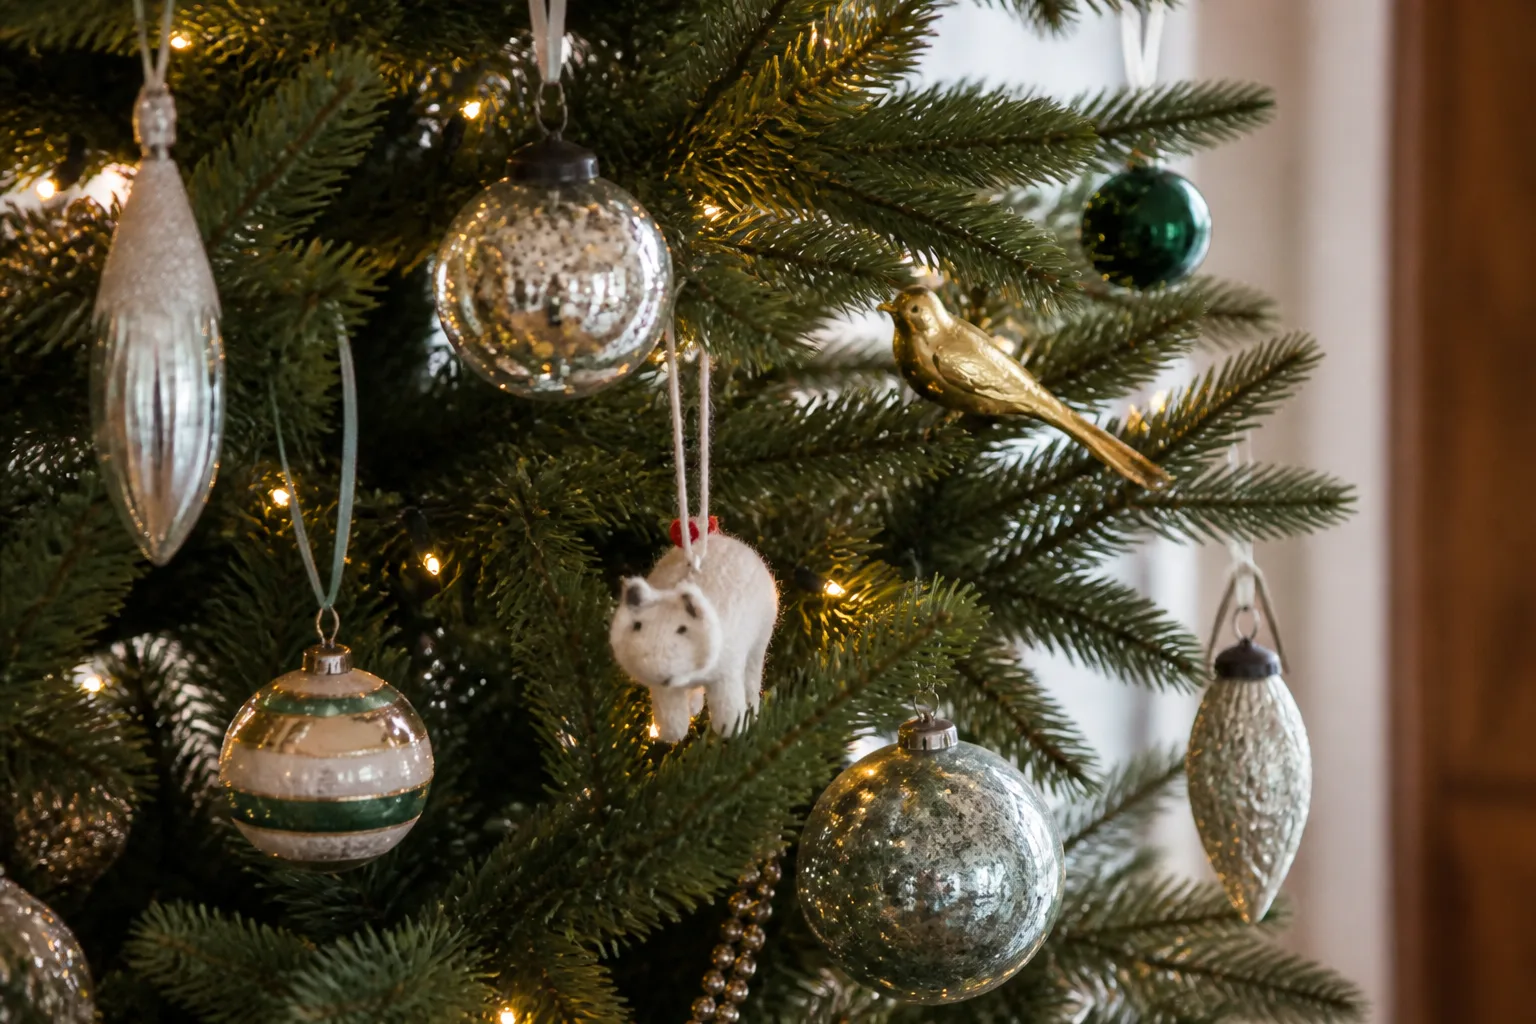
Place a few larger, sturdy ornaments deeper inside the tree where they can fill dark pockets and interrupt the view of the pole. Use medium ornaments throughout the middle layer, then reserve delicate or smaller pieces for the outer tips where they catch the light. This arrangement gives the eye a reason to travel from the center to the edge.
Do not push every ornament as far inward as it will go. Leave the outer tips visible, and keep fragile pieces where people, pets, or moving furniture will not brush them. If a branch bends under a large ornament, move the ornament inward to a stronger limb or use a smaller piece; a sagging branch makes the whole tree look tired.
Use clusters and uneven spacing
Real trees do not distribute identical objects in a grid. Group two or three related ornaments in a loose triangle, then leave breathing room before the next cluster. Repeat a color or finish in several parts of the tree, but vary the shape and height so the repetition feels like rhythm rather than a pattern.
Use a few matte ornaments to break up excessive shine, and let one or two meaningful pieces sit where they will be seen easily. If every ornament is reflective, the surface can become visually noisy and the artificial branches disappear. If every ornament is tiny, the tree still looks thin even when it is technically full of decorations.
Finish the Base and the Room Around the Tree
The bottom third of a tree carries more visual weight than people expect. A bare metal stand, exposed legs, or a small skirt can make an otherwise convincing tree look like a temporary object. Choose a collar or skirt that is proportional to the tree and the room: a collar gives a clean, structured finish, while a skirt softens the base and can connect the tree to nearby textiles.
Use the base to hide the stand, not to hide a tree that is too short or too narrow for the space. If the lowest branches stop far above the floor, add a safe riser only if it can support the tree securely and does not make it unstable; never balance a tree on an improvised box. Continue the natural texture around the room with a small real or faux garland, a simple wreath, or a vase of greenery so the tree does not look like the only green object in an otherwise unrelated space.
Keep the tree clear of doorways, exits, radiators, fireplaces, heat vents, and walkways. The American Red Cross advises keeping a tree at least three feet from heat sources, turning off tree lights before leaving home or going to bed, and avoiding candles near the tree. Those limits matter even when the tree is artificial and does not need watering.
Add a Real-Tree Scent Without Adding a Fire Risk
Scent is one of the quickest ways to make a faux tree feel less faux, but the safest scent source is not an open flame placed beside it. Use a scented ornament, a bowl of pinecones, a small vase of fresh evergreen away from the tree, or a room diffuser operated according to its label. Better Homes & Gardens lists scented ornaments, candles, plug-ins, and essential-oil diffusers as options; in practice, put anything that heats, burns, or uses a liquid where it cannot contact branches, cords, ornaments, or curious hands.
Do not spray essential oil directly onto plastic needles, ribbon, or special ornaments. Oil can stain finishes, leave a slippery residue, and make the tree harder to clean. A nearby passive scent lets you remove or replace the fragrance without wetting the tree, and it is easier to stop using if the smell becomes overpowering.
For a candle-like atmosphere, choose a flameless candle. The USFA and American Red Cross both emphasize stable holders, distance from combustible materials, and extinguishing candles when leaving the room or going to bed. A convincing tree should not come with a preventable fire risk attached to it.
Avoid the Giveaways That Make a Faux Tree Look Fake
The most common mistake is decorating a compressed tree. The second is trying to correct it with quantity: more ribbon, more ornaments, more picks, and more lights can hide some gaps, but they also flatten the branches and make the display look busy. Return to the bare structure whenever the tree feels wrong.
Watch for these specific tells:
- Every branch points in the same direction, creating shelves instead of layers.
- The center pole is visible through several large holes.
- Lights and ornaments sit only on the outer tips.
- Extra greenery is gathered into obvious clumps rather than distributed through the canopy.
- The tree is perfectly symmetrical from every angle.
- The base is too small, too bright, or disconnected from the room.
- The display relies on a candle, hot light, or overloaded outlet to create atmosphere.
Pre-lit trees deserve extra caution. IAEI Magazine’s review of UL research notes that artificial trees, including pre-lit models, can contribute to rapid fire growth if ignited, and that testing considers the tree’s materials, lights, branch arrangement, and decorations together. “Flame resistant” is useful product information, but it does not mean fireproof or safe next to a fireplace.
Make the Final Edit From Across the Room
Finish by stepping back at least six feet and looking at the tree in three conditions: daylight with lights off, evening light with decorations on, and the angle people see when they enter the room. Make only the changes that improve the whole silhouette. A close-up can tempt you to fill every small gap that actually gives the tree believable air and depth.
Use this three-minute edit:
- Correct one large hole. Move an inner branch or one pick; do not add a handful of ornaments.
- Soften one repetitive area. Turn a few tips up or down, or move a cluster so the pattern is not obvious.
- Check the bottom and top. Make sure the base is covered, the topper is not pulling the tip sideways, and the tree is stable.
- Inspect the cords. Keep plugs and connections accessible, remove damaged strands, and confirm the setup follows the manufacturer’s limits.
- Stop when the tree reads naturally. If you can see greenery, light, and a few intentional gaps, it will usually look more convincing than an overloaded tree.
Conclusion
To make a fake Christmas tree look real, spend your effort on the order of operations: shape every branch, hide the pole, place light inside the canopy, weave ribbon through the depth, add a restrained mix of greenery, and hang ornaments from the trunk to the tips. Finish with a proportional base and a scent source that does not introduce flame, heat, or wet residue to the display.
You cannot change the tree’s underlying frame, but you can change what the eye notices. A varied silhouette, layered decoration, and a deliberate safety check will make an older or inexpensive artificial tree feel fuller, warmer, and much more believable without turning it into a crowded pile of holiday supplies.



