How to Plant a Tree in 5 Simple Steps
Plant a container-grown, balled-and-burlapped, or bare-root tree correctly with this practical guide to timing, hole size, root flare, staking, and first-year care.
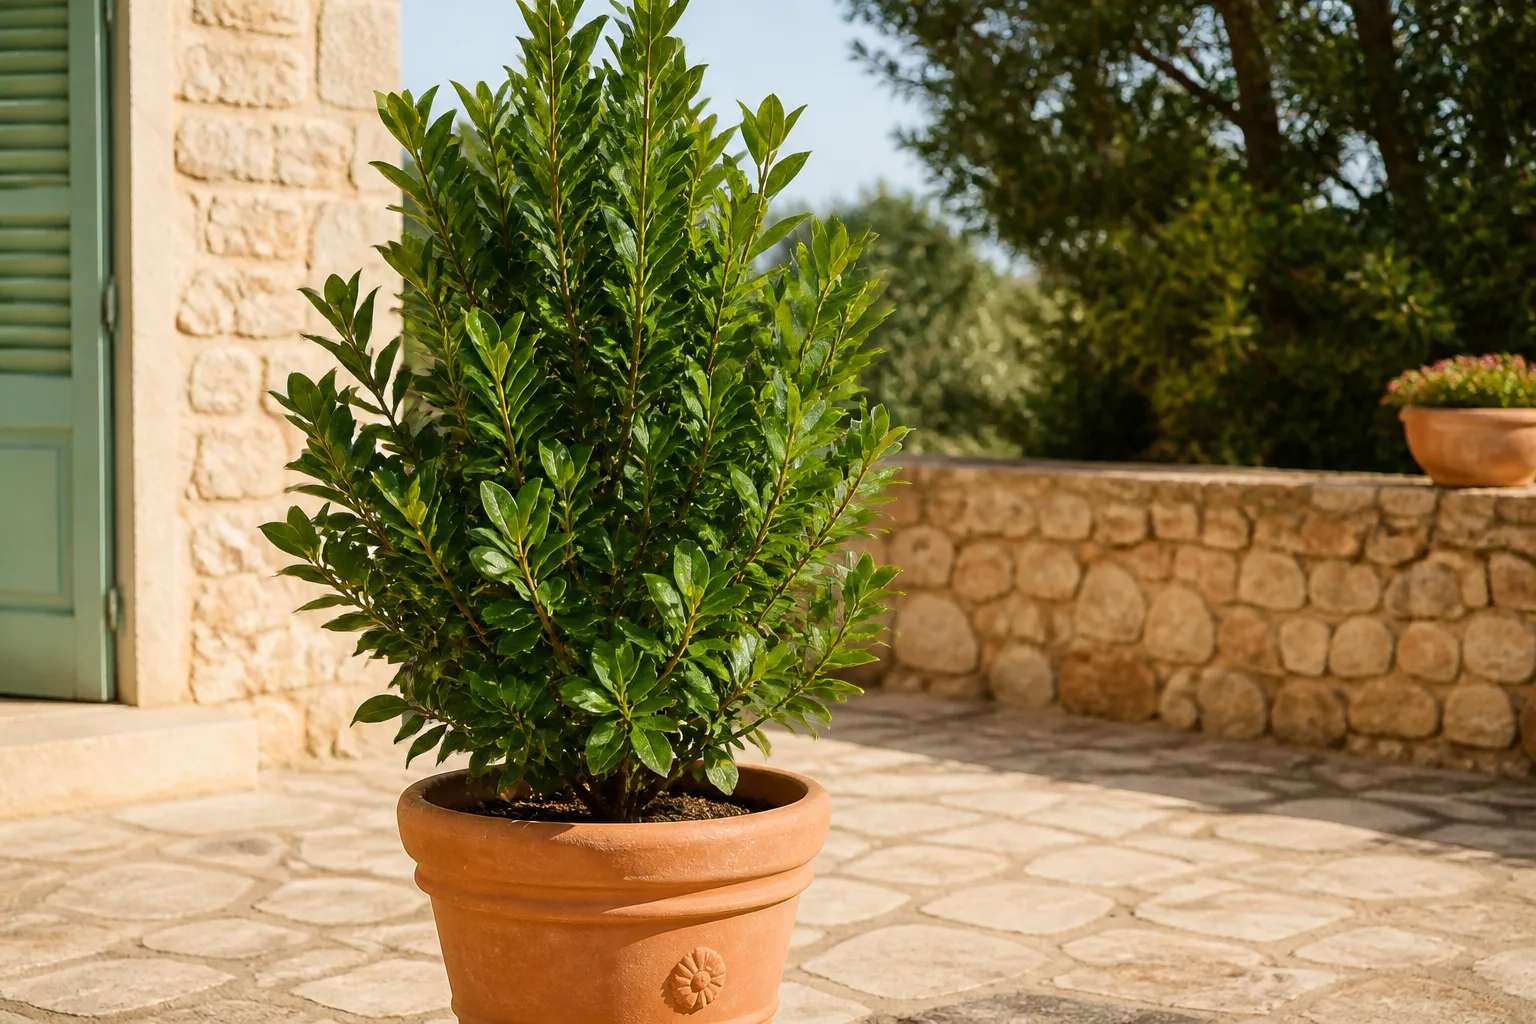
Planting a tree is not difficult, but it is less forgiving than planting a small annual or shrub. A tree may spend years recovering from one bad decision made in an afternoon: a site that is too small, a root ball set too deep, roots left circling in a pot, or a trunk kept wet beneath a pile of mulch. The best results come from treating planting as a root-placement and establishment job, not simply as digging a hole and filling it.
This guide explains how to plant a container-grown, balled-and-burlapped, or bare-root tree. The five steps are simple, but the details matter: choose a tree that fits its mature space, plant during mild weather, prepare the roots, dig wide rather than deep, and finish with a root-flare-level planting, a thorough watering, and a clear mulch ring.
Start With the Tree and the Site, Not the Shovel
Before you buy, identify the job the tree must do. Do you want shade over a patio, a street tree, a fruit harvest, wildlife habitat, screening, or a small ornamental accent? Each goal points toward different mature height, spread, root behavior, pruning needs, and tolerance for drought or wet soil. A fast-growing tree is not automatically the best choice if its mature canopy will conflict with wires or a roof.
Walk the site at different times of day. Note how many hours of direct light reach the proposed planting area, where water collects after rain, and whether the soil is compacted. Look up the mature dimensions on the nursery tag or a reliable local plant database, rather than planning around the tree’s current size. Leave enough room for branches, roots, maintenance equipment, and people to pass without repeated hard pruning.
Before digging, contact the appropriate utility-locating service in your area. The Call811 national 811 information service explains how to request an underground utility locate before excavation. Marked underground lines are not a suggestion; they determine where a hole may safely go. Also check for overhead wires, septic fields, irrigation lines, pavement, and property boundaries. If the tree will be large or the site is close to a building, a certified arborist can help you evaluate clearance and soil limitations before an expensive mistake is planted.
What to Gather Before Planting Day
Have the tree, a sharp spade, a hand cultivator or root hook, a hose, a bucket, a tape measure, and a few stakes or flexible ties available before you begin. Keep the tree shaded and its root ball moist while it waits. Do not carry a tree by its trunk, and do not let bare roots dry in sun or wind.
You usually do not need a truckload of special soil. The soil removed from the hole is normally the best backfill because it matches the surrounding ground. A small amount of finished compost may be useful in poor soil, but a hole filled with rich, loose material can behave like a container: roots circle inside the amendment and water moves differently from the native soil. Soil testing is more useful than guessing with lime, sulfur, or fertilizer.
The Five Steps at a Glance
- Choose the right tree and location. Confirm climate, mature size, light, drainage, utilities, and clearance.
- Plant at a suitable time. Aim for cool, mild weather when the ground is workable and the tree is not under heat or drought stress.
- Prepare the tree and roots. Water the tree, remove the container, and correct circling or damaged roots without tearing healthy roots.
- Dig a wide, shallow hole. Measure the root ball and make the hole no deeper than its height and several times wider.
- Set, backfill, water, and finish. Keep the root flare at grade, settle soil with water, add a broad mulch ring, and stake only if needed.
Step 1: Choose a Tree That Fits Its Future Site
Match the Tree to Climate, Light, and Soil
Start with the tree’s likely performance in your local climate, not just its appearance at the garden center. Hardiness zone is useful for winter survival, but it does not describe every condition that matters. Summer heat, humidity, wind, salt, drought, soil pH, and drainage can all limit a tree that is technically winter-hardy.
Full sun means roughly six or more hours of direct light for most shade and fruit trees, although the exact requirement varies. A tree that needs sun will become weak and thin in a narrow side yard between tall buildings. Conversely, a shade-tolerant understory tree may scorch beside a south-facing wall. Match the species to the light that will reach the mature canopy, not the temporary light around a young sapling.
Drainage deserves a simple test. Dig a small test hole, fill it with water, and observe how quickly it empties. Repeatedly standing water suggests a drainage problem that should be solved through species selection or site design—not disguised with a deeper planting hole. Trees need oxygen around their roots, and saturated soil can suffocate them even when the foliage looks fine at planting.
Check Utilities, Structures, and Mature Spread
Use the mature height and width as your spacing measurements. The canopy does not stop growing because it reaches a roof, fence, sidewalk, or another tree. Roots also extend beyond the drip line, so avoid squeezing a large species into a narrow lawn strip and expecting pruning to keep it small forever.
Think about overhead clearance, sight lines at driveways, street visibility, and future maintenance. A tree planted for afternoon shade may eventually block winter sun or drop fruit onto a walkway. Those are planning issues, not signs that the tree is “bad.” Choose a site where the tree can perform its natural shape with limited corrective pruning.
Step 2: Pick the Right Planting Time
The best time to plant a tree is generally during a cool, mild period in spring or fall, when the ground is workable and the tree can make roots before facing severe heat or freezing conditions. Exact timing depends on region and species. The University of Minnesota Extension tree-planting guidance also emphasizes workable soil, careful root handling, and watering during establishment. In cold climates, early fall gives roots time to grow before the ground freezes; in places with harsh winters, spring after the soil thaws may be safer.
Do not plant into frozen ground, waterlogged soil, a heat wave, or a drought emergency. Summer planting is possible for a container-grown tree if you can water consistently and protect it from immediate stress, but it demands more aftercare. Bare-root trees are the least tolerant of delay and should be planted as soon as practical after purchase, while their roots remain moist and cool.
Prepare the site before bringing the tree home. That keeps roots from sitting exposed while you search for a shovel, and it lets you reject a poor site before the tree is already beside the hole.
Step 3: Prepare the Tree and Its Roots
Water a container-grown tree thoroughly before planting. Slide it from the pot by supporting the root mass, never by pulling the trunk. If roots are circling densely around the outside, loosen them with your fingers or a clean tool and make a few shallow vertical cuts through the outer mat. The goal is to encourage roots outward; do not shred the entire root ball.
Container-Grown Trees
Inspect the trunk base for the root flare, the point where the trunk widens and major roots begin. Nursery media may cover it. If you cannot see a flare, gently remove excess material from the top of the root ball until you find the first substantial roots. The height of the root flare—not the height of the nursery soil—is the measurement that determines planting depth.
Balled-and-Burlapped and Bare-Root Trees
Keep a balled-and-burlapped root ball intact while moving it. Set it beside the hole, then remove ropes and as much wire or burlap as practical from the top and sides once the tree is stable in the hole. Never leave synthetic material around the roots. Bare-root trees should be kept moist, not submerged for extended periods. Spread their roots over a small mound of soil, trimming only broken or badly damaged ends with clean pruners.
Do not top, heavily prune, or “balance” a healthy tree at planting. Leaves help the tree produce energy while roots re-establish. Remove only dead, broken, or clearly damaged branches and save structural pruning for a later season.
Step 4: Dig a Wide, Shallow Hole
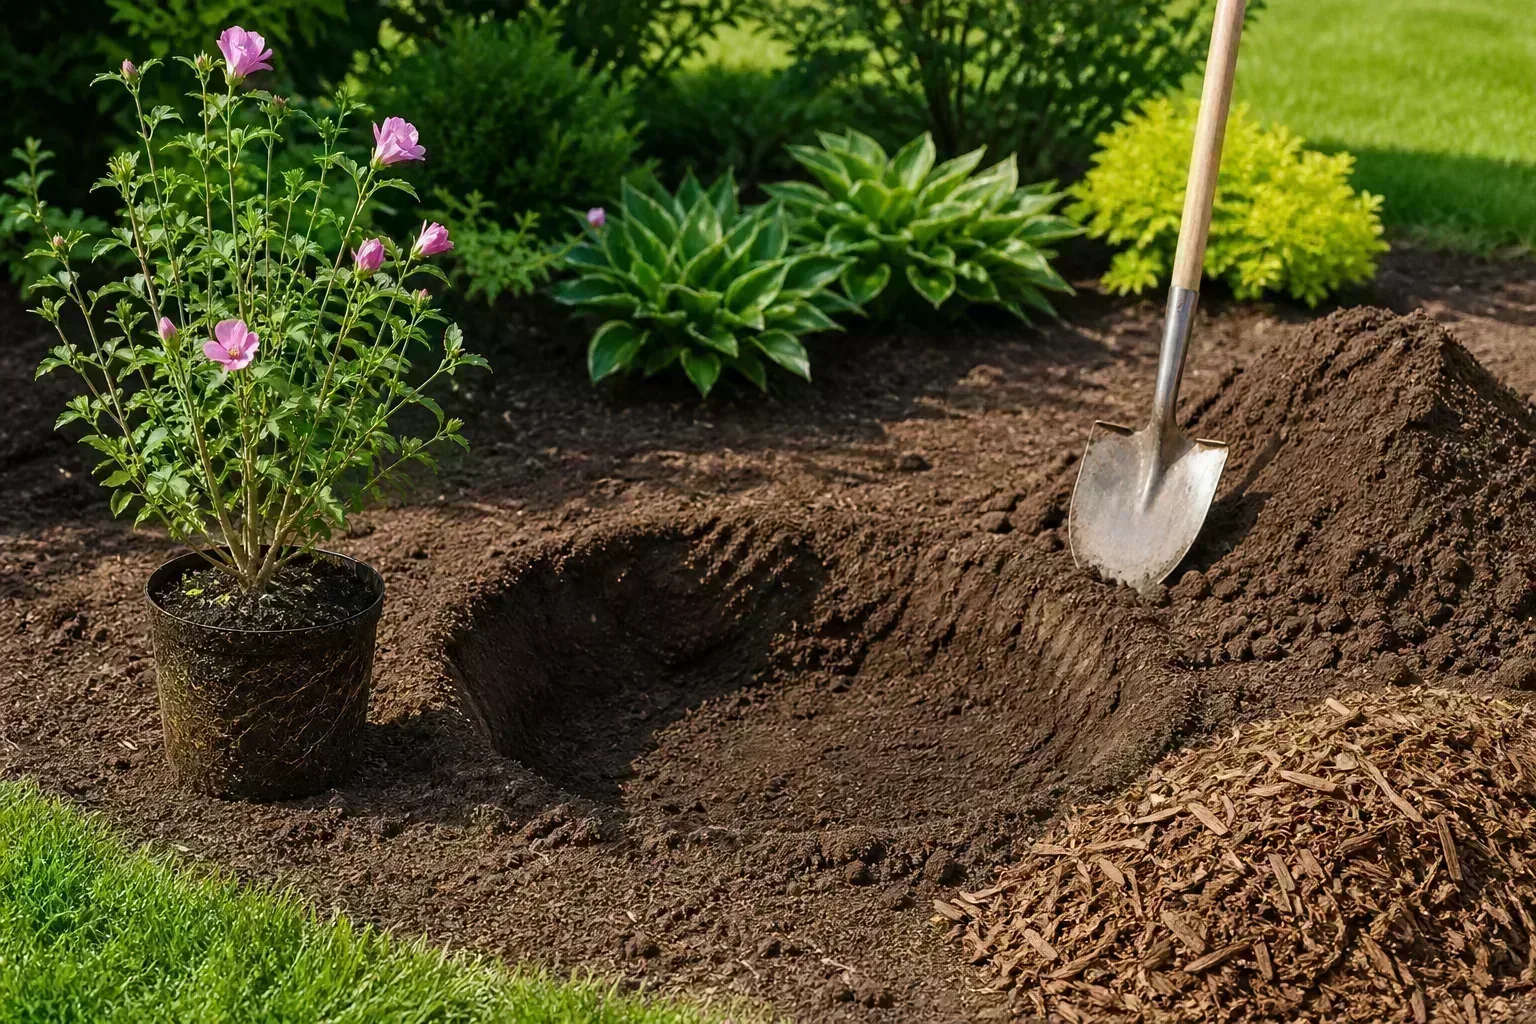
Measure the root ball before digging. Make the hole no deeper than the height of the root ball at the root flare, and make it at least two to three times wider. In heavy or compacted soil, wider is especially valuable because new roots need a loosened transition zone to move outward.
Set the excavated soil on a tarp or cardboard so grass and rocks stay out of the backfill. Slope the sides of the hole rather than creating a smooth-sided pit. A hole that is narrower at the bottom or glazed by a shovel can act like a bowl or a barrier. Roughen slick sides and bottom lightly, but do not dig deeper “just in case.”
The correct depth often looks surprisingly shallow. Place a board across the hole and rest the root ball on the undisturbed bottom. The root flare should finish level with, or a little above, the surrounding soil. If the hole is too deep, lift the tree out and add soil beneath it; do not rely on settling to fix the mistake. Soil settles unevenly, and a buried flare stays buried.
Avoid making a planting saucer that directs water toward the trunk. The finished grade should shed water away from the trunk while the mulch ring helps hold moisture over the root zone.
Step 5: Set the Root Flare, Backfill, and Water
Turn the tree so its best side faces the primary view, then check that it stands straight from several angles. Backfill with the soil you removed, breaking clods as you go. Gently firm the soil with your hands or the heel of a boot; do not stomp hard enough to compact it. Pause halfway to water, which settles soil into air pockets without packing it into a dense layer.
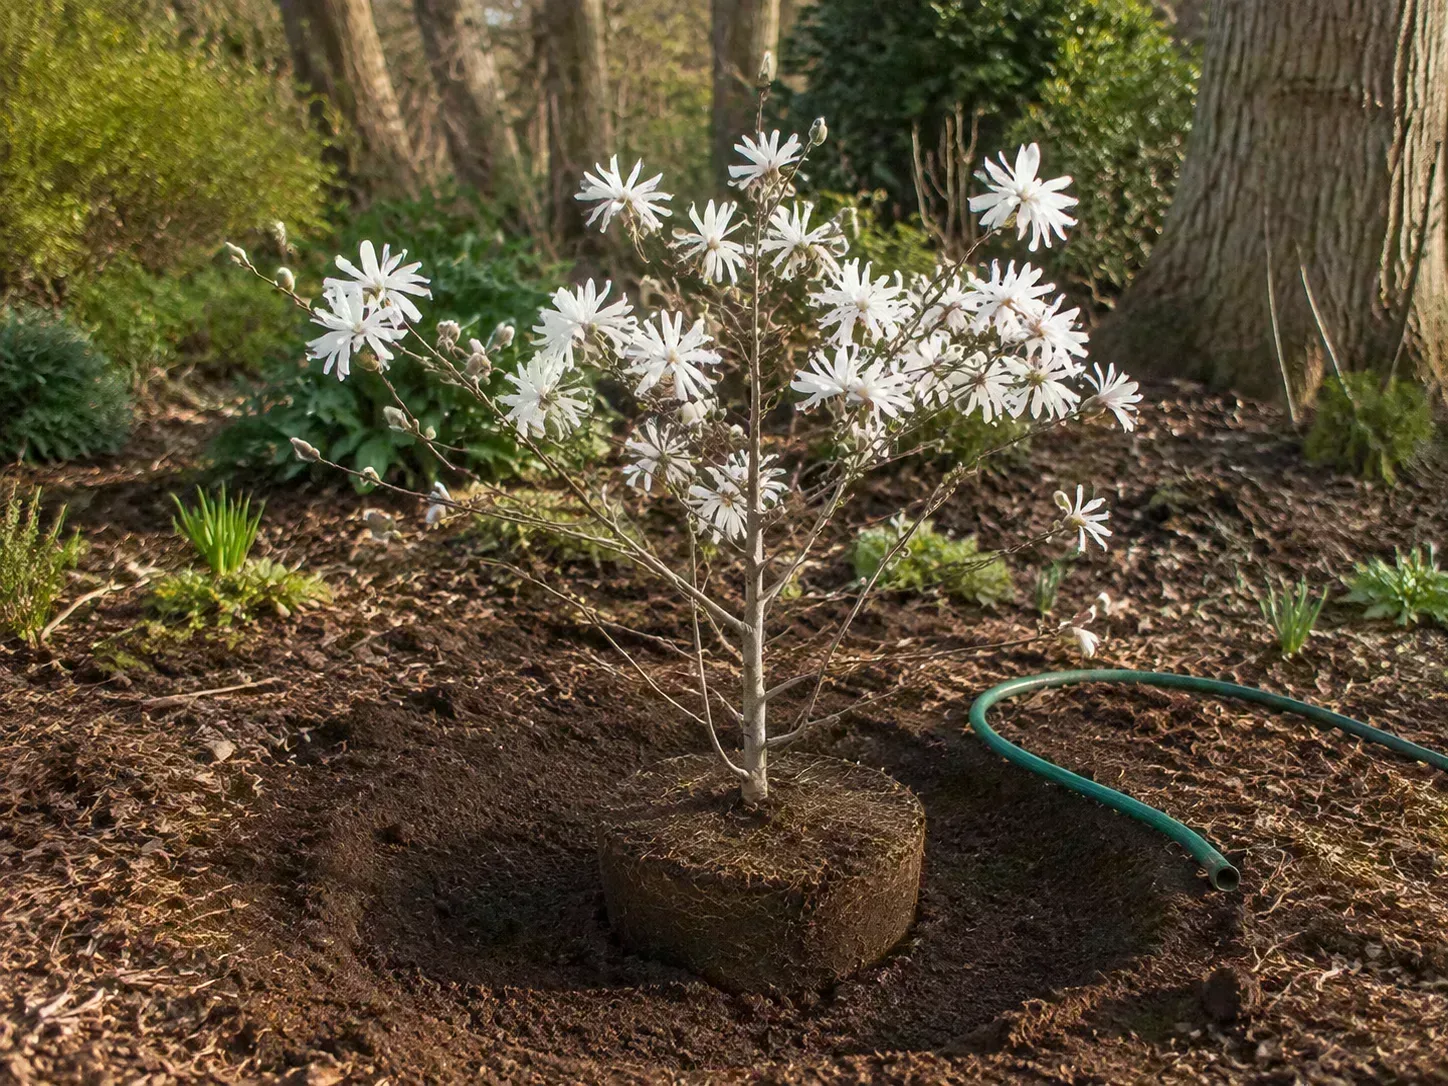
After the hole is filled, water slowly and deeply across the whole root ball and the disturbed soil around it. Watch for standing water and correct the grade if needed. A newly planted tree may wobble slightly, but it should not lean permanently. If wind repeatedly rocks the root ball, install two flexible stakes outside the root zone and attach broad, loose ties low on the trunk. The trunk should still move. Remove stakes after one growing season, or sooner if the tree is stable.
Mulch and Stake Only When They Help
Apply about 2 to 3 inches of organic mulch over the root zone, extending it outward rather than piling it high. The International Society of Arboriculture’s tree-care resources likewise recommend keeping mulch away from the trunk. Mulch touching bark holds moisture against the trunk, encourages decay, provides cover for rodents, and can hide a slowly buried root flare. Replenish thin mulch as it breaks down, but never build a volcano.
Staking is for a tree that cannot remain upright because of a small root ball, exposed wind, or a top-heavy canopy—not for every newly planted tree. Tight wires, garden hose wrapped around a trunk, and permanent stakes can girdle bark or prevent normal trunk movement. Check ties after storms and remove them when the tree can stand independently.
First-Year Tree Care and Troubleshooting
For the first several weeks, check the soil with your finger or a small trowel a few inches below the surface. Water when the root ball begins to dry, applying enough to moisten it thoroughly without creating a swamp. Frequency varies with soil, rain, temperature, tree size, and wind. A short daily sprinkle usually wets only the surface; a slower soak encourages roots to use the full planting area.
During the first growing season, inspect the tree at least weekly. Look for wilting that returns in the morning, leaves scorched at the edges, soil pulling away from the root ball, standing water, broken ties, and mulch touching the trunk. A tree can show transplant shock—temporary wilting, leaf drop, or slow growth—without being doomed. Correct water, exposure, planting depth, and mechanical damage before reaching for fertilizer.
In hot, dry weather, newly planted trees may need more frequent checks. In cool, rainy weather, they may need none. Reduce irrigation gradually as roots grow into surrounding soil, but continue supplemental water during extended dry periods. Keep competing turf and aggressive groundcovers away from the mulch ring so the tree does not have to share every drop with shallow grass roots.
If leaves brown suddenly across one side, the trunk leans, the root flare is buried, or water remains in the hole for days, investigate promptly. A large tree near a building, a damaged root ball, or a site with drainage or utility conflicts deserves professional assessment rather than repeated guesswork.
When Planting Should Wait or Call for Help
Wait when the soil is frozen, saturated, or so dry that you cannot make a stable root zone. Wait when the tree has dried roots, a split trunk, severe girdling roots, or an unmanageable root ball. A discounted tree is not a bargain if its structural roots are already compromised.
Call an arborist for large caliper trees, steep slopes, trees near buildings or power lines, severe root damage, or questions about a mature tree that must be moved. Call the local utility-locating service before you dig. If the soil is chronically wet, salty, compacted, or contaminated, a local extension office or soil professional can help match the site to a tree rather than promising that amendments will cure every limitation.
Conclusion
The most reliable way to plant a tree is to slow down at the decisions that cannot be corrected later. Choose a species and site that fit their mature scale, plant in mild weather, keep the roots moist, dig wide and no deeper than the root flare, then settle the soil with a deep watering. A clear mulch ring, careful first-year checks, and restrained staking complete the job. Those details give the tree a root system that can move outward and a realistic chance to become the shade, structure, habitat, or harvest you planned for.



