How to Propagate ZZ Plants: 3 Methods That Work
Propagate ZZ plants successfully with three methods, clear timing, rooting instructions, aftercare, and fixes for mushy, stalled, or shriveled cuttings.
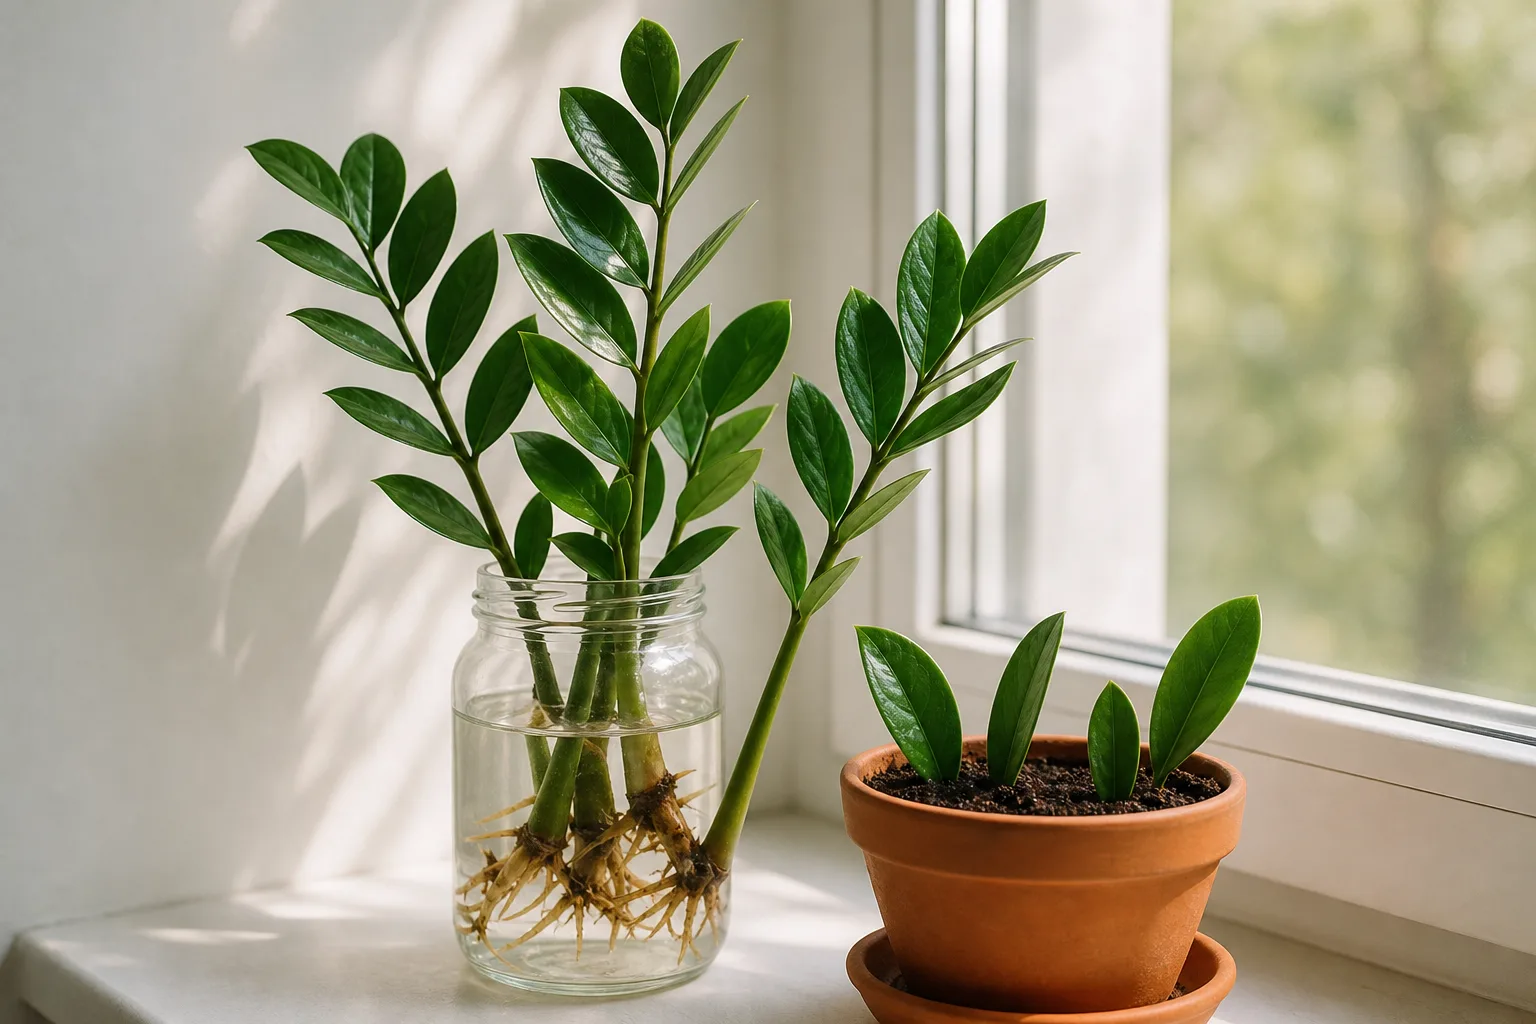
The best way to propagate a ZZ plant depends on what you already have. A large, crowded plant is a candidate for division; a healthy spare stem can root in water or a loose mix; and individual leaves can make new plants when you are willing to wait.
ZZ propagation is not difficult, but it is slower than propagating pothos or tradescantia. The plant grows from water-storing underground rhizomes, so a cutting has to build that storage organ as well as roots before it can produce a convincing new shoot. Choose a healthy parent, use a container with drainage, and treat “nothing is happening” as normal for longer than you might expect.
Choose the method that matches your plant
Use this quick decision rule before making a cut:
| What you have | Best starting method | What to expect |
|---|---|---|
| A mature, crowded plant with several clumps | Division | The fastest route to independent plants because each section keeps roots and rhizomes |
| A healthy plant with extra stems | Stem cutting | More reliable than a single leaf; water lets you watch roots, while soil avoids a later transition |
| A small plant, a fallen leaflet, or spare leaves | Leaf cutting | Least disruptive to the parent, but usually the slowest and least predictable |
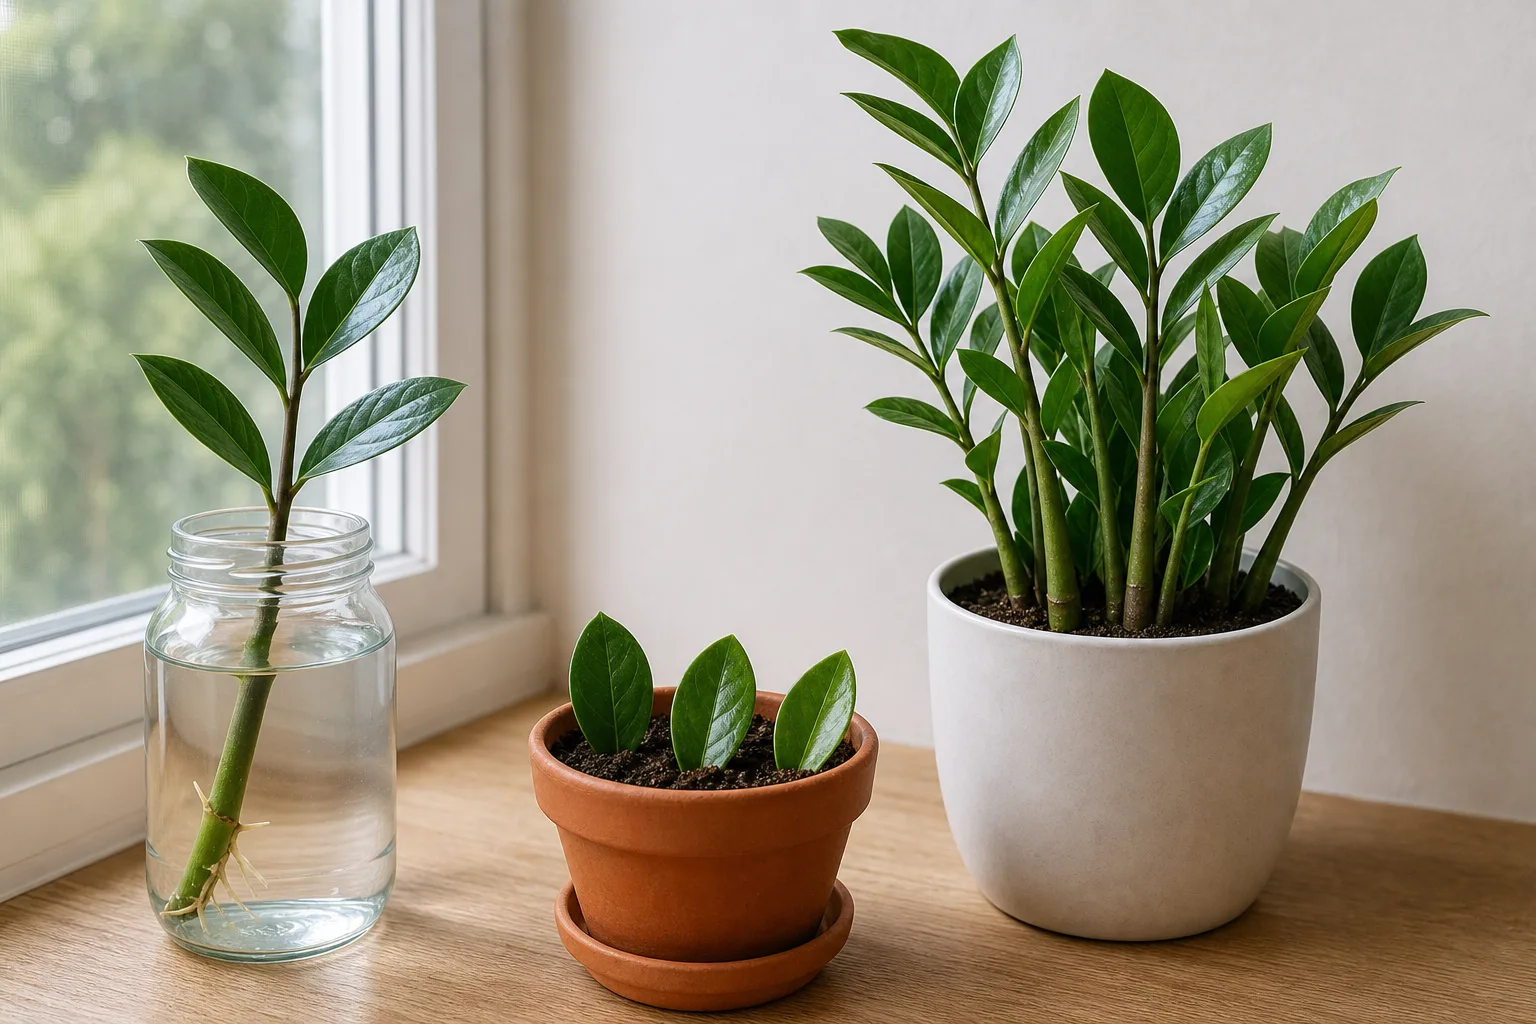
If the parent has only one or two stems, do not remove one just to experiment. A ZZ plant does not replace a stem from the cut end, so taking a large stem cutting can leave the original plant permanently thinner. Wait for a fuller plant, or use a naturally broken, healthy stem instead.
For speed, choose division. For a visible experiment, choose water-rooted stem cuttings. For the smallest amount of material, choose leaves and start several at once rather than expecting one leaf to carry the whole project.
The practical ranking is not a guarantee. Division is usually quickest because it starts with a rhizome and established roots; stem and leaf cuttings must form those structures before they can grow above the soil. The NC State Extension plant profile lists division and leaf cutting as propagation strategies, while the Missouri Botanical Garden profile also recommends leaf cuttings or division and describes the plant’s leaves as emerging from rhizomes.
Understand the rhizome before you cut
A ZZ plant is not a bundle of ordinary leafy stems. It is a rhizomatous perennial: thick underground storage structures send up fleshy stems and hold water between waterings. The Royal Horticultural Society’s profile describes the rhizomes as large and water-storing, and the Missouri Botanical Garden notes that the pinnate leaves rise from rhizomes.
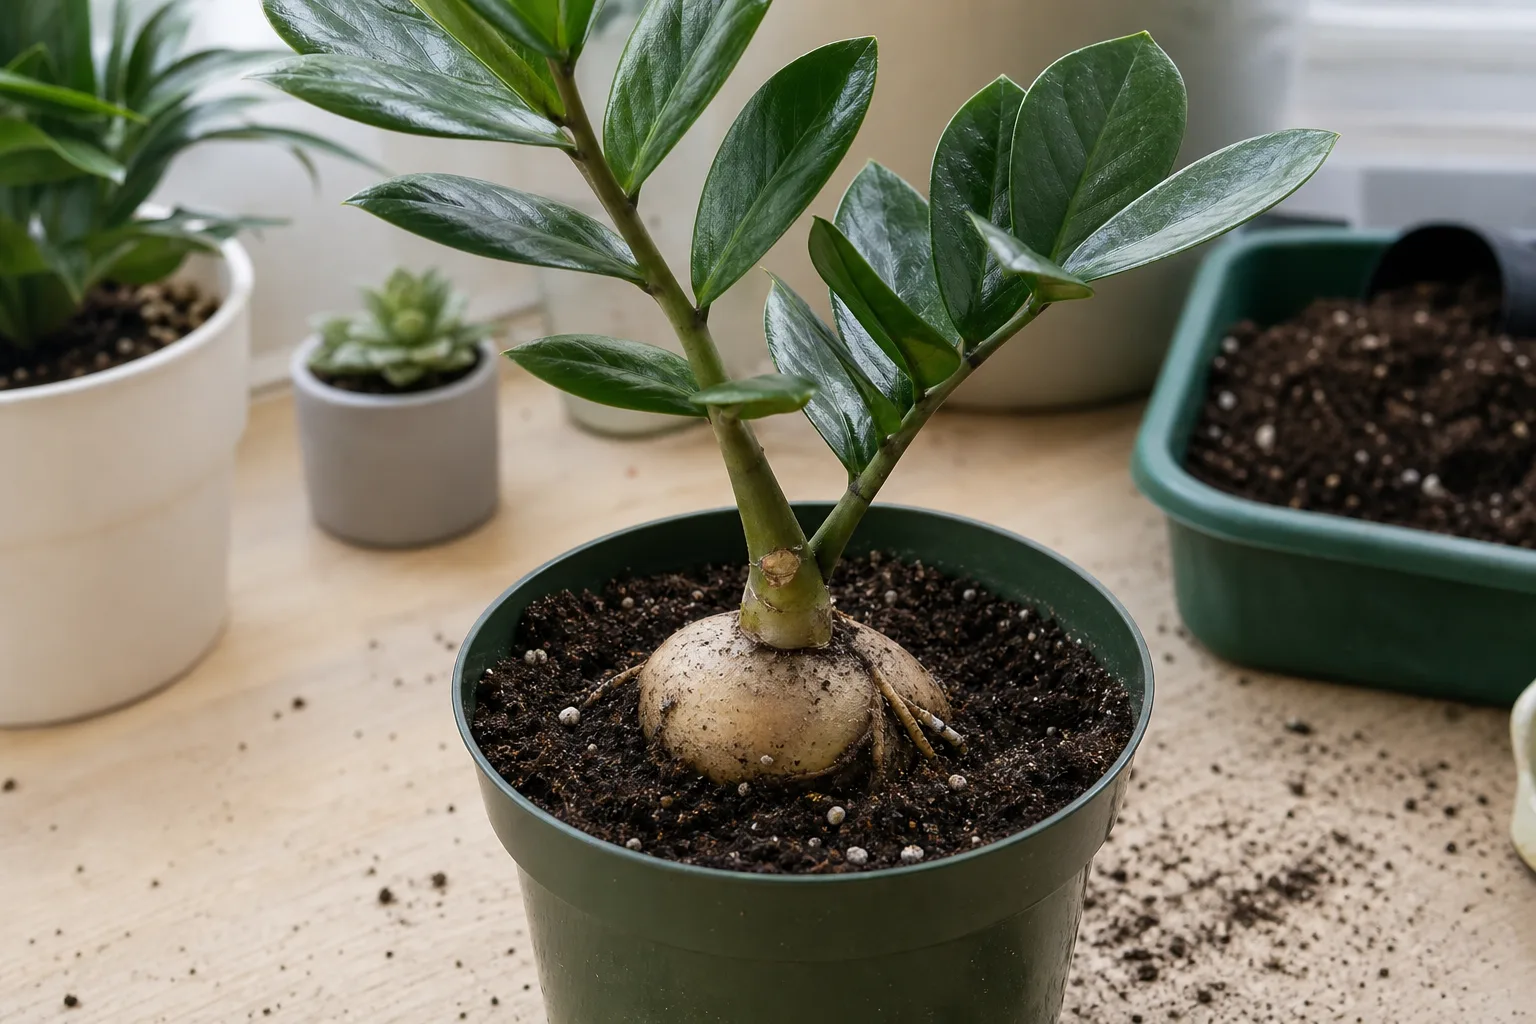
That structure explains three common surprises. First, a leaf or stem can remain green for a long time while the new rhizome is still developing. Second, a cutting does not need constantly wet soil; excess moisture around a slow-forming base can remove oxygen and invite rot. Third, a divided plant can resume ordinary care sooner because it already owns the storage organ that cuttings are trying to create.
Roots and shoots also arrive on different schedules. A water cutting may show small roots before it has enough stored energy to push a new stem. A leaf can form a tiny rhizome under the mix before you see any green growth. Do not dig up a healthy-looking cutting every week to check it; that breaks delicate new tissue and makes the timeline longer.
Gather tools and prepare the parent plant
Set up everything before you cut so the fresh tissue does not sit exposed while you search for a pot. You need clean, sharp pruners or a knife, a small glass if using water, a shallow nursery pot or tray for leaves, and a fresh, well-draining propagation mix. For division, prepare one clean pot with a drainage hole for each section you expect to make.
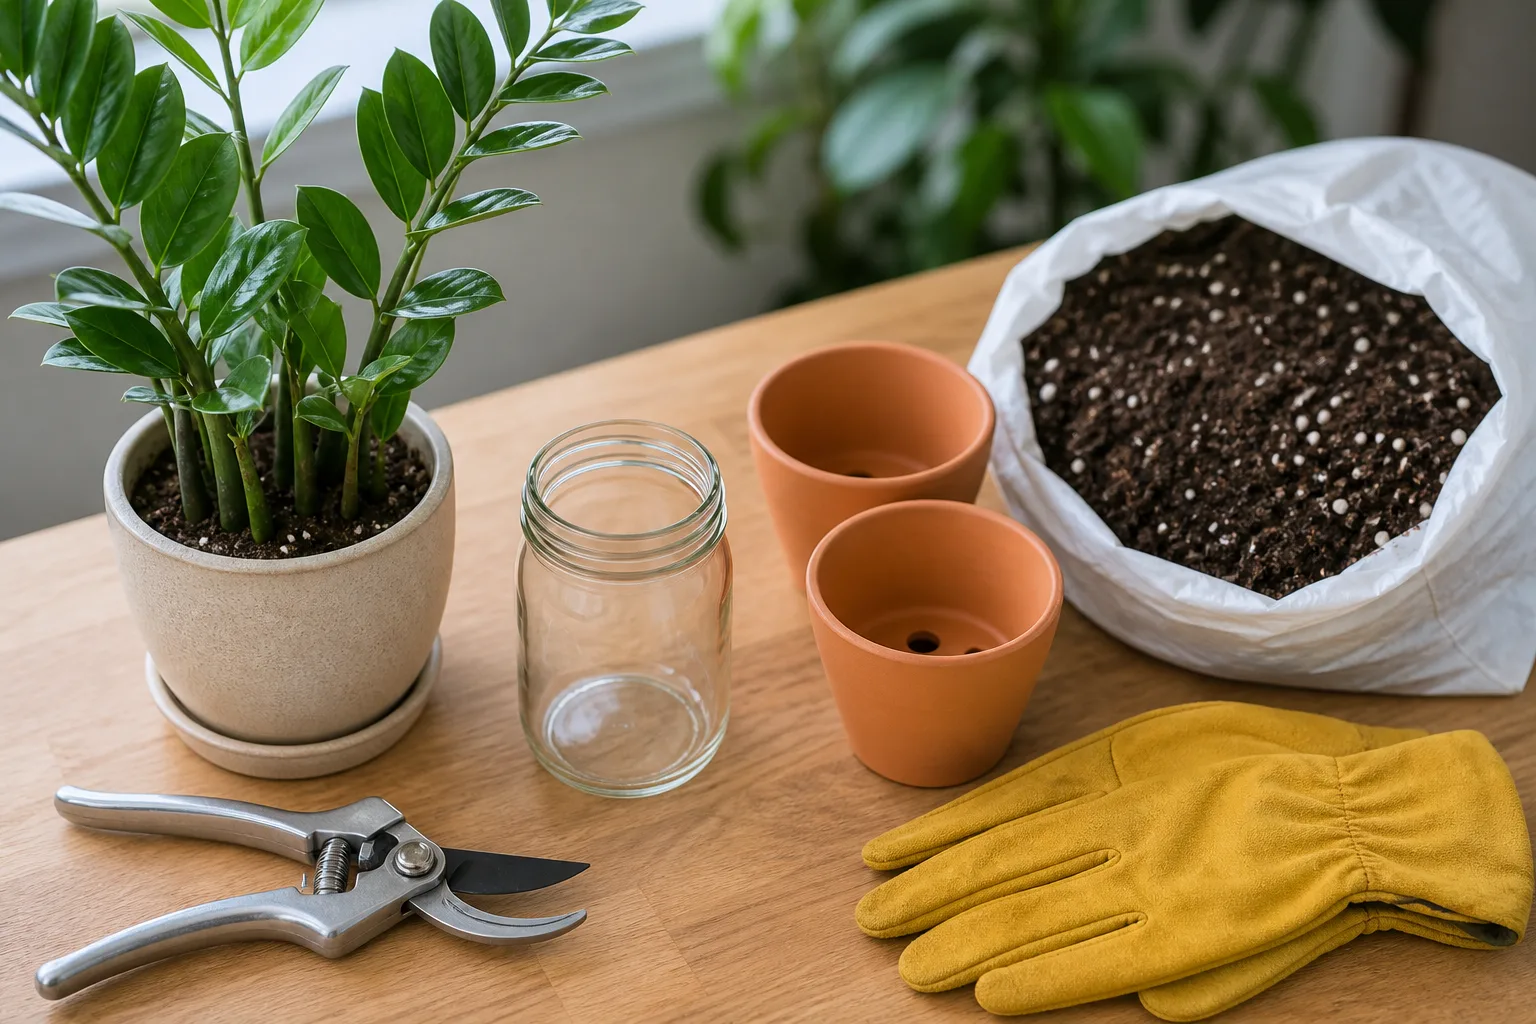
A mix made from ordinary indoor potting mix loosened with perlite, pumice, or coco coir is a sensible starting point. The exact ratio matters less than the result: the medium should hold the cutting upright, absorb water evenly, and release excess water through the drainage hole. Do not use garden soil in a small indoor container; it is more likely to compact and stay wet around a slow-rooting base.
Choose a parent plant that is actively growing, firm at the base, and free of mushy stems, spreading pests, or a sour-smelling root ball. Spring and summer are generally the easiest seasons because warmth and longer days support recovery; a healthy indoor plant can be handled at another time, but expect cooler or darker conditions to stretch the wait. Better Homes & Gardens recommends spring or summer for the best results while noting that healthy plants can be propagated year-round.
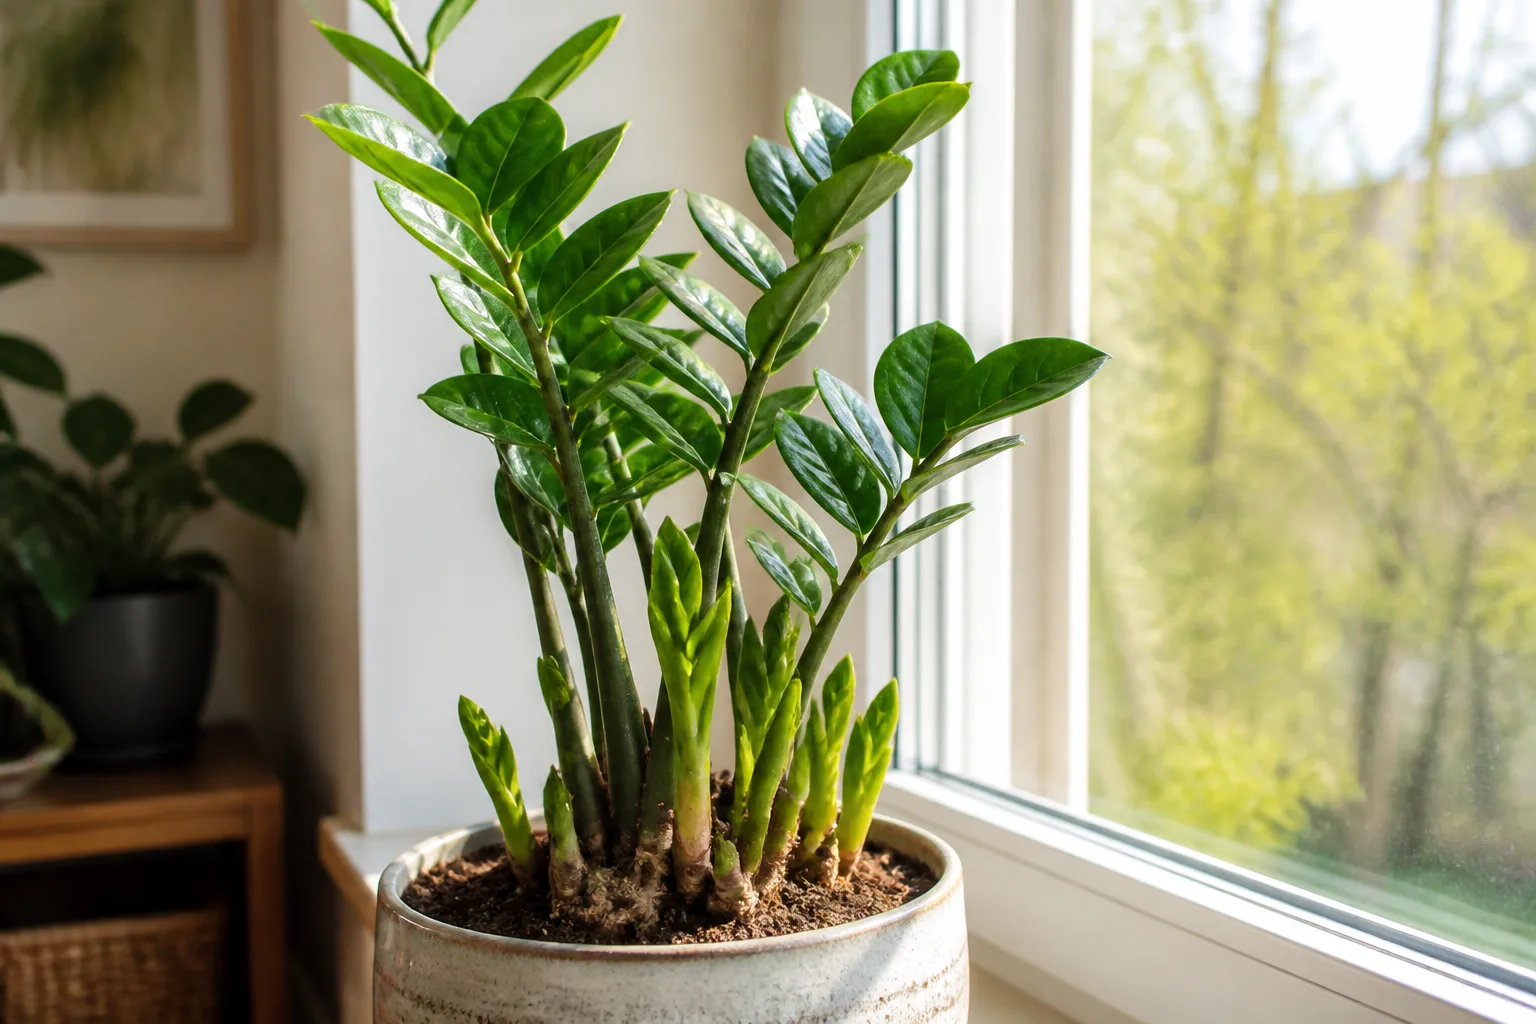
Clean the blade before the first cut and again if you move from a questionable section to a healthy one. If the sap irritates your skin, wear gloves and avoid touching your eyes; the RHS profile lists ZZ plants as harmful if eaten and irritating to skin and eyes. Keep cuttings, discarded leaves, and dirty potting tools away from children and pets.
Method 1: Stem cuttings in water or soil
Stem cuttings give you a strong amount of starting tissue without requiring a large parent plant. You can root one as a whole stem or divide a long, healthy stem into sections, provided every section has a clear lower end and at least one leaf node area; keeping a longer cutting intact usually makes it easier to position and gives it more stored energy.
Take a healthy stem at the soil line
Select a firm, green stem with several undamaged leaflets. Cut it as close to the soil line as you can without gouging the rhizome, then remove leaflets from the lower portion that will sit in water or mix. Any leaf submerged in water or buried in wet soil can decay, and a stem cut high above the soil leaves an unattractive stub on the parent that will not grow another shoot from that point.
If a stem snapped, trim the torn end back to firm tissue with a clean, straight cut. Do not try to rescue a stem that is already soft, translucent, foul-smelling, or blackening from the base; propagating diseased tissue only gives the rot a second container. Letting a fresh ZZ cutting dry for days is unnecessary, so move it into its rooting setup soon after cutting.
Choose water or soil for rooting
Water is the observation-friendly option. Place the lower end of the stem in a clean glass with enough water to cover only the cut base. Keep every leaflet above the water line. Set the glass in bright, indirect light, away from hot direct sun, and replace the water when it becomes cloudy or develops debris; clean water is part of the propagation method, not an optional finishing touch.
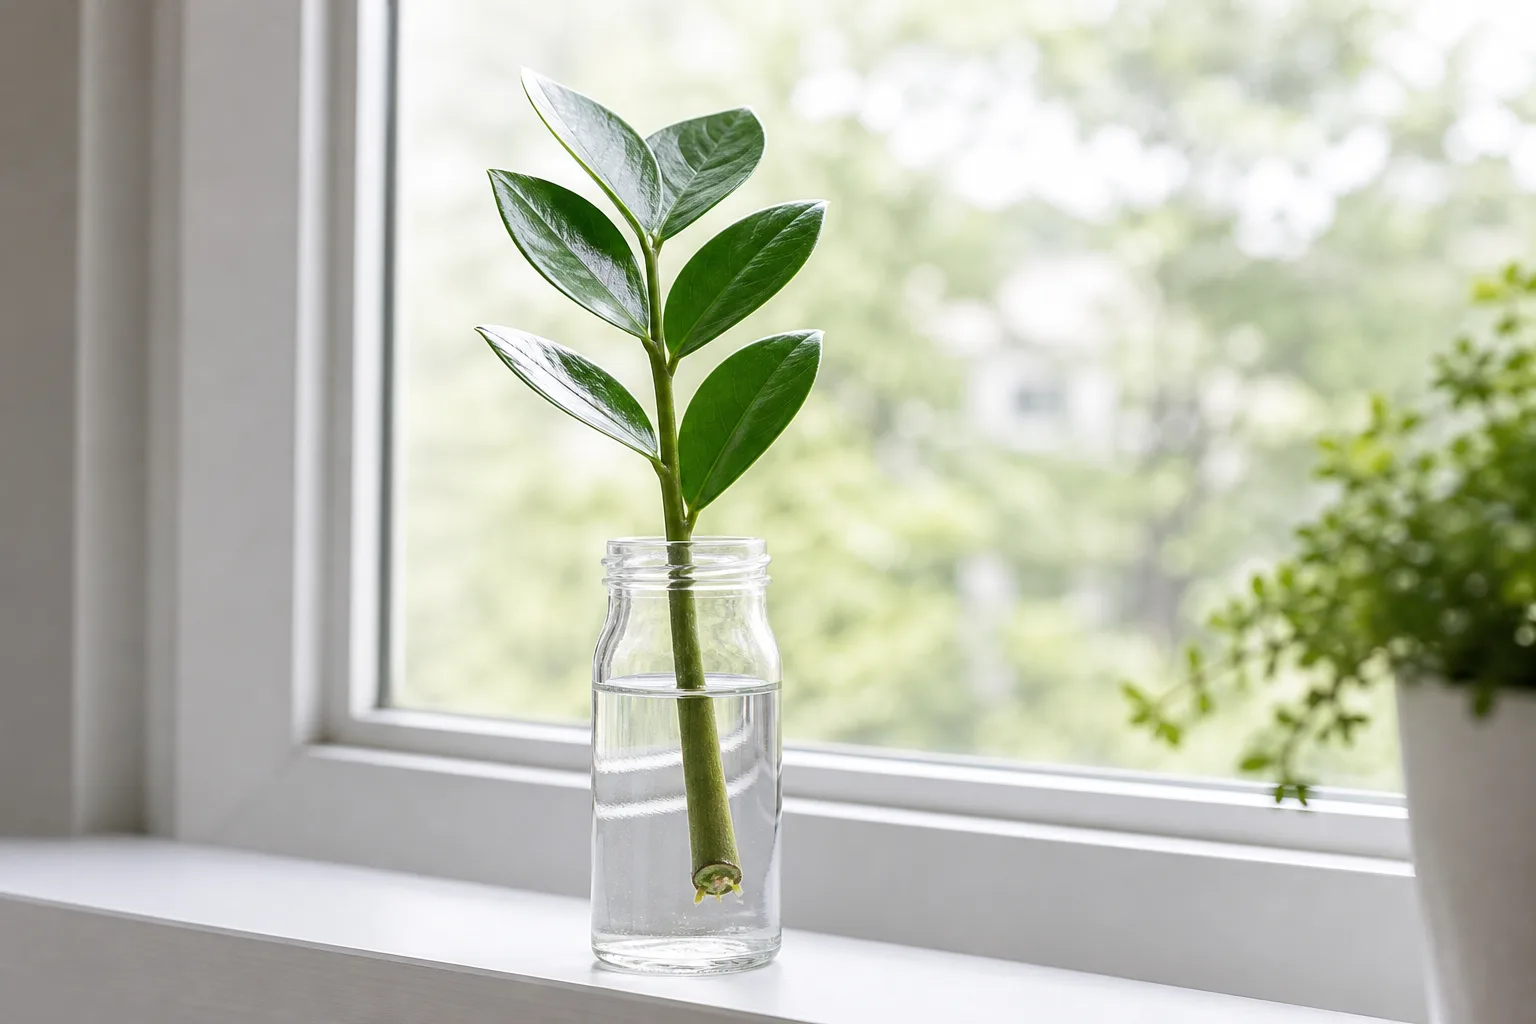
Water makes it easy to see roots and to catch a mushy base early, but water-grown roots still have to adapt to potting mix later. That transition is manageable when roots are roughly an inch long and branching, yet the move can cause temporary droop. The BHG instructions also recommend bright indirect light, clean water, and waiting for roots of about an inch before potting.
Soil is the lower-transition option. Fill a small pot with a loose, lightly moistened mix, make a hole with a pencil or dibber, and insert the leafless lower section. Firm the mix around the stem without packing it hard. The mix should be evenly damp after planting, never waterlogged; after that first watering, let the surface and upper layer dry somewhat before checking again.
Soil hides the roots, so watch the cutting rather than pulling it to test progress. New resistance when you give the stem a very gentle wiggle, fresh growth at the top, or a cutting that stays upright can indicate rooting, but none is as definitive as seeing roots in water. The Epic Gardening propagation guide favors soil for stronger, less transition-prone roots while acknowledging that water is useful for visibility.
The decision is simple: use water if you want to monitor the base and are willing to pot up later; use soil if you already have a well-draining mix and want the cutting to adapt in its final type of environment from the start. Neither option needs a sealed humidity tent. Warmth, bright filtered light, clean tools, and controlled moisture matter more than creating a constantly wet microclimate.
Pot up only when the cutting is ready
ZZ stems are slow. Under favorable indoor conditions, roots can take roughly three to four months, and less light or cooler temperatures can extend the wait. Do not pot a water cutting because you can see one tiny root; wait until the roots are about an inch long and firm enough to anchor the stem, then use a small pot with a drainage hole and fresh mix.
Plant the rooted stem at the same depth it had in the water, with roots covered and leaves well above the mix. Water thoroughly once so the mix settles around the roots, let all runoff escape, and then return to a bright, indirect location. A small container is safer than a large one at this stage because a giant volume of wet mix dries slowly around a small root system.
Method 2: Leaf cuttings for the smallest starting material
Leaf propagation is useful when the parent is too small to spare a whole stem, or when a healthy leaflet has already fallen. It is also the least reliable option of the three, so treat it as a batch experiment: start three to five leaves, keep the setup consistent, and expect some to stall or fail.
Take leaves with a petiole or stem nub
Choose plump, unblemished leaflets from a healthy stem. Remove each one cleanly, taking a small piece of the connecting petiole or stem tissue with it if possible. The base is the part that must contact the rooting medium; a leaf torn away with no base may stay green briefly but has less tissue from which to form roots and a rhizome.
Do not strip a large section of the parent just to create a neat row of leaves. Remove enough to keep the mother plant balanced and leave plenty of foliage to keep making energy. If a leaf falls naturally and still has a firm base, it is an excellent candidate because you have lost nothing from the plant’s shape.
Root the leaf shallowly and keep it steady
Fill a shallow tray or small pot with a loose, well-draining mix. Pre-moisten it, then insert only the lower base of each leaf—roughly the bottom quarter is enough—so the leaf stands upright and the blade remains above the mix. Burying most of the leaf increases the amount of tissue held in wet media and makes rot more likely.
Place the tray in bright, indirect light and a warm room. Keep the medium lightly and consistently moist while roots and a small rhizome form, but do not leave it saturated or standing in a saucer of water. A clear cover can slow moisture loss, but it must be vented and removed if condensation stays heavy or the base begins to soften; a humid enclosure is not a substitute for drainage.
Leaf cuttings may take several months to form roots, and the first visible shoot can take longer. Get Busy Gardening recommends starting multiple leaves because the method is slow, and Epic Gardening likewise emphasizes that a small petiole section is important and that patience is part of the process. Once a leaf has rooted firmly and a new shoot is developing, keep it in the small container until the new plant has enough structure to handle a move.
Method 3: Division for the quickest established plants
Division is the closest thing to an instant ZZ plant. It does not create a rhizome from scratch; it separates a mature plant into sections that already contain the storage tissue, roots, and stems needed to resume growth. Use it when the plant is large enough to divide without leaving either the parent or a new section with a single weak stem and little root support.
The best moment is usually when the ZZ plant needs repotting and the root ball is not freshly soaked. A drier root ball is easier to handle and less messy, while a plant that is already stressed, recently repotted, or suffering from root rot should be stabilized first. There is no useful magic age; judge the plant by size, crowdedness, and whether you can make self-supporting sections.
Separate rhizome clumps with roots and stems attached
Prepare the new pots and mix before you unpot the parent. Gently squeeze a flexible nursery pot or run a dull knife around the inside edge if the root ball is stuck. Tip the plant out while supporting the root ball; do not pull hard on the stems, because the stems are not handles and can tear away from the rhizome.
Brush or loosen enough mix from the root ball to see where the rhizomes join. Start by teasing apart natural clumps with your fingers. If two sections are firmly fused and you must cut, use a sharp, clean knife and make one deliberate cut through the rhizome rather than sawing repeatedly through roots.
Each division needs a real rhizome section, attached roots, and several firm stems or leaf bases. A sliver of rhizome with one damaged stem is not an efficient division; return it to a larger clump if possible. This is the key quality check that turns division from a risky chop into a controlled separation.
Set each section at the same depth it occupied before, covering the rhizome and roots without burying the stem bases deeply. Fill around the roots, press lightly to remove large air pockets, and water until the mix is evenly settled. Drain the pot completely before returning it to its growing spot.
Some droop after division is normal. The plant has lost root contact and is adjusting to a new water balance, so give it stable light, warmth, and sensible dry-down rather than repeated drinks. Division is faster than cuttings because the new plants are already rooted, but it is still a significant disturbance and should not become an annual routine.
Care for new ZZ plants during the first month
Give every method the same basic environment: bright, indirect light, a warm room, and a container that drains freely. The Missouri Botanical Garden recommends part shade to full shade and well-drained soil, with regular watering followed by a dry period; indoors, that usually means filtered window light rather than either a dark corner or harsh midday sun.
Water the medium according to its moisture, not the calendar. A cutting in a shallow tray may dry faster than a divided plant in a deep pot, while a water jar needs enough clean water to keep the base covered without submerging foliage. After potting a rooted cutting or division, water once thoroughly, then wait until the mix has dried down appropriately before watering again.
Do not fertilize immediately. Newly divided roots and newly formed cutting roots need stable moisture and oxygen more than extra nutrients. Once a cutting is clearly growing and has settled into its pot, resume a light feeding routine appropriate for a mature ZZ plant rather than applying strong fertilizer to force a shoot.
Keep the parent plant in the same kind of light it already tolerates during recovery. Moving it from a shaded room to strong direct sun at the same time as cutting or division adds a second stressor. If you must improve light, make the change gradual and use a filtered position.
Judge progress by the whole pattern. A firm base, clean water, stable leaves, and a cutting that remains upright are encouraging. A new shoot is the clearest sign that a rhizome has enough support to grow above the mix, but its absence for several weeks is not proof of failure.
Troubleshoot stalled or rotting propagation
The base is soft, brown, or smells bad. Remove the cutting from the water or mix and inspect it. Cloudy water, submerged foliage, a waterlogged medium, damaged tissue, and a container without drainage are the usual first suspects. If firm tissue remains above the soft section, trim back to it with a clean blade and restart in clean water or fresh, lightly moistened mix; if the rot has reached the entire base, discard that cutting and protect the others from contamination.
The cutting is green but has no roots after a long wait. Check temperature, light, and moisture before changing everything. A cool room or dark position can slow ZZ growth dramatically, while bone-dry mix can stop a leaf from forming its rhizome; move the setup to bright indirect light and keep soil cuttings lightly moist, not wet. Avoid pulling the cutting up repeatedly, because a tiny root can break before it is visible.
A leaf shrivels before rooting. Some leaf loss is expected, but a leaf that dries quickly may have been taken without enough petiole tissue or left exposed too long. Starting a group of healthy leaves improves the odds. If the base is still firm, improve consistency; if it is hollow, black, or mushy, it is no longer a viable cutting.
A divided plant droops after repotting. Give it a few days in bright, indirect light and check the mix before watering again. Droop with a firm rhizome and no sour smell is often transplant shock; droop with wet soil, a collapsing base, or mushy roots requires an immediate root inspection. Do not solve every droop with more water.
Roots formed, but no new stem appears. This is common with leaf cuttings and can happen with stems too. The cutting may be investing first in a rhizome or may simply need more warmth and time. Keep the setup steady and wait for a clear decline—soft tissue, foul water, or a collapsing base—before calling it a failure.
The parent looks sparse after stem removal. That is a design issue, not a propagation failure. ZZ stems do not branch from the cut point, so future pruning should be selective. Place the parent where the remaining stems receive usable indirect light, and let new growth from the rhizome gradually fill the pot.
Conclusion
To make more ZZ plants with the least waiting, divide a large, healthy plant into sections that each keep rhizomes, roots, and several stems. To multiply a healthy spare stem, root it in water for visibility or in a loose mix for a smoother transition. To use the smallest amount of plant material, root several leaf cuttings with their petiole bases attached and accept that this is a long experiment.
The repeatable formula is simple: cut cleanly, keep leaves out of standing water, use a draining medium, provide bright indirect light, and wait for the plant’s slow underground work. ZZ propagation rewards restraint; the most common mistake is not a lack of effort, but giving a water-storing plant too much water while it is still building its next rhizome.



