How to Raise the pH of Soil With Garden Lime Safely
Learn how to raise the pH of soil with a lab-guided lime rate. Compare calcitic and dolomitic lime, apply it evenly, and avoid common over-liming mistakes.
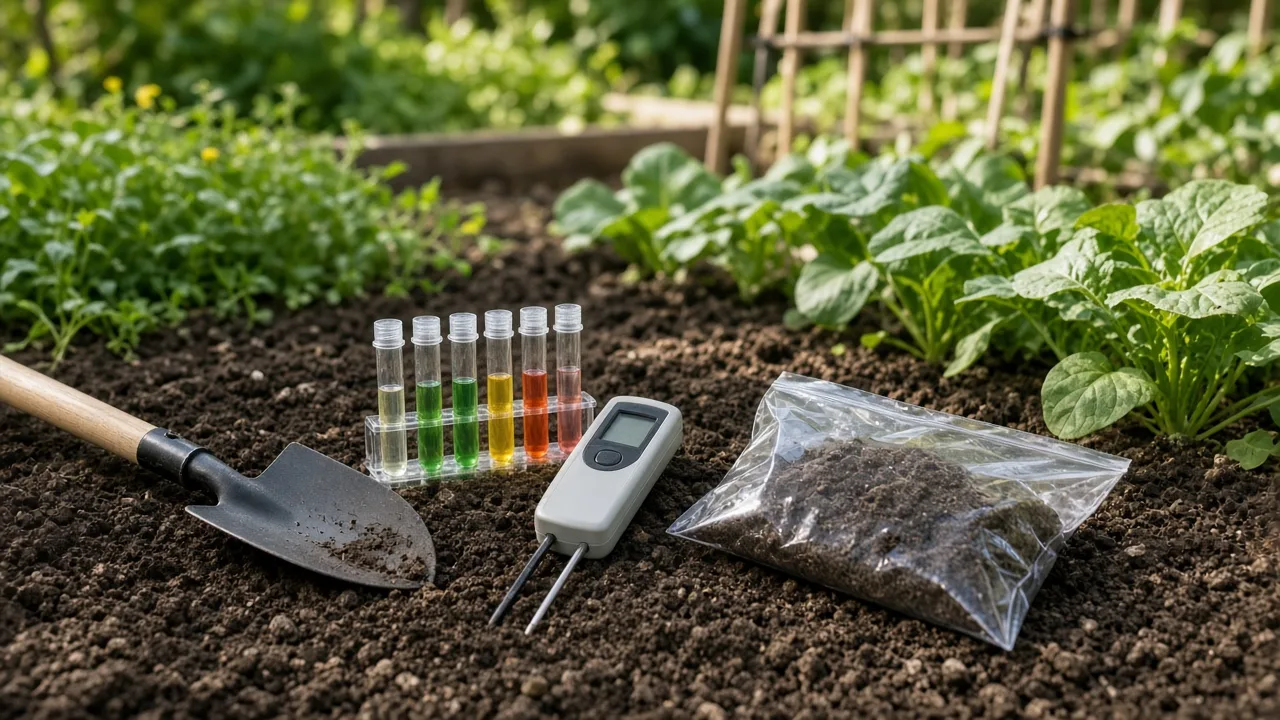
A low pH is a reason to consider lime, not a dose by itself. Start with a soil test that identifies the plants you want to grow and gives a lime recommendation; then choose the product, measure the area, spread it evenly, and give it time to react. That sequence matters because two beds with the same pH can need different amounts of lime, and some plants are healthiest in acidic soil.
For many vegetable gardens, the target is slightly acidic rather than exactly neutral. If your bed is already within the recommended range, lime will not make it “more fertile”—it can push the pH too high and make some nutrients harder for roots to absorb. The safest fix may be no amendment at all.
First, decide whether your soil needs a higher pH
Soil pH describes how acidic or alkaline the root zone is. Lime raises pH by neutralizing acidity; it does not act like a complete fertilizer, and it cannot correct poor drainage, compaction, root disease, or every nutrient problem. Think of lime as a soil-condition adjustment that may make nutrients more available when acidity is the real limiting factor.
A pH unit is a tenfold change in hydrogen-ion concentration, so a change from 5 to 6 is chemically meaningful even though it looks like one small number. That does not mean every plant needs pH 6 or that 7 is the finish line. The right target depends on what will grow there and on the local soil-test method. NC State Extension, for example, gives different targets for blueberries, azaleas, vegetables, and other garden crops because their tolerances differ (NC State Extension’s liming guide).
Most garden plants do not need a neutral pH
Many vegetables and ornamentals do well in mildly acidic soil, often in the general neighborhood of pH 6 to 6.5, but a crop list from a local soil-testing lab is a better target than a generic “ideal” range. Regional recommendations can differ: NC State’s targets reflect North Carolina soil classes and testing methods, while Colorado State Extension describes a different regional mix of soils and lime recommendations (Colorado State University Extension’s guide to changing soil pH). Use your own lab’s target and the specific crop, not a number copied from a plant chart for another state.
Some plants are poor candidates for liming. Blueberries, azaleas, rhododendrons, heathers, and other acid-loving plants need a lower pH than most vegetables; raising their root zone can work against them. If you are planning a mixed bed, do not try to force one compromise that makes every plant equally happy. Keep acid-loving crops in a separate bed or container, and use an acidic growing medium suited to their roots.
A pH adjustment is worthwhile when a soil test shows that acidity is below the target for the planned crop and provides a lime requirement. It may also be sensible to grow a crop that already suits the soil instead of changing a large area, especially when only a few acid-loving plants are involved. That choice saves material and avoids a years-long effort to move a naturally acidic bed toward a target it does not need. Epic Gardening’s practical lime overview likewise treats soil testing as the starting point before choosing a product or amount.
Symptoms alone cannot diagnose acidic soil
Pale leaves, weak growth, and low yields can occur when pH limits nutrient availability, but those signs overlap with nitrogen or iron problems, damaged roots, waterlogging, drought, and pest damage. Adding lime because leaves look yellow can make an unrelated issue worse, particularly if the soil already has a suitable pH. Use symptoms to decide where to sample, not as a substitute for a test.
A soil test is also more useful than simply adding more fertilizer. In very acidic conditions, nutrients may be present but less available, while some elements become more available than the plant can tolerate. Once the pH is corrected, reassess growth and the test’s nutrient results before adding fertilizer; lime itself does not replace a nutrient plan or repair the conditions that keep roots from functioning.
Test the soil before choosing a lime or rate
A home test strip or meter can help you screen for an obvious pH problem, but a single pH reading usually cannot tell you how much lime a bed needs. Soil has both active acidity in the soil solution and reserve acidity attached to soil particles; the latter is part of the soil’s buffering capacity. A highly buffered soil resists a pH change and needs more lime than a weakly buffered soil with the same measured pH. Nebraska Extension explains why a buffer test and soil properties affect the lime requirement (University of Nebraska–Lincoln Extension’s lime-management guide).
For a measured dose, send a sample to a state or university soil-testing laboratory, or to a reputable regional lab that reports the crop target and lime requirement. Include what you plan to grow, and ask the lab if the result provides a buffer-pH or lime-rate recommendation. Lab methods are not identical, so do not try to compare two reports as if they used one universal scale or copy a rate from a website that assumes another region, soil type, or incorporation depth.
Collect a representative sample
A useful test starts with a sample that represents the bed—not the easiest scoop of dirt to reach. Follow the laboratory’s collection directions for depth and volume, because the right depth depends on whether you are sampling a cultivated bed, lawn, or another planting. For one uniform area, take multiple small cores from different points, mix them in a clean plastic bucket, and submit the amount the lab requests. NC State’s soil-sampling guidance recommends separating areas with visibly different soil, management, or crop history instead of blending them into one sample (NC State Extension’s soil-sampling guide).
Sample each distinct bed or zone separately if its texture, drainage, past liming, or plantings differ. Do not combine lawn soil with vegetable-bed soil, or a problem patch with healthy ground; those composites can average away the very condition you are trying to understand. Avoid including surface mulch, compost piles, fertilizer bands, burn spots, or places where lime was recently spilled. Clean the trowel or probe and bucket first so traces of amendment do not contaminate the sample.
If you have already spread lime, fertilizer, manure, or a large amount of organic matter, tell the laboratory when you sampled and what you applied. Recently amended soil may not yet reflect a stable result, and sampling instructions or a retest interval may differ by lab. When in doubt, ask the lab before taking another sample; one well-collected sample is more useful than repeated, inconsistent readings.
Read the lime requirement—not only the pH
Find the report’s target crop or pH, the recommended material, and the application rate. The rate may be shown per 1,000 square feet, per acre, or as a quantity for a particular incorporation depth. Check those units and instructions before buying a bag, and do not assume the rate is for every plant or every square foot of the property.
If the report gives a pH but no lime requirement, contact the lab or Extension office and ask what additional result they need. A pH meter measures the active acidity; it does not necessarily capture all the reserve acidity that must be neutralized. Colorado State Extension describes lime need as dependent on soil texture, cation-exchange capacity, and organic matter, which is why a buffer test can be useful for turning a pH result into a rate (Colorado State University Extension).
A quick home test can still be valuable if you treat it as a screening result. Use the same clean sampling method each time, test more than one spot in a large or uneven bed, and compare the result with a lab test before making a substantial pH change. A meter that reads a half-unit differently, or a slurry test made with different water and soil ratios, can lead to false confidence when the decision is how much lime to add.
Choose a liming material for your soil
For most home garden beds, the standard choice is ground agricultural limestone, often labeled garden lime. Its active ingredient is calcium carbonate, which neutralizes acidity and raises pH. Particle size and product quality affect how quickly it reacts, and the amount recommended by the lab may assume a particular product quality. Read the bag’s ingredients and directions rather than buying a material simply because it is called “lime.”
Lime is not automatically needed just because plants need calcium. A soil may have enough calcium while still needing a pH adjustment, or it may need a different calcium source that does not raise pH. If your test reports calcium and magnesium, use those results along with the lime recommendation; do not select an amendment for one nutrient without considering the pH change it also causes.
Calcitic vs. dolomitic lime
Calcitic lime is primarily calcium carbonate. Dolomitic lime contains calcium carbonate and magnesium carbonate, so it supplies both calcium and magnesium while raising pH. Choose between them based on the soil test: calcitic is often appropriate when magnesium is already adequate, and dolomitic is useful when the report also calls for magnesium. NC State Extension and the Royal Horticultural Society both distinguish these products by their magnesium content and intended use (NC State Extension; RHS guidance on lime and liming).
Do not assume the more nutrient-rich bag is the better bag. If magnesium is already high, dolomitic lime adds a nutrient the bed does not need; if magnesium is low, calcitic lime may correct acidity without addressing that gap. The lab’s soil-test recommendation is more useful than product color, a brand claim, or the idea that every garden should have the same kind of lime.
| Material | What it changes | A sensible use |
|---|---|---|
| Calcitic agricultural lime | Raises pH and supplies calcium | The report calls for lime and magnesium is adequate |
| Dolomitic lime | Raises pH and supplies calcium plus magnesium | The report calls for lime and magnesium is also low |
| Hydrated or quicklime products | React more strongly than garden limestone | Not a routine home-garden substitute; use only with qualified guidance and product-specific precautions |
Fine, pelletized, and hydrated lime
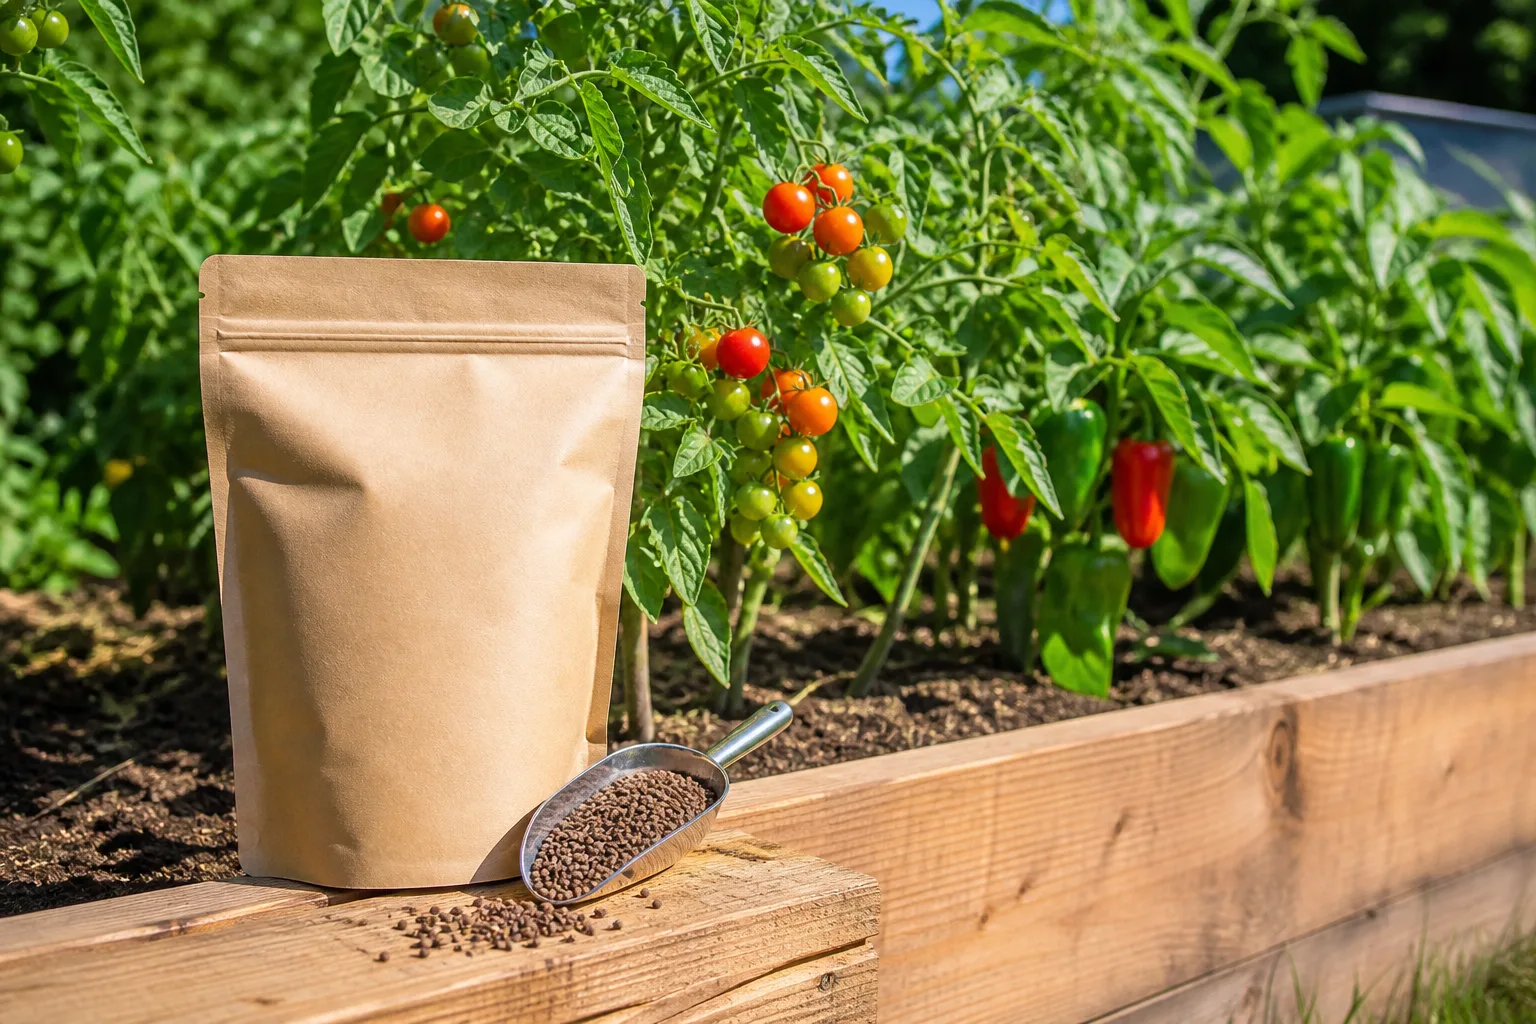
The finer the limestone particles, the more surface area touches soil and the faster the material can react. Powdered lime can be dusty and harder to spread evenly, while pelletized or granulated garden lime is often cleaner and easier to handle in a small yard. Pellets are made from finer material pressed together, but they still need to break apart and contact moist soil; “pelletized” does not mean an instant pH correction. NC State Extension notes that lime fineness and neutralizing value both affect performance, and the RHS advises choosing clean, finely ground material rather than lumpy product (NC State Extension; RHS).
For a garden, use a product labeled for soil liming and follow its rate, protective-equipment, and application directions. Do not substitute builder’s quicklime, burnt lime, or hydrated lime for ordinary agricultural limestone just because the names sound similar. Hydrated lime is more reactive and can irritate or burn skin and eyes; a faster chemical reaction is not worth the risk of overshooting or injuring yourself when a measured, slower treatment can be planned before planting. If a report recommends a material or amount you cannot identify on local product labels, ask the testing lab how to translate it rather than guessing.
Wood ash, eggshells, and other shortcuts
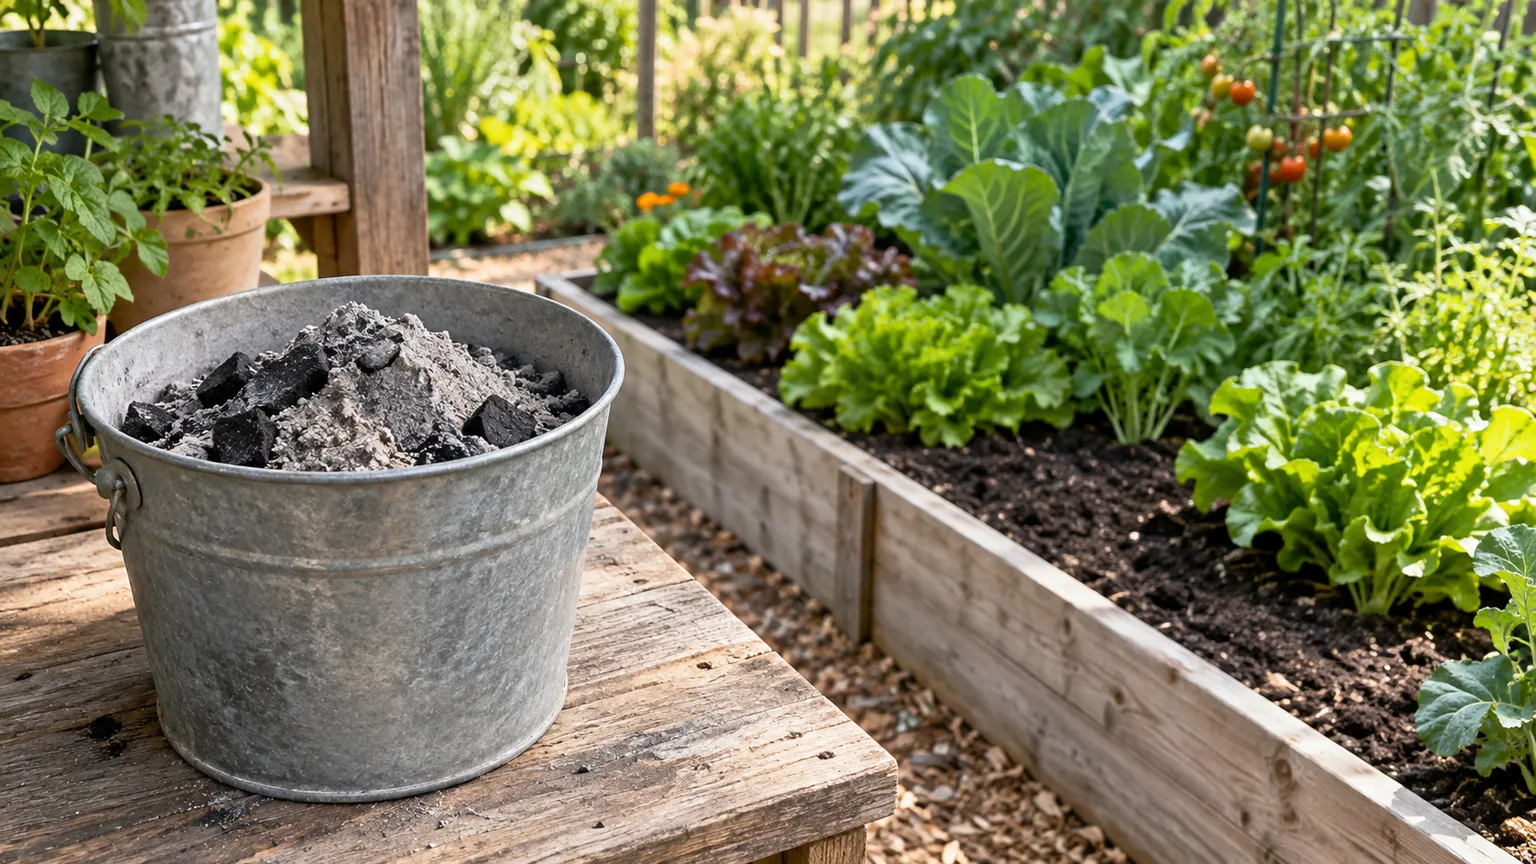
Clean wood ash can have liming value, but its strength and nutrient content vary by batch. It adds potassium as well as calcium and magnesium, and University of Georgia Cooperative Extension cautions that ash can carry a high salt content; avoid it if the soil is near neutral or already high in potassium. University of Nebraska–Lincoln Extension also lists ash as a possible liming material while explaining that fineness and neutralizing value affect performance. Use it only when a soil test and a reliable analysis support it, and do not treat a rate from one region as universal. (UGA Cooperative Extension’s wood-ash guidance; University of Nebraska–Lincoln Extension).
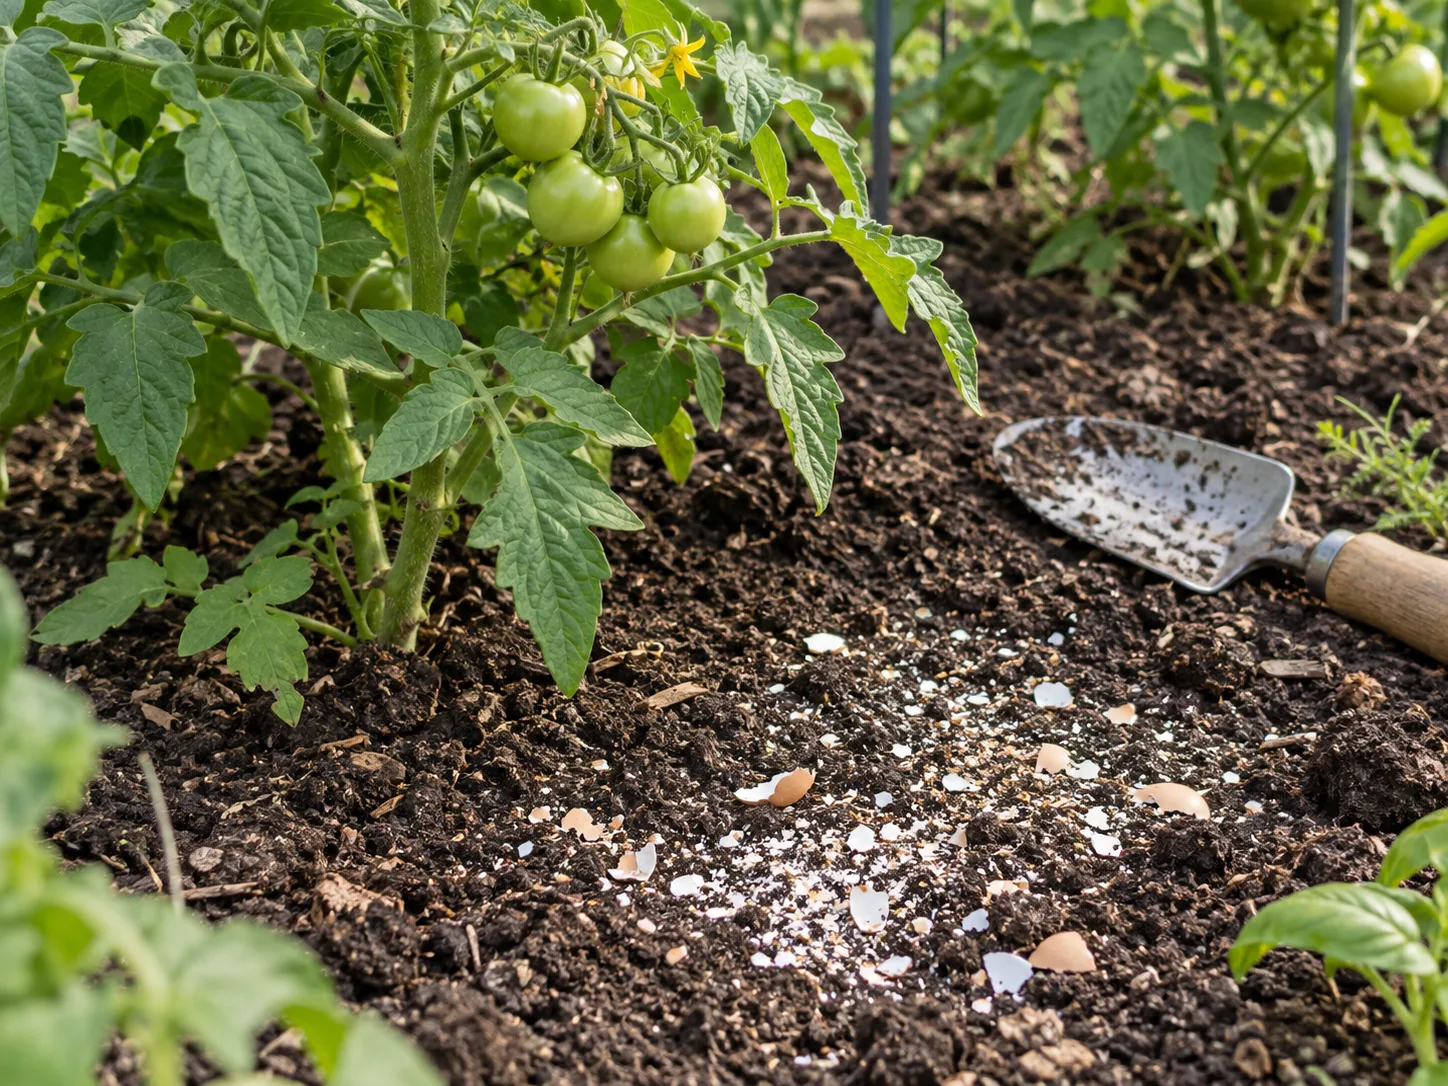
Kitchen eggshells left in coarse pieces have little contact area with soil, so they are not a dependable quick way to change a whole bed’s pH. Grinding material more finely can speed the reaction by increasing soil contact, but home-ground shells are difficult to dose consistently and do not replace a soil-test-based lime product. Compost the shells if you like; choose labeled garden lime when a lab has actually called for liming.
Baking soda is not a garden liming product. It dissolves readily and contains sodium, so sprinkling it into a bed is not a controlled way to follow a soil-test recommendation. Vinegar is acidic and moves pH in the wrong direction; coffee grounds and pine-needle mulch are not reliable substitutes for a measured lime recommendation either. For an edible bed, the best shortcut is getting the sample right the first time and using a material with a known neutralizing value.
Work out the amount from the test report
Use the lab’s rate, not a universal number of pounds per bed. Lime requirements change with starting pH, target crop, soil buffering, texture, the depth to be amended, and the neutralizing value and fineness of the product. A soil with more clay or organic matter can take more lime to shift by the same amount because it resists a pH change; a sandy soil may need less. The RHS describes this clay-versus-sand buffering difference, while Nebraska Extension explains how reserve acidity contributes to a lab’s lime requirement (RHS; University of Nebraska–Lincoln Extension).
If a report gives pounds per 1,000 square feet, measure the bed and scale that recommendation to its area. For example, a 4-by-8-foot bed is 32 square feet. If a lab report hypothetically recommends 20 pounds per 1,000 square feet, the arithmetic is 20 × 32 ÷ 1,000, or 0.64 pound for that bed. That number is only an example of converting a report to a smaller area—not a suggested rate for your soil.
Check whether the recommendation assumes agricultural lime of a particular effective neutralizing value. If the product label shows a different value, ask the lab or Extension service whether the amount should be adjusted; a product with a lower neutralizing value may not deliver the same effect per pound. Do not double a rate because the product is pelletized, apply the whole rate to every bed, or use a square-foot estimate that was created for a different soil and target.
For small containers, the arithmetic may produce an amount too tiny to measure and distribute evenly. Garden limestone is meant for garden soil, not as a routine correction for commercial potting mix; the RHS specifically excludes potting media from its garden-lime guidance. If a container plant has a confirmed pH issue, compare the cost and uncertainty of a tiny amendment with repotting into a fresh, suitable mix and correcting the source of the problem. Don’t apply a garden-bed dose to a pot.
Apply lime evenly and let it react
Apply lime when you can distribute it evenly over the full area and leave enough time before planting. Fall is a convenient window for a bare vegetable bed because winter moisture and the gap before spring planting allow the material to start reacting; before-planting timing is also recommended by the RHS and Better Homes & Gardens (RHS; Better Homes & Gardens). If fall has passed, follow the lab and product directions rather than waiting a full year automatically, but do not expect a rapid fix for a crop already in trouble.
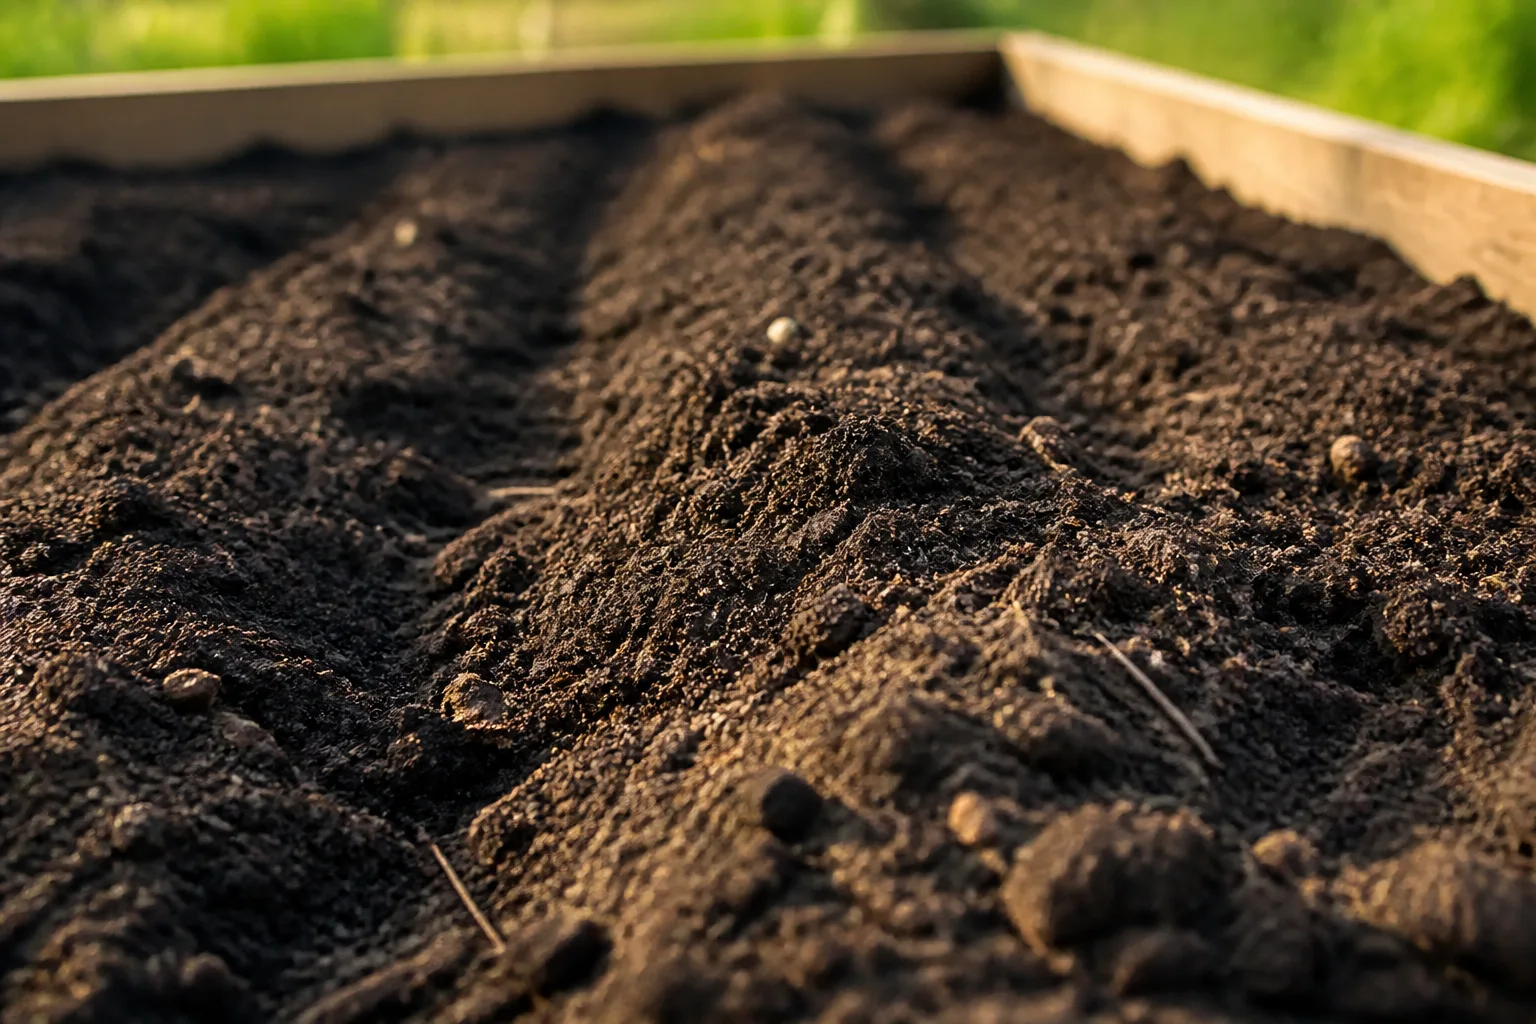
Measure the amount for the specific zone, then broadcast it as uniformly as you can. On an empty bed, incorporate it only to the depth named in the recommendation, usually through the cultivated root zone; do not bury it in a narrow trench or leave piles in planting holes. For a small area, divide the measured amount in half and spread each half in a different direction. That crosshatch pattern makes thin spots and heavy stripes less likely than one pass.
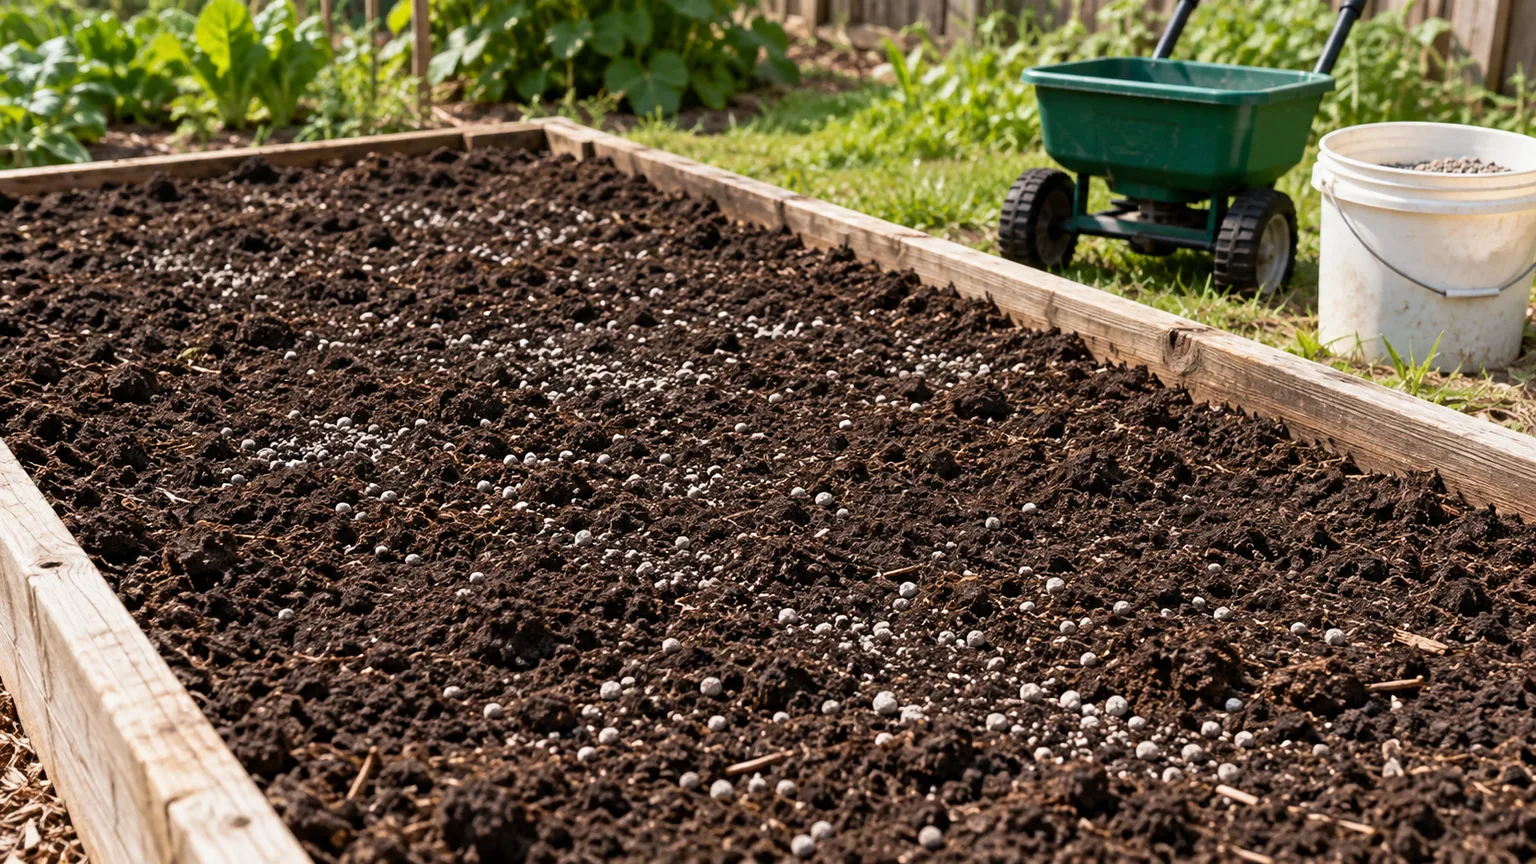
Wear the protection on the label, avoid breathing dust, and keep the product off foliage, eyes, and skin. Apply on a calm day so powder does not drift, and avoid spreading onto pavement or into storm drains where runoff can carry it away. Water only as the product label or lab directs; moisture helps lime contact the soil, but soaking a waterlogged bed is not a substitute for proper placement. Store leftover material dry, labeled, and away from children and pets.
New beds, established beds, and lawns
A new bed is the easiest place to correct soil pH because you can mix the recommended lime through the prepared root zone before sowing or transplanting. If you are opening a vegetable bed, test early enough to amend before planting; mixing lime after seedlings are in place can disturb shallow roots and leave some spots strongly alkaline while others stay acidic. Recheck the crop target too, especially if the bed will contain blueberries or other plants that prefer a low pH.
In an established flower or vegetable bed, do not dig deeply through roots just to incorporate lime. If the lab says liming is needed, a thin, even surface application may be more practical, but surface lime moves down slowly and may take much longer to affect the full root zone. Use a rate intended for that application and crop, and avoid repeated layers of lime under mulch. Where correction is urgent or the plants are valuable, get the lab or Extension office to advise on whether surface treatment is suitable.
Lawns are their own sampling and application zone. Their recommended sample depth and target can differ from a tilled vegetable bed, and an even surface treatment around turf is usually safer than digging into established grass. Keep lime away from acid-loving shrubs that share the lawn edge, and follow a turf-specific report rather than a vegetable-bed rate. NC State Extension notes that liming established lawns may be surface-applied, while incorporating lime before lawn establishment is more effective.
When to retest
Lime does not dissolve and redistribute through the garden overnight. Its response depends on particle size, how thoroughly it contacts the soil, moisture, temperature, and buffering capacity; surface application around established plants can take years to affect soil below the surface. A finer, incorporated product can begin reacting sooner, but you still cannot judge the final pH by looking at the granules or by retesting the next day.
Follow the testing laboratory’s timing for a follow-up sample. Avoid adding a second full dose simply because the plants have not changed color within a week: the original lime may still be reacting, and yellowing can have another cause. After enough time has passed, take a fresh sample from the same area and depth and compare the new result with the original report. If the pH has moved but not reached the crop target, use the new recommendation to decide whether a smaller follow-up application is appropriate.
Avoid mistakes that push pH too far
The most common mistake is treating 7 as the only healthy pH. Neutral is a chemistry reference point, not a universal gardening target; blueberries and other acid-loving plants may need soil that remains well below 7, while different vegetable crops and regional lab methods can call for different ranges. Raising a bed above its target can reduce availability of micronutrients such as iron and manganese, leaving plants chlorotic even when those nutrients are present.
Do not lime by habit every fall, follow a neighbor’s rate, or assume a lawn and vegetable bed need the same treatment. A pH test without a lime requirement is not enough to calculate a dose, and a fertilizer label is not a soil test. If you have a high pH, adding more lime will make the issue worse; if your plant is naturally adapted to acidic soil, growing it in the soil you have may be better than trying to change a large area.
Avoid stacking several amendments at once. Lime, ash, compost, manure, and fertilizer each change the soil in different ways, and adding them all before the next test makes it difficult to tell what the bed needs. If a report calls for lime and a separate fertilizer, follow the lab’s sequence and product labels; do not combine products unless their directions allow it. Record the area, material, rate, date, and crop so the next sample can be interpreted in context.
Keep a simple soil record with the lab report and the exact product used. If a later test shows an unexpectedly high pH, pause liming and ask the lab for advice before trying to force the number back down. Correcting over-limed soil can be slow, and improvised acids or extra fertilizer can create a second imbalance. The goal is not a perfect number on a meter but a root zone that fits the plants you intend to grow.
Conclusion
To raise soil pH safely, first confirm that the crop would benefit from a higher pH. Send a representative sample to a soil-testing lab, use its crop-specific lime recommendation, choose calcitic or dolomitic limestone according to the report, and calculate the product amount for the measured bed. Spread it evenly at the right depth, give it time, and retest before applying more.
Skip lime when the pH already suits the plant, and do not use a generic dose, kitchen shortcut, or symptom alone to make the decision. A gradual, measured correction is more dependable than trying to make soil neutral in one application.