Are Coffee Grounds Good for Tomato Plants?
Are coffee grounds good for tomato plants? Learn what fresh, spent, and composted grounds do, why nitrogen gets tied up, and what to use instead.
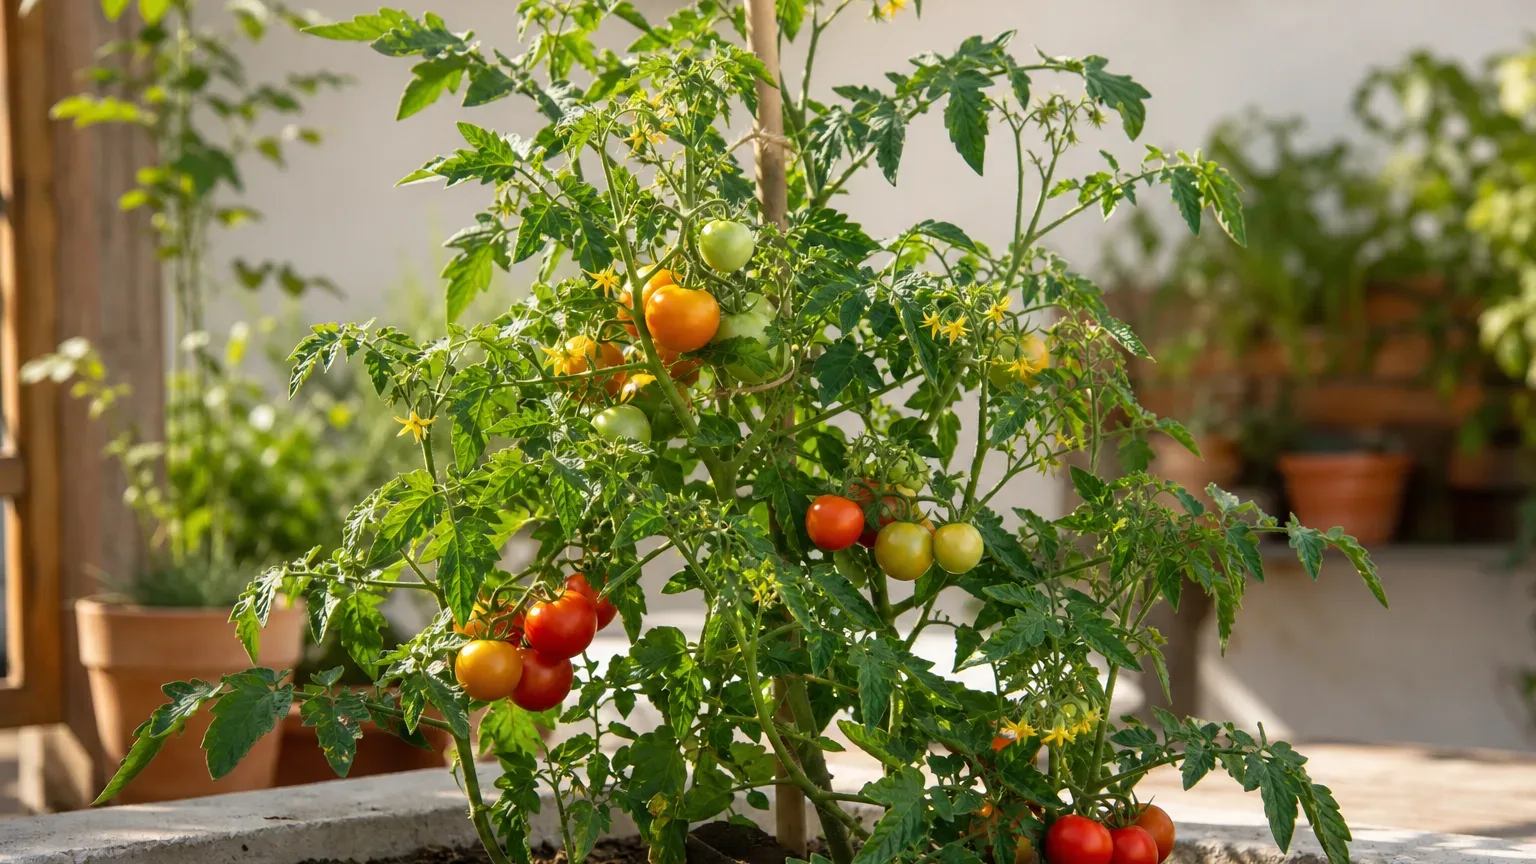
If you are holding a bowl of used coffee grounds beside a tomato plant, the safest answer is simple: do not use the grounds as a stand-alone fertilizer or a thick mulch. Put them in a balanced compost pile instead, or use a very small amount only in an established bed after you have considered drainage, soil texture, and the plant’s growth stage.
That answer sounds less exciting than “coffee is the secret to bigger tomatoes,” but it is more useful. Coffee grounds contain organic matter and nutrients, including nitrogen, potassium, and phosphorus, yet those nutrients are not immediately available in a form that can replace tomato fertilizer. The material also contains residual caffeine and fine particles that can temporarily interfere with roots, seedlings, water movement, or nitrogen availability when applied heavily. Washington State University Extension and the Royal Horticultural Society both point toward moderation and composting rather than a daily ring of grounds around a crop.
The Short Answer: Compost Them, Don’t Feed Them by Hand
Composted coffee grounds can contribute to better soil; raw grounds are not a reliable tomato fertilizer. Composting gives bacteria, fungi, and other decomposers time to break down the grounds, dilute their more active compounds, and incorporate their nutrients into a stable mixture with leaves and other organic materials. Finished compost then acts primarily as a soil conditioner and modest nutrient source, not as a precise replacement for a crop fertilizer.
The distinction matters because “coffee grounds” can describe three very different inputs. A scoop of dry grounds straight from a bag is not the same as a thin scattering of brewed residue, and neither is the same as dark, crumbly compost in which the grounds are no longer recognizable. Treating those materials as interchangeable is the source of most bad tomato advice.
What Kind of Coffee Grounds Are You Holding?
Fresh, Spent, and Composted Are Not the Same
Fresh or unbrewed grounds are unused coffee grounds. They retain more of the compounds that brewing would extract, including more caffeine and soluble organic compounds, and they have not been softened by a composting cycle. Keep them away from tomato roots and especially away from germinating tomato seeds; concentrated, unbrewed material is the riskiest version to spread directly in a bed.
Spent or brewed grounds are the damp residue left after coffee is made. Brewing removes much of the beverage’s soluble acidity and caffeine, so spent grounds are generally less aggressive than fresh ones, but “less aggressive” does not mean inert. They are still a fine, un-decomposed organic material that can form a crust, support a burst of microbial activity, and carry some residual caffeine into the root zone.
Composted grounds have been mixed with a diverse set of carbon-rich and nitrogen-rich materials and allowed to decompose until the pile is stable. A finished compost should be dark and crumbly, smell earthy rather than sour or ammonia-like, and contain no hot pockets of active decomposition. If you can still identify a wet puck of coffee in the mixture, it is feedstock, not finished compost.
Here is the practical decision rule:
- Unused fresh grounds: do not spread them on tomato soil.
- Spent brewed grounds: compost them; if you use any directly, keep the amount small, mix it into an established bed, and never create a surface mat.
- Finished compost containing grounds: use it as a modest soil amendment or top-dress, while still feeding tomatoes according to a soil test and the fertilizer label.
The word “spent” therefore answers only the brewing question. It does not tell you that the grounds have decomposed, that their caffeine is gone, or that they contain a complete tomato nutrient profile.
What Coffee Grounds Actually Add to Soil
Coffee grounds are a nitrogen-containing organic material, not a bagged N-P-K product. Their nitrogen is tied up in proteins and other organic compounds, while the actual mineral content varies with the coffee, grind, brewing method, and moisture content. Washington State University Extension describes potassium as a common major mineral in spent grounds, with phosphorus, magnesium, calcium, and other minerals present in variable amounts.
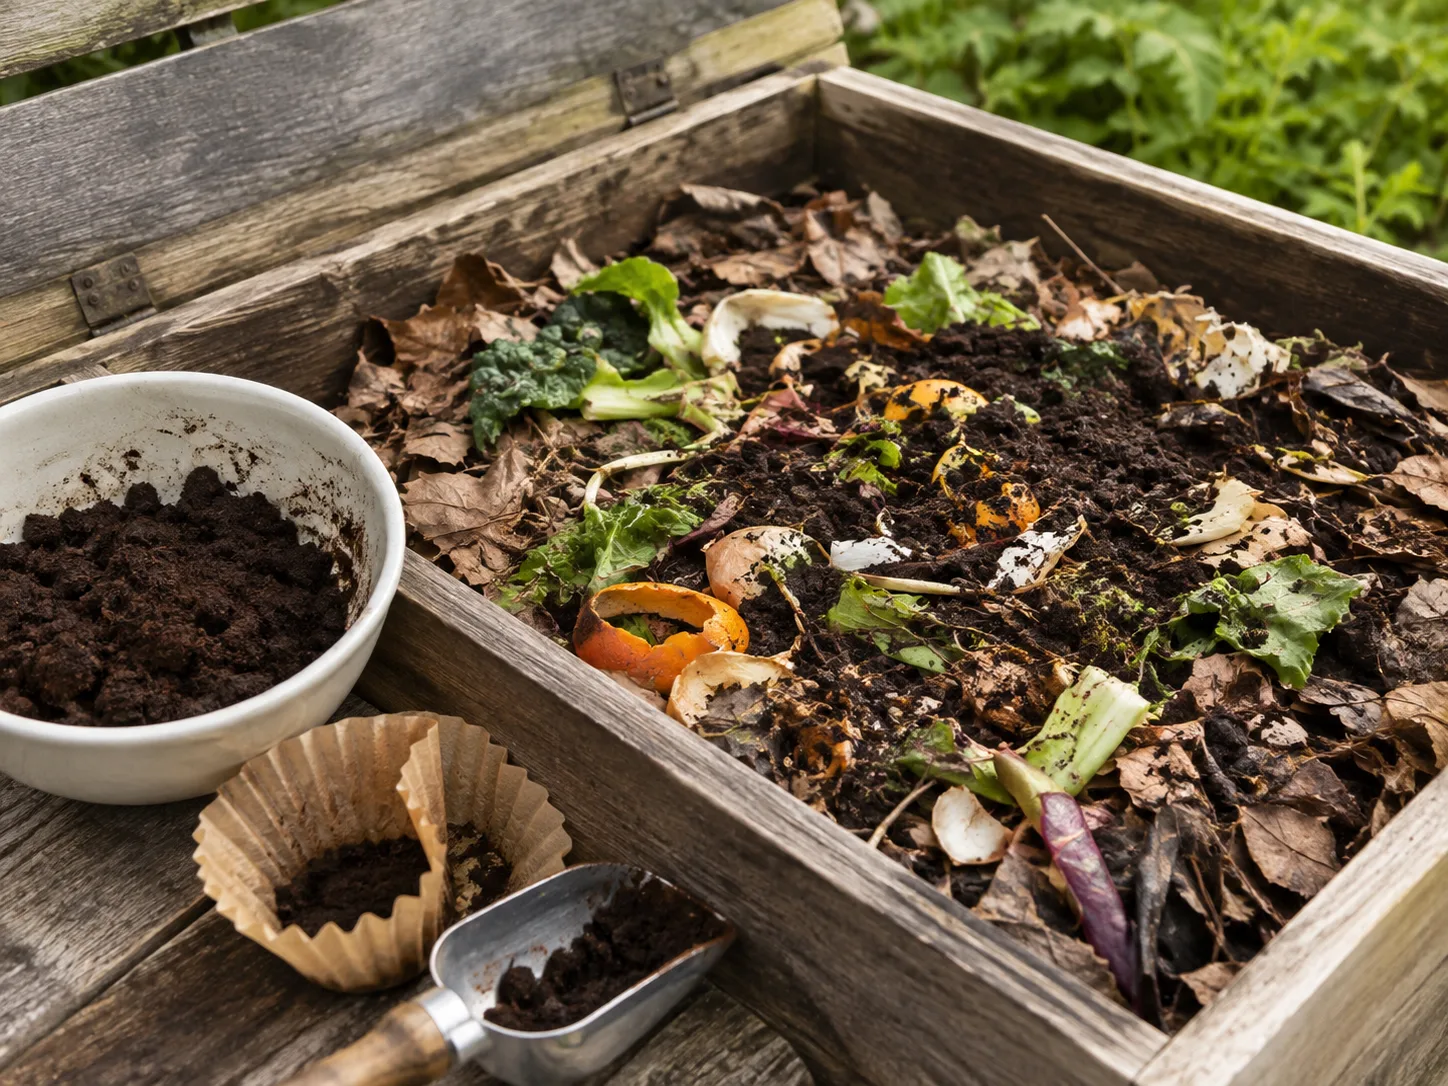
That composition makes grounds useful in a carbon-and-nitrogen system, especially a compost pile, but it does not make them a balanced meal for a fruiting tomato. Tomatoes need a range of nutrients in proportions that change as they grow from transplant to flowering and fruit fill. A scoop of grounds cannot tell you whether your soil is already high in phosphorus, short of potassium, low in calcium, or simply compacted and poorly drained.
The best benefit is often indirect. Once decomposed and blended into finished compost, coffee grounds add organic matter that can support aggregation, water-holding capacity, and biological activity. Those improvements may help a root zone function better, but they do not guarantee more fruit, prevent disease, repel pests, or correct a diagnosed nutrient deficiency by themselves.
This is why a tomato bed can respond well after compost is added even when the coffee grounds were not the “fertilizer.” The plant is benefiting from a more workable root environment and a diverse amendment, while the grounds are only one small ingredient in that larger system.
Why Nitrogen Can Become Temporarily Unavailable
Nitrogen immobilization sounds contradictory: coffee grounds contain nitrogen, so how could they make nitrogen less available? The answer is that total nitrogen in an organic material is not the same as soluble nitrogen that tomato roots can take up today.
When microbes begin decomposing raw grounds, they multiply and build their own cells. To do that, they use carbon for energy and may pull soluble nitrogen from the surrounding soil into microbial biomass. That nitrogen has not vanished; it has been temporarily immobilized, meaning it is held in living or decomposing organisms rather than immediately available to the tomato.
As decomposition progresses, microbial activity changes and some nutrients are released again. The timing depends on temperature, moisture, oxygen, the amount applied, the rest of the soil, and how thoroughly the grounds are mixed with other organic materials. A light scattering in a large, biologically active bed may have little visible effect, while a thick wet layer in a container or around a small transplant creates a much more concentrated interaction.
This temporary tie-up is one reason a tomato can look stalled after a gardener adds a large amount of raw grounds. Pale new growth, slow expansion, or a plant that stays small does not prove nitrogen immobilization—the symptoms overlap with root damage, cold soil, drought, waterlogging, and pests—but the grounds are a useful suspect if the timing lines up.
Composting changes the timing. Decomposers do most of their intense work before the finished compost reaches the tomato bed, so the amendment is less likely to trigger a fresh microbial scramble for soil nitrogen at the plant’s roots. It still should not be described as a complete fertilizer; it is simply a safer, more stable way to recycle the material.
The pH Myth: Coffee Grounds Won’t Set Your Tomato Bed’s Acidity
Tomatoes generally prefer a slightly acidic soil, often around pH 6.0 to 6.8, but coffee grounds are not a dependable way to move a garden bed into that range. The idea comes from the acidity of brewed coffee, yet much of that water-soluble acidity has already moved into the cup by the time the grounds reach the compost bucket.
The measured pH of spent grounds and ground compost is variable. Washington State University Extension notes that studies have found decomposing coffee-ground material from mildly acidic to somewhat alkaline, with pH changing as decomposition proceeds. Any local effect is also limited to the immediate material around the grounds; a handful cannot reliably reset the pH of an entire raised bed.
That makes two common claims misleading:
- “Coffee grounds will acidify my tomato soil.” Not predictably. They may have a minor, temporary, or localized effect, but you need a soil test to know your bed’s actual pH.
- “Coffee grounds are neutral, so they can never affect pH.” Also too absolute. Fresh or partially decomposed material can behave differently from spent grounds, and repeated heavy applications can change the chemistry near the surface even if the whole bed remains stable.
If a test shows alkaline soil, use a labeled soil amendment such as elemental sulfur only at the recommended rate and with realistic expectations about how long it takes. If pH is already suitable, adding an acidifier “just in case” can create a new problem. The University of Minnesota Extension likewise recommends testing first and treating a confirmed pH problem with the appropriate amendment, not a kitchen byproduct.
Caffeine, Salts, and Other Reasons for Restraint
Brewing reduces caffeine, but it does not guarantee that every trace is gone. The BBC Gardeners’ World guidance notes that residual caffeine can restrict the growth of certain plants, including tomatoes, and may inhibit seed germination. The effect depends on concentration, plant species, temperature, moisture, and the rest of the soil, so the sensible response is to avoid concentrated exposure rather than claim that one spoonful will kill every tomato.
Fresh grounds deserve the most caution because they have not been rinsed by brewing. Spent grounds are a lower-exposure material, but a thick application around a young plant still puts a concentrated, damp layer in the exact place where roots and soil microbes interact. Do not use fresh grounds in seed-starting mix, in a transplant hole, or pressed against a stem.
Salt is a more nuanced concern. Plain spent coffee grounds are not the same as a high-salt fertilizer, and a small household amount is unlikely to create a salt crisis in an open, well-drained bed. However, repeated additions can contribute minerals to a small root volume, especially in containers where salts do not wash away easily, and the bigger risk often comes from what was mixed with the coffee.
Keep grounds from sweetened, flavored, or dairy-based drinks out of the tomato bed. Syrups, sugar, milk, and flavor powders can attract insects, create odors, and upset a compost or container system; they are not plant nutrients. Even plain grounds should be used conservatively if the tomato is already receiving soluble fertilizer, manure-based compost, or other mineral amendments.
When Direct Application Is Most Likely to Backfire
Direct application is most likely to fail when the grounds are fresh, thick, repeated, close to the stem, or used in a small container. Seedlings and recently transplanted tomatoes have a limited root system and less capacity to buffer a concentrated material. They are also more sensitive to a crust that changes how water and oxygen reach the root zone.
An established tomato in a large outdoor bed is more forgiving, but “more forgiving” is not a recommendation to dump the contents of a café bucket under one plant. If you choose to trial a small amount of spent grounds in an established bed, scatter it thinly over a wide area, keep it away from the stem, and mix or cover it with other organic material so the surface remains open to water and air.
The Fine-Particle Mulch Problem
Coffee grounds have a texture that seems mulch-like when wet, but the same fine particles can pack into a dense layer as they dry. BBC Gardeners’ World Magazine warns that quantities applied to the soil surface can clog together and interfere with water and air reaching roots, while the RHS advises against thick layers that form a barrier.
That failure can look like either drought or overwatering. Water may run off the crust instead of soaking in, yet the material underneath can stay wet and oxygen-poor. A tomato may wilt in a dry-looking bed, or its roots may decline in a saturated pocket even though the gardener keeps watering.
Do not use coffee grounds as a weed barrier around tomatoes. A layer thick enough to suppress small weeds is also thick enough to interfere with the crop’s root zone. Use coarse straw, clean chopped leaves, or wood chips for mulch, leaving a small gap around the stem so the material does not stay pressed against wet plant tissue.
The Safest Use: Add Grounds to Finished Compost
Composting is the best default because it turns a concentrated, fine-textured residue into part of a diverse soil amendment. The pile provides carbon-rich browns, oxygen, moisture, and a larger microbial community, so breakdown happens before the material is placed beside tomato roots.
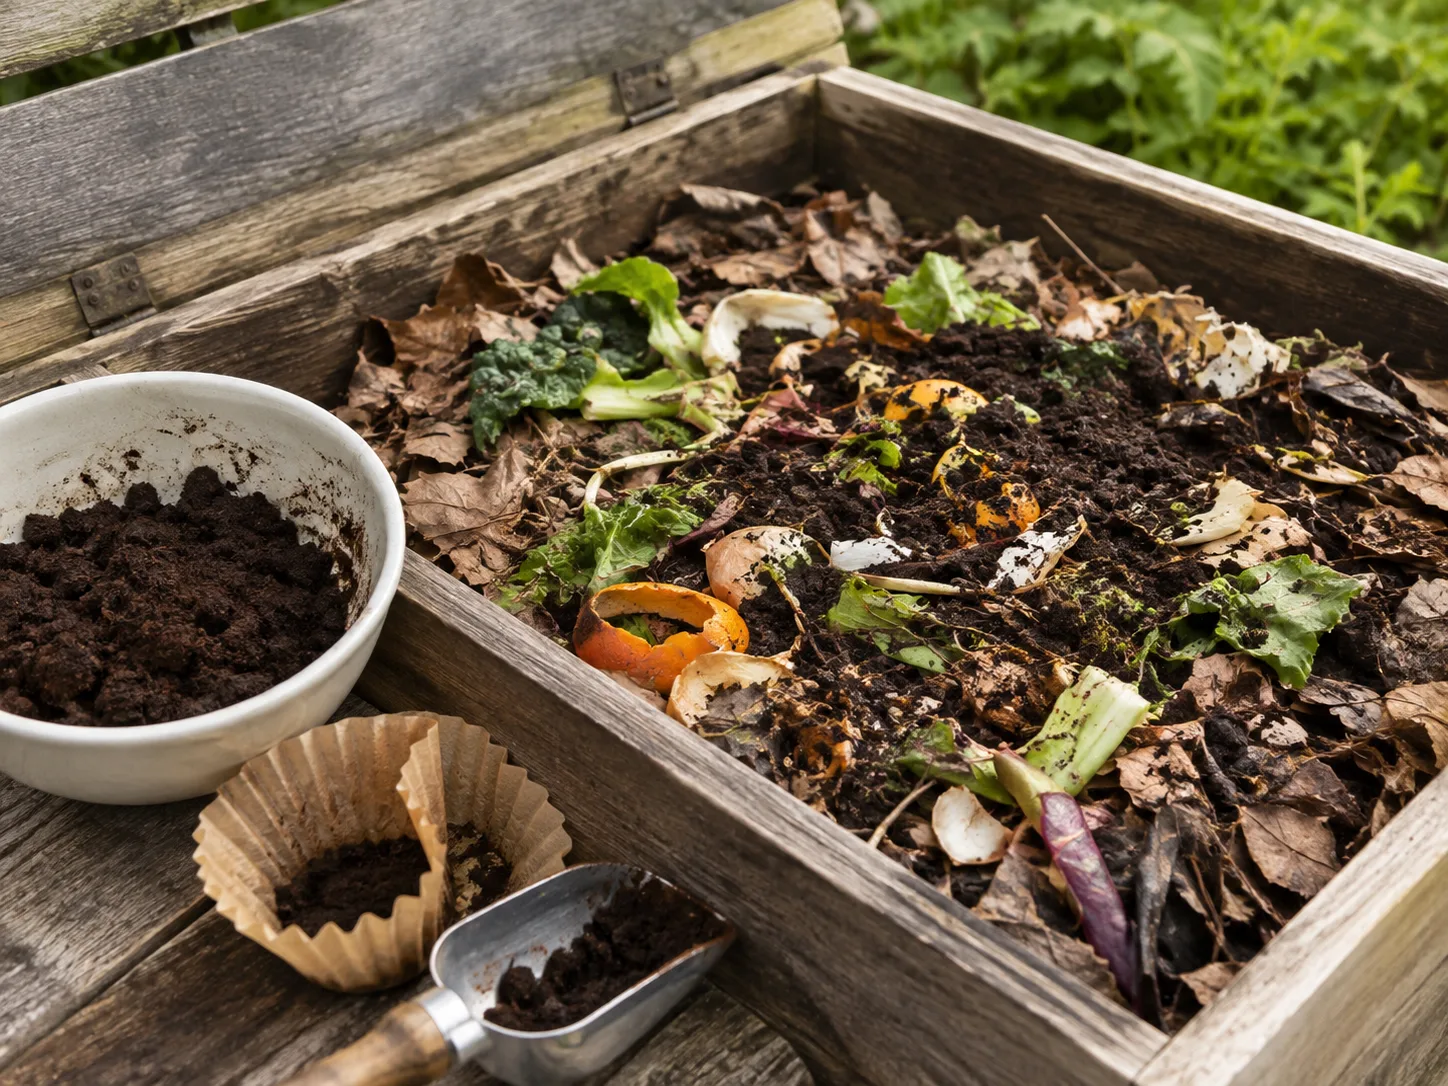
How to Build a Balanced Coffee-Grounds Compost
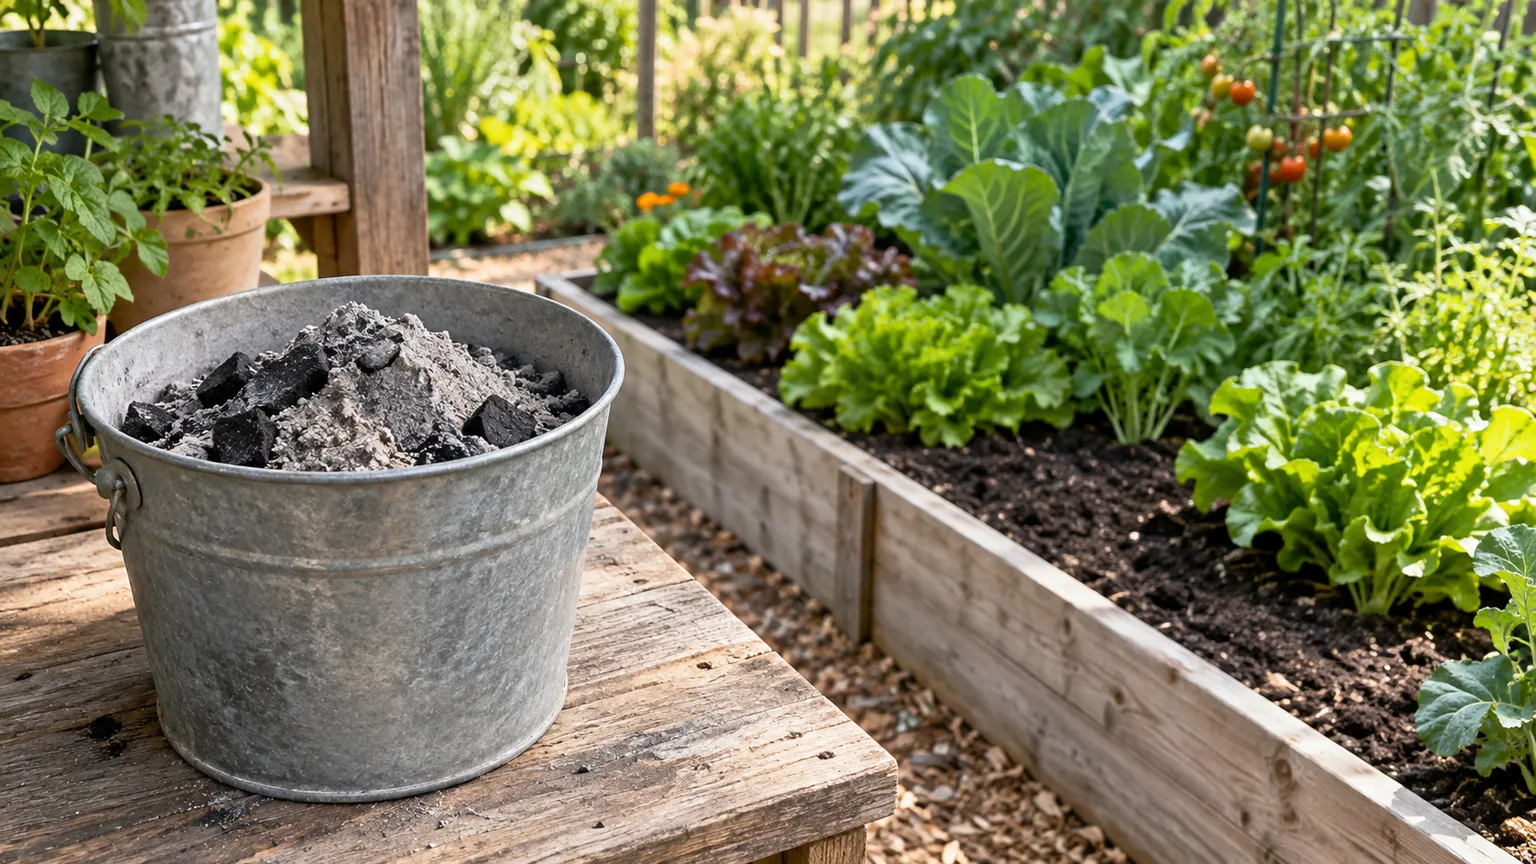
Treat spent grounds as a green ingredient in composting terms. They contribute nitrogen and moisture, while dry leaves, shredded plain cardboard, straw, and small woody material supply carbon and structure. The Epic Gardening guide to coffee-ground composting also emphasizes mixing the fine grounds with browns instead of allowing them to form a wet, compacted mass.
Use this sequence for a home pile or tumbler:
- Cool the grounds first. Do not add a hot filter basket or hot slurry to a small pile; let it cool so you do not create a damaging hot spot or shock the decomposers at the surface.
- Spread them through the pile. Break up clumps and mix them with dry leaves, shredded paper, straw, or other coarse browns rather than dropping one dense layer into the center.
- Keep the total modest. Washington State University Extension recommends no more than about 20 percent coffee grounds by volume in a compost pile. That ceiling is easy to remember and leaves room for the diversity that makes compost stable.
- Manage moisture and oxygen. The pile should feel damp like a wrung-out sponge, not drip when squeezed. Turn or aerate it when it becomes slimy, sour-smelling, or visibly compacted.
- Wait for maturity. Use the compost when it is dark, crumbly, earthy-smelling, and close to ambient temperature. Large recognizable coffee clumps, sour odors, and heat are signs to keep composting.
Paper coffee filters can usually go into a compost pile when they are plain paper and free of synthetic coatings, but remove plastic pods, foil, staples, and drink additives. If you collect grounds from a café, ask what went into the bin; clean spent grounds are easier to manage than a mixture of milk, syrups, and disposable packaging.
Compost is not a magic detoxifier. It reduces the risks associated with concentrated fresh material, but the finished product is still an amendment that should be used in moderation. If the compost itself is salty, immature, contaminated with herbicide-treated material, or packed with one ingredient, do not assume the tomato plant will prefer it simply because the label says “organic.”
How to Use Finished Compost Around Tomatoes
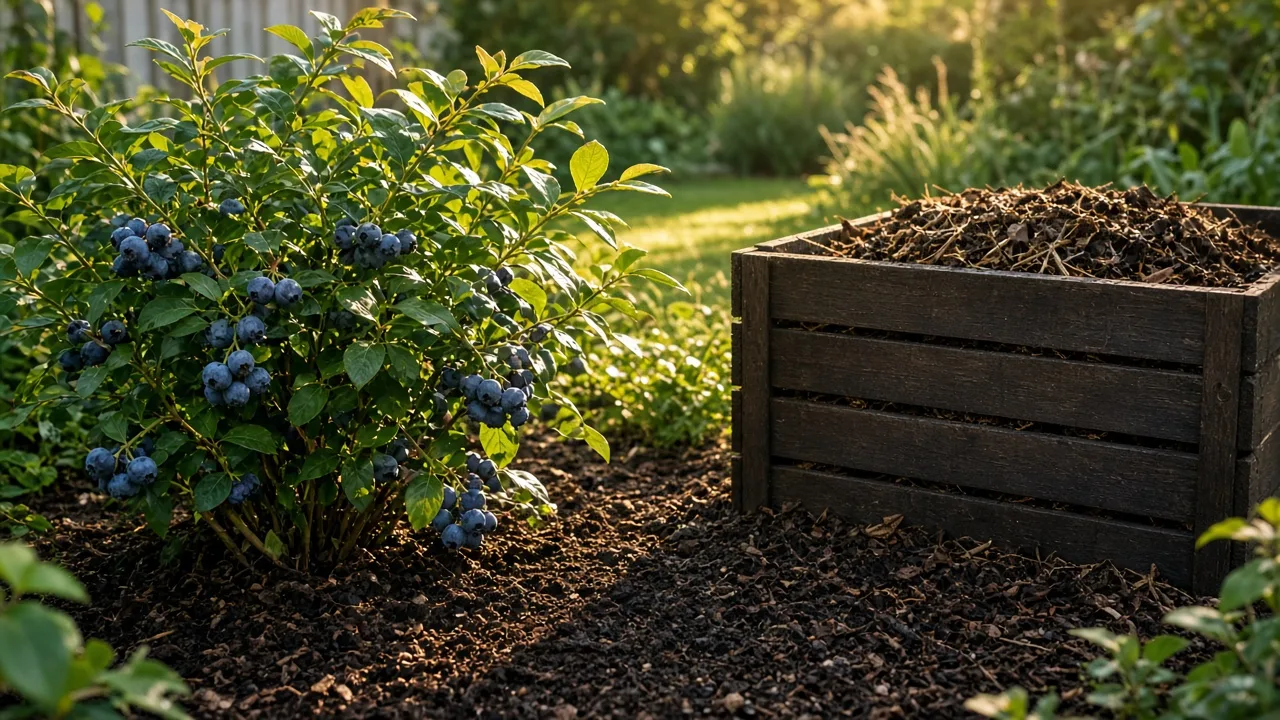
Use mature compost to improve the bed before planting or as a light top-dress during the season. Work it into the upper root-zone soil before transplanting, or spread a shallow layer around—not against—the plant and let rainfall, irrigation, and soil organisms move it downward. The goal is to improve the whole root environment, not to bury a pocket of concentrated organic material beside the stem.
For a container tomato, be even more conservative. Container media already has a limited volume, and adding a large amount of fine compost can reduce air space or hold too much water. Use a purpose-made container mix as the structural base, add only a modest amount of mature compost if the recipe allows it, and make sure the pot has an open drainage hole.
Finished compost can support moisture retention and biological activity, but it does not replace the basics of tomato care. A plant still needs adequate light, even moisture, airflow, a suitable root volume, and a fertilizer plan that matches the existing soil. If a tomato is struggling, diagnose those conditions before assuming the answer is another amendment.
What to Use Instead for Tomato Nutrition and Soil Building
The right alternative depends on the job you are trying to accomplish. Coffee grounds are often asked to perform three separate jobs—fertilize the plant, improve the soil, and mulch the surface—but no single kitchen residue handles all three well.
Feed the Crop According to a Soil Test
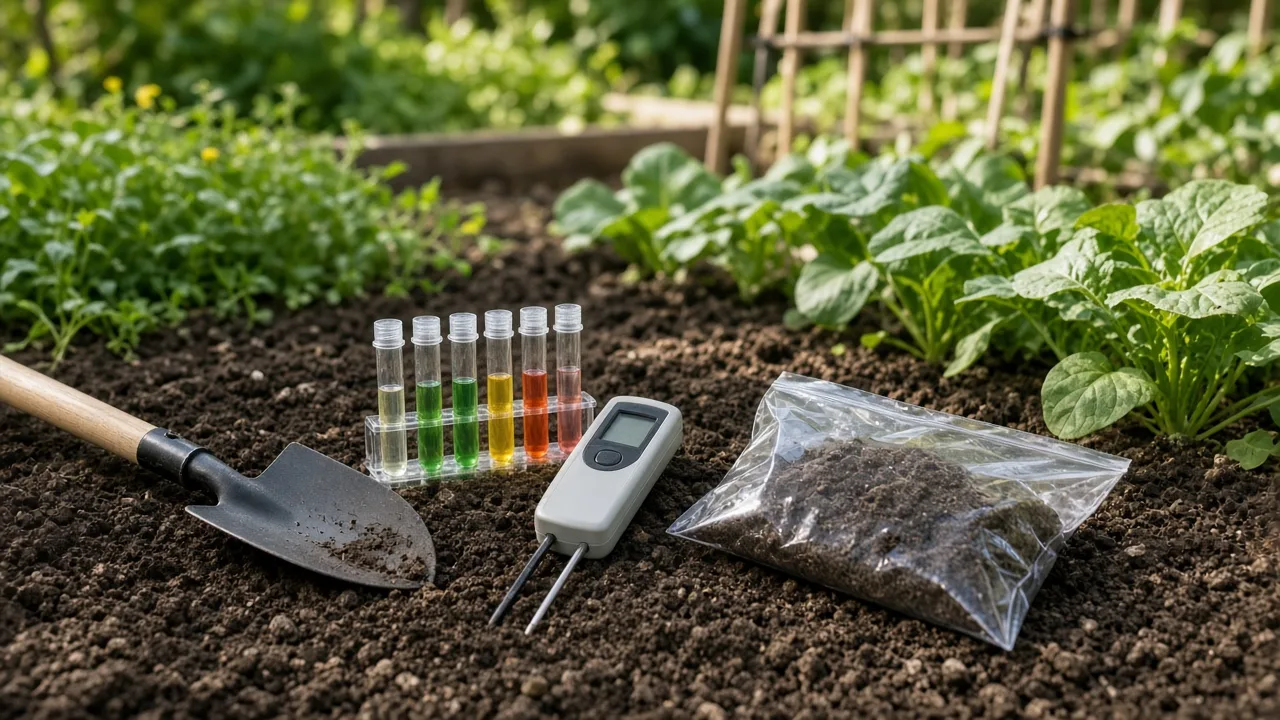
If your goal is nutrition, start with a soil test and use a tomato or vegetable fertilizer that supplies the nutrients actually needed. University of Missouri Extension identifies soil testing as the first step in managing tomato fertility and cautions that applying fertilizer without knowing existing nutrient levels can create imbalances and abundant foliage without much fruit.
Avoid the reflex to choose the highest nitrogen product. Nitrogen is important for leaves and stems, but excess nitrogen can favor lush vegetative growth at the expense of fruiting. Missouri Extension also notes that phosphorus and potassium nutrition can influence tomato sugar, acid, color, and lycopene, which is another reason a random scoop of grounds is a poor substitute for a measured fertility plan.
If your goal is soil structure, use finished compost, leaf mold, or another verified mature amendment. These materials are more predictable when they are well decomposed and are used to improve aggregation and water behavior across the bed, not to create a nutrient hotspot at one tomato’s stem.
If your goal is moisture control and weed suppression, use a coarse organic mulch. Straw, clean chopped leaves, and wood chips leave larger air spaces than a blanket of fine grounds and can reduce soil splash onto lower leaves. Keep mulch several inches from the stem, and do not mix a deep woody layer into the root zone where it will decompose in contact with roots.
If your goal is recycling kitchen waste, compost it rather than burying it beside the tomato. Vegetable scraps, coffee grounds, and plain paper can be valuable feedstocks in a managed pile, but raw scraps vary in moisture and decomposition speed, attract animals, and may create a soggy anaerobic pocket. Composting is the soil-building step; the scraps themselves are not a ready-made fertilizer for a living tomato.
If You Already Added Grounds, Here’s the Recovery Plan
Do not panic over a small scattering of spent grounds. The best response depends on how much you added, whether it is fresh or brewed, whether the plant is a seedling, and whether the soil still drains and wets normally.
For a thin amount in an established outdoor bed, rake it into the top layer or cover it with a small amount of finished compost and coarse mulch. Keep the stem clear, water slowly enough to test infiltration, and stop adding more until the material has disappeared into the soil system.
For a thick crust, gently remove the surface layer from the plant’s immediate root zone without digging aggressively through the roots. Put the removed material into compost with plenty of browns, then replace it with clean soil or mature compost only if the bed level has dropped and the roots are exposed.
For a container, scrape away as much of the compacted layer as you can without tearing roots, then water once thoroughly so excess soluble material can drain from the pot. Do not leave the container sitting in a saucer of runoff, and do not add fertilizer until you can see normal drainage and new growth; feeding a stressed root system can compound salt injury.
If the plant is a seedling or was recently transplanted into fresh grounds, remove the grounds from the surface and surrounding mix as carefully as possible. Then check the soil moisture, light, temperature, and root condition before diagnosing nitrogen deficiency; a plant that stops growing after a grounds application may be reacting to several stresses at once.
Watch new growth over the next two to three weeks rather than expecting damaged leaves to turn green again. If leaves continue to yellow, wilt, scorch, or develop spots, stop all unverified amendments and use a soil test or local extension diagnostic service instead of adding another home remedy.
Coffee Grounds, Eggshells, and Other Popular Add-Ons
Coffee grounds and eggshells are often bundled together as a “tomato booster,” but combining two slow, uncertain inputs does not create a complete fertilizer. Eggshells break down slowly, and the calcium in a shell does not automatically travel to a tomato fruit or prevent blossom-end rot; water movement and root uptake matter more than placing shells on the soil surface.
The same logic applies to banana peels, Epsom salt, and raw vegetable scraps. A material can contain a nutrient without being the right dose, chemical form, or timing for the plant. Epsom salt in particular should not be used to correct a magnesium problem without evidence, because adding salts to a soil that already has enough magnesium can increase imbalance rather than improve fruit.
Coffee grounds also do not replace disease management or pest scouting. Research on decomposing coffee-ground microbes and concentrated caffeine may be interesting, but it does not turn a layer of household grounds into a dependable treatment for blight, wilt, aphids, hornworms, or blossom-end rot. Use sanitation, resistant varieties, airflow, hand removal, labeled controls, and diagnosis appropriate to the actual problem.
Conclusion
Coffee grounds are most useful to tomato gardeners as a compost ingredient, not as a miracle fertilizer. Fresh grounds are the most concentrated and should stay away from tomato roots and seeds; spent grounds are gentler but still raw, caffeinated in small amounts, capable of tying up nitrogen temporarily, and prone to forming a water-shedding crust; composted grounds are the safest form because decomposition happens before they reach the plant.
Skip the pH shortcut and test the soil instead. Build fertility with finished compost and a soil-test-informed tomato fertilizer, protect moisture with coarse mulch, and keep kitchen scraps in a managed compost system rather than burying them at the stem. If you already spread grounds, remove thick layers, restore drainage, pause extra amendments, and watch the next flush of growth. That approach gives tomatoes what they actually need: a stable root zone, measured nutrition, and fewer experiments competing for the same space.