Understanding Clay Soil and How to Improve It
How to improve clay soil: identify compaction, choose compost and mulch, work at the right moisture, and know when a raised bed is the better fix.
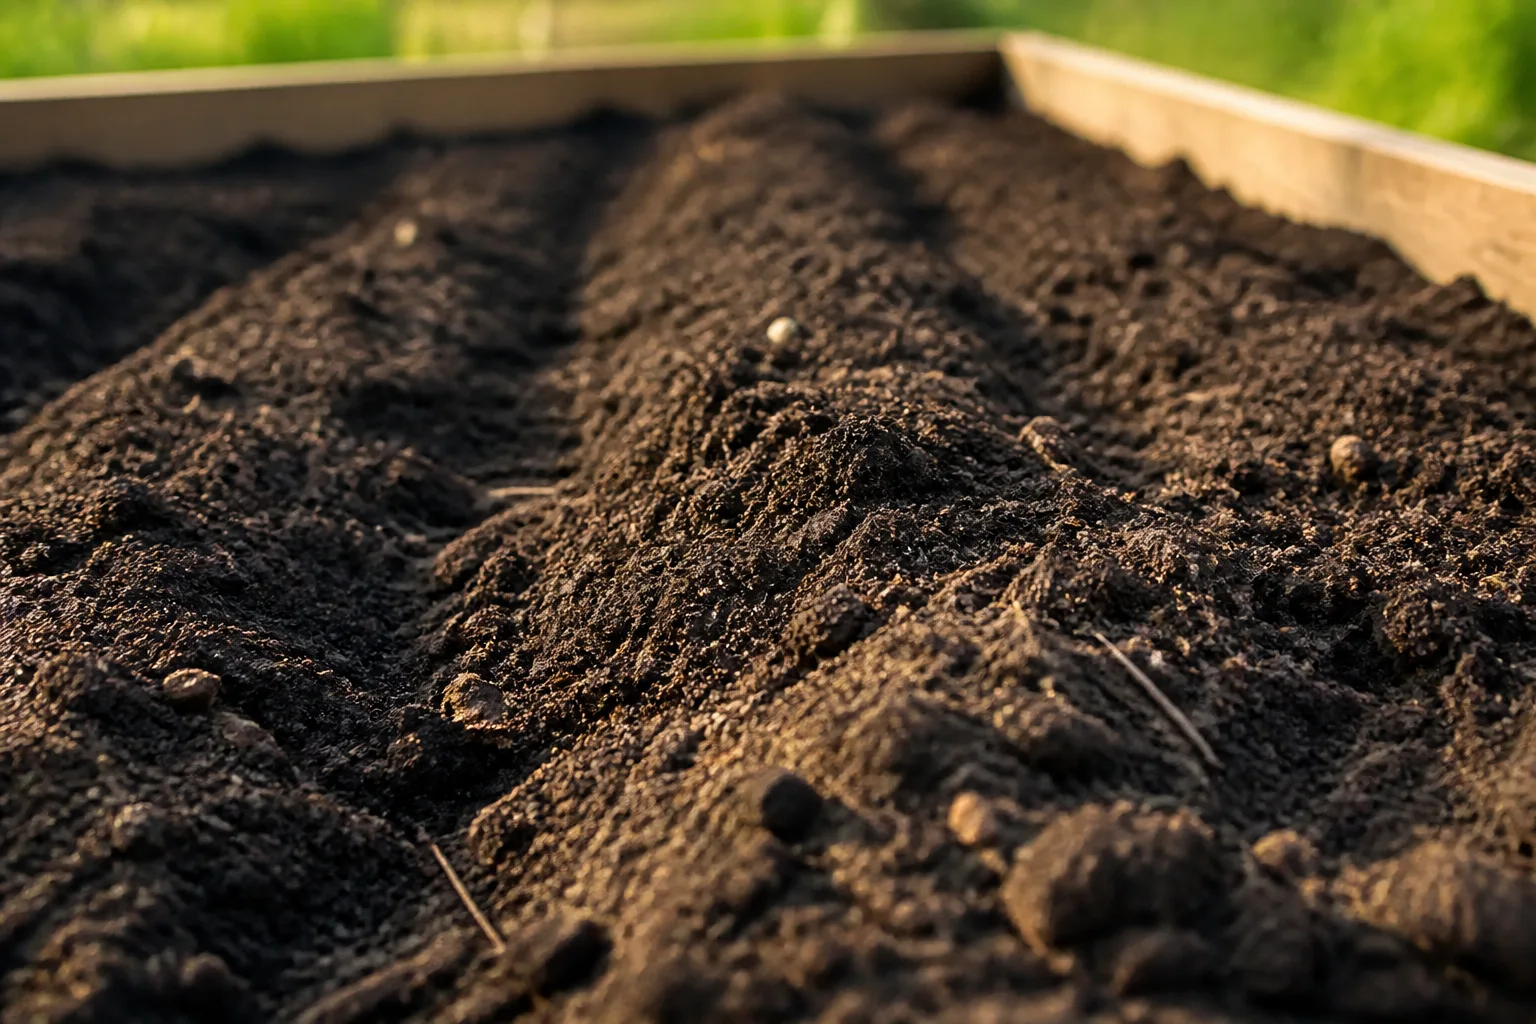
Clay soil is not dead soil; it is soil with an unusually high proportion of very fine mineral particles. Those particles create a huge surface area and tiny pore spaces, so clay can hold water and nutrients impressively well. The same structure becomes a problem when it is compacted, worked while wet, or asked to drain water that has nowhere else to go.
The goal is not to turn every garden into a bag of uniform loam. The practical goal is to create more stable aggregates and connected pore spaces in the root zone, protect those spaces from being crushed, and solve drainage problems that organic matter cannot solve by itself. Start with the diagnosis below, then choose the least disruptive fix that matches what your site is doing.
First, Confirm What Kind of Soil You Have
“Clay soil” can mean anything from a workable clay loam to dense, seasonally waterlogged heavy clay. A garden may also have different layers: imported topsoil over compacted subsoil, a sandy patch beside a clay pocket, or a bed that drains well until construction traffic seals the surface. That is why an observation is a starting point, not a complete diagnosis.
Soil texture describes the relative proportions of sand, silt, and clay. Soil structure describes how those particles join into aggregates and how water and air move between them. You can improve structure without changing the mineral texture of the whole property, and that is usually the more realistic gardening objective.
The Hand Test: Ball, Ribbon, and Surface Clues
Take a handful from the planting depth when the soil is moist but not saturated. Squeeze it into a ball. Clay-heavy soil usually holds together; a sandy soil falls apart quickly. Roll the ball into a short sausage or ribbon between your fingers. If it feels smooth rather than gritty and keeps its shape without cracking, clay is likely a significant part of the mix. The Royal Horticultural Society’s clay-soil guidance uses this ball-and-sausage approach and also notes that very heavy clay can develop a shiny surface when rubbed.
Look at the ground over a full season, not just on the day you dig. Puddles that linger after ordinary rain, sticky soil that coats a shovel, broad cracks during dry weather, hard clods after cultivation, and a crust that sheds water are useful clues. One clue alone is not proof: even a loamy soil can puddle if a downspout discharges beside the bed or if construction equipment compacted a lower layer.
Why a Lab Soil Test Still Matters
A squeeze test cannot tell you whether the soil needs lime, sulfur, fertilizer, or gypsum. Those products change chemistry, and adding them by habit can create a second problem. Send a representative sample to a local soil laboratory or extension service before making a large pH or nutrient correction; keep a separate sample for each area that grows differently.
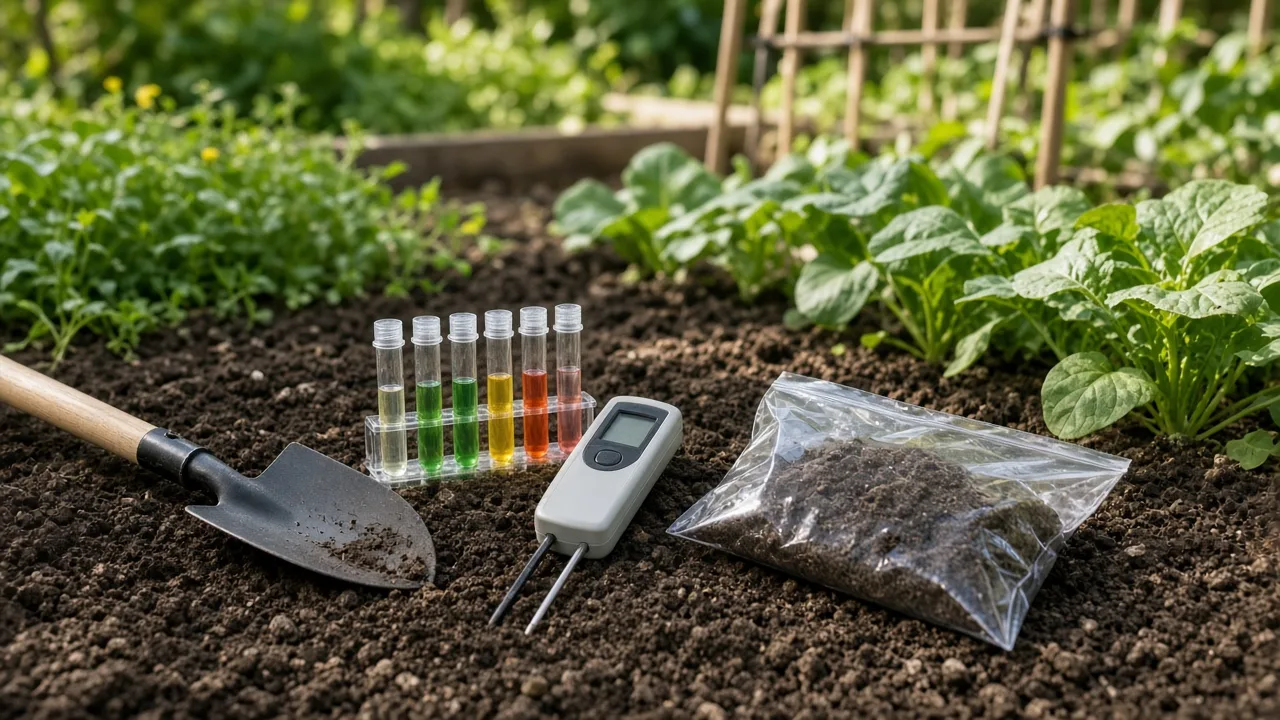
Test drainage separately. Dig a straight-sided hole about 12 inches deep, fill it with water, let it drain, then fill it again and observe how long the second filling takes. The N.C. Cooperative Extension drainage guidance treats a hole that remains slow to drain—especially beyond roughly 12 hours—as a sign that the site needs attention. This is a screening test, not an engineering report, but it tells you whether to focus on the soil surface, the root zone, or a larger drainage route.
What Clay Soil Does Well—and Where It Fails
Clay has real advantages. Its fine particles hold onto water longer than a sandy soil, retain many nutrients, and can support vigorous growth once the structure is open enough for roots to breathe. The RHS describes clay as potentially fertile and notes that it can be less vulnerable to drought than lighter soil. A clay bed is not automatically a poor bed; it is often a bed with a narrow window for safe work.
The weak points are timing and pore space. When clay is wet, footsteps and wheels squeeze out air and smear aggregates into a dense layer. When it dries, the same soil can set into clods or a hard crust. Roots then face a double bind: water may surround them after rain, while the surface becomes too hard for new roots and rainfall to enter once the bed dries.
The distinction matters because “add something to loosen it” is not a complete treatment. Compost can improve aggregation over time, mulch can protect the surface, and a raised bed can lift roots above a wet layer. None of those fixes will redirect water entering from a blocked gutter, remove a shallow water table, or repair a compacted driveway base beneath the garden.
The Best Time to Work a Clay Bed
Use the handful test before you use a shovel. Pick up soil from the depth you plan to disturb and squeeze it. If it forms a slick, shiny ribbon or sticks to your glove in a smear, wait. If it is dusty and baked into unbreakable chunks, heavy digging will also create unnecessary damage. The workable moment is when a clod breaks apart under gentle pressure instead of smearing or refusing to crumble.
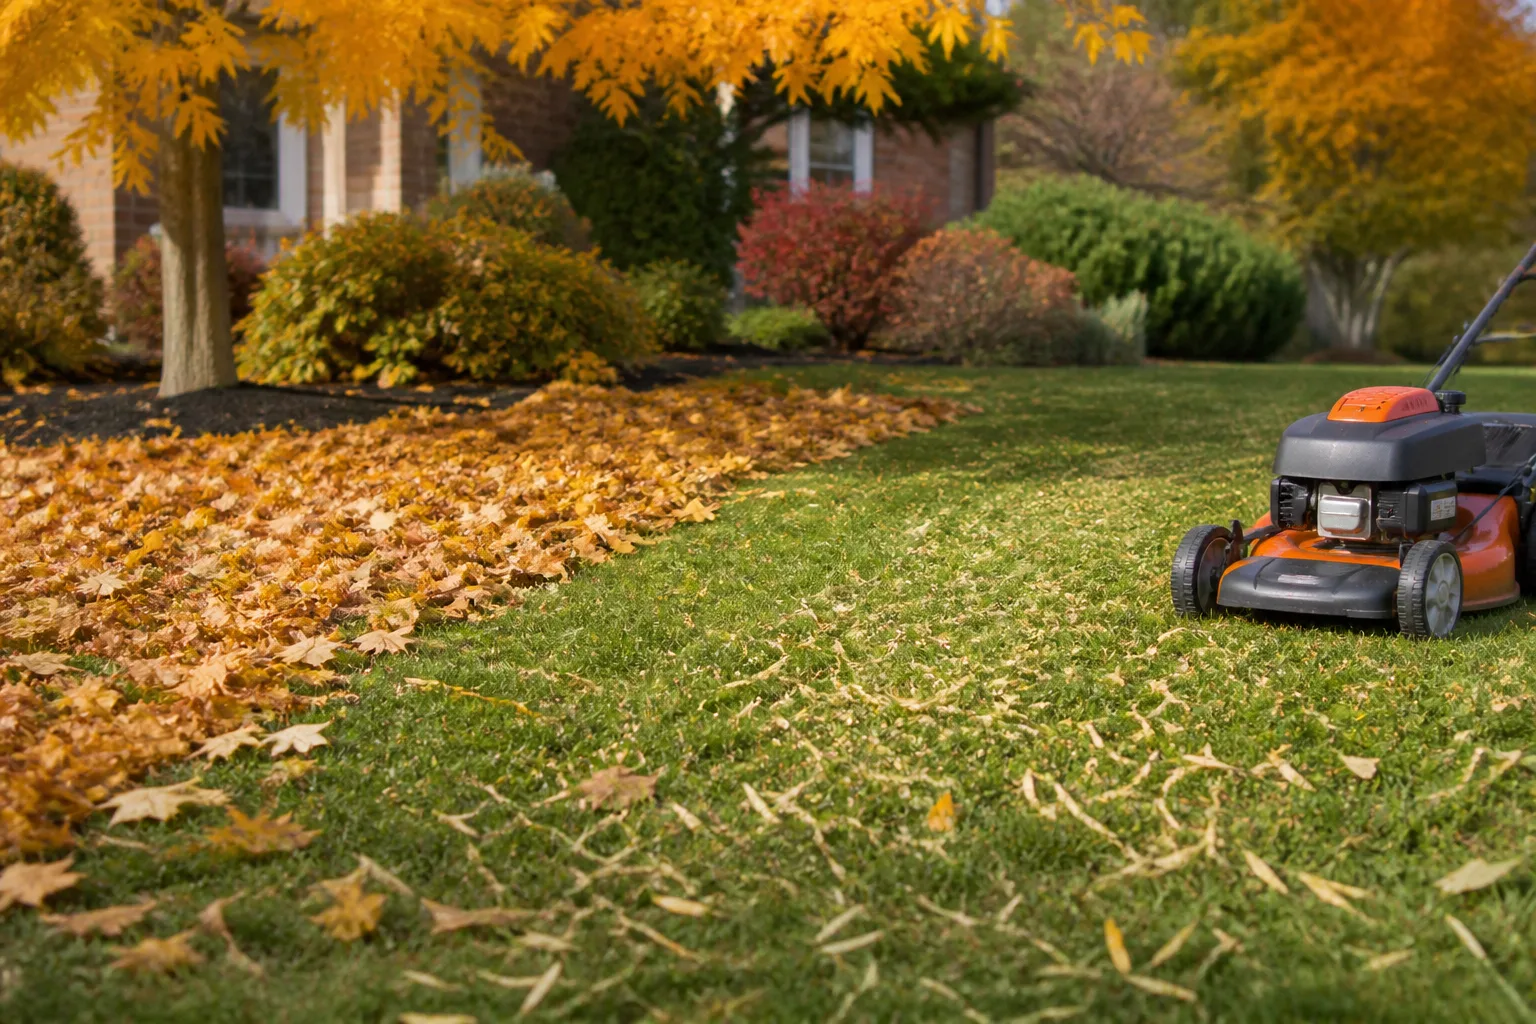
This window may be brief in spring. The BBC Gardeners’ World clay-soil guide recommends avoiding work on wet clay, sowing later or starting plants under cover when the ground is slow to warm, and using raised beds when early planting cannot wait. In many climates, a fall application gives compost and leaf material time to settle before spring, but avoid walking over the bed after prolonged rain.
If the bed is already planted, do less. Spread a suitable mulch on the surface, use paths or stepping stones, and make improvements between crops rather than digging through living roots. A small improvement repeated at the right time beats one dramatic renovation that leaves the soil denser than before.
A Practical Clay-Soil Improvement Plan
Treat improvement as a sequence. The order prevents you from burying a drainage problem under expensive material or undoing the benefit by walking across freshly loosened soil.
Protect the Surface Before You Add Anything
Cover bare soil with finished compost, shredded leaves, straw, or another appropriate organic mulch. The cover cushions the impact of rain, reduces crusting, moderates temperature, and adds carbon as it decomposes. Keep coarse mulch away from seed rows until seedlings can emerge, and leave a small air gap around woody stems and crowns.
Also create a way to reach the bed without standing in it. A narrow bed that can be reached from both sides, a permanent path, or a few stepping stones prevents the same compaction from returning. The N.C. Cooperative Extension recommends keeping soil covered, avoiding work when it is wet, and using cover crops or mulch to reduce erosion and build structure.
Add Mature Organic Matter Across the Whole Bed
For a bare in-ground bed, spread about 2 to 3 inches of mature compost or another well-finished organic amendment across the entire planting area. Mixing a little rich material into each hole creates an abrupt pocket: roots may stay in the improved pocket while water collects at its boundary. Improving the whole root zone produces a more gradual transition and a more predictable watering pattern.
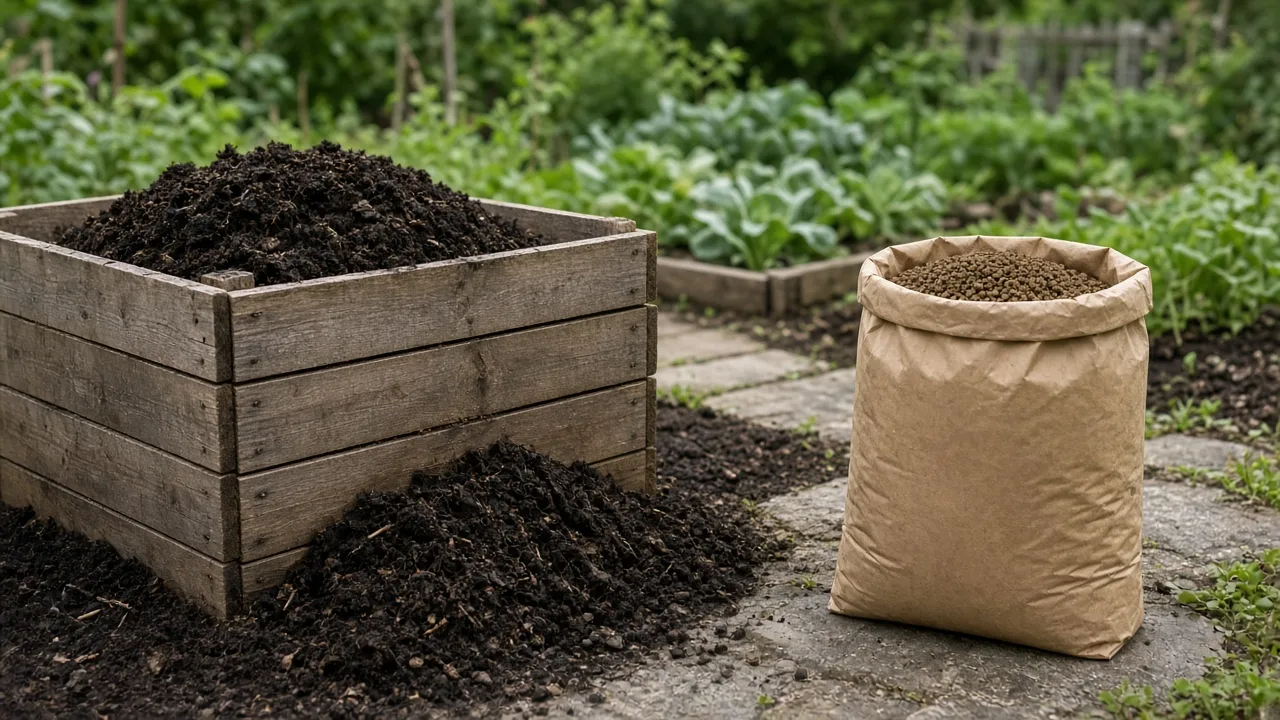
Choose material that is dark, earthy-smelling, and stable rather than hot, sour, or visibly decomposing. Mature compost is a stable humus made by microorganisms, not a fresh pile of kitchen scraps. Virginia Cooperative Extension’s expert-reviewed compost publication lists improved structure, lower compaction and crusting, better water infiltration, and easier cultivation among the benefits of mature compost.
Spread the layer with a rake, then incorporate it into the upper several inches only when the clay is workable. For a new bed, a single thorough loosening is reasonable. For an established bed, top-dress instead and let earthworms, roots, rainfall, and microbes move organic matter downward. You are building aggregates, not trying to pulverize every clod.
Incorporate It Without Making Compaction Worse
Do not rototill wet clay into a smooth paste. Repeated tilling can make the surface look loose for a few weeks while breaking down stable aggregates and leaving a compacted layer below. If you need to loosen a small bed, use a garden fork to open the soil with minimal turning, add the amendment, and then stay out of the bed.
For a rough volume estimate, multiply bed area in square feet by the amendment depth in feet, then divide by 27 to get cubic yards. A 100-square-foot bed needs about 0.31 cubic yard for a 1-inch layer, 0.62 cubic yard for 2 inches, or 0.93 cubic yard for 3 inches. Buy by volume when possible; a wet bulk load can weigh far more than the same volume of a drier material.
Do not bury a thick layer of fresh leaves, sawdust, or unfinished compost in a planted bed. High-carbon material can temporarily tie up available nitrogen as it decomposes, and unfinished material may shrink, heat, smell, or contain viable weed seeds. Shred leaves and let them compost, or use a thin surface layer where they can break down gradually.
Choose Amendments by Their Job
The best clay-soil amendment is usually the one that adds stable organic matter without creating a pH, salt, or maturity problem. Product labels can make every bag sound like a universal conditioner, but the soil test and the planting situation should decide what belongs in the bed.
Compost, Leaf Mold, Bark, and Aged Manure
Mature compost is the dependable first choice for most home beds because it adds organic matter and supports aggregation without pretending to be a complete fertilizer. Leaf mold is especially useful as a humus-rich surface amendment. It improves the feel and moisture behavior of soil but is not a concentrated nutrient source, so do not use it as a substitute for a fertilizer plan when a test shows a nutrient deficiency. The practical clay-soil recommendations in Epic Gardening’s horticulture guide likewise put aged organic matter and surface protection at the center of a multi-season plan.
Composted bark is a useful bulky amendment for perennial borders and woody plants. It adds durable carbon and physical structure, but it should be composted rather than fresh. The RHS specifically recommends bulky organic matter such as composted bark and organic mulches for clay, while noting that the material takes time to change how the soil behaves.
Aged manure can contribute organic matter and nutrients, but “aged” should mean well composted, not merely dry on the surface. Fresh or partly processed manure can release nutrients unpredictably, injure roots, introduce weed seeds, and carry pathogens. Virginia Cooperative Extension distinguishes stable compost from manure and explains that raw or partially processed manure is not a predictable soil amendment. For edible crops, use a finished, labeled product and follow local food-safety guidance.
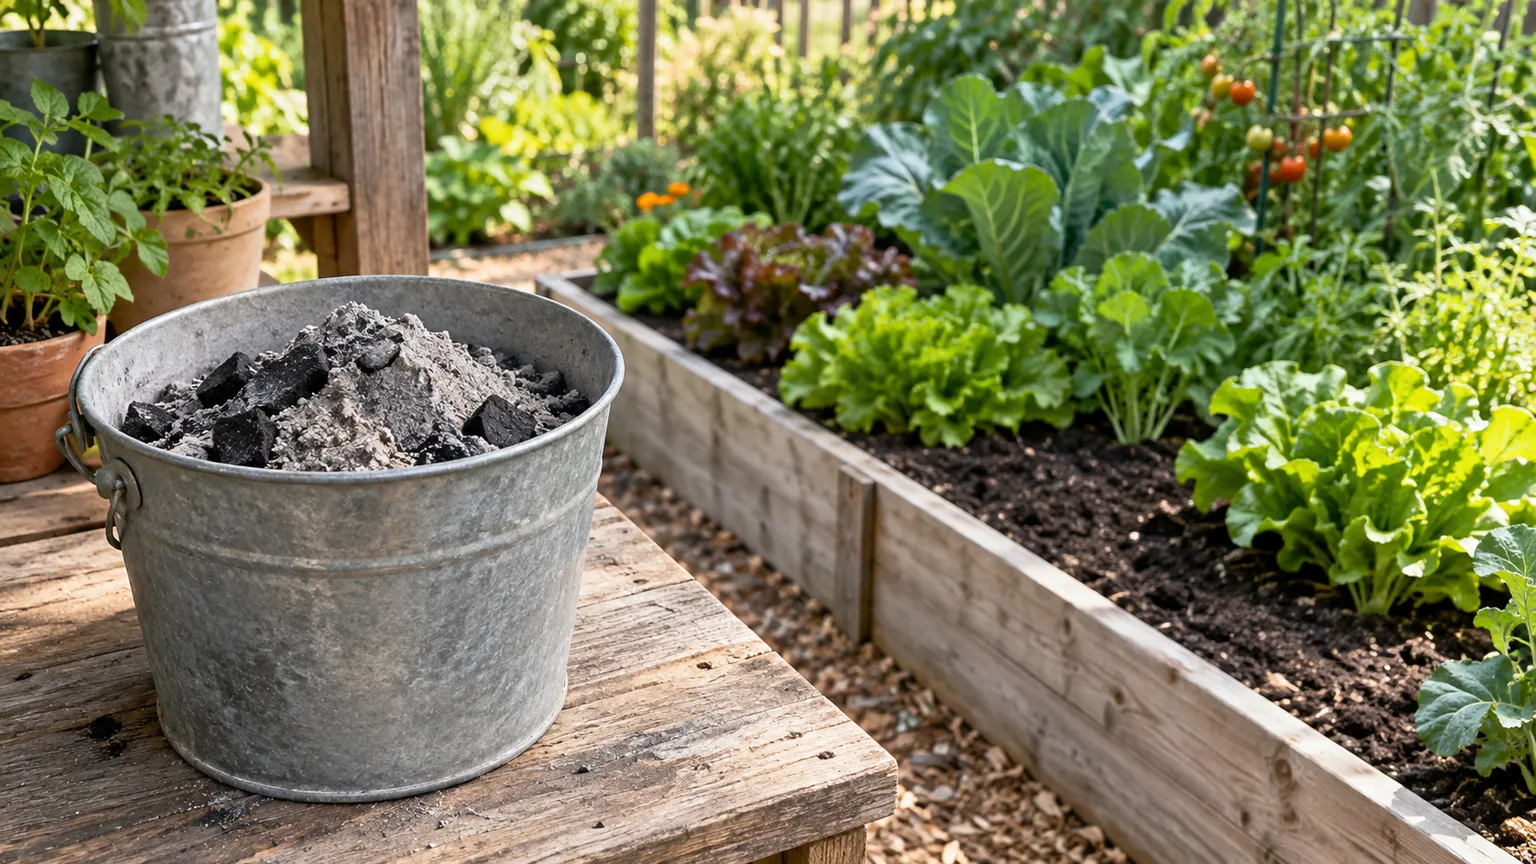
Peat moss, biochar, and mineral products each have narrower roles. Peat can be difficult to rewet once dry and does not build a living garden soil in the same way as compost. Biochar must be charged and used according to its product guidance; a scoop of dry charcoal is not a complete clay fix. Treat any specialty amendment as an addition to a soil plan, not as a replacement for organic matter and compaction control.
When Gypsum, Lime, Sand, or Grit Make Sense
Gypsum supplies calcium and sulfur and can improve the structure of some sodic or chemically dispersed clays. It is not a universal cure for ordinary compacted garden clay. The RHS notes that different clays respond differently to calcium and recommends a small-area test; gypsum can be worth considering when a soil report or local extension guidance supports it, but it should not be broadcast simply because a bed feels heavy.
Lime is for a pH problem, not for making every clay soil crumbly. Apply it only when a soil test shows that raising pH is appropriate for the plants you grow. If your clay is already neutral or alkaline, routine liming can reduce the availability of some nutrients and make a poor situation harder to diagnose.
Sand and grit are where well-intentioned advice often fails. A little sand sprinkled into a clay bed does not create the pore network of a sandy loam. Because clay particles dominate the surface area of a soil, changing the overall texture requires a very large volume of coarse material. The RHS gives an example in which reducing the clay proportion of a moderately clay-rich top layer by half would require roughly 250 kilograms of grit per square meter—a scale that is impractical for most backyard beds. Use sand only for a specific, well-designed construction or lawn project with adequate material and drainage, not as a small-bag shortcut.
Improve Drainage Without Destroying Soil Structure
First identify where the water is coming from. If rain falls on the bed and disappears slowly, improve infiltration with organic matter, surface protection, and compaction control. If water flows into the bed from a roof, slope, or paved surface, redirect or slow that flow. If a low spot stays saturated even after the surface is protected, investigate an outlet, drain, grading problem, or shallow water table.
For a lawn or regularly walked area, core aeration or a garden fork can open temporary channels, but traffic must be reduced or the holes will close again. For a vegetable bed, a permanent path and no-dig approach often protect the root zone better than annual deep tilling. In a border, plant water-tolerant species where the site stays wet and put plants that require sharp drainage on a mound or in a raised bed.
The N.C. Cooperative Extension ties bare, compacted soil to runoff and erosion and recommends cover, organic matter, reduced disturbance, and soil testing before adding lime or fertilizer. That combination is more durable than chasing the word “drainage” on an amendment label. Better drainage means water leaves at a useful rate while enough moisture remains for roots; it does not mean making the bed dry.
Planting in Clay: Depth, Timing, and Root-Zone Tricks
Plant when the soil is workable and the ground has warmed enough for the crop. Clay warms slowly in spring, and a calendar date that works in a light soil may put a seed into cold, sealed ground. Start tender plants in containers or use a raised bed when an early crop matters more than amending the native soil immediately.
For annual vegetables, use a shallowly raised row or a broad bed so the seed zone drains and warms sooner. Do not make a narrow trench that collects water. Mulch after seedlings establish, leaving the seed line open until emergence is reliable.
For trees and shrubs, make the planting hole wide rather than dramatically deeper, and keep the root flare at the correct height. On a wet site, plant the root ball slightly high on a broad mound so excess water can move away from the crown. The RHS recommends slight mounds for woody plants where waterlogging threatens roots. Do not bury a trunk or heap mulch against the bark.
Choose plants for the actual site while improvement is underway. Roses, many shrubs, and some maincrop vegetables can perform well in fertile clay, while drought-loving plants that demand sharp drainage may be happier in a raised or containerized mix. A plant that tolerates moisture is not permission to keep its roots in stagnant water; matching plant choice to the wettest season is the useful test.
Raised Beds vs. Amending Native Clay
Use a raised bed when you need a productive root zone now, the native soil stays wet for long periods, or repeated foot traffic makes in-ground improvement unrealistic. A raised bed lets you bring in a suitable growing mix, keeps roots above a wet layer, and creates a clear boundary that is easier to protect. It is a strategic shortcut, not proof that the clay has failed.
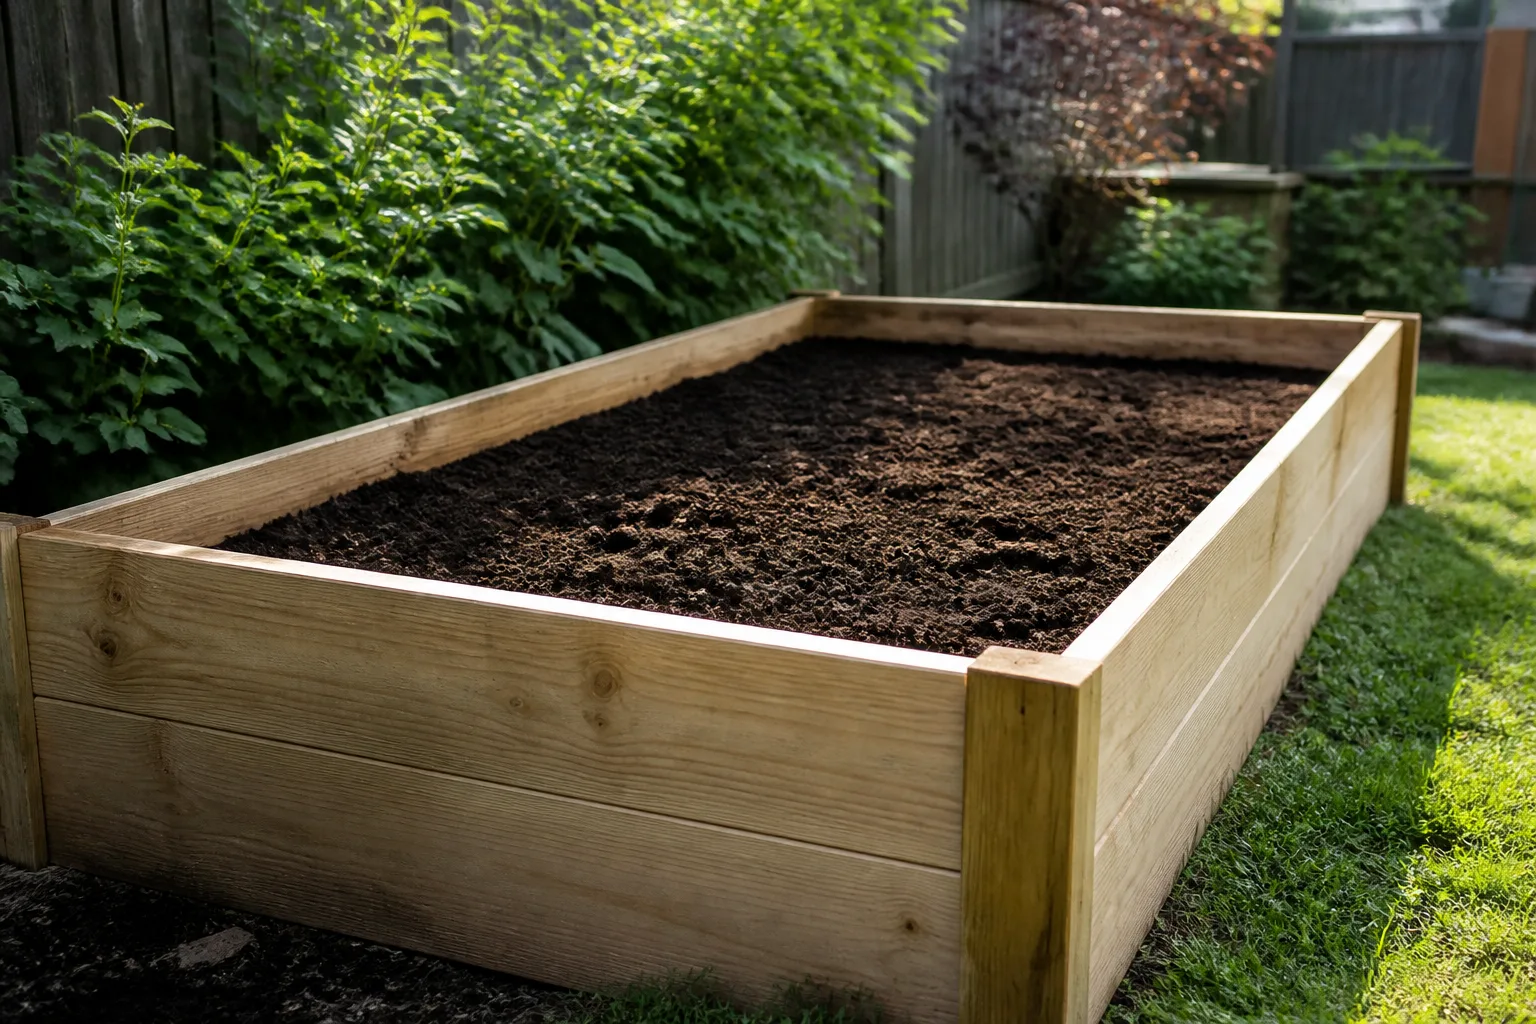
Amend in place when the site has reasonable drainage, you want deep-rooted perennials or trees, or you can work gradually over several seasons. In-ground improvement preserves the existing soil profile and avoids buying and moving large volumes of imported material. It also asks for patience and a commitment to paths, mulch, and careful timing.
The two approaches can work together. Build a modest raised bed on top of clay, leave the bottom open so roots and water can connect with the ground, and keep the surrounding clay covered rather than treating it as waste. If the bed fills with water because the whole site is saturated, adding more soil to the frame will not solve the underlying drainage route; raise the bed more, improve the outlet, or choose a different location.
Maintain the Gains Through Every Season
Clay soil improves through repeated low-disturbance additions, not a single heroic digging day. A simple seasonal rhythm keeps the work manageable:
| Timing | Useful clay-soil work | What to avoid |
|---|---|---|
| Fall or after harvest | Add mature compost, shredded leaves, or a suitable cover crop; repair paths and drainage routes. | Walking across saturated beds or burying raw manure. |
| Early spring | Wait for workable moisture; top-dress, shape rows, and use a raised bed or cover to warm the seed zone. | Planting into a shiny smear because the calendar says it is time. |
| During the growing season | Keep mulch replenished, water slowly, and add amendments between crops rather than through roots. | Repeated rototilling or piling mulch against stems. |
| After heavy rain | Check runoff, puddles, eroded soil, and downspouts; cover exposed ground. | Assuming every puddle is fixed by more compost. |
Retest when the soil changes, when plants repeatedly underperform, or every few years as a baseline. Use the report to target pH and nutrients instead of adding lime, sulfur, gypsum, or fertilizer by guesswork. This seasonal approach—spring applications, light additions between crops, and fall soil building—also matches the practical maintenance rhythm described by Savvy Gardening’s soil-amendment guide. The goal is a soil that breaks into aggregates, accepts a slow watering, and supports roots without staying saturated—not a particular color or a perfectly loose handful.
Troubleshoot the Most Common Clay-Soil Problems
Puddles remain after you added compost. Check whether the puddle is caused by surface runoff, a compacted layer below the amended zone, or a high water table. Repeat the drainage-hole test in more than one spot, inspect where downspouts discharge, and look for traffic paths. If water is arriving from outside the bed, redirect it; if the site is low and saturated, use a raised bed or a professional drainage solution rather than adding an endless succession of amendments.
Plants wilt even though the soil is wet. Waterlogged roots can lose access to oxygen, so wilting is not always a request for more water. Pause irrigation, confirm that the root zone is actually wet rather than merely crusted at the surface, and inspect a failing plant’s roots if the problem persists. Move future plantings onto a mound or into a better-drained bed, and reserve the wettest zone for plants that tolerate it.
The soil is hard again a few weeks after improvement. That usually means the new material was too shallow, the bed was walked on, or the amendment was unstable and decomposed quickly. Protect access routes, add a surface layer of mature organic matter, and repeat smaller applications annually. Avoid responding with deeper tilling unless the bed is bare and genuinely workable; a short-lived loose surface is not the same as improved structure.
New leaves are pale or growth is weak. Do not assume the clay needs fertilizer. Check the soil test, root-zone moisture, planting depth, and light first. High pH can limit nutrient availability, but so can root damage from standing water. Correct the cause that the evidence supports, then wait long enough for new growth to show whether the change worked.
Conclusion
The most reliable way to improve clay soil is to work with its strengths while protecting its weak points. Confirm the texture, test drainage and chemistry separately, wait for the right moisture, add mature organic matter across the root zone, keep the surface covered, and prevent traffic from collapsing the structure you just built.
Use gypsum or lime only when the soil and the plant need them, and skip the small-bag sand shortcut. If the ground stays saturated or you need an immediate planting area, a raised bed is often the sensible answer. With a few seasons of compost, roots, mulch, and better timing, clay can become productive, water-efficient garden soil rather than a yearly digging battle.