What Is a Permaculture Garden? A Practical Guide
Learn what a permaculture garden is, how to read your site, plan zones, save water, build soil, and start with a small system that can mature over time.
If you want a garden that uses less purchased fertilizer, sheds less water, and gets easier to manage over time, permaculture is a useful way to think. It is not a required list of features, a style of untidy landscaping, or a guarantee that you can plant once and walk away.
The simplest definition is this: a permaculture garden is a deliberately designed growing system that connects people, plants, water, soil, wildlife, and materials so each part supports more than one need. You start by observing the site, then place and manage elements according to the relationships you can actually maintain.
That distinction changes how you begin. Instead of buying a rain barrel, a dozen unusual plants, and a compost tumbler because they sound sustainable, you first ask what your yard is already doing. Where does water collect? Which plants survive without help? Which path do you walk every day? What garden task do you want to make easier?
Permaculture Is a Design System, Not a Garden Style
Permaculture grew from the ideas of Bill Mollison and David Holmgren and has expanded from “permanent agriculture” into a broader approach to designing sustainable human habitats. NC State Extension describes it as landscapes that model patterns and relationships in nature while providing food, fiber, energy, and human needs; its practical framework centers on connecting elements rather than collecting techniques. NC State Extension’s permaculture design guide is a helpful reference because it treats the garden as a system with inputs, outputs, people, and limits.
The classic ethics are Earth Care, People Care, and Fair Share. In a backyard, Earth Care can mean protecting soil structure and creating habitat; People Care can mean putting herbs where you will actually harvest them and making paths stable enough for everyone who uses the garden; Fair Share can mean sharing surplus produce, saving seed where appropriate, or returning finished compost to the bed instead of exporting all organic matter as waste.
The ethics are a decision filter, not a substitute for horticulture. A plant that is native but badly placed in saturated soil will still fail. A compost pile that attracts rodents is not automatically sustainable. A large pond that requires a pump, liner replacement, and constant cleaning may use more money and energy than a small swale, mulched basin, or carefully directed downspout. Permaculture asks you to compare the whole system, not award points for an object’s reputation.
Permaculture and Organic Gardening Are Related but Not Identical
Organic gardening usually describes how you grow: limiting or avoiding manufactured synthetic pesticides, weedkillers, and fertilizers while feeding soil with organic matter and using cultural or biological controls. Permaculture includes many organic practices, but it asks a larger design question: how can the placement and relationship of elements reduce future inputs in the first place? A garden can be organic yet poorly planned, with thirsty plants in a hot exposed bed and compost carried in from far away every season.
The Royal Horticultural Society notes that organic growing depends on good soil health, appropriate plant choice, timing, nutrition, and watering, and also acknowledges that organic methods can demand extra planning and vigilance. The RHS guide to organic gardening is a useful corrective to the idea that “natural” always means easier or harmless. Even low-toxicity products must be used as directed, and prevention still requires observation.
Permaculture may lead you to choose a perennial herb border, a local leaf-mulch loop, or a mixed planting that supports beneficial insects. It does not forbid every purchased input, every annual crop, or every targeted intervention. The sensible goal is to reduce avoidable dependence while keeping plants healthy and the garden safe.
A Resilient Garden Still Needs Management
“Low maintenance” should mean fewer recurring inputs after the system is established, not “no maintenance.” Young plants need watering, weeds need early removal, paths need attention, and a dense planting needs thinning before it becomes humid and inaccessible. A garden that is never checked is not self-regulating; it is simply unmanaged.
Expect the first season to be more observant than effortless. You may spend time measuring a bed, checking the soil after rain, adjusting a downspout outlet, or moving a plant that is shading vegetables. That work is valuable because it prevents you from scaling up a mistake. The long-term payoff is a garden whose tasks are visible, grouped, and matched to your actual time.
Observe the Site Before You Buy Plants
Observation is the first permaculture technique because every later decision depends on conditions you cannot wish away. Walk the property at different times of day, take photographs from the same spots, and keep a short garden journal for at least several weeks. If you are able to observe through a full season, you will learn more about leaf fall, summer drought, winter wind, and spring flooding than a one-day design sketch can show.
Make a rough base map before you make a planting map. Mark the house, doors, utilities, existing trees, fences, slopes, downspouts, hose bibs, paths, sheds, neighboring shade, and places where you already store materials. A hand-drawn map is enough. The purpose is to see relationships, not produce a perfect landscape plan.
Map Sun, Water, Wind, and Access
Track sunlight in the morning, midday, and late afternoon. Mark full sun, bright shade, seasonal shade from deciduous trees, and places where reflected heat comes off a wall or paving. Put crops that need frequent harvesting where you can reach them without crossing a muddy bed, and reserve lower-light areas for plants that can tolerate them. Do not assume a “south-facing” space receives the same light in every season; tree canopy, fences, and neighboring buildings change the result.
Watch water during and after rain. Note where a downspout discharges, where runoff cuts a channel, where puddles remain, and where soil dries first. A low spot can be a useful place for moisture-tolerant plants, but it can also reveal compacted soil or a drainage problem. Do not dig a basin next to a foundation or redirect water toward a neighbor without checking the site, local requirements, and the consequences of overflow.
Wind affects plant survival, evaporation, pollination, and comfort. A hedge, fence, trellis, or group of shrubs can slow wind, but a solid barrier may create turbulence on the leeward side. Use existing structures first and add a windbreak only where its mature size will not shade the productive bed or compete for water.
Access is an ecological variable because it determines whether you will maintain the garden. The most sustainable bed is not the one with the smallest footprint; it is the one you can weed, water, harvest, prune, and inspect without compacting soil or giving up halfway through July.
Check Soil, Slope, and Drainage
Before adding compost, test the soil if the history is unknown or the plants have repeatedly failed. A basic test can identify pH and major nutrient patterns, while a laboratory or local extension test may be appropriate for a former industrial, heavily treated, or urban fill site. Do not use edible crops to “clean” suspected contamination unless a qualified local program has evaluated the risk and given you a plan.
Evaluate structure with your hands. Is the soil loose enough for roots, or does it form hard clods and a smeared layer when wet? Does water infiltrate steadily, or does it sit on the surface? Plants need both water and oxygen in the root zone. Penn State Extension explains that organic matter and stable soil aggregates help maintain pore space for air and water, while excessive tillage can accelerate organic-matter loss. Penn State’s soil-management guidance supports a balanced approach: reduce unnecessary disturbance, but do not turn “no dig” into a rule that prevents you from correcting compaction or preparing a usable seedbed.
Slope tells you where water and soil want to move. On a gentle slope, a contour-oriented bed, mulched path, or shallow infiltration feature may slow runoff. On a steep slope, near a retaining wall, or where water concentrates from a large roof, get site-specific advice before excavating. Erosion, structural damage, or a blocked drainage route is not a beginner experiment.
Choose One Outcome and Use Zones to Place It
Permaculture design becomes practical when you choose an outcome. “Become self-sufficient” is too broad for a first season. “Harvest salad greens and herbs for weekday dinners,” “reduce runoff from one downspout,” “grow food for pollinators,” or “replace one high-maintenance lawn strip” gives you something you can test.
Write down the outcome, the time you can spend each week, the water you can provide during establishment, and the signs that would count as success. This prevents a common failure: installing an ambitious system that looks impressive but produces more chores than the old garden.
Put Frequent Work Close to Home
The permaculture zone idea is a way to arrange elements by how often you visit them. It is not a requirement that your yard look like five concentric circles. NC State Extension emphasizes that zones can be adapted to the site and the user; a small urban yard may contain only parts of several zones, while a rural property may spread them across a slope.
| Zone | Typical visit frequency | Good starting elements |
|---|---|---|
| 0 | Inside or immediately beside the home | Kitchen scraps, windowsill herbs, seed storage, daily tools |
| 1 | Several times a day | Salad greens, culinary herbs, seedlings, watering point |
| 2 | Daily or every few days | Main vegetable bed, compost, chickens where legal and appropriate, berry shrubs |
| 3 | Weekly or less | Fruit trees, larger perennial crops, bulk mulch storage |
| 4 | Seasonally | Managed woodland edge, cane materials, low-input forage |
| 5 | Observed rather than managed | Existing habitat or a deliberately undisturbed corner |
The principle is relative location: put a task near the element that makes it easier. Compost near the kitchen is more likely to receive scraps. A hose connection near the new bed means fewer awkward watering trips. A path through the bed lets you harvest without stepping on roots. If an element has to be visited often but is placed at the far end of the property, the system is asking you to spend energy every single time.
Start With a Small Experiment
Use “small and slow” as a risk-control method. Build one bed, one herb-and-flower border, one compost loop, or one water-catching improvement before redesigning the whole yard. Give it a full growing cycle if possible, and record what actually happened rather than what the plan predicted.
A good pilot has a clear edge, an easy way to remove or move elements, and no irreversible excavation. For a small backyard, try a 4-by-8-foot bed with a reachable path, two or three vegetables, a perennial herb, one flowering plant, and a mulch strategy. For a balcony, use containers grouped by light and water needs, collect clean plant trimmings for a small composting or municipal program, and treat the railing as a place for vertical support rather than adding heavy soil without checking load limits.
GrowVeg’s small-garden guidance makes an important point: permaculture principles still work at small scale through zones, vertical growing, layers, guilds, and careful use of edges. GrowVeg’s guide to permaculture for small gardens is especially useful for thinking in functions rather than acreage. A small system that you understand is more valuable than a large system you cannot maintain.
Build Around Flows: Water, Soil, and Materials
The strongest permaculture designs make an input do more than one job before it leaves. Rain may be slowed by healthy soil, directed to a planting area, stored for later use where permitted, and returned to the root zone through mulch. Leaves may become habitat briefly, then mulch or compost. A trellis may support beans, shade a tender crop, define a path, and produce material for repair.
Look for loops, but do not force a loop that creates contamination or extra labor. Kitchen scraps belong in a compost system that can reach the temperatures and moisture balance needed for safe decomposition, or in a service that manages them. Diseased plant material, invasive seed heads, pet waste, and chemically contaminated materials need a different disposal decision.
Catch, Store, and Cycle Water
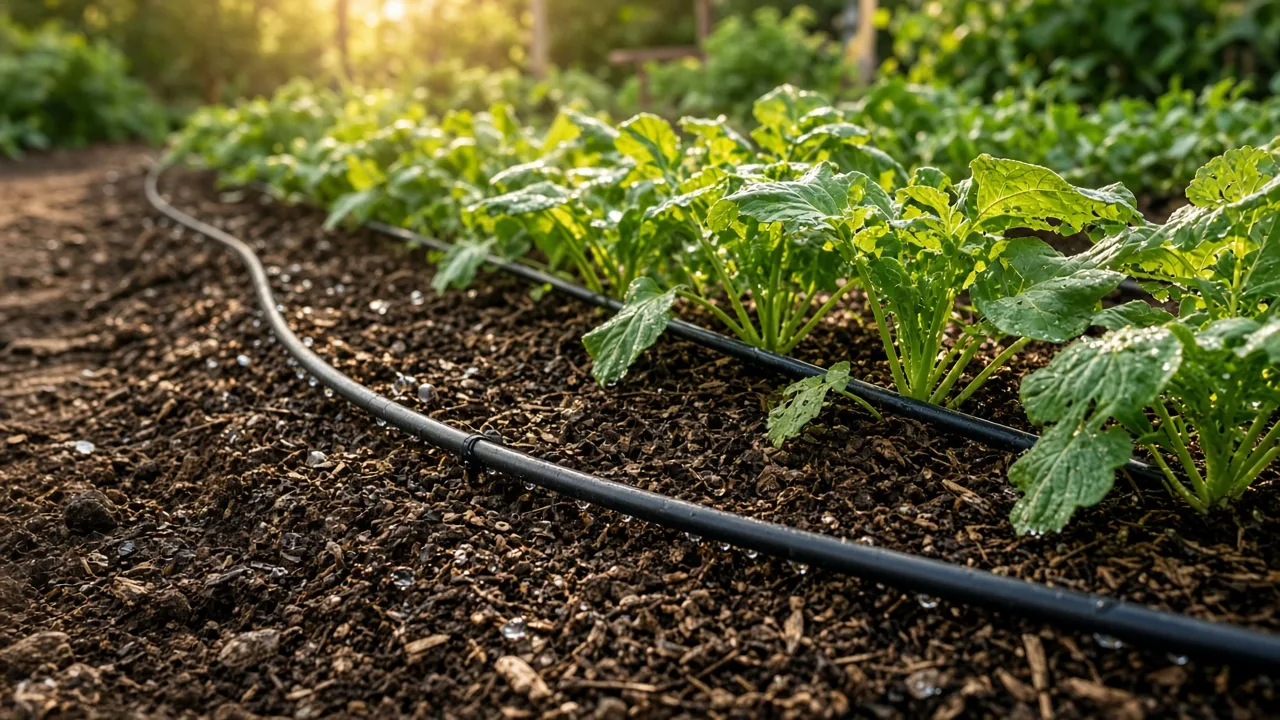
Start with the least complicated water intervention that solves the observed problem. Improve soil structure and mulch first when the issue is fast drying. Route a downspout to a stable, planted infiltration area when runoff is the issue. Use a rain barrel or cistern when it fits the roof catchment, local rules, overflow route, mosquito prevention, and your willingness to clean and use it.
Rainwater is not automatically safe for every use. Keep storage covered, prevent overflow from undermining foundations, and follow local guidance for rainwater harvesting. For edible crops, avoid collecting water from surfaces or systems that could add contaminants, and do not assume stored water replaces all irrigation during heat or establishment.
Rain gardens are a specialized form of water management, not simply a hole filled with plants. Penn State Extension describes them as systems that temporarily collect runoff and let it infiltrate, and stresses that inlets, overflow areas, mulch, erosion, and maintenance determine whether they keep working. Penn State’s rain-garden maintenance guidance notes that new plantings need attention during establishment and that persistent ponding is a sign to investigate drainage. In a home garden, that means start small and observe where the water goes after several storms.
Use irrigation as a backup, not a moral failure. Drip lines, soaker hoses, hand watering, and targeted cans can all be appropriate when they deliver water to the roots without wetting foliage or wasting water on paths. Group plants with similar moisture needs so you are not overwatering drought-tolerant herbs to satisfy thirsty vegetables.
Feed Soil and Close Loops
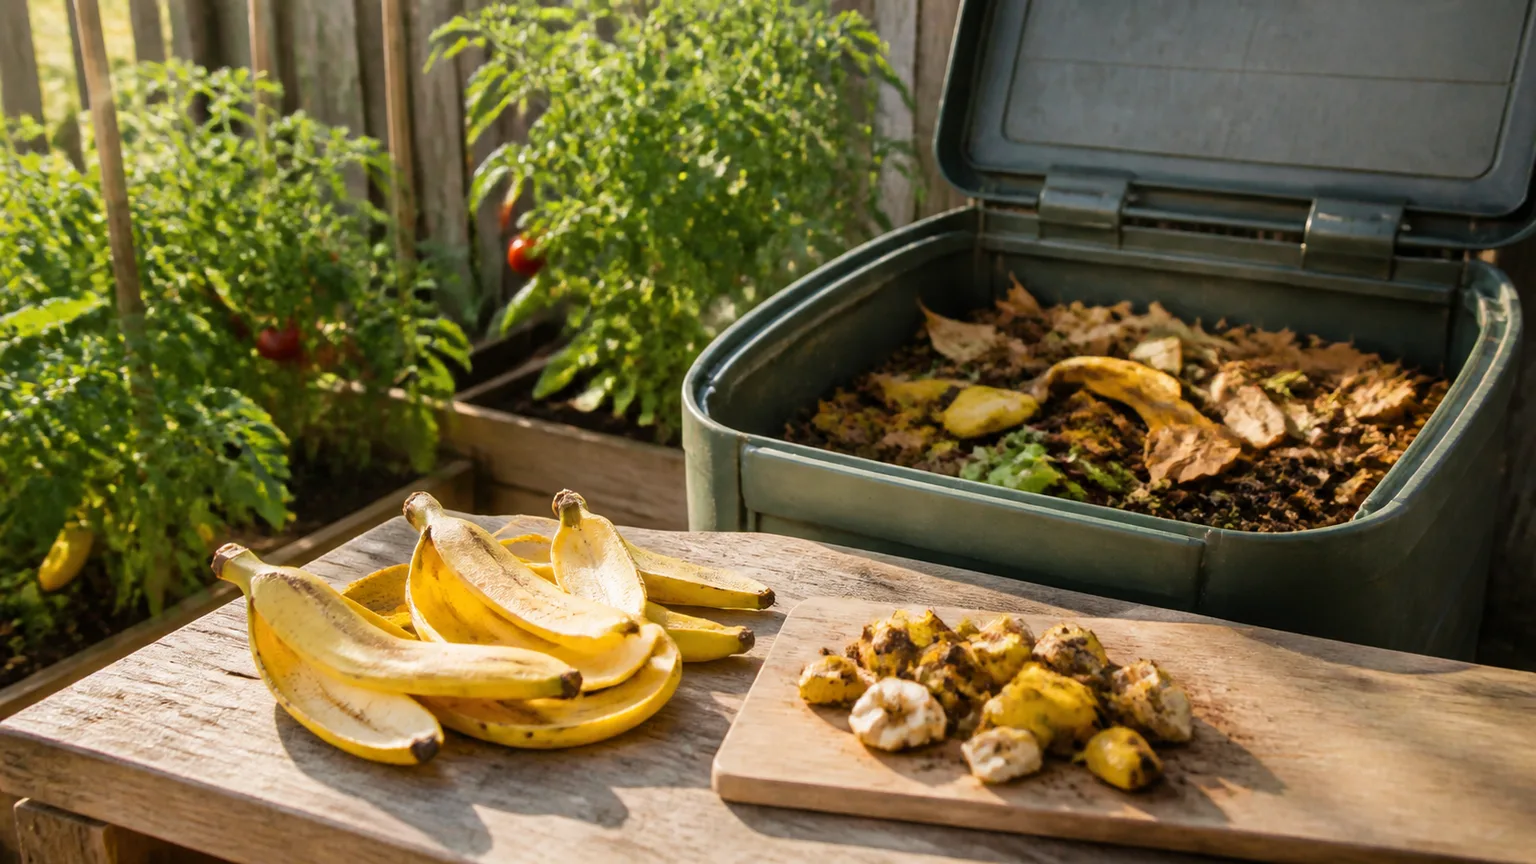
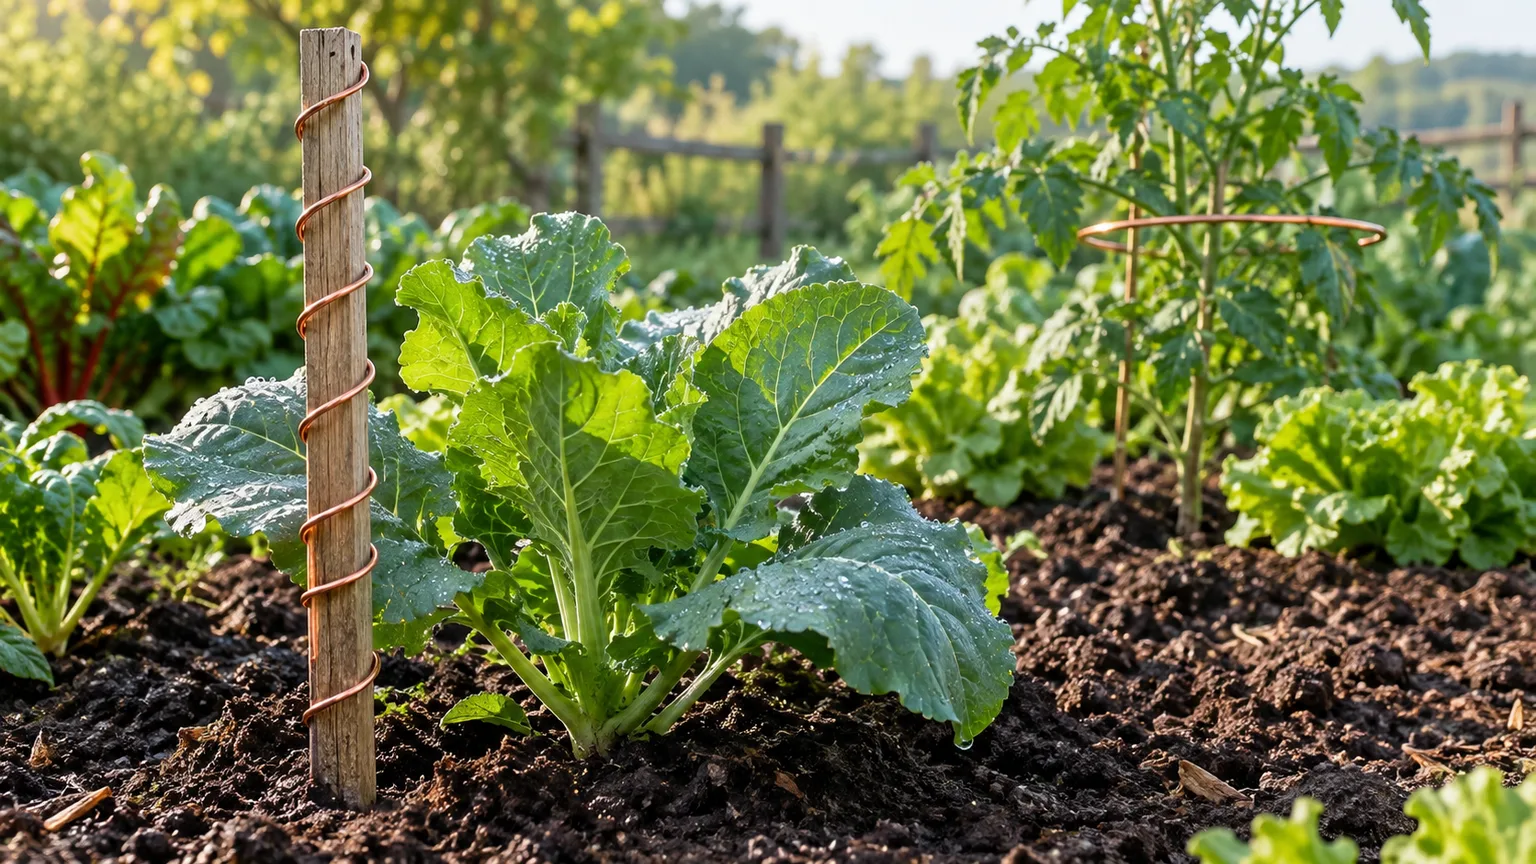
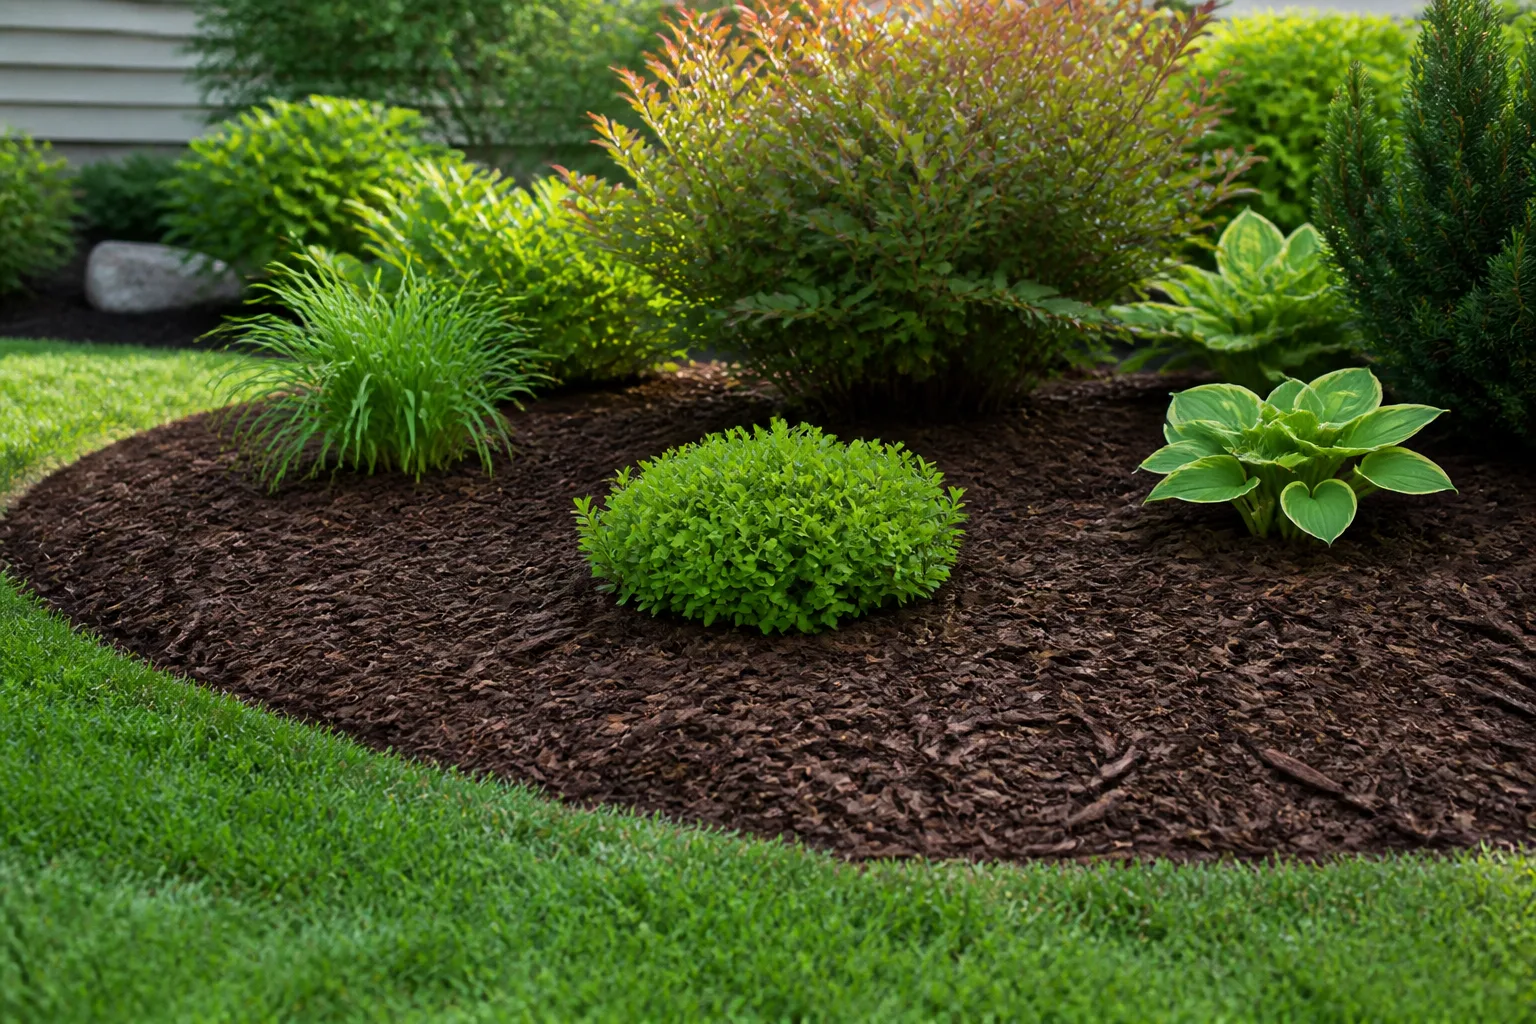
Soil building is not the same as adding the maximum amount of compost. Begin with a test, observe drainage and structure, then add a reasonable amount of mature compost or other appropriate organic matter. Keep living roots in the soil when practical, cover bare ground, and limit traffic on beds. Mulch can reduce evaporation and weeds, but it should not bury plant crowns, block drainage, or be piled against trunks.
Cover crops are useful when you have a clear job and a termination plan. A winter cover can protect soil from erosion; a legume can contribute nitrogen through its relationship with soil microbes; a fast-growing summer cover can occupy a bare bed between crops. But a cover crop that flowers, sets seed, or becomes difficult to terminate may create a weed problem. Penn State describes cover crops as tools for soil conservation, mulch, green manure, and smothering weeds, while also emphasizing that the right species and timing matter. Its soil guide’s cover-crop section is a reminder to match the crop to the next crop and to local conditions.
No-dig can be a useful way to protect structure and reduce disturbance, especially when you can layer clean organic material on the surface and keep roots covered. It is not magic cardboard. Persistent perennial weeds, compaction below the added layer, contaminated fill, or an inaccessible bed may call for a different preparation method. The best method is the one that solves the site problem without creating a larger one.
Stack Functions With Plant Guilds
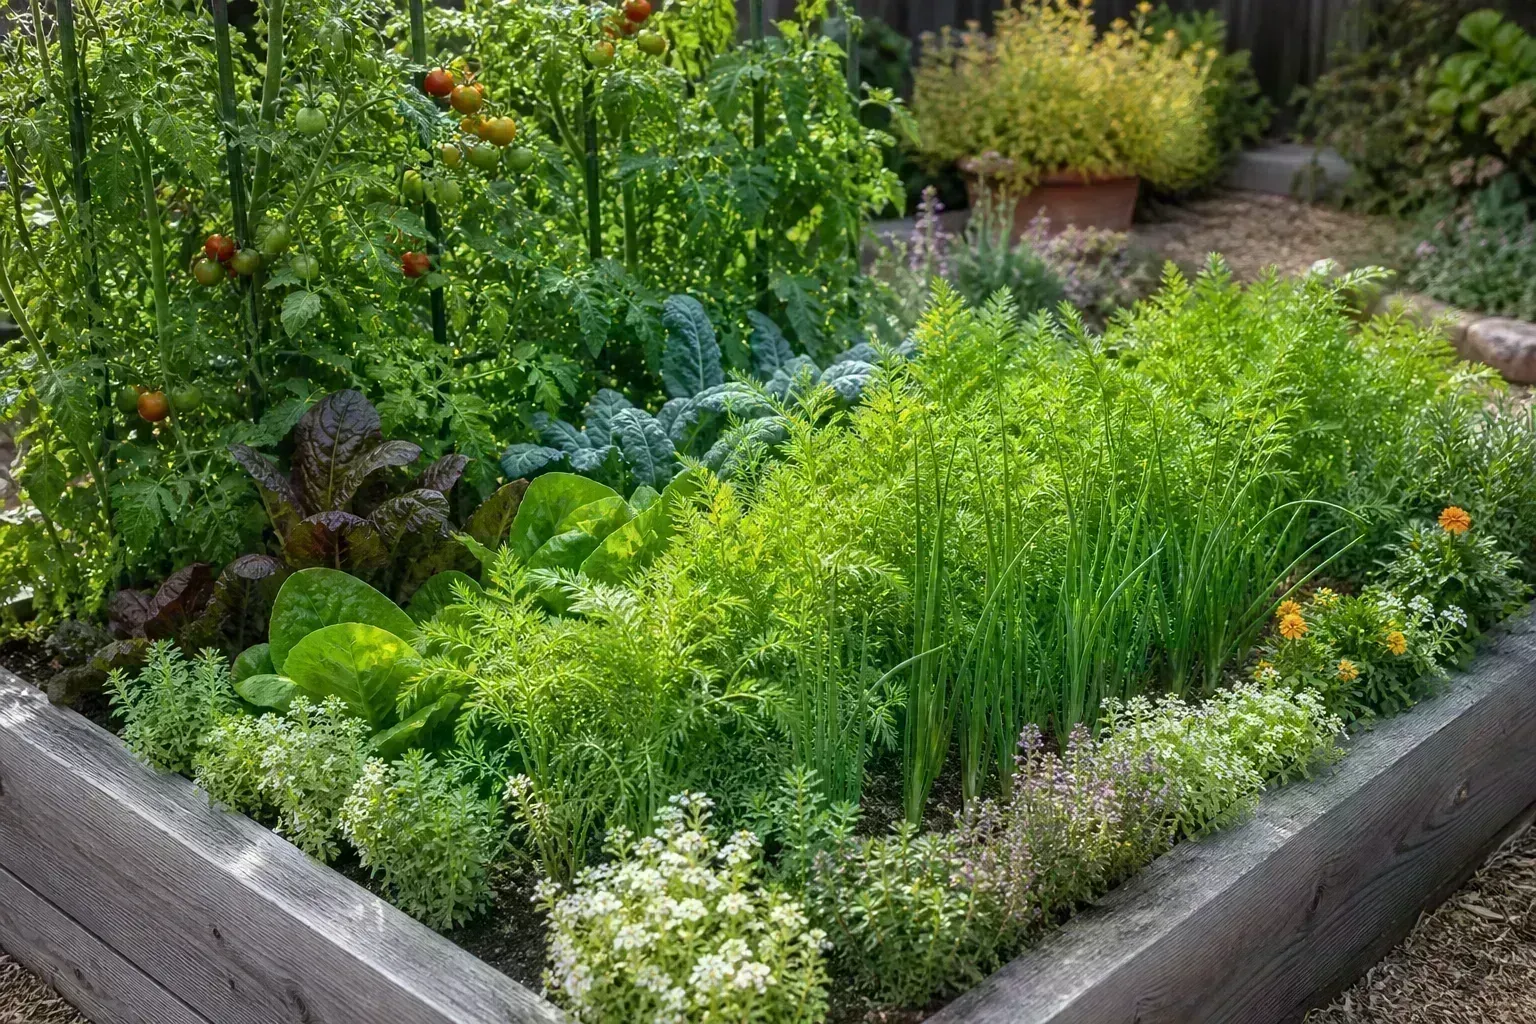
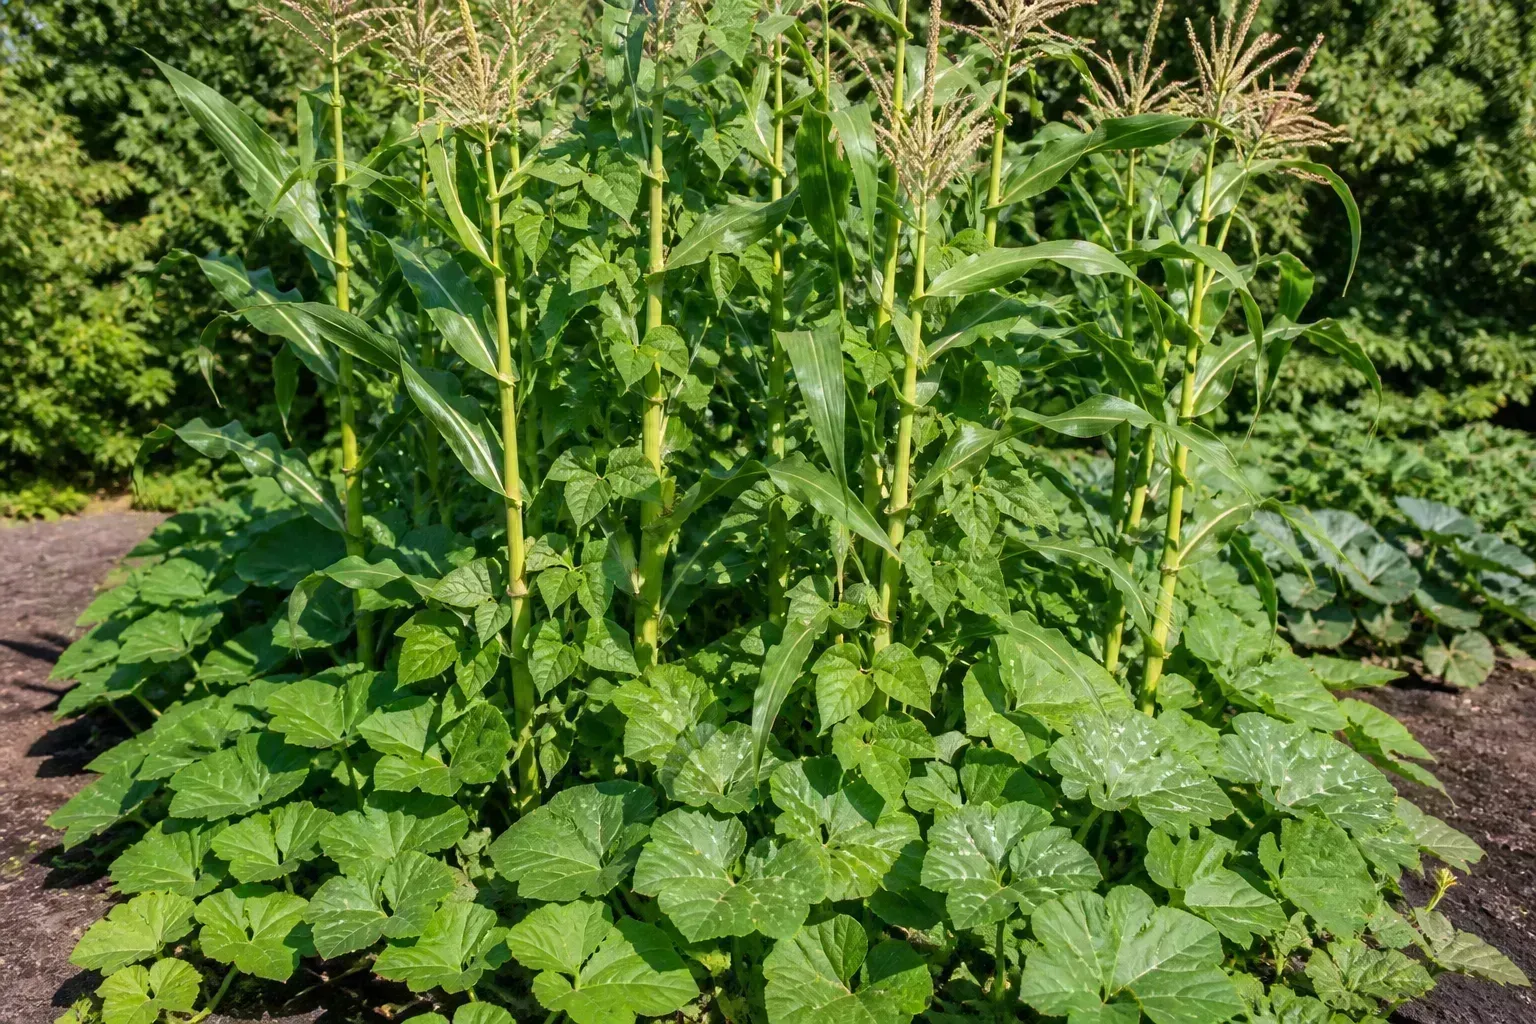
A plant guild is a deliberately arranged group in which each member contributes a useful function: food, shade, ground cover, support, habitat, nutrient cycling, erosion control, or a harvest at a different time. The well-known three-sisters combination of corn, beans, and squash illustrates the idea: the corn provides vertical support, beans climb, and squash covers ground. It is a design example, not a universal recipe for every climate or garden.
Use guild thinking without believing every companion-planting claim. Put plants together when their light, water, mature size, root behavior, and harvest timing are compatible. Choose a low groundcover that will not smother seedlings, a flowering plant that fits the crop’s season, or a trellis crop that uses vertical space without shading everything beneath it.
For a small edible bed, a practical guild might combine a trellised cucumber or bean, a compact leafy crop in the temporary shade, dill or cilantro allowed to flower for beneficial insects, and a mulch or cover strategy that protects the soil. Keep enough open space to inspect leaves and reach the harvest. If the combination makes watering, pruning, or pest scouting harder, it is not stacking functions; it is stacking chores.
The same logic works around a fruit tree, but give the tree time to establish. A ring of compatible herbs, flowers, and groundcovers should not compete with the trunk or keep the base permanently wet. Start with two or three functions, observe the tree’s growth, and add more only if the site has enough light and water for them.
Add Diversity Without Creating a Crowded Garden
Diversity is valuable because a garden with different plant types, bloom times, heights, and root systems has more opportunities for habitat and more ways to keep producing when one crop fails. Diversity is not the same as maximum density. Plants still need airflow, light, root space, and access for harvest and inspection.
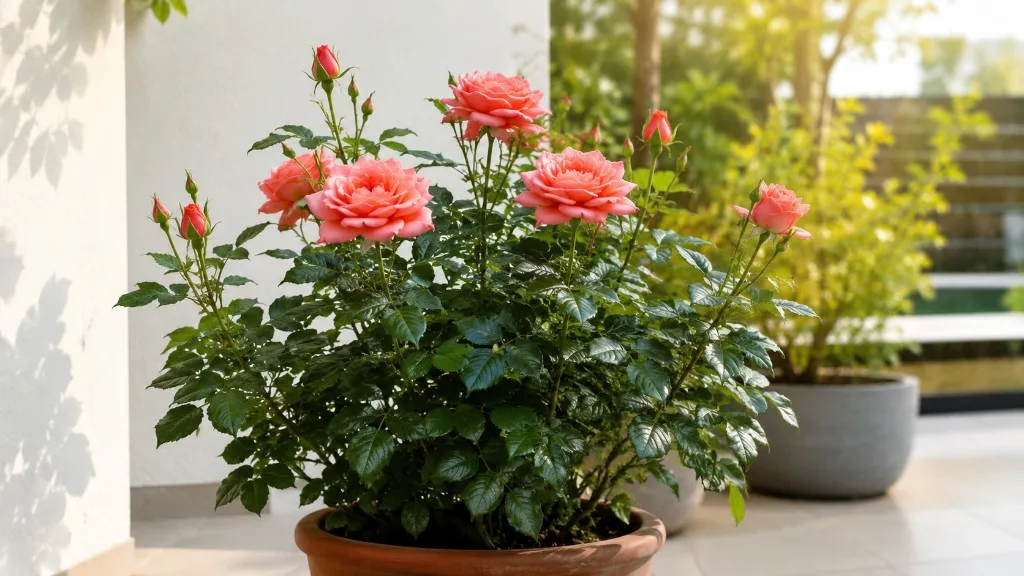
Use layers where the site supports them: a tree or large shrub, a smaller shrub, herbaceous plants, groundcovers, roots, and climbers. A tiny garden may have only a shrub, herbs, leafy crops, and a trellis. A container garden can still use height by growing a climber behind lower herbs, provided the container is stable and the roots are not competing for a tiny reservoir.
Choose Native Plants and Plan for Succession

Native plants can be excellent choices for habitat and lower-input landscaping when they fit your local soil, moisture, light, mature size, and wildlife pressure. “Native” is not a care label. A species native to your region’s dry upland may fail in a wet clay basin, while a locally appropriate plant may need watering during its first summer.
Plan a succession of flowers, fruits, shelter, and seed. Early blooms support insects emerging in spring; summer flowers and host plants keep the garden useful; seed heads and stems can provide late-season food and structure. Leave some stems standing through winter when they are safe and compatible with your garden’s appearance, then cut or compost them when new growth begins.
The USDA Climate Hubs profile of the UMass Permaculture project shows how the idea can extend beyond a private food plot: the gardens combined food production with teaching, volunteer participation, and climate-resilience education. The USDA Climate Hubs account of UMass Permaculture is a useful example of people care in practice. It also makes the point that the “yield” of a permaculture garden may include knowledge, community, habitat, and connection, not only kilograms of produce.
Protect diversity with boundaries. Keep aggressive spreaders in containers or designated areas. Remove invasive plants before they seed. Separate plants with incompatible water needs. Leave a clear service path, and keep a small open area where you can see the soil. A diverse garden should be easier to understand over time, not a permanent guessing game.
A Practical First-Year Permaculture Garden Plan
Use this sequence for a backyard bed, adapted to your climate and site:
- Week 1–2: observe and map. Record sun, wind, water movement, access, existing plants, utilities, and the task you most want to improve.
- Week 2–3: define one outcome. Choose a harvest, habitat, water, or maintenance goal and set a realistic weekly time limit.
- Week 3–4: check constraints. Test soil if needed, investigate contamination or drainage, confirm mature plant sizes, and identify local rules for water storage, structures, livestock, or burning.
- Month 2: place the high-frequency elements. Put herbs, salad crops, seedling care, tools, compost collection, and water access where you will use them.
- Month 2–3: prepare one bed. Create a stable path, protect the soil surface, address compaction appropriately, and install only the irrigation or water-catching feature you can maintain.
- Planting window: choose compatible functions. Add a manageable mix of food, habitat, and soil-cover plants. Leave space for mature growth instead of filling every gap on day one.
- Growing season: observe weekly. Check moisture below the surface, look for pest trends, note shade changes, remove weeds before seed, and record what takes more time than expected.
- After harvest: edit the design. Keep what produced value, move what competed, and remove anything that created more work than it returned. Use the notes to plan the next small improvement.
Measure success with evidence you can see. Did watering take fewer minutes? Did the path stay usable? Did mulch last through the dry spell? Did flowers overlap enough to keep the bed active? Did you harvest more because the herbs were near the kitchen? These measures are more useful than calling a garden “permaculture” because it contains a compost bin.
Common Mistakes That Make Permaculture Harder
Starting with features instead of observations. A swale, pond, food forest, or chicken system is not automatically appropriate. Start with the flow you need to change and choose the smallest intervention that can test it.
Treating “no work” as the goal. Establishment, pruning, harvesting, compost balancing, weed control, and seasonal editing still exist. Design for the amount of care you can reliably provide, and choose fewer elements when time is tight.
Overcrowding for the sake of diversity. Dense planting can hide pests, slow airflow, make watering uneven, and turn harvest into a chore. Use mature width and access as design requirements.
Adding compost, manure, or fertilizer without a reason. More organic matter is not always better, and manure and compost vary in nutrient content. Test the soil and material when a nutrient application is doing more than improving surface cover; avoid creating nutrient runoff or salinity problems.
Assuming companion plants repel pests. Some plant relationships are useful, but scent-based claims are often more confident than the evidence. Companion flowers can provide habitat and observation opportunities; they cannot cure a disease, correct poor drainage, or replace crop rotation and sanitation.
Putting a rain feature in the wrong place. Water directed toward a foundation, retaining wall, septic area, or neighbor’s property is a drainage problem, not a permaculture success. Stabilize inlets and plan overflow before adding a basin.
Ignoring succession and mature size. A seedling bed can look perfectly spaced until the plants touch. Sketch the mature canopy, root zone, and path before planting, then leave room for thinning and future harvest.
Using a native label as a guarantee. Match the plant to the microclimate, soil, moisture, and wildlife pressure. A locally native plant in the wrong micro-site still needs help or will fail.
Trying to convert the entire yard in one season. Large changes hide cause and effect. A small pilot gives you a safer way to learn how your soil, climate, household, and wildlife interact.
Conclusion
A permaculture garden is a connected, intentional growing system built around the conditions and people of a real site. Its most useful principles are simple: observe before acting, put frequent work close to home, catch and reuse resources where safe, protect soil, diversify without crowding, and test changes on a small scale.
Start with one outcome rather than a complete lifestyle overhaul. Map the sun and water, check the soil, make one bed or border easier to maintain, and add only the plants and infrastructure that earn their space. Over time, the garden can become more resilient and less dependent on purchased inputs—but that resilience comes from thoughtful design and regular observation, not from leaving the garden alone.