Self-Sufficient Gardening: How to Grow More Food
Learn what self-sufficient gardening can realistically provide, how to plan crops around meals, build soil, manage water, and store a useful harvest safely at home.

A self-sufficient garden is not measured by the number of raised beds or grocery trips avoided. It is planned around the food you use, your local growing conditions, and the time and resources you can reliably give it. Success might mean greens and herbs for much of the year, or tomatoes for sauce plus a few crops that store well.
The useful goal is to grow more of what matters while making production steadier and inputs more manageable. Track servings eaten, meals supplied, or jars put away; total pounds alone can make an unusable glut look like success. Producing every household calorie is a far larger commitment than growing a meaningful share of vegetables; it requires more space, storage, and labor.
What Self-Sufficient Gardening Actually Means
Self-sufficient gardening has two connected meanings. A food-self-reliant garden produces a useful share of household produce or staple foods. A lower-input garden reduces repeated purchases of fertilizer, amendments, water, and seed where practical by reusing sound plant material, saving suitable seed, conserving water, and growing crops suited to the site.
The aims overlap but are not identical: a productive garden may rely on purchased compost and seedlings, while a tidy compost loop may produce little food. Decide which kind of independence matters most before buying materials or expanding.
“Self-sufficient” does not mean maintenance-free or completely closed-loop. Harvests remove nutrients, water is lost, and tools wear out. A realistic system reduces avoidable waste and purchases without pretending that every household can produce every resource on site.
Set a Realistic Level of Food Independence
Choose a target that describes what the garden should do: provide fresh extras such as herbs and greens, supply favorite vegetables through the main season, or add crops that store or preserve for later months. Each step up requires more space, coordination, storage, and labor.
Make the target specific enough to guide a seed order: herbs for weekly meals from spring to frost, greens for a set number of meals, or enough tomatoes for a planned batch of sauce. If the goal is a meaningful share of annual calories, name the staple foods you already cook and confirm that your space, season, and storage can support them before you expand.
Fresh produce and calories are different goals. A small bed can provide herbs, greens, and tomatoes while contributing little energy; potatoes, dry beans, squash, and grains take more room and may need curing, processing, or storage.
There is no universal garden size that feeds a household. Results depend on climate, soil, crop choice, pest pressure, skill, and how the harvest will be used. Treat yield estimates as local trials, not promises; expand only when the first plot’s harvest is being eaten or stored.
Plan Crops Around Meals, Not Seed Catalogs
Record what the household buys, cooks, and throws away. A month of receipts or meal notes can show whether you use tomatoes daily, want specialty peppers, or rarely eat zucchini. Plan for foods you actually cook; an abundant crop that goes unused is not a dependable supply.
For each crop, note how often you eat it, whether you want it fresh or stored, when it grows locally, and how much care it needs. Rank it by usefulness per area and per hour: a small salad bed may supply a daily ingredient, while a pumpkin vine earns space only if you eat or store the fruit.
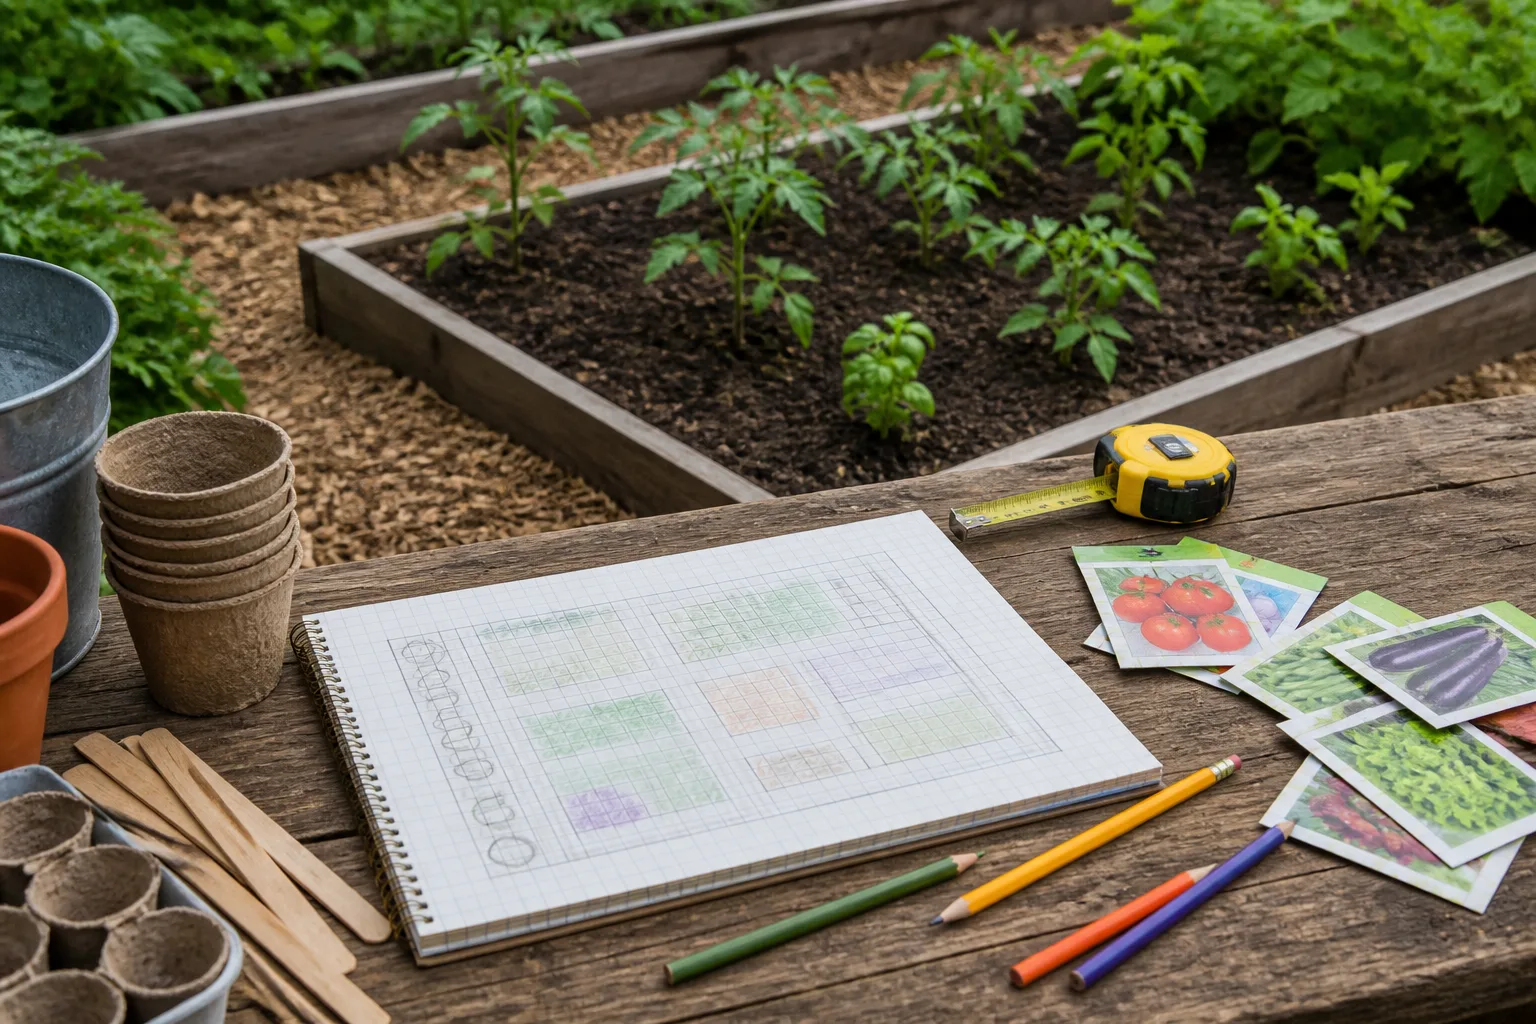
The University of Arkansas System Division of Agriculture’s garden-planning guide recommends choosing crops the household will eat, sizing the plot to the time available, and keeping a map for future rotation. Those steps work at any scale, including a few containers.
Turn household demand into a planting target
For each priority crop, write down how often you use it, how many weeks you want it available, and whether you need it fresh or stored. Then match that target to the crop’s local planting window, days to maturity, spacing, and realistic storage life. A plan for a few fresh tomatoes is different from one that needs enough fruit to fill a freezer or canner.
Estimate plant numbers or bed area from local extension guidance and your own harvest records, not the best-case yield printed in a catalog. In a first season, treat any yield figure as a starting estimate, leave room for weather and pest losses, and record the actual result. If the area, hours, or storage required is more than you can manage, lower the target or plan to buy that crop; a smaller dependable harvest is more useful than an ambitious plan that spoils.
Keep a harvest ledger and adjust next season
Record planting dates, rough harvest amounts, and what was eaten, shared, frozen, or unused. A note such as “beans twice a week for a month” is more useful than memory when ordering seed. Mark crops that needed constant attention or failed from heat, cold, disease, or pests.
Compare the harvest with your target. If tomatoes outpaced your capacity to cook, preserve, or share them, plant fewer or stagger them. If lettuce ran out early, plan a later sowing or choose a heat-tolerant variety instead of enlarging the spring bed.
Choose the Right Site and Layout
Observe the site before building. Track sun through the season, note where rain pools, check wind and shade, and measure the walk to a hose and kitchen door. Suitable light matters, but a hard-to-water or hard-to-reach bed is easy to neglect.
Fruiting vegetables generally need more sun than many leafy crops, but check crop-specific guidance. Trees, walls, reflected heat, and late-season shade all change conditions. In a partly shaded site, reserve the brightest areas for sun-loving crops and use cooler edges for tolerant greens or herbs.
Sketch paths, bed widths, trellises, and mature plant sizes. Keep paths reachable without stepping on beds, place tall crops where they will not shade short ones, and put frequently harvested crops near a path. Use the map to record crop families for future rotation.
If the site may have industrial, paint, treated-wood, or roadside contamination, test for contaminants before growing food directly in it. A raised bed is only as safe as its fill; use known clean material and keep questionable runoff out. Nutrient and pH tests are separate and help prevent needless amendments.
Build Soil Fertility Without Creating a New Dependency
Healthy soil supports roots and holds water, but extra fertilizer is not a substitute for understanding it. Use a soil test and local recommendations before applying lime or fertilizer. The University of Arkansas System Division of Agriculture Extension warns that excess nitrogen can produce lush tomato foliage without fruit set; its garden guidance also covers crop choice, spacing, and disease prevention.
Compost returns some nutrients and organic matter, but it is not a predictable complete fertilizer. Compost leaves, healthy trimmings, and suitable kitchen scraps in a managed pile; exclude diseased plants, persistent weed seeds, pet waste, and contaminated material unless the method can handle them safely. Finished compost should look decomposed and smell earthy.
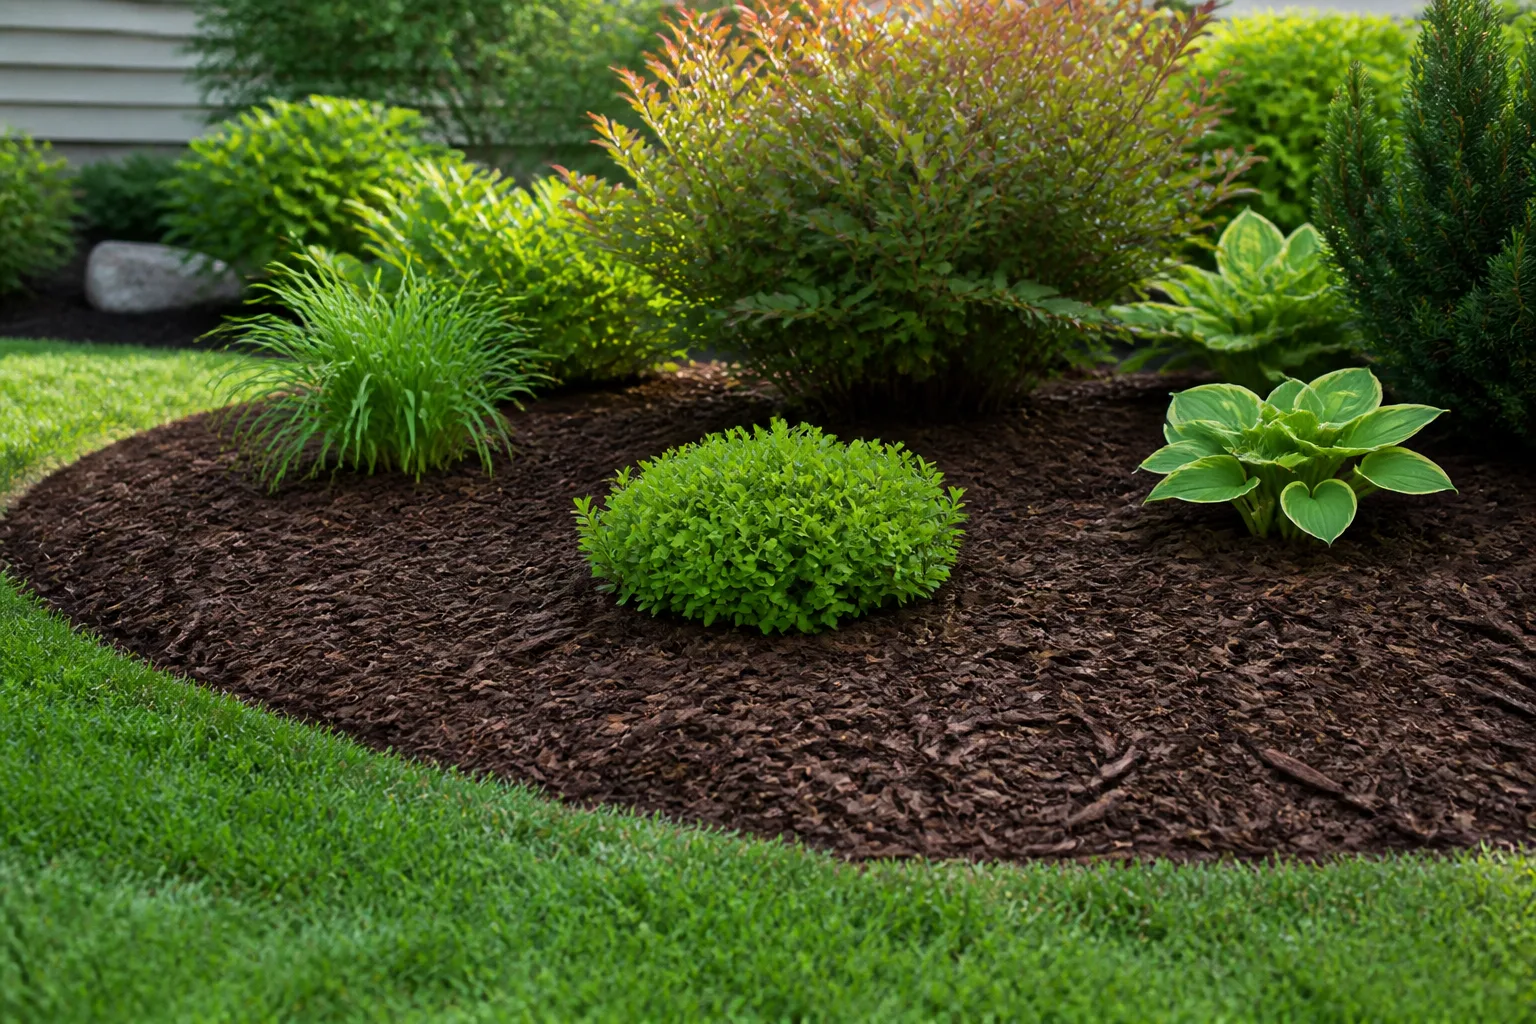
Mulch and living roots protect bare soil, moderate moisture, and limit weeds. Keep mulch from burying crowns or seedlings. Cover crops need a clear purpose and termination plan; one that sets seed or is hard to clear adds work instead of value.
Treat fertility as a loop with a budget: compost returns some material, while harvests and leaching still remove nutrients. A targeted amendment based on a test is often more efficient than unmeasured compost or broad fertilizer.
Choose Crops for Output, Not Novelty
Give a crop space if the household eats it often, it is hard to find fresh, it produces over a long window, or it stores well. Greens, herbs, beans, tomatoes, peppers, cucumbers, and zucchini can all fit, depending on climate and space. “Easy” is local: cool-summer crops may struggle in heat and humidity.
Add diversity without planting a sampler nobody wants. Different families and harvest times can spread risk, but every crop still needs suitable light, spacing, and water. Follow local calendars and varieties; disease resistance reduces some problems but is not immunity.
Think in jobs, not just crop names. Repeat-harvest greens and herbs fill small, frequent needs; tomatoes and peppers may be worth the support and steady picking if they appear in many meals; potatoes, dry beans, and winter squash contribute more stored food but need the right season and a place to cure or keep them. The best mix usually includes a few reliable favorites before any experimental crop.
Decide whether calorie crops belong in the plan
For more calories, include a crop that stores or preserves. Potatoes, dry beans, winter squash, and some grains are options, each with trade-offs: potatoes need suitable soil and storage, beans must mature and dry, and squash needs vine space and a curing area.
Mother Earth News gardening writer Cindy Conner also compares staple crops by food energy, yield, and storage in her crop-planning overview; use those as comparison criteria, not as guaranteed yields for your climate. Choose staples you cook, can grow locally, and can store. A calorie-dense crop is no help if it spoils or goes uneaten.
Make Seeds and Starts Work for Your Climate
Direct-sow crops that establish reliably in your soil and weather; use transplants for crops needing a longer warm season or a head start. Consider frost dates, days to maturity, indoor light, and seedling care. Arkansas Extension notes that beans, peas, cucurbits, and okra are often practical from seed, while tomatoes and peppers may be easier as transplants in its regional planting guidance.
Seed saving can preserve varieties that perform well, but not every seed reproduces predictably. If you want saved seed to grow true to type, start with open-pollinated varieties; seed saved from an F1 hybrid may produce plants that differ from the parent.
Some crops cross-pollinate, and biennials need a second season to set seed. Start with crops that are easy to isolate, dry, and store.
Label seed with crop, variety, and year; store it cool and dry, then test germination before relying on it. Buy seed or transplants when that is more reliable for the crop or your setup. Some outside inputs do not negate meaningful self-reliance.
Keep Harvests Coming With Succession and Rotation
One sowing rarely provides an even supply all season. Sow quick crops such as radishes or greens in small batches, replace a finished cool-season crop with one suited to warmer weather, or choose varieties with different maturity dates. Farmer’s Almanac’s succession-planting guide, updated in 2026, describes these approaches and stresses checking days to maturity against the local first-frost date.
Do not repeat a fixed interval automatically: heat, day length, and the remaining season determine whether another sowing has time to mature. Schedule the next round only if you can use it and the crop has a realistic chance of finishing in your climate.
Map crop families and move them between beds when possible. Tomatoes, peppers, eggplants, and potatoes are related; cucumbers, squash, and melons are another family. Arkansas Extension recommends a multi-year interval where practical, but tiny plots may need partial rotation combined with clean tools, resistant varieties, and removal of diseased debris.
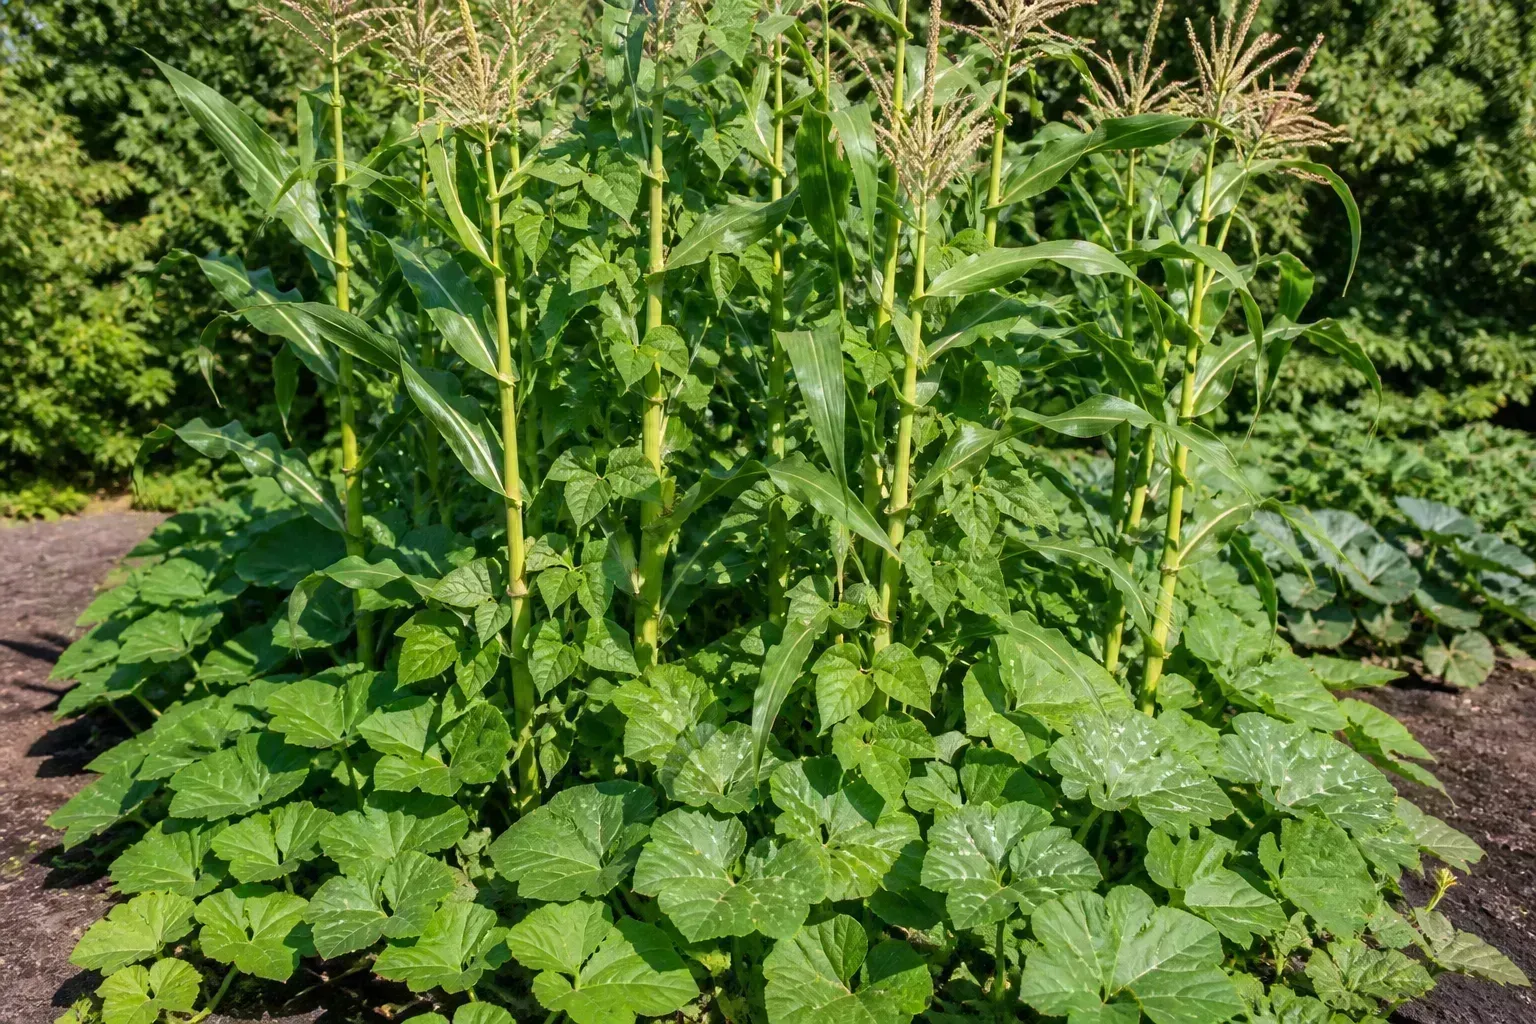
Companion planting can combine different growth habits, but it is not guaranteed pest control. Corn, beans, and squash can occupy different layers, yet this combination does not fit every climate or bed. Maintain spacing and airflow instead of crowding plants to match a chart.
Use Water and Pest Prevention as a System
Make water convenient before adding beds. Water the root zone, mulch to slow drying, and group plants with similar needs. Captured rain can help when the roof, overflow, local rules, and maintenance suit it, but it may not cover a long dry spell.
Check moisture at root depth instead of watering by calendar. Containers need more frequent checks because their limited soil volume dries faster than a bed. A short routine check is easier than recovering a wilted crop.
Prevent problems with healthy seedlings, good spacing, rotation where possible, and regular inspection. Identify the cause before acting: holes, sticky residue, and wilting have different explanations.
Remove localized damage when appropriate, and use a labeled treatment only if needed. No “natural” spray or companion plant controls every pest.
Preserve What You Grow Safely
Plan storage before planting a crop that produces a flush. Some vegetables keep under suitable conditions; others are better eaten fresh, frozen, dried, fermented, or canned. Match the method to the crop and count freezer, pantry, cellar, or canner capacity as part of the plan.
Decide what you can process on a busy week as well as what fits in the pantry: the harvest still needs prompt attention after it leaves the garden. If time is short, plant fewer of the crops that mature all at once and more that can be picked over several weeks.
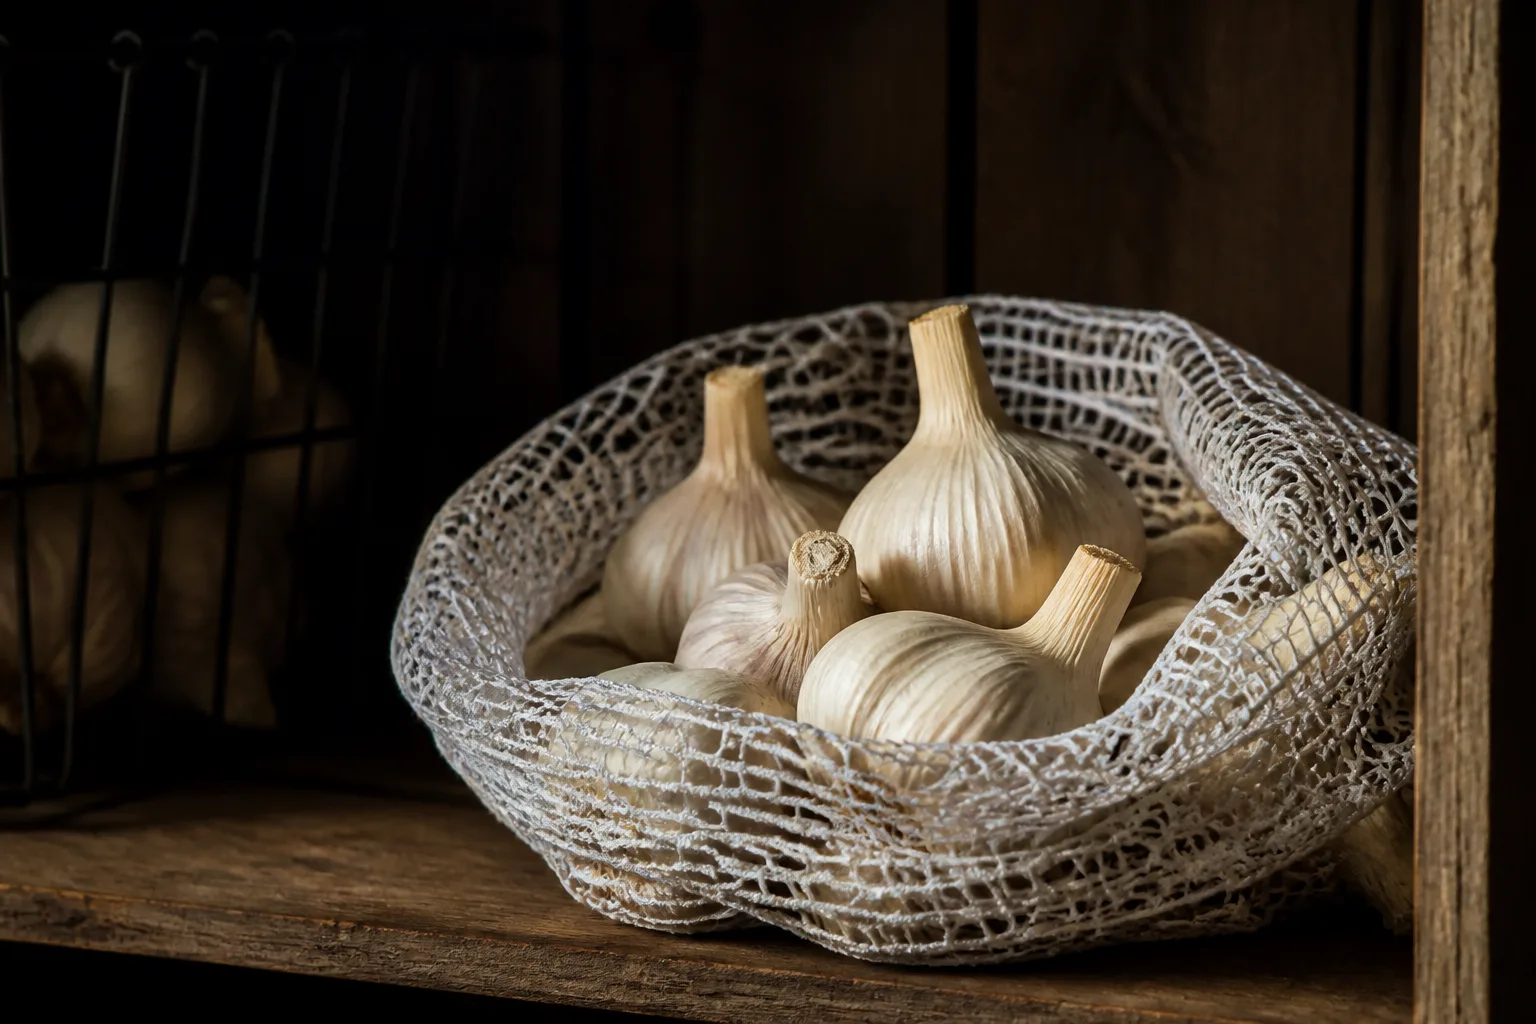
Harvest at the right stage, handle produce gently, and cool or process it promptly. Cure onions, garlic, potatoes, and winter squash according to crop-specific guidance, then check storage for decay. A large harvest is not useful if it spoils after picking.
For shelf-stable canned vegetables, follow current tested recipes exactly. Do not improvise processing times, jar sizes, or acidity. The National Center for Home Food Preservation explains that canning is safe only when practiced properly and provides food-specific procedures.
If you cannot process a surplus safely, freeze, share, or eat it fresh.
Grow Food Without a Yard
Containers, balconies, patios, and shared plots can produce useful food. Check direct sun, structural support for filled pots, and water access. Use drainage and suitable potting mix; garden soil is often too dense for containers.
Match crops to container volume and light. Herbs and greens give repeated small harvests; compact tomatoes and peppers need more sun, water, and support. Sprawling crops can consume a balcony for little return, and reservoir planters still need checks in hot or windy weather.
Containers are useful for fresh produce where ground is unavailable, but less efficient for staples because they need mix, water, and sometimes fertilizer. Do not assume a large pot can be moved around every day to chase sunlight; choose a suitable permanent spot or plan the crop around the light you actually have. Use containers as one part of the plan and look to a community plot for crops needing more room.
Understand the Work, Cost, and Limits
Growing food adds fresh ingredients and access to varieties local stores may not carry. Savings are possible when you grow frequently used crops and reuse equipment, but materials, water, amendments, losses, and time all have costs. Separate one-time setup costs, such as beds or trellises, from yearly purchases such as seed and growing medium; otherwise a productive first harvest can look cheaper than it really was.
Measure useful harvest, not weight alone. A bowl of greens can replace a purchase, while surplus zucchini may reveal a mismatch. Track labor and inputs with harvests to decide whether to expand, change crops, or simplify.
Summer abundance does not guarantee winter supply. Plan for storage crops, preservation, protected growing, or purchases, and keep a backup for crop failure or extreme weather.
Common Mistakes That Make a Garden Less Self-Sufficient
The most common mistake is planting more than the household can care for or eat. A spring bed of appealing crops can become a mid-summer watering and harvesting burden. Start with a few useful crops and expand when you know how to use their harvest.
Other problems include skipping soil tests, feeding heavily without diagnosis, overcrowding, and ignoring the local season. These can increase disease or produce foliage without food. Follow spacing and planting guidance; closer planting does not always mean more harvest.
Compost, saved seed, and companion planting do not replace planning: compost may lack nutrients, saved seed may fail, and companion plants do not guarantee pest control. Use each for a specific purpose and keep a fallback.
Do not preserve a crop without a safe method and enough time. Freeze or share a surplus rather than guessing at canning, and remove damaged produce from storage.
A First-Year Plan You Can Actually Follow
For the first season, pick three to six crops you already eat: a quick repeat-harvest crop, a valued warm-season crop, and, if space and storage allow, one crop that keeps. Choose local varieties and map sowing dates, spacing, and access paths.
Start with less than the maximum area you could fit; size the garden for the summer week when work and heat make watering and harvesting hardest, not only for an optimistic spring weekend. Before planting, check sun and water, test soil where appropriate, and prepare only maintainable space. Amend based on need, then set regular times for watering and harvest.
Sow small repeat batches where timing allows and keep a harvest ledger. Set a recurring check for moisture, pests, and harvest readiness, and choose the preservation method before a surplus arrives.
At season’s end, compare output with food eaten, stored, shared, or lost. Expand reliable crops, reduce surplus, and add storage only when the record shows you need it.
Conclusion
Self-sufficient gardening works best as a gradual shift toward food you enjoy and can grow, use, and store. Match crops to your household, climate, space, water, soil, and time; a worthwhile garden need not replace every grocery purchase.
Start with a manageable plot, learn what it produces, and make one measured improvement each season. That builds food resilience without promising total independence.