Are Coffee Grounds Good for Plants? Use Them Safely
Are coffee grounds good for plants? Learn when to compost or apply used grounds, how much to use, and why pH and slug myths need caution.
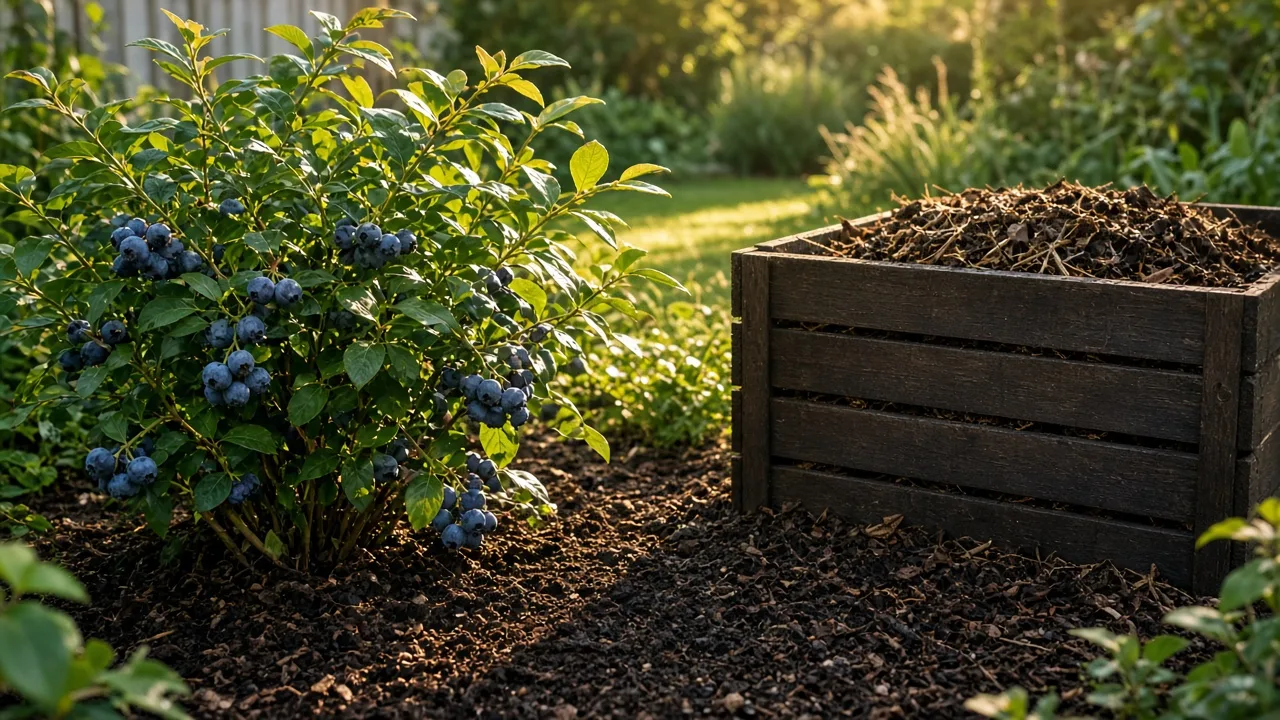
If you have a daily coffee habit, used grounds are an easy source of organic material. They can contribute to compost and, in modest amounts, help build soil organic matter. They are not a magic fertilizer, a dependable soil-acidifying treatment, or a guaranteed slug barrier.
The safest rule is simple: put most grounds in compost, and use smaller amounts directly in established soil. Keep them away from seed rows, avoid thick surface layers, and use a soil test when pH or nutrients are the actual problem. That approach captures the useful part of coffee grounds without asking them to do a job they are not suited for.
The short answer: useful, but not a cure-all
Used coffee grounds are a “green” compost ingredient because they contain nitrogen-rich material, even though they look brown. They also contain carbon compounds and small amounts of other nutrients, but their analysis varies with the bean, brewing method, and how wet or dry the grounds are. The result is best treated as a supplemental organic input rather than a measured fertilizer.
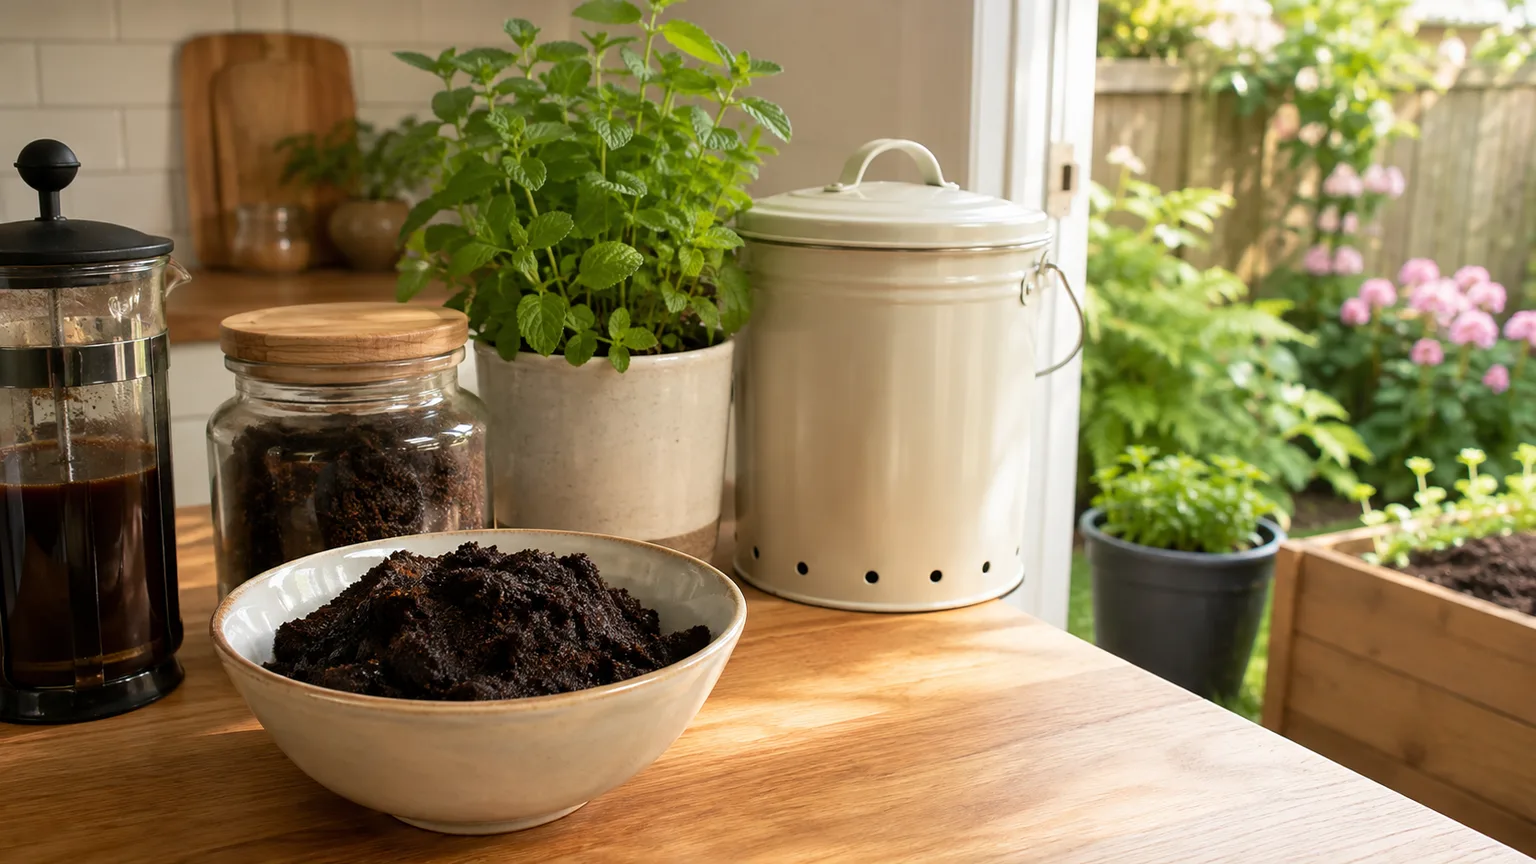
The strongest case for using them is waste reduction and compost building. The weakest cases are using them as the only feed for hungry crops, scattering them as a pest-proof fence, or assuming they will change soil pH on schedule. University of Minnesota Extension separates these “home remedies” from practices that can be guided by a soil test, which is a useful distinction for any garden amendment.
What used coffee grounds actually add
Grounds add fine organic particles that microorganisms can break down. In a compost pile, that material becomes part of a larger blend of decomposed organic matter. In soil, the long-term benefit comes less from a quick nutrient flush and more from adding carbon-based material that is eventually transformed by the soil food web.
That benefit is gradual. Grounds will not repair compacted soil in one application, replace finished compost, or supply every nutrient a tomato or pepper needs. If a plant is pale, stunted, or producing poorly, diagnose light, water, roots, pH, and fertility instead of assuming the answer is an extra scoop of kitchen waste.
Choose the method that matches your goal
Think of coffee grounds as a material with several possible destinations. Pick the destination before you spread them.
| Your goal | Best use | Main caution |
|---|---|---|
| Recycle a steady supply | Compost pile or bin | Balance with dry browns and mix well |
| Improve established bed soil | Thinly incorporate into the top layer | Do not create a dense band or blanket |
| Feed a worm bin | Small, regular additions | Avoid a large acidic clump at once |
| Protect seedlings | Do not apply around the seed row | Residual caffeine and fine texture can interfere |
| Change pH | Use a soil test and a labeled amendment | Grounds are too variable for reliable correction |
| Stop slugs | Use proven integrated pest methods | Grounds are not a dependable barrier |
Compost is the safest default
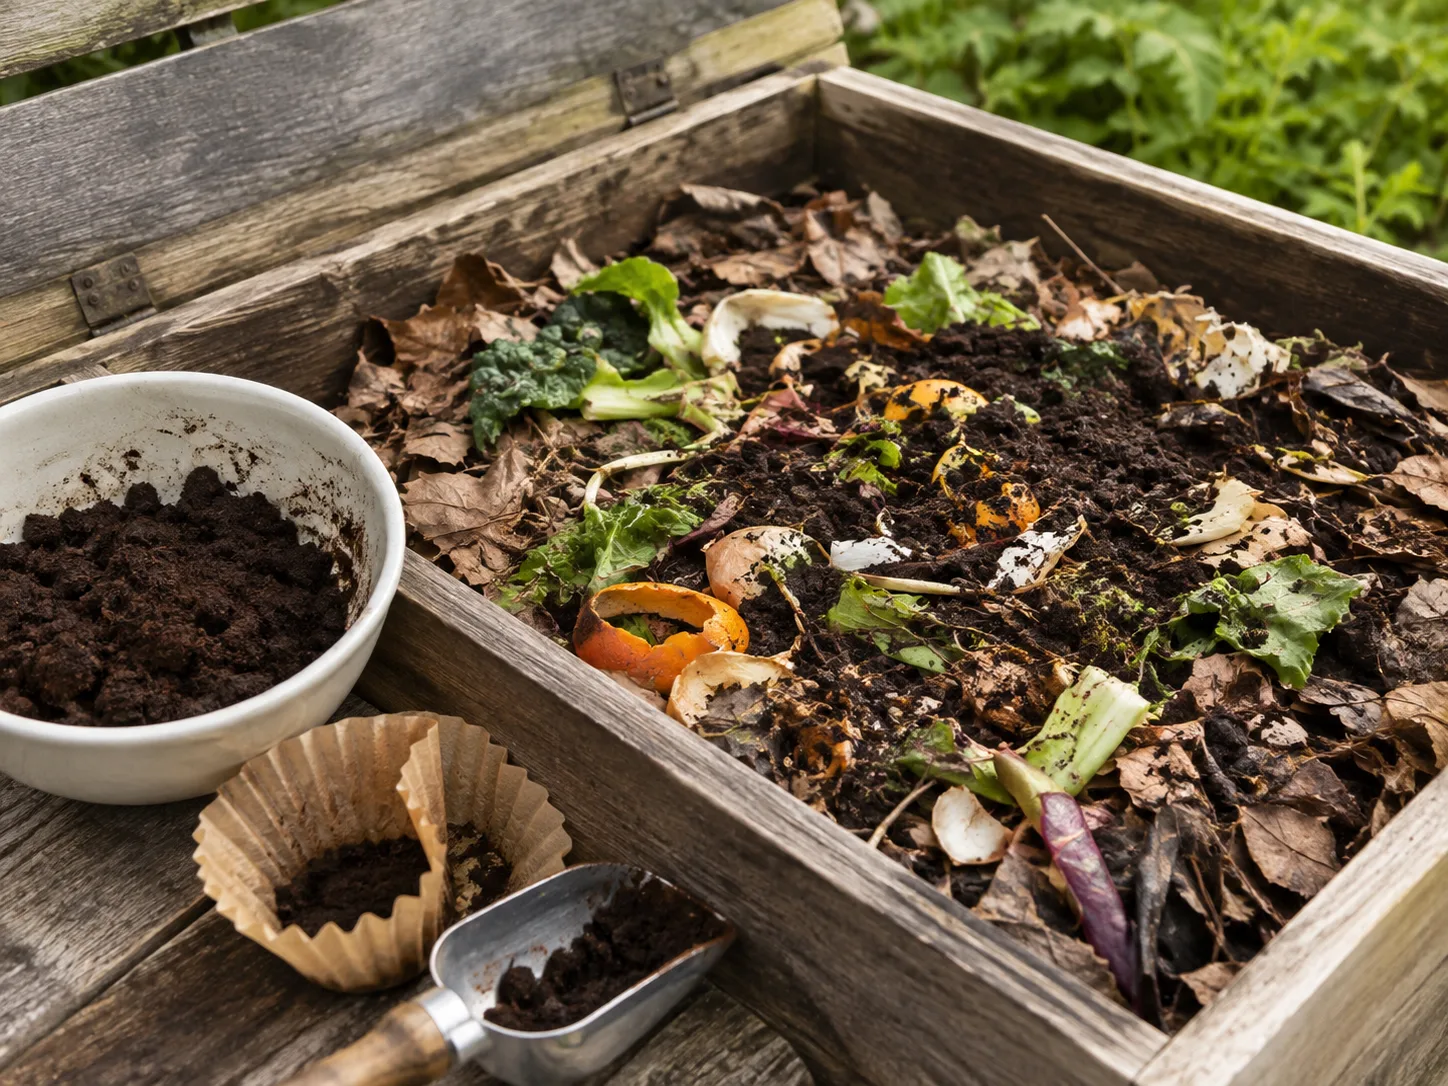
If you make more than a small household amount of grounds each week, compost is usually the most forgiving route. Mix the grounds through a pile containing dry leaves, shredded paper, untreated cardboard, plant trimmings, and other carbon-rich “brown” material. The pile should not become a wet, airless layer of coffee sludge.
Coffee filters made from plain paper can generally join the compost, but remove plastic, foil, staples, pods, and flavored or synthetic components. Let fresh grounds cool before adding them. The goal is not that the grounds are dangerous when warm; it is that a hot, wet pocket can disrupt the small-scale biology and airflow your pile needs.
Incorporate a thin layer into established soil
For an existing bed, spread a light dusting over the soil and mix it into the upper few inches rather than leaving a smooth cap. A practical ceiling is no more than about 1/2 inch incorporated into the top 4 inches of soil at one time, followed by observation. That is a small amount relative to the whole root zone, not a recipe for dumping a bucket around each plant.
Apply after plants are established and the soil is workable. Water normally, then watch whether the surface stays open and drains as it should. If water beads and runs off, rake the area open and add coarser organic matter such as leaf mold or finished compost rather than adding more grounds.
Use surface mulch only as a mixed layer
A thick layer of fine grounds can knit into a water-resistant crust as it dries. That defeats the purpose of mulch: water may run away from the root zone, while the upper surface stays compact and oxygen-poor. This is especially risky in containers, seed beds, and areas that already drain slowly.
If you use grounds at the surface, mix them with a coarser mulch such as shredded leaves or small wood-based material. Keep the layer loose and away from stems. Grounds are an ingredient in a mulch system, not a replacement for the system.
How to add coffee grounds to compost
Add grounds in thin layers as the pile is built, then cover each addition with browns. You do not need to obsess over a perfect ratio, but a pile dominated by wet kitchen scraps and grounds will slump, smell, and decompose slowly. A useful working pattern is several parts dry leaves or shredded paper for each part of wet greens and grounds, adjusted for how damp the pile feels.
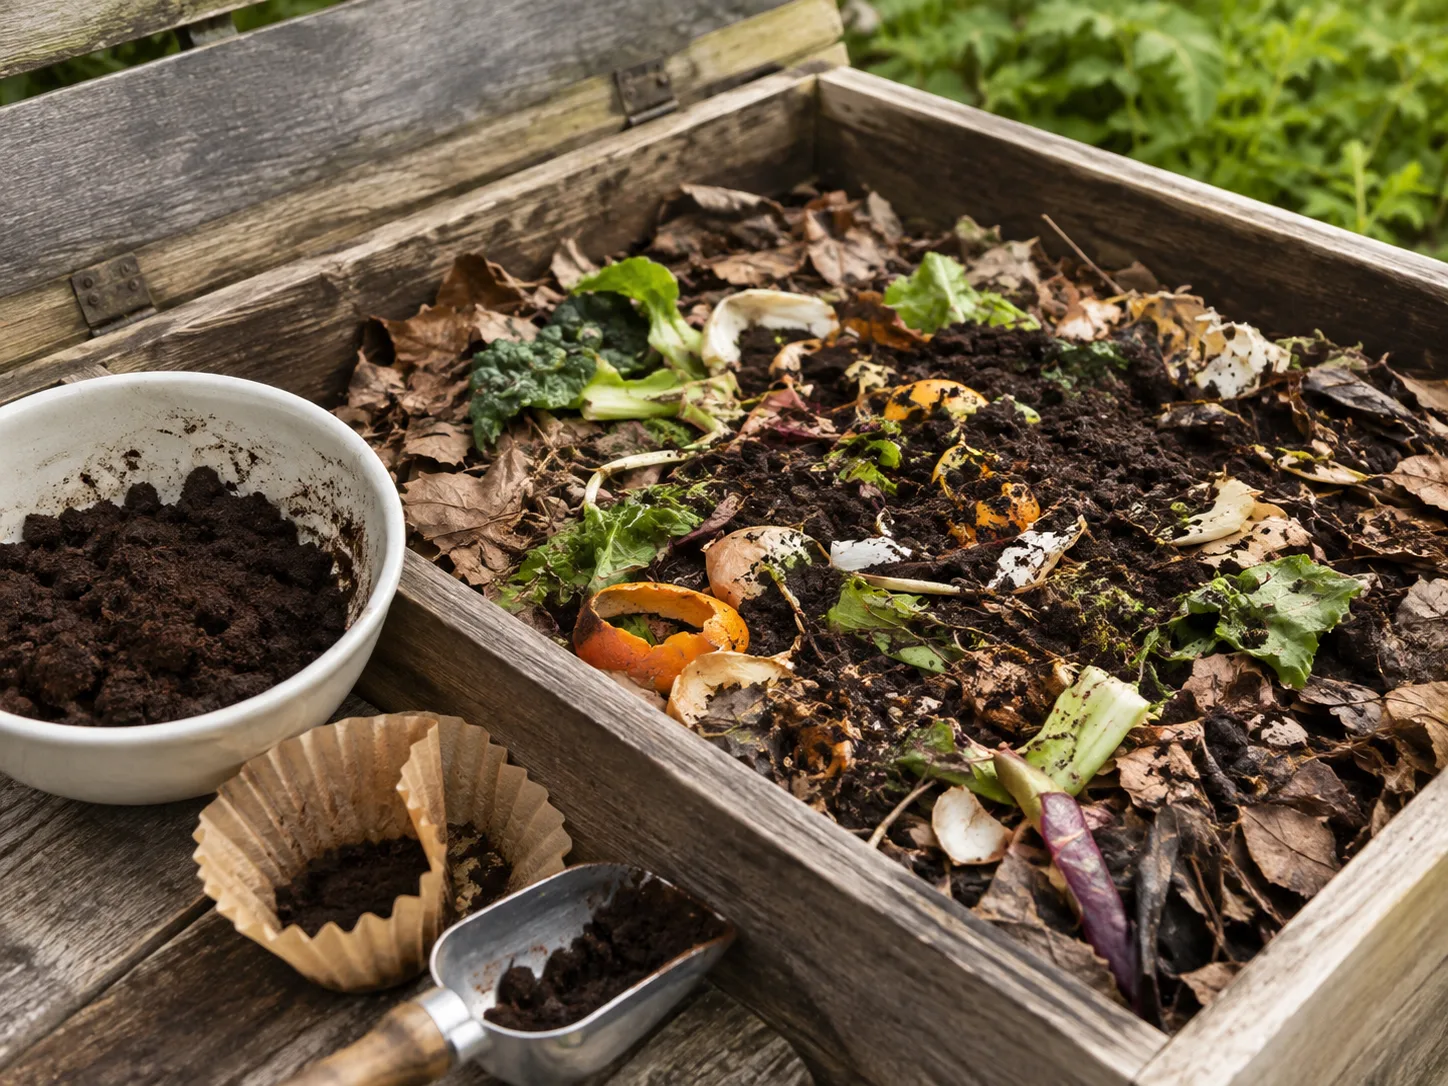
Turn or loosen the pile when it becomes dense. If it smells sour, add dry browns and air. If it is dusty and inactive, add moisture and more green material. Coffee grounds should disappear into the overall compost mix; they should not remain as a visible, sticky stratum.
For vermicompost, start with a small amount and distribute it across the bedding. Worm bins are sensitive to sudden changes in moisture and acidity. A little mixed into bedding is different from pouring a week’s worth of wet grounds into one corner.
Do coffee grounds acidify soil?
Usually, you should not count on used coffee grounds to lower soil pH. Fresh coffee is acidic, but brewing removes much of the soluble acidity, and the pH of spent grounds varies. Grounds also break down over time, so any short-term effect is not a dependable substitute for testing and a measured amendment.
This matters most around blueberries, azaleas, rhododendrons, gardenias, and other plants that genuinely need acidic conditions. Use a soil test to find out whether your bed is too alkaline, then follow the test’s recommendation for a product intended to correct pH. You can still compost grounds for these plants, but do not use them as the treatment that determines whether the root zone is acidic enough.
Why coffee grounds are not a complete fertilizer
Plants need a balanced supply of nutrients in forms their roots can access. Coffee grounds may contribute nitrogen and smaller amounts of minerals, but the amounts are inconsistent and not packaged in a known analysis. They cannot reliably replace a fertilizer selected for a crop’s growth stage or a compost application that supplies a broader mix of organic matter.
If you are growing a heavy-feeding crop, use a fertilizer with a guaranteed analysis and follow its label. If you suspect a deficiency, look for patterns across the plant and test the soil where appropriate. Adding grounds on top of a nutrient problem can make the gardener feel active while leaving the real cause untouched.
Coffee grounds in containers and houseplant pots
Containers have less soil volume and less biological buffering than a garden bed. A thin sprinkle that would be insignificant outdoors can form a substantial layer in a six-inch pot. Fine grounds can also reduce infiltration and encourage fungus gnat-friendly, persistently wet conditions when mixed into a poorly draining potting mix.
For most houseplants, compost made with grounds is safer than raw grounds. If you experiment with a small amount in an established outdoor container, keep it off the stem, do not bury a thick band, and watch the next few watering cycles. If the pot drains slowly, smells sour, or develops a crust, remove the top layer and refresh it with appropriate potting mix.
Coffee grounds around seeds and seedlings
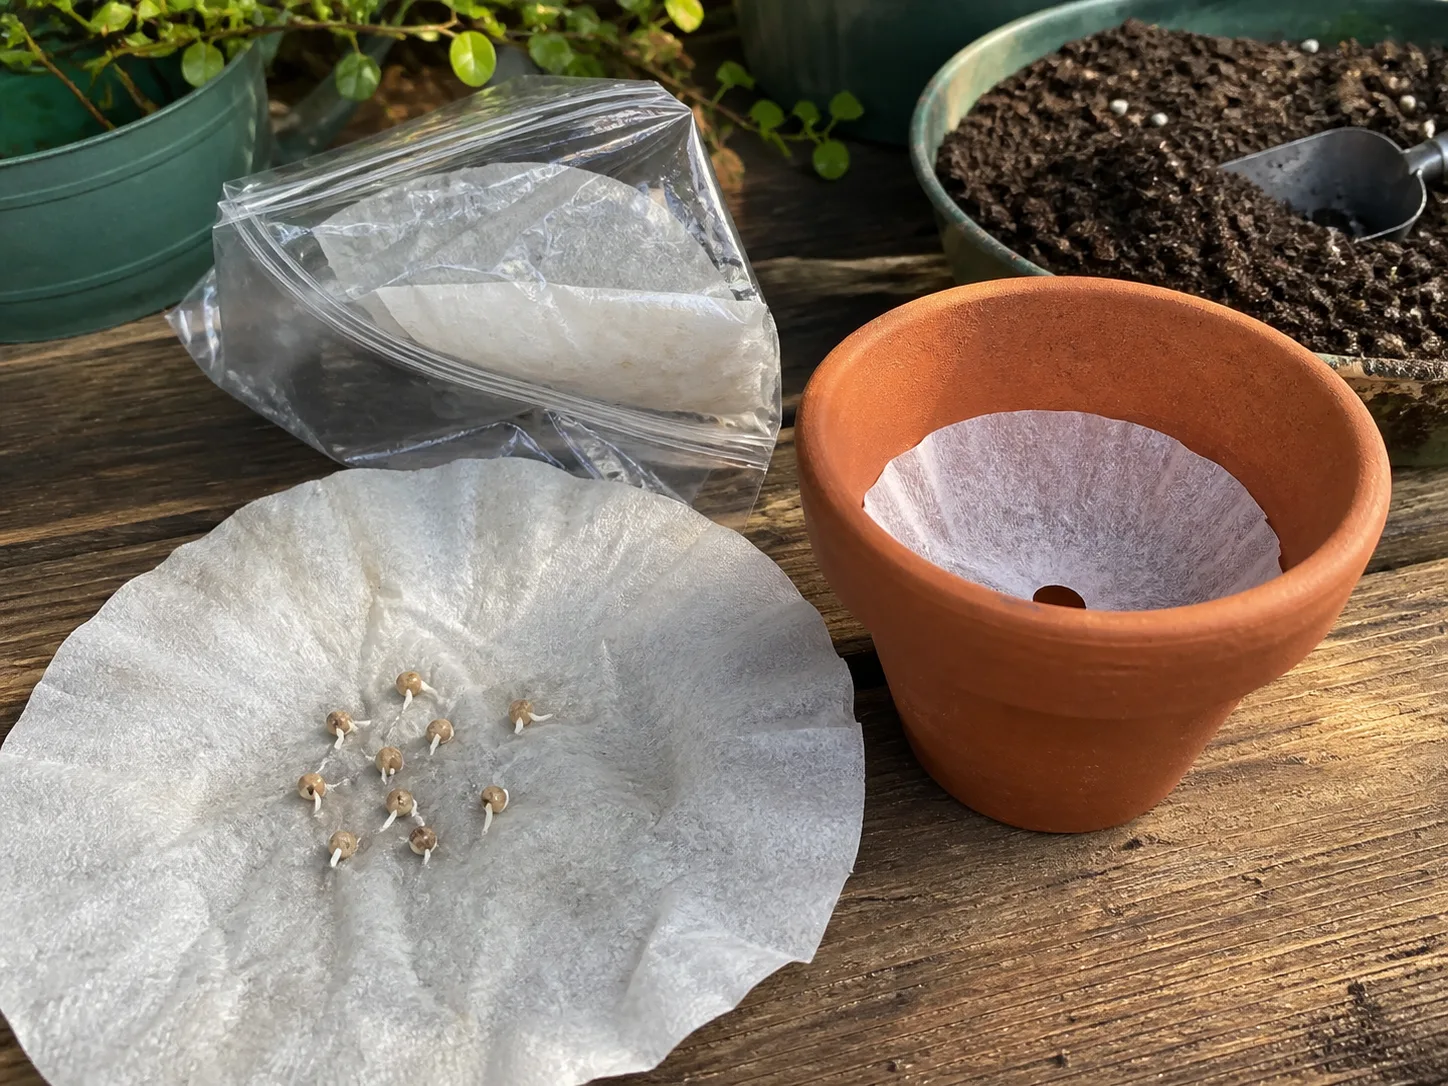
Do not put raw grounds in a seed-starting mix or directly over a seed row. The texture can impede contact between seed and moist medium, and compounds remaining in spent grounds may inhibit germination or slow sensitive young plants. Seedlings also have a small root system, so any concentration problem is harder for them to escape.
Wait until plants are established, or add the grounds to compost first. Use a clean, fine seed-starting mix for germination; save soil amendments for the stage when roots are strong enough to handle a changing environment.
Which plants can receive coffee grounds?
There is no reliable master list of “coffee-ground plants.” Most established garden plants can tolerate a modest amount incorporated into healthy soil, while any plant can suffer from excess, a dense crust, poor drainage, or a pH mismatch. The deciding factors are dose, placement, soil condition, and the plant’s growth stage.
Treat acid-loving plants as a soil-testing question, not a coffee preference. Treat tomatoes, peppers, corn, and other fast-growing crops as plants that need real fertility and consistent moisture. Treat succulents, seedlings, and plants in small pots as poor candidates for raw grounds because the margin for error is small.
Can coffee grounds control slugs and snails?
Coffee grounds are not a dependable slug or snail control. Caffeine can affect some soft-bodied pests at concentrations that are not equivalent to a dry sprinkle of spent grounds, and a garden barrier must remain effective after rain, irrigation, and decomposition. A small home experiment published by Garden Myths found slugs crossed wet grounds quickly; that is useful practical evidence against treating grounds as a reliable fence, even though it is not a controlled field trial.
If slugs are damaging plants, reduce hiding places, water in the morning, hand-pick at dusk, protect vulnerable seedlings, and use a labeled control where needed. USDA Agricultural Research Service research is relevant to caffeine toxicity research, but a laboratory concentration should not be casually translated into a home spray or soil drench. Never improvise a pesticide rate from a coffee recipe.
Pet safety and household access
Used grounds still contain some caffeine, and the amount varies. Keep bowls, compost buckets, and freshly spread grounds away from dogs and other animals that may eat unusual materials. If a pet consumes grounds or shows signs such as agitation, vomiting, tremors, rapid breathing, or a racing heartbeat, contact a veterinarian or an animal poison service promptly; do not wait for a garden remedy to “dilute” the problem.
Pet access is a reason to compost grounds in a contained bin rather than use them as a surface mulch. Do not assume that a material safe in the coffee cup is safe when consumed in concentrated grounds.
Five mistakes that cause most problems
- Using a blanket layer. Fine particles can lock together and block water. Spread thinly, mix through soil, or compost instead.
- Applying grounds to seeds. Keep them out of seed-starting mixes and fresh seed rows.
- Calling grounds fertilizer. They are an amendment, not a complete feeding program.
- Trying to change pH by guesswork. Test soil and use a measured amendment when pH is the issue.
- Treating them as pest control. Grounds may be organic waste, but organic does not mean reliably pesticidal.
A simple application routine for the growing season
First, collect the grounds in a ventilated container and let them cool. If you have a large amount, add it to compost with dry browns the same day or spread it thinly to prevent a sour, compacted mass.
Next, decide whether the destination is compost, established soil, or nowhere in the bed. For soil, start with a small area rather than treating the whole garden. Mix the grounds into the top few inches, water normally, and check the surface after it dries.
Finally, record what you used and what you observed. If a plant declines, stop adding grounds and inspect water movement, roots, light, pests, and pH. A simple note about amount, date, weather, and plant response is more useful than repeating a folk recipe.
When a soil test or real fertilizer is the better choice
Use a soil test when you need to know pH, phosphorus, potassium, or lime requirements. Use a labeled fertilizer when you need predictable nutrient delivery. Use finished compost when you want a more balanced organic amendment. Use a proper mulch when your goal is moisture moderation and weed suppression.
Coffee grounds are valuable when they are free, available, and used for the right job. They become counterproductive when they are asked to fix every soil problem at once. Good gardening is often less about finding a miracle ingredient than matching a material to the system that can use it.
Conclusion: recycle the grounds, adjust the expectation
Coffee grounds can help the garden, especially in compost and in small, well-mixed amounts around established plants. Their best benefits are modest and cumulative: recycling organic material, feeding decomposers, and contributing to soil structure over time.
Use compost as the default, avoid raw grounds around seeds and in small pots, do not rely on them to acidify soil or repel slugs, and keep them away from pets. That balanced approach lets you reuse a daily by-product without turning a useful amendment into a dense layer, an unreliable fertilizer, or a garden myth.