Are Hydroponic Gardens Worth It? Costs and Benefits
Are hydroponic gardens worth the cost? See realistic setup, electricity, nutrient, time, and failure costs, then choose the system that fits your harvest.
The quick answer: who gets real value from hydroponics
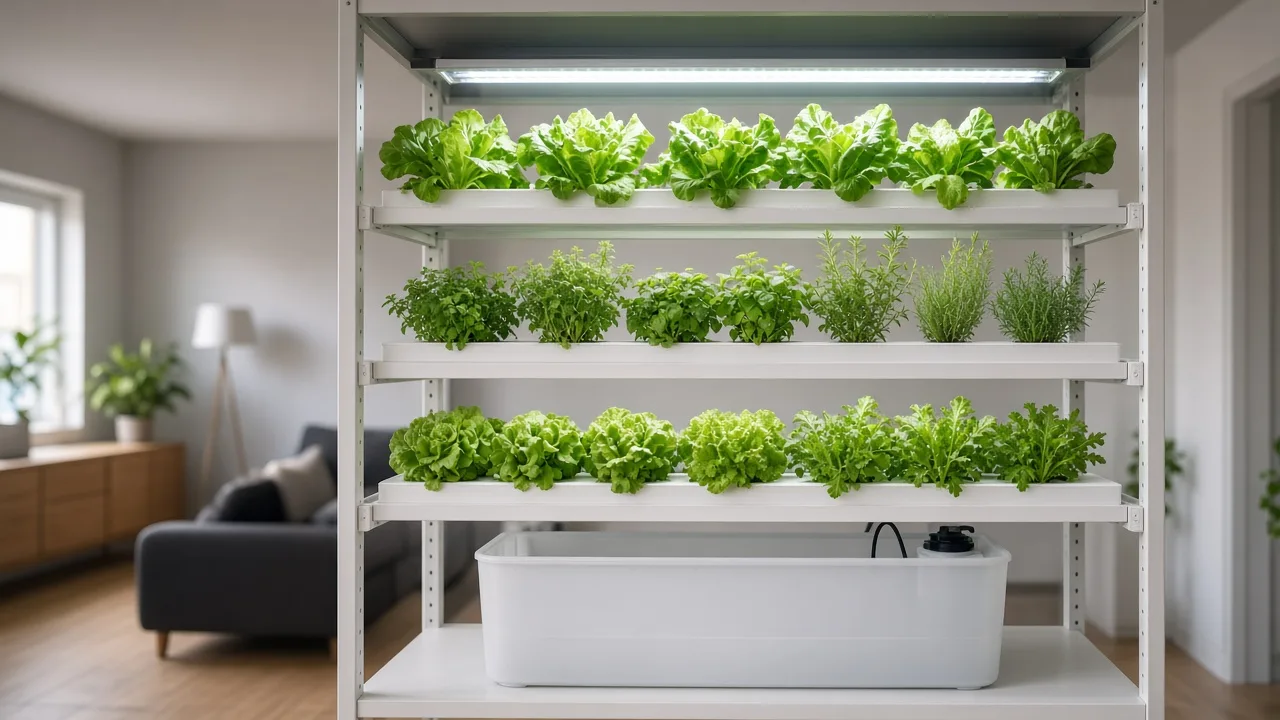
Hydroponic gardens are worth the cost when they solve a problem that soil cannot solve cheaply: you have no yard, very little outdoor growing season, poor light, mobility constraints, or a strong desire for fresh greens and herbs on demand. They can also be worth it as a controlled gardening hobby, a seed-starting station, or a way to harvest small amounts continuously rather than buying a whole bag of herbs every week.
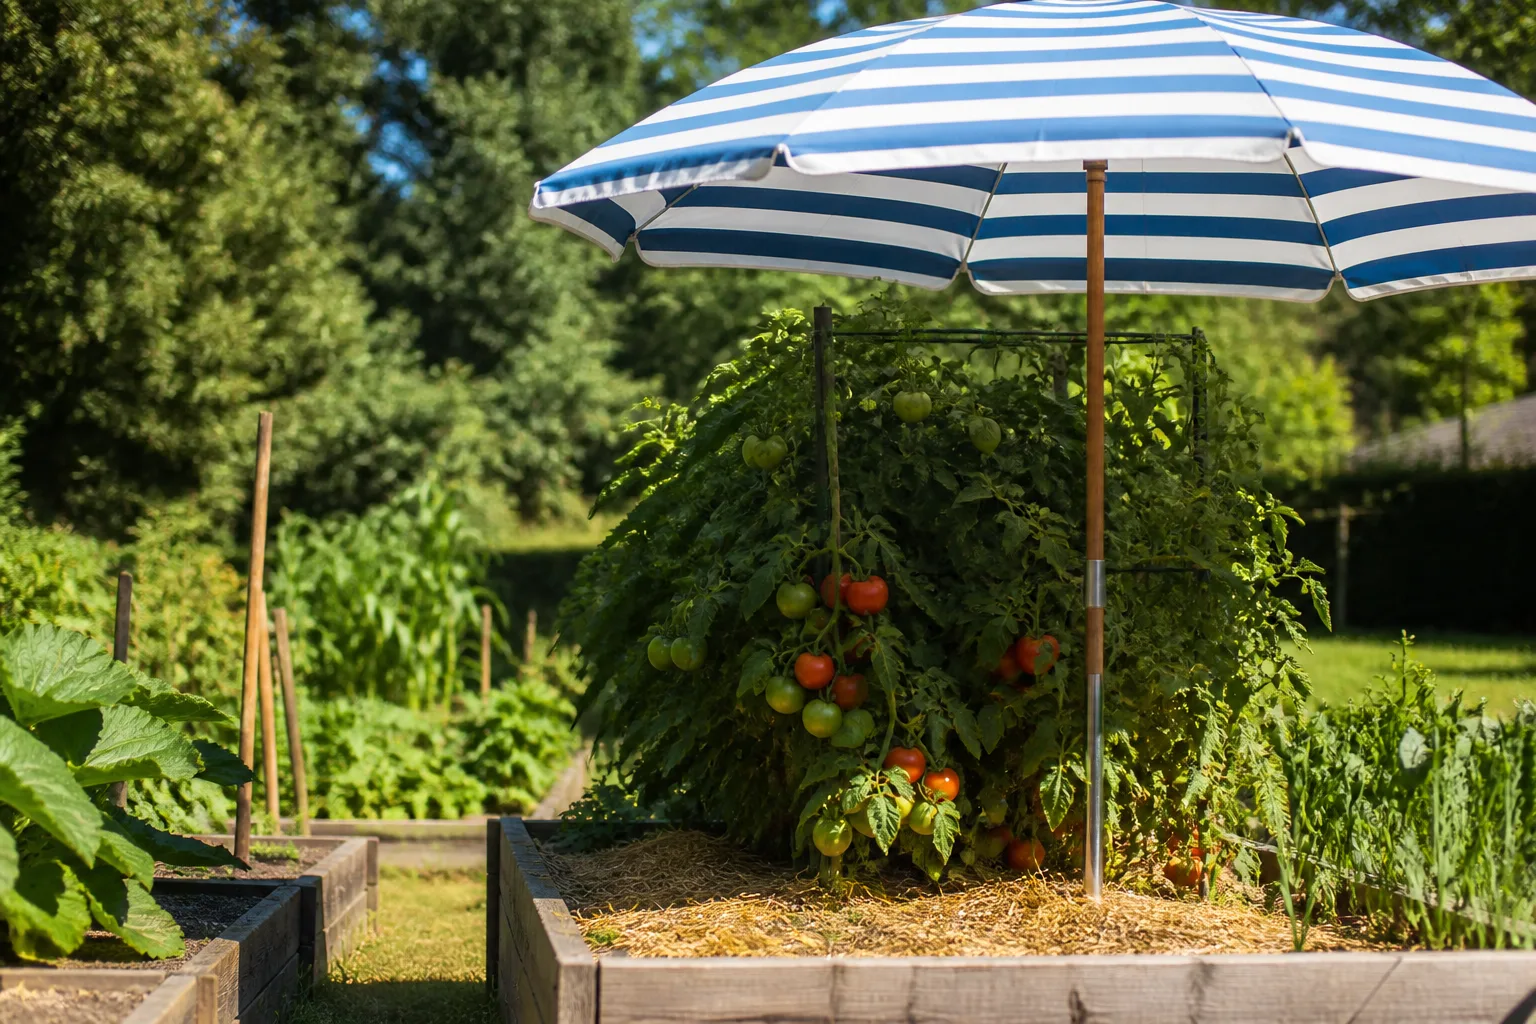
They are usually not worth buying if your only goal is the lowest possible price per tomato or head of lettuce. Soil, containers, a sunny bed, or a community plot generally have a lower entry price and fewer things to monitor. A hydroponic system replaces some outdoor limitations with equipment, electricity, nutrient solution, cleaning, and the risk that one small failure can damage an entire crop.
That is the honest answer behind the attractive claims about faster growth, fewer weeds, and year-round harvests. Hydroponics is best judged as a cost-per-useful-harvest and convenience decision, not as a guaranteed grocery rebate. The same setup can be a bargain for a renter who harvests basil every few days and a poor purchase for someone who grows one crop, forgets to check the reservoir, and compares a failed harvest with a discounted supermarket sale.
The Royal Horticultural Society’s hydroponics guide rates the method as difficult and notes that artificial light is needed for winter growing. That does not make home hydroponics impractical; it clarifies that the value comes from control and access, not from removing all gardening work.
What you are actually buying
A hydroponic garden is not simply a container full of water. It is a small growing environment that must supply roots with water, dissolved nutrients, oxygen, support, and enough light for the crop. Depending on the design, that means a reservoir, net pots, a growing medium, an air pump and stone, a water pump, tubing, a timer, a light, a pH test, an electrical-conductivity or total-dissolved-solids check, and a way to clean the parts.
The equipment list changes with the system. A passive wick or Kratky setup can be little more than a light-proof container, net pots, a suitable medium, nutrient, and seeds. Deep water culture adds aeration. Nutrient film technique adds channels, a constantly running pump, and return plumbing. A tower adds height, a pump, many planting sites, and more awkward cleaning. A ready-made countertop unit bundles much of that complexity into a polished product, but the convenience is part of what you pay for.
This is why two gardeners can quote very different “hydroponic costs” and both be right. One may be discussing a small passive box that grows herbs beside a window; another may mean a lit, recirculating system with a meter, replacement pump, and enough height for fruiting crops. Define the crop, light source, harvest target, and maintenance tolerance before comparing prices.
The costs that hit your wallet
Up-front hardware and setup
The purchase price is the easiest cost to see and the easiest to underestimate. A small DIY system can start around the low hundreds or less when you already own a shelf, a suitable light, containers, and basic tools. A ready-made countertop unit may cost more but save construction time. Larger towers, multi-channel systems, or setups for tomatoes and peppers quickly add reservoirs, support, stronger lights, trellising, and monitoring equipment.
Budget for the parts that do not look exciting in a product photo: a light-proof lid, food-safe reservoir, spare tubing, a replacement air stone, a timer, a pH meter or test kit, nutrient storage, and a catch tray for leaks. If your tap water is hard or inconsistent, you may also need a filter or a different source of water. If the unit sits on a shelf, protect the shelf and the floor before the first fill; water damage is a real operating cost.
The Oklahoma State University Extension hydroponics fact sheet makes the important economic point that small home systems are harder to make economically feasible than larger production systems. The reason is simple: a home grower still pays for the reservoir, light, pump, and meters even when only a few plants are producing.
Electricity, water, nutrients, and replacements
For an indoor system, the light is usually the largest continuous electrical load. Pumps and air stones may run all day or on a schedule, depending on the design. A transparent calculation is better than a generic monthly estimate:
Monthly kWh = watts × hours per day × days per month ÷ 1,000.
Imagine a 50-watt LED running 14 hours a day and a 4-watt air pump running 24 hours a day. The light uses about 21 kWh per 30-day month; the air pump uses about 2.9 kWh. At an electricity rate of $0.18 per kWh, that is roughly $4.30 per month, before adding a water pump, fan, or extra light. At $0.30 per kWh, the same pair costs about $7.20. Your wattage, schedule, utility rate, and number of fixtures matter more than the word “hydroponic.”
The Joe Gardener hydroponic primer describes pump and air-pump electricity as modest for a home setup, but its grower example also shows why schedules differ: a Dutch bucket system can run pumps in timed cycles, while nutrient film technique needs continuous circulation. Use the actual watt label on your equipment and measure a full day with a plug-in meter if the bill is important to you.
Water itself is normally a small cash expense, especially in a recirculating system, but water quality can create indirect cost. The RHS explains that nutrient solution can become more concentrated as plants remove water and that electrical conductivity helps reveal that change; it also recommends making fresh solution roughly every two weeks. That means some water and nutrients leave the system even when most of the volume is reused.
Seeds, starter plugs, rockwool or another medium, nutrient concentrate, pH adjusters, calibration solution, and replacement parts make up the consumables. They are not all monthly expenses, but they belong in the annual total. So does crop loss. A dead pump, clogged line, algae bloom, root disease, or over-concentrated reservoir can turn a low-cost harvest into a reset with new media and seeds.
The time and failure budget
Hydroponics saves time on weeding and can make watering more consistent, but it does not make plants self-sufficient. A practical routine includes checking water level, looking at roots and leaves, confirming that pumps are moving solution, and checking pH or nutrient strength often enough to catch drift. Joe Gardener’s featured grower checks his nutrient levels every two or three days and reports that a pH or nutrient adjustment can take about 10 to 15 minutes.
That frequency is not a universal prescription for every small kit, but it is a useful reality check. If you travel for a week, choose a reservoir and system with enough buffer for the crop, test it before leaving, and arrange a human check when a pump or light failure would matter. A Wi-Fi alert can tell you a water level is low; it cannot always fix a clogged line or a root problem.
The hidden cost is attention at the wrong moment. A soil plant may limp through one missed watering because the root zone still holds some moisture. An NFT or aeroponic system can lose its safety margin quickly when circulation stops. The RHS warns that roots need oxygen and that NFT plants can be damaged quickly if the pump stops. Reliability, backup parts, and a system that buys you time are part of the value calculation.
A simple break-even test for a home harvest
Do not begin with “Will hydroponics pay for itself?” Begin with four numbers: what the setup costs, what it costs to run for one crop cycle, what you would have paid for the same usable produce, and how much of the harvest you will actually eat. If the answer depends on expensive electricity, a premium crop, or frequent replacement purchases, write that down instead of hiding it in the comparison.
One useful formula is:
Net value per cycle = retail value of the produce you use − consumables − electricity − water − crop-loss allowance.
Then compare the setup cost with the net value across several realistic cycles. Do not count the value of leaves that bolt, fruit you forget to harvest, or herbs that go unused. If the system also replaces trips to the store, gives you winter access, teaches a skill, or makes gardening possible in a small apartment, record that as a separate non-cash benefit rather than pretending it is a grocery saving.
Example: greens and herbs
Greens and herbs are the most straightforward home test because they are compact, harvestable repeatedly, and often expensive or short-lived when bought fresh. Suppose a small system costs $140 after adding a light, nutrient, net pots, and a pH test. You spend $8 on seeds and nutrient for a month, and the light and air pump cost $5 in electricity. Your cash operating cost is $13 for that month.
If you use the equivalent of $25 worth of fresh lettuce, basil, arugula, and cilantro, the crop created about $12 of net produce value before counting your time. At that pace, the hardware would take many months to recover. If you only use $10 worth, the system is not a money saver. If it gives you a steady handful of herbs that you otherwise waste after buying a full clamshell, the usefulness may still be high even though the accounting payback is slow.
This example becomes stronger when you use succession planting. Start a small number of sites each week so every plant does not mature at once, then harvest outer leaves instead of waiting for one large harvest. The method also makes your cost comparison more honest: a steady supply of usable leaves is worth more than a dramatic photo of twelve plants that all need harvesting on the same day.
Example: tomatoes, peppers, and strawberries
Fruiting crops can be rewarding but are a tougher financial case indoors. They require more root volume, stronger and longer lighting, support, pollination attention, and a longer crop cycle. A tomato plant may occupy a site for months that could have produced several rounds of lettuce. If a fruiting crop needs a larger light, trellis, fan, or second reservoir, assign those costs to the crop rather than comparing it with the price of a seed packet.
Strawberries and compact tomatoes can make sense when flavor, season extension, or access to a particular variety matters. They are less compelling when the only goal is cheap calories or a lower price per pound. The RHS lists tomatoes, cucumbers, and peppers among common hydroponic crops, but suitability does not mean every crop is economical in a small indoor unit.
The practical test is capacity. If the plant outgrows the light, blocks neighboring sites, or requires a support system outside the original footprint, the cost per harvest rises. Start fruiting plants only after you can run a stable system with greens and understand how your light, temperature, water, and nutrient routine behave.
Choose the system that matches your goal
Passive wick and Kratky systems
Passive systems are the best place to test whether you enjoy hydroponic maintenance. A wick system draws water and nutrients into a growing medium without a water or air pump. Kratky-style systems suspend a plant above a reservoir and let the air gap change as the solution level falls. They are quiet, inexpensive, and have fewer parts to fail, although they are better suited to smaller or faster crops than to a large, thirsty fruiting plant.
The trade-off is control. A passive reservoir still needs appropriate nutrient strength, light exclusion, and enough oxygen at the root zone. It is not an excuse to use an opaque-looking container that actually admits sunlight, overfill the reservoir until roots are submerged without air, or pour in extra fertilizer because a plant looks hungry. Passive is simpler, not consequence-free.
DWC and NFT systems
Deep water culture, or DWC, is approachable because roots sit in aerated nutrient solution. The air pump and stone supply oxygen, while the reservoir provides a forgiving volume of water for compact greens. Epic Gardening’s overview of hydroponic systems describes DWC as one of the easiest active systems, but it also points out the basic risk: without oxygen, roots can drown.
NFT sends a thin film of nutrient solution through channels and back to a reservoir. It uses space efficiently for lettuce and herbs and can recirculate water, but it depends on reliable flow. A pump failure, blocked return, uneven channel slope, or low reservoir can expose roots quickly. The system can be excellent when you want many uniform greens and can check it often; it is a poor first choice if you need a setup that tolerates neglect.
Dutch buckets, ebb and flow, and towers
Dutch bucket systems suit tomatoes, peppers, and other larger plants because a media-filled bucket provides root support and some moisture buffer between feed cycles. Ebb and flow floods a tray on a timer and drains it back to a reservoir. Both can scale well, but they add plumbing, pumps, timers, cleaning, and more opportunities for a small leak to become a large problem.
Vertical towers offer a lot of planting sites in a small footprint, which is valuable on a balcony or in a bright indoor corner. They are also easy to overbuy. Count the useful sites at the height and light level you actually have, not the maximum number printed on the box. If the lower plants are shaded, the tower is not producing at its advertised capacity.
For most beginners, the value order is passive system first, DWC second, pumped channels or towers after you know your crop and routine. That is not a ranking of plant quality; it is a ranking of how much money and complexity you risk while learning.
Crops that make the investment feel worthwhile
Choose crops that turn over quickly, fit the light, and get harvested before they become a maintenance burden. Lettuce, arugula, basil, cilantro, parsley, chard, kale, and other compact greens are usually the strongest first candidates. Cut-and-come-again harvesting increases the value of each site because the plant can provide several meals before replacement.
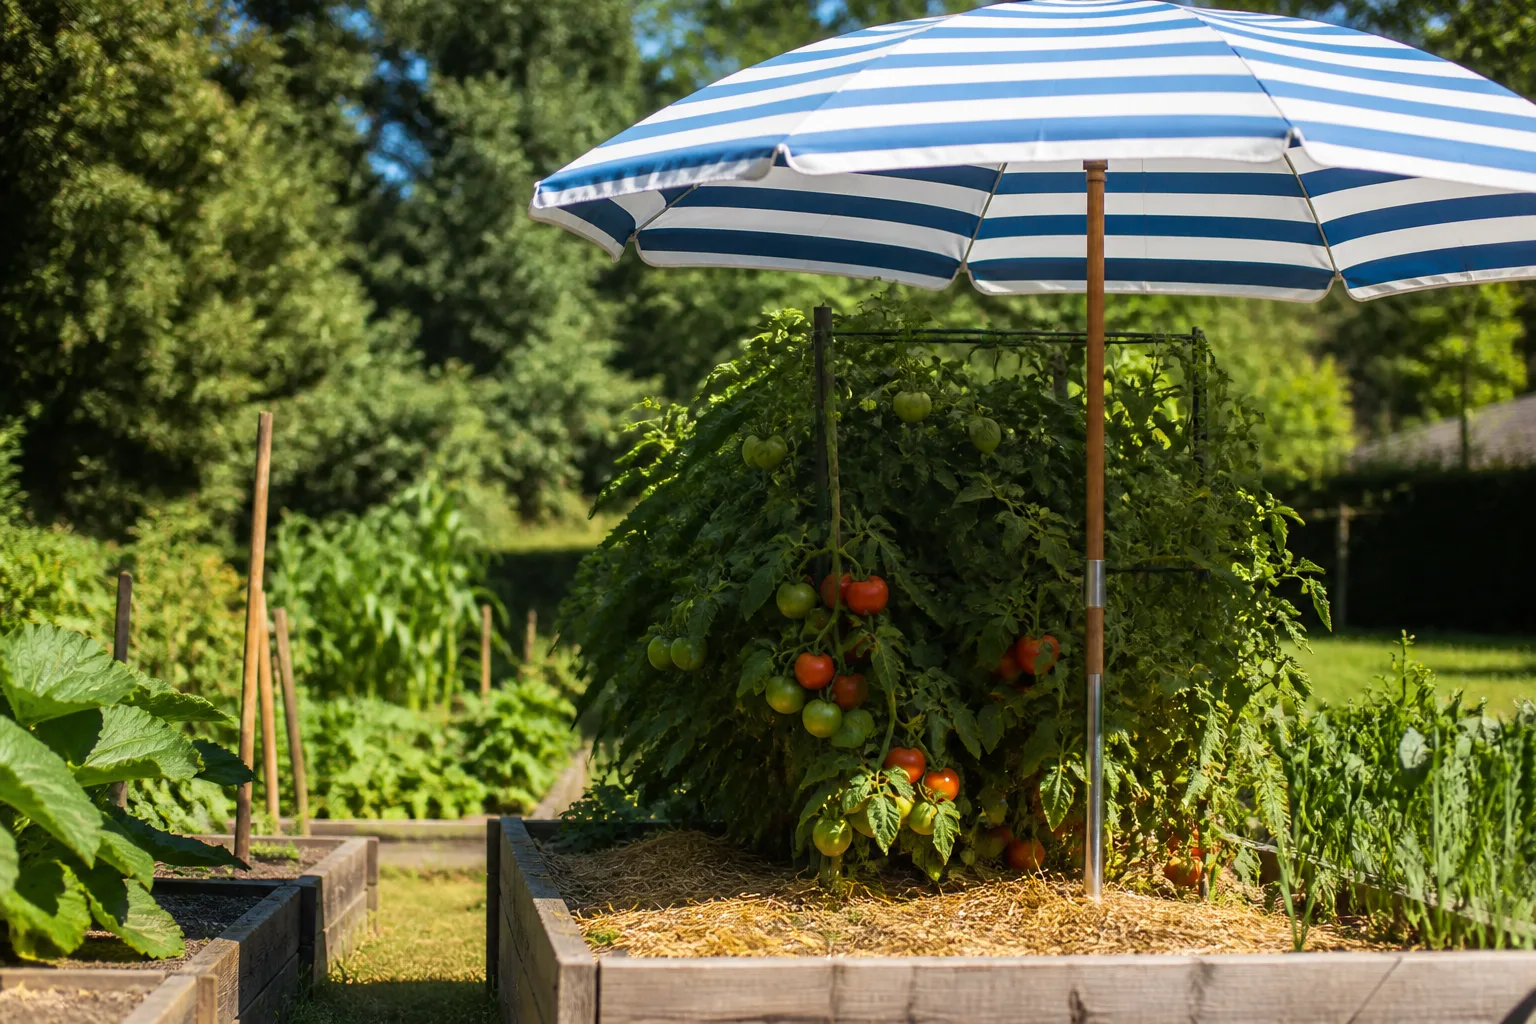
Small strawberries, dwarf tomatoes, and peppers can be worthwhile when you care about freshness or varieties that are hard to find locally. They should be treated as specialty crops, not automatic savings. A plant that occupies a reservoir for four months may be a good hobby purchase but a poor choice for a strict payback target.
Avoid filling a beginner system with crops that have large roots, long vines, heavy water demand, or awkward pollination needs. Corn, large pumpkins, sprawling cucumbers, and full-size indeterminate tomatoes can overwhelm a countertop footprint. Root vegetables also defeat the main convenience of a small system because they need a suitable root space and do not deliver the rapid, repeated leaf harvest that makes hydroponics attractive.
Crop choice is also a scheduling choice. The moment several plants mature together, you need storage, preservation, or a bigger appetite. Planting fewer sites at intervals can make the garden feel more productive even if the total yield is lower because less food is wasted.
Where hydroponics loses on price
The most common mistake is comparing a hydroponic harvest with the price of the cheapest soil-grown produce available at peak season. That comparison ignores the light, pump, equipment, and winter access that the hydroponic garden provides. Make the comparison crop-specific and seasonal: fresh basil in January, salad greens in a small apartment, or a hard-to-find compact tomato is a different value proposition from a summer tomato bought by the case.
The second mistake is treating speed as guaranteed. Good hydroponic conditions can support vigorous growth, but “faster” depends on light intensity, temperature, cultivar, root oxygen, nutrient balance, and crowding. Oklahoma State University Extension notes that hydroponic systems offer environmental control but also that nutrient management is difficult; the plant does not automatically grow faster just because soil is absent.
The third is overlooking cleanup. Light entering a reservoir can encourage algae. Roots, channels, air stones, lids, and tubing need inspection, and a crop change is the time to remove old roots and sanitize suitable components. Recirculation can reduce water and nutrient waste, but it also means a problem can travel through the shared solution.
Finally, consider what happens when the system stops. A soil bed may lose a plant; a recirculating system may lose every plant connected to one reservoir. Keep spare tubing, an air stone, a simple backup pump if the crop is valuable, and a plan for a power outage. Those precautions reduce risk, but they also belong in the true cost of ownership.
How to start cheaper without creating a fragile system
Keep water, light, air, and roots in balance
Start with one crop family and one reservoir. Use an opaque container to keep light out of the nutrient solution, leave an air space where the system design requires one, and make sure the light covers the plant canopy rather than only the tallest leaves. Do not assume a sunny window is enough in winter; the RHS explicitly flags artificial light as the winter requirement for hydroponic growing.
Use a nutrient made for hydroponics and follow its label rather than improvising with garden fertilizer. Test pH and, when the crop or system warrants it, electrical conductivity. The Oklahoma State guidance gives broad hydroponic reference ranges, while the RHS describes a commonly aimed pH around 5.8 to 6.2; treat those as starting points, not a reason to chase a number without reading the nutrient and crop instructions.
Water quality deserves an early check. Hard or heavily treated water can change the starting pH and nutrient balance. Joe Gardener’s grower discussion warns that buying distilled water continuously can be prohibitive for a home gardener and describes filtration or conditioning as alternatives. You do not need an expensive reverse-osmosis system on day one; test your water, understand its baseline, and only add treatment when the crop and measurements show a need.
Run it like a crop, not an appliance
Give the garden a short weekly appointment. Check the reservoir level and temperature, look for leaks and algae, inspect roots for healthy color and smell, verify the light timer, and record pH or EC readings. A notebook prevents random adjustments: if you add pH-down, top up water, or change the solution, write down what happened and what the plants looked like afterward.
Harvest on schedule. Removing outer leaves, pruning crowded growth, and replacing finished plants keep the system productive and prevent a mature crop from shading seedlings. Clean between crops, keep unused openings covered, and avoid moving soil-covered roots into a pump-and-tube system where debris can clog the flow. If a plant fails, remove it promptly and inspect the reservoir before assuming the next seed is bad.
Before buying a large kit, run a small trial with a clear success target: for example, harvest herbs twice a week for eight weeks, or produce enough salad for two meals each week. Track cash spent, hours worked, electricity, usable harvest, and failures. If the trial feels like a chore and the harvest does not solve a real problem, you have saved the cost of scaling up. If it works, your own numbers—not a product box or a generic price range—will tell you what expansion is sensible.
Conclusion
Hydroponic gardens can be worth the cost, but the winning use case is narrower and more practical than the sales pitch. They make the most sense for compact, high-turnover greens and herbs; winter or low-yard access; controlled, repeatable harvests; and gardeners who enjoy checking a living system every few days.
They make less sense as a universal substitute for a soil bed or as a guaranteed way to lower the grocery bill. Count the light, pumps, nutrients, meters, replacement parts, cleaning, crop loss, and your time. Start with the simplest system that can grow the crop you will actually eat, measure one complete trial, and expand only when the harvest is both useful and enjoyable.