How to Repot a Monstera in 7 Easy Steps
Repot Monstera deliciosa in 7 clear steps: timing, pot size, aroid soil, root inspection, aerial roots, watering, and post-repot recovery.
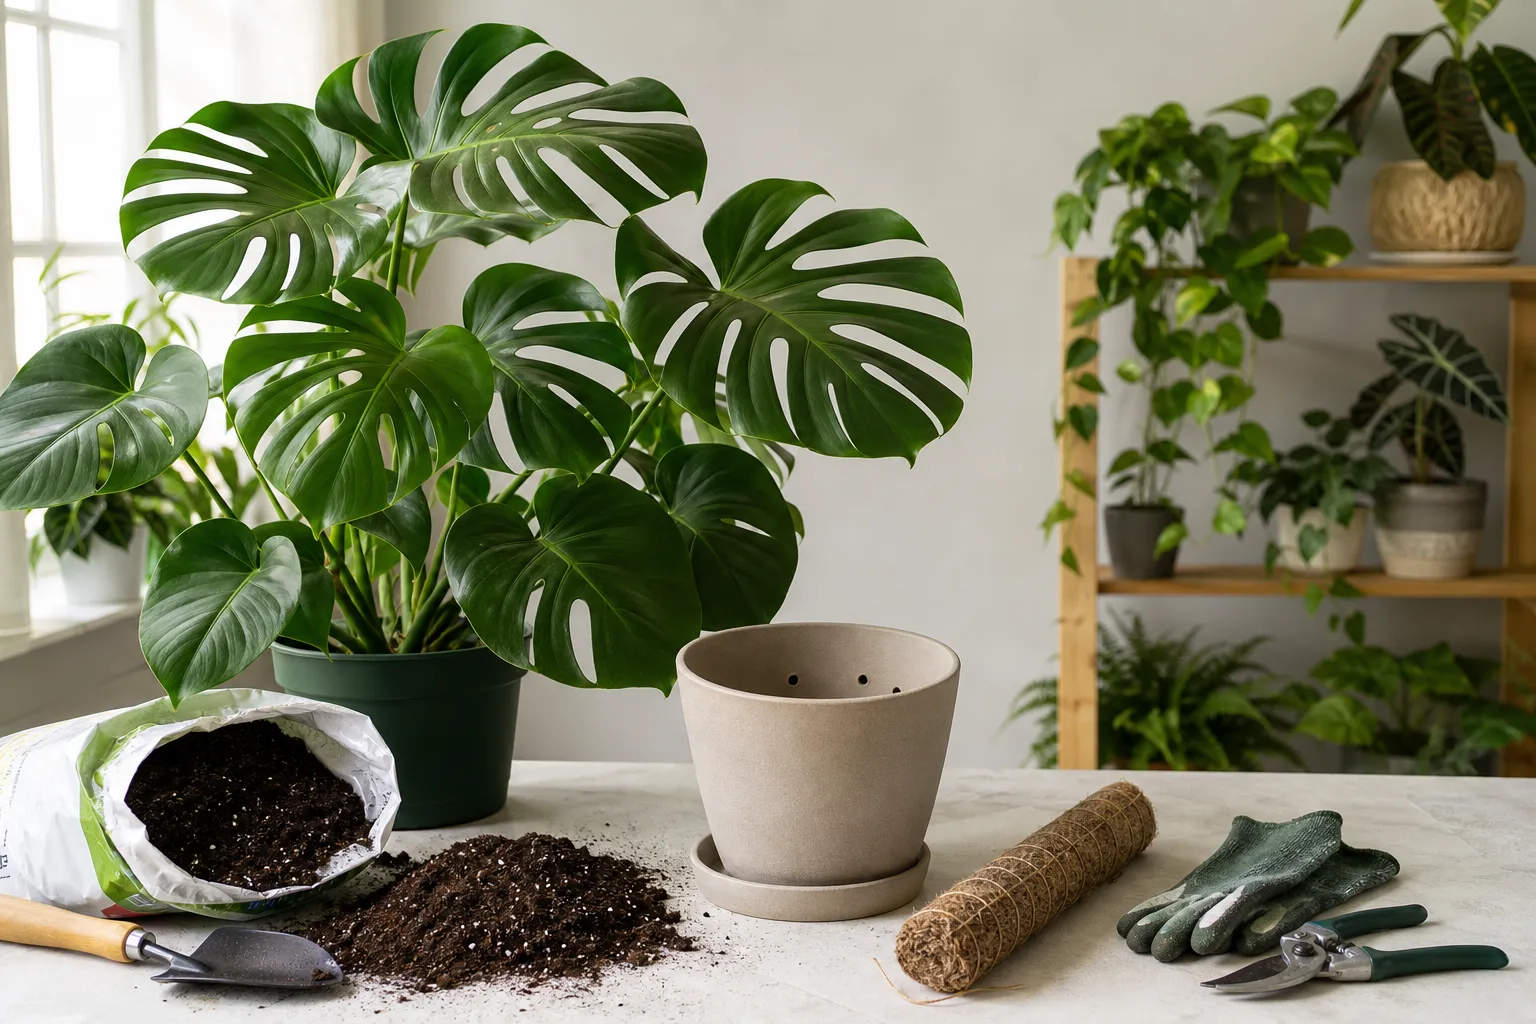
A root-bound Monstera does not always look dramatic from across the room. Often the first clue is behavioral: you water thoroughly on Sunday, and by Tuesday the top inch is dust-dry while the saucer never held much water. The plant is not being dramatic—it is telling you the root mat has replaced most of the soil, and water is channeling through without hydrating the center. Monstera deliciosa is a fast-climbing tropical aroid that NC State Extension describes as needing sturdy support and a well-drained, peat-based potting mix with plenty of organic matter. That growth speed means repotting is routine maintenance, not a once-a-decade event.
Most indoor Swiss cheese plants benefit from a full repot every one to two years during active growth, according to University of Minnesota Extension, with late winter through early spring as the ideal window. The job takes 15–45 minutes depending on plant size—tabletop specimens are quick; a floor plant with a moss pole needs floor space and a second set of hands. This guide walks through seven clear steps from prep through recovery, plus when not to repot, how to handle aerial roots, and what to do if leaves droop afterward. For species-specific soil recipes and year-round care, bookmark the Monstera deliciosa hub and the dedicated repotting care page as you work.
Why Monsteras Need Repotting More Often Than Slow Growers
Generic houseplant repot advice fails on deliciosa because the plant is a hemiepiphytic climber, not a compact tabletop succulent. In habitat it starts on the forest floor, then sends aerial roots to grip bark as the vine ascends. Indoors, that biology translates into three repot-specific realities: roots want chunky, oxygen-rich mix; the vine wants stable vertical support; and the whole assembly can become top-heavy long before the foliage looks “too big” for the room.
Repotting solves problems that show up as leaf symptoms if you ignore them. Root-binding compresses the root mat until water channels through without wetting evenly. Depleted mix loses the perlite and bark structure that kept the bottom of a deep pot breathable. Salt buildup from tap water and fertilizer burns fine root hairs even when you water carefully. A well-timed repot is also the only easy moment to inspect roots for rot, redirect aerial roots onto a moist pole, and correct a pot that tips every time someone walks past.
Wisconsin Horticulture Extension notes that container-grown Monstera needs frequent repotting to accommodate the root system—more often than slow growers at a similar stem height. Treat the calendar as a reminder to lift the pot and look, not a command to disturb roots regardless of condition.
Root-Bound vs Same-Pot Soil Refresh
Not every maintenance session requires a larger pot. Two paths exist:
| Situation | Best approach | What you do |
|---|---|---|
| Roots circling, escaping drainage holes, fast dry-down | Full repot, one size up | Remove plant, tease roots, fresh mix, slightly larger pot |
| Roots fine but mix crusted, salty, or hydrophobic | Same-pot soil refresh | Remove outer 20–30% of old mix, backfill with fresh aroid blend |
| Pole too short but roots not crowded | Repot with new pole | Usually combine with at least partial soil refresh for stability |
If you only need fresh mix and the root ball still has breathing room, a same-pot refresh is lower stress than jumping two pot sizes because the plant “looks big.” Large mature specimens you do not want getting taller often stay on this refresh cycle for years.
When to Repot Your Monstera (and When to Wait)
Late winter through spring is the best routine window in the Northern Hemisphere. Active growth is resuming, days are lengthening, and roots repair faster in fresh mix. UMN Extension specifically recommends repotting in late winter or early spring every one to two years as the plant grows. Early summer repot is acceptable if you missed spring and the plant is clearly struggling.
When to wait: skip routine repotting if the plant was recently purchased (give two to three weeks to acclimate), if it is mid-winter and only mildly snug, or if you cannot provide stable temperatures above 65°F (18°C) and bright indirect light afterward. RHS guidance on Swiss cheese plants emphasizes warmth (18–24°C / 64–75°F), humidity, and letting compost almost dry between thorough waterings—conditions that are harder to maintain after root disturbance in cold, dim months.
Emergency repots override the calendar. Repot immediately when you find mushy brown roots and sour-smelling mix, when the nursery pot has no drainage holes, or when the plant wilts daily in wet soil. These are rescue jobs, not upgrades.
Five Signs the Root Zone Is Ready
Repot when two or more of these persist after you rule out recent underwatering or cold drafts:
- Roots emerging from drainage holes or circling the soil surface when you lift the plant partway out
- Water races through the pot in seconds without the top inch absorbing; saucer fills while the center stays dry
- Dry-down within 24–48 hours of a thorough soak on a plant that used to hold moisture for a week
- Stalled growth for several months in spring or summer despite adequate light
- The whole root ball lifts out as one solid cylinder with little visible mix when you slide the plant from the pot
Aerial roots alone are not a repot signal. Long brown roots hanging from the stem are normal climbing hardware on a mature vine. They do not mean the pot is too small—though repotting is the best time to train them onto a moss pole (covered in Step 5).
Before You Start: Supplies, Pot Size, and Aroid Mix
Set everything within reach before you disturb roots. Monstera roots are thick and snap when left bare on a hard counter.
Tools and materials:
- New container with clean drainage holes (see sizing below)
- Fresh aroid potting mix—chunky and fast-draining (see soil below)
- Pruning shears wiped with rubbing alcohol
- Optional: soft plant ties, moss pole or coco coir totem, newspaper or tarp for mess
- Room-temperature water for pre-moistening mix and the post-repot soak
Water the plant one to two days before repotting. Moist (not soggy) soil helps the root ball slide out cleanly and reduces breakage. Do not repot bone dry—roots snap—or dripping wet—mix smears into a paste.
The One-Pot-Size-Up Rule Explained
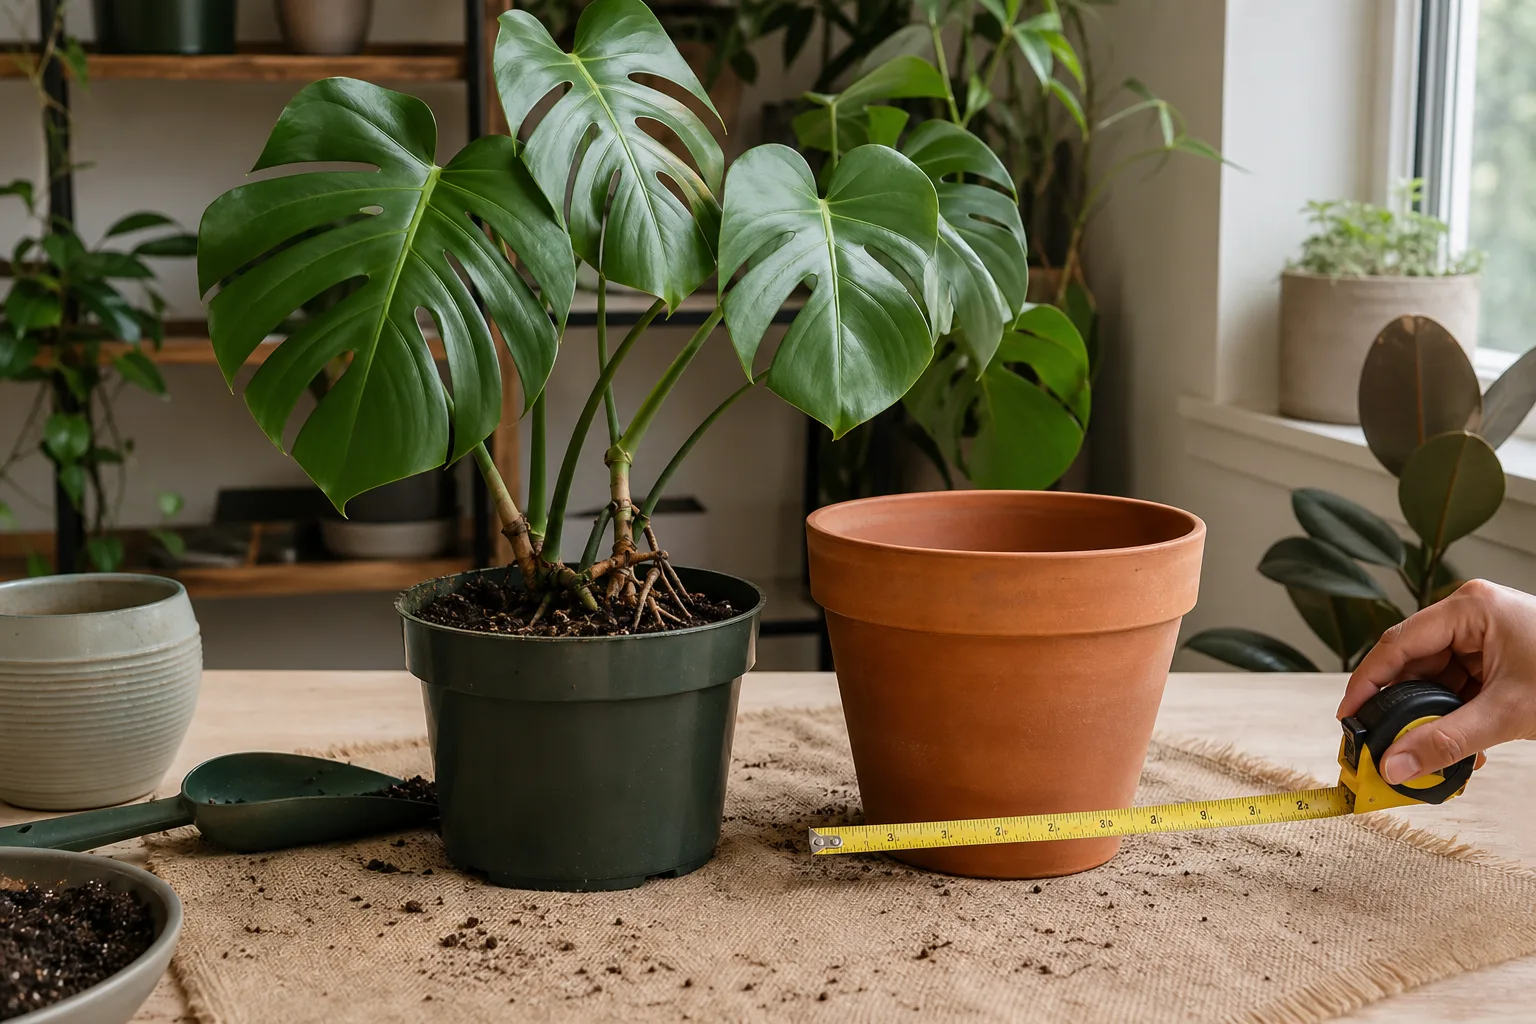
Measure the inside diameter of the current pot at the rim. Choose a new pot only 2–3 inches (5–8 cm) wider—roughly one nursery size up. Jumping several sizes at once surrounds roots with a large volume of wet soil they cannot drink quickly, which raises root rot risk on a plant that already prefers to dry slightly between waterings.
Pot material matters less than drainage. Plastic and glazed ceramic work well because they hold moisture evenly. Unglazed terracotta dries faster—which can stress a tropical aroid in hot, dry rooms—but is fine if you already water frequently and the plant thrives in it. Never choose a decorative cache pot without holes as the primary growing container.
Skip rocks or pottery shards in the bottom. They do not improve drainage; they shorten the soil column and can create a perched water table that keeps the root zone wetter than the mix above. For general houseplant repotting principles, see the repotting houseplants guide.
Choosing Aroid Mix Over Generic Potting Soil
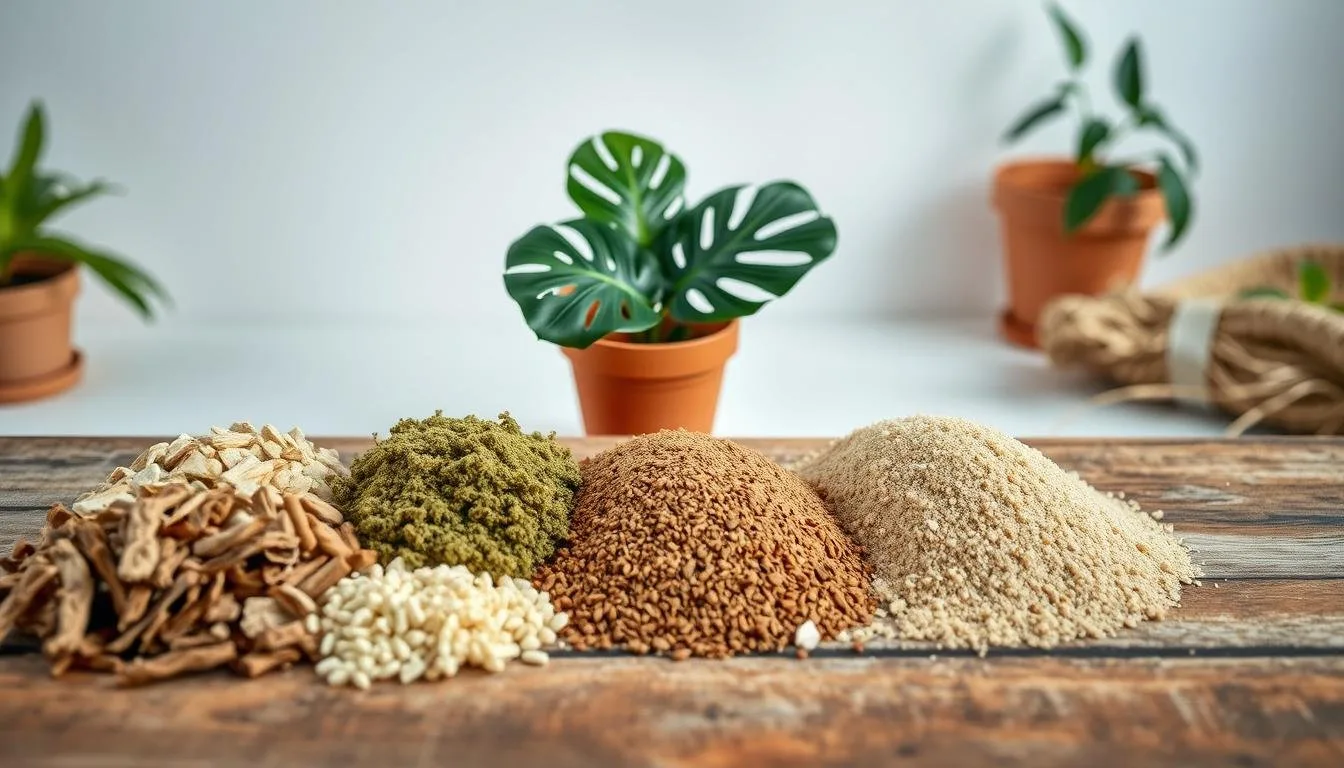
Monstera wants well-draining, organic-rich mix with neutral to slightly acid pH, per NC State Extension. A premade aroid blend works. To mix your own, combine roughly equal parts peat moss or coco coir, perlite, and orchid bark by volume—or follow the 60/20/20 recipe on the Monstera deliciosa soil guide and the how to make Monstera soil mix walkthrough.
Pre-moisten new mix until it feels like a wrung-out sponge before backfilling. Dry mix pulled from the bag wicks moisture away from roots after repotting.
Step 1: Prep the New Pot and Pre-Moisten the Plant
Add enough fresh mix to the new pot so that when you set the root ball on top, the crown sits at the same depth it did before—usually with about 1 inch (2.5 cm) of headroom between soil surface and pot rim for watering. Do not bury the stem.
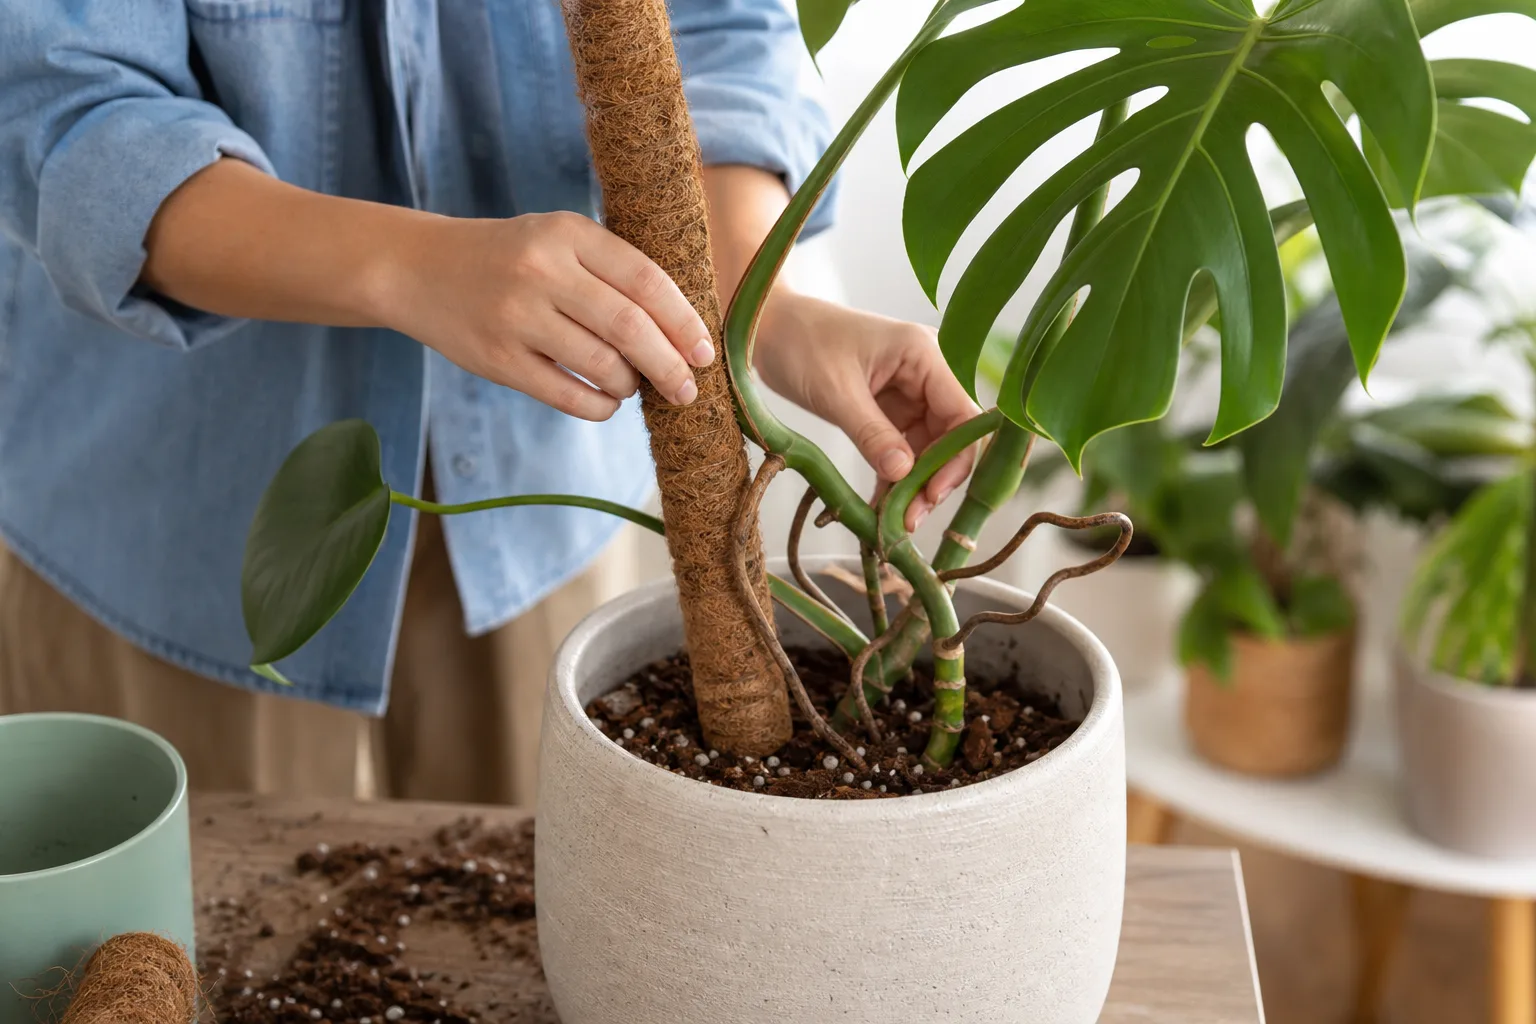
If you are installing a moss pole, position it now against the inside wall of the empty pot so you can anchor it to the bottom as you backfill. A pole added only at the surface wobbles on a heavy vine within weeks.
Confirm the plant was watered one to two days ago. The root ball should hold together when tipped but not drip. Lay out your tarp, open the bag of mix, and sterilize your pruners. For large floor plants, clear a path to the sink or shower for the post-repot rinse in Step 6.
Step 2: Remove the Monstera Without Damaging Aerial Roots
Small and medium plants: tip the pot on its side, support the base of stems with one hand, and slide the nursery pot off with the other. Squeeze flexible plastic pots gently; run a knife around the rim of rigid pots if stuck.
Large plants: set the pot on the floor, tilt carefully, and enlist help to support the moss pole and stem mass. Never yank the plant by leaves or thin stems—deliciosa petioles snap easily.
If a moss pole is attached, keep it upright relative to the root ball so ties do not saw through aerial roots. Set the freed plant on your tarp with roots over the catching area. Work quickly but gently; exposed roots dry out within minutes in air-conditioned rooms.
Step 3: Inspect, Massage, and Trim the Root Ball
Use your fingers to loosen the outer 20–30% of the root mat and shake away old, crumbly soil. You are not bare-rooting completely unless you are rescuing rot. The goal is to free circling roots so they grow outward into fresh mix instead of continuing the spiral.
What Healthy vs Rotten Roots Look Like
Healthy Monstera roots are firm, white to tan, and smell like damp earth. Rotten roots are black or brown, mushy, and smell sour. Trim all rotten tissue back to firm white with sterilized shears.
You can trim some healthy roots when repotting—especially long circling strands—but keep total healthy removal under roughly 25% of the root mass. Aggressive pruning on top of a large pot jump stresses the plant disproportionately. If you must remove extensive rot, do not upsize the pot; repot into the same size or only slightly larger with fresh mix and consider adding horticultural charcoal to the blend.

Step 4: Set the Plant at the Correct Depth and Backfill
Center the root ball on your pre-added mix layer. Hold the stem at the correct depth with one hand and backfill around the sides with fresh mix, tamping lightly with your fingers—not packed like concrete. The crown where stems emerge must remain above the soil line; burying it invites stem rot.
Fill until the soil surface sits about 1 inch below the rim, matching the previous pot level. If the plant sits too high, remove mix from the bottom; if too low, add a thin layer beneath the root ball before backfilling. On a heavy vine, rotate the pot as you fill so mix distributes evenly and the plant does not list to one side.
Step 5: Guide Aerial Roots Toward Support
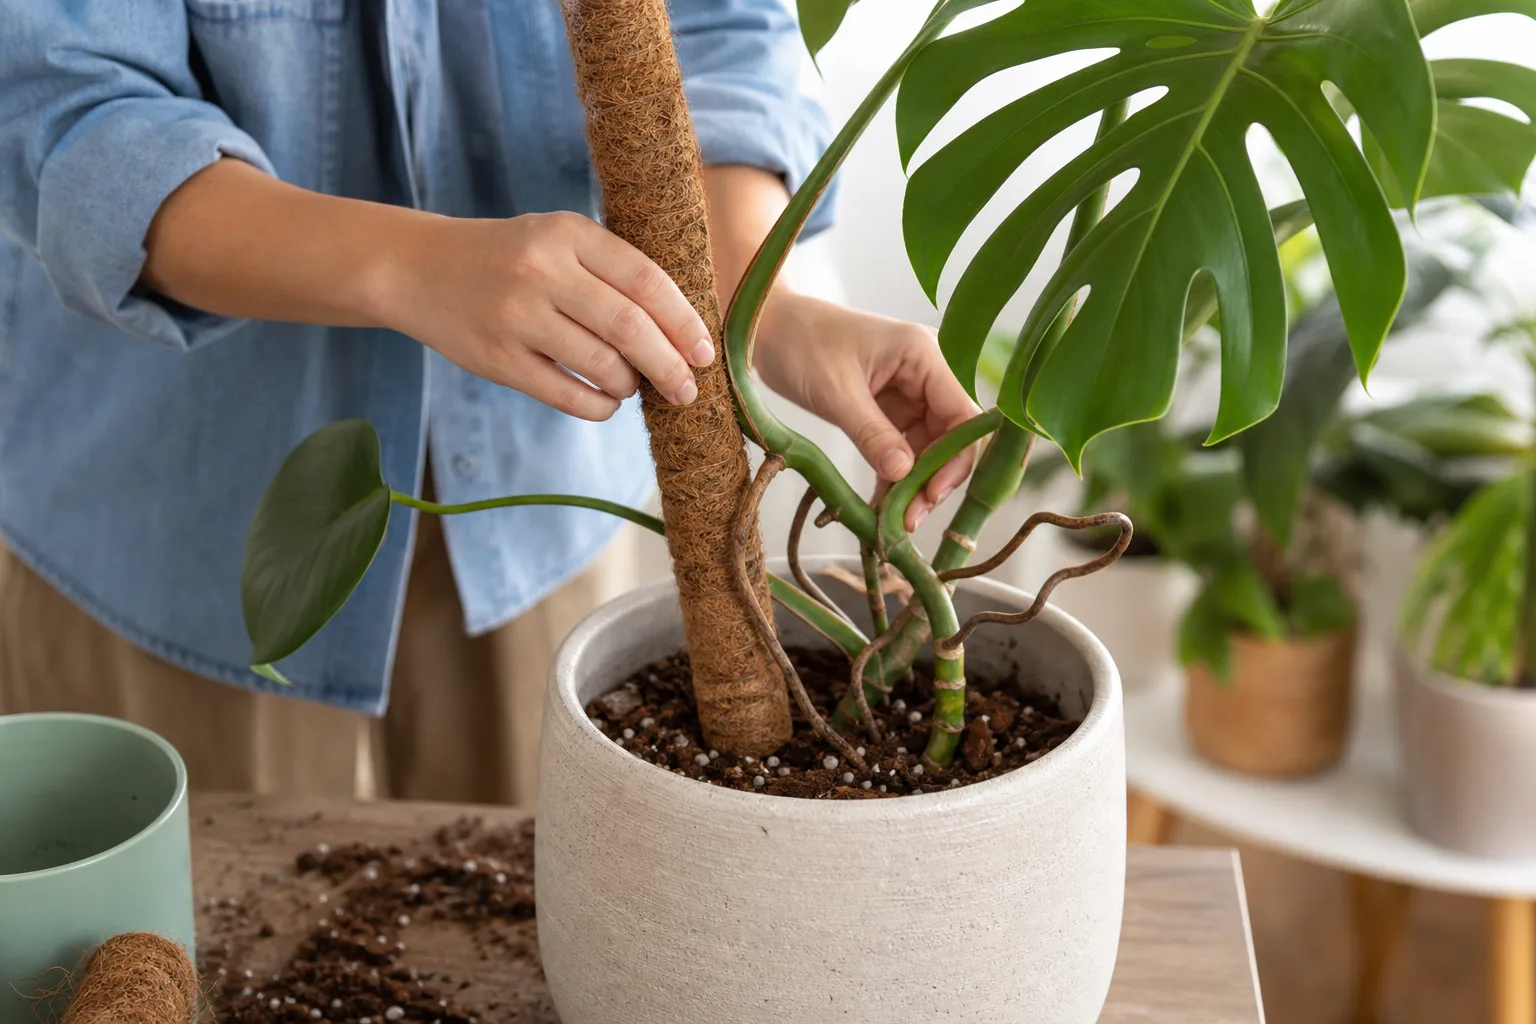
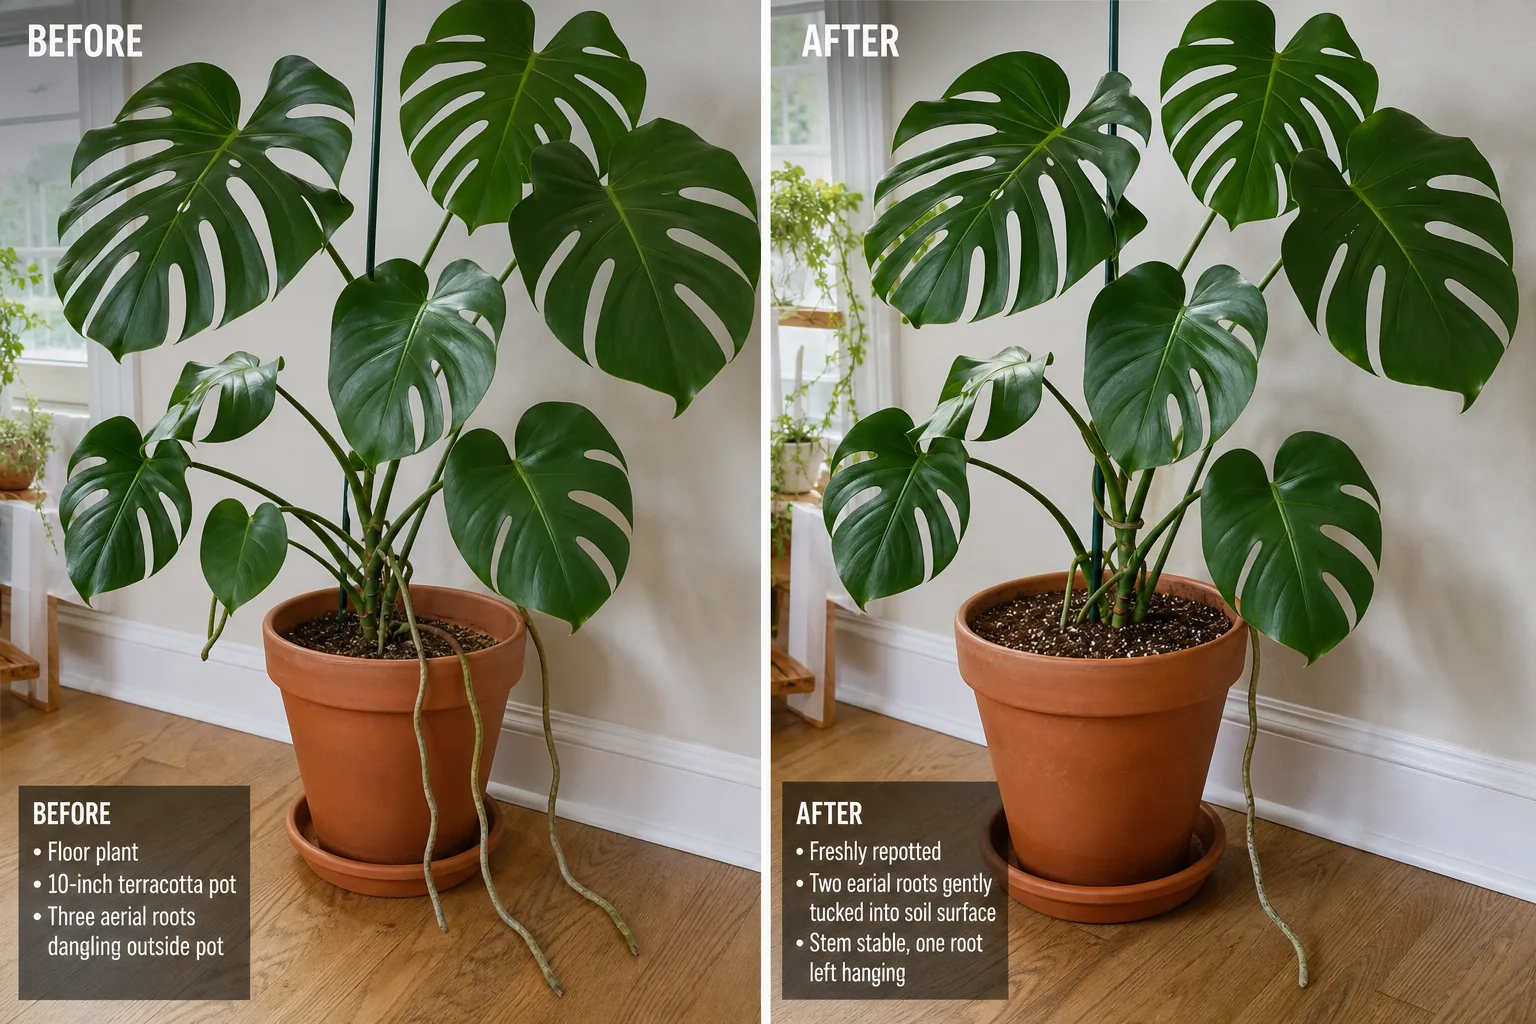
Long aerial roots are climbing hardware, not mistakes to chop or bury. After backfilling, loosely tie aerial roots that reach toward your moss pole so they contact moist fiber or coco coir. Roots hanging in open air can stay free.
Do not coil aerial roots into wet potting mix at the bottom of the pot—they often rot there because they evolved for bark contact, not saturated soil. If an aerial root is dried and brittle at the tip, trimming the dead portion is fine; healthy aerial roots should be guided, not stuffed underground. For a deeper dive, see the Monstera aerial roots guide.
Step 6: Water Deeply and Let the Pot Drain Fully
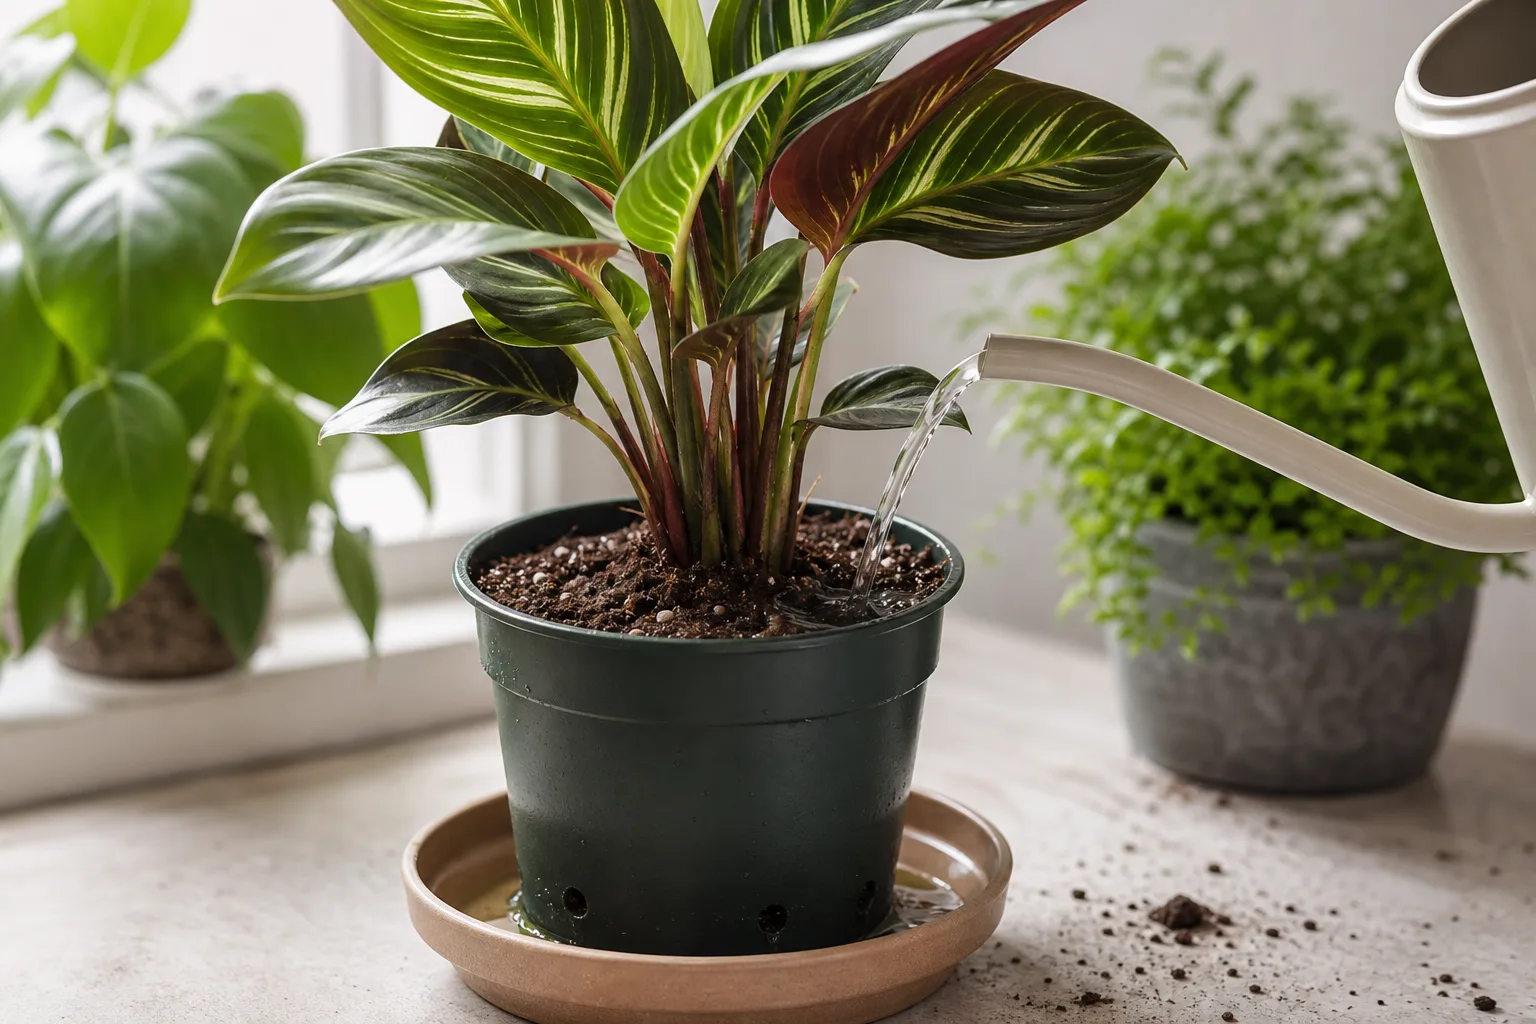
Water until excess runs freely from drainage holes—enough to settle fresh mix around roots and eliminate large air pockets. Let the pot drain completely in the sink, shower, or on a rack before setting it in a cache pot or saucer. Standing water under the pot is one of the fastest ways to trigger post-repot rot.
If mix settled significantly and exposed roots, add a thin top layer of pre-moistened mix and water lightly once more. Do not compress the surface with heavy objects.
Step 7: Return to Stable Light and Hold the Fertilizer
Put the Monstera back in its usual bright, indirect spot. Avoid moving it to a hotter windowsill or a darker corner while it recovers—stable conditions matter more than a “boost.” RHS Swiss cheese plant guidance warns that direct summer sun scorches leaves and very dry air browns edges; keep those variables steady for two to three weeks after repotting.
Hold fertilizer for at least four to six weeks while new root hairs form. Fresh mix already contains some nutrients, and concentrated salts on tender new roots cause burn. If you repotted in fall or winter, wait until spring growth resumes before feeding again. Resume normal watering checks when the top 1–2 inches of mix feel dry—do not keep soil constantly wet “to help it settle.”
Mild drooping for a few days can be normal. Persistent wilt with wet soil means investigate drainage and root damage before assuming thirst.
Install or Extend a Moss Pole During the Same Session
Repotting is the only easy time to seat a moss pole to the bottom of the pot for maximum stability on a top-heavy vine. NC State Extension lists sturdy support as necessary to prevent stems from breaking as the plant matures.
Position the pole slightly off center if the main stem curves, then backfill while a helper holds the pole vertical. Tie the stem loosely every 6–8 inches (15–20 cm) so aerial roots can reach the moist surface. Keep the pole damp for the first month—dry moss offers no incentive for roots to attach. If you are only extending an existing pole, overlap the new section and retie before the joint wobbles.
Troubleshooting Drooping and Yellow Leaves After Repot
Temporary droop (3–7 days) after gentle repotting in spring usually resolves if light and temperature stay stable and you are not overwatering. Persistent droop with wet soil points to root damage, an oversized pot, or mix that holds too much water—slide the plant out and inspect.
Yellow lower leaves on an old vine can be normal senescence, but several yellowing leaves at once right after repot often mean overwatering or roots trimmed too aggressively. Let the mix dry appropriately before the next soak. Cross-check yellow Monstera leaves and overwatering symptoms if yellowing spreads.
No new growth for a month in summer may still be fine after a large repot. No growth through an entire spring after repot suggests the pot is too large, light is insufficient, or roots are rotting—verify each variable before repotting again.
Five Repotting Mistakes That Stall Monstera Growth
Jumping two or more pot sizes is the most common error. Excess wet soil around a restrained root system invites rot before the plant can colonize the volume.
Burying aerial roots in mix converts climbing roots into rot vectors. Guide them to a pole or let them hang free.
Adding gravel to the pot bottom creates a false sense of drainage while shortening the aerobic soil column. Use holes and chunky mix instead.
Fertilizing within two weeks burns tender new roots. Mark the calendar and wait.
Repotting during active bloom or stress—rare on deliciosa indoors, but worth noting—adds shock on top of shock. If the plant is otherwise healthy and only mildly snug in late fall, a spring repot is lower risk than a winter upgrade.
Pet note: Monstera deliciosa contains calcium oxalate crystals and is toxic to pets if chewed, per the ASPCA. Wash hands after handling roots and keep cuttings away from curious cats and dogs.
Conclusion
Repotting a Monstera is not a mysterious ritual—it is seven practical steps built around one idea: give roots fresh, airy soil and a pot only slightly larger, without disturbing the climbing structure more than necessary. Check the root zone in late winter, go one size up, use chunky aroid mix, inspect and trim thoughtfully, guide aerial roots instead of burying them, water once to settle, then return to stable light and skip fertilizer for a month.
If your plant only needs refreshed mix, not more room, a same-pot soil swap often beats a dramatic upgrade. If roots are rotting, treat it as a rescue—not a routine spring chore. For timing nuance, pot material trade-offs, and moss-pole detail beyond these seven steps, the when and how to repot Monstera guide goes deeper on decision rules while this page keeps you moving through the work in order.



