How to Repot Tomato Plants: A Low-Shock Method
Learn when to repot tomato plants, what pot and soil to use, how deeply to plant, and how to prevent wilt, broken stems, and transplant shock.
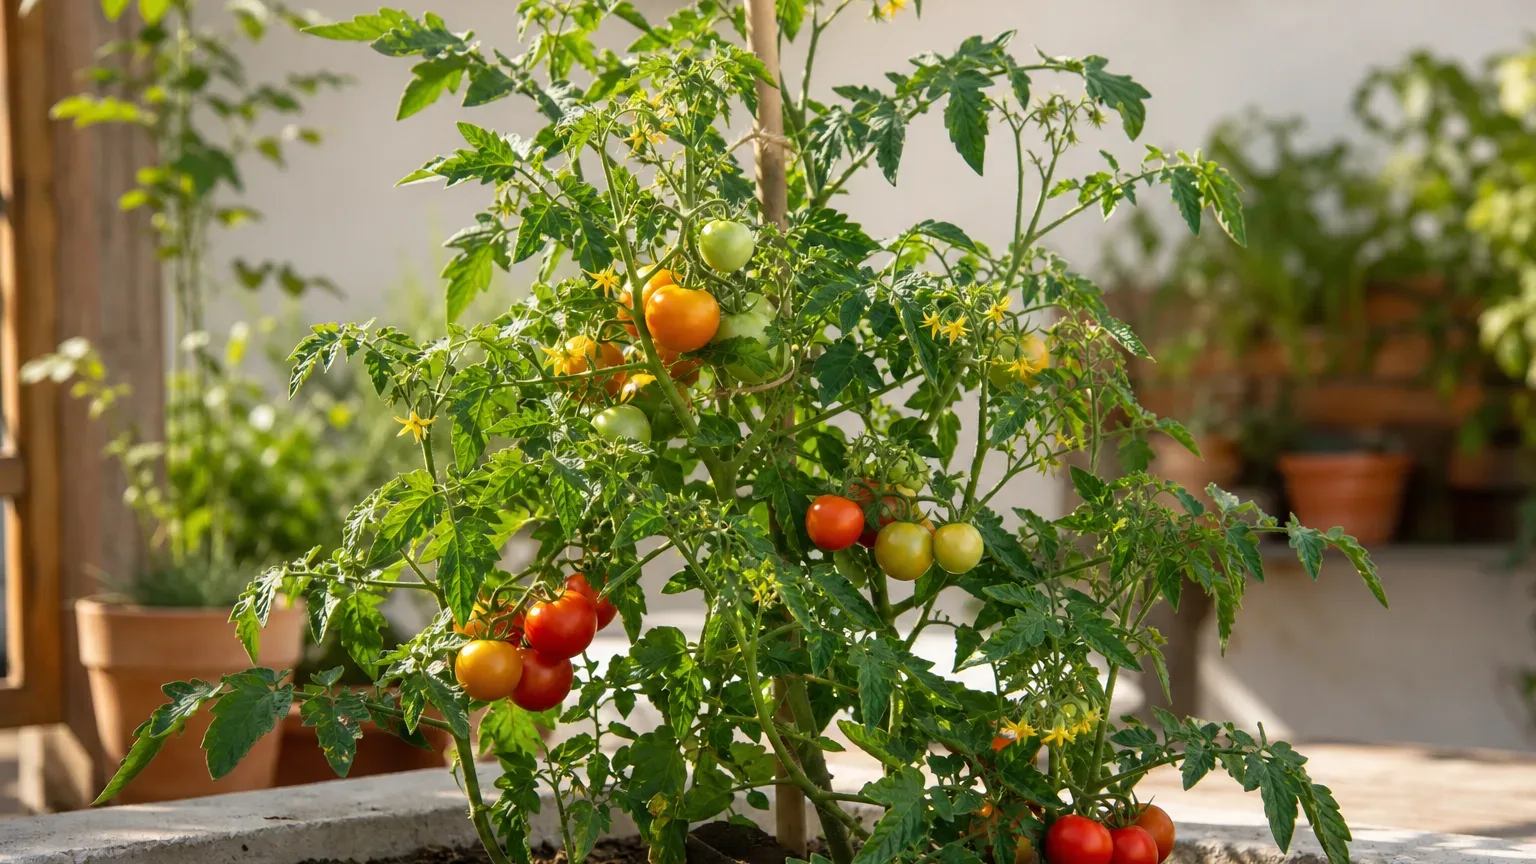
Tomatoes are unusually forgiving when you transplant them, but “forgiving” does not mean indestructible. A seedling can recover from having its stem planted deeper than before; it will not recover as easily from a snapped stem, a cold root ball, or a soggy oversized pot. The safest approach is to make the move when the plant is actively growing, keep the root ball together, and give the new container only enough extra room to support the next stage.
The method below works for seedlings, leggy starts, and larger container tomatoes. The details change with the plant’s size, but the priorities stay the same: choose a pot that drains, use a structurally open mix, plant at the correct depth, water the entire root zone, and protect the plant while it re-establishes.
The three decisions that prevent most failures
Before you touch the pot, answer three questions. First, is the plant actually ready to move? Roots circling the inside of the pot, roots emerging from drainage holes, a plant that dries unusually fast, or a seedling with two or three sets of true leaves are useful signals. A calendar date alone is not.
Second, what is the next destination? A small seedling usually needs an intermediate pot before its final outdoor container. A mature indeterminate tomato needs a large, stable container or garden bed, while a compact determinate variety can finish in a somewhat smaller container. Third, can you give it mild conditions for the first few days? If the move would be followed by frost, strong wind, blazing afternoon sun, or a heat wave, wait if the plant is not in immediate danger.
Know whether the plant is ready to move
Root and moisture clues
Slide a seedling from its pot only when the mix is slightly moist, not dusty and not dripping wet. The roots should hold the mix in a loose cylinder. A few roots visible at the drainage holes do not automatically mean emergency repotting; they become more meaningful when the plant also wilts soon after watering or the pot becomes light again within a day.
For a larger tomato, look at the whole plant. A plant that has outgrown its container may have a top-heavy canopy, a stem that leans, or roots packed tightly around the outside of the root ball. Those signs support a move. Yellow lower leaves, a sour-smelling mix, or persistently wet soil point to a drainage or root-health problem instead. Simply moving the same problem into a bigger pot can make it worse.
Choose the next container
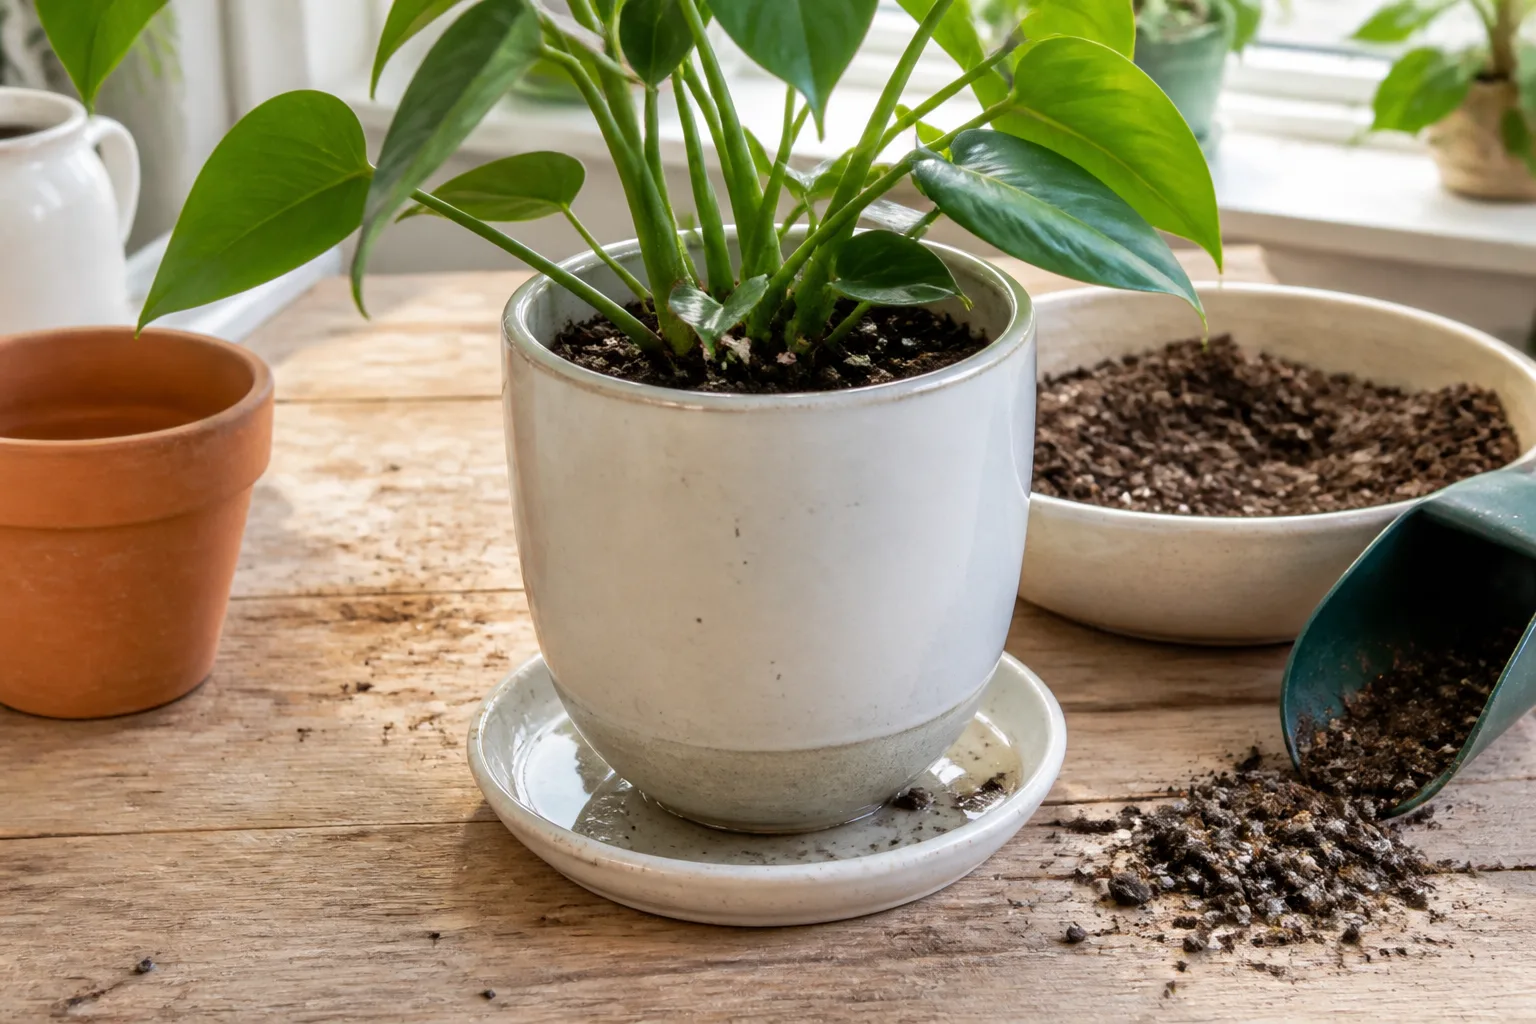
The next pot should be wider and deeper enough for new roots, but not dramatically larger than the existing root ball. For seedlings, a three- to four-inch pot is a practical next step. For a plant that is ready to grow on before planting outside, a roughly one-gallon container gives the roots room without creating a huge reservoir of wet mix.
| Plant stage | Useful next step | What to prioritize |
|---|---|---|
| Newly germinated seedling | Small cell to individual small pot | Drainage and stable light |
| Two or three sets of true leaves | Three- to four-inch pot | Fresh mix and a deeper stem |
| Established plant before outdoor planting | One-gallon or appropriately sized grow bag | Root space and easy hardening off |
| Final container tomato | Large container matched to variety | Stability, drainage, and support |
Every container needs an unobstructed drainage hole. Do not fill the bottom with gravel to “improve drainage”; that reduces the depth available to roots and can leave a perched layer of saturated mix. If a decorative cachepot has no hole, use it as an outer sleeve and keep the tomato in a draining nursery pot.
Build a tomato-friendly planting mix
Use a quality container mix rather than garden soil in a pot. Garden soil compacts in containers, drains unevenly, and can carry weed seeds or pathogens. A good tomato mix holds moisture long enough for roots to use it while leaving air spaces after watering. Commercial potting mix amended with finished compost is a reasonable starting point; a little perlite or another coarse component can help a dense mix drain more freely. The University of Minnesota Extension tomato guide likewise treats drainage, container volume, and steady moisture as core parts of container tomato care.
Moisten the mix before filling the pot. Pre-moistening prevents dry pockets that repel water and makes it easier to settle the plant without blasting the root ball apart. The mix should clump briefly when squeezed and then crumble when touched. If water runs straight through while the center remains dry, rehydrate the mix in a separate container before planting.
Prepare the plant and workspace
Repot in the morning or on a cloudy day when possible. Gather the new pot, moistened mix, a clean trowel, water, and the stake or cage the plant will eventually need. Place everything within reach before removing the plant. This matters because a tomato left bare-root in sun or wind can lose moisture quickly.
Water the tomato a few hours before moving it. The goal is a hydrated root ball that holds together, not a saturated mass that slides apart. If the plant is bone-dry, water lightly, allow it to absorb, and then water again rather than forcing a large volume through a hydrophobic mix.
Repot a tomato seedling step by step
- Fill the new pot partway. Add enough mix that the seedling’s final planting depth will leave the root crown at the intended level and the soil surface about an inch below the rim.
- Remove the seedling from its old pot. Turn the pot sideways, support the mix with your fingers around the stem, and ease the container away. Never pull the plant by its stem or leaves.
- Inspect without dismantling. Healthy roots are usually cream to white and firm. A few circling roots can be loosened at the edge, but do not rake the entire root ball bare.
- Set the plant deeper if it is leggy. Keep the lowest leaves above the mix and remove only leaves that would otherwise be buried. The buried stem can form additional roots along its length.
- Backfill gently. Add mix around the root ball, tapping the pot lightly to close large air gaps. Do not compress the mix into a hard layer.
- Water slowly. Wet the full root zone until a little water drains from the bottom, then let the pot finish draining.
The plant may look slightly floppy immediately afterward. A short period of mild wilt is less concerning than a stem that is pinched, bruised, or buried under wet mix. Give the seedling bright light without intense heat while it regains firmness.
Move a larger tomato into its final pot
For a larger tomato, place the support in the container before or during planting. Installing a cage after the root ball is full of new roots can cut through the very roots you are trying to protect. Set the pot where it will receive the required sun before it becomes heavy.
Make a planting hole wider than the root ball and deep enough for the final stem depth. Slide the tomato out by supporting the soil and the base of the stem. If the roots are tightly circling, loosen only the outermost layer with your fingertips. A hard, dry mat may need a few shallow vertical releases, but extensive tearing is not a sign of thoroughness.
Set the plant, backfill, water, and check that the pot has not settled so low that leaves touch the soil. Leave room at the rim for future watering. For a final container, stability is part of plant care: a narrow pot can tip as an indeterminate tomato grows, even if the volume is technically adequate.
Plant tomatoes deeply without burying leaves
Tomatoes can make roots from buried portions of their stem. That is useful for a leggy seedling because a deeper planting position can give it a larger anchoring root zone. Bury the lower stem up to just below the lowest healthy leaves, or lay a very leggy plant at a shallow angle with the foliage above the soil.
Do not bury leaves, flowers, or fruit. Remove lower leaves that would sit under the mix, and keep foliage from resting against constantly damp soil. Deep planting is not permission to place the entire green stem underground. The plant still needs a clean transition between roots, stem, and leaves so air can circulate.
Support and mulch before roots settle
Add a stake, cage, or other support early. A tomato that is upright now can lean after watering or a gust of wind. Early support prevents repeated disturbance and keeps fruit-bearing stems off the ground. Choose a support that fits the plant’s mature habit; a small cage can become a trap for an indeterminate vine that quickly outgrows it.
A thin layer of clean mulch helps slow evaporation and buffers the surface from temperature swings. Keep mulch a short distance from the stem. Mulch that touches a wet stem can keep the collar damp and invite decay, especially when the container already drains slowly.
Harden off before moving tomatoes outdoors
Repotting and outdoor acclimation are separate stresses. A greenhouse-grown or indoor seedling should be hardened off gradually after the weather is suitable. Begin with a protected outdoor location for a limited period, then increase exposure over several days. Avoid placing a freshly repotted seedling directly into strong wind and full afternoon sun.
Move tomatoes outdoors only after the local frost risk has passed and nighttime conditions are suitable for the variety. A warm day can be misleading if the root ball will be chilled overnight. If a cold snap is forecast, keep the plant protected rather than repeatedly moving it between extremes. The Iowa State University Extension tomato resource is a useful local-climate reference for timing and acclimation decisions, but your own forecast still controls the move.
Water after repotting
The first watering is a settling watering, not a standing-water treatment. Apply water slowly across the surface until the root ball and surrounding mix are evenly moist and a little drains from the hole. Empty any saucer after the pot has finished draining. The roots need oxygen as well as water.
After that first watering, check the pot with a finger or by lifting it. Water again when the upper layer has begun to dry and the container feels lighter, adjusting for sun, wind, pot material, and plant size. Frequent shallow sips encourage a narrow wet zone; repeated deep watering followed by appropriate drying encourages the roots to explore the container.
Manage light, temperature, and wind during recovery
For the first day or two, protect a newly moved tomato from the harshest conditions while keeping it in bright light. A little morning sun is usually easier than full afternoon exposure. Do not put the plant in a dark room to prevent every possible wilt; low light slows recovery and can produce softer growth.
Wind is often overlooked. It increases water loss from leaves while the roots are still settling. A sheltered wall, porch, or temporary screen can reduce that load. Remove the protection as the plant firms up so it does not become a permanently shaded or poorly ventilated location.
Fertilize without burning new roots
Fresh potting mix often contains enough starter nutrition for the first period after repotting. Wait until the plant has resumed upright growth or produced new growth before applying a complete tomato fertilizer, and follow the product label. Fertilizer does not repair broken roots, cure wilt, or compensate for inadequate light.
Avoid a strong dose immediately after the move. Tender new roots can be damaged by excess salts, especially in a small container that is drying quickly. If the plant is flowering or setting fruit later in the season, nutrition matters, but timing and label rate matter more than adding extra product.
Diagnose wilt, yellow leaves, and slow recovery
Some droop after transplanting is normal. The plant has temporarily lost root contact with the surrounding mix, and leaves can lose water faster than the roots replace it. If the stems firm up overnight or after a careful watering, continue gentle care.
Persistent wilt requires a closer look. A dry root ball, a pot with blocked drainage, a snapped stem, cold exposure, wind, and root rot can all look like “shock.” Feel the mix rather than watering automatically. Check whether water exits the hole. Inspect the stem for a crease, and smell the mix if it stays wet for days.
Yellowing of a single older leaf is not proof that the move failed. Widespread yellowing with wet soil suggests a root-zone problem; yellowing with very dry soil suggests inconsistent moisture or damaged roots. Remove only clearly dead leaves and correct the underlying condition.
Avoid these tomato repotting mistakes
- Moving a dry, wilted plant without hydrating the root ball.
- Choosing a huge pot because the plant will “grow into it.”
- Using garden soil that collapses the air spaces roots need.
- Pulling on the stem instead of supporting the root ball.
- Shaking every particle of mix from healthy roots.
- Burying leaves, flowers, or fruit along with the stem.
- Leaving the plant in full wind or hot sun immediately after the move.
- Installing a stake by driving it through an established root zone days later.
- Keeping a saucer full of water under the container.
- Fertilizing heavily before the plant has resumed growth.
When to postpone or stop the move
Postpone routine repotting if the plant is already severely wilted from heat, if a freeze is imminent, or if it is in the middle of a major environmental change. Stabilize moisture and temperature first. A plant that is actively flowering can still be moved, but expect a greater chance of flower drop and work as gently as possible.
Stop and reassess if the root ball smells sour, the roots are brown and mushy, the stem is split, or the plant has a serious pest or disease problem. A bigger pot is not a cure for root rot. In that case, the right response may involve removing damaged roots, replacing contaminated mix, improving drainage, or discarding a plant that cannot be safely restored.
Conclusion
To repot tomato plants without killing them, move them while they are hydrated and actively growing, choose the next container rather than the largest container, and keep the root ball as intact as possible. Plant a leggy stem deeper, but keep leaves above the soil. Water thoroughly once, let the pot drain, add support before roots spread, and give the plant a few days of protection from wind, heat, and abrupt sun.
The best signal that the move worked is not instant growth. It is a plant that regains firmness, dries the mix at a reasonable pace, and begins producing new roots or leaves without a continuing decline. Watch those signals, and repotting becomes a controlled step in the tomato’s growth instead of a race against transplant shock.



