How to Save Money on Mulch: 6 Practical Tips
Save money on mulch with six practical options: shredded leaves, clean grass clippings, cardboard, pine needles, free chips, and local programs.
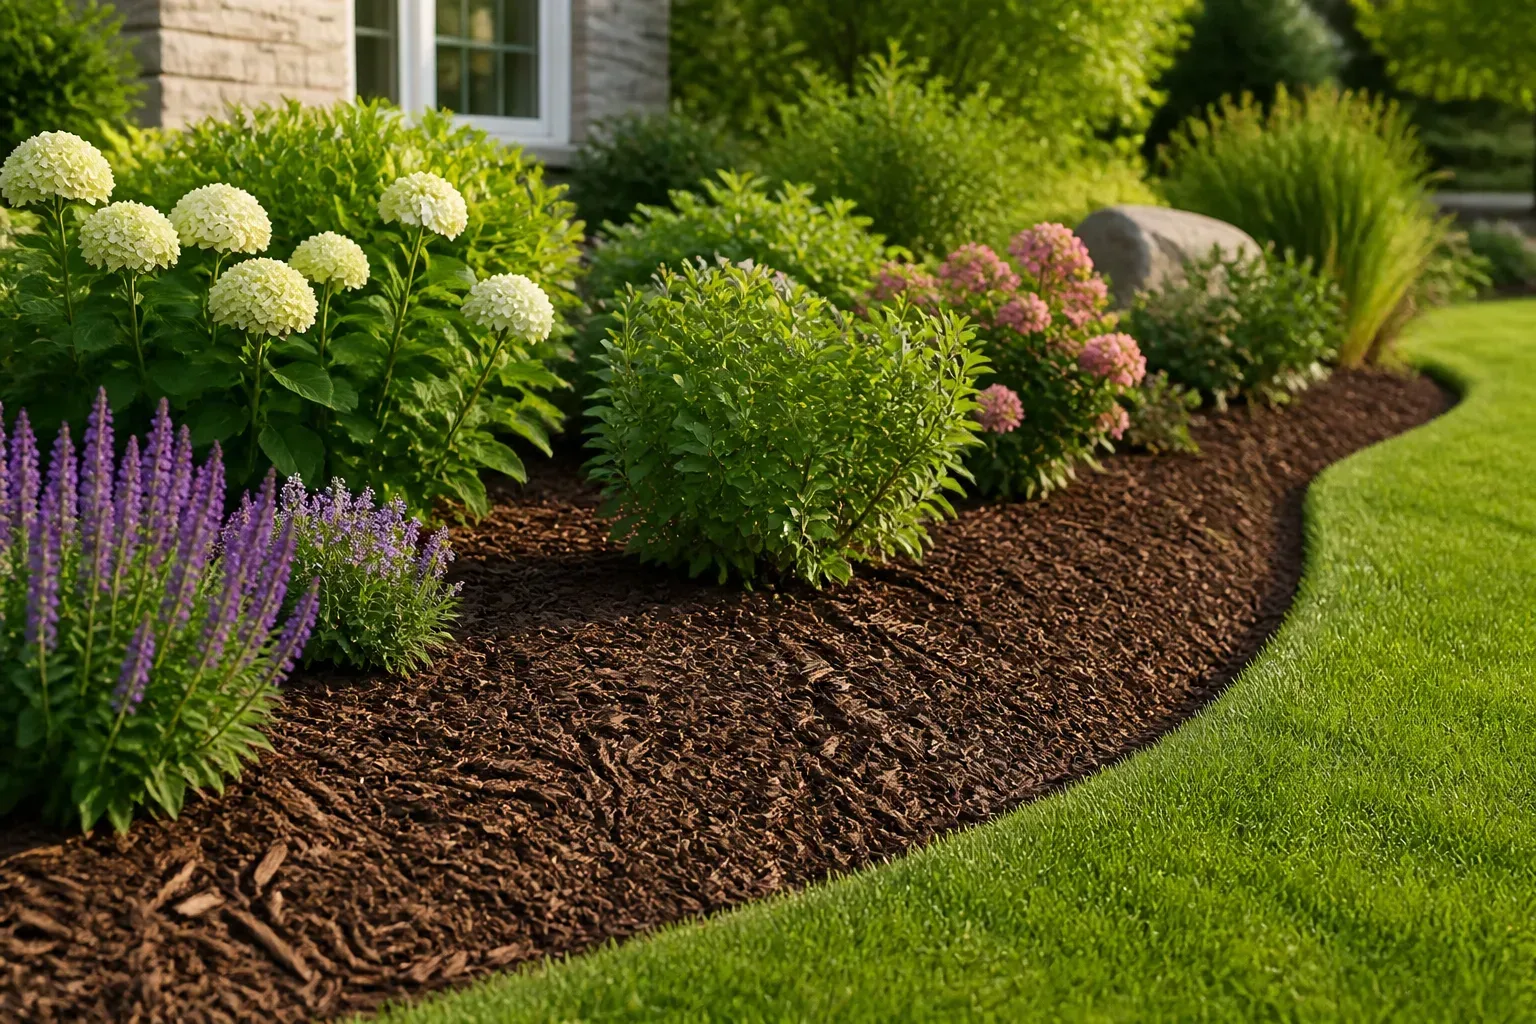
The cheapest mulch is usually the material you already have, can collect locally, and can apply without creating extra work. Fallen leaves, clean grass clippings, pine needles, plain cardboard, and arborist wood chips can all protect soil, but they are not interchangeable.
The smart way to cut the bill is to match the material to the job. Use fast-breaking materials in annual and vegetable beds, durable chips around shrubs and trees, and cardboard only when you are smothering weeds or building a new bed. That choice saves more money than simply grabbing the lowest-priced bag.
Start With the Job, Not the Bag
Mulch is a surface covering, not the same thing as a soil amendment mixed into the ground. Depending on its texture and how you use it, mulch can slow evaporation, moderate soil temperature, reduce erosion, and suppress small weeds. Colorado State University Extension also points out that the material must be selected for the situation: a mulch that works well around shrubs may be awkward in a bed you cultivate every season.
Before collecting anything, identify what you want the layer to do:
- Cover a new or weedy area: Use overlapping cardboard, then cover it with leaves or chips so it stays in place.
- Feed an annual or vegetable bed: Choose shredded leaves or clean grass clippings that can break down quickly and be moved when you replant.
- Reduce watering around shrubs and perennials: Use coarse arborist chips, bark, or a thick layer of shredded leaves.
- Protect a tree’s root zone: Use coarse chips spread broadly beneath the canopy, but leave the trunk base exposed.
- Mulch beside a foundation or in a fire-prone landscape: Follow local fire-wise and pest-management guidance before choosing a fine, dry organic material.
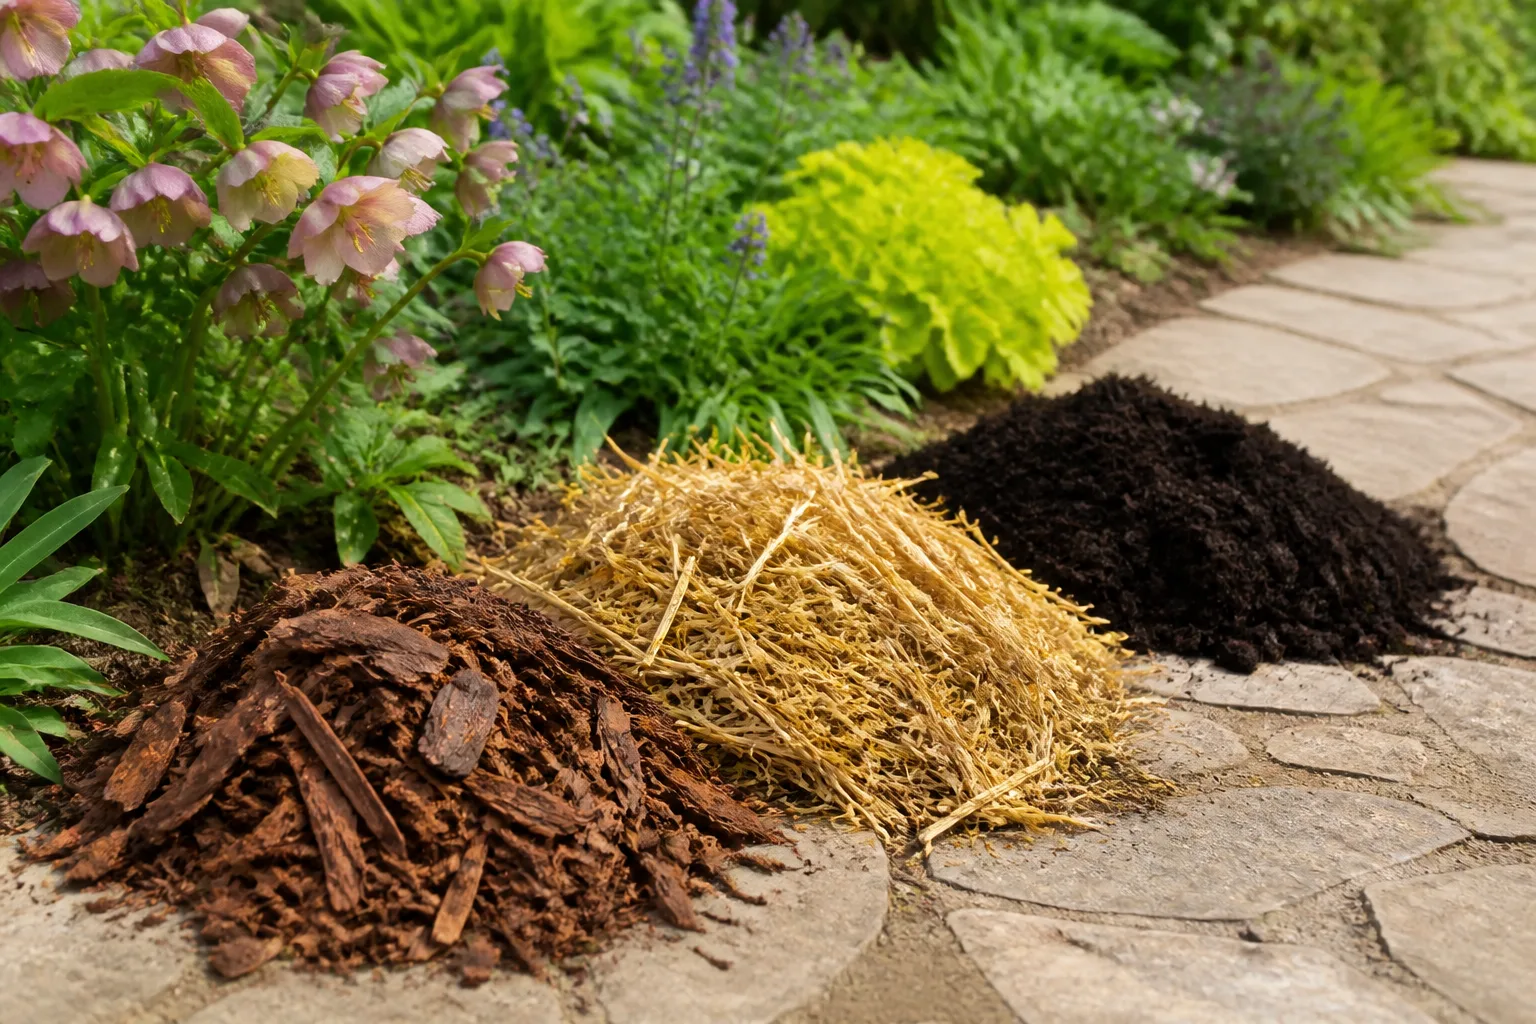
The cheapest material is a poor bargain if it needs replacing every few weeks, washes into a drain, carries herbicide residues, or creates a damp pile against a plant. Think in terms of cost per season of useful coverage, not just cost per bag.
Measure the Bed Before You Buy Anything
Measuring first prevents the most common mulch expense: buying far too much. Measure the length and width of a simple bed, break an irregular bed into rectangles or triangles, and add the areas together. Then use this formula:
Cubic yards needed = square feet of bed × mulch depth in inches ÷ 324.
For example, 500 square feet at 2 inches deep requires about 3.1 cubic yards. At 3 inches, the same bed needs about 4.6 cubic yards. That difference is substantial when you pay for delivery, so do not default to a 4-inch layer just because a bag or truckload makes it easy.
For bagged products, convert the bag volume to cubic feet and compare it with the bed. A 2-cubic-foot bag covers about 12 square feet at 2 inches deep, before settling and uneven spreading. Check your own bag label because product volumes vary.
Measure the existing layer too. If the bed still has a thin, even layer, rake it back into low spots and buy only enough to restore coverage. Organic mulch breaks down gradually; you usually need a top-up, not a complete replacement.
1. Turn Leaves Into Free Mulch
Leaves are one of the easiest ways to reduce mulch costs because they arrive in volume and already belong to your local growing system. In a garden bed, they return organic matter as they decompose and can improve the soil’s ability to hold and move water.
Shred them with a mulching mower, leaf vacuum, or leaf shredder before spreading them over most beds. Small pieces settle between plants and decompose more evenly; whole leaves are more likely to mat into a wet blanket that sheds water instead of letting it reach the soil.
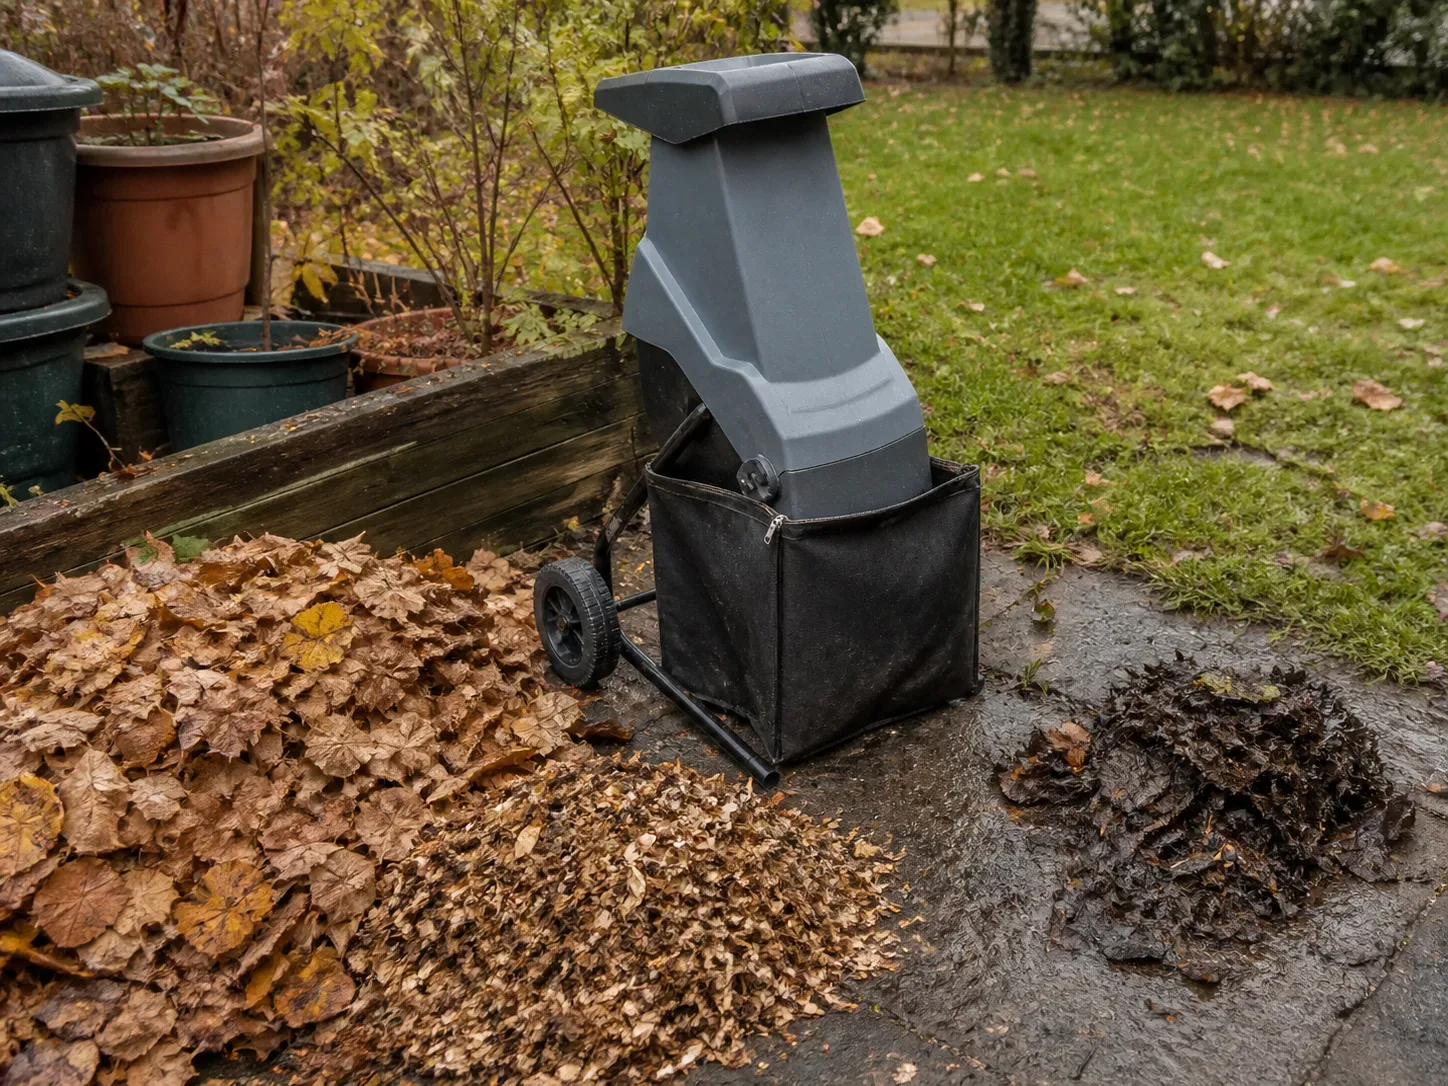
For established ornamental beds, start with a loose layer of about 2 to 3 inches of shredded leaves and keep the material a few inches back from plant crowns. Use less around small seedlings so their stems stay open to air and light. If leaves settle quickly, add another light layer rather than piling a deep, compact mound in one pass.
Do not collect leaves from roadsides or areas treated with salt, oil, or unknown chemicals. Also skip visibly diseased leaf litter when the plants showed a serious foliar disease. Bagging or locally approved disposal is a better choice than spreading a known problem through several beds.
If you have more leaves than the garden can use, stockpile them in a simple wire ring or breathable bin. They can become leaf mold or a useful brown material for balancing wet grass clippings in a compost pile, which reduces the need to buy compost later.
2. Use Grass Clippings in Thin, Clean Layers
Grass clippings are free, nitrogen-rich, and fast to decompose, which makes them useful in vegetable rows and annual beds. They are also the easiest free mulch to misuse: a wet heap of fresh clippings can mat, smell, heat up, and block air and water.
Use clippings only when you know the lawn’s history. Do not use them in garden beds if the lawn was recently treated with an herbicide or pesticide, if the treatment label prohibits moving clippings, or if you cannot verify the product and waiting period. Skip clippings mixed with weed seed heads or diseased turf as well.
For a bed, spread fresh clippings as a very thin, loose layer—about a quarter inch is a conservative starting point. Gardening Know How gives the same warning in practical terms: thicker fresh layers stay wet and are more likely to smell or mold. Let the layer dry and settle before adding more.
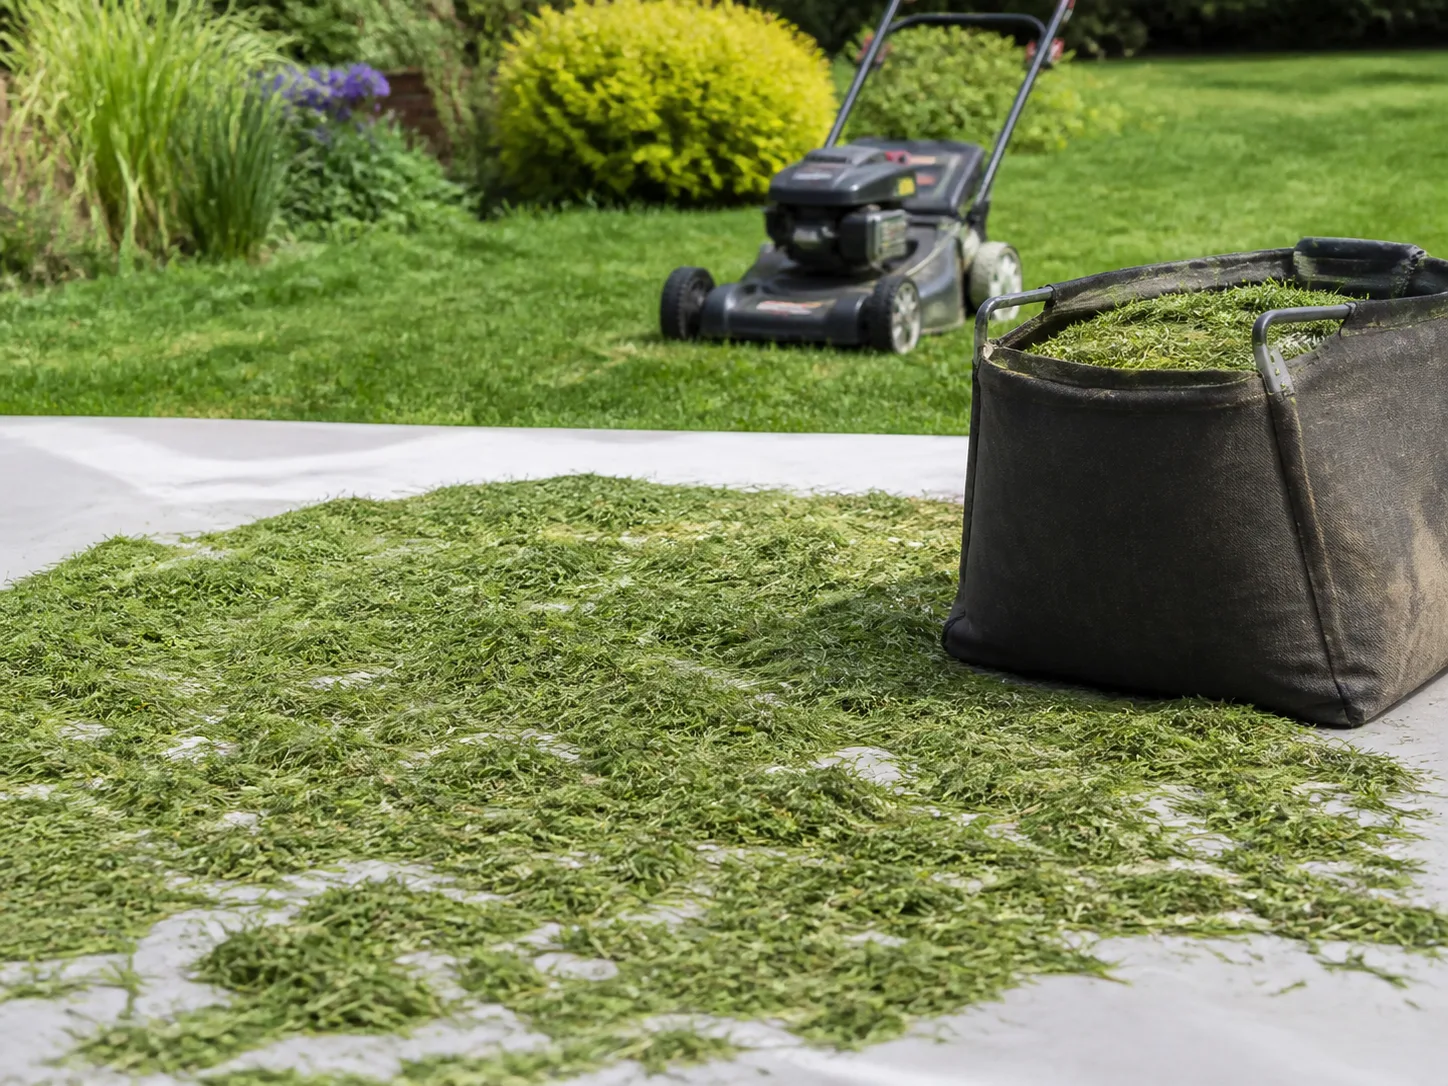
Dried clippings can be applied somewhat more generously, but they still need to remain loose. Do not pack them against stems, fold them into a dense mat, or use them to bury the crowns of low plants. If you have a large amount, mix the clippings with dry shredded leaves and compost them instead; the dry material improves airflow and gives you a more balanced soil product.
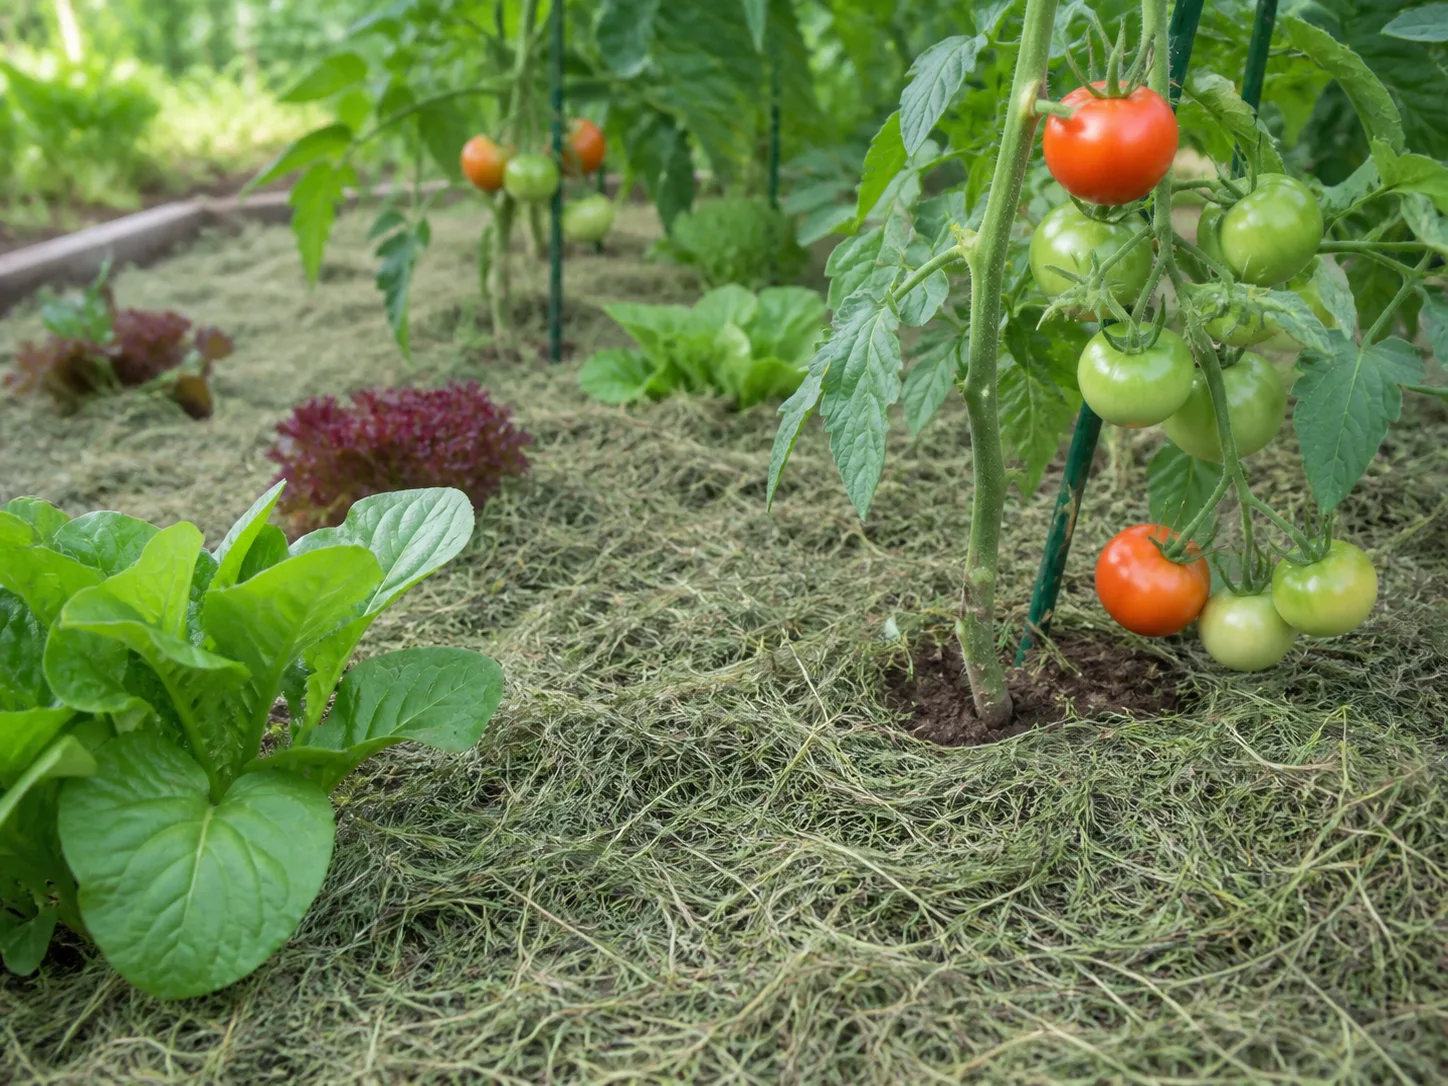
The lowest-effort option is often to leave short, clean clippings on the lawn. Clippings shorter than about an inch can filter between grass blades and return nutrients in place, so you avoid both a disposal fee and the labor of moving them.
3. Put Cardboard Under Mulch When Smothering Weeds
Cardboard is most valuable when it replaces labor, not when it replaces every other mulch. Use plain brown corrugated cardboard to cover a weedy patch, convert a section of lawn into a bed, or make a temporary path. It blocks light while the organic layer above it does the visible work.
Flatten the boxes, remove tape, labels, staples, plastic film, and glossy or waxed pieces, then overlap the sheets generously. Wet the cardboard so it conforms to the soil and stays put. Cover it completely with leaves, compost, or wood chips; exposed cardboard dries, blows away, and makes a bed look unfinished.
Oregon State University Extension describes sheet mulching as a way to suppress weeds while organic materials build soil above the old surface. The important distinction is that this is a bed-conversion method. A loose sheet of cardboard left around established plants is not a substitute for a breathable, properly sized mulch layer.
Cardboard can also be useful under a thick layer of chips on a new path, but do not use it to hide a drainage problem. If water already pools in the area, solve the grade and drainage first. A paper layer will not turn a wet site into a healthy planting bed.
4. Rake Pine Needles From Your Own Yard
If pine trees are already dropping needles on your property, rake them into a resource instead of buying bagged pine straw. Pine needles are light, easy to move, and useful around acid-loving plantings, woodland borders, paths, and shrubs where a loose, natural-looking surface is acceptable.
Spread them evenly and fluff clumps apart. Their value is mostly availability and handling: a free pile from your yard can cover a large area at no material cost. You do not need to buy pine straw simply because another garden uses it.
Pine needles are not ideal where you need a smooth, dark, formal finish or where fine dry material could create a fire concern. Colorado State University Extension notes that fine, dry organic mulches are more ignitable than coarse, moist chips in fire-prone settings. Near structures, check local defensible-space rules before spreading any free organic material.
5. Ask for Arborist Wood Chips
For a large shrub border, tree ring, or perennial bed, free arborist chips are often the best cost-per-season option. Tree services already need to process chipped branches, and Washington State University Extension notes that chips are available free of charge in many urban areas. They last longer than leaves or grass, so the labor of hauling and spreading them buys several seasons of slower decomposition.
Call local tree services, municipal public-works departments, utility vegetation-management programs, and community gardens. Ask whether the load is clean branch material, whether delivery is free or paid, and whether you can accept a mixed load of bark, wood, and leaves. Some services will leave a large pile, so confirm that your driveway or access route can handle it before agreeing.
Use arborist chips as a surface mulch. They should not be tilled into a vegetable bed or mixed through the root zone, where decomposition can temporarily compete for nitrogen and make replanting harder. If a fresh load looks wet, sour, contaminated with construction debris, or heavily mixed with visibly diseased plant material, ask for a different load or reserve it for a non-edible area while it ages.
Coarse chips need more depth than fine clippings to suppress weeds, but more is not automatically better. A loose 3- to 4-inch starting layer works for many ornamental beds; where maximum weed suppression is the goal, local extension guidance may recommend a deeper coarse-chip layer. Keep the bed’s grade, drainage, and plant crowns in view rather than filling it to a fixed number.
6. Check Municipal and Extension Mulch Programs
Free or low-cost mulch may be available closer to home than you think. Search your city, county, water utility, parks department, public-works office, university extension, and community-compost program for terms such as “free mulch,” “wood chips,” “yard-waste compost,” or “resident pickup.” Availability changes by season and storm activity, so treat it as an opportunity, not a guaranteed supply.
Ask five questions before making the trip:
- Is the material free, discounted, or priced by the load?
- Is pickup required, or is delivery available for a fee?
- Is it screened compost, leaf mulch, or unscreened wood chips?
- Does the program restrict where the material may be used?
- Do I need a tarp, trailer, shovel, or appointment?
When a program offers several materials, choose based on the bed rather than the darkest color. Coarse chips are usually the better long-term choice for shrubs; screened leaf compost is easier to spread in annual beds; and a free mixed pile may be ideal for a new, informal planting area.
Pick the Cheapest Material That Fits the Bed
| Garden situation | Best low-cost choice | How to use it | Main watch-out |
|---|---|---|---|
| Vegetable rows and annual beds | Shredded leaves or clean grass clippings | Use a thin, loose layer and add more as it settles | Treated clippings and material that mats when wet |
| New bed over lawn or weeds | Plain cardboard covered with leaves or chips | Wet, overlap, and cover completely | Do not use glossy cardboard or leave it exposed |
| Shrub and perennial borders | Arborist wood chips or shredded leaves | Spread evenly and keep away from crowns | Do not mix chips into the soil |
| Tree rings | Coarse arborist chips | Extend across the root zone in a broad donut | Never pile mulch against the trunk |
| Pine-covered property | Raked pine needles | Fluff and spread where a natural texture works | Fine dry mulch can be a fire concern near structures |
| Fire-prone or foundation-adjacent area | Local-code-approved material | Follow defensible-space and pest guidance first | Free organic mulch may not be the safest choice |
The table’s most important rule is that free is not the only cost. Add hauling time, delivery, spreading, replacement frequency, and cleanup to your comparison. A nearby pile of chips that lasts years can beat free grass clippings that need repeated applications, while free leaves may win in a small bed because they require almost no transport.
Apply Free Mulch Without Creating New Problems
Remove established weeds before mulching, especially perennial weeds with crowns or runners. Mulch is excellent at reducing new germination and slowing small weeds, but it is not a magic eraser for a healthy root system already growing through the bed.
Spread the material over reasonably moist soil in an even layer. Keep it off plant crowns, leave irrigation emitters accessible, and stop the layer from spilling onto sidewalks or lawn edges. If you are using a fine material, choose several light applications over one heavy dump; air and water need paths through the layer.
Keep Mulch Away From Stems and Structures
Make a donut, not a volcano, around trees and shrubs. Leave the root flare and lower stems visible, tapering the mulch down as it approaches the trunk. A dark, wet pile against bark holds moisture where above-ground tissue is not adapted to it and can create opportunities for decay and pests. WSU Extension specifically recommends keeping mulch away from trunks rather than mounding it up their sides.
Keep organic mulch away from building foundations as well. The material itself may not attract termites, but a continuous mulch layer can create a bridge for insects into a house or garage. Leave a visible bare strip or use the separation required by your local pest and fire guidance.
Refresh by Depth, Not by Calendar
Check the bed after heavy rain, wind, and the first hot stretch of the season. Rake settled mulch back into thin spots, pull it away from crowns, and add only enough new material to restore the working layer.
Fast decomposers such as grass and fine leaves need more frequent touch-ups. Chips and bark last longer but can become compacted or hydrophobic in intense sun, so test a dry bed by watering it slowly and watching whether water reaches the soil. If it beads and runs off, rake the surface loose and correct the watering pattern instead of adding another layer.
Avoid the Cheap-Mulch Traps
The following shortcuts look inexpensive but often create a second job:
- A thick mat of fresh grass: It can smell, heat up, and repel water. Apply a thin layer or dry it first.
- Whole wet leaves: They can form a slick blanket. Shred them or spread a thinner layer and let it dry.
- Unknown lawn clippings: A free bag is not worth risking herbicide carryover in an edible bed.
- Wood chips mixed into soil: Surface chips are mulch; buried chips are a soil-management problem and can complicate planting.
- A mulch volcano: Extra material against a trunk is not extra protection.
- Cardboard left uncovered: It blows away and can interfere with water movement until it breaks down.
- Diseased or contaminated material: Do not spread visibly diseased leaves, roadside debris, treated lumber, or construction waste through planting beds.
- Fine organic mulch beside a fire-prone structure: Follow local defensible-space guidance before choosing the free option.
These are not reasons to buy commercial mulch every time. They are reasons to inspect the material and apply less of it, more slowly, or in a different part of the yard.
Make a Low-Cost Mulch Plan for This Weekend
Start by measuring each bed and writing down its main job: weed suppression, moisture retention, soil improvement, or appearance. Calculate the volume you need, then inventory what you already have before visiting a store.
Next, sort the free materials. Shred dry leaves, set questionable leaves aside, spread fresh grass to dry, flatten and strip cardboard, and call two or three tree services about clean chips. Check municipal and extension program pages at the same time; a single legal load can cover more area than many bags.
Prepare the soil surface by removing established weeds and correcting drainage or grade problems. Lay cardboard only where it will be covered, apply grass in thin layers, spread leaves loosely, and use chips for the beds where durability matters. Finish by pulling everything away from stems, trunks, paths, and foundations.
Recheck the bed after the first substantial rain. If water is reaching the soil and the material is not matting or touching plant tissue, you have built a low-cost mulch system. The next refresh should be a small top-up, not a full repurchase.
Conclusion
To save money on mulch, begin with the material your yard can supply safely: shredded leaves for volume, clean grass clippings for quick nutrient return, pine needles where they are abundant, cardboard for sheet-mulching, and arborist chips for durable coverage. Municipal and extension programs can fill the gaps when your own yard does not produce enough.
The savings become real when you measure first, choose by garden job, apply the right depth, and avoid the mistakes that force a redo. Free mulch should protect the soil and your budget at the same time.



