How to Keep Pumpkins From Rotting: 7 Practical Tips
Keep pumpkins from rotting longer by protecting the stem, drying rainwater, storing whole fruit cool, and using an LED after carving. See the limits, too.

A whole pumpkin and a carved jack-o’-lantern are not the same storage problem. An intact, mature pumpkin with an undamaged rind can keep for weeks or months under cool, dry conditions, depending on its variety; once you cut through that rind, the clock speeds up. For a porch decoration that needs to look good through Halloween, the most dependable plan is to start with firm fruit, prevent bruises and trapped water, keep it sheltered, and delay carving until close to the night you need it.
There is no spray that makes a damaged pumpkin permanent, and a warm, wet week can undo careful handling. The steps below focus on the conditions that actually change the outcome, explain why curing is not a universal fix, and give you a clear point at which to remove a pumpkin rather than trying to rescue it.
The First Rule: Whole Pumpkins and Carved Ones Need Different Care
For whole pumpkins, preserve the natural rind. Choose fruit without punctures or soft spots, keep it off damp ground, and store it where air can move around it. If you grew the pumpkin, let it reach maturity on the vine when weather allows; if you bought it, handle it as carefully as produce you want to store rather than as a sturdy prop.
For a carved pumpkin, the rind barrier is already broken. A clean cut helps, but it cannot keep the exposed flesh fresh indefinitely. Cooler temperatures and fewer hours on display can slow deterioration; keeping a candle lit inside, leaving the pumpkin in rain, or carving it a week before Halloween works against that goal. The practical target is not “preserve it all season.” It is “keep it presentable for the shortest stretch you need.”
This distinction also answers a common confusion about curing. Curing is a postharvest practice for some mature winter squash, not a disinfecting bath or a treatment for a carved lantern. It should not be added automatically to every pumpkin-care routine.
Why Pumpkins Rot (and What You Can Control)
Rot begins when the fruit’s defenses are compromised or its environment stays favorable for decay. A puncture, split, bruised patch, or broken stem creates an entry point. Water held in a depression around the stem, a pumpkin resting on wet soil, or a display with little airflow leaves the surface damp. Warmth speeds deterioration, while freezing can injure cells so that fruit looks water-soaked or collapses after thawing.
Not every dark patch is the same disease, and not every rough mark means the pumpkin is already spoiled. University of Minnesota Extension describes several distinct harvest-time problems, including chilling injury after cold nights and opportunistic decay after fruit is damaged. That is why a firm pumpkin with a dry, healed-looking surface deserves a different response from a soft, leaking one. Inspect the whole fruit, especially the underside and stem cavity, before deciding whether it can remain on display.
7 Practical Ways to Keep a Pumpkin Fresh Longer
1. Choose a mature pumpkin with an intact rind
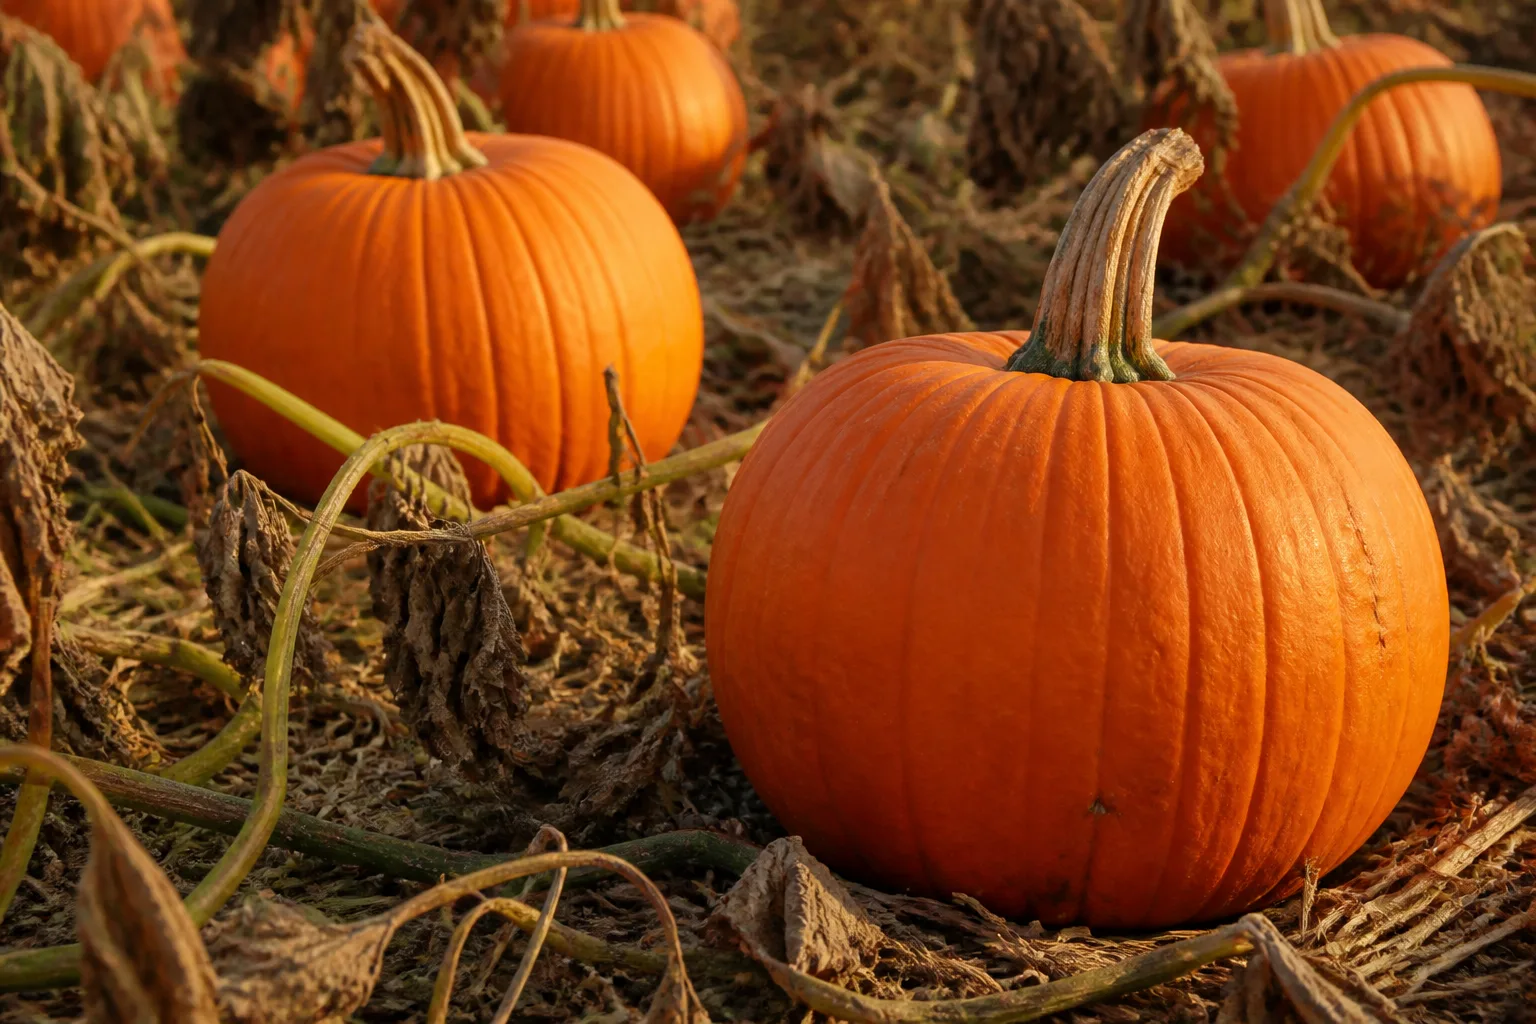
Start with the pumpkin most likely to last, not merely the one with the most photogenic face. On a homegrown fruit, look for the variety’s mature color, a firm stem, and a rind that resists a gentle thumbnail press. University of Minnesota Extension uses rind firmness as a useful maturity clue and notes that pumpkin and winter-squash storage life varies by type. A pumpkin picked too green may not develop the same storage resilience as mature fruit.
At a farm stand or store, turn the pumpkin enough to inspect the bottom and the side that was resting against another fruit. Avoid one with a soft or wet-looking patch, deep scratch, crack, puncture, or an already loose stem. Small dry surface scuffs may be cosmetic, but an opening through the rind is not. Check the stem base too: it should feel firm rather than mushy, and the surrounding skin should not look sunken or damp. University of Minnesota Extension’s harvest and storage guide likewise uses a firm rind and stem as signs that a pumpkin or winter squash is mature enough to store.
Do not press hard enough to bruise a pumpkin while testing it. The goal is a light check of firmness, not a squeeze. If you are choosing several pumpkins for a long display, buy them at different times or keep them in separate places until you arrange them; a hidden soft spot is easier to spot before it is buried in a crowded pile.
2. Keep the stem; carry from the base
The stem is part of the pumpkin’s natural protection, but it is not a handle. A heavy fruit can detach from the stem when lifted that way, leaving a raw break at the spot where moisture and decay can enter. Support the pumpkin from underneath with both hands, and lower it gently onto a car seat, porch, shelf, or storage surface. Avoid dropping, rolling, stacking, or wedging pumpkins together tightly.
If you harvest your own, cut the stem with clean pruners or a sharp knife and leave a few inches attached rather than snapping it off flush with the rind. The cut end should stay dry. Do not carry the pumpkin by the stem after cutting, and do not use a fruit with a broken stem as the one you plan to store the longest. It can still be a near-term decoration if the rind is otherwise sound, but check the damaged area often.
At home, set whole pumpkins on a dry board, shelf, or other clean surface that does not trap water against the base. Keep a little space between individual fruit. A shallow cardboard tray can make the display easier to move during rain or a cold snap, but replace it if it becomes wet or soft. The simple handling advice in Farmers’ Almanac’s pumpkin storage guide aligns with the practical point: prevent knocks before you start trying to treat the resulting damage.
3. Clean dirt and dry every surface after rain
If a whole pumpkin is muddy, rinse or wipe away loose soil and then dry it completely with a clean towel. You do not need to soak an intact pumpkin or leave it wet after washing. Pay special attention to the underside, grooves, and the bowl-shaped area where the stem meets the fruit; those spots can hold droplets long after the outer ribs look dry.
Outdoor pumpkins will get rained on in many climates. After a storm, tip away standing water from the stem cavity and wipe the rind dry, then give the fruit room to air out. A covered porch is helpful, but it is not automatically dry if rain blows sideways or the pumpkin sits in a puddle. Martha Stewart’s practical pumpkin-care article also calls attention to water collecting around the stem; treat drying that pocket as routine maintenance, not an occasional rescue step.
For a carved pumpkin, keep cleaning simple. Remove seeds and stringy pulp thoroughly with a clean scoop, because wet scraps left inside can decay before the rind. Do not use household bleach, scented cleaner, or an automotive product on a pumpkin you may handle or eat. A decorative-only fruit is still outdoors among children, pets, and food; a “stronger” chemical treatment is not a substitute for a clean work surface and good judgment.
4. Store whole pumpkins cool, dry, and ventilated

For long-term storage of mature, uncarved pumpkins, aim for a cool, dry room with steady temperatures and moving air. University of Minnesota Extension gives a storage target of roughly 50–55°F and about 50% relative humidity for winter squash and pumpkins, with the storage period ranging widely by variety. This is useful guidance for a harvest room or cool basement, but a typical refrigerator is colder and wetter than the ideal long-term setup for intact winter squash.
At home, use the coolest location that stays dry and above freezing: a ventilated basement, cool pantry, or garage only if you have checked its temperature and it does not become damp. Place fruit in a single layer rather than in a mound, and do not seal it in a plastic bag or airtight bin. Airflow lets moisture escape and helps you notice a problem before one pumpkin sits against another for weeks.
If your only indoor option is a warm room, do not expect storage-life numbers from a commercial or extension chart to apply. Use that pumpkin first, keep it away from heaters and sunny windows, and inspect it at least every few days. A dry, shaded porch may be better for a short display than a heated kitchen, while a cold garage can become risky when temperatures approach freezing. Location matters more than the label “garage” or “basement.”
5. Keep the display out of sun, standing water, and frost
For an outdoor display, choose shade or bright indirect light instead of a hot patch of afternoon sun. Raise pumpkins off wet soil, keep them out of gutters and sprinkler spray, and avoid arranging them where rainwater runs down a step and pools under the fruit. A roof or porch overhang helps most when it keeps both the pumpkin and its base dry.
Move pumpkins to a protected spot before a hard freeze. A thick rind does not prevent cold injury, and a pumpkin that freezes can look acceptable while frozen but turn soft, wet, or collapsed as it thaws. If you cannot move a large display, bring the most valuable fruit inside or cover it overnight when a brief chill is forecast; a cover may buy protection from a light cold night, but it is not a promise of safety through a hard freeze.
Rain and cold can also create confusing surface changes. Minnesota Extension’s guide to harvest-time rots notes that cold injury may appear as water-soaked or depressed patches, while heavy rain can contribute to other problems in mature fruit. After a wet or cold spell, check the lower side and the stem end. If the flesh remains firm and the mark is dry and stable, keep it under observation; if it softens, leaks, smells sour, or caves in, remove it from the display.
6. Carve as close to display day as you can
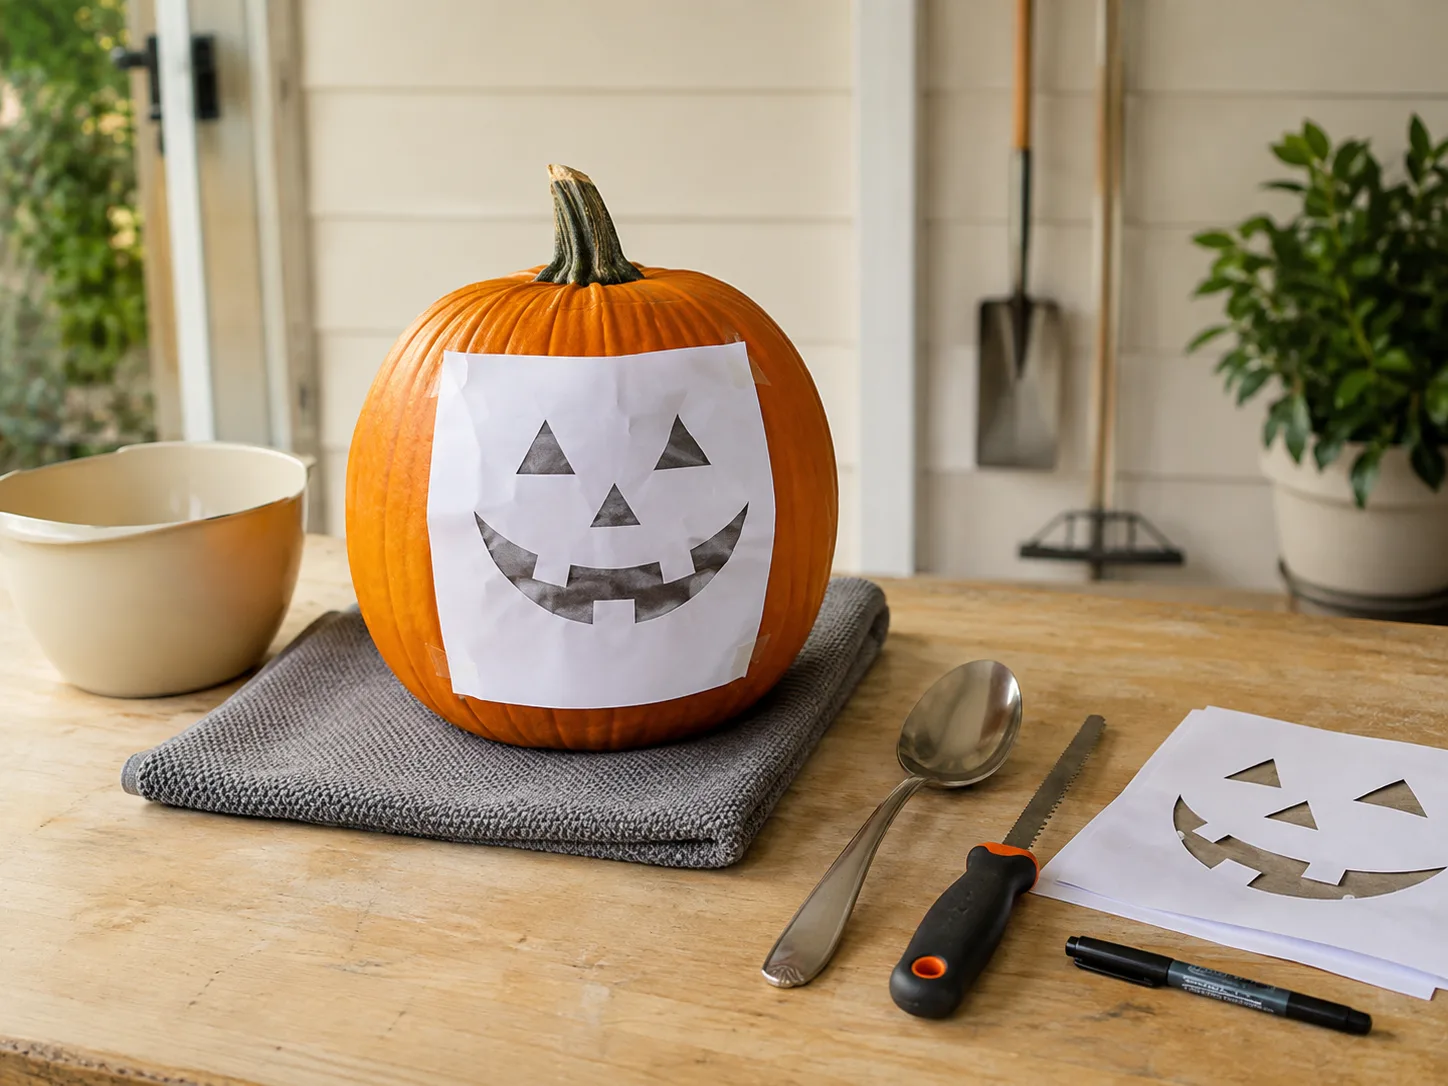
Carving is the point when the whole-pumpkin storage strategy ends. Cut openings expose moist tissue, create several new edges, and let the inside dry unevenly. If you want a jack-o’-lantern for Halloween night, carve it as late as your schedule allows—often the day before or the day of the event rather than at the start of October. Warmer weather may mean an even shorter window.
Use a clean knife and scoop, make deliberate cuts, and remove the seeds and stringy material instead of leaving a wet layer inside. A thinner, well-cleaned interior can dry more evenly than one packed with pulp, but do not scrape so aggressively that you pierce the rind. Keep the cut lid or bottom aligned with the design you intend to use; a poorly fitting lid can trap water or block airflow, while a low opening may let the pumpkin sit in rainwater.
Keep an uncarved backup if the lantern is important for a party or photo. It is easier to carve a second pumpkin than to make a collapsing one firm again. If the goal is simply a fall look for several weeks, choose no-carve decoration—paint, removable props, or a stencil—so the rind remains intact. That is not a preservation hack; it is the one reliable way to avoid the shortened life created by cutting.
7. Keep a carved pumpkin cool; skip flame and miracle sprays
Use a battery-powered LED rather than a candle. An open flame adds heat inside the cavity and creates a fire risk; it also makes the pumpkin warmer exactly where the flesh is exposed. Do not put the lid over an active candle. Even with an LED, remove the pumpkin from display when you do not need it illuminated and keep it in the coolest dry location available.
On a mild night, a carved pumpkin can be brought indoors or into a cool garage after the event and set on a dry tray. Refrigeration can help if the pumpkin fits and the fridge is clean, but treat refrigeration as a short pause in deterioration, not a way to store a carved lantern for weeks. Let the surface dry before returning it outdoors, and discard it if it becomes soft, slimy, moldy, or foul-smelling. A display left outside overnight through rain or warm weather will not become safe or fresh because it was chilled afterward.
You will find suggestions to coat cut edges with petroleum jelly or spray pumpkins with vinegar solutions. A thin coating may slow surface drying in some conditions, and Martha Stewart’s expert-reported tips describe those approaches, but neither stops internal decay or guarantees a set number of extra days. Avoid putting non-food products on flesh you plan to eat, and do not apply petroleum jelly so heavily that it traps moisture. Skip bleach mists and WD-40: neither is needed for ordinary display care, and WD-40 is a flammable product that has no place around a candle or food.
Does Pumpkin Curing Prevent Rot?
Sometimes curing helps a mature winter squash heal small harvest wounds and dry its stem, but “cure every pumpkin” is not a safe universal rule. The species and intended use matter. UMass Amherst’s pumpkin and winter-squash harvest guidance notes that Cucurbita pepo types are ready to eat when mature and that curing can actually shorten their storage life; it describes short, warm curing conditions for squash types that benefit from it. Many familiar carving pumpkins are C. pepo, so a hot, humid curing room is not automatically an upgrade for a decorative pumpkin.
If you grew a named winter-squash variety for eating, follow species- and variety-specific extension guidance rather than applying one temperature to all squash. A curing treatment often involves warm, humid conditions—conditions that could be counterproductive for a porch decoration or an already-cut fruit. For a grocery or patch pumpkin with unknown variety, the lower-risk path is to keep the stem intact, handle it gently, dry the exterior, and store it cool and ventilated. Curing does not repair bruises, punctures, frost damage, or established rot.
How to Recognize Rot and Remove the Pumpkin Safely
Check the pumpkin from all sides, including the area touching the porch or shelf. Early trouble may look like a small sunken or water-soaked patch near the stem or on the underside; more obvious signs include a soft rind, leaking liquid, fuzzy growth, a sour or fermented smell, and flesh that collapses when you lift the fruit. A dull color by itself is not enough to diagnose rot, especially after weather exposure, so combine appearance with firmness and odor.
When one pumpkin starts to soften, move it away from the rest and inspect fruit that touched it or sat beneath it. Do not wait for the entire display to become mushy. Wipe the surface where it sat and let that spot dry before using it again. This routine is especially useful in a harvest storage area where one decaying fruit could soil the shelf or stay hidden under the next pumpkin.
Can You Save Seeds or Food From a Rotting Pumpkin?
If the pumpkin has visible mold, soft decay, a bad smell, or has been a carved outdoor decoration, do not treat it as a food-recovery project. Seeds sitting in a wet, decaying cavity are not automatically safe because they look intact. For an edible harvest pumpkin, keep it whole and sound until you are ready to prepare it, then follow ordinary produce-washing and food-handling guidance. Michigan State University Extension’s pumpkin safety guidance makes the practical distinction clear: a carved pumpkin is for decoration, not a food item to save for later.
What to Do With a Spent Jack-o’-Lantern
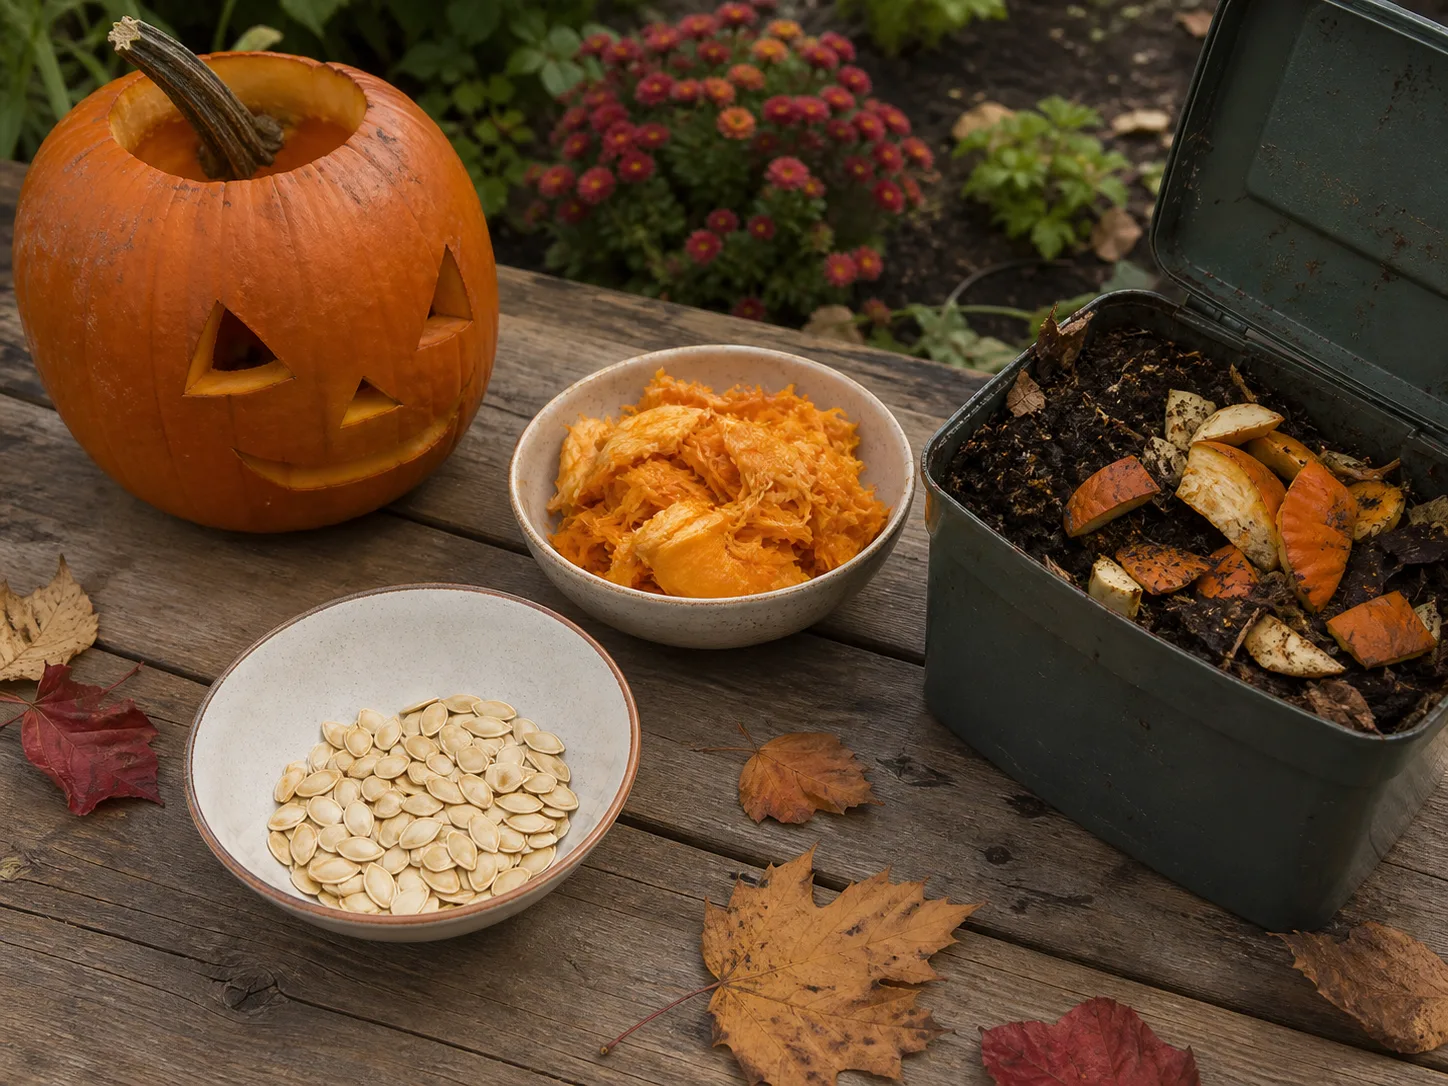
Remove candles, batteries, wire, paint, glitter, and plastic decorations before composting. A clean, undecorated pumpkin can often go into a home compost pile or a municipal pumpkin collection, but local programs set their own rules. Chop a large pumpkin into smaller pieces so it breaks down more easily, and bury it in the center of an active pile rather than leaving an intact fruit on a lawn or beside a garden bed.
If the pumpkin is coated with craft materials or the local program does not accept it, use municipal trash rather than leaving it where animals can tear it open. Do not place moldy pumpkins where pets or livestock can eat them. The image of feeding every leftover pumpkin to wildlife is appealing, but a rotten, painted, or treated jack-o’-lantern is not appropriate feed; composting or disposal is the safer end point.
How Long Will a Whole or Carved Pumpkin Last?
There is no single shelf-life promise. University of Minnesota Extension reports that winter squash and pumpkins can keep roughly one to six months under suitable storage, depending on the type. That is a broad range for mature, intact fruit in controlled conditions, not a guarantee for every supermarket pumpkin or a pumpkin sitting in sun, rain, or a heated entryway. A whole ornamental pumpkin on a porch may last weeks; a carved one may deteriorate in days, especially during warm, wet weather.
Use these estimates as planning ranges, then let the fruit tell you what is happening. A firm pumpkin with a dry stem and no soft patches can stay on display while you keep checking it. If its rind gives under light pressure, water gathers underneath, or the smell changes, stop counting days and remove it. Picking a sound pumpkin and keeping it dry does more than applying a last-minute coating after the first soft spot appears.
Conclusion
To keep pumpkins from rotting, protect the rind before carving: choose mature, firm fruit, carry it from the base, dry rainwater from the stem end, and give it a cool, ventilated place away from direct sun and freezing temperatures. For a jack-o’-lantern, carve late, clean out the wet pulp, use an LED, and bring it into a cool place when it is not on display. Those steps cannot make a pumpkin last forever, but they reduce the preventable damage that turns a fall decoration into a soggy mess before you are ready to say goodbye to it.



