How to Save Pepper Seeds for Next Year's Garden
Save pepper seeds from fully ripe fruit with simple drying and storage steps. Learn which varieties stay true, how to avoid mix-ups, and how to test old seed.
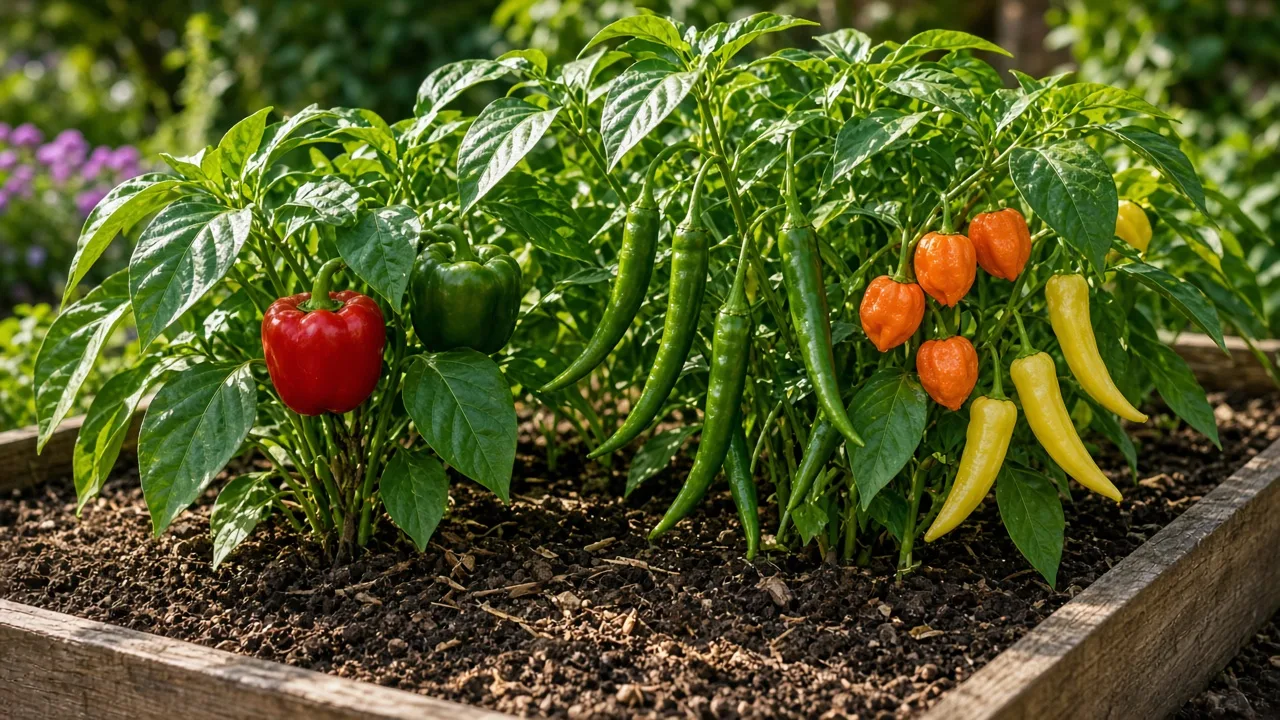
The easiest reliable method is to choose a healthy pepper that has reached its mature color, remove the seeds, spread them in a single layer, and let them air-dry fully before packing them in a labeled envelope. The part that needs the most attention happens before you open the fruit: a seed may sprout and still fail to produce the same pepper you grew, especially if the parent was an F1 hybrid or another variety pollinated it.
For a small home garden, you need no special machine. A ripe pepper, a knife, a plate or screen, an envelope, and a sealed jar are enough. The steps below separate the questions that often get tangled together: whether the seed is mature, whether the next plant will match its parent, and whether the seed will still germinate after storage.
Choose the right pepper before you start
Start with a plant that stayed healthy and produced peppers you actually want to grow again. If the plant was weak, diseased, or consistently made misshapen fruit, choosing its seeds simply repeats the wrong parent. Select one or more sound fruits from your best plant, and keep each named variety separate from the moment you harvest it.
Check the original packet or variety description before deciding what “same again” means. The words open-pollinated or heirloom are a good starting point when you want offspring that broadly resemble the parent, but open-pollinated does not mean that pollen from a neighboring pepper could not have crossed into the flower. If you no longer have the packet, write “unknown variety” rather than guessing later from the fruit’s color or shape.
Open-pollinated vs. hybrid
Seeds from an F1 hybrid can germinate. They are not sterile; the uncertainty is what the next generation will look and taste like. An F1 pepper is the first generation produced by crossing two selected parent lines. Its saved seeds form a later generation that can split into different combinations of size, shape, color, maturity, and heat, rather than reliably repeating the uniform F1 fruit.
That is not a reason to throw hybrid seeds away. Save them if you are curious, enjoy variation, or simply want to see what grows. If you want a dependable repeat of a named variety, start with an open-pollinated pepper and reduce cross-pollination as much as your garden allows. A 2019 study of two Capsicum annuum cultivars found that seed quality differed by cultivar and that fully ripe fruit produced stronger germination and vigor than less mature stages, a reminder that both genetics and maturity affect the result (study in Agricultural Reviews).
Decide how much variety purity matters
Every saved seed carries the genes of the plant that produced the fruit, plus the pollen parent that fertilized its flower. Many pepper flowers can self-pollinate, but bees and other pollinators sometimes move pollen among compatible pepper varieties. If that happens, it affects the seedlings grown from those seeds next year; it does not change the flavor or heat of the pepper that is already growing this season.
This distinction helps you choose how much work to do. If you just want more peppers and welcome surprises, save seed from any healthy, mature plant and label it accurately. If you are trying to maintain a particular cultivar, avoid treating a pepper patch with several flowering varieties as a controlled seed crop.
One variety in one garden vs. controlled pollination
The lowest-effort option is to grow only one variety of pepper when you plan to save seed. It reduces the chance of an accidental cross within your garden, though it cannot rule out pollen from a neighbor’s garden. If nearby growers also have peppers in bloom and the cultivar must remain true, use a physical isolation method instead of assuming that a few feet of space will solve the problem.
Seed Savers Exchange describes distance as the most reliable isolation method, while also stressing that recommended distances are ranges rather than guarantees because pollinators, garden layout, and local conditions vary (Seed Savers Exchange on isolation methods). Southern Exposure Seed Exchange gives example distances of 150 feet for sweet varieties and 300 feet between hot and sweet types, but those figures are not a promise of purity in every yard (Southern Exposure’s pepper seed guide). Most home gardeners do not have that much space, so use these distances as a sign that pollen can travel beyond a single bed, not as a small-garden measurement to memorize.
For a few plants, blossom bags are often more practical. Cover selected unopened flower buds with a breathable pollination bag before they open, mark the branch, and keep the flowers protected through fruit set. Once the fruit has formed, remove the bag if needed and leave the marked fruit on the plant until mature. Bagging is more work and can reduce pollinator access, so it makes sense when you care about preserving a particular variety, not when you simply want a handful of seeds to try.
How much seed to save
One healthy ripe pepper can provide dozens of seeds, usually far more than a small garden needs. For next spring’s planting, a small envelope from one or two fruits is often enough; saving several fruits gives you a buffer if some seeds are damaged or fail a germination test. Take seed from more than one healthy plant if you are deliberately maintaining a variety over multiple seasons, because a single plant represents less genetic diversity than a broader group.
A home gardener does not need to save every seed in a fruit. Remove the fullest, clean-looking seeds and discard any that are discolored, soft, or visibly damaged. Keep the rest of the pepper for the kitchen if it is sound, and wash the knife and work surface after handling hot varieties.
Wait for the pepper to reach seed maturity
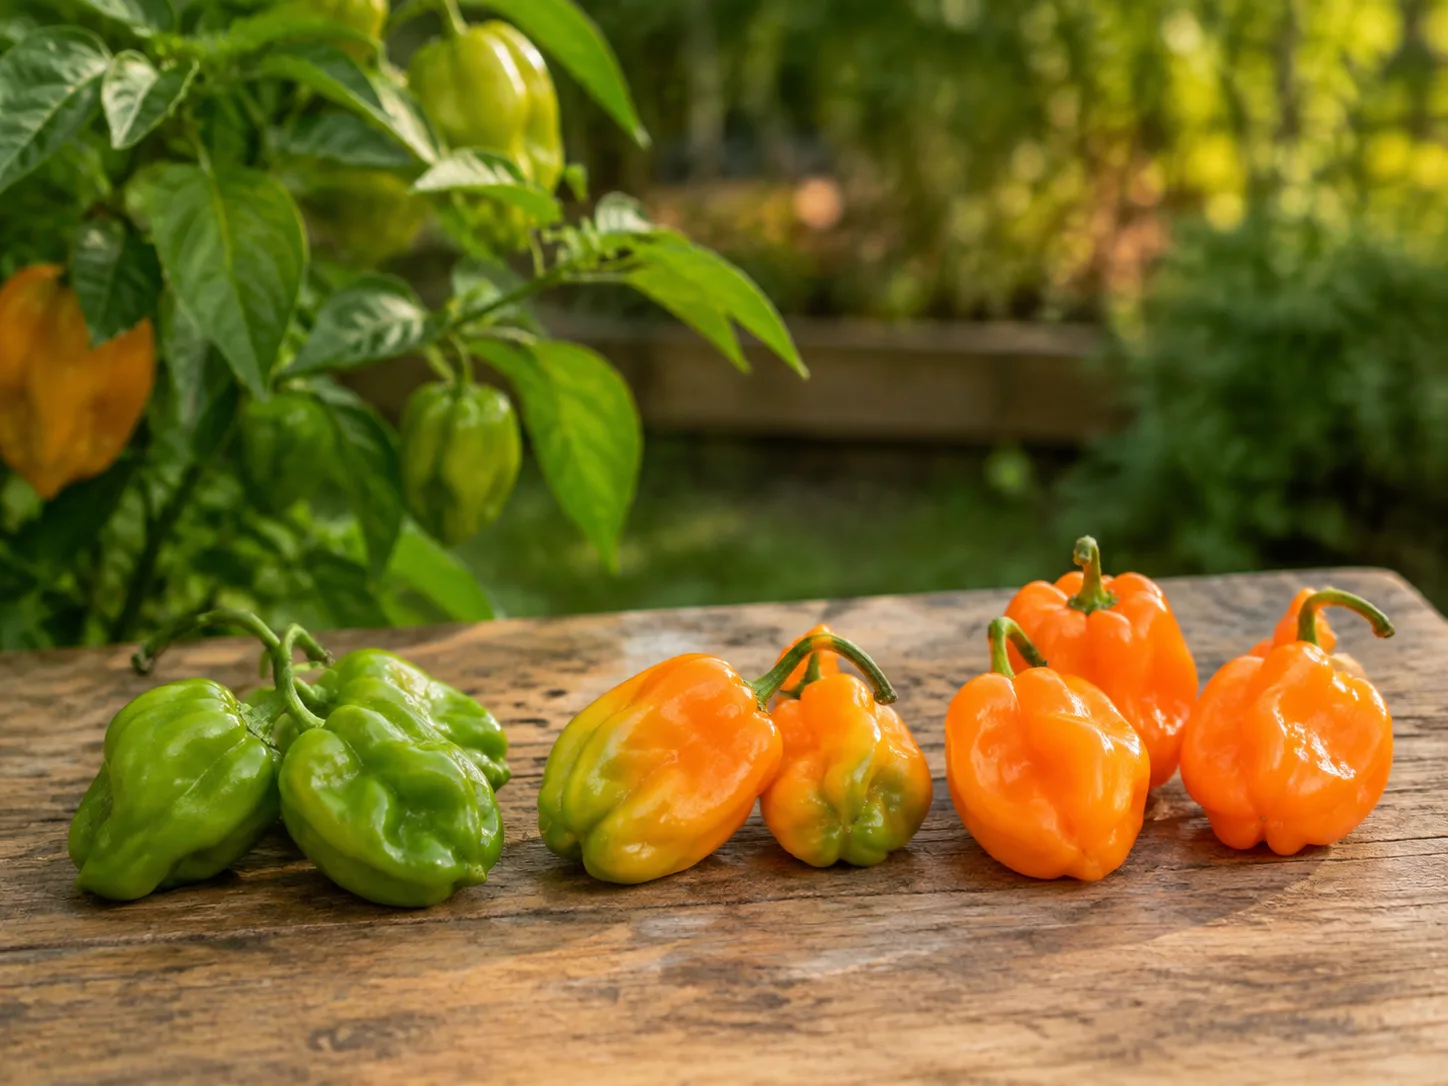
Pick fruit for eating whenever it tastes good; pick fruit for seed after it has had time to mature. A pepper that is firm and edible can still be physiologically immature, especially if its variety normally changes color late in the season. Leave the chosen pepper on the plant until it reaches its mature color and begins to soften slightly, while keeping an eye out for frost, cracking, and rot.
This timing is supported by pepper-specific research, though the exact results vary by cultivar. A 2025 study of Maax pepper, a particular semi-domesticated form of Capsicum annuum, found stronger germination and seedling emergence from physiologically ripe orange, red, and intermediate-color fruit than from green fruit; overripe fruit also performed less consistently (study in Agronomy). Those percentages are not a prediction for every bell pepper or chili, but they support the practical rule: wait for a ripe, healthy fruit rather than collecting from an immature green one.
Use the variety’s final color, not one color rule
There is no universal “red is ripe” rule. Many bell peppers begin green and turn red, orange, yellow, or another color at full maturity; some hot peppers ripen through several colors, while others finish yellow, brown, or purple. Check the seed packet, plant tag, or a reliable description for the variety’s mature color. If you are unsure, leave one fruit on the plant longer and watch for the color to deepen and the skin to soften slightly.
A ripe pepper can look less like the perfect fruit at a grocery store. Mild wrinkling is not automatically a problem, but avoid fruit that is moldy, leaking, deeply cracked, or rotting through the flesh. If frost threatens and a pepper has already started changing color, you can bring it indoors to finish ripening and then save a small labeled batch as an experiment; a completely green fruit is a much less dependable parent. Southern Exposure suggests pulling and hanging a plant in a cool, dry shelter when frost is close, but results depend on how mature the fruit already was.
Set up a simple, clean drying station
Before cutting anything, gather a sharp knife, a clean plate or shallow tray, a fine mesh screen or coffee filter, a paper envelope, and a pen. Work over a surface that is easy to wipe clean. Add a small bowl of cool water only if you expect to rinse away sticky pulp; otherwise, a dry collection keeps the process simpler.
For hot peppers, wear disposable or washable gloves and avoid touching your face while you work. The heat-causing capsaicin is concentrated in the inner tissues of many hot peppers, and residue on a knife or fingers can irritate eyes and skin. Keep the work area ventilated, do not crush or grind dried peppers near your face, and wash tools and hands carefully with soap after processing.
How to save pepper seeds, step by step
The process is short once the fruit is mature: open it cleanly, separate the seeds, let them dry with airflow, then seal only after they are fully dry. Keep varieties in separate containers throughout. A label written before you start is more reliable than trying to identify a pile of pale seeds a week later.
1. Pick a sound, fully ripe pepper
Harvest on a dry day if possible. Use clean pruners or scissors to cut the fruit from the plant instead of twisting hard on the stem, which can break a branch or bruise the pepper. Bring the fruit indoors, label it with the variety and plant, and process one variety at a time.
If you must harvest a partly colored pepper before frost, keep it in a separate container and mark it as “early harvest.” Do not mix its seeds with fully ripe fruit, because you will not know which batch produced better seedlings later. Let the pepper finish changing color in a dry, airy room if it is already close to maturity, but discard it for seed if it begins to mold.
2. Open the pepper and remove the seeds
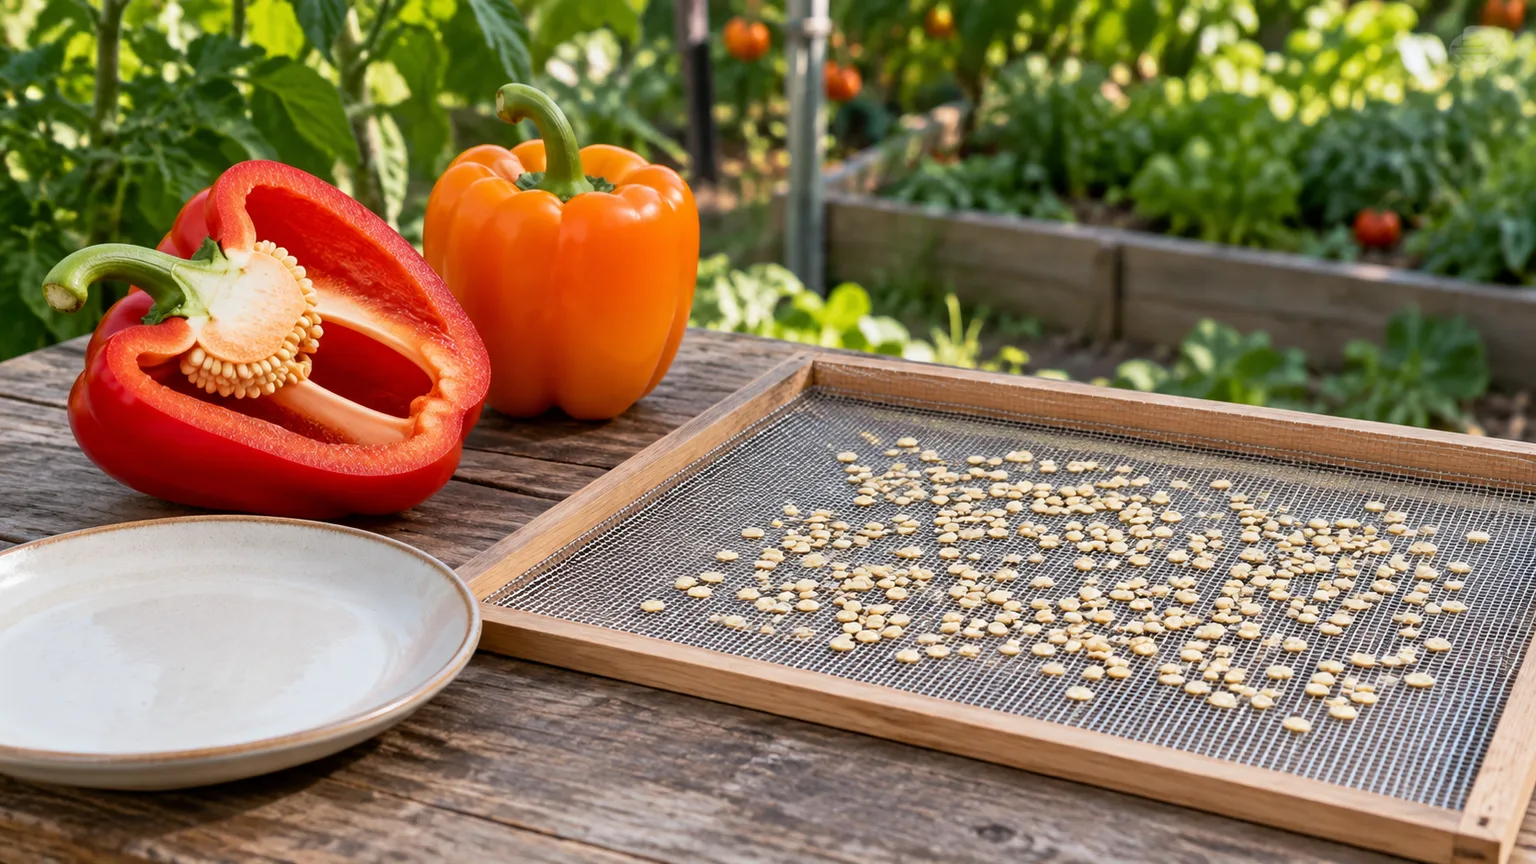
Place the pepper on a clean cutting board and cut around the stem cap, then lift out the core. The seeds are attached to the pale inner ribs and core; gently scrape them into a dry plate with a spoon or blunt knife. You do not need to peel off every seed one by one, and cutting through the fruit lengthwise is also fine if that gives you better access.
Keep the seeds away from the sink and from the other pepper varieties you are processing. If you are working with a very hot chili, keep your gloves on until the knife, board, and plate have been washed. You can cook with the remaining flesh if it is healthy, but do not use a moldy or diseased pepper just because the seeds inside look intact.
3. Clean away pulp without soaking
If the seeds are already clean and separate from the core, skip rinsing. A quick rinse through a fine mesh strainer is useful when sticky fruit tissue clings to them; swish gently in cool water and remove visible pulp, then spread the seeds immediately. Do not leave them soaking in a bowl, and do not use a float test to decide which are alive. Floating can reflect trapped air or surface effects; germination is a better viability check.
Avoid fermentation as a routine shortcut. Pepper seeds do not need the long wet treatment often used for tomato seed, and keeping them wet adds a step that can delay drying. If a seed has a bit of clean inner membrane attached, it is usually easier to remove that by hand while the seed is damp than to scrub or soak the whole batch.
4. Air-dry in shade until crisp
Spread the seeds in one layer on a mesh screen, coffee filter, or uncoated paper plate. Leave space between them so air can move, and set the tray in a shaded, dry room away from steam, direct sun, and pets. Stir or turn them once a day if they are clumping; replace any damp paper rather than allowing moisture to sit underneath.
Drying time depends on room humidity and how wet the seeds were, so use a check instead of trusting a fixed number of hours. Expect several days; a humid room may take longer. A dry seed feels hard rather than leathery and snaps when pressed or bent instead of folding. Never speed the job in a hot oven, microwave, or food dehydrator: household temperatures and uneven heating can harm seed viability, and surface-dry seeds may still hold moisture inside.
The USDA Agricultural Research Service seed-storage program conditions seed under controlled low-humidity conditions before packaging it in moisture-resistant containers for cold storage (USDA ARS seed-storage protocols). A home gardener does not need that equipment or schedule; the useful lesson is simply to dry seed thoroughly before sealing it, because moisture trapped in a closed container can invite mold and shorten storage life.
5. Label and store completely dry seeds
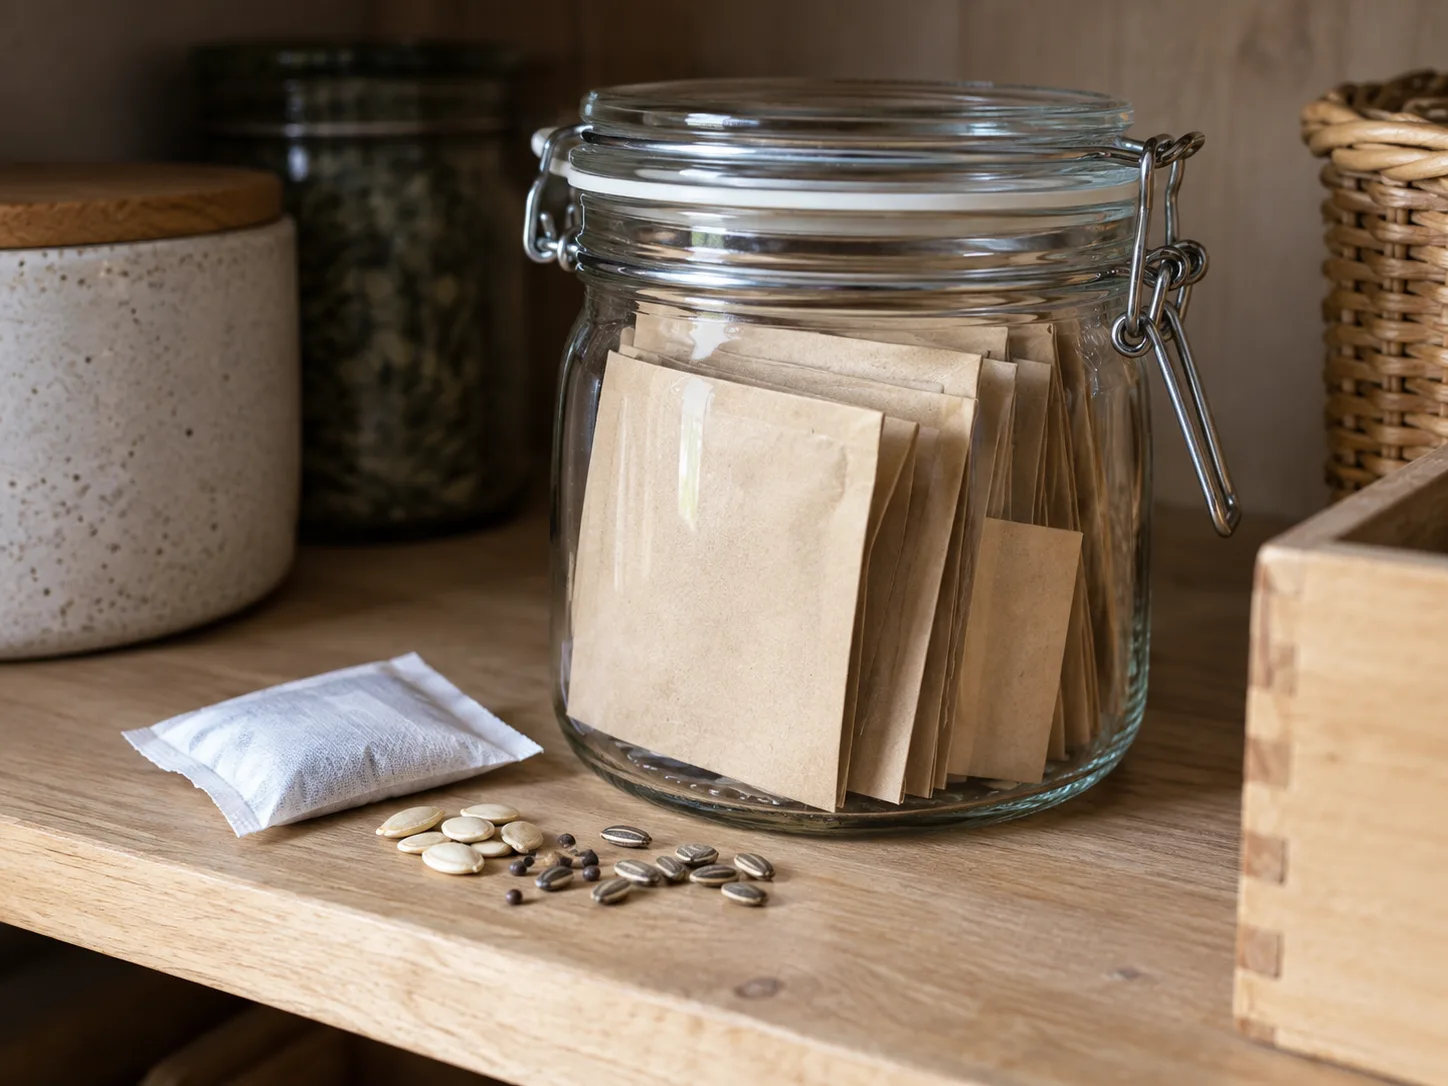
Put dry seeds in a labeled paper envelope with the pepper name, harvest date, source plant, and any note about pollination or early harvest. Slide the envelope into a small airtight jar or other moisture-proof container. Paper keeps the seed packet organized; the sealed outer container helps keep humidity changes out. Do not put damp seeds into the jar, even if they look dry on top.
Store the container somewhere cool, dark, and dry. A refrigerator is a convenient home option; keep the envelope inside the sealed jar so it does not absorb moisture or food odors. A freezer can work for seed that is thoroughly dry and sealed against moisture, but avoid repeatedly opening a cold container: let the sealed jar warm to room temperature before opening so condensation does not form on the seeds.
Do not count on one exact shelf life. Seed age, how completely it was dried, temperature changes, and the original seed quality all matter. Gardening Know How gives about three years as a possible life for properly stored pepper seed, but that is a planning estimate, not a guarantee. Save for next season first and test older packets before depending on them for a full bed.
Test stored seed before planting
A small germination test tells you much more than a float test. Count ten seeds from the packet, space them on a damp—not dripping—paper towel, fold it loosely, and place it in a labeled bag or covered container. Keep it warm, check daily for moisture and sprouts, and follow the expected germination window on the variety’s packet; pepper seeds may take longer than a few days, so do not discard the test after a short wait.
When the test is finished, divide the number that sprouted by the number tested. If eight of ten sprout, that sample is 80 percent. Plant a little more thickly when the percentage is modest, or discard and replace the seed if the sample is mostly soft, moldy, or still unsprouted after a reasonable warm test. Because a sample is small, the result is an estimate rather than a guarantee for every seed in the envelope.
For the best comparison, use the same warm conditions you intend to provide when sowing. If the towel dries out, add a little water; if it is saturated, excess water can limit air and encourage rot. Remove and count each seedling as it appears so the final percentage is based on a clear count, not a visual guess.
Troubleshoot the common failures
Seeds mold in storage: The most common fix is to improve drying, not to add a larger desiccant packet. Discard seed that has become soft, stuck together, or visibly moldy, then dry the remaining healthy seeds longer in a thin layer before sealing them. If the room is damp, use a screen or change the paper frequently and move the tray to a drier location.
Nothing sprouts: First ask whether the pepper was fully ripe when harvested, then check the packet’s age and storage history. Test another sample with steady warmth and moisture before blaming the whole batch; a cold test, a dried-out towel, or a waterlogged one can create a false failure. If several fresh, mature seeds fail under suitable conditions, replace the batch rather than sowing a whole tray and hoping.
The seedlings do not match the parent: This is usually a variety or pollination issue, not a storage problem. Seeds from an F1 hybrid can produce variable offspring, and an open-pollinated pepper can still cross with a compatible variety nearby. Keep notes about the seed source, grow unusual seedlings separately, and select the ones you like if you want to continue experimenting.
The pepper was green when picked: You can try the seeds if the fruit had begun changing color, but label them as a trial and germinate a sample before setting aside garden space. A fully green fruit may not have allowed its seeds to finish developing. For next year, leave one or two fruits on the plant longer than the ones you pick for meals.
You cannot remember what the packet contains: Do not guess. Write the best-known description, such as “red bell, saved 2026, open-pollinated status unknown,” on the envelope. That honest label makes the seed useful as an experiment and prevents it from being mistaken for a reliable, named cultivar later.
Conclusion
To save pepper seeds with the least fuss, start with a healthy plant and a sound fruit that has reached its own mature color. Remove the seeds, rinse only if pulp is stuck to them, dry them slowly in shade until they snap rather than bend, and store them in a labeled envelope inside a sealed container. Those four decisions—maturity, identity, dryness, and labeling—matter more than any special equipment.
Choose the amount of isolation based on your goal. A casual gardener can save seed for an interesting next crop; someone preserving a specific variety should start with open-pollinated seed and protect selected flowers from nearby compatible peppers. Test older packets before sowing, and save a fresh batch next season if the count is low. A clear label and a simple germination check turn seed saving from guesswork into a repeatable garden habit.