8 Inexpensive Gravel Driveway Edging Ideas That Work
Choose inexpensive gravel driveway edging by driveway shape, drainage, traffic, maintenance, and style—and avoid the mistakes that make gravel spread.
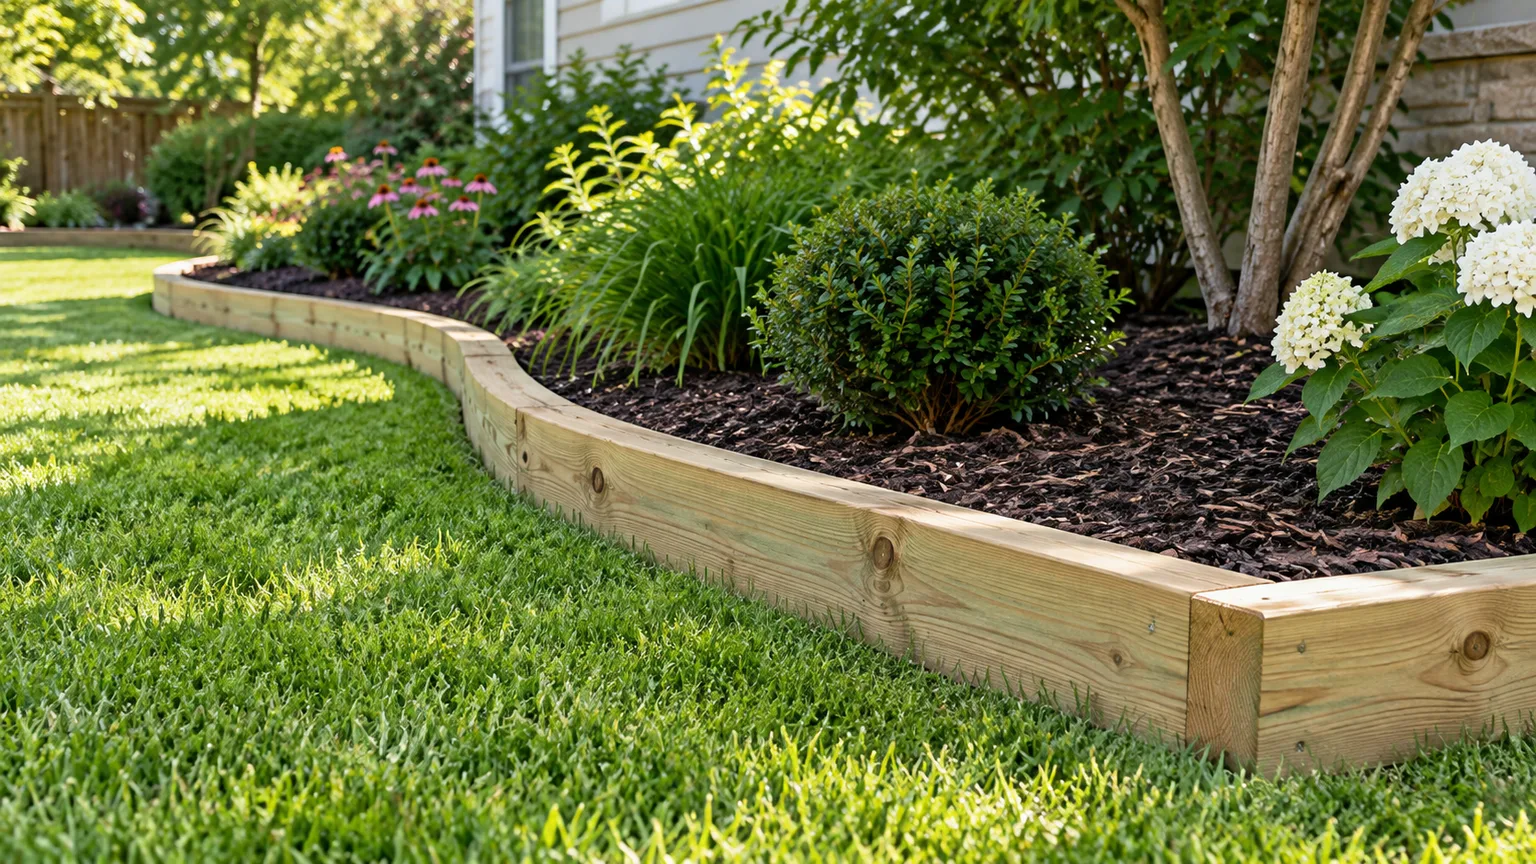
A gravel driveway edge has two jobs: it should make the drive look deliberate, and it should keep aggregate from migrating into the lawn, planting beds, drainage swales, and street. Those jobs are related, but they are not identical. A thin decorative strip may look neat for a month; a properly seated border can continue containing gravel after rain, winter movement, and an occasional tire bump.
The best inexpensive gravel driveway edging idea is therefore the least expensive option that matches your site. A planted shoulder can be enough on a quiet, level drive. A long straight drive may justify landscape timber or concrete blocks. A curved drive usually needs flexible edging or carefully placed stone. If water is washing gravel downhill, no border will solve the underlying problem by itself.
This guide compares eight practical options, then gives a straightforward installation sequence. Before digging, contact your local 811 service in the United States; 811 recommends requesting utility locates before excavation. Private irrigation, lighting, invisible-fence, and drainage lines may require additional checking.
Decide What the Edge Needs to Do
Start by naming the failure you want to prevent. If the problem is only a fuzzy boundary, a planted strip or pound-in edging may be sufficient. If gravel is rolling into the grass every time a car passes, you need lateral restraint and a firm shoulder. If the edge is also holding back soil, you are approaching a small retaining-wall problem rather than ordinary landscape edging.
Appearance, containment, or both
Think in three levels:
- Visual definition: separates gravel from lawn but tolerates some movement. Plants, mulch, and low decorative stone fit here.
- Light containment: reduces migration from rain and normal use. Bricks, pavers, timber, and buried flexible edging can work.
- Vehicle-resistant restraint: tolerates occasional tire contact or a high-pressure shoulder. Use a substantial paver, block, stone, or engineered curb with a properly prepared base.
Do not install a sharp metal edge where people routinely step out of cars, and do not place a low border where a snowplow will catch it. For a drive that is narrow or hard to maneuver, preserving a forgiving shoulder may be more useful than making the line perfectly rigid.
Fix Drainage Before Installing a Border
Edging should not create a dam across the route water already uses. Walk the driveway during or just after a heavy rain. Look for rills, muddy shoulders, gravel fans at the low end, standing water, and places where runoff crosses from a bank onto the driving surface. Mark those spots before choosing material.
A border can redirect water toward a lawn or planting bed, but it cannot replace a crown, ditch, swale, culvert, or appropriate outlet. If water is trapped between the edge and the drive, the soil softens and the border settles. On a slope, leave planned openings or use a drainage detail rather than making one unbroken wall.
Compare the Eight Budget Options
| Edge idea | Best fit | Main advantage | Main limitation |
|---|---|---|---|
| Pavers | Straight or gently curved drive | Finished look and good restraint | Needs careful base preparation |
| Bricks | Traditional landscapes | Easy to replace and arrange | Can shift if laid on loose soil |
| Natural stone | Informal or rural setting | Organic appearance | Uneven pieces are harder to mow beside |
| Concrete blocks | Straight, high-traffic edge | Strong and uniform | Looks heavy on a delicate landscape |
| Timber | Long, straight runs | Fast visual curb | Decays and dislikes tight curves |
| Rubber or metal | Curves and clean lines | Flexible, low excavation | Thin products may not stop tire impact |
| Pound-in edging | Quick cosmetic separation | Minimal digging | Weak when exposed to repeated vehicle contact |
| Planted shoulder | Quiet, level drive | Lowest material cost | Requires trimming and does not contain much gravel |
Pavers for a Finished, Mowable Line
Concrete or clay pavers are among the most balanced choices when the edge must look finished but remain practical. Set them with their top slightly above the lawn or flush with the mowing surface, depending on whether you want a visible curb. A broad, level paver can also provide a wheel-safe transition where tires occasionally approach the edge.
The important part is beneath the paver. Excavate a consistent trench, remove soft organic soil, add a compactable granular base where needed, and tamp it in lifts. A thin layer of bedding sand can help with leveling, but sand should not be used to disguise a muddy or poorly compacted foundation. Butt the units tightly, check the line frequently, and backfill both sides so the paver cannot rock.
Pavers are a good choice for a straight driveway beside turf because the hard edge gives you a repeatable mowing line. They are less forgiving on a steep slope or a drive with significant frost movement unless the base and drainage are well prepared.
Bricks for Traditional Character
Old or new bricks create a warmer, smaller-scale border than large concrete units. They can be laid as a soldier course with the long face vertical, flat in a running bond, or in a short contrasting band. Use sound bricks intended for exterior exposure; very soft reclaimed brick can crumble after repeated wet-freeze cycles.
Brick works best where the driveway line is straight or has broad curves. A shallow trench and compacted base are still worthwhile even for a small border. If you simply press bricks into loose topsoil, mowing, rain, and frost will create a wave. Keep the finished top consistent and avoid leaving isolated high corners that catch a tire or trip a person.
The lowest-cost version is often a single row rather than a wide pattern. That keeps the material bill down while giving the eye a clear boundary. Plan for occasional resetting: an inexpensive brick edge is easy to repair one section at a time when a corner settles.
Reclaimed or Natural Stone for an Informal Edge
Natural stones, fieldstone, and appropriately sized river rock suit homes with informal planting, gravel paths, or a rural setting. The best pieces have a reasonably flat underside and enough weight to resist being nudged. Lay them in a shallow trench rather than balancing them on the grass.
Stone is attractive because it does not need to match perfectly, but irregularity is also its maintenance cost. Grass can grow between pieces, a mower may scalp the high points, and a leaf blower can move small stones. Use larger stones at the outer face and reserve loose decorative gravel for a wide shoulder behind them, not as the only containment system.
Do not collect stone from waterways or public land without checking local rules. If you buy stone, measure by weight or volume and include enough for the route plus a repair pile. A few spare matching pieces are more useful than a perfect first installation with nothing left for later.
Concrete Blocks for Straight, Strong Restraint
Concrete landscape blocks or ordinary exterior-rated blocks give a clean, durable line at a relatively low cost per linear foot. Their uniform shape makes quantity planning easy, and their mass helps resist gravel pressure. They are especially useful on a straight driveway where you want a visual curb and do not mind a more architectural appearance.
Set blocks on a firm, level seat. A block that bridges a soft spot will rock, and rocking transfers force to its neighbors. Where the driveway edge is lower than adjacent soil, do not bury the block so deeply that it becomes a hidden trip hazard; where the block is exposed, consider a mowable strip or a gently sloped transition.
Blocks are not automatically retaining-wall units. If the border holds back a substantial bank, supports a parking load, or is stacked more than a low decorative course, use a retaining-wall design with drainage and reinforcement appropriate to the site. A cheap block is not a substitute for structural planning.
Landscape Timber for Long Straight Runs
Landscape timber is often the fastest budget choice for a long, straight gravel driveway. It creates a strong visual line, is easy to measure, and can be connected at joints. It is a poor match for tight curves unless you use short segments, which increases cutting, joints, and opportunities for movement.
Choose lumber labeled for the exposure it will receive and follow the product instructions for fasteners and cut ends. Do not assume that every treated board has the same ground-contact rating. Avoid unknown salvaged timbers where you cannot verify their treatment history, and never burn treated offcuts.
Set the timber on a compacted seat and anchor only after the line is correct. Long runs need deliberate joint placement; avoid ending one tiny offcut at the most visible corner. Timber also needs a drainage escape where runoff crosses the route. Its lower purchase price may be offset by eventual replacement, so use it where the warm wood appearance and straight layout are worth that trade-off.
Flexible Rubber or Metal for Curves
Flexible rubber, recycled-plastic, aluminum, and steel edging can follow a winding driveway with less cutting than timber or masonry. Use it when the goal is a continuous line between gravel and lawn, especially where the curve is broad and vehicle tires do not routinely climb the edge.
The cheaper the product, the more carefully you should check its thickness, stake spacing, connector quality, and installed height. A flexible strip is not a curb. If gravel is being pushed outward by tires, choose a stronger profile, move the driving line inward, or combine the edging with a wider compacted shoulder.
Metal edges can be sharp during installation and may become hazardous if they lift. Wear gloves, cap exposed ends as directed, and bury enough of the edge to keep it stable without making a hidden cutting surface. Rubber is forgiving visually but can heave or pull out if the trench is too shallow or the soil stays saturated.
Pound-In Edging for a Fast Cosmetic Border
Pound-in edging is convenient for a small, level section where you want a quick separation from turf. It needs little excavation and can be useful around a short apron, planting island, or temporary improvement while you decide on a more permanent border.
Use a block of wood over the top while tapping sections into place, and do not strike a thin plastic edge directly with a metal hammer. Follow the manufacturer’s stake pattern. The edge should be supported by soil on both sides; a loose trench filled with gravel will not hold it as well as compacted soil.
Treat this as light containment, not vehicle protection. If the driveway is narrow and tires brush the border, spend more on a stronger material or create a forgiving shoulder. Replacing a cheap strip every season is not cheaper than installing a modestly stronger border once.
A Planted Shoulder for the Lowest Material Cost
A planted shoulder can be the least expensive and most natural-looking approach when the drive is level, the gravel is stable, and the edge receives enough light for durable low plants or grass. Use a narrow, maintainable band rather than allowing planting to spill directly into loose aggregate. Mulch or a single row of stone can clarify the boundary while roots establish.
This option does not stop gravel pushed by tires, and it can hide drainage problems. Select plants suited to the light, drought, salt exposure, and mowing pattern of the site. Keep taller plants away from sightlines at the driveway entrance, and do not let a dense border block a culvert or obscure a low spot where water needs to pass.
The practical advantage is repairability: rake displaced gravel back, trim the shoulder, and replant small gaps. The trade-off is recurring maintenance. If you want a crisp edge with almost no trimming, use plants as the landscape finish behind a hard restraint rather than as the restraint itself.
How to Install Gravel Driveway Edging
Mark and measure the route
Measure both sides separately, including curves. Add a waste allowance for cuts, damaged units, and a small repair reserve. Mark the finished face with stakes and mason’s line, then stand back and check the approach from the street. A line that looks perfect from above may narrow the turning radius at the entrance.
Before excavation, identify irrigation, lighting, drainage, septic components, and other private lines. In the United States, use the local 811 system for public utilities and follow its instructions about tolerance zones and hand digging. Keep the markings visible until the work is complete.
Excavate and build a stable seat
Remove turf and loose organic soil from the border line. The trench depth depends on the material, desired exposure, soil, and frost conditions, but the goal is consistent bearing—not a memorized number. Set a straightedge or board across the route and check that the planned top height will drain water rather than trap it.
Add compactable crushed stone where the soil is soft, wet, or difficult to level. Place it in manageable lifts and tamp each lift. If the site is well drained and the border is light, you may need less base; if the edge receives tire pressure, spend more effort here. Do not put decorative pea gravel directly beneath a heavy border and expect it to compact like angular base stone.
Set, anchor, and backfill the border
Set the first units at the most visible corner or the straightest reference point. Check line, level, and height repeatedly. Connect or anchor according to the material and site; avoid driving long stakes until you have confirmed the utility route. Backfill both sides with suitable soil or compactable aggregate, tamping in stages.
Finish the gravel surface after the border is stable. Rake the aggregate away from the edge to reveal the border, then restore the driveway crown or slope. Do not pile loose gravel above the top of a low border; the first rain will carry it over. Leave a deliberate path for water where the edge crosses a drainage route.
Match the Border to Your Driveway
Choose by conditions, not by the prettiest sample. For a straight, level drive, pavers, bricks, blocks, or timber are usually easiest to lay. For a curved drive, flexible rubber or metal is simpler, while broad curves can accept cut stone. For a narrow drive with tire overrun, use a robust, low, wheel-tolerant edge or widen the shoulder before edging. For a slope, solve water movement first and avoid creating a continuous dam.
For a wet or frost-prone site, prioritize excavation, base, and drainage over decorative material. For a low-maintenance landscape, use a hard edge with a mowable transition rather than a planted border alone. For a temporary or very low-cost refresh, pound-in edging or a maintained planted shoulder can be reasonable if you accept more frequent repairs.
Repair Gravel That Has Already Spread
Do not simply sweep the gravel back once and declare the problem solved. Find the direction of movement. A fan at the driveway entrance may indicate turning tires; a stripe down the slope points to runoff; gravel scattered evenly into grass may indicate an edge that is too low or no shoulder at all.
First, rake clean gravel back onto the drive and remove it from turf before it damages mower blades. Re-establish the driving surface and compact the shoulder. Then add or improve the restraint only where the evidence shows it is needed. A short paver landing at the entrance can solve tire spread without edging the entire drive, while a drainage opening can solve a runoff problem that a solid border would worsen.
Common Budget Mistakes
- Choosing by price per piece: Compare the installed cost, including base material, anchors, cutting, and future resets.
- Skipping the base: A beautiful border on soft soil will settle and look worse than a plain border on a firm seat.
- Making a water dam: Leave drainage paths and preserve the driveway’s crown or slope.
- Using a cosmetic strip beside tires: Flexible edging is not automatically strong enough for vehicle contact.
- Burying the edge too shallow: Frost, mowing, and rain can lift or expose it.
- Ignoring snow removal: A plow can catch proud stones, blocks, and metal edges.
- Installing before checking utilities: A shallow project can still hit irrigation or private lines.
- Using a retaining border as a wall: Significant soil pressure needs a different design.
- Putting tiny cut pieces at corners: Plan joints and save attractive full units for visible ends.
Conclusion
Inexpensive gravel driveway edging works when it is matched to the job. Use plants for a soft, low-cost boundary on a stable site; pound-in edging for light separation; flexible rubber or metal for curves; and pavers, brick, stone, blocks, or timber when you need more reliable containment. The material matters, but the firm seat, drainage path, and careful backfill matter just as much.
Before you shop, watch the driveway after rain, identify where tires and water move gravel, and decide how much maintenance you will tolerate. Then install the smallest, strongest solution that fixes that specific failure. That approach usually costs less than edging the entire driveway with a material that was never suited to its shape or soil.



