How to Grow and Care for Japanese Stewartia Trees
Learn how to grow Japanese stewartia, from choosing a sheltered site and planting at the right depth to watering, pruning, propagation, and troubleshooting.
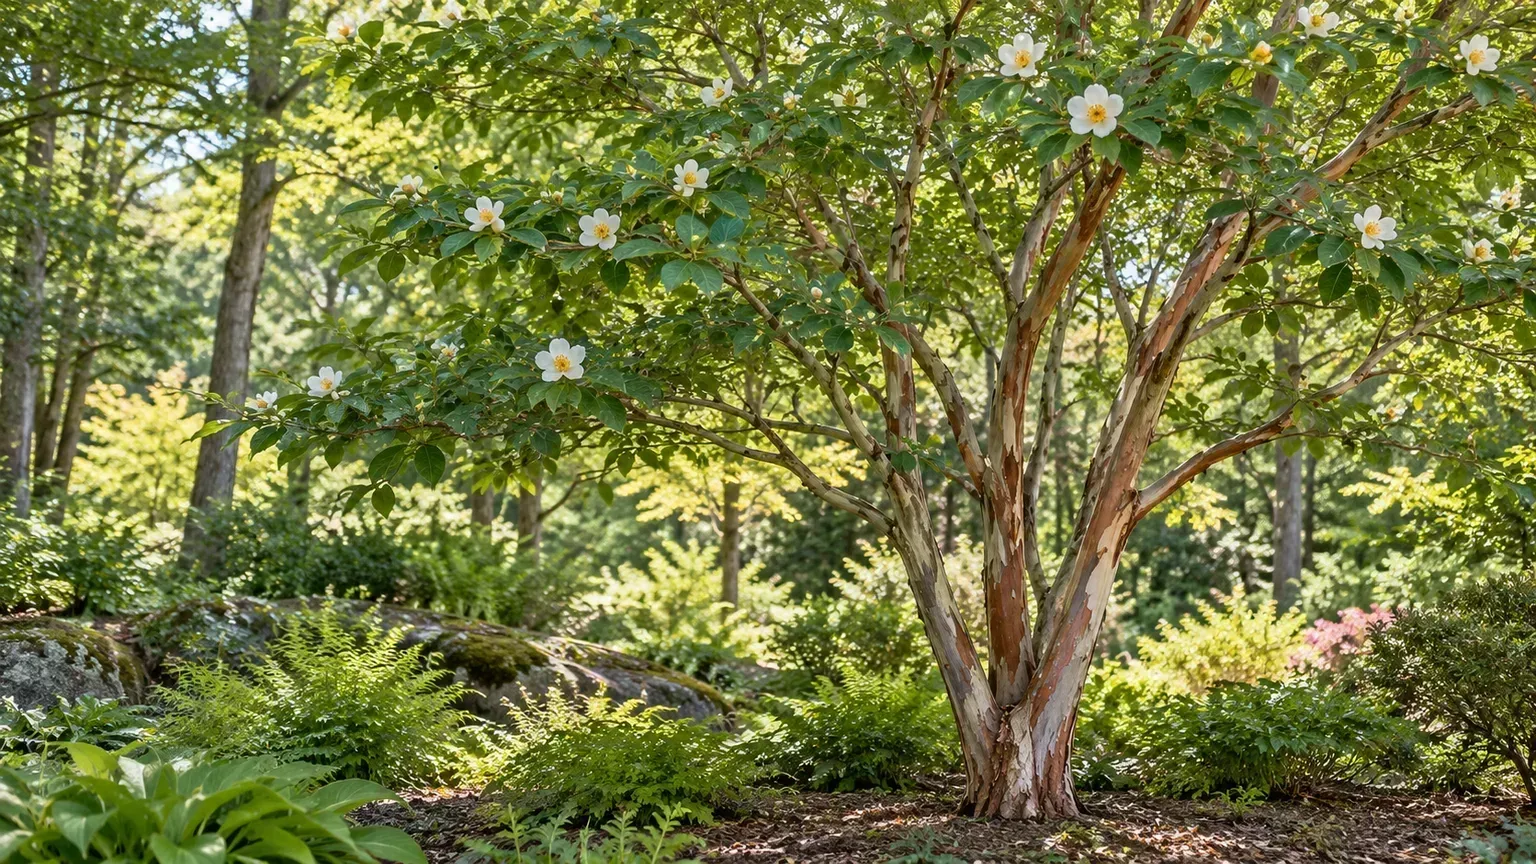
Japanese stewartia (Stewartia pseudocamellia) earns its place slowly. This deciduous small tree has white, camellia-like flowers in summer, foliage that can turn vivid orange and red in fall, and mottled bark that becomes easier to appreciate after the leaves drop. Its growth is not fast, and it does best when the site is chosen with care: roots need consistent moisture, but they also need air and drainage.
The easiest way to avoid disappointment is to solve the site question before buying. Pick a sheltered place with room for a broad crown, enough sun for flowering, and soil that does not stay saturated. Once established, Japanese stewartia asks for little routine intervention; in its first years, careful watering, a stable root zone, and protection from drying wind matter more than fertilizer or shaping.
What Japanese Stewartia Is Like in a Garden
Japanese stewartia is a member of the tea family, Theaceae, and is related to camellias. It is native to Japan and Korea, where it grows in mountain forest settings. In gardens it may be trained as a small tree or allowed to develop several trunks into a large shrub. Its canopy is usually pyramidal when young and becomes more rounded with age, so the silhouette changes as the plant matures.
Published size ranges are broad: NC State Extension describes plants from about 12 to 40 feet tall and 8 to 25 feet wide, while arboretum profiles report a mature specimen can reach roughly 20 to 40 feet in both dimensions. Those figures are not a promise that a nursery plant will reach the largest number in every landscape. Cultivar, climate, soil, available water, and time all affect growth, so use the supplier’s local mature-size estimate and allow the crown space even if the young tree looks compact. NC State Extension and the Caroline Steinman Nunan Arboretum at Franklin & Marshall both describe the species’ variable tree or multi-stem form.
The flowers are not the only seasonal feature. White, five-petaled blooms with golden centers generally appear from June into August, though timing shifts with region and weather, and individual flowers do not last long. Fall foliage may show orange, red, or burgundy tones; after leaf fall, patches of gray, cinnamon, and reddish-brown bark peel from the trunk and larger branches. A specimen planted where people can see its changing trunk in winter will provide more than a short flowering display. Better Homes & Gardens and the arboretum profile document this sequence of blooms, fall color, and exfoliating bark.
Decide Whether Your Yard Can Support It
Think in terms of the eventual planting footprint. A tree that could reach several dozen feet tall and spread broadly belongs in a permanent landscape bed, not a tight foundation strip or a spot where routine mowing will scrape its bark. It is not a practical long-term container plant: the root system and ultimate canopy need room, and a pot dries and heats faster than garden soil. If you can only offer a large tub on a patio, choose a naturally compact species instead of trying to keep a stewartia small by repeated root pruning.
The species suits a specimen position, a woodland edge, or a sheltered mixed border where its silhouette and bark can be seen. Leave access around the trunk for watering and pruning, and keep it away from narrow walks, driveways, and places where snow piles or equipment may strike the smooth bark. The tree is slow growing, which gives you time to assess its shape, but slow growth is not a substitute for planning clearance: an established specimen is difficult to move successfully.
Check your local climate beyond the USDA hardiness zone. Japanese stewartia is usually listed for zones 5 through 8, but that label describes winter cold tolerance, not immunity to hot summers, dry wind, reflected heat, or poor drainage. A zone 7 garden with cool summers and steady rainfall may be easier than a warmer location with intense afternoon sun and long dry spells. In warm-summer areas, site shelter and moisture management can determine whether leaves stay healthy through August.
Choose Light for Your Climate
Cooler summers allow more sun
In a cooler-summer climate, Japanese stewartia can grow in full sun to partial shade. Morning sun and open light through much of the day support flowering and a full crown. Avoid placing it in dense shade if you want blooms: the tree may survive, but the display can be reduced and the canopy may become less balanced as branches stretch toward light.
Hot afternoons call for filtered shade
Where summers are hot, use a site with morning sun and protection from the strongest afternoon rays. Dappled light beneath high-branched trees or the east side of a building can soften heat while still allowing enough brightness for flowering. Avoid deep shade directly beneath a dense canopy, where root competition can make the soil dry even though the spot looks cool.
Leaf scorch on the exposed side of a new tree can signal heat, sun, or water stress, but it is not proof that the tree needs shade alone. A newly planted root ball may dry out inside surrounding soil that still feels damp; conversely, compacted ground may remain waterlogged and prevent roots from functioning. Match the symptom to the site conditions before changing sun exposure or watering. Epic Gardening also recommends afternoon protection in hot climates, while NC State Extension notes the species’ preference for full sun to partial shade and avoidance of hot afternoon sun in very warm regions.
Give the Roots Moisture and Drainage
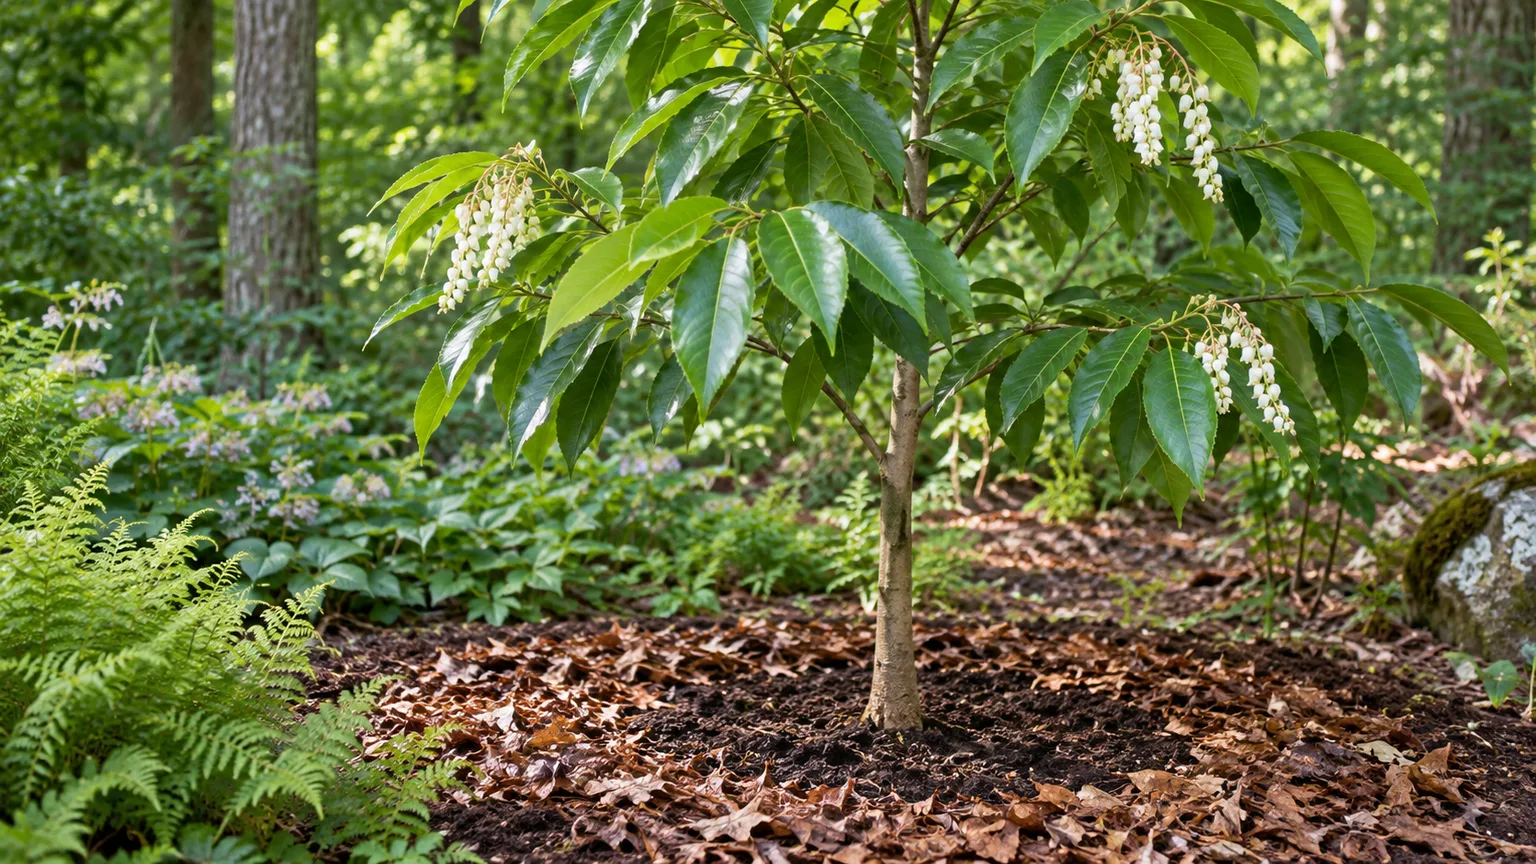
The ideal soil holds enough moisture to keep roots from drying, then drains so water does not linger around them. Organically rich sandy loam or loam is a useful starting point; slightly acidic to neutral soil is generally suitable. Japanese stewartia is a poor choice for a site that becomes a puddle after ordinary rain, as well as for a dry, rocky slope that cannot hold moisture. NC State Extension specifically notes that the tree does poorly in dry or clay-heavy soils and is drought intolerant.
Before planting, inspect the site after rain and dig a test hole where the root zone will go. If the hole holds standing water for hours or the soil is sticky and airless at depth, address drainage across the planting area or choose another location; simply filling the hole with loose potting mix can create a water-collecting pocket. If water drains quickly and the soil dries hard in a day, add organic matter across a broad bed and plan to mulch and irrigate during establishment. Do not make a small, highly amended “pot” in the ground: roots should be able to move from the planting hole into the surrounding native soil.
A soil test is more useful than guessing from leaf color. If the pH is already within a suitable range, adding an acidifying product can cause an imbalance without solving a real problem. If the soil is strongly alkaline or nutrient-poor, use local soil-test recommendations and improve the root zone gradually with compost rather than pouring fertilizer or sulfur into the planting hole. Soil structure and drainage are usually the first corrections to make.
Plant Carefully and Protect the Root Flare
Plant in spring or early summer when the soil is workable and the tree has time to settle before severe weather. In mild regions, another locally recommended planting window may be possible, but avoid planting immediately before a hot, dry stretch or at a site that floods in winter. Choose the final location first; because stewartia is slow to establish and can be difficult to transplant, moving it later is a poor rescue plan.
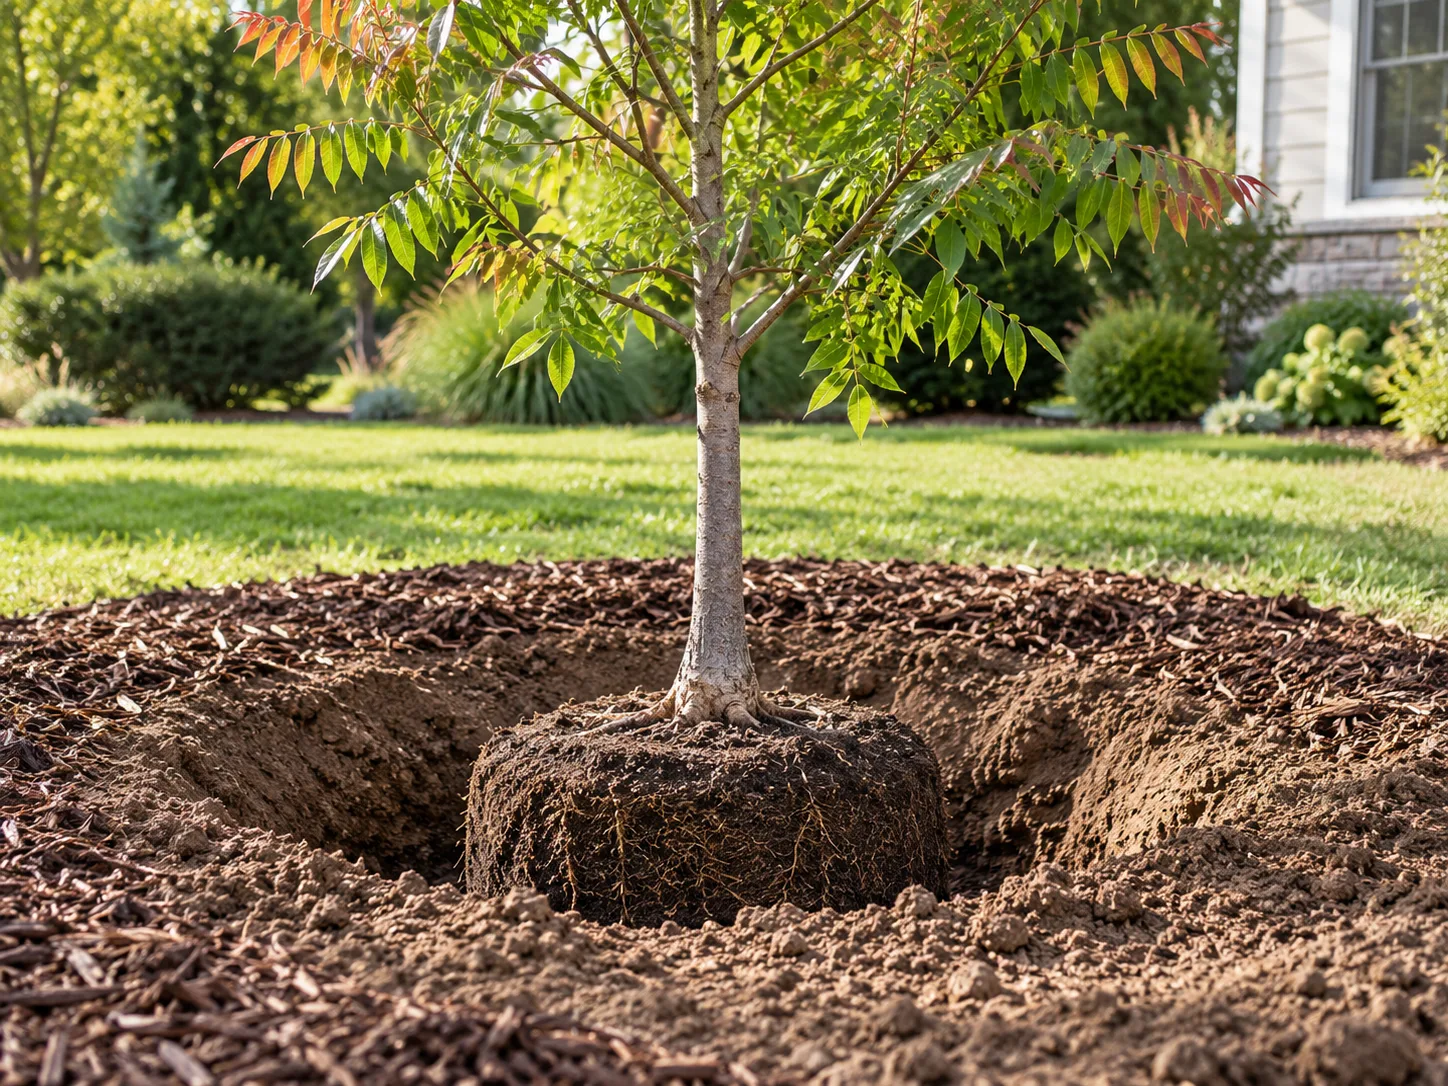
Dig a hole wider than the root ball and no deeper than the distance from the root ball’s base to its root flare. The flare is where the trunk broadens and the first structural roots begin; it should finish at or slightly above the surrounding grade, never buried under a mound of backfill. If the tree is in a container, slide it out gently and loosen only circling roots that can be freed without tearing the root system apart. For balled-and-burlapped material, follow local nursery or arborist advice for removing or loosening the wrapping without letting the root ball fall apart.
Set the tree upright, backfill with the original soil, and water slowly to settle it around the roots. Do not pack the soil hard with your feet, and do not bury the trunk to make the tree appear stable. Form a shallow watering basin at the outer edge of the root ball if the site drains well. Then spread a 2- to 3-inch layer of organic mulch over the root zone, extending beyond the hole where practical and leaving a clear gap around the trunk. Mulch should cover soil, not touch bark; a wet mulch collar can conceal damage and keep the trunk needlessly damp.
Stake only when the root ball moves
Staking is not automatic. First check whether a gentle breeze moves the trunk while the root ball remains firm; that is usually preferable to tying the trunk rigidly. If the root ball shifts or the site is exposed to strong wind, use two flexible ties placed low enough to allow some trunk movement, and remove them after the roots anchor the tree. Check ties regularly so they do not rub or constrict the bark. A permanent stake can weaken the trunk and cause abrasion, so do not leave it as routine support.
Water by Soil Conditions, Not a Calendar
During the first growing season, check moisture in the root ball and the surrounding soil every few days during warm or windy weather. Water deeply when the upper few inches begin to dry, then let excess drain. A slow soak at the root zone is more useful than a quick spray over the leaves because it reaches the roots and reduces unnecessary leaf wetness. Adjust the interval after rain, in cool weather, and in heavy soil; a fixed “once a week” rule can overwater a slow-draining site or leave a sandy root ball dry.
In the second season, keep checking during drought and heat, but gradually lengthen intervals as the root system expands. Once established, the tree still benefits from supplemental water during extended dry weather. Do not equate “moist soil” with constant saturation. If leaves droop while the ground is wet, stop adding water and check drainage, root depth, and the condition of the root flare instead of giving another soak.
Mulch makes moisture more even and buffers soil temperature, but it cannot compensate for an unsuitable site or incorrect planting depth. Replenish it as it decomposes, keeping the root flare visible and a few inches of bare space around the trunk. If nearby turf competes for water, maintain a broad mulch ring rather than watering the lawn more often; avoid cultivating deeply beneath the crown because stewartia roots can be close to the surface.
Fertilize Lightly, If at All
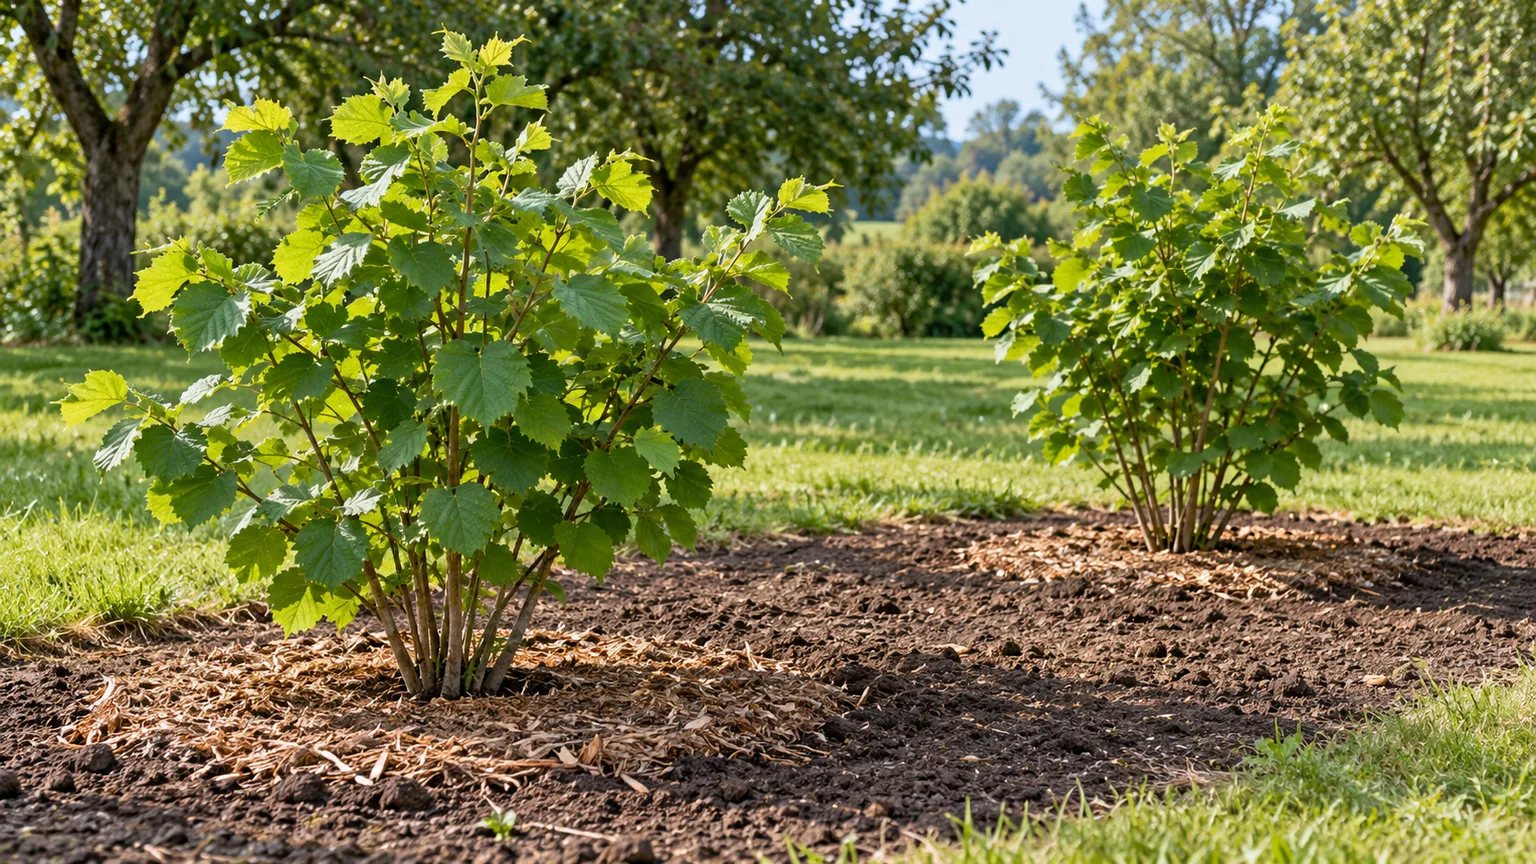
Japanese stewartia does not need a heavy fertilizer program. Start with a soil test and look at the tree’s growth: if it is producing healthy leaves and modest, steady shoot growth, additional feeding is unlikely to help. A light spring application of a balanced, slow-release fertilizer may be appropriate in poor soil, but follow the label rate and apply it over the root zone rather than against the trunk. Compost used as a thin surface top-dressing can improve soil organic matter without forcing a burst of soft growth.
Avoid high-nitrogen lawn fertilizer spilling into the tree’s root zone, and do not feed late in the growing season when tender growth may not harden before cold weather. Yellow leaves can have several causes, including alkaline soil, waterlogged roots, drought, or nutrient deficiency. Fertilizing before identifying the cause may worsen the problem. Correct moisture and drainage first; use a soil test to decide whether pH or a specific nutrient requires attention.
Prune for Structure Without Harming the Bark
Japanese stewartia usually needs little pruning. Its natural shape is part of the appeal, and aggressive shearing can remove flowers, distort the branching, and expose delicate bark to cuts and scrapes. In late winter, inspect the framework while leaves are absent. Remove dead, broken, rubbing, or poorly attached branches with clean, sharp tools, cutting just outside the branch collar rather than flush with the trunk.
If you want a single-trunk tree, begin training while the plant is young by selecting one strong leader and removing competing stems gradually over several seasons. If you prefer its multi-stem form, retain the strongest well-spaced trunks and remove only weak or crossing growth. Do not remove a large percentage of the crown in one year to reveal bark; gradual structural pruning preserves the tree’s energy and reduces the risk of sunscald or large wounds.
Protect the bark from mowers, string trimmers, stakes, and ties. A thin guard or a wide mulch ring can reduce accidental strikes, but any guard must be loose and checked so it does not trap moisture or rub the trunk. If bark is scraped, keep the wound clean and do not apply wound paint unless a qualified local arborist recommends it for a specific problem. Avoid peeling healthy bark by hand; the exfoliation is a natural feature, not a layer that needs to be removed.
Follow the Tree Through the Seasons
Spring: Check for winter injury, refresh mulch without burying the flare, and prune only dead or structurally problematic branches. If the tree is newly planted, resume moisture checks as buds break and temperatures rise. Do not assume that spring rain has moistened the original root ball evenly.
Summer: Watch for wilting or scorched leaf edges during hot spells. Water the root zone when soil begins to dry, and do not add fertilizer simply because the tree grows slowly; slow growth is normal for the species. Flowers usually appear from early to midsummer, with the exact calendar depending on climate and cultivar.
Autumn: Enjoy the color and allow the tree to enter dormancy naturally. Continue watering during dry periods until the ground freezes, especially for a tree planted that year. Avoid late-season feeding that encourages tender new shoots.
Winter: The bare branches expose the bark’s pattern. In colder or wind-exposed locations, a sheltered site and a properly mulched root zone help reduce stress; mulch should not be piled over the trunk. Inspect staking or trunk protection after storms, and remove any tie that rubs.
Choose a Cultivar for Shape, Not Just Flowers
Named selections can differ in habit, flower size, flowering abundance, and seasonal color. ‘Cascade’ is described as semi-weeping, so its drooping branches suit a specimen position where the shape can be seen from the side. ‘Pilar Bella’ is more columnar and may fit a narrower space, though it still needs room for its mature height and roots. ‘Ballet’ is spreading, and ‘Milk and Honey’ is noted for abundant flowers and bright bark. NC State Extension lists these cultivars along with other selections.
Cultivar descriptions are useful starting points, not guarantees that every nursery plant will match a photograph. Ask whether the plant is a named cultivar or a seed-grown species, and confirm the expected width as well as height. A columnar label does not make the tree suitable for a narrow foundation bed if the root zone will be cramped or the site is hot and dry. Buy from a nursery that can identify the plant and provide locally relevant size guidance.
Propagate With Patience
Propagation is possible, but it is not the fastest way to obtain a landscape-ready tree. If preserving a selected cultivar matters, use vegetative propagation; seed-grown plants may differ from the parent and take a long time to reach flowering size. Choose a propagation method based on whether you value an exact selection, enjoy experimentation, or simply need a tree for the garden soon. For most gardeners who want a reliable specimen, buying a healthy nursery plant is simpler.
Try cuttings when preserving a selection
Softwood cuttings are taken in early summer when new growth is still flexible; semi-hardwood cuttings are taken later as shoots begin to firm. Use several healthy, nonflowering shoots because rooting is not guaranteed. With clean pruners, take short cuttings, remove the lower leaves, and insert the prepared base into a sterile, airy rooting medium. Rooting hormone may improve the chance of success, but it does not eliminate the need for even moisture and suitable temperatures.
Keep cuttings humid but not waterlogged, in bright indirect light rather than direct midday sun. Label the cultivar and date, and monitor the medium rather than watering by rote. The main challenge is keeping cuttings from drying out or rotting while roots form; do not tug frequently to check for roots. Once rooted, pot each cutting separately and grow it on in a protected setting until it is strong enough to plant outdoors. Better Homes & Gardens describes a cool overwintering stage for its cutting method, but exact temperature and timing depend on how mature the cutting is and local conditions. Expect losses and treat this as a careful trial, not a guaranteed batch.
Grow from seed only if you can wait
Seed propagation suits patient gardeners who do not need a clone. Japanese stewartia seeds have dormancy and may require a sequence of warm and cold conditions to germinate; the details can vary with how mature and fresh the seed is. Collect ripe capsules, clean and label the seed, and use a reputable seed-propagation reference for the appropriate stratification sequence rather than assuming a simple soak will be enough. Keep the medium evenly moist, never saturated, and do not discard a pot prematurely if germination is slow.
Seedlings may take years to become substantial trees, and their flowers or growth habit may not exactly match the parent. If you are propagating a named cultivar for a particular form or bloom characteristic, seed is the wrong choice. Epic Gardening notes that germination can be slow and that propagation by cuttings or layering is often preferred; for a home gardener, the practical choice is to propagate only when the process itself is part of the goal.
Troubleshoot Leaf Scorch, Wilting, and Weak Growth
Brown or scorched leaf edges: First note which side of the crown is affected and when symptoms appeared. Damage concentrated on the west or south-facing side after a hot spell points toward heat or sun exposure; symptoms across the whole tree may also reflect a dry root ball. Check soil moisture below the surface before watering. If the ground is moist and the damage continues, inspect drainage and consider whether reflected heat from pavement is contributing.
Wilting leaves: A dry root ball can cause wilting even when the surrounding soil is wet. Probe both the original root ball and the nearby soil; water slowly if the root ball is dry, but pause irrigation if the area stays saturated. Persistent wilting in wet soil is a reason to examine planting depth, drainage, and root health, not to increase the watering schedule.
Yellowing or weak growth: Look for several clues together: soil staying wet, drought, compacted ground, buried root flare, competition from grass, or a soil pH outside the plant’s preferred range. A Japanese stewartia is naturally slow-growing, so modest annual extension alone is not a diagnosis of nutrient deficiency. Compare the plant’s new growth with its own previous seasons and use a soil test before applying fertilizer or pH amendments.
Few or no flowers: A young tree may need time before producing a substantial display. Also check whether it receives enough light, whether a late freeze damaged buds, and whether pruning removed flowering shoots. Avoid pruning healthy branches just to force a shape; first allow the tree to mature through a full seasonal cycle. If the plant is shaded by a newly enlarged canopy, selective pruning of the neighboring tree may be safer than moving an established stewartia.
Leaning after planting: Check whether the whole root ball rocks or only the trunk flexes. If the root ball is unstable, reset the planting depth if needed and use temporary flexible staking; if only the trunk sways while roots remain firm, let the tree move. Persistent lean can result from loose soil, a damaged root ball, or exposure to strong wind. Do not tighten a strap around the trunk as a quick fix, because it can damage the bark.
NC State Extension reports no serious insect or disease problems as a general rule. If you see spots, webbing, scale-like bumps, or branch dieback, identify the cause before treating; the plant’s relative resilience does not make every symptom harmless, but it also does not justify routine pesticide use. Maintain good drainage, avoid trunk injury, and remove only confirmed dead material. If decline continues despite correcting water and site issues, consult a local extension office or certified arborist with photos and details about the planting conditions.
Conclusion
Japanese stewartia grows best when you treat it as a long-term specimen tree rather than a quick landscape filler. Give it a sheltered site with enough light, moist but freely draining soil, and room for its eventual canopy; set the root flare at grade and monitor the original root ball carefully through establishment. Prune lightly, protect its thin bark from equipment, and let its slow growth and changing seasons unfold. If the site is right, summer flowers are only one part of the reward: fall color and patterned winter bark keep the tree interesting long after the blooms have passed.



