How to Plant a Bulb Lasagna in a Pot or Garden Bed
Learn how to plant a bulb lasagna in a pot or bed. Choose bulbs by bloom time and label depth, layer them safely, and protect containers over winter.
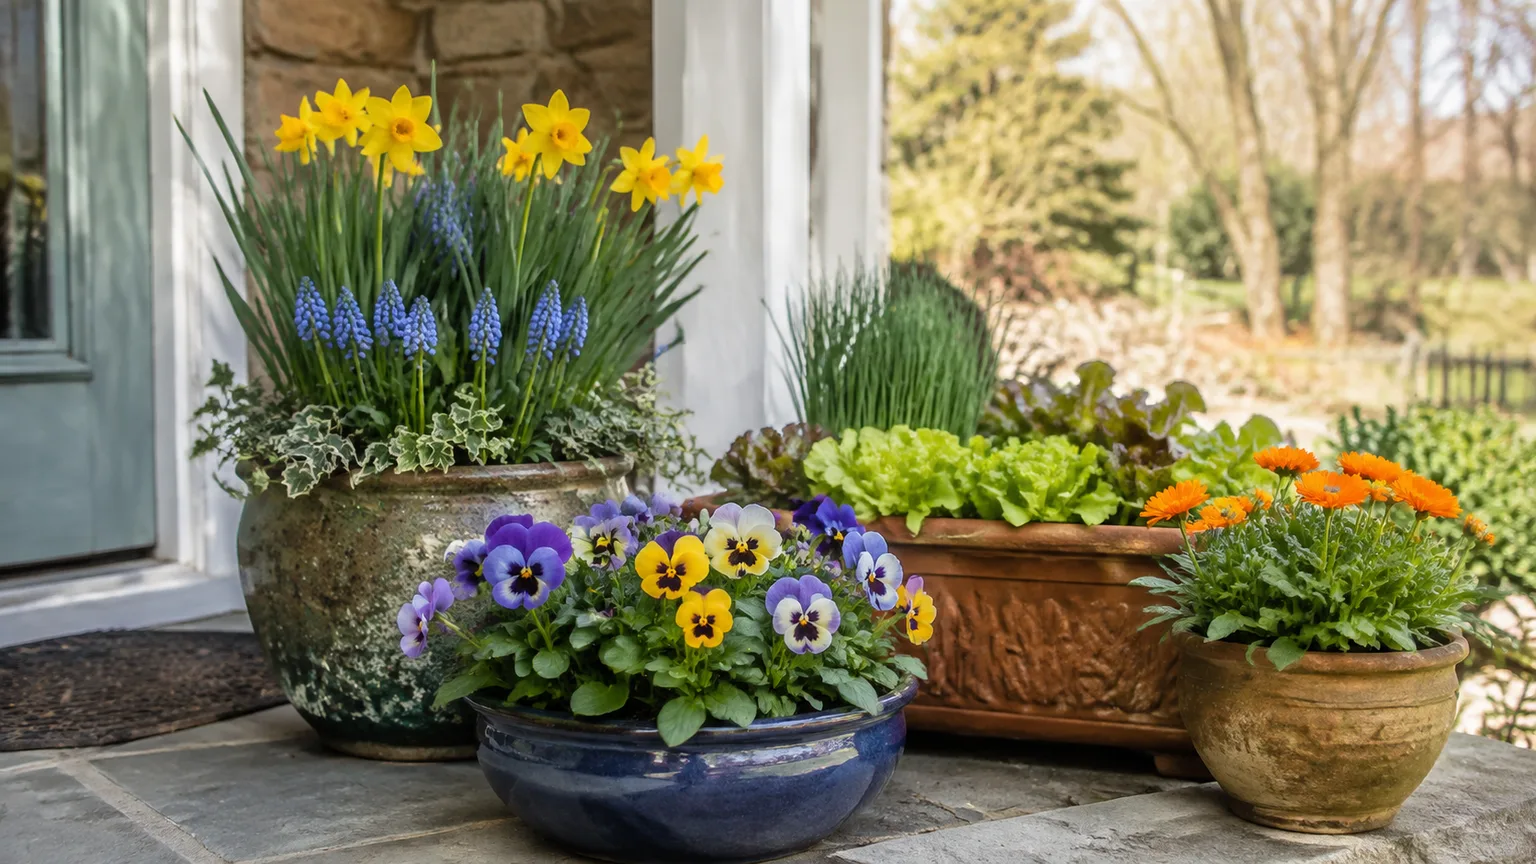
A bulb lasagna is a planting of spring-flowering bulbs arranged at different depths in one container or, less often, one garden bed. The idea is to combine early-, mid-, and late-season varieties so one planting area can change as spring progresses. It is a useful way to make a single large pot feel generous, but it does not guarantee flowers without a gap: bloom dates vary with species, cultivar, winter weather, and spring temperatures.
The most important rule is easy to miss: planting depth comes from the bulb’s own directions, not its expected flowering date. A deeper layer is usually made up of bulbs that need deeper planting, and often these are larger bulbs. Bloom time helps you choose the sequence; it does not override the package depth. With that distinction in mind, you can build a layered display that has room to grow and a better chance of surviving winter.
What Lasagna Planting Can—and Cannot—Do
The method borrows the layered structure of a casserole. You put the bulbs that need the greatest depth lower in the pot, cover them with soil, then add bulbs that tolerate shallower planting above them. The stems from lower bulbs can usually find their way past upper bulbs, especially when you stagger the positions instead of stacking every bulb directly above another. Epic Gardening’s container and bed examples show the same practical principle: place each layer at the proper depth and give shoots routes upward.
The payoff is density and succession: one container can hold bulbs that flower at different points in the season, and the fading leaves of an early layer may be partly masked by later flowers. Gardeners commonly combine snowdrops, crocus, dwarf iris, grape hyacinth, hyacinth, daffodils, tulips, and alliums. A layered pot can also be a practical home for a small number of leftover bulbs that are compatible in depth, light, and winter needs. Lovely Greens’ bulb-lasagna guide offers useful examples of combining early, middle, and late flowers in one planter.
There are limits. A bulb’s bloom time is not determined by how deep it is planted, and two cultivars at the same depth may flower together. Warm spells can compress the sequence; a cold spring can delay it. The technique is also less useful when your chosen bulbs all need roughly the same depth, when a shallow decorative bowl cannot provide enough soil above and below them, or when you want a naturalized bed that will remain undisturbed for years. In those cases, a single variety per pot or separate clusters at their proper depth may be a better design.
Choose Bulbs by Bloom Window and Planting Depth
Start with the labels or supplier descriptions for each bulb. Record three facts: its recommended planting depth, its expected bloom window, and whether it needs a cold period. Rutgers NJAES’s spring-flowering bulb guidance gives a general starting rule for many bulbs—plant at a depth about two to three times the bulb’s height, measured from its base—but it also illustrates why the packet matters: large tulips and daffodils and smaller crocuses have different depth and spacing needs. Use that general ratio only when the supplier does not provide a more specific direction, and treat local guidance as more relevant than a broad rule.
Then sort compatible bulbs into an early, middle, and late display. Use the expected bloom windows as a design map, not a promise. Cultivar descriptions often say “early,” “midseason,” or “late” for good reason; a “late tulip” in one climate may overlap with an early daffodil somewhere else. Match plants that can share the same light and moisture conditions, and avoid combining bulbs with incompatible chilling or hardiness requirements in one pot.
Early layer: the shallowest bulbs
Small bulbs often suited to the upper layer include crocus, snowdrops, winter aconite, scilla, and dwarf iris. Many bloom in late winter or early spring, but their planting depths differ, so do not assume all small bulbs belong at exactly the same level. Check their label, and leave the prescribed cover above each bulb. The layer is “top” only relative to the deeper bulbs below it; it still needs enough soil above it to prevent drying and temperature swings.
For a stronger first flush, group several bulbs of one or two varieties rather than scattering single bulbs around the pot. A visible patch of crocus or snowdrops reads clearly from a doorway or window. If you want a more natural look, arrange the bulbs in small irregular clusters rather than a rigid ring, but keep enough spacing for leaves to emerge without being pinched between neighbors.
Middle layer: the bridge between bloom periods
Hyacinths, grape hyacinths, some daffodils, and tulips may form a middle layer when their required depth fits the container and chosen lower bulbs. The exact position depends on the product directions, not a universal chart. A standard daffodil may be planted deeper than a small species tulip; even within a familiar group, bulb size and cultivar can change the recommended depth.
Plan the middle group to connect the color and height of the display. Short grape hyacinths can sit visually in front of taller tulips, while a compact daffodil can bridge early crocus and later tulips. This is also where a same-time pairing can work: a bowl of purple muscari under yellow daffodils may give a more deliberate, full display than trying to make every layer flower in strict sequence.
Deep layer: bulbs with the greatest planting depth
Place the bulbs with the greatest specified depth at the bottom. Depending on your plan, these may be tulips, larger daffodils, or alliums, but do not treat those names as depth categories by themselves. Check the cultivar label and size: some alliums require substantial depth, while ornamental alliums vary considerably in mature height and planting needs.
Allow enough soil under the deepest bulb and enough soil above it to reach the next layer’s correct depth. Avoid pressing bulbs into the pot floor or leaving them in contact with one another. If you want a more exact layout, sketch a side view of the pot and mark the finished soil surface, each layer’s bulb base, and the required cover before you start filling.
Choose a Pot or a Garden Bed
Containers are the easiest place to see the layers and to control the display. They are also more exposed to winter temperature swings than bulbs planted in the ground. A border or bed offers more stable soil temperatures and room for drift-style groupings, but it is harder to change the composition after planting. Choose the setting based on what you can maintain, not just on the finished photo you have in mind.
Container depth, drainage, and mix
For a three-layer arrangement, a pot around 12 to 14 inches deep is a practical starting point for many bulb combinations, not a universal minimum. This range is consistent with the size suggested in Epic Gardening’s lasagna-bulb container walkthrough, but your bulbs’ label depths should decide the final size. Some compact bulbs and shallow layers fit in less; deep-planted tulips or daffodils plus two upper layers may need more. Work out the depth before buying the pot: include a few inches of mix under the deepest bulbs, the deepest bulb’s required soil cover, room for each upper layer, the top layer’s cover, and about an inch of headroom below the rim for watering. Colorado State University Extension’s container guide recommends at least two inches of soil beneath the bulbs as insulation, a useful floor when you calculate that base layer. If that total does not fit, reduce the number of layers or use a deeper container rather than squeezing bulbs into the wrong depth.
Choose a sturdy pot with open drainage holes. Terracotta, glazed ceramic, resin, and plastic can all work if the pot drains freely and can withstand the conditions where you will leave it. Very wide and shallow bowls are attractive but often too shallow for a true layered planting. A larger diameter gives you room to arrange bulbs in groups, while a narrower pot can still work with fewer bulbs and a simpler sequence.
Use a fresh, free-draining container mix, not dense garden soil that can compact in a pot. The growing medium should drain after watering but retain enough moisture for roots to establish. Rutgers NJAES describes spring-bulb soil as well-drained yet moisture-retentive and warns against overwatering at planting in its planting requirements. Do not put a layer of gravel or broken pots under the mix as a substitute for drainage; the essential features are unobstructed holes and an open mix. Raise the container on pot feet if its base would sit in standing water or the holes could be blocked by a patio surface.
In-ground layering and bed preparation
A garden bed can use the same idea, but keep the structure broad and simple. Pick a spot with sun for the selected bulbs—Rutgers suggests at least five to six hours of direct light for spring-flowering bulbs—and soil that drains instead of staying soggy. Loosen the area to the greatest depth required by the bottom layer, set those bulbs, cover to the correct level, then add shallower bulbs in offset groups above. Avoid making a narrow stack of bulbs directly over one another; stagger the upper groups so emerging stems have clear paths.
In beds, a “lasagna” can also mean overlapping drifts rather than precise soil sandwiches. Plant the species that require deeper placement first, then work across the bed with shallower bulbs in open spaces. If the bed has established perennials, tree roots, or bulbs already in place, digging deeply can damage them. In that situation, create a new patch or plant the new bulbs in clearly marked pockets instead of excavating through existing roots. A bed with heavy clay, standing water, or a history of bulb rot needs drainage correction or a raised planting area before it needs extra layers.
Plant at the Right Time for Your Climate
For spring-flowering bulbs that need winter chilling, the usual planting window is fall, after summer heat eases but before the ground freezes. Rutgers NJAES’s planting calendar describes fall planting once soil cools, while Penn State Extension’s bulb-forcing guidance explains the chill period spring bulbs need to complete normal growth and flower development. University of Minnesota Extension also distinguishes hardy spring bulbs by their need for a cold period. Those calendar dates are regional examples, not a rule for every climate. Use local extension advice and the supplier’s instructions to find a window that gives roots time to establish before hard freezes.
In mild-winter regions, ordinary spring bulbs may not receive the chill they need in the ground or on a warm patio. Choose varieties suited to your area, or follow a bulb supplier’s prechilling directions for suitable types. Do not assume the refrigerator is a universal fix: chilling duration varies by species, a household refrigerator may contain ripening fruit that releases ethylene, and bulbs must not dry out or be left wet. Penn State’s table of chilling periods lists different requirements for spring bulbs, showing why one fixed number of weeks cannot be applied to every variety. Forcing bulbs indoors is a separate project from planting a pot outdoors for natural spring bloom.
For fall planting, wait until the weather and soil have cooled rather than planting into hot late-summer mix. The bulbs can begin rooting while the surface stays cool. If a cold snap is forecast but the ground is still workable and your local guidance says planting can continue, late planting may still succeed, though root establishment and flowering can be less reliable. A bulb that has been stored too long, has softened, or shows mold is a poor candidate for a layered pot; plant only firm, healthy bulbs.
Gather Bulbs and Materials Before You Start
Set out the container, a trowel, a measuring stick, potting mix, labels or a sketch, and the bulbs grouped by their recommended depth. A simple depth chart prevents the common mistake of discovering halfway through that the pot has no room left for the top layer. Write the bloom window and depth beside each variety, then rank by depth first. If bloom order and planting depth do not line up neatly, protect the depth requirement and adjust the design rather than forcing the bulb into the wrong soil level.
Inspect the bulbs before planting. They should feel firm and reasonably heavy for their size, without soft spots, extensive mold, or damage at the basal plate where roots form. Keep them cool, dry, and ventilated until planting, and do not store them in an airtight plastic bag. Handle them gently; a nicked or crushed bulb can rot before it has a chance to root.
Calculate how many bulbs the pot can hold after you have identified the layer plan. Close spacing gives a fuller display, but bulbs should not touch, and upper bulbs need space between them for lower shoots to pass. Some growers intentionally plant container bulbs more closely than bulbs in permanent beds because the pot is a seasonal display. Treat close spacing as an aesthetic trade-off: it can produce a dense first show, but it may reduce the chance of repeat flowering and make the container dry faster once leaves fill in.
Build the Layers Step by Step
Move a heavy planter to its winter position before filling it. A large container becomes difficult to lift once it contains damp mix and bulbs, and dragging it later can crack the pot or disturb the layers. Check that drainage holes are open, then make sure the chosen position receives the light the bulbs will need when they emerge.
Set the base and deepest bulbs
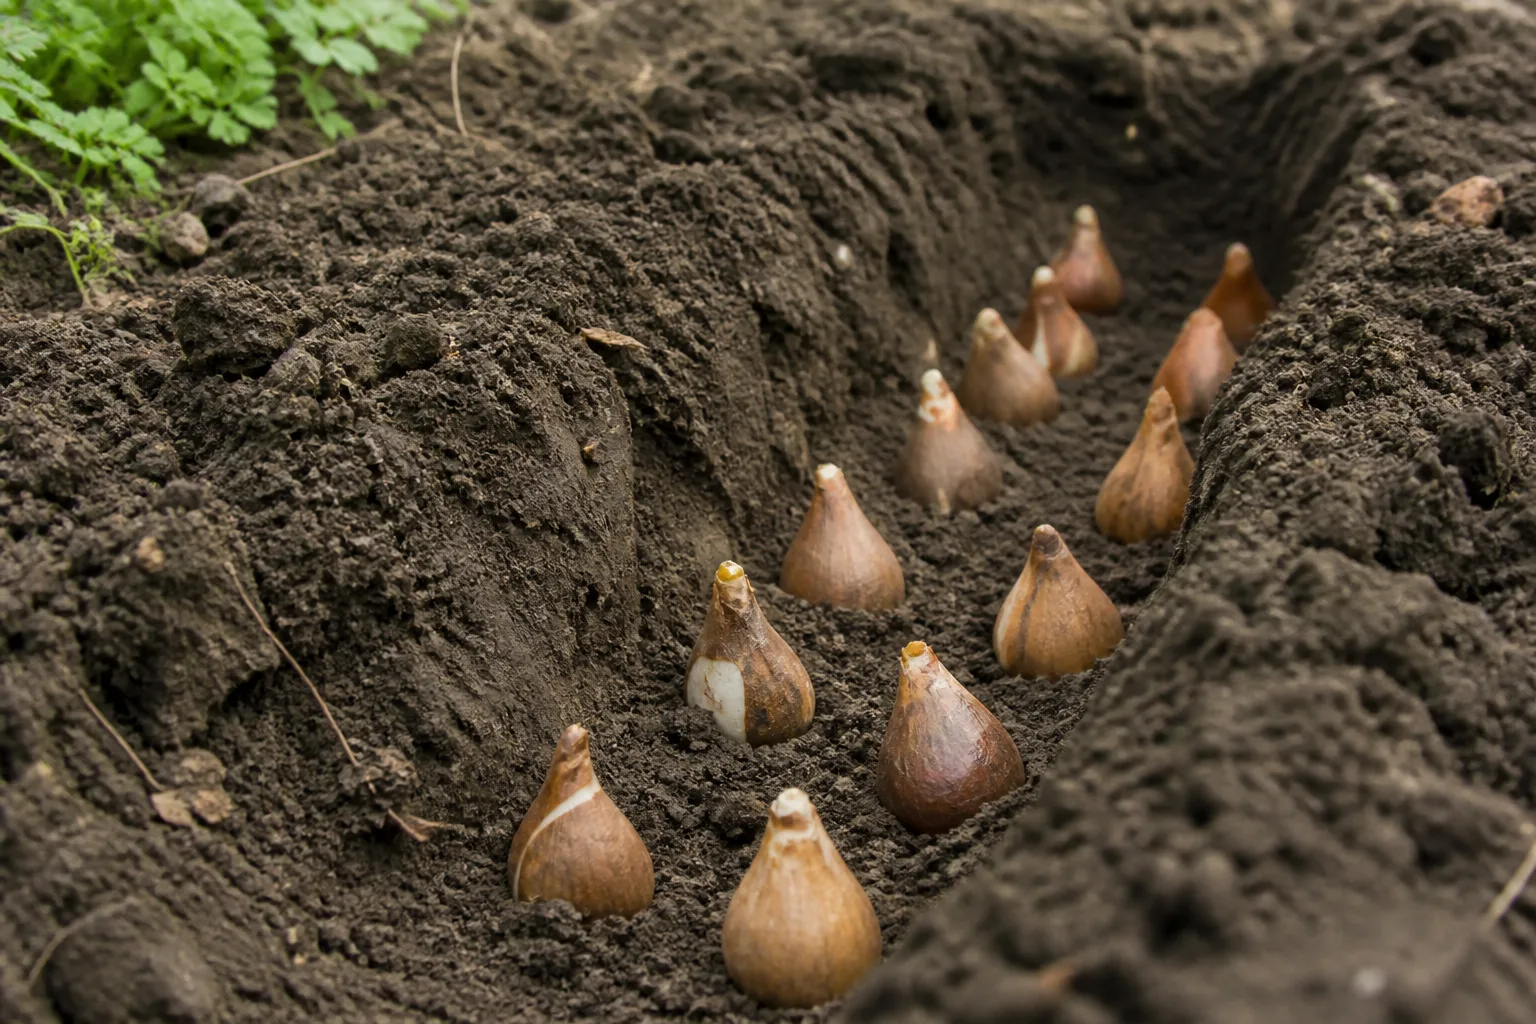
Add enough mix to the bottom to meet the deepest bulbs’ required planting depth. The bulbs’ base-to-surface depth is what matters: measure from the bulb base to the final surface above it, not just the depth of potting mix you put under it. Set the deepest bulbs with the growing point up when it is clear; tulips, daffodils, and hyacinths have an obvious pointed end and root plate. If a bulb has no obvious top, place it on its side rather than guessing and forcing it upside down.
Arrange the deepest bulbs close enough for a generous display but leave small gaps so bulbs are not pressing against each other or the container wall. Avoid placing one directly beneath another when you can offset the next layer. Add mix until you reach the correct depth for the middle layer. Firm it lightly to remove large air pockets, but do not compact it into a hard slab that water cannot penetrate.
Add soil, stagger the next layers, and finish
Set the middle bulbs at the depth their labels specify, then add enough mix to cover them and create the next planting level. Keep the bulbs offset from the ones below. Repeat with the shallowest bulbs. There is no benefit to squeezing a fourth layer into a pot that cannot provide the required soil cover; two well-planned layers are better than three cramped ones.
Top up with mix to the level that gives the uppermost bulbs their prescribed cover while leaving a little headroom beneath the rim. Water once, slowly and thoroughly, until the mix is evenly moist and excess water runs out of the drainage holes. This settles the soil around the bulbs and starts root growth. Do not leave the pot standing in runoff. Add a thin, loose mulch if your local conditions call for insulation or moisture moderation, but keep it light over small bulbs that need to emerge easily.
Water and Protect the Planting Through Winter
After the initial watering, the goal is slightly moist, not saturated, soil. In a wet winter, a container left under an eave or in an exposed rain path may become waterlogged even though you have not watered it yourself. Check the drainage holes, elevate the pot if needed, and move it to a sheltered spot that still receives the cold period the bulbs need. In a dry winter, check below the surface and water when the mix is dry at bulb level; a dry-looking surface alone is not a reliable measure.
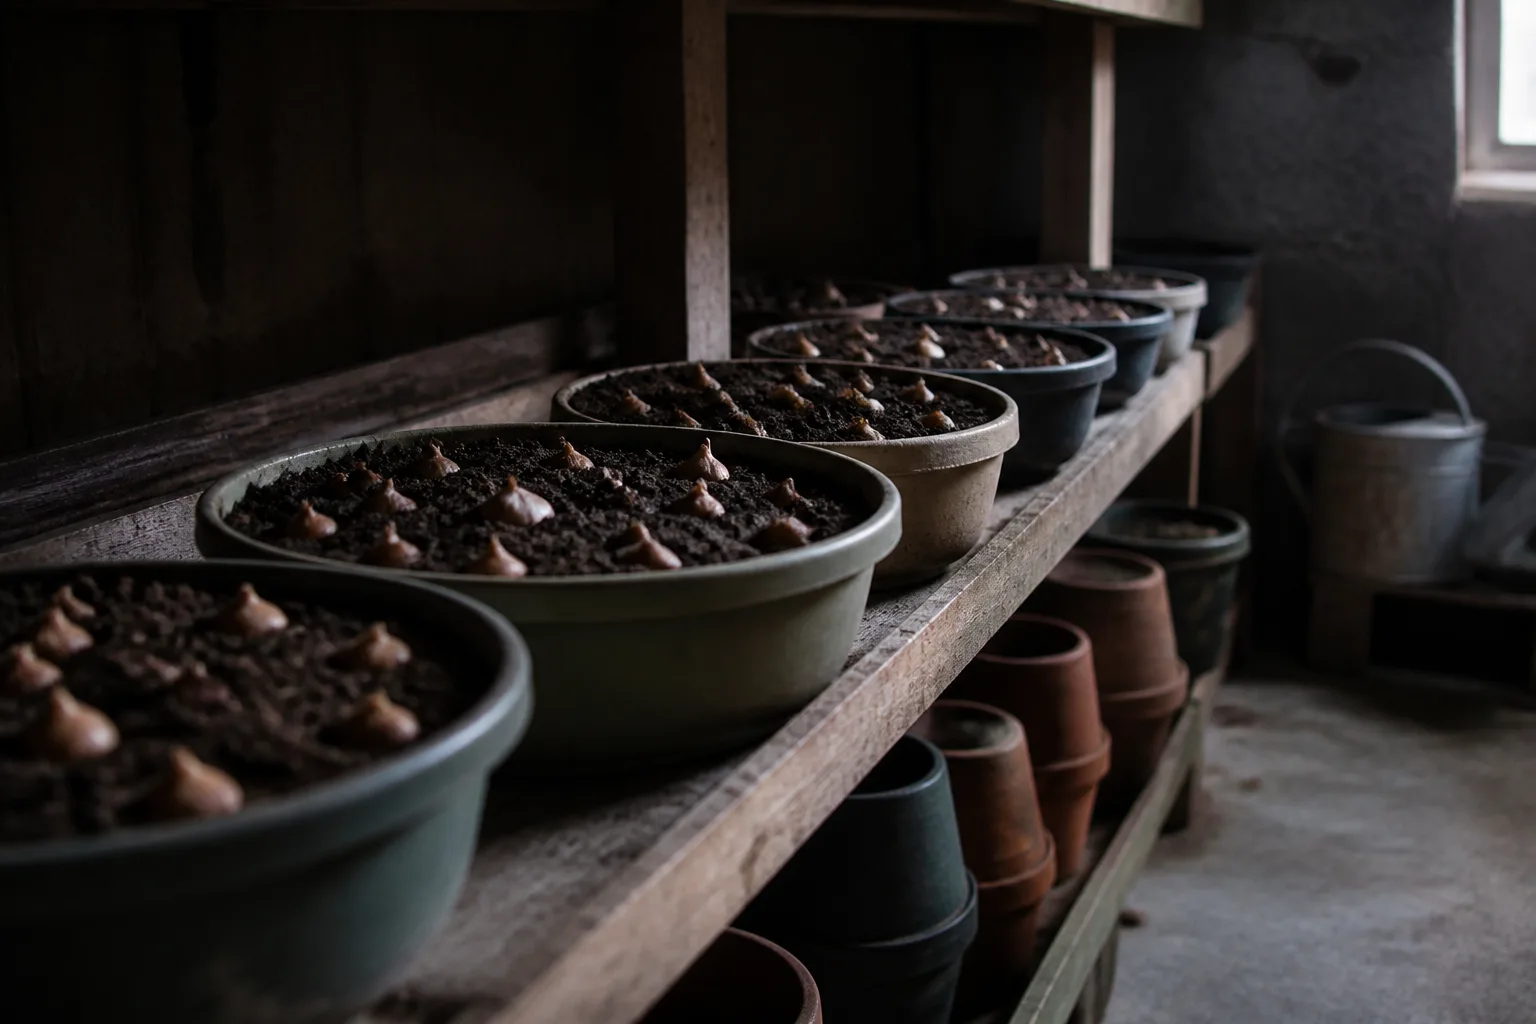
Cold affects containers more quickly than the surrounding ground because the pot walls expose the root zone to air on all sides. In places with severe freezes, use bulbs rated for the local climate and protect the pot from repeated freeze-thaw cycles. A protected location against a building, an unheated garage, or insulation around the pot can buffer temperature swings, but keep the planting cool enough to remain dormant and avoid bringing it into a heated room. Do not seal drainage holes or wrap a wet container so tightly that it stays waterlogged.
In warmer regions, the central problem may be insufficient winter chilling rather than freezing. The University of Minnesota Extension’s bulb overview describes the cold period required by hardy spring bulbs; actual cultivar needs still vary. Select varieties recommended for mild climates or use the supplier’s specified chilling method. Avoid adding bulbs that need a long, cold dormant period to a mixed pot with paperwhites or other bulbs that do not need chilling; their needs and growth schedules differ. Penn State Extension separates spring bulbs from paperwhites and amaryllis for this reason, so a mixed winter display should be built from plants with compatible requirements.
Manage the Display After the First Flowers Fade
Once shoots appear, move or uncover the container gradually if it has been wintering in a sheltered place. Give emerging leaves the light their variety needs, and water when the mix begins to dry. A pot full of foliage uses water faster than a dormant pot, especially on a sunny, windy porch. If a cold spell is forecast, protect tender new growth as appropriate for the species rather than bringing a permanently cold-treated pot straight into a hot room.
Deadhead spent flowers if you want the bulbs to put energy into next year’s growth instead of seed. Leave the green foliage until it yellows naturally. Rutgers NJAES explains in its post-bloom care guidance that leaves rebuild the bulb’s stored food after flowering; cutting or braiding green leaves early can weaken the next season’s display. Place the pot where the fading leaves can receive light, or use nearby perennials to soften the look without tying the leaves into tight knots.
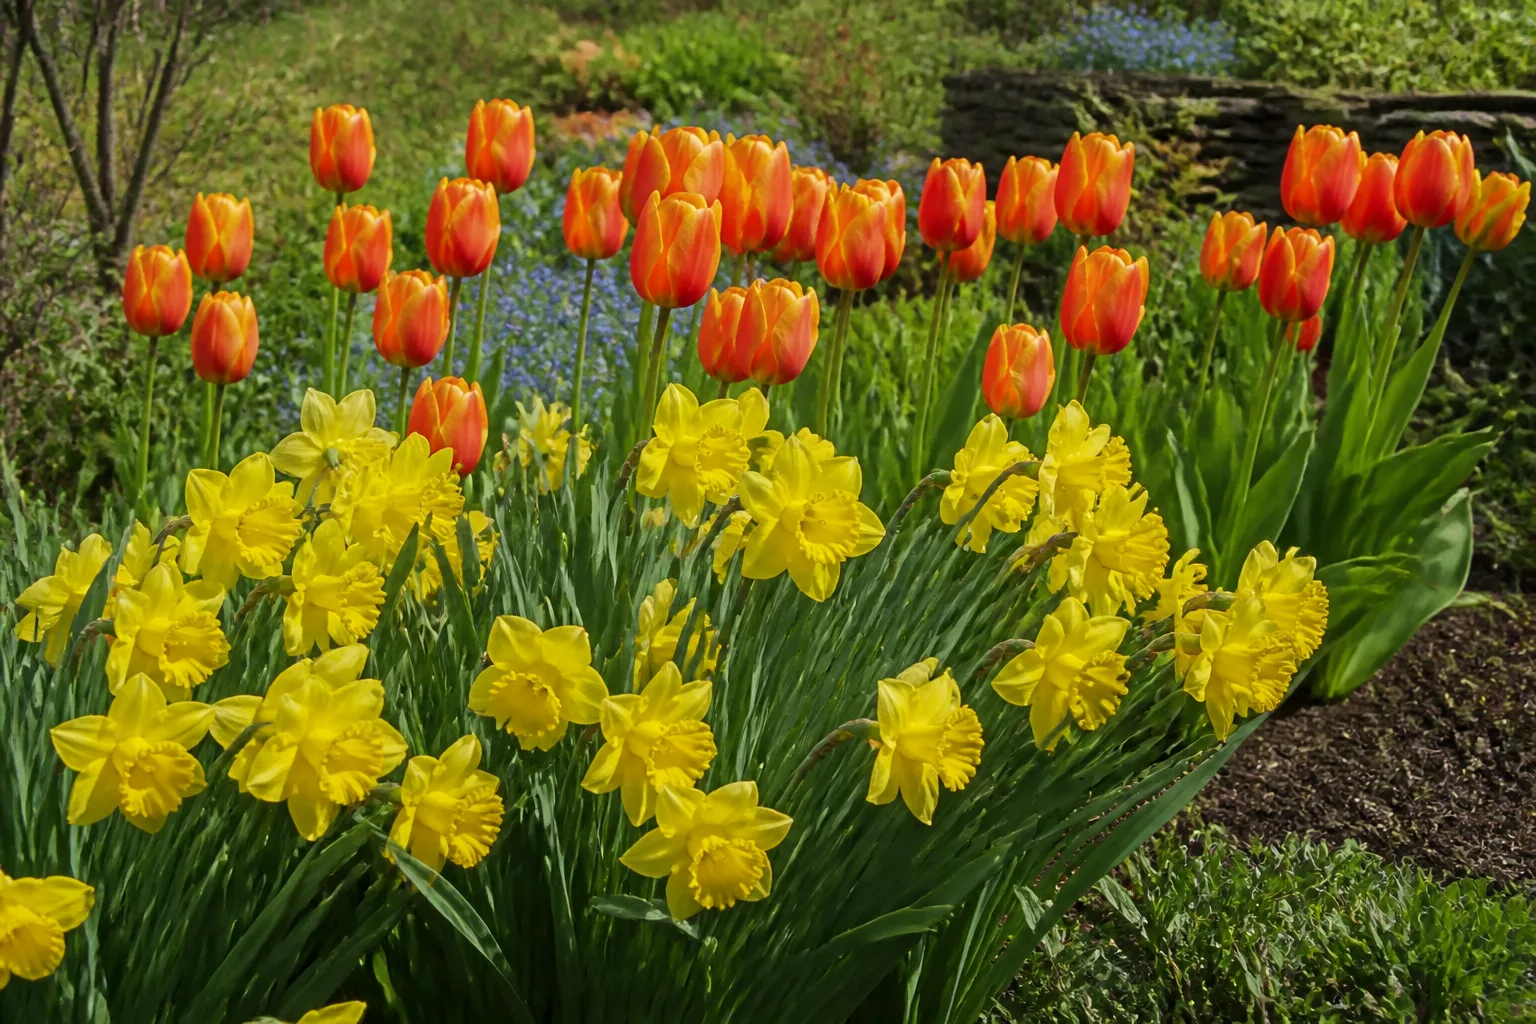
A dense bulb lasagna may be treated as a one-season arrangement, but that is a design choice, not a requirement. Tulips in particular can be unreliable repeat performers in crowded pots, while some smaller bulbs may persist or multiply. If you want to reuse the planting, keep the leaves growing until they die back, reduce watering as foliage fades, and assess each variety separately. In the next fall, refresh depleted potting mix and divide overcrowded offsets; do not assume every bulb will flower equally well in year two.
Troubleshoot Common Bulb-Lasagna Failures
The bulbs rot before shoots appear. Check for a blocked hole, a pot sitting in standing water, a dense mix, or a bulb that was already damaged. The fix is better drainage and more careful moisture control, not extra gravel in the bottom. Remove soft or foul-smelling bulbs if you find them, and do not plant replacement bulbs into saturated mix until it has drained and the cause is corrected.
Shoots appear, but there are few flowers. Look first at the bulb type and its chilling needs, then at the quality and size of the bulbs when purchased. Small, immature bulbs may produce leaves without strong flowers; warm winters can prevent some types from flowering properly; and a previous year’s foliage cut too soon can leave bulbs underfed. A cold treatment may help a suitable bulb only when its variety and timing match the instructions. It will not repair a bulb that is exhausted, diseased, or planted in the wrong conditions.
The bloom sequence happens all at once. Bloom windows overlap naturally and shift with temperature. If you want a wave effect next year, choose cultivars explicitly sold as early-, mid-, and late-season and use at least three distinct windows. If you prefer a single dramatic moment, use varieties with similar bloom timing and let the layers create depth and density instead.
Foliage emerges but flowers are weak or stems flop. Crowding, shade, poor light after emergence, or bulbs placed too shallowly can contribute. Check the label depth and the light at the pot’s spring location. For the next planting, reduce the number of bulbs, use a deeper pot, and avoid setting the container where tall stems will lean toward one-sided light or be hit by strong wind.
Animals dig up or eat the bulbs. Susceptibility differs by species; tulips and crocuses are often browsed or dug, while no bulb should be treated as universally animal-proof. A secure wire mesh layer can deter digging in a bed if shoots can pass through it. In pots, choose less attractive varieties for the animals in your area or protect the container with a barrier that does not block drainage or emerging stems.
Conclusion
A successful bulb lasagna is built from depth first, bloom sequence second. Choose firm bulbs with compatible light, winter, and moisture needs; follow each cultivar’s planting depth; and use a pot deep enough to cover every layer without blocking drainage. Then water once to settle the mix, keep the planting cool through winter, and let leaves finish their natural recharge after the flowers fade.
You do not need the most complicated combination. A deep, well-drained pot with two compatible varieties can make a clearer display than a crowded container with four layers and no room for roots. Start with a simple pair of bulbs whose labels give you different bloom windows, and add another layer only when the pot’s depth and your climate support it.



