How to Build a Moss Terrarium in 7 Easy Steps
Build a moss terrarium in seven clear steps. Choose live moss, a suitable jar and substrate, then balance light and moisture to limit mold and browning.
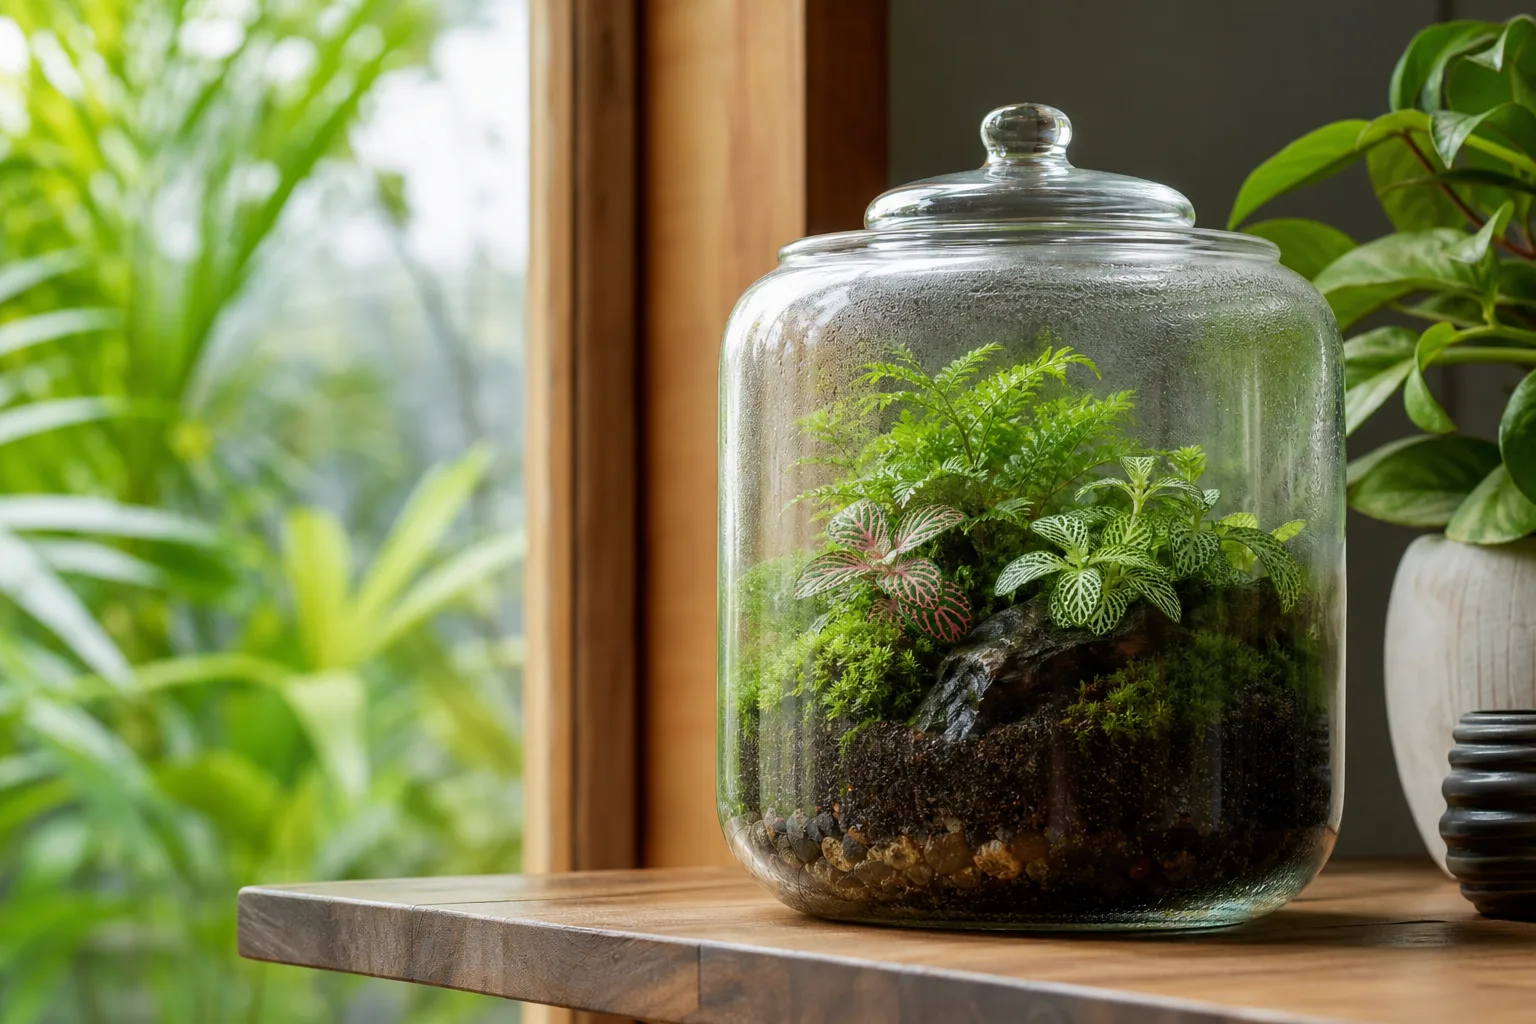
A moss terrarium is a small landscape in a glass vessel, but keeping it green depends on a few practical choices: use living moss, give it a surface it can cling to, and add less water than you think you need. A closed jar helps slow drying, yet it does not make the moss invulnerable. Too much water, direct sun, or old plant debris can turn a miniature forest into a fogged, moldy container.
The seven steps below take you from an empty jar to a settled mossarium. You will also learn what belongs in the bottom, how to tell whether the water balance is right, and what to change when the moss fades or mold appears.
How a Moss Terrarium Works
Moss is well suited to a humid display because it grows close to the surface and does not need the deep root zone required by most potted plants. In a terrarium, it can attach across a shallow layer of damp substrate and take advantage of the moisture held in the enclosed air. Penn State Extension lists moss and lichen among natural terrarium choices because they are adapted to moist, dimmer conditions, while its closed-terrarium guidance describes how condensation can return water to the soil.
A closed vessel slows water loss; it does not eliminate care. Water evaporates from the damp substrate, condenses on the cooler glass, and runs back down. Once this cycle settles, you should see light, intermittent fogging rather than a jar that stays soaked or has heavy droplets streaming down its sides. You may still need to adjust the lid, remove dead material, or add a small amount of water as the room and season change.
An open bowl can work for moss if you are prepared to mist and monitor it more often, but it loses moisture faster. A lidded jar is usually the easier choice for a first moss-only build. Keep the contents simple: unlike a mixed tropical terrarium, a mossarium does not need a collection of unrelated plants, fertilizer, or a deep potting layer.
Choose a Vessel You Can Work In
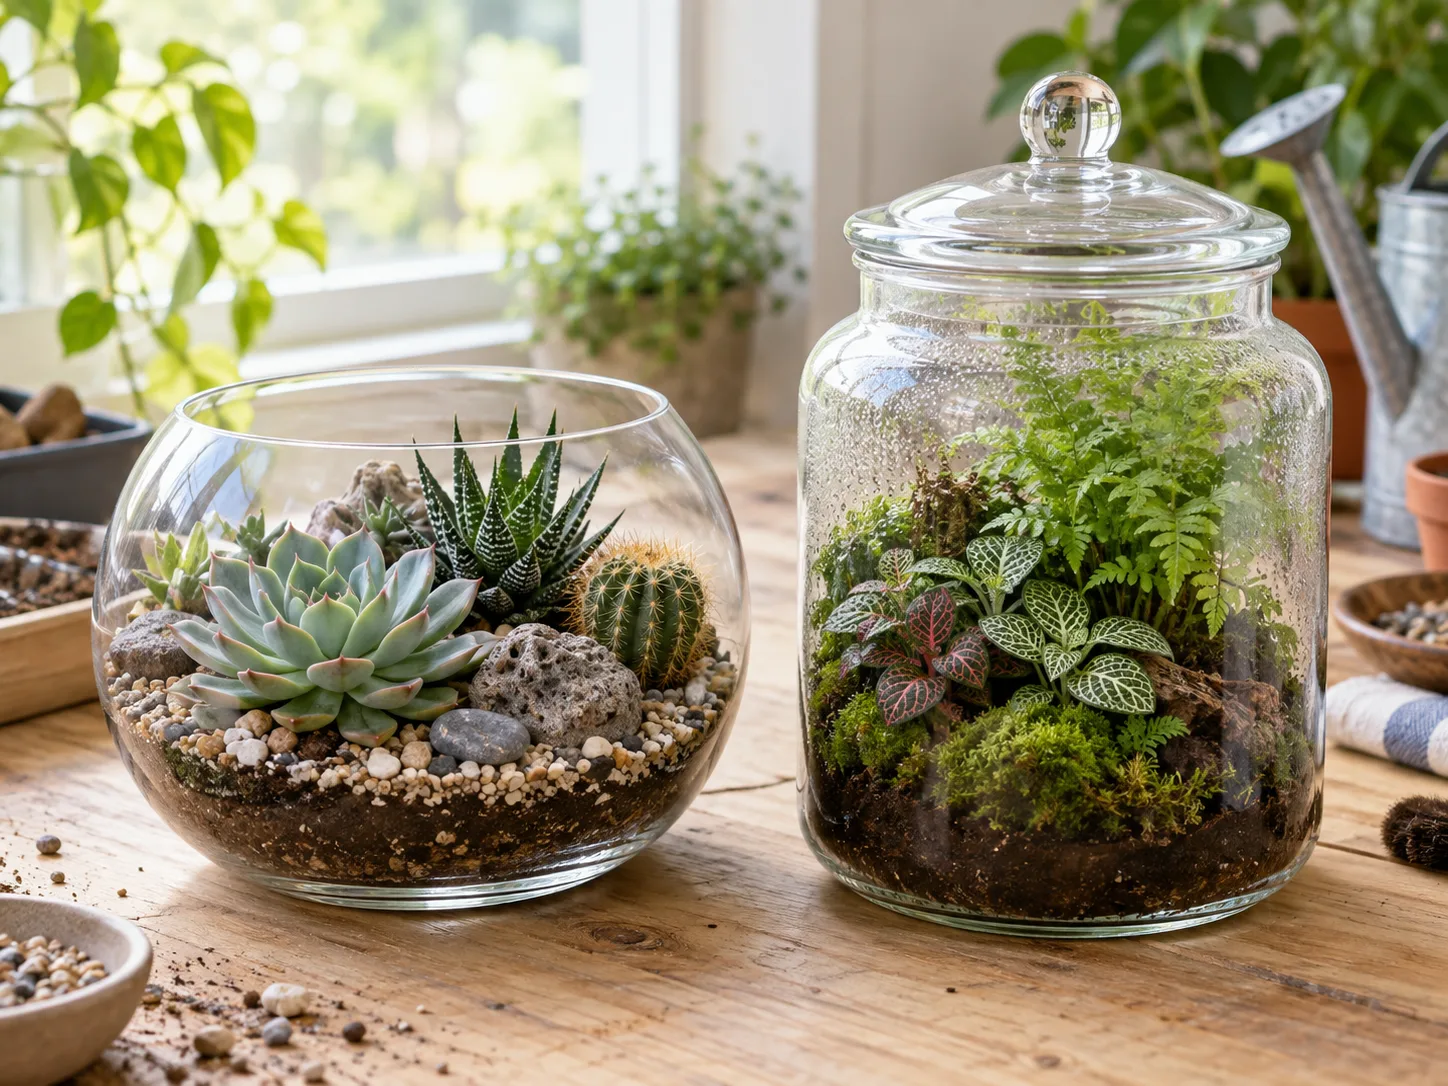
Use clear glass with a lid or cover that can be removed. A clean cookie jar, wide-mouth canning jar, fish bowl with a fitted cover, or purpose-made terrarium can all work. Clear walls let light reach the moss and make it possible to monitor condensation, debris, and the substrate without opening the vessel.
Prioritize access over an elaborate shape. A wide opening lets you place moss and stones with your fingers or simple tools, clean the inside glass, and remove a problem patch later. A narrow-necked bottle looks tidy but makes every correction harder; it is a frustrating first project unless you have long tweezers, a spoon or funnel, a slender tamping tool, and patience. Avoid colored or heavily tinted glass, which reduces the light reaching the plants.
Choose the size based on the landscape you can maintain. A larger mouth and more room around each patch make a beginner setup easier to assemble and prune. Leave open space between the moss and the glass so you can see whether it is spreading, drying, or touching persistently wet surfaces. Make sure the jar sits securely where it will not be knocked over, and do not use a vessel that previously held chemicals or anything difficult to clean completely.
Choose Living Moss and a Suitable Substrate
Buy moss sold as live terrarium material from a reputable nursery or specialist supplier. “Mood,” “cushion,” “sheet,” “carpet,” and “feather” moss describe different looks in the trade; names may not always identify a precise species. Cushion-like pieces create low mounds, while flatter sheet or carpet moss can cover a broader patch. Pick compact, green, hydrated material with no sour smell, blackened sections, or obvious pest activity.
Preserved moss is decorative, not a living plant. It may be dyed or treated and will not establish or grow, even if it sits in a humid jar. Read the label carefully when shopping: if you want a living miniature landscape, the product needs to be sold as live moss. Penn State Master Gardeners also mention preserved mood or cushion moss as a design material, so decide whether you want a permanent-looking ornament or a growing terrarium before you buy.
For substrate, choose a clean, low-fertility terrarium mix or a light soilless potting mix that holds some moisture without becoming a dense, waterlogged paste. Moss does not need the depth of a rooted plant, but it needs an even surface it can contact. Gardening Know How describes moss terrariums as needing little soil and dampness rather than heavy watering; that is a useful rule of thumb for keeping the base shallow and the moss lightly moist.
Do not collect moss from public land, private property, or a protected site unless you have permission and know the local rules. Purchased, cultivated moss is easier to inspect and avoids stripping a patch from a natural habitat. If you use a small amount from your own property, remove only what you are allowed to take, leave most of the patch intact, and check it closely for insects, seed heads, soil clumps, and other hitchhikers before it enters a closed jar.
Gather Materials and Skip the Unnecessary Layers
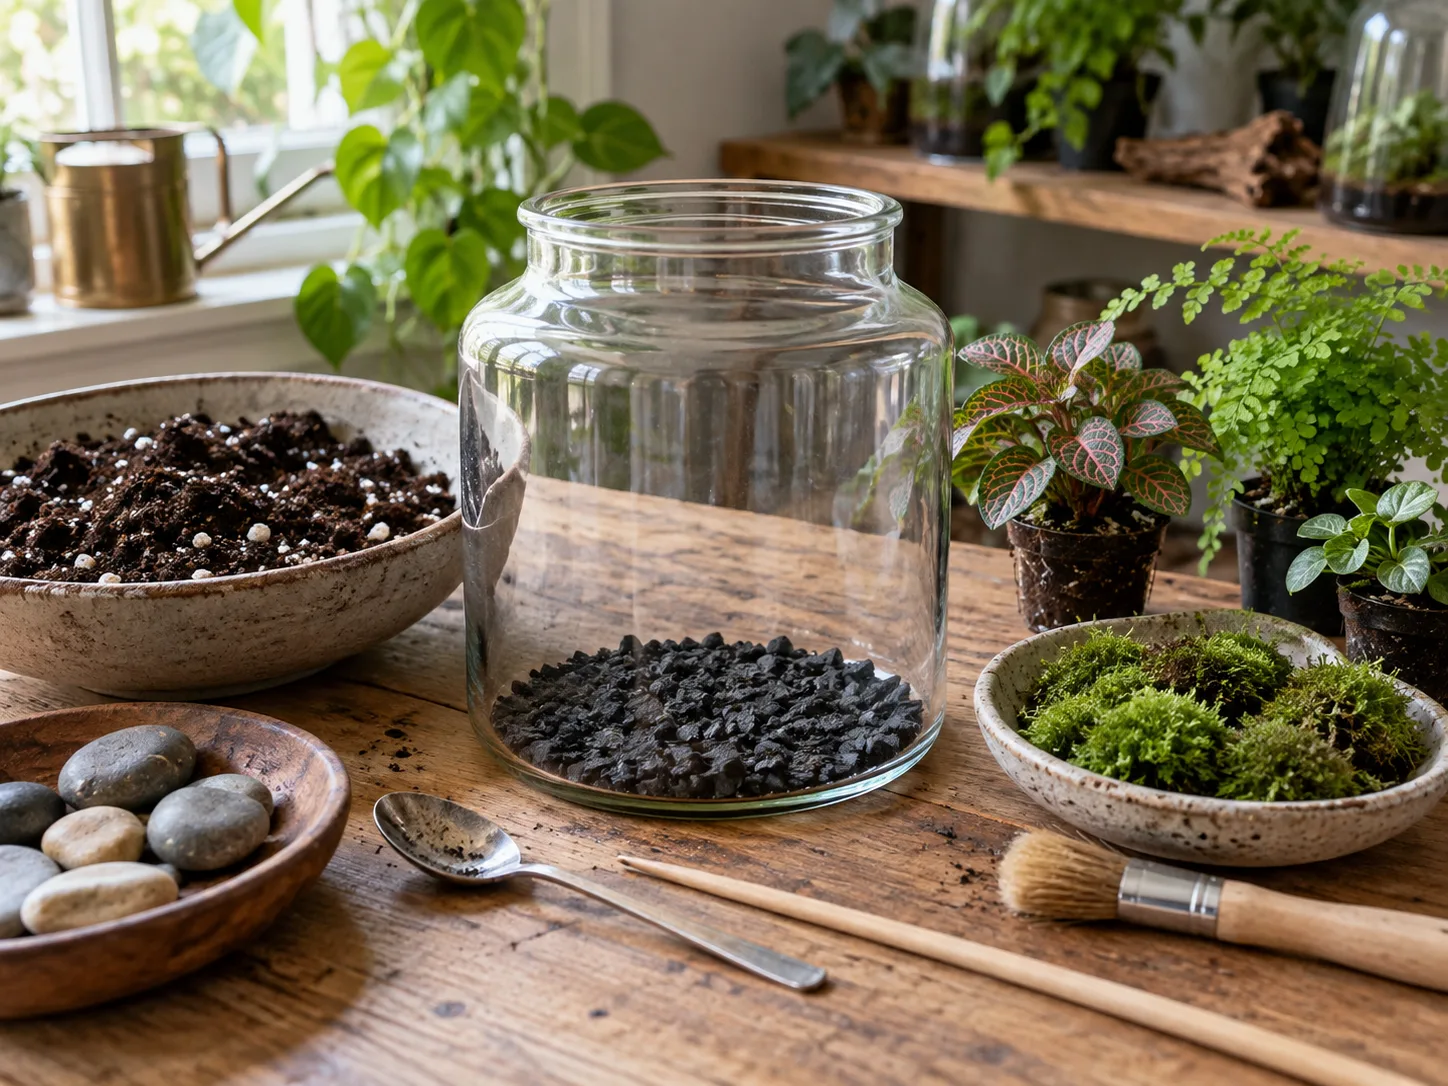
Set everything out before you start: a clean clear vessel and lid, live moss, a small amount of substrate, a few clean stones or a piece of driftwood, a spoon, tweezers or chopsticks, a soft brush, and a spray mister. Keep the hardscape modest. One stone or a piece of clean, rot-resistant material gives the eye a focal point; too many ornaments crowd the moss and make it difficult to remove debris.
Activated charcoal is optional. Some terrarium instructions include it to help control odors, but it is not a substitute for clean materials, balanced watering, or airflow. Use only a small amount if you prefer it, and do not treat it as a filter that can rescue a saturated or contaminated terrarium. Fertilizer is unnecessary for a moss-only jar and can encourage algae or unwanted growth in a tiny, enclosed space.
You do not need to build a thick rock layer and call it drainage. In a container with no drain hole, water cannot leave; a pebble layer simply occupies space where water can collect. Penn State Extension notes that gravel does not improve drainage in a closed terrarium. If you like the visible look of a narrow gravel band, use it as decoration, not as protection against overwatering, and keep the moss substrate above it.
Clean the hardscape as carefully as the glass. Rinse stones and tools, remove loose soil from the moss, and keep garden soil out of the vessel. The goal is to start with a simple, clean environment, not to sterilize every natural texture or add a complicated recipe of materials.
Build the Terrarium in Seven Steps
1. Clean the Container and Plan the View
Wash the vessel with hot, soapy water, rinse it thoroughly, and let it dry. Clean tools and hardscape as well. Penn State Extension emphasizes a clean container and careful handling because a warm, humid enclosure can encourage disease if pests or pathogens are introduced with the materials. Avoid leaving cleaner residue or fumes inside the jar.
Before adding anything, decide which side will face forward. If the terrarium will be viewed from one direction, plan a low foreground, a higher mound toward the back, and the hardscape behind or beside the moss. If it will be visible from all sides, keep the focal point near the center and slope the landscape gently rather than building a tall wall that hides the rest.
Lay out the stones and wood outside the jar first. That simple dry run is easier to change than a design made through a narrow opening. Keep the largest elements modest enough that the moss remains the main subject.
2. Add a Shallow, Moisture-Holding Substrate
Add enough damp substrate to cover the bottom and provide a continuous surface for the moss to attach to. For most small jars, a shallow layer is adequate; a moss-only terrarium does not need a root-ball-depth planting bed. Moisten the mix before it goes in so it is evenly damp, then squeeze a pinch between your fingers. It should hold together briefly without releasing water or feeling muddy.
If you want to use gravel, make a thin decorative edge that stays separate from the growing surface. Do not put a large amount of gravel beneath the soil on the assumption that it will drain excess water. With no drainage hole, the water remains in the vessel and can create a wet zone below the substrate.
Use a spoon or funnel to place the mix without smearing it high up the glass. Leave enough room at the front for a visible slope or small path. A flat bed works, too; good moss-to-substrate contact matters more than dramatic topography.
3. Shape the Miniature Landscape
Form low hills, a shallow valley, or a simple open clearing with the back of a spoon or a clean chopstick. Press the substrate lightly so it will not collapse when you place the moss, but do not compact it into a hard layer. Set the larger stone or driftwood in its final position and make sure it does not wobble.
Keep the layout plausible for a moss patch: shaded-looking pockets around stones, a low rise for cushion forms, or a carpet across the foreground. Leave small gaps where the moss can spread and where you can reach to remove a dead piece. A terrarium looks more convincing when a few textures have room to show than when every inch is filled with ornaments.
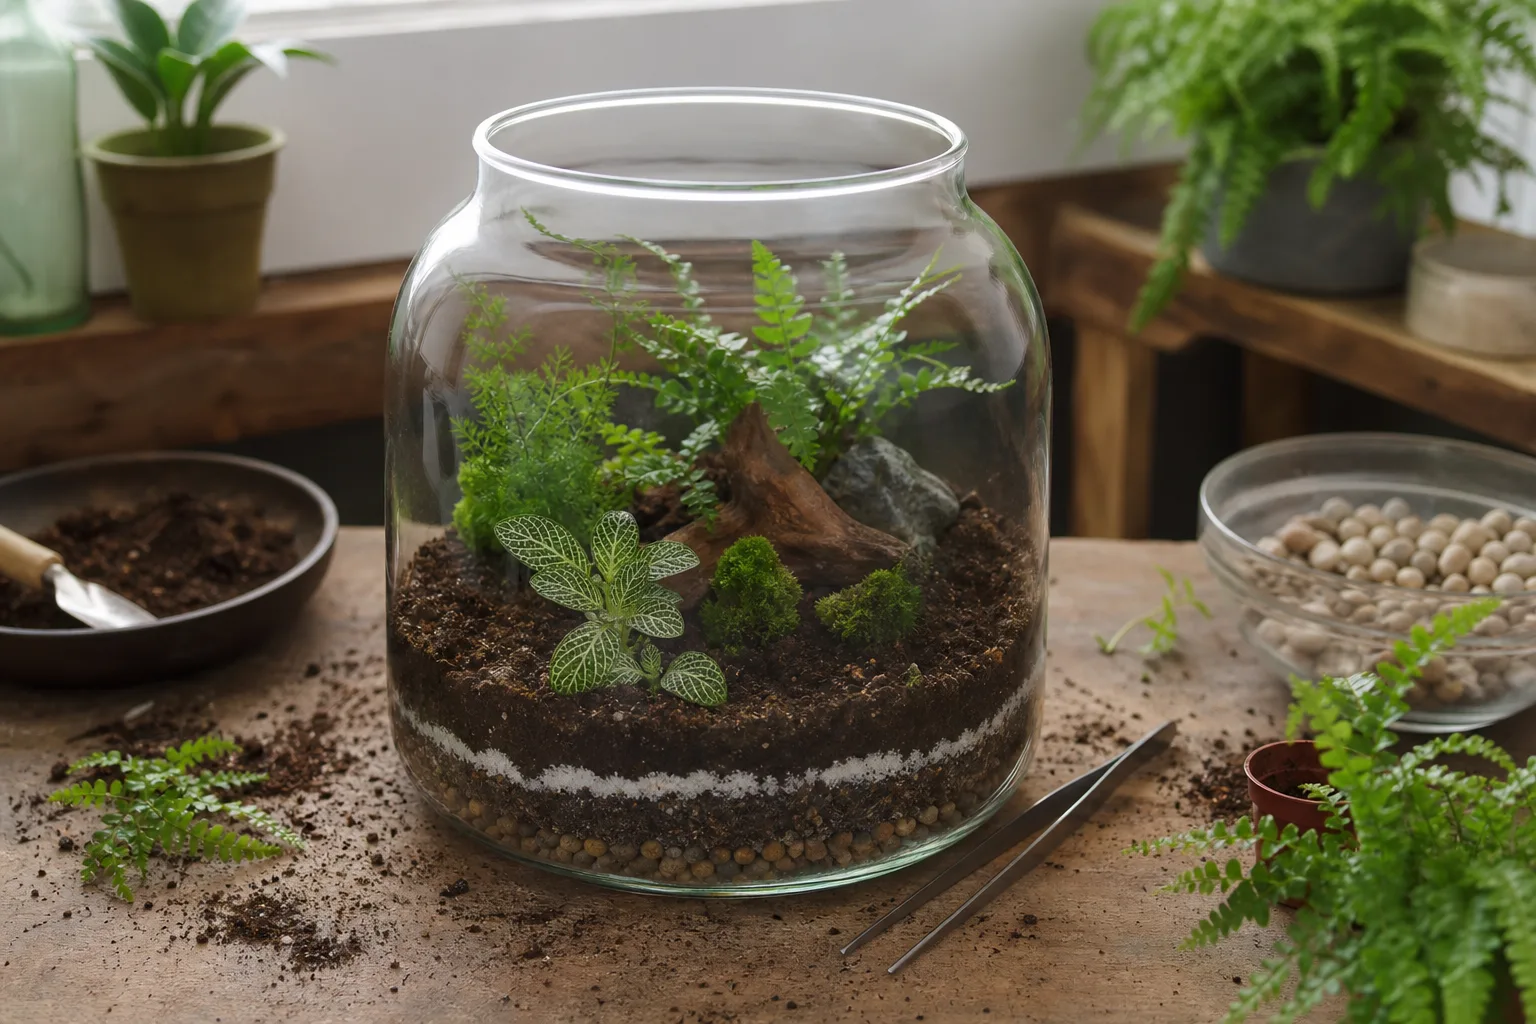
If the hardscape takes up too much of the jar, pull it out now. Moss needs space to remain visible and air needs a little room to move around the surface. The best starting design is one you can clean with a brush and adjust with tweezers.
4. Hydrate and Inspect the Moss
If the moss feels dry, briefly soak or rinse it in clean water, then let excess water drain away before planting. Gardening Know How recommends misting moss during setup and emphasizes dampness rather than heavy watering. You want the moss hydrated enough to settle into contact with the substrate, not dripping wet enough to flood the bottom.
Use this step to inspect the underside and remove loose soil, dead fragments, insects, and other debris. If you are using material from outdoors, separate the pieces over a tray and check between the layers; a closed terrarium makes it harder to remove an unwanted hitchhiker once the lid is on. Discard any foul-smelling or blackened pieces rather than hoping they recover in the jar.
Do not cut all patches into identical squares. Natural edges blend better. Tear or trim pieces so their size fits the landscape, keeping smaller pieces for gaps around stones and along the glass.
5. Press the Moss Into Contact With the Substrate
Place each piece with its green surface facing up and its underside touching the damp substrate. Press gently across the piece so there are no large air pockets beneath it. Moss is not planted like a rooted houseplant; it needs steady contact with a moist surface. A spoon, blunt chopstick, or long tweezers can help you tuck edges into place without crushing the patch.
Start with the largest groundcover areas, then add small accent pieces around the hardscape. If you want a height contrast, place cushion-like clumps on a low mound and flatter moss across the foreground. Keep the patch away from the glass by a small margin so you can inspect its edges and clean condensation marks.
Avoid burying the moss under substrate or pressing so hard that water is squeezed out of the base. The pieces should sit flat and secure, not submerged. If your design contains a small fern or another plant, choose one that tolerates the same humid conditions and keep its foliage from crowding the moss; for a first attempt, moss alone is simpler to balance.
6. Clean the Glass and Remove Loose Debris
Brush substrate crumbs from the inside walls with a clean, dry soft brush. Use tweezers to lift any loose fragments or dead leaves you can see. Clean glass matters for more than appearance: once the jar fogs, debris stuck to the wall can be difficult to reach and may stay wet.
Check the final composition from the viewing side and rotate the jar if needed. Confirm that the hardscape is stable and no moss is floating or trapped under a stone. If you see loose mix on top of the moss, gently pick it away rather than trying to wash it down into the patch.
Use a small mister to dampen the surface if it has started to dry during assembly. Do not spray until water pools at the bottom. You can add a little more later, but removing excess from a small sealed landscape is awkward.
7. Mist Lightly and Close the Vessel
Give the moss a light mist, then wait a few minutes and inspect the substrate and glass. The surface should look evenly damp, not glossy with standing water. If the moss and mix were already hydrated, a quick mist may be all that is needed. Put on the lid and move the jar to bright, indirect light.
For the next several days, watch the cycle before deciding to water again. A light patch of condensation that forms and clears as the room warms and cools is a reassuring sign. Heavy fog that never clears, large drops running down the sides, or visible water at the bottom means there is too much moisture. Remove the lid temporarily and let the extra water evaporate; do not add more water simply because one part of the glass looks clear. Penn State Extension recommends a light fog rather than heavy condensation in a closed terrarium.
Set the Light and Moisture Balance
Place a closed moss terrarium in bright, indirect light, away from strong direct sun and heat sources. Sunlight through glass can warm a small enclosure quickly, and excess heat can stress the moss even if the room itself feels comfortable. Penn State Extension advises keeping a closed terrarium out of direct sunlight; BBC Gardeners’ World Magazine also recommends a bright spot out of direct sun for a closed terrarium.
Use the glass and the moss as your moisture gauge. Some light condensation may appear, often more noticeably after a temperature change. If the jar is consistently streaming wet or the substrate has standing water, open it and allow excess moisture to leave. If there is no condensation for several days, the substrate feels dry, and the moss looks dull or crisp, add a small spoonful of water or a brief mist, then reassess the next day.
Do not follow a fixed weekly watering schedule. A small, tightly sealed jar in a cool room may need very little extra water, while a wide-mouth container in a warm, dry room can lose moisture faster. Gardening Know How recommends only occasional light misting, and Penn State Extension similarly advises watering gently and only when the cycle indicates it is needed. Start with less water and make small adjustments rather than trying to correct a dry patch with a flood.
Fix Mold, Standing Water, and Fading Moss
Mold or a sour smell: Open the vessel, remove the affected moss and any dead organic debris, and let the surface air out. Check whether the substrate is waterlogged or the jar sits in direct sun, then correct that cause before closing it again. BBC Gardeners’ World Magazine recommends removing moldy growth and briefly leaving the lid open for airflow; for a moss-only jar, also reduce excess water and keep the remaining moss under observation. If growth returns across multiple patches or the smell persists, remove the affected material and rebuild with clean moss and fresh substrate.
Heavy condensation or water pooled below the substrate: Take off the lid and let the jar air until the glass is no longer coated in large drops and the base is damp rather than flooded. If a puddle is visible, wick it out with a clean paper towel on tweezers or carefully siphon a small amount. Do not add stones in an attempt to fix it; the important correction is to remove water and reduce the next misting.
Moss turns pale, gray, or crisp: First check for direct sun, nearby heat, and dry substrate. Move the vessel to bright, indirect light and add only a small amount of water if the mix is actually dry. If just one patch is damaged, remove it and let adjacent healthy moss spread into the gap. A pale patch that stays wet can also be declining from too much moisture, so do not assume every color change means “water more.”
Green film on the glass or substrate: Algae often follows prolonged wetness and excess light. Wipe the glass, remove the heaviest growth, move the terrarium away from direct light, and allow the upper surface to dry slightly before replacing the lid. Avoid adding fertilizer; extra nutrients do not solve the light-and-water imbalance.
Moss lifts or slides: Reposition it on a freshly damp surface and press it gently into contact. If the patch is too thick or the substrate is uneven, divide it into smaller pieces and fill the gaps. Make sure the container is not being moved or tilted before the moss has settled.
Maintain the Terrarium Without Overworking It
Once the moisture cycle is stable, maintenance is occasional rather than absent. Look through the glass every week or two at first, then check less often when the jar is behaving consistently. The point is to notice changes early, not to open the container on a strict schedule. Penn State Extension notes that sealed terrariums may need only infrequent supplemental water once established, while BBC Gardeners’ World describes using condensation and plant condition to decide when to adjust moisture.
Open the lid when heavy condensation persists, mold appears, or you need to remove dead material. Trim or lift out moss that has browned, decayed, or grown into a place where it stays wet against the glass. Use clean tweezers or small scissors and remove the cuttings rather than leaving them to break down in the jar. If the moss grows slowly, do not prune simply to keep a particular shape; small uneven edges can make the landscape look more natural.
Rotate the terrarium if the moss visibly leans toward the light. Wipe the outside glass with a cloth, keeping household cleaner away from the opening. Do not fertilize a moss-only setup as routine care. If the design becomes crowded, stale, or repeatedly moldy, take it apart, discard compromised material, wash and dry the vessel, and rebuild with a lighter hand on water and hardscape.
Conclusion
A successful moss terrarium starts with living moss, a clean clear vessel, a shallow damp substrate, and a design that leaves room for inspection. Build the seven layers of the process deliberately: plan the view, shape the base, settle the moss, clean the glass, and mist only enough to make the surface evenly moist.
After closing the jar, let its condensation tell you what to do. Bright indirect light, occasional airflow when the glass stays soaked, and small corrections are more reliable than a rigid watering schedule. If mold, standing water, or fading appears, correct the underlying moisture or light problem first; the terrarium can often recover when you respond before the whole moss patch declines.



