Monstera Lechleriana Care for Stronger Climbing Growth
Grow Monstera lechleriana with the right light, airy soil, watering cues, climbing support, and practical fixes for yellow leaves, pests, and slow growth.
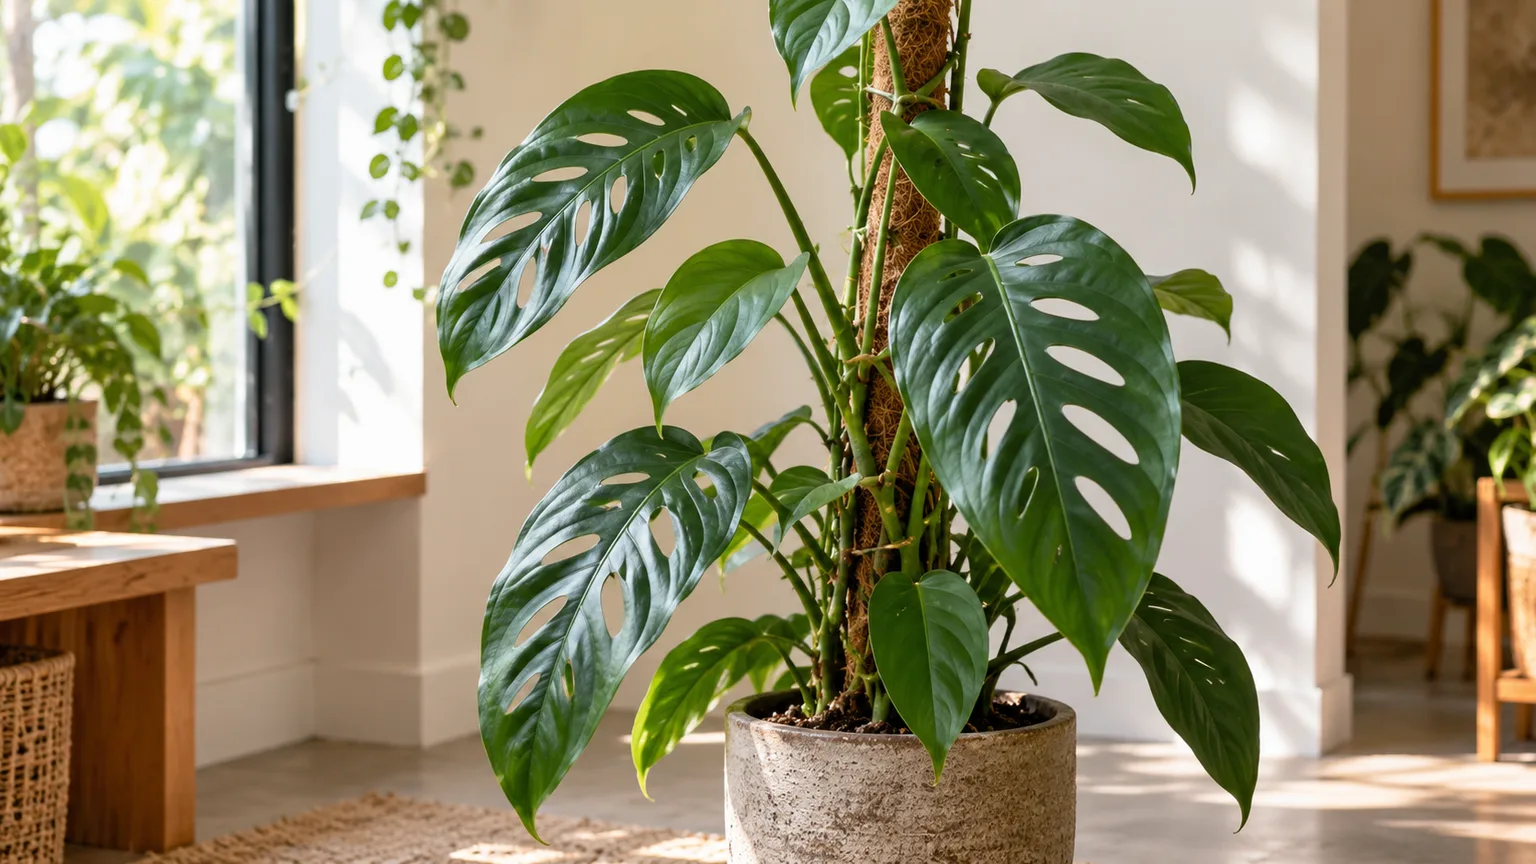
Monstera lechleriana is a tropical climbing aroid, not a compact rosette that stays the size of its nursery pot. Indoors, its long-term shape depends on linked decisions: provide useful indirect light, let the root zone approach dry before watering, use a mix that drains without becoming dusty, and give the stem a support it can follow.
Young leaves may be simple and solid. Fenestrations develop with maturity and are not a week-by-week progress gauge. Start by confirming that your plant is growing steadily and that its stem has somewhere to climb; do not try to force holes with extra fertilizer or water.
Know what you are growing before you chase perfect leaves
Kew’s Plants of the World Online accepts Monstera lechleriana Schott as a species and describes it as a climber native from Panama to Venezuela and Bolivia, growing primarily in wet tropical habitat. Like other monsteras, it changes form as it grows: a juvenile can creep along the ground, while a mature vine climbs and uses aerial roots to anchor itself. That growth habit is more useful for care than the loose “rare Monstera” label often used in commerce. Kew Plants of the World Online
The trade name can be hard to verify from one young leaf. Kew’s taxonomic notes describe examined M. lechleriana specimens as heterogeneous and caution that some material may represent closely related forms; mature leaves, stems, and reproductive structures matter more than one photo. M. lechleriana is often sold for substantial glossy leaves with oval fenestrations; M. adansonii commonly has smaller, thinner leaves and a more trailing look. But leaf shape varies with age and conditions, and other species can resemble both. For a costly plant, request a photo of the mother plant and nursery provenance rather than paying a premium for an unverified “mint,” “albo,” or species label. Kew’s taxonomic notes explain why one silhouette is not enough for a rigorous ID.
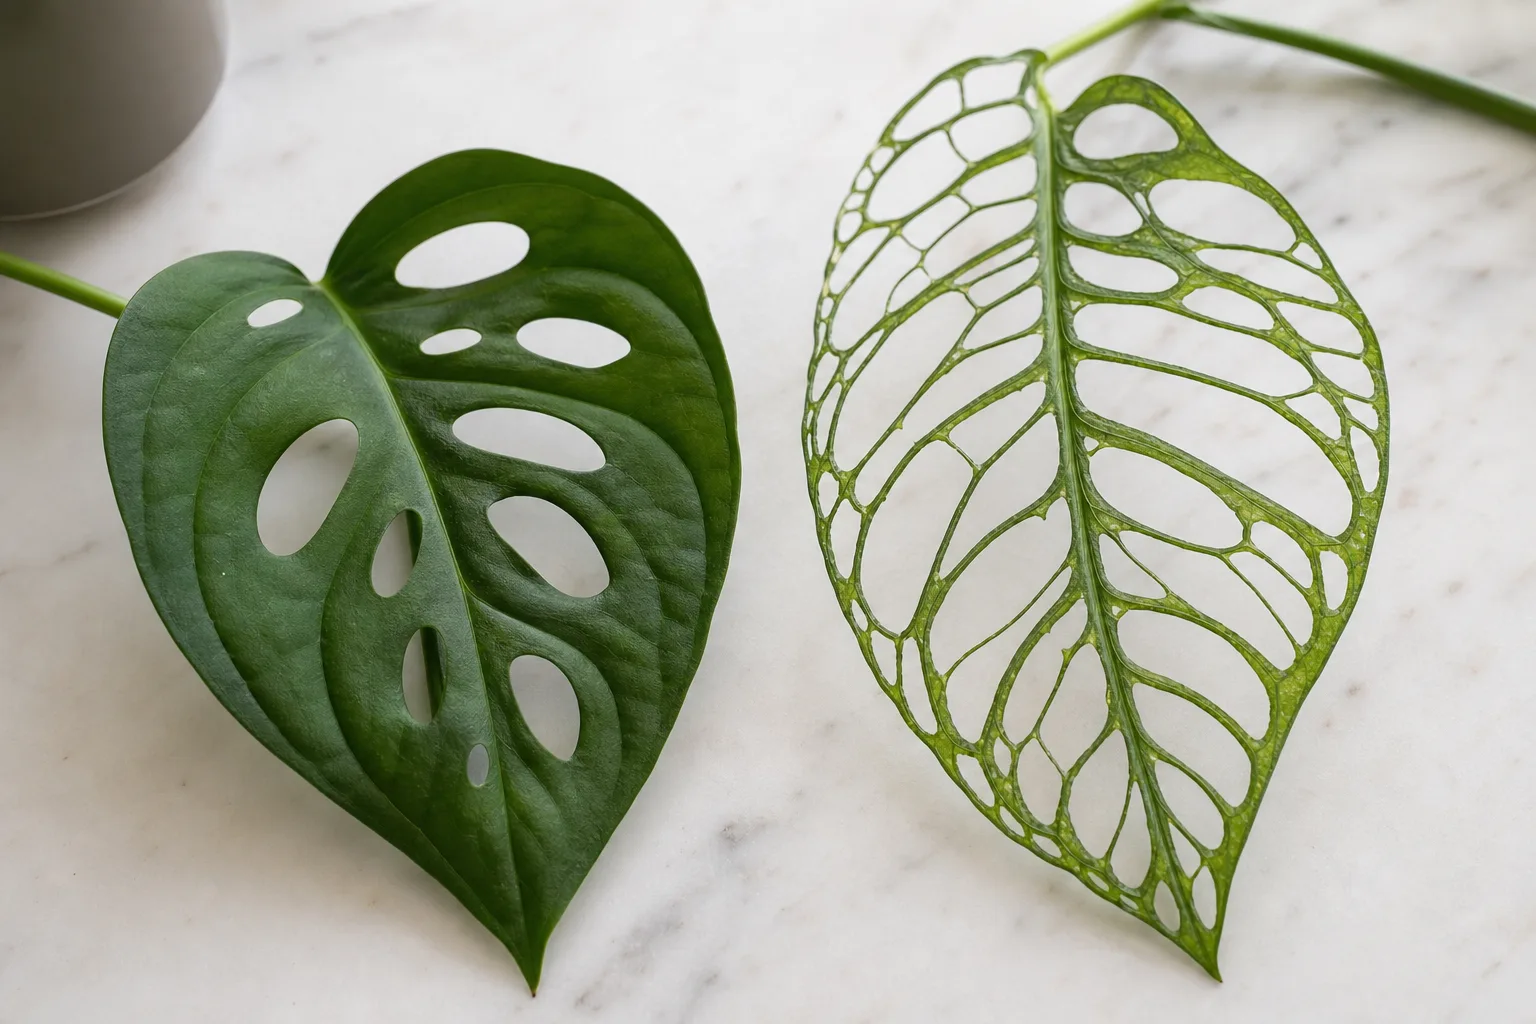
A lack of holes is not a care failure by itself. The Royal Horticultural Society notes that Monstera leaves often develop characteristic openings only as plants mature and that low light can reduce them. Give a young vine enough light and a route upward, then judge it by new growth, stem strength, and root health rather than comparing it with a mature specimen online. RHS Monstera growing guide
A quick care profile you can adapt
| Need | Practical starting point | What to adjust |
|---|---|---|
| Light | Bright, indirect or filtered | Increase gradually if growth stretches or leaves stay small |
| Water | Water thoroughly after the upper mix dries and the root zone is nearly dry | Account for pot depth, mix, season, and weight |
| Potting mix | Airy and free-draining, with bark and mineral aeration | Use more moisture-retentive mix in hot, dry rooms |
| Support | A sturdy pole, board, or trellis | Tie the stem loosely; leave petioles free |
| Temperature | Stable warm room conditions | Protect from cold glass, drafts, and heater blasts |
| Feeding | Balanced houseplant fertilizer during active growth | Reduce or pause when growth and light slow |
These are starting conditions, not a rigid recipe. The same plant can use water quickly in a bright warm room and remain wet much longer in a cool corner, a large pot, or dense mix. A good routine makes those changes visible instead of hiding them behind a weekly reminder.
Adjust the routine as light and seasons change
A houseplant responds to light, warmth, and active growth, not the calendar. In spring and summer, longer days and warmer rooms usually speed up leaf production and drying. In fall and winter, shorter days, cool windows, and slower growth can keep a pot damp longer. Keep the plant bright through winter if possible, but water less often when the root zone takes longer to dry.
Indoor season-by-season care
During active growth, check the mix more often, secure new stem growth to its support, and feed only if the plant is producing leaves. When daylight drops, test the soil before watering. Avoid moving a tropical vine outdoors simply because summer has arrived: wind, direct sun, and large temperature swings can scorch or tear leaves. If you do summer it outside, begin in deep shade and acclimate gradually, then bring it indoors before chilly nights. Outdoors, this wet-tropical climber belongs only in a protected, genuinely frost-free setting; a pot makes it easier to move when conditions turn cold.
Give it bright, filtered light
Set the plant near a bright window where it gets abundant sky light without prolonged midday sun. An east-facing window is a simple starting point; a bright south- or west-facing room can also work if the plant sits back from the glass or the light is softened by a sheer curtain. Direction is not universal because latitude, season, glazing, and nearby shade change intensity. Bleached, crisp areas on the window side can signal sun scorch, while long gaps between leaves and small, widely spaced growth suggest insufficient light.
Move it brighter in stages over a week or two. A sudden jump from a dim shelf to a sunny window can burn foliage formed under lower light. Rotate the pot gradually if the stem leans, but keep the support behind the climbing side so the vine does not twist away from it. A grow light can help in a dim winter room; use the manufacturer’s recommended distance and a timer rather than placing a high-output lamp against foliage.
Light also affects watering: a plant growing faster in a bright warm spot draws more moisture from its pot. Recheck the mix after changing locations instead of keeping the old interval. RHS guidance for Monstera emphasizes indirect light and notes that low light can mean fewer holes; treat this as genus-level advice, not a guaranteed species-specific schedule. RHS growing guidance
Water by the root zone, not the calendar
Water when the mix has dried enough to admit air around the roots, then soak it evenly and let excess drain. For many indoor pots, the upper 1 to 2 inches drying is a useful first check, but do not stop at the surface: a deep pot can remain saturated below while the top looks dry. Feel the mix with a finger or wooden skewer, lift the pot, and learn how quickly it dries in your room. If the skewer comes out cool and damp, wait; if the root zone is nearly dry and the pot feels light, water.
When you water, pour slowly across the surface until it runs from the drainage holes. Empty the cachepot or saucer afterward; standing water deprives roots of oxygen and encourages decay. A small frequent splash is less useful than a thorough watering followed by an appropriate drying interval because it can leave outer roots dry while the center stays wet. If a dry mix has shrunk from the pot, water in a few passes so the root ball can absorb it rather than channeling water down the edges.
Do not use “once a week” as a rule. A small plant in a warm bright room may need water sooner than a large plant in winter, while an overpotted plant in dense compost may stay wet for days. Penn State Extension’s Monstera guidance and the RHS both recommend allowing the medium to dry between thorough waterings, with less frequent watering in winter. Use the principle, then set the interval with your pot, not someone else’s calendar. Penn State Extension · RHS
Use an airy mix that still holds some moisture
The goal is not the chunkiest possible substrate; it is a mix that keeps a modest reservoir of water while leaving air spaces after watering. A practical starting blend is two parts quality peat-free houseplant mix, one part orchid bark, and one part perlite or pumice by volume. The base mix retains water and nutrients, bark creates larger spaces, and the mineral component helps keep the root zone open. If your room is hot and dry, use a little more base mix; if the pot stays wet too long, add more coarse bark and aeration or reduce the container size.
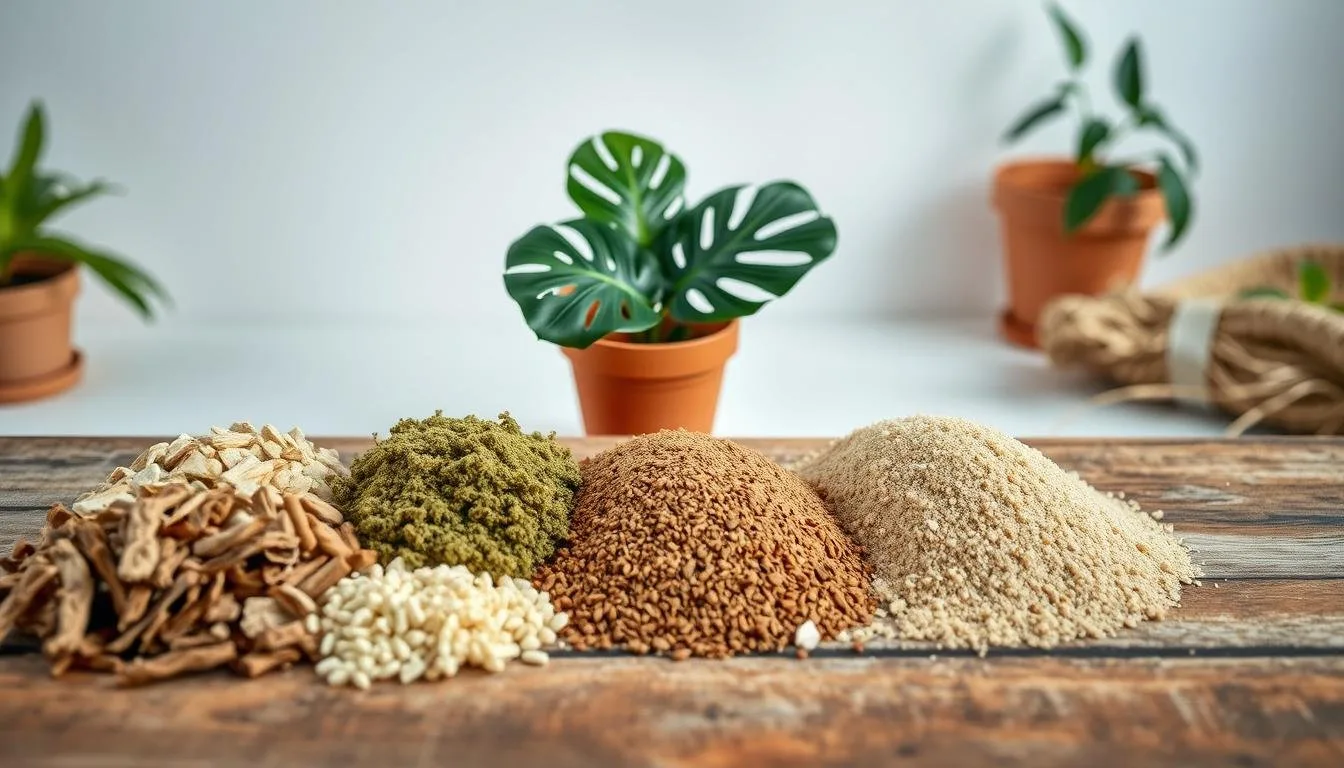
Check the material in your own mix. Fine compost packed around roots can become a dense wet mass, while large bark chunks in a tiny pot may dry too quickly for a small root system. A mix that dries quickly is not automatically better draining; it may simply lack water-holding capacity. The RHS suggests a free-draining orchid-rich mix for Monstera and warns that poorly draining compost raises root-rot risk. RHS planting guidance
Use a pot with open drainage holes. Decorative cachepots are fine if you remove the nursery pot to water and drain it, or empty the outer pot afterward. Gravel in the bottom does not repair a blocked drainage path and can leave the root ball sitting above a wetter layer. Keep the lower stem and petiole bases above the mix line; burying them can trap moisture where rot starts.
Repot when the root ball asks for room
Repot when roots densely circle the pot, emerge from drainage holes, or the mix dries so fast that watering evenly becomes difficult. A few roots at the bottom alone are not an emergency. If the plant is stable, making leaves, and water behaves normally, it can stay in its current pot. Spring or early summer is convenient because the plant can resume growth, but healthy roots matter more than a specific date.
Choose a pot only one size larger, roughly 1 to 2 inches wider than the root ball. A much larger pot holds unused wet mix, especially in low light. Slide the plant out gently, inspect the roots, and trim only those that are black, mushy, or hollow with clean shears. Firm tan or pale roots are often healthy even when not bright white. Set the root ball at its former depth, fill around it, and water once to settle the substrate. Avoid packing the mix hard or repeatedly disturbing roots to refresh all the old soil.
If you plan to add a pole, install it during repotting while you can guide it down along the pot’s edge without spearing the root mass. That is safer than forcing a tall support into a crowded pot later. Return the plant to similar light and delay fertilizer until it resumes growth or has recovered for several weeks.
Train the climbing stem without tying the leaves
A support is useful because M. lechleriana is a climber, but it is optional if you prefer a trailing or sprawling plant and have room. A moss pole, coir pole, plank, or trellis can keep the vine upright and make its mature form easier to display. A moss surface gives aerial roots somewhere to attach when kept lightly moist, but it adds a maintenance job; a dry coir pole or trellis is simpler if you do not want to water the support.
Find the back of the stem by locating aerial roots or root nubs at the nodes. Face that side toward the pole, then attach the stem with soft ties just below a node. Keep them loose enough for the stem to thicken. Do not tie a leaf petiole to the support: it needs to move as the leaf turns toward light, and constricting it can damage tissue. As new nodes arrive, secure the stem again instead of pulling the whole plant tight at once.
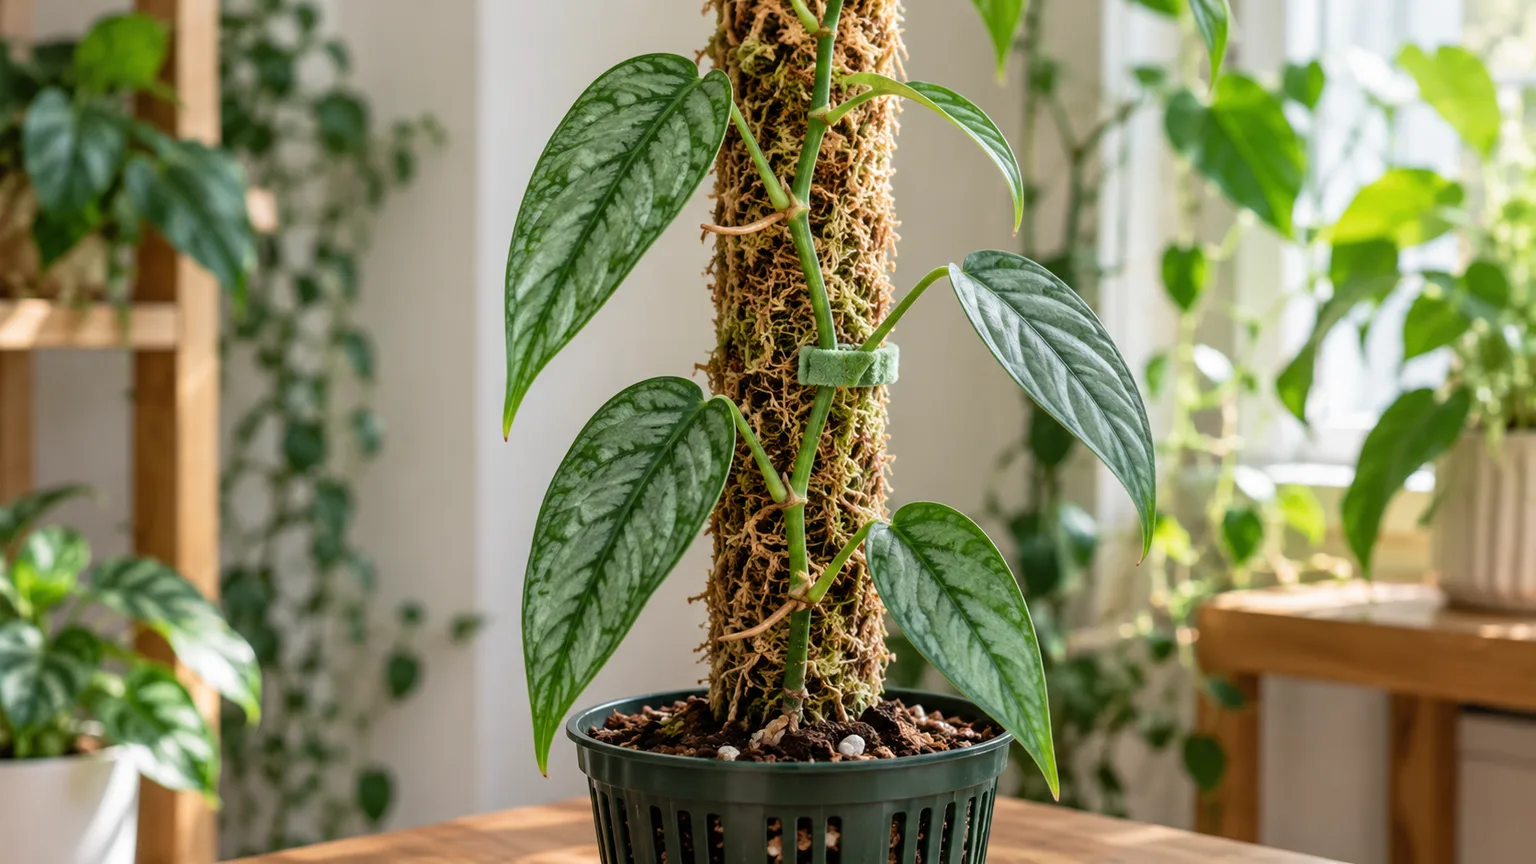
Use a trellis when the plant must spread across a wall or fit a wider footprint; use a pole for a narrower vertical silhouette. Either guides the stem, but neither guarantees bigger leaves by itself. Light, maturity, healthy roots, and consistent growth all matter. If the plant is tipping, use a heavy stable pot and a support anchored inside it; a tall pole attached only to a lightweight nursery pot can topple. RHS growing guidance
Keep temperatures warm and humidity steady
A normal warm living space is usually suitable. The RHS gives a general Monstera range of about 65–77°F; aim for stable room temperatures around there and protect the plant from cold glass, drafts, and direct blasts from heating or air conditioning. A brief cool night is different from weeks beside a cold window. If the plant is outdoors in a tropical climate, shield it from intense sun, wind, and cold snaps rather than relying on a houseplant’s ability to toughen up.
Moderate household humidity is often enough for a green-leaved specimen, while very dry heated air can contribute to brown margins or slow unfurling. If edges repeatedly dry despite proper root moisture, measure humidity near the plant for several days; a small humidifier is more predictable than misting, which changes humidity only briefly. Keep air moving gently and leave space between leaves and walls so moisture does not sit on foliage. Raising humidity will not fix saturated soil or damaged roots, so check the pot as well as the room.
Feed during active growth and prune with a purpose
When new leaves are appearing, balanced liquid houseplant fertilizer can replace nutrients that regular watering leaches from the pot. Follow the product label and err toward the lower labeled rate for a plant growing slowly or in a dim room. Do not fertilize dry roots, a stressed plant, or one just repotted; water first if the mix is dry, and pause feeding when growth stops in winter. Crusty deposits on the pot or mix, brown tips, and a history of frequent feeding can indicate salt buildup; if drainage is good, flush the pot with clean water and resume at a lighter rate.
Prune to control length, remove dead or badly damaged growth, or take a healthy cutting. Use clean sharp shears and cut the stem just above a node so the parent retains a viable growing point. A leaf and petiole alone will not make a new vine because new shoots develop from a node and its axillary bud. Wear gloves if plant sap irritates you and keep cut stems away from children and pets.
Propagate from a stem section with a real node
Choose a healthy section with at least one visible node, preferably with an axillary bud and an aerial root. A node is the joint where a leaf or aerial root attaches; the small bud beside it is where a new shoot can emerge. A detached leaf without a node may stay green for a while, but it cannot produce a new climbing stem. Make a clean cut below the node, remove any leaf that would sit in water or substrate, and keep the remaining leaf above the rooting medium.
Choose water or an airy rooting medium
Water is easy to inspect: submerge the node but keep the leaf and petiole above the surface, place the jar in warm bright indirect light, and replace water when it clouds or smells stale. Rooting in perlite, sphagnum, or a light propagation mix avoids the water-to-soil transition but requires balance: keep the medium slightly moist and airy, not saturated. Keep the cutting warm and out of direct sun. Both methods can work; choose the one you can monitor consistently rather than assuming one is always faster.
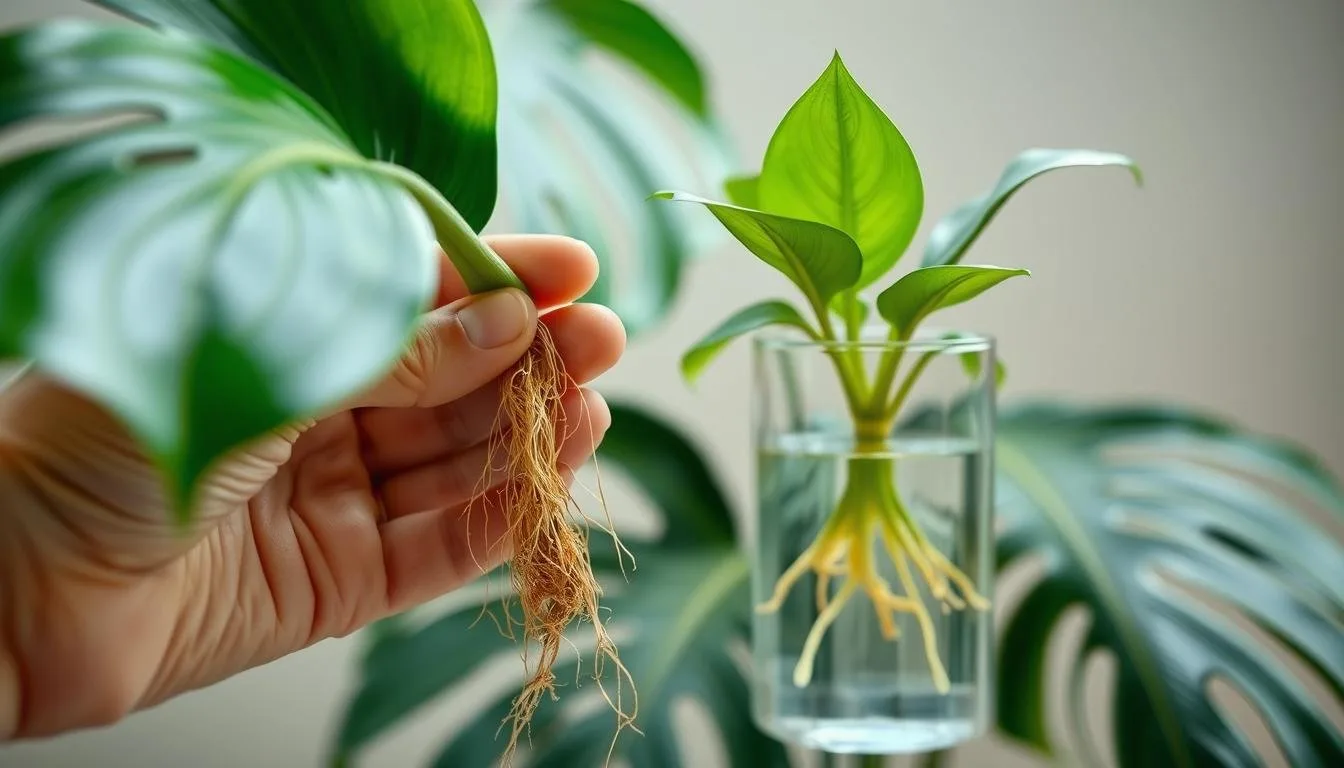
Wait for several healthy roots with branches before potting a water-rooted cutting; a single short root is more vulnerable to drying during transition. Use a small pot, not a large one that stays wet around a few roots. At first, keep the mix evenly but lightly moist, then allow it to dry somewhat between waterings as new growth begins. If the node turns black or the stem becomes soft, recut above damage with a sterile tool and restart in fresh water or clean medium. Penn State’s propagation guidance for Monstera also stresses that a cutting needs a node and that overly wet rooting conditions can rot new roots. Penn State Extension · University of Minnesota Extension
Diagnose common problems from more than one clue
Do not treat every yellow leaf as a request for water. Start with the leaf’s age and location, then check moisture and roots, light exposure, and the undersides of foliage. One old bottom leaf yellowing while the rest of the vine grows can be normal turnover. Several leaves changing at once, a soft stem, or mix that stays wet for a long time calls for a root check.
| What you see | Check next | First response |
|---|---|---|
| Yellow leaves plus wet mix or soft roots | Drainage, pot size, root condition | Let the mix dry; remove rot and correct the setup |
| Small leaves and long bare stem sections | Light and whether the vine has support | Move brighter gradually and train the stem upward |
| Crispy brown margins | Root dryness, salts, direct sun, dry air | Correct the first confirmed cause |
| Fine pale stippling or webbing | Leaf undersides and stem joints | Isolate and inspect for mites |
| Sticky residue or cottony clusters | Stems, petiole bases, leaf undersides | Isolate and identify scale or mealybugs |
Yellow leaves and brown edges need different checks
If the mix is wet and leaves are yellowing, check roots before adding water. Healthy roots feel firm; those that are dark, soft, or sour-smelling have lost tissue. Remove damaged roots, replace dense waterlogged mix, and use a pot that fits the remaining root mass. If the mix is dry and pulling from the pot, water slowly until evenly moist and draining. For a plant in low light, move it brighter gradually; fertilizer cannot replace the energy it is not receiving.
Brown patches on the window side may be sun scorch, while crisp tips or margins can follow prolonged dryness, salt accumulation, or very dry air. Newly unfurling leaves that stick or tear may be stressed by inconsistent moisture or dry air, but inspect for mechanical obstruction and pests before changing the room. Make one correction, then watch the next leaf; old brown tissue will not turn green again. This prevents a cycle of overwatering and underwatering in response to the same damaged leaf.
Inspect for pests before changing the care routine
Check leaf undersides, petiole bases, stem joints, and the support where the vine touches it. Mealybugs often look cottony; scale can appear as fixed brown or tan bumps with sticky honeydew; spider mites cause fine stippling and sometimes webbing; thrips may leave silvery scarring and black specks. Fungus gnats are a different clue: adults around the pot usually point to persistently moist mix rather than a leaf-feeding pest.
Isolate the plant as soon as you find pests. Rinse foliage and remove visible insects, then use only an indoor-labeled product that lists the plant or target pest, following directions and testing a small area first. Repeat inspection and treatment as the label directs because eggs or sheltered insects may survive the first pass. University of Maryland Extension advises isolating mealybug- and scale-infested plants, monitoring after treatment, and using products labeled for indoor plants; sprays can injure sensitive foliage if used carelessly. UMD Extension: mealybugs · UMD Extension: scale insects
Keep the plant away from pets and curious children
Treat Monstera lechleriana as unsafe to chew. Penn State Extension warns that Monstera parts are toxic if ingested; the ASPCA’s Swiss cheese plant entry specifically names M. deliciosa and insoluble calcium oxalates, so it should not be mistaken for species-specific toxicology on M. lechleriana. Given the close genus relationship and no reliable basis for calling it safe, place the plant where pets and children cannot reach it. If a pet chews it, remove access and contact a veterinarian or animal poison-control service for case-specific advice. Penn State Extension · ASPCA plant entry
Conclusion
Grow Monstera lechleriana by following the roots and the vine, not a fixed calendar: provide bright filtered light, let an airy mix approach dry between thorough waterings, and adjust as the room cools or warms. A pole can organize its climbing habit, while steady care—not extra water or fertilizer—gives mature leaves their best chance to develop. When growth falters, check light, soil moisture, drainage, support, and pests together before treating one symptom.



