10 Plants to Save Seeds From for Next Year's Garden
Learn which 10 flowers, herbs, and vegetables are easiest to save seeds from, when seed is mature, how to dry it, and how to store it for next year.
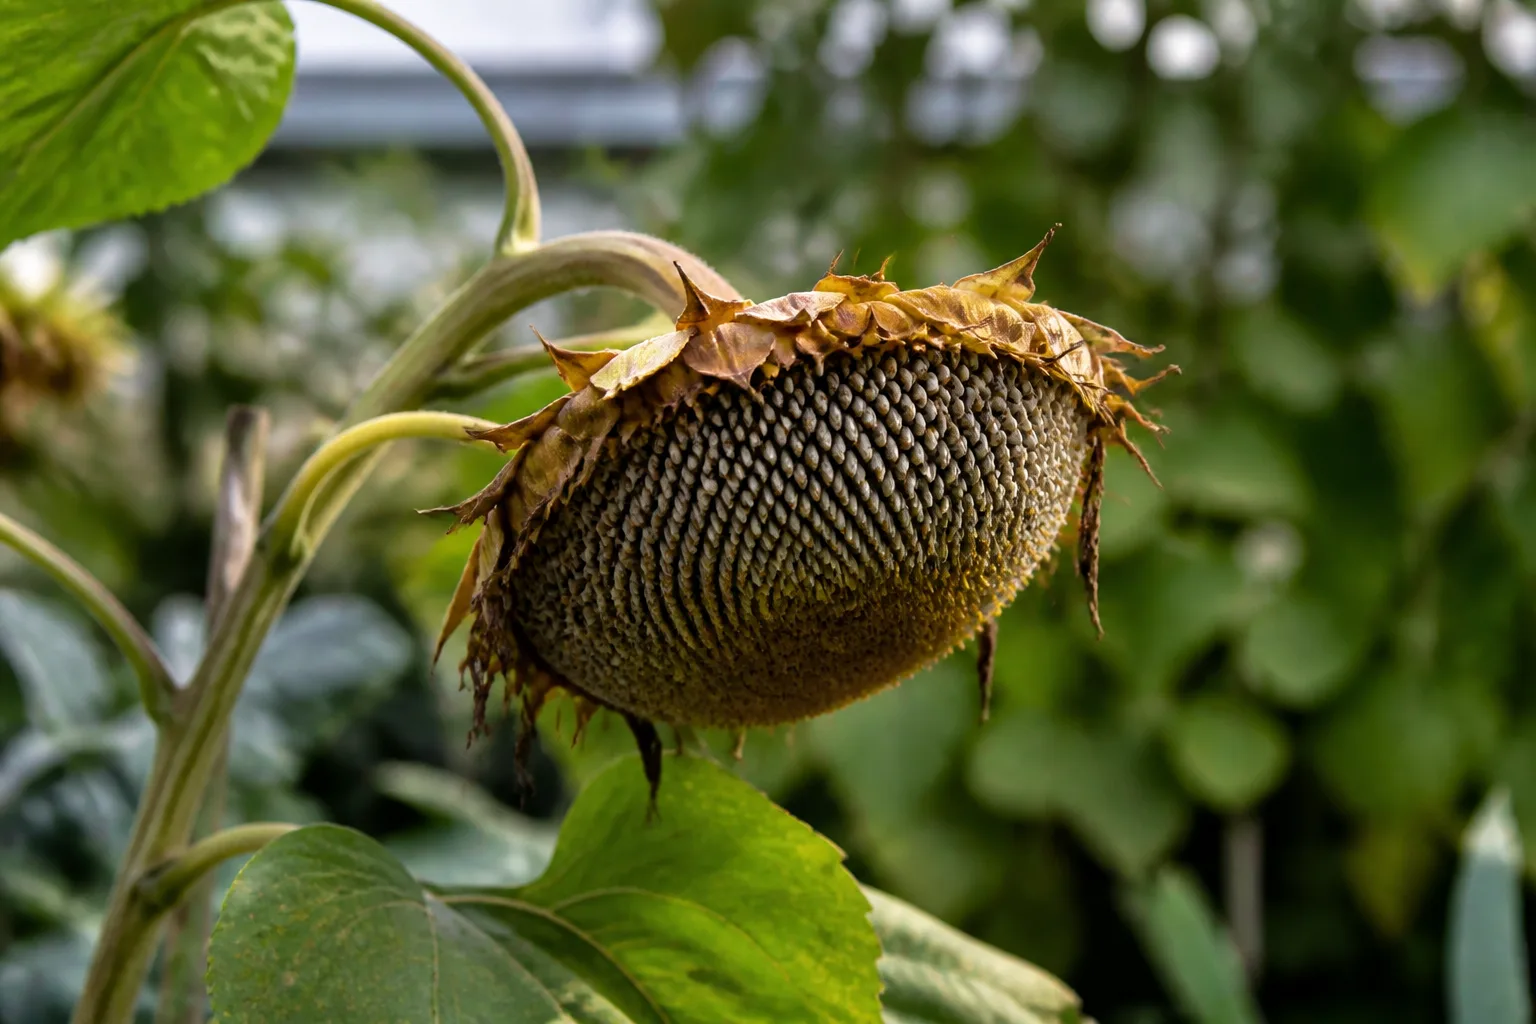
Seed saving works best when you treat it as part of the growing season, not as a last-minute cleanup job. The right plant is healthy and productive, the right fruit or seedhead is fully mature, and the right storage method keeps moisture from undoing your work. Get those three decisions right and a few minutes of collecting can give you flowers, herbs, and vegetables to start next year.
The ten plants below are useful because their seeds are plentiful, visible, or simple to process. Peas, zinnias, marigolds, dill, cilantro, and basil are friendly first projects. Squash and Armenian cucumbers produce generous seed but require more patience and more thought about cross-pollination. Bee balm is slower and less predictable, but it can preserve a perennial that is less available in nurseries.
Saving seed is not always the same as preserving a variety. If you welcome a surprise flower color or squash, you have more freedom. If you want next year’s plant to look and taste like this year’s, pay attention to variety type, pollination, and botanical identity.
Start With the Seed, Not the Plant List
Before you cut a seedhead or scoop a fruit, choose the parent plant. Save from a plant that performed well in your actual garden: it was vigorous, productive, reasonably healthy, and had the flavor, color, size, or bloom habit you want to see again. Do not automatically save from the first plant that goes to seed. Early bolting, disease, poor flavor, and weak growth can all be inherited or repeated through selection.
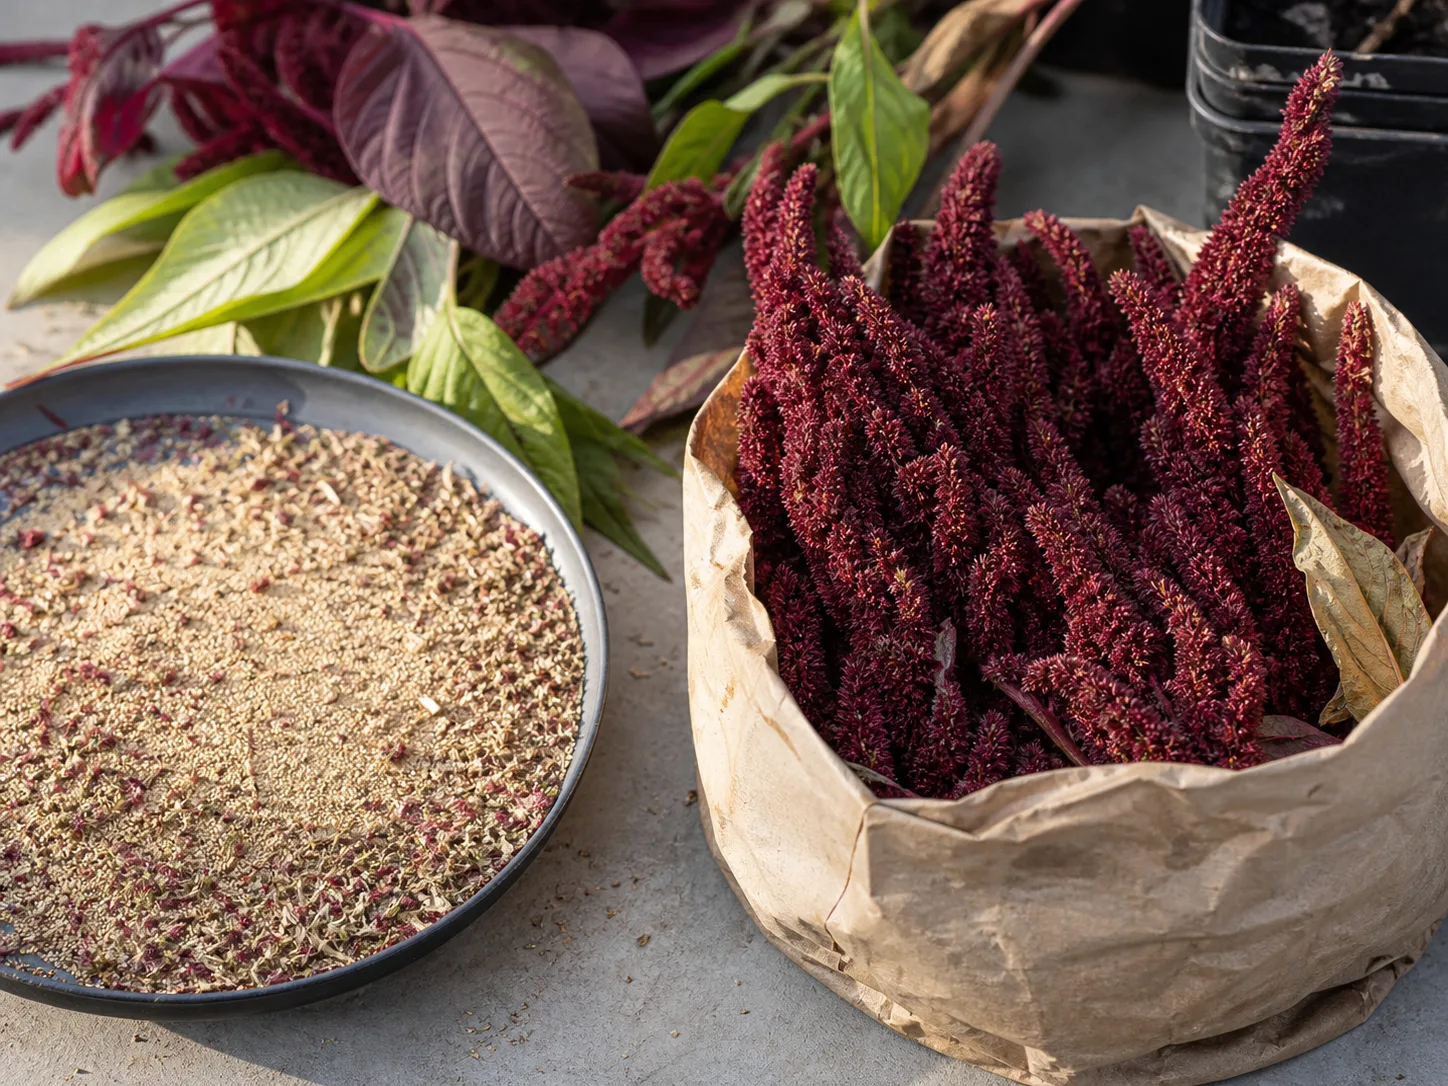
Mark the plant while you still know what it is. Record the crop, variety, location, harvest date, and an observation such as “best-tasting pea.”
Open-Pollinated Is the Safe Starting Point
Open-pollinated varieties can produce offspring that retain the parent plant’s general traits when pollination is managed. Heirlooms are open-pollinated varieties with a history of being selected and passed along, but “open-pollinated” does not automatically mean “old.” Both are reasonable choices for seed saving.
Hybrid plants are different. They were made by crossing selected parent lines, and their first-generation plants may be vigorous and uniform. Seed saved from that hybrid can grow, but the offspring may not reliably match the fruit, flower, size, or habit you liked. Penn State Extension recommends heirloom plants for avoiding this disappointment and explains why hybrid traits often do not repeat in the next generation (Penn State Extension’s seed-saving basics).
Read the seed packet or plant tag before collecting. If the variety is marked F1 or hybrid, save it only if you are willing to experiment. OP or open-pollinated varieties are more likely to repeat, but cross-pollination can still change the outcome.
Decide Whether You Need Pure Seed
Ask one practical question: Would I be disappointed if the offspring were different? If the answer is no, let pollinators do their work and enjoy the possibility of new combinations. If the answer is yes, grow one variety of that species, separate flowering varieties, use a barrier, or hand-pollinate and protect the flower.
Plants cross with other varieties of the same species, not with every plant that happens to look similar. Seed Savers Exchange points out that common cucumbers and melons are different species, while several kinds of squash may share a species and cross readily (Seed Savers Exchange’s seed-saving guide). Botanical names are more useful than common names when the stakes are high. This is why the Armenian cucumber section deserves its own caution below.
Learn to Recognize Seed Maturity
Seeds often mature after the stage when you would harvest a crop for the kitchen. A green pea is ready to eat but not ready to save. A summer squash is tender and delicious long before its seeds are fully developed. A zinnia that still looks pretty may need to remain on the plant until the head is dry and papery.
For dry-fruited crops, look for a change from green and flexible to brown, tan, hard, or brittle. Mature pods may rattle, split, or release seed when rubbed. For flowers, the entire head or seed capsule often dries down and changes color. Harvest on a dry day after dew has evaporated. BBC Gardeners’ World recommends checking plants often, cutting ripe seedheads, transporting them in paper bags, and labeling the envelopes with the plant and collection date (BBC Gardeners’ World seed-collection guide).
For wet-fruited crops, maturity usually means the fruit has reached its full size and then changed color, firmness, or texture. The fruit may be too soft, overripe, or unappealing to eat. That is a feature, not a failure: the plant has spent extra time finishing the seeds. If frost or prolonged rain is approaching, harvest a nearly mature fruit and finish the process indoors rather than leaving it to rot.
When uncertain, collect a small test batch instead of stripping the whole plant. Mature seed is generally plump and hard; immature seed is often thin, pale, soft, or easy to crush. A little extra time is safer than collecting too early, but do not wait until every pod has shattered.
Dry Seed or Wet Seed: Choose the Right Method
Dry processing is for seed that forms in a dry pod, capsule, or flowerhead. Cut or pick the mature material, let it finish drying with airflow, then rub, shake, thresh, screen, or winnow away the chaff. Peas, many beans, dill, cilantro, basil, marigolds, and zinnias fit this general pattern.
Wet processing is for seed surrounded by fruit flesh or a gel. Cut open the ripe fruit, remove the seed, separate it from pulp, rinse it, and dry it immediately. Tomatoes and some cucumbers have a gelatinous coating that benefits from fermentation. Squash seeds are usually easier to scoop and rinse, and a short soak can loosen clinging pulp. Seed Savers Exchange describes these as different processing jobs and cautions that not every wet seed floats or sinks in the same way, so do not apply a tomato-cleaning trick automatically to every crop (Seed Savers Exchange processing guidance).
In both methods, the final step is complete drying. Spread seed in a single layer on a labeled plate, coffee filter, screen, or paper towel in a cool, dry room with good airflow. Avoid a hot oven or dehydrator; excessive heat can reduce viability. Keep batches separate from the beginning.
Zinnias: Let the Whole Flower Head Dry
Zinnias are excellent first flower seeds because one plant can supply far more than a small garden needs. Leave a few of your best blooms on the plant instead of deadheading them. Choose flowers with the color, form, height, and health you want to see again.
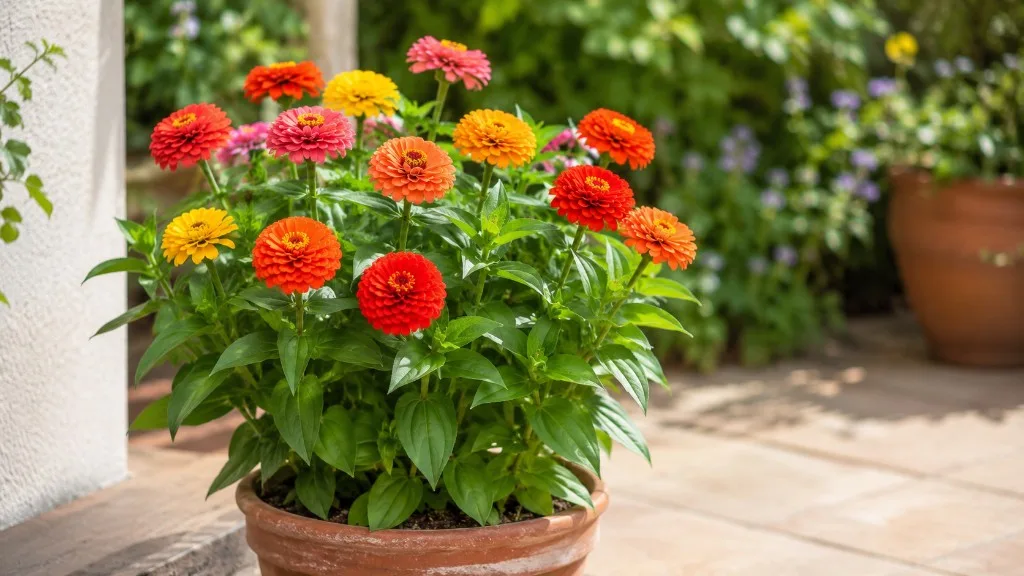
Wait until the petals fade and the head is dry, brown, and papery. If the weather is damp, clip the head with a short stem and finish drying it indoors in a paper bag. Once completely dry, rub or gently break apart the head over a clean sheet of paper. The firm, arrow-shaped seeds separate from the brittle flower material.
Zinnias are insect-pollinated, so several varieties flowering together may produce a mix of colors or forms. That is fine for a relaxed cottage garden. For a dependable color or named open-pollinated variety, grow one variety or isolate selected blooms. Hybrid zinnia seed can still be fun to sow, but will not necessarily repeat. Store it in a labeled envelope.
Rudbeckias: Collect the Cone Before It Shatters
Rudbeckia, including black-eyed Susan types, offers a distinctive signal: the central cone dries on the stem. Let a few flowers finish. The petals fade, the cone darkens, and the seed surface becomes dry and firm.
Cut the head on a dry day and place it in a paper bag or over a tray. Rub the cone between your fingers or tap it gently to release the small seeds. Remove loose plant debris, but do not worry about achieving laboratory-level cleanliness. A small amount of dry chaff is harmless if the batch is fully dry and clearly labeled.
Rudbeckia species and cultivars do not all behave identically. Some named selections may not come true from seed, and some perennial types germinate slowly or benefit from a cold period. Keep any species-specific sowing instruction with the seed. If variation is fine, save from plants that return well and bloom reliably.
Dill: Save the Umbel When It Turns Tan
Dill makes a beautiful seed crop before it becomes a useful spice. After the yellow flower clusters fade, the umbrella-shaped umbels hold flat, ridged seeds that turn tan or brown. Leave only the umbels you want to save; removing the rest can reduce unwanted self-sowing.
Harvest when most of the seeds have developed but before the umbel has scattered them across the soil. Snip the whole cluster into a paper bag, or hold a container under it while cutting. Let it dry out of direct sun, then rub the umbel between your fingers. The mature dill seeds should fall free with little effort.
Dill can reseed itself aggressively in a favorable spot, which is useful if you want a permanent patch and annoying if you want orderly rows. Store a portion in a labeled seed envelope and decide where you want to sow it next year. Because dill is also a culinary herb, label the crop clearly if you are keeping seed beside dried coriander or other kitchen spices. Seed for planting and seed for cooking may look similar, but they are not interchangeable in your notes.
Bee Balm: Preserve a Hardy Native Type
Bee balm is worth saving when you have a plant that thrives in your soil and climate, especially a native type such as Monarda fistulosa that is less consistently available than common nursery cultivars. It is a perennial, so the project is slower than saving annual flower seed.
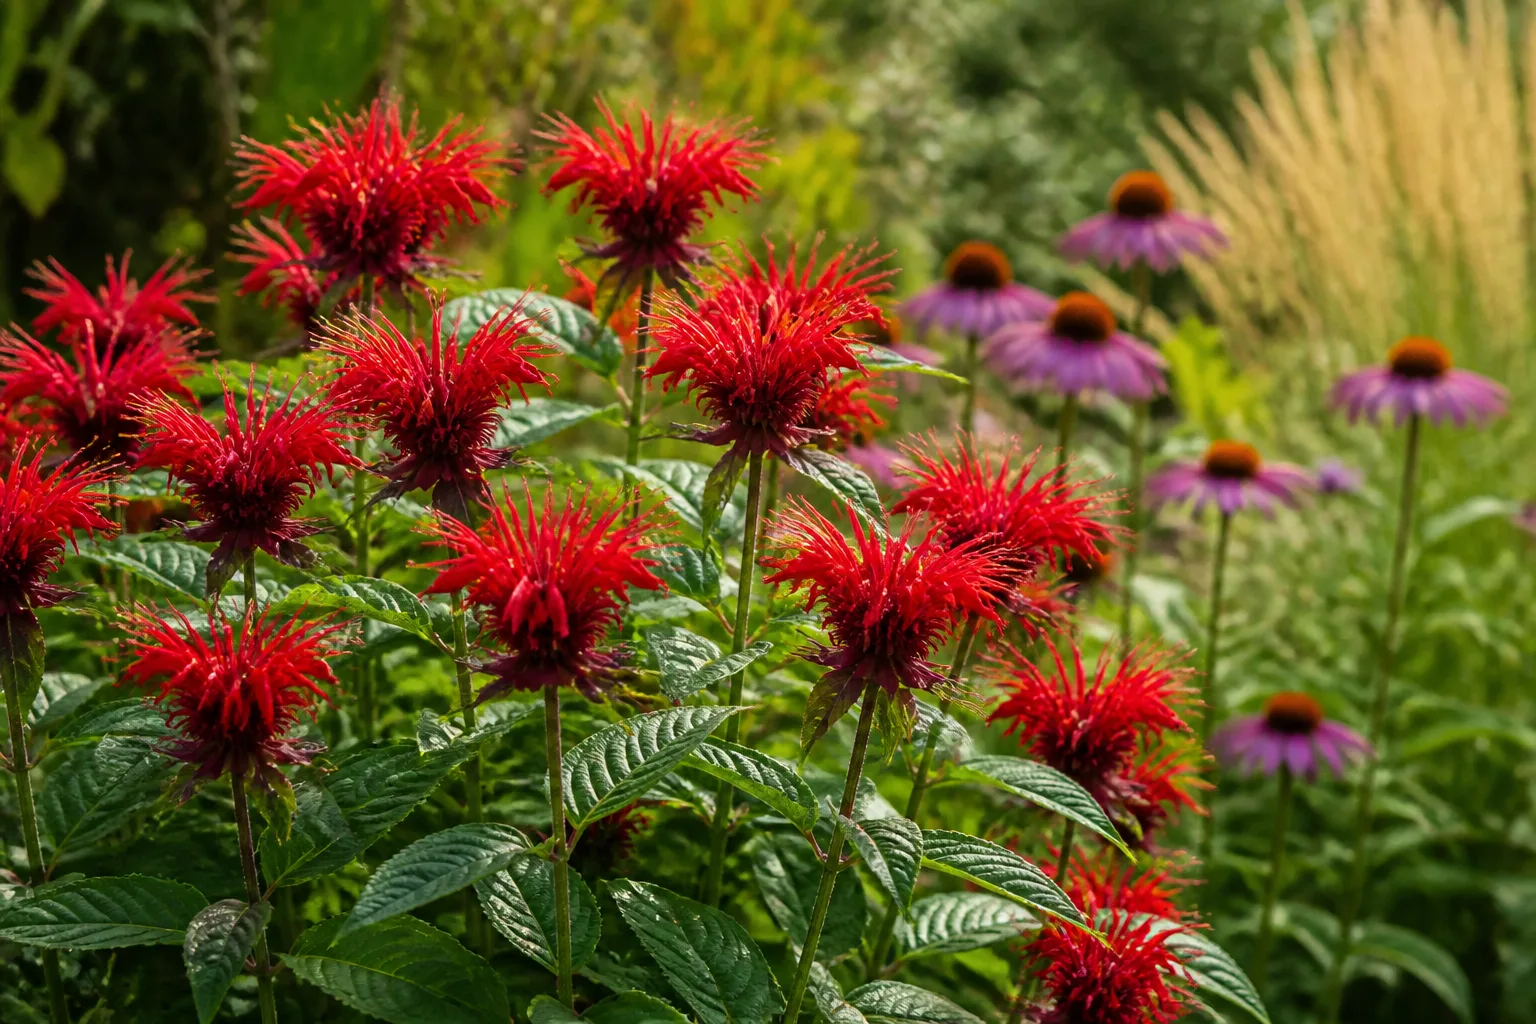
Leave several flowerheads in place after bloom. As the head dries, the small nutlets inside mature and loosen. Clip the dry heads into a paper bag before they crumble into the bed, then rub the heads gently over a tray and separate the seed from the chaff. Keep the source plant and flower color in your notes.
Do not assume seed from a named cultivar will reproduce every ornamental trait, and do not collect from wild stands without permission or a clear conservation reason. Garden-grown seed is the responsible starting point. Germination can be slower or less uniform than with an annual, so sow more than you need and follow the instructions for your particular species. If you want the exact parent clone, division is a more predictable propagation method than seed.
Peas: Leave a Few Pods Past Eating Stage
Peas are among the easiest vegetables for beginners because the seed is large, obvious, and usually self-pollinated. The trade-off is that you must stop harvesting a few pods while the vines are still producing food.
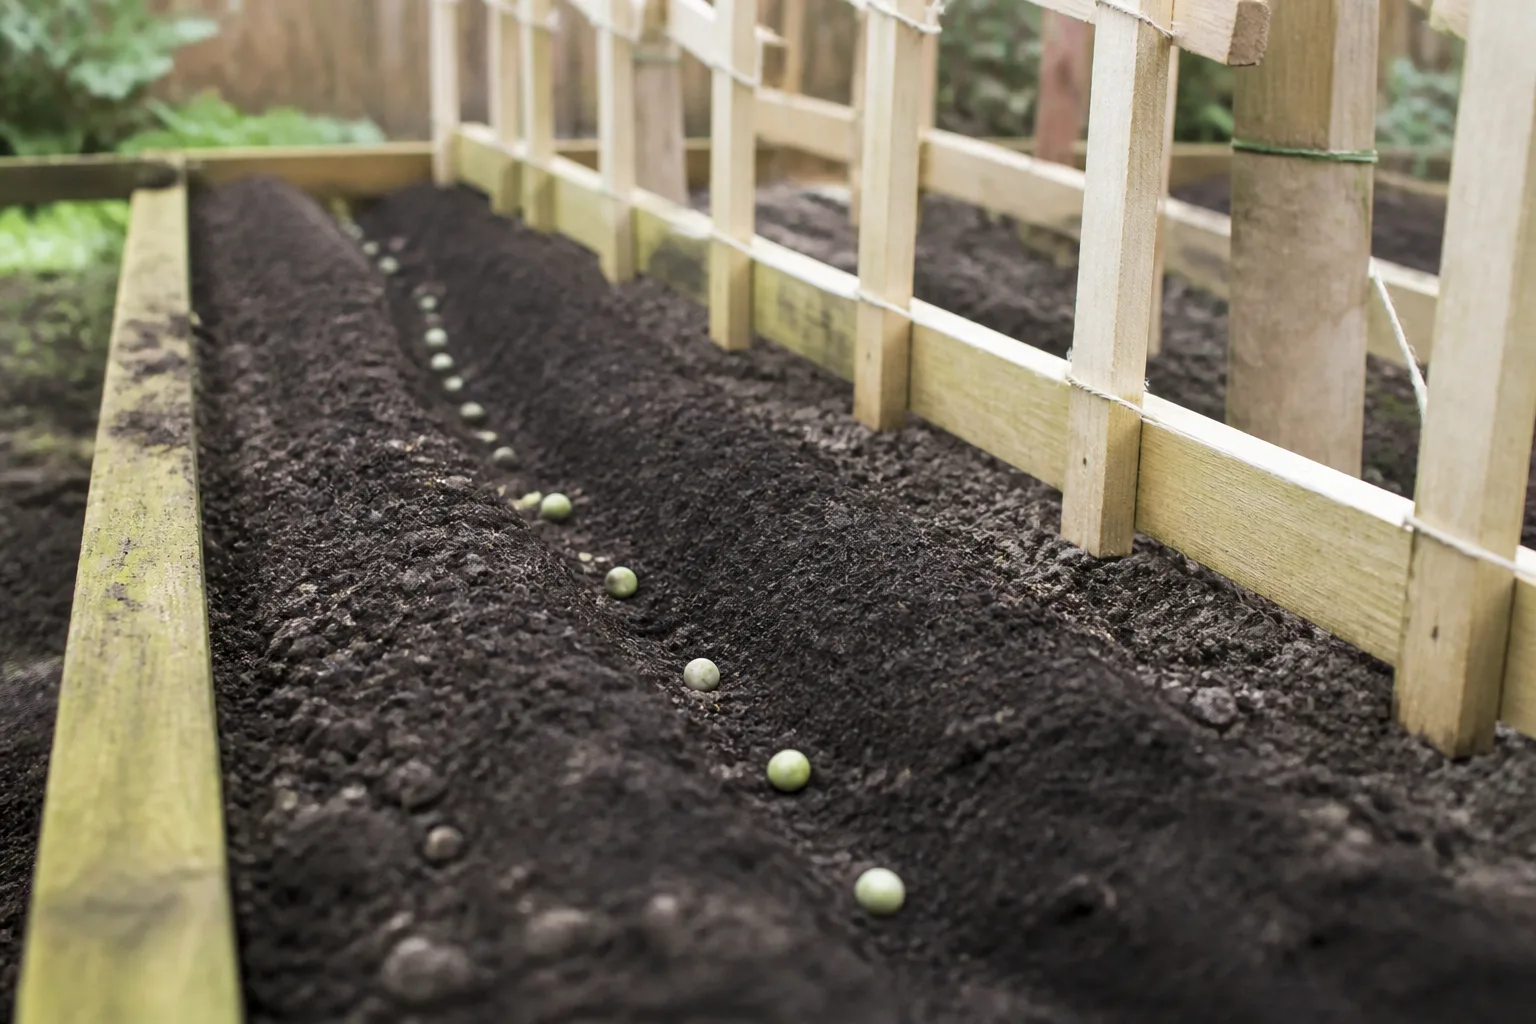
Mark two or three healthy, productive plants and let their pods stay on the vine. The pods should become brown, dry, and brittle, and the peas inside should be hard rather than soft. If wet weather or an early frost is approaching, pull or cut the selected vines and finish drying them indoors in a cool, airy place. Homesteading Family also recommends setting aside selected plants and drying the shelled peas before storing them (Homesteading Family’s beginner seed-saving guide).
Shell the brittle pods, remove shriveled or damaged seeds, and spread the good peas in a single layer for several more days. A mature pea should not dent when you press a fingernail into it. Label the packet with the variety and the plants selected. If you grew several pea varieties close together, the result may still be usable, but one variety per crop is the simplest way to keep the seed predictable.
Marigolds: Pull Seeds From Dry Petals
Marigolds give you a simple visual harvest. Allow several flowerheads to fade completely. When the head is dry, the petals and base feel papery, and long, slender seeds are attached to the lower part of the spent flower.
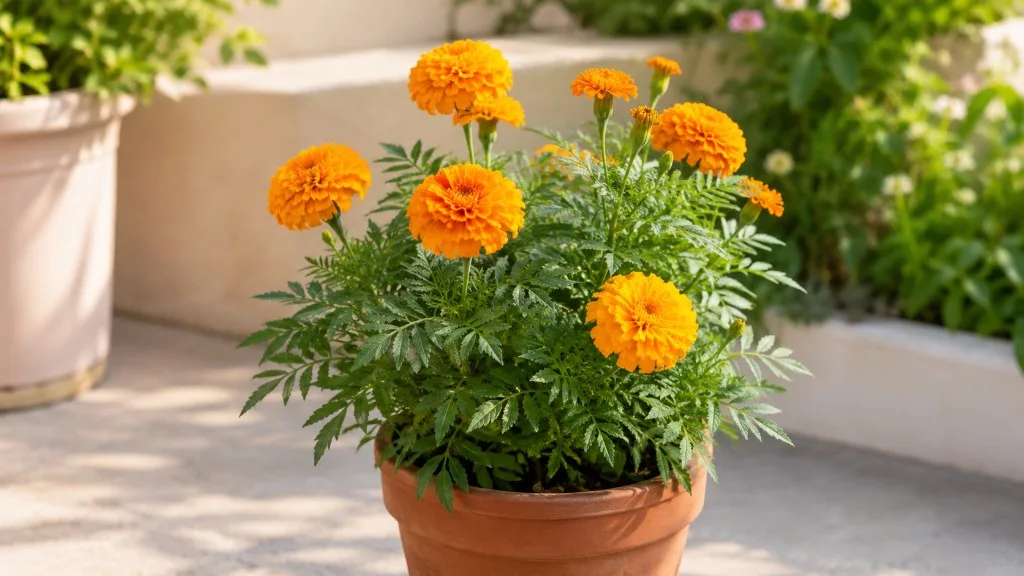
Clip the head into a paper bag or hold a tray beneath it. Pull apart the dry flower and lift out the firm seeds. You do not need to save every piece of chaff; discard obviously empty, moldy, or insect-damaged material and spread the sound seed out to finish drying. The seed should be fully dry before it goes into an envelope.
Marigolds are often grown as cheerful mixed-color bedding plants, so a saved batch can be a good place to embrace variation. If you want a particular height, bloom form, or color, look for an open-pollinated variety and prevent nearby varieties from flowering together. Hybrid marigolds may produce attractive offspring, but not necessarily a duplicate of the parent. Write down the parent plant’s color and habit so you can evaluate the next generation instead of wondering whether a different bloom came from bad seed or a different cross.
Cilantro: Let It Finish as Coriander
Cilantro is harvested as a leafy herb until heat or age sends it into flower. Once it bolts, small white flowers produce round seed clusters. Those dry seeds are coriander, so saving cilantro seed gives you both a future herb crop and a kitchen spice.
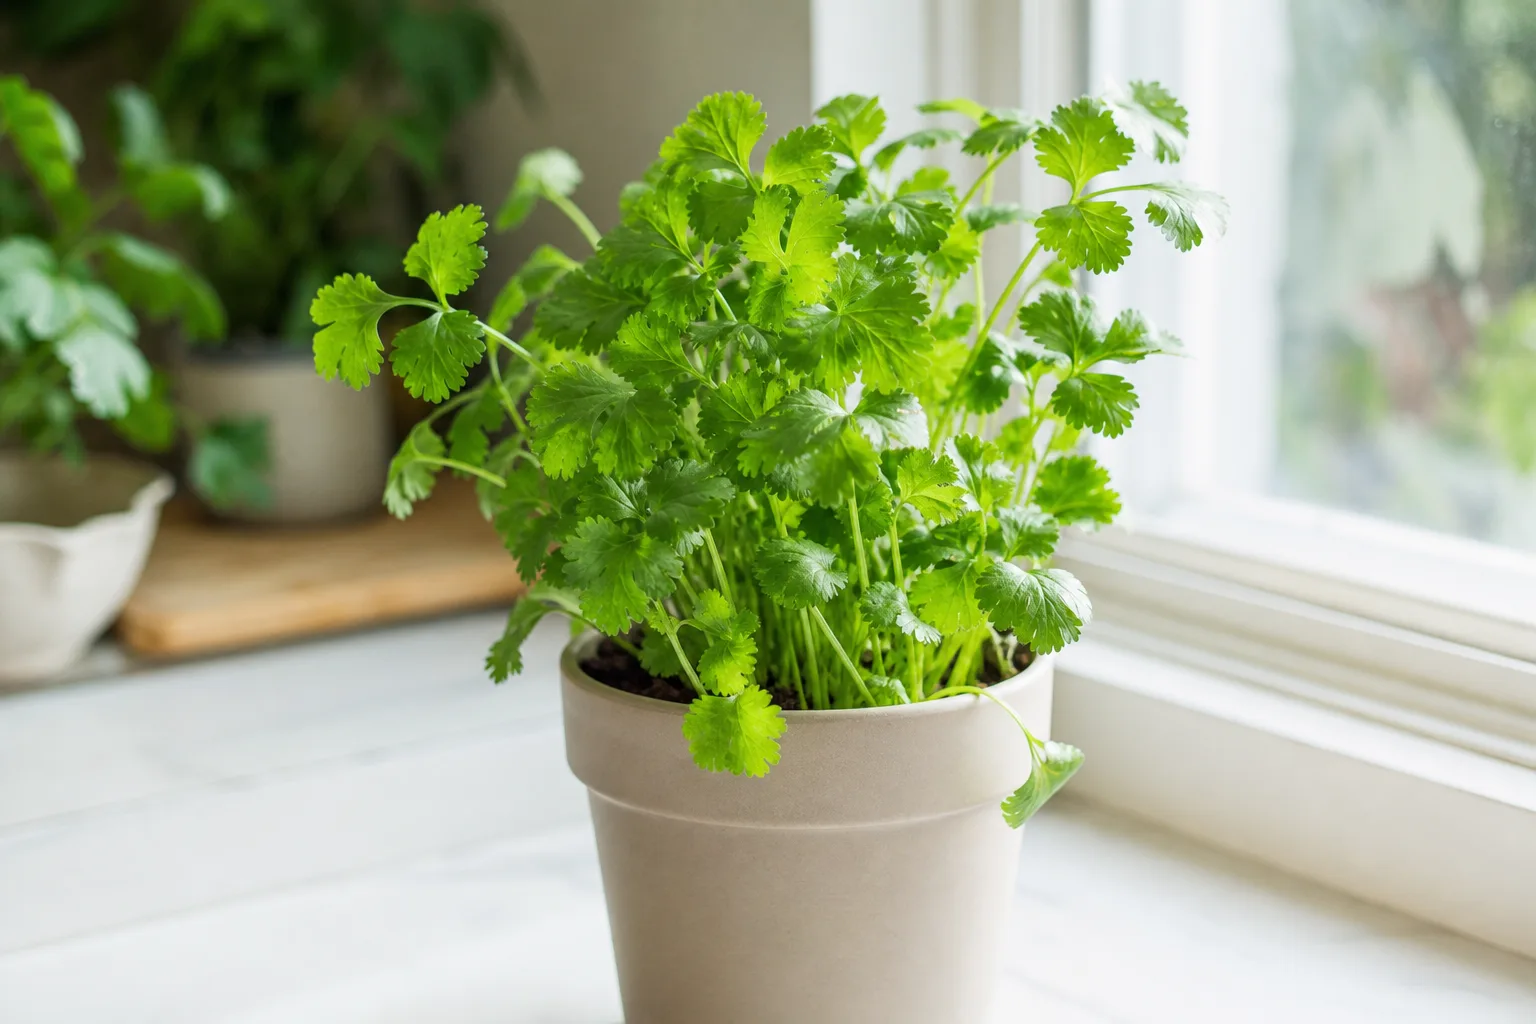
Let the umbels turn tan and let the seeds develop fully, but harvest before the clusters split and drop. Cut the stems into a paper bag on a dry day. After the heads finish drying, rub them between your fingers over a tray. The round seeds fall free, and most of the papery material can be screened or picked out.
Cilantro self-sows readily. If you want it in one row next year, collect the seed before it disperses and remove unwanted volunteer seedlings. If you grow more than one coriander or cilantro type, insects can move pollen between them, so keep the varieties apart if exact traits matter. Store the batch in a cool, dry place and label it “cilantro/coriander,” along with the variety and date, so it does not get mistaken for purchased culinary spice.
Basil: Sacrifice a Few Flower Spikes
Basil rewards seed saving if you let a few stems stop producing tender leaves. Select the most aromatic, healthy plant and leave several flower spikes in place. The flowers fade, capsules form, and the spike turns brown and dry.
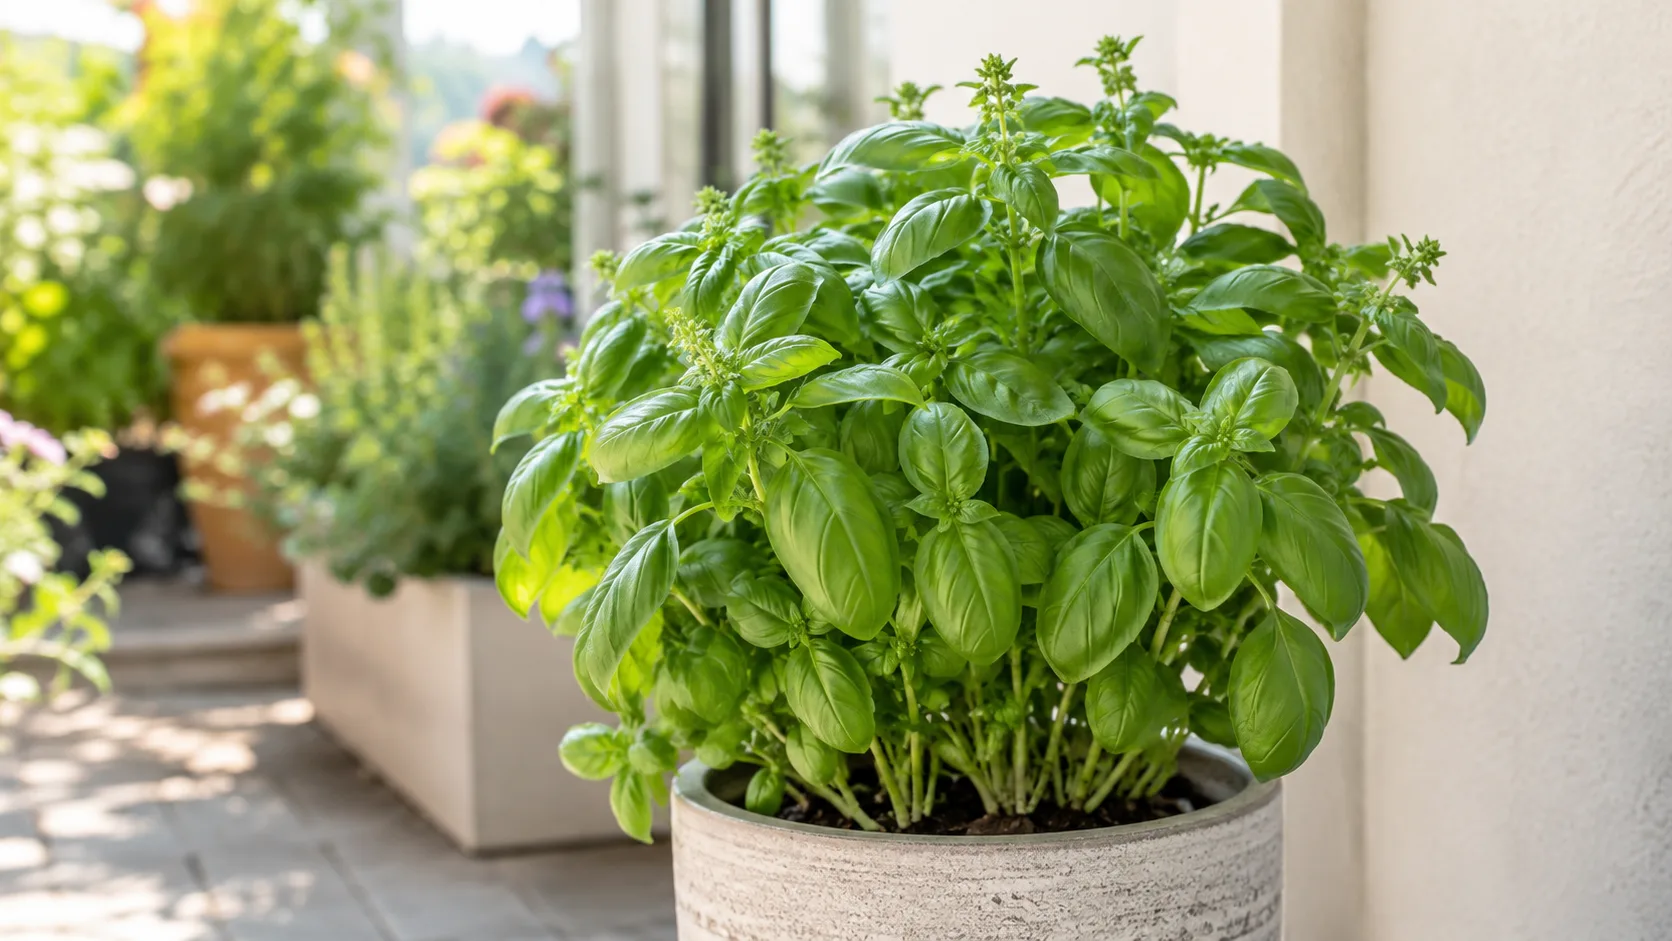
Cut the spike when the capsules are dry but before they open and drop the tiny black seeds. Place it in a paper bag and let it finish drying away from humidity. Rub the spike gently over a sheet of paper and separate the dark seeds from the pale chaff. Basil seed is small, so a shallow tray and a soft brush can be easier to use than a deep bowl.
If you grow several basil varieties, do not assume a saved seedling will preserve every leaf color or flavor. Insect activity can move pollen between flowering plants. For a named type, grow one variety for seed or isolate the selected flowers. For a kitchen garden where experimentation is welcome, save from the plant with the best flavor and note what you liked about it. Store the dry seed in a small labeled envelope rather than a large jar where a tiny batch can disappear.
Squash: Let One Fruit Mature Fully
Squash produces large, generous seeds, but it asks you to give up one fruit for a while. Choose a fruit from a healthy, productive plant and let it remain on the vine well past the tender eating stage. The rind should become hard, the stem should begin to dry or cork, and the fruit should be fully developed before frost or rot threatens it.

Harvest the mature squash, cut it open, and scoop the seeds from the cavity. Rinse away the pulp and spread the seeds in a single layer with plenty of airflow. Remove thin, damaged, or moldy seeds. A short soak can loosen stubborn pulp, but rinse thoroughly and start drying immediately. If the fruit had to come in before complete maturity, keep it in cool conditions for a period of curing before processing rather than assuming a large fruit automatically contains mature seed.
The bigger issue is not cleaning; it is variety purity. Different squash varieties can cross when they share a species, and the resulting plants may look nothing like the parent. Seed Savers Exchange lists several squash species that generally do not cross with one another, while varieties within a species can mix (Seed Savers Exchange’s crop and pollination guidance). Check the botanical name or seed packet. Grow one variety per species, isolate flowers, or hand-pollinate if you want a reliable repeat. Otherwise, label the batch honestly as an experiment.
Armenian Cucumbers: Save Seeds From a Ripe Fruit
Armenian cucumbers are prolific and can be worth saving precisely because the variety is less common in some seed racks. The name creates a trap, however: common Armenian cucumber types are botanically Cucumis melo, a melon, rather than Cucumis sativus, the species of true cucumbers. That distinction matters when you are deciding which nearby plants could cross.
Leave one fruit on a strong plant until it is oversized and past the crisp eating stage. The exact color change depends on the variety, so use the seed packet’s maturity description when you have it. A fully mature fruit is more likely to have plump, firm seeds than a market-size fruit picked young. Harvest before the fruit rots or a hard freeze damages it.
Cut the fruit open and scoop out the seed and pulp. Rinse through a fine strainer, using a brief soak if the pulp clings. If a gelatinous coating remains, a short, cool fermentation may help release it; keep the process controlled, rinse well, and stop if odor or mold is abnormal. Dry the seeds rapidly in a single layer. Isolate Armenian cucumber from other Cucumis melo types if you want the same result next year; ordinary cucumbers are a different species, but common names are not a substitute for checking the plant’s label.
Harvest, Clean, and Dry Saved Seeds
The safest general workflow is:
- Choose the parent. Pick a healthy plant with the traits you want, and avoid fruit or seedheads showing rot, severe disease, or insect damage.
- Wait for maturity. Dry crops should be hard and dry on the plant; wet crops should be fully ripe, often beyond eating quality.
- Collect on a dry day. Morning dew and rain add moisture to a batch that is about to be stored.
- Keep each crop separate. Use a labeled bag, plate, or tray from the first cut.
- Clean with the crop’s method. Rub and screen dry seed; scoop, soak, ferment when appropriate, and rinse wet seed.
- Dry with airflow. Spread seed in a thin layer in a cool, shaded, low-humidity room. Stir larger seeds occasionally so the underside is not trapped against a damp surface.
- Check before packing. Larger seeds should be hard and should not dent under a fingernail. Seeds that bend, smear, feel cool and damp, or squash easily need more time.
- Label immediately. Record the crop, variety, botanical name when relevant, parent plant, date, and any isolation or hand-pollination detail.
Penn State Extension gives a similar practical dryness test and notes that gardeners use paper, screens, and other breathable surfaces before moving seed into storage (Penn State’s drying and storage guidance). Do not use direct sun, a hot car, an oven, or a food dehydrator as a shortcut. Heat can damage seed, and a warm sealed container can trap condensation.
Store Seeds for Next Year’s Garden
For a one-season garden, the goal is a dry, labeled batch kept away from heat, light, humidity, pests, and temperature swings. Paper envelopes work well for small quantities. Put them inside an airtight box or jar only after the seed is completely dry.
A cool closet or dry basement can work. Refrigeration can also work for thoroughly dried seed in a sealed container, but moisture is the danger: let the container return to room temperature before opening it so condensation does not form on cold seed. Seed Savers Exchange recommends cool, dark, dry storage and notes that onion and carrot seed tends to be shorter-lived than tomato and bean seed (Seed Savers Exchange storage guidance). For next spring, freshness and dryness matter more than chasing a perfect number of years.
Write more on the label than just “basil” or “squash.” Include the variety, harvest year, source plant, and whether the batch may have crossed. For bee balm or a mixed zinnia patch, note the flower color. For squash or Armenian cucumber, note the botanical species or whether the fruit was isolated.
Before sowing a large bed, run a small germination test. Place ten seeds between damp paper towels or on a moist medium, keep them at the temperature appropriate for that crop, and count how many sprout in the expected window. This will not tell you whether a squash will come true or whether a zinnia will be the same color, but it will tell you whether the batch is alive enough to deserve garden space.
Avoid These Seed-Saving Mistakes
Harvesting at eating maturity. Green peas, tender squash, and market-size Armenian cucumbers may look perfect but still contain immature seed. Leave a dedicated fruit or pod to finish.
Saving from the weakest plant. A seedhead is not a recommendation. Choose plants that actually performed well, and skip diseased or badly damaged parents.
Expecting a hybrid to repeat. Hybrid seed is not automatically useless, but the offspring are not a reliable copy. Label it as an experiment or start with an open-pollinated variety.
Ignoring same-species neighbors. Squash, Armenian cucumbers, and many flowering plants can cross with nearby varieties. Common names can mislead; check the species and decide how much purity you need.
Packing seed while it is still damp. A little moisture can turn a promising batch into a mold problem. Keep drying, improve airflow, and discard any seed that develops visible mold rather than sealing it in a jar.
Using plastic too early. Plastic is not the problem when dry seed is properly protected; trapping residual moisture is. Breathable paper envelopes make the drying stage more forgiving.
Leaving self-sowers to make the decision for you. Dill, cilantro, zinnias, and marigolds may scatter before you collect them. Volunteer plants are fine for casual gardening, but they may be mixed, misplaced, or descended from a cross.
Failing to label. Seed memory is unreliable. Label as soon as the seed enters the bag, and keep different varieties on different trays while they dry.
Saving everything. Ten well-documented seeds from the right plant are more useful than a bucket of unidentified chaff. Start with one or two easy crops and expand next season.
Conclusion
The best plants to save seeds from are not simply the ones that make the most seed. They are the plants that performed well in your garden and match the result you want next year. Start with easy dry crops such as peas, zinnias, marigolds, dill, cilantro, or basil. Add bee balm when you want to preserve a successful perennial, and move to squash or Armenian cucumbers once you are ready to manage full maturity and cross-pollination.
Let the seed mature, clean it with the right method, dry it completely, and label it before you put it away. If you also record whether the parent was open-pollinated, which species grew nearby, and what you liked about the plant, your seed-saving practice becomes more than a way to save money. It becomes a small, repeatable selection program built around the garden you actually have.