5 Gardening Tips Pros Wish They Knew Sooner
Need gardening tips? Learn to read your site, start at a manageable scale, test soil before amending, water by root-zone moisture, and choose the right bed.
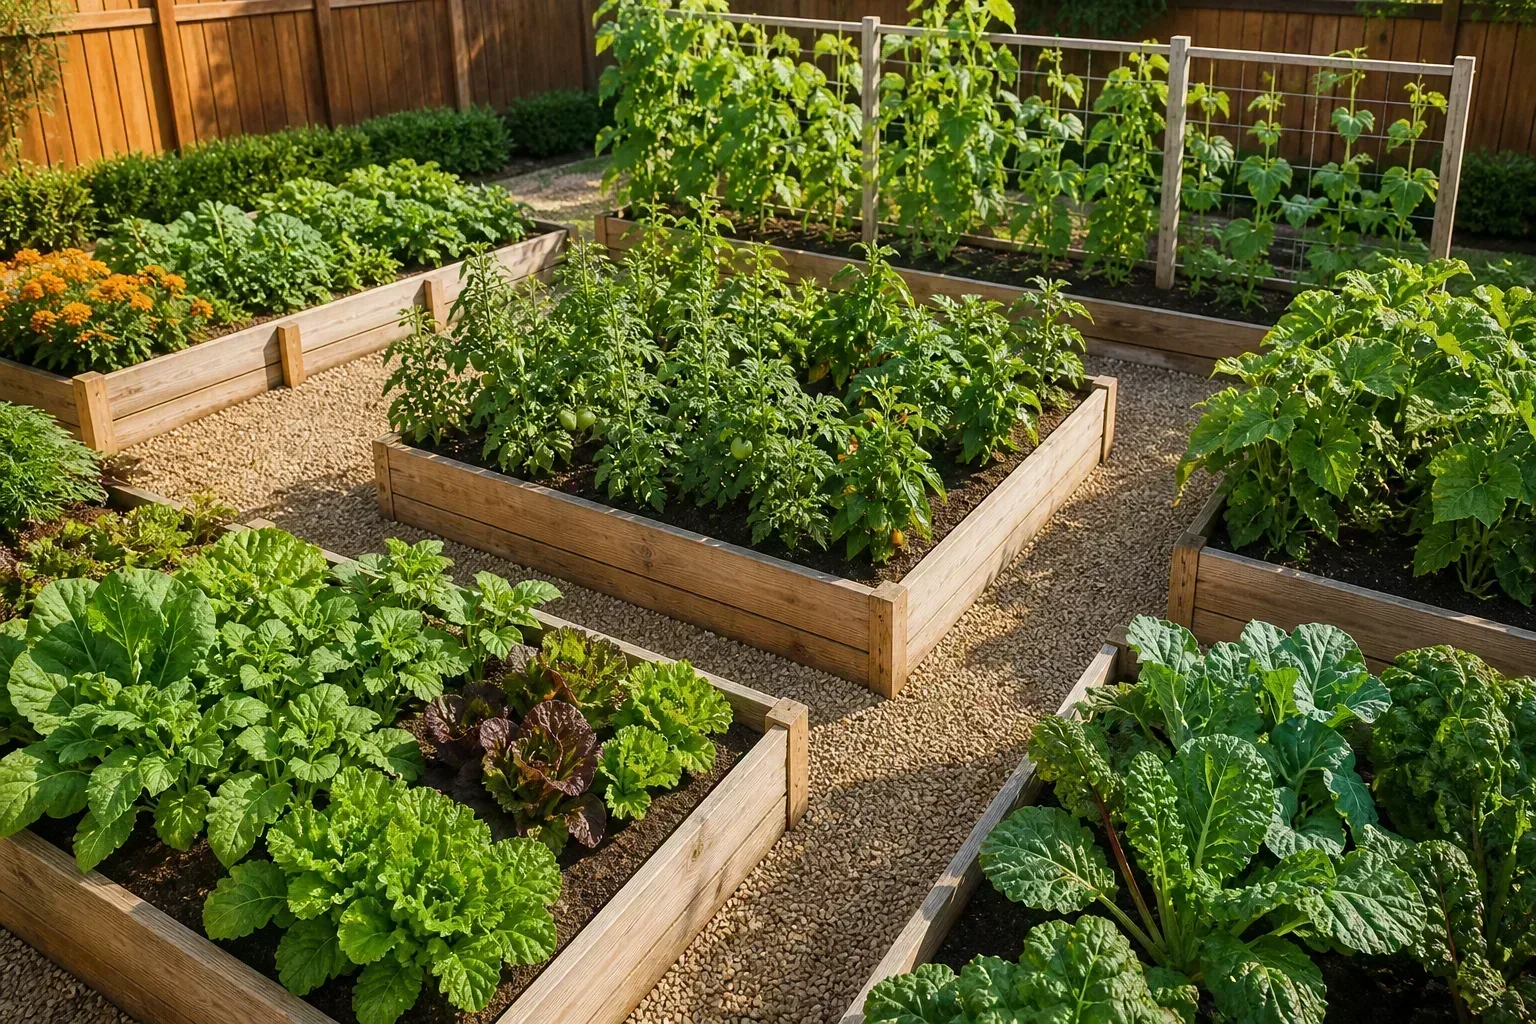
A plant label can make a garden look easy: choose a flower or vegetable, find a sunny patch, and plant it. The problems usually show up later, when the patch stays wet, the sun disappears behind a tree, or the gardener has more bed to weed than time to manage it.
The most useful gardening tips are less about clever tricks and more about making five decisions in the right order: read the site, choose a manageable scale, learn what the soil needs, water in response to actual moisture, and pick a growing format that solves a real constraint. Those habits make room for experimentation without asking you to spend a season correcting avoidable mistakes.
1. Observe the site before choosing what to grow
Gardeners often shop for plants before they have figured out the garden’s conditions. That reverses the decision: the same plant can flourish in one yard and struggle in another because the two sites differ in light, drainage, wind, soil, or access to water.
Penn State Extension recommends evaluating sun, shade, wind, soil moisture, compaction, and nearby structures before planning a new bed. A short observation period is cheaper than replacing plants that were poorly matched to the place. It also reveals where a path, hose, tree canopy, or wall will affect day-to-day care.
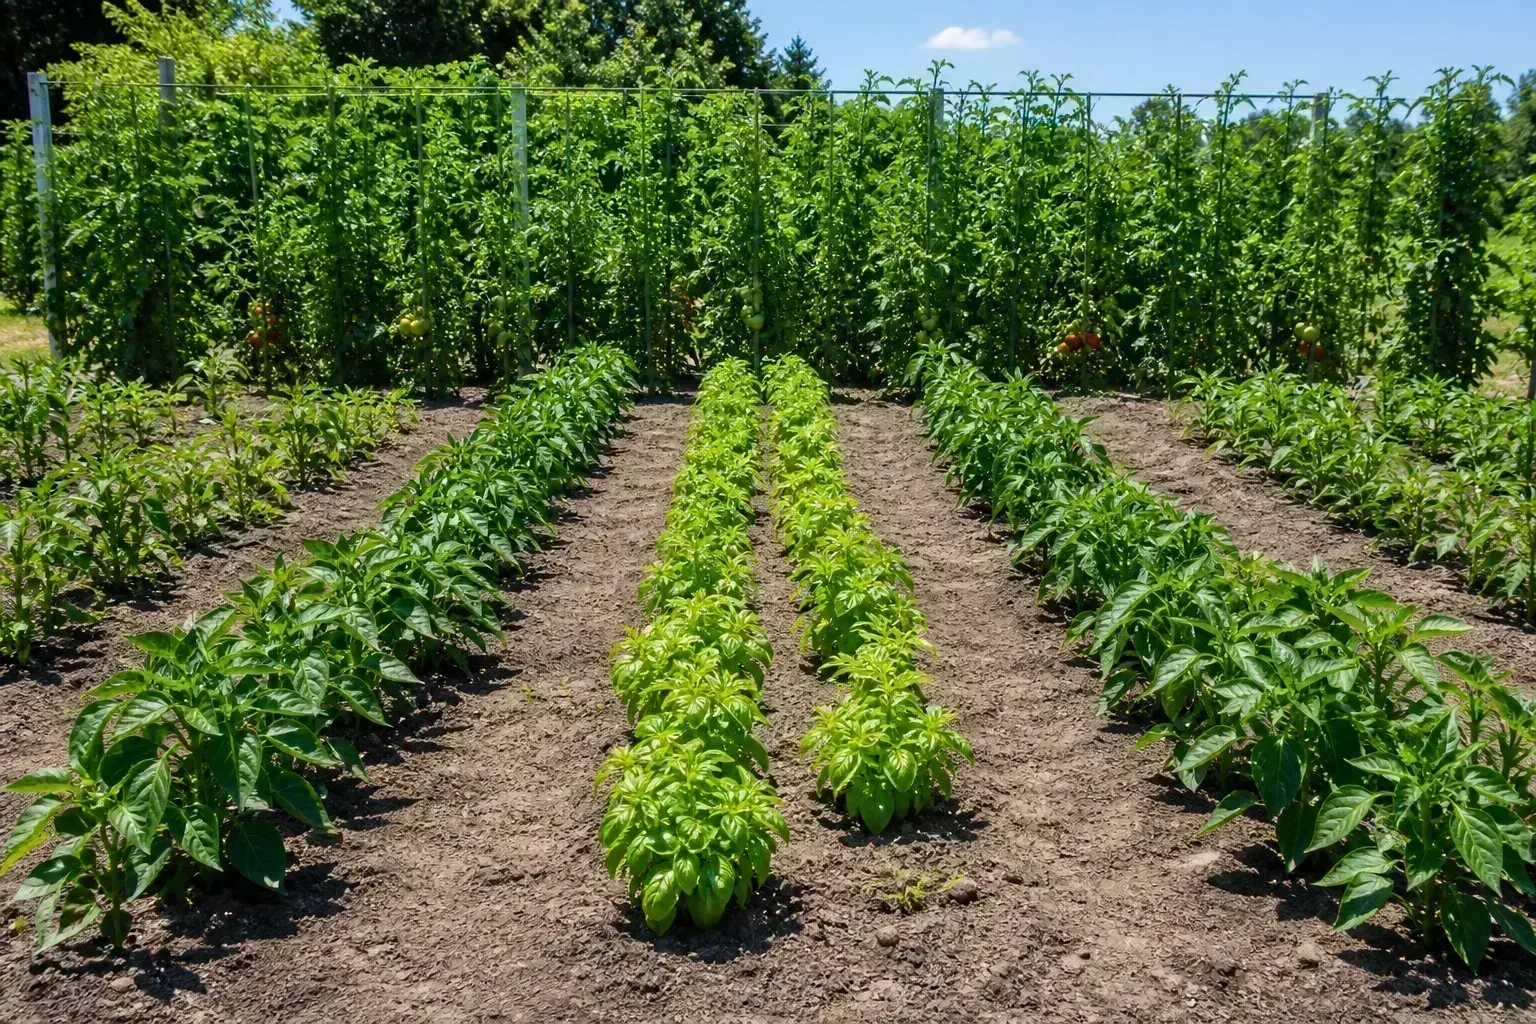
Track sun, drainage, wind, and water access
Choose a possible spot and check it at different times of day for several clear days. Write down when direct sun reaches it, when shade begins, and whether reflected heat from a wall or paving makes the area hotter than the rest of the yard. A quick glance at noon is not enough: a bed may be sunny in the morning but shaded for most of the afternoon.
Then inspect the site after rain or irrigation. Does water soak in, run toward the bed, or remain in a low spot? Is the soil hard to dig when it is moist, or does it dry out soon after watering?
Notice wind exposure and how far you must carry water, harvest, or tools. A site close to the back door and hose can be a better first garden than a larger, less convenient patch.
Match the plant to the conditions you actually measured. Fruiting crops often need more direct sun than leafy greens, while many ornamental plants have specific light ranges listed on their tags. If a bed receives less sun than a crop prefers, either choose a more shade-tolerant crop or use another site; fertilizer cannot make up for a missing resource.
Use hardiness zones as one filter, not the whole map
A hardiness zone is a useful screen when selecting perennials, shrubs, and other plants expected to survive winter outdoors. It does not tell you the length of your growing season, when your last spring frost will occur, how hot your summer gets, or how quickly your soil dries. For annual vegetables, the local planting calendar and the crop’s temperature needs matter alongside winter hardiness.
Microclimates complicate the map in useful ways. A south-facing wall may warm early in spring, while an exposed hill can be colder and windier than a sheltered bed nearby. A low area may collect cold air or water.
Use the zone to narrow the choices, then refine them using the conditions in your yard and local extension recommendations. Penn State Extension’s guide to starting a perennial garden likewise treats site conditions and climate suitability as part of plant selection rather than afterthoughts.
2. Start smaller than your first-season ambition
A new gardener can plan a large garden in an afternoon and then discover that it requires a different routine every day. A compact area gives you a chance to learn how quickly the soil dries, which plants need support, and how often you can realistically weed before the workload becomes discouraging.
Starting small does not mean settling for a token plant forever. It means sizing the first project to your current time, space, access, and interest, then expanding after you know what the garden asks of you.
A 2026 Better Homes & Gardens interview reports plant stylist Hilton Carter’s advice to begin with one plant and learn its care before taking on more. That principle scales from a houseplant to a small outdoor bed.
Choose a footprint you can maintain
For a first growing season, choose one bed, a few large containers, or a short row rather than filling every open patch. The right size is the area you can inspect, water, weed, and harvest without turning each task into a separate project. If you cannot reach the middle of a bed from the path, make the bed narrower or add a walkway instead of stepping into the growing soil.
Put the garden where you will see it and can reach it easily. A bed near a hose, kitchen door, or regular walking route is less likely to be forgotten than one at the far end of a property. Leave enough path space for your knees, a bucket, or a small cart; access is part of the design, not wasted space.
Use time as a design constraint. Ask how many short check-ins you can make in a normal week, including the busiest weeks of the season.
If the answer is limited, avoid crops that need frequent harvesting or staking and begin with a few plants suited to your site. A realistic garden is not the maximum area you can plant; it is the area you can keep healthy when life is busy.
Pick one clear goal for the first season
A garden can produce herbs for cooking, salad greens, cut flowers, pollinator forage, or a place to learn seed starting. Choose one main outcome and a few plants that support it. This makes it easier to judge whether your decisions worked and prevents a seed catalog from turning one bed into six unrelated experiments.
A simple example might be a small herb bed near the kitchen, a couple of tomato plants and leafy greens in a sunny spot, or a compact pollinator border with plants chosen for staggered bloom. The exact choice should follow your region and season. For a small garden, Ideal Home’s advice from garden professionals emphasizes planning around how a space will be used and considering the sun’s movement before placing planting and seating zones.
Write down what success means before planting. “Harvest enough basil for weekly cooking” is more actionable than “grow a lot of food.” A clear goal helps you select quantities, spacing, and harvest timing, and it gives you permission to stop adding plants when the bed is full.
3. Test soil before adding fertilizer
Weak growth does not automatically mean a plant needs more fertilizer. Roots may be short of oxygen in wet soil, confined by compaction, shaded, or damaged; a plant may also be growing in soil with a pH or nutrient imbalance. Applying a product before you know which problem you are solving can add the wrong nutrient and leave the actual cause untouched.
A laboratory soil test is a practical starting point for a new garden bed or a bed that has repeatedly underperformed. It can report pH and selected nutrients, then give recommendations based on the sample and intended use. Follow the sampling instructions from the lab or extension office, because a sample taken from one odd corner may not represent the whole bed.
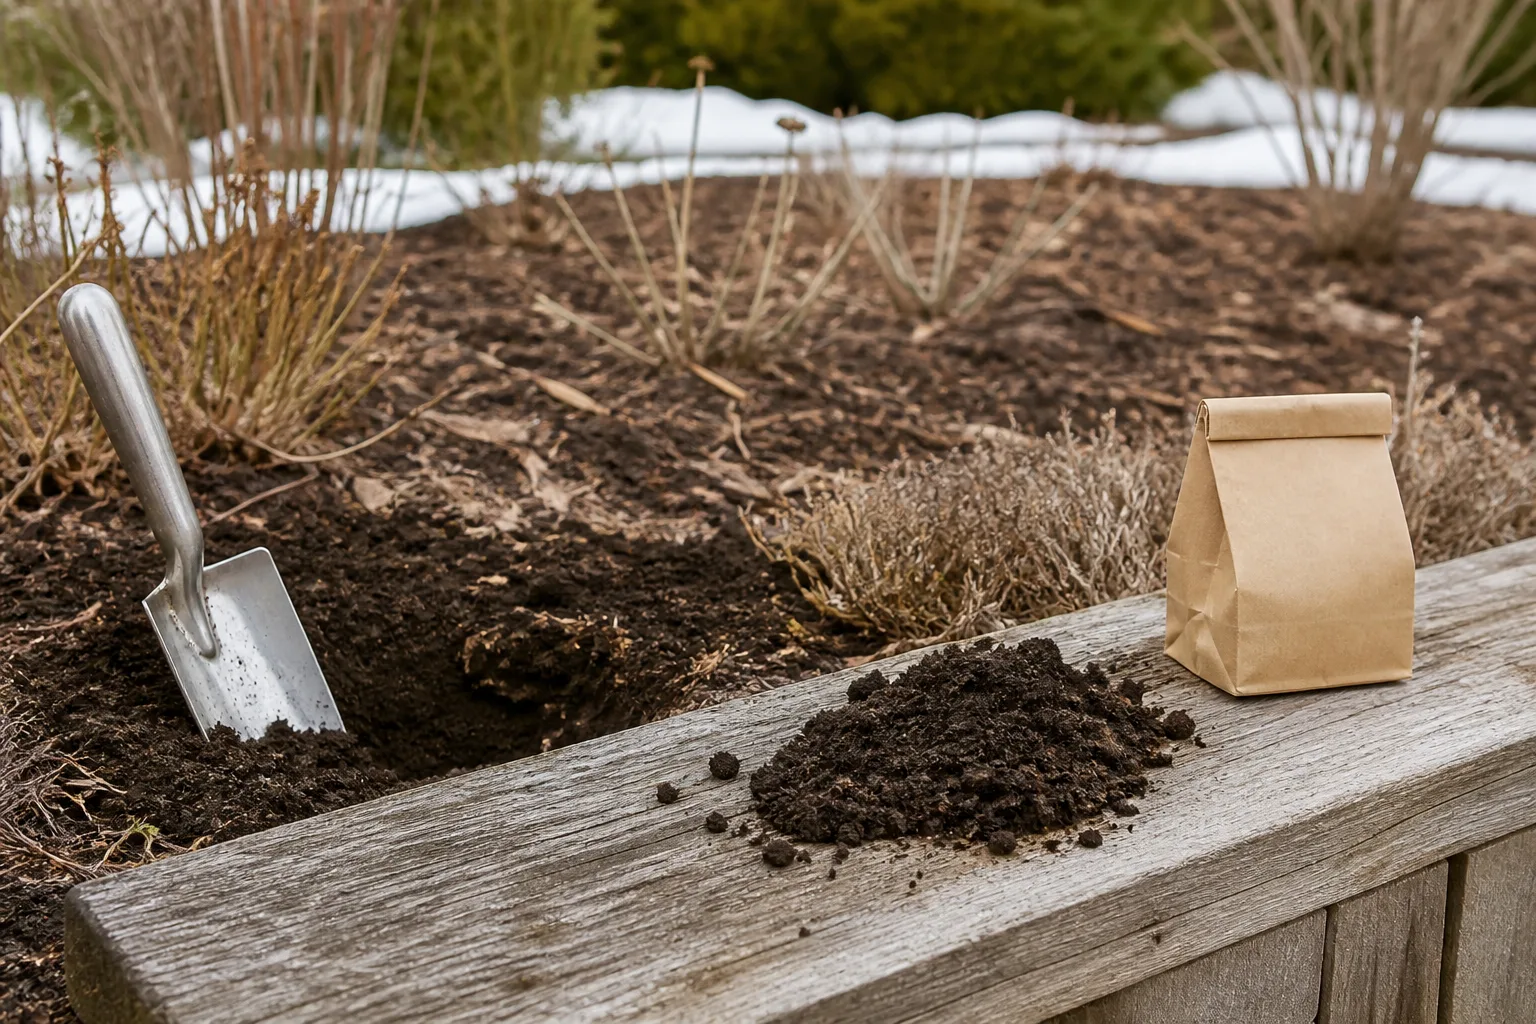
Sample the bed and follow the report
Keep separate areas separate when their histories or conditions differ. A vegetable bed, lawn, and flower border should not be combined into one sample if you want recommendations for a specific growing area. Likewise, do not mix a persistently wet corner with the rest of a bed if you are trying to understand why plants there behave differently.
Collect the number of small subsamples and the depth specified by the testing service, mix them in a clean container, and submit the amount requested. Do not include surface mulch or fertilizer granules. If you have recently applied lime, manure, or fertilizer, note that when the lab asks about amendments; recent inputs can affect interpretation.
Read the report before purchasing products. If it calls for a pH adjustment, use the material and rate it recommends for that soil and bed size.
If it does not recommend phosphorus or potassium, do not assume a balanced fertilizer will be harmless. Penn State Extension describes soil testing as a way to evaluate a new bed and obtain recommendations for its intended use.
Separate soil structure from nutrient supply
Soil amendments and fertilizers solve related but different problems. Colorado State University Extension explains that compost or manure may improve soil tilth, while a manufactured fertilizer supplies guaranteed nutrient percentages; adding one does not automatically solve the need addressed by the other. Those details are especially important when a gardener assumes that every sluggish plant needs a nutrient boost.
Organic matter can improve how soil aggregates, holds moisture, and supports roots, but the right amendment and amount depend on the soil and its history. A bed that already receives regular compost may have enough organic matter or nutrients. Adding more indefinitely can create imbalances, so use a test and observe how plants respond rather than treating compost as a zero-risk material.
Avoid quick fixes that change the soil dramatically without a clear reason. Adding sand to heavy clay, for example, is not a reliable shortcut to well-drained garden soil; the result depends on proportions and the underlying structure.
For compaction, improve access and avoid working wet soil; for a drainage problem, find where the water comes from and where it can go. Fertilizer cannot correct either issue.
A soil test is not a complete diagnosis. It does not assess every disease, drainage problem, root injury, or exposure, and a nutrient reading does not tell you whether roots can reach that nutrient. If the report looks adequate, return to the site observations: light, moisture, compaction, and the plant’s roots.
4. Water by root-zone moisture, not a fixed calendar
A weekly watering rule cannot account for rainfall, soil texture, a hot spell, or a raised bed that dries faster than the ground around it. Water needs also shift as plants mature. The more dependable habit is to check what is happening below the surface, then apply enough water to reach the active roots.
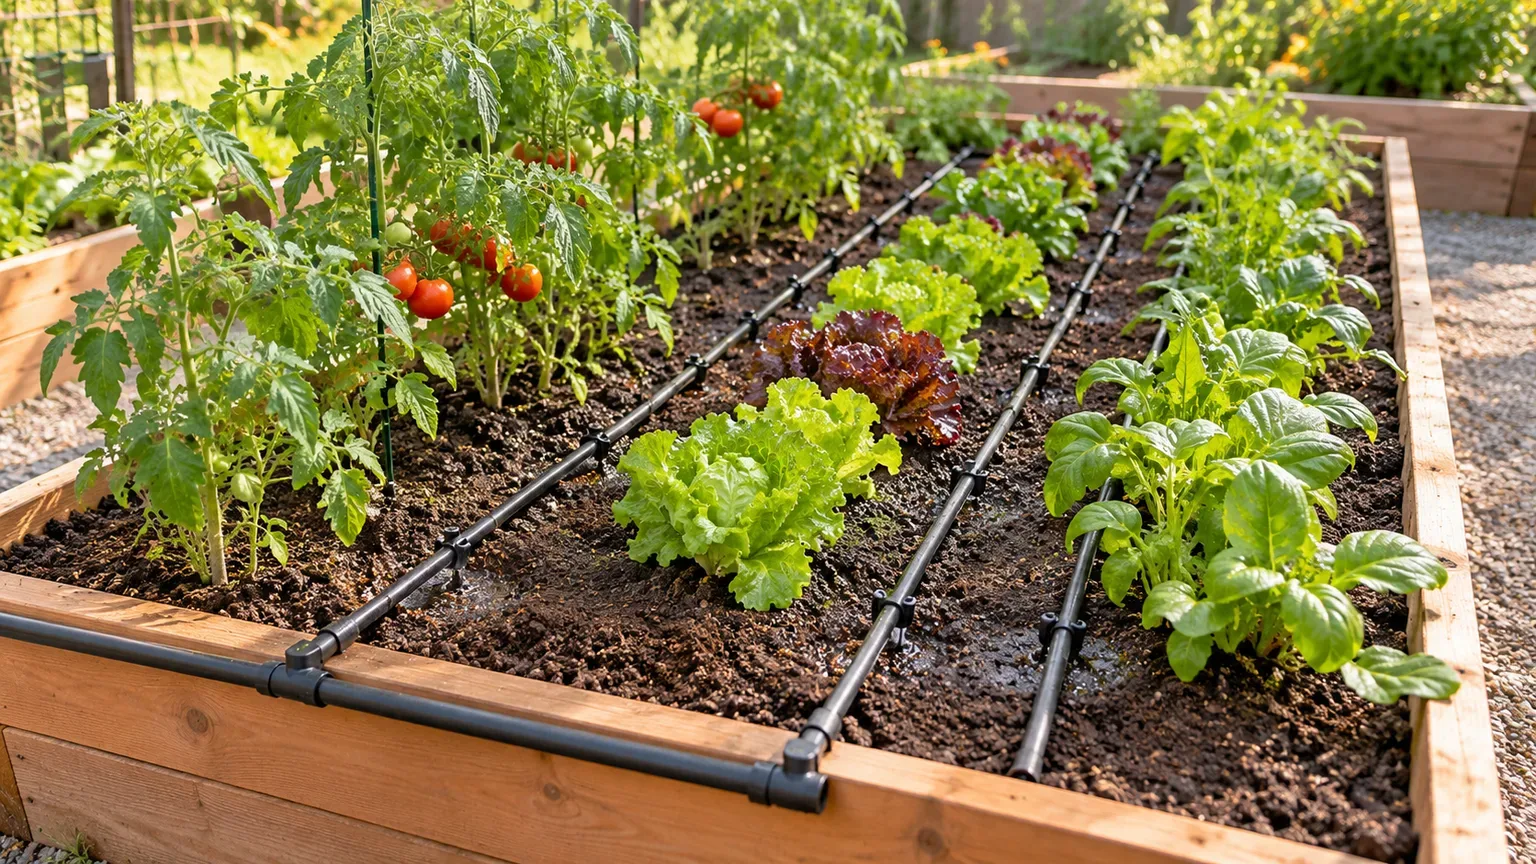
Check the soil where roots are active
For a small seedling, inspect the soil a few inches down near the root zone, not just the dry crust on top. If it is moist and cool, wait and check later; if it is dry, water slowly and deeply enough to moisten more than the surface. Move the check as plants grow because their active roots extend farther from the stem and deeper into the bed.
Newly sown seeds need a different routine from established plants. The seed layer must stay evenly moist until germination, so use a gentle spray or slow watering that will not wash seed away. Once the seedlings are established, avoid repeated shallow sprinkling that wets only the top layer; encourage deeper rooting by watering thoroughly when the soil begins to dry.
Water near the soil rather than spraying leaves when practical. A watering can directed at the base works for a few plants; a soaker hose or drip line can make a larger bed easier to water consistently. Colorado State University Extension’s efficient-watering guidance emphasizes matching irrigation to plant water needs and site exposure; treat a lawn, vegetable bed, and container as separate situations rather than copying one schedule across them.
Adjust for texture, bed type, and weather
Sandy soil typically drains faster than clay-rich soil, while clay can stay wet longer and become poorly aerated if it remains saturated. A raised bed often loses moisture faster because it drains freely and is exposed on more sides. Containers have a smaller volume of growing medium and may need more frequent checks, especially during hot, windy weather.
Do not water simply because leaves droop at midday. Some plants temporarily wilt in strong heat even when the root zone is damp; adding water to already wet soil can worsen root stress. Check the soil first, then look for other signs such as a plant that remains limp in the morning, dry soil at root depth, or a recent heat event.
Mulch can reduce surface evaporation and limit some weeds, but it does not eliminate the need to check soil moisture. Keep mulch away from stems and crowns, and check beneath it because the surface can look dry while the soil below remains moist. The correct watering interval is therefore a result of the conditions you observe, not a number to copy from another garden.
5. Choose raised beds only when they solve a problem
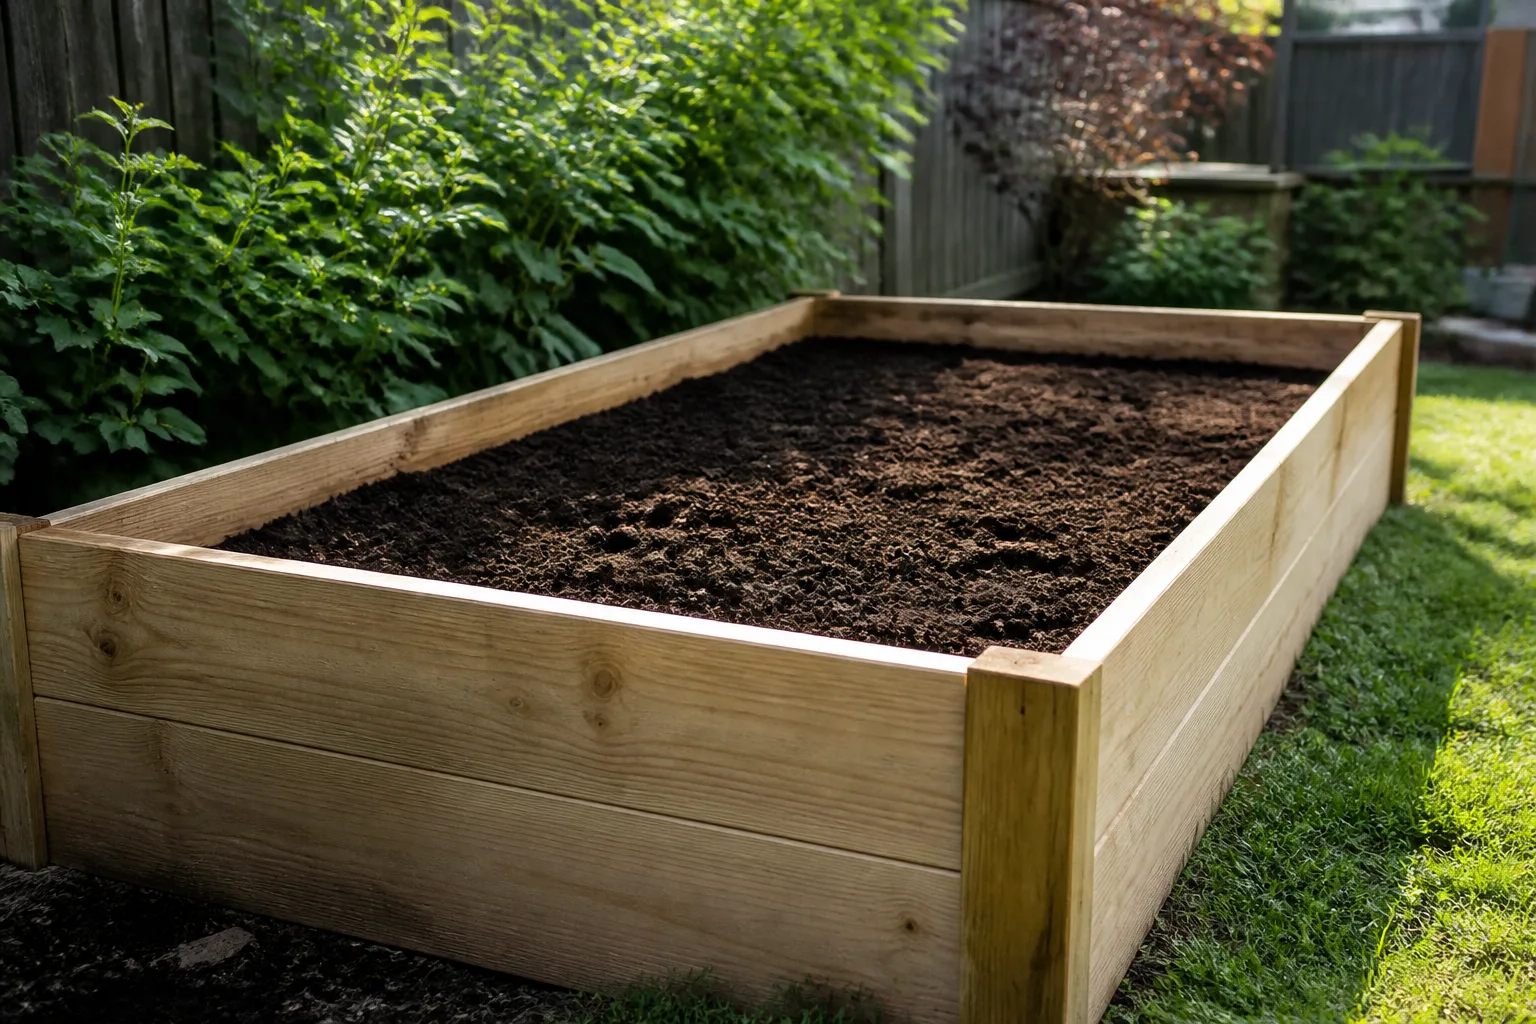
Raised beds can make gardening more comfortable and give you control over the soil, but they are not an automatic upgrade. They require materials, fill, and ongoing watering; their benefits matter most when they address a limitation you actually have. A bed built because it looks professional may add cost and work without improving the growing conditions.
When a raised bed earns its cost
A raised bed can be useful when the existing soil is difficult to work, when you need a defined planting area with stable paths, or when a higher surface makes planting and maintenance more accessible. It can also help you start with a known growing medium in a compact space. The bed should still drain appropriately, have enough depth for its intended plants, and be located where it receives suitable light.
Penn State Extension’s example of a new perennial garden highlights the value of planning access and maintenance around the bed, not only choosing plants. Think about how you will reach every section, move soil or compost in, and manage water. If the bed is too wide to reach across, its height will not make the center easier to tend.
Raised beds also dry more quickly than some in-ground plots and may need more frequent watering. They can be costly to fill, particularly if the frame is deep and the site has a large footprint. If the ground beneath a bed may be contaminated, a frame alone does not guarantee a clean root zone; seek local testing or guidance and design the barrier and growing depth for the specific risk.
When in-ground planting is simpler
An in-ground bed may be the easier choice when the soil drains and grows well, you can reach the planting area without compacting it, and you want to expand over time without buying frames and fill. Long-lived perennials may also benefit from the larger, more stable soil volume of a well-prepared bed. The site still needs observation, appropriate plants, and paths that keep foot traffic off the growing area.
If the soil is merely unfamiliar, do not assume you must replace it. Test it, amend only where the report and physical conditions support a change, and begin with a small area. If the site has a specific problem, such as standing water or heavy compaction, address that problem directly rather than treating a raised frame as a cure-all.
The useful question is not whether raised beds are better in general. It is whether the benefits—access, soil control, or a clear boundary—are worth the cost and extra watering in your particular garden. If you cannot name the constraint the bed would solve, start with a small in-ground plot or containers and learn from the season.
A four-week way to put the advice to work
Week 1: Observe. Pick two possible sites and note sunlight at different times, wind, water access, and what happens after rain. If you are choosing perennials, check their hardiness range; if you are choosing vegetables, look up their planting window and light needs for your area.
Week 2: Define the project. Pick one main outcome and limit the footprint to an area you can inspect and water. Sketch the growing area and paths, and leave room to reach plants without walking through the bed. Ideal Home’s garden-planning article similarly frames small-space design around how people use the area and where sunlight falls.
Week 3: Learn about the soil. Submit a sample if the bed is new or its fertility is uncertain. Use the test results and the soil’s drainage and structure to decide whether it needs a specific amendment, a different location, or no major change. Do not buy a fertilizer just to feel that planting preparation is complete.
Week 4: Plant for the season and set a check-in routine. Choose plants suited to the measured site, follow their spacing and planting directions, and decide how you will check moisture. The calendar week is only a planning prompt: if the weather or crop timing is wrong, wait rather than forcing a planting date.
Common gardening advice that needs a condition
“Plant what you love” works when the plant fits your light, climate, soil, and space. If it does not, you can still grow it in a container or a more suitable location, but you should know the extra care that choice requires. Wanting a plant is a good starting point, not evidence that a site will support it.
“Add compost” can be useful when soil structure or organic matter needs improvement, but it is not the same as following a nutrient recommendation. “Water every day” may make sense for a small container in extreme heat or for a newly sown seedbed, but it can keep an established in-ground bed too wet after rain. The condition determines whether the advice applies.
“Use a raised bed” is sensible when it provides access, soil control, or a defined growing area. It is unnecessary when the ground is already productive and accessible. “Follow your zone” is helpful for winter survival of hardy plants, but it does not replace local frost dates, crop calendars, or direct observation of a microclimate.
When a familiar tip conflicts with what the garden is showing you, test the assumption rather than repeating the routine. A simple soil check, rain observation, or sun log can often explain more than a new product can.
Keep notes and change one variable at a time
A short garden record turns a season into useful information. Note what you planted, where it went, when it was planted, the light and moisture conditions, and what you changed. Add the result in plain language: “lettuce stayed productive in the morning-sun bed” or “the raised bed needed more checks during hot, windy weeks.”
If a plant struggles, record the visible signs and check the basics before taking action. Is the soil actually dry or saturated? Does the site get the light the plant needs?
Did the problem begin after a heat wave, a heavy rain, or an amendment? These notes help separate a recurring site issue from one unusual week and reduce the temptation to make several changes at once.
Change one major variable when possible. If you move a plant, increase fertilizer, alter irrigation, and add mulch on the same weekend, you will not know which change helped or hurt. A small trial in one section of a bed can be more informative than treating the whole garden at once.
Your notes do not need to prove a universal rule. They help you learn the patterns of your own yard, which can differ from a neighbor’s because of shade, soil, wind, and maintenance time. As experience accumulates, you will make faster decisions without relying on a tip that may not fit your conditions.
Conclusion
The best gardening advice is a sequence: observe the site, start at a manageable scale, test before feeding, water according to root-zone moisture, and choose a bed style that solves a real constraint. Each step prevents a different kind of guesswork, and together they make the first season easier to manage and easier to learn from.
Start with one garden area and keep a simple record of what you see. Expand after you know what the site and your routine can support.



