5 Pruning Mistakes to Avoid for a Healthy Garden
Learn when to prune in fall, which cuts to make, and how to protect buds, branches, and bark with a safer five-mistake checklist.
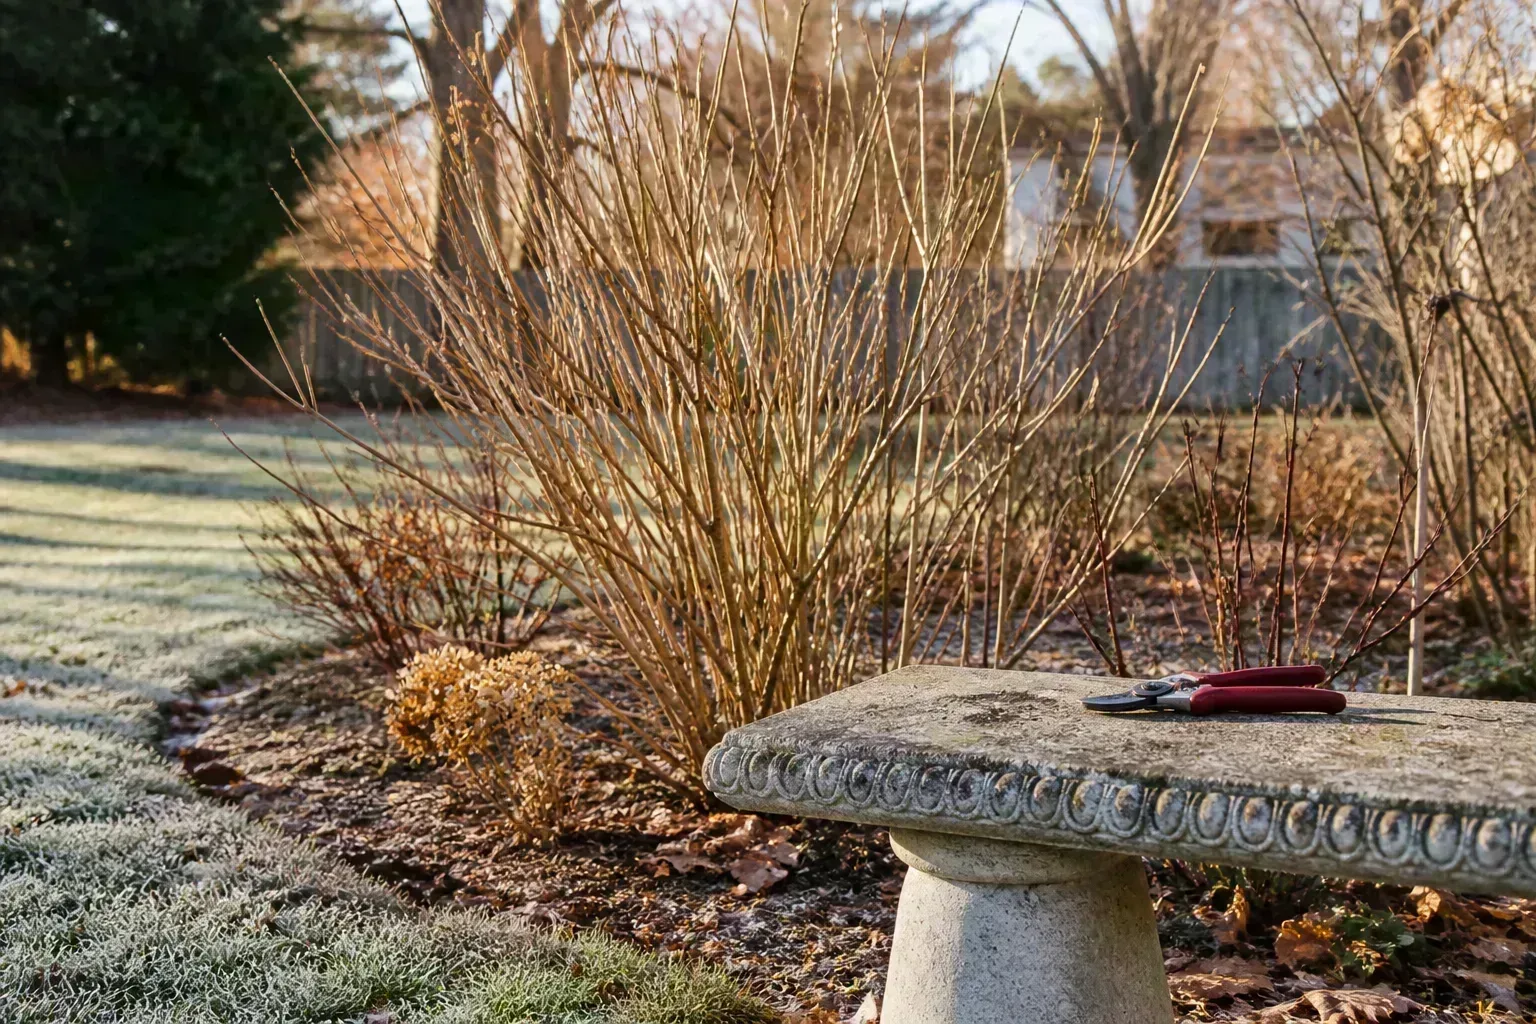
Pruning is not automatically good for a plant. A thoughtful cut can improve structure, airflow, light, and future flowering; a rushed cut can remove next year’s buds, create weak regrowth, or leave a wound that takes much longer to close. The safest approach is to treat every cut as a small design and health decision, not as routine garden tidying.
Fall makes that decision harder because the garden is changing quickly. Leaves are dropping, shrubs look untidy, and branches are easier to see, but the season is not a universal signal to cut. Before you reach for the shears, identify the plant, decide what you want the cut to accomplish, and check whether the weather and the plant’s flowering cycle support the work.
The five mistakes below cover the failures that cause the most avoidable damage: pruning in poor conditions, ignoring bloom timing, repeatedly shearing tips, topping or leaving bad stubs, and using tools that crush or spread problems. The goal is not to make you afraid of pruning. It is to make your next cut deliberate.
Start With the Plant, Not the Calendar
The phrase “fall pruning” hides several different jobs. Removing a storm-broken limb is an emergency cleanup task; cutting a hedge into shape is routine maintenance; taking old stems out of a congested shrub is renovation; and reducing a tree’s size is structural work. Those jobs do not share the same timing, cut placement, or risk.
Before pruning, ask three questions: What plant is this? What is wrong or out of balance? What result do I want by spring? If you cannot answer the first question, postpone shaping and use the time to identify the plant from its leaves, bark, buds, fruit, or nursery label. Guessing is how gardeners remove flower-bearing wood or cut a conifer into a permanent brown patch.
Identify the plant and its bloom habit
The most useful identification detail is often not the cultivar name but whether the plant flowers on old wood or new wood. A spring-flowering shrub such as forsythia, lilac, or many weigelas may already be carrying next spring’s flower buds on this year’s stems. A summer-flowering shrub such as butterfly bush or panicle hydrangea generally has more flexibility because its flowers form on the season’s new shoots.
That distinction is a starting point, not a substitute for species-specific advice. The Royal Horticultural Society explains that deciduous shrubs that flower later in the year are commonly pruned in spring before growth begins, while many early-flowering shrubs are pruned immediately after flowering. Its guidance on pruning shrubs also notes that evergreen shrubs can respond poorly to autumn or winter pruning when they cannot replace lost growth quickly.
Climate changes the practical window. A “dormant season” in a mild coastal garden is not the same as a long, frozen winter in a continental climate, and a plant that is still pushing soft growth has not received the same signal as one that has fully shut down. Use local extension advice or the plant’s care information when the cut affects flowering, fruiting, or a mature tree’s structure.
Set one pruning objective
Choose one primary objective before you begin: remove a hazard, restore a natural outline, thin congestion, reduce a branch to a suitable lateral, or rejuvenate old stems. A plant can need several kinds of work, but mixing them impulsively makes it easy to keep cutting after the original problem is solved.
For example, if a shrub is blocking a path, remove the branches that actually enter the path instead of shearing the entire outside surface. If a tree has a dead limb, remove that limb cleanly and reassess from the ground before touching healthy branches. If a shrub is simply too large for its location every year, pruning is treating the symptom; replacing it with a plant that fits may be the more durable solution.
Mistake 1: Pruning on a Wet, Frozen, or Windy Day
Routine pruning belongs on a dry, calm day when branches are not brittle and you can see the plant clearly. Wet foliage and wet bark make it easier to transfer pathogens on tools and clothing, and moisture can keep fresh cuts damp. Savvy Gardening’s pruning guidance gives the same practical rule for vegetable pruning: wait until plants are dry because wet foliage can help disease move from plant to plant. The principle is useful for woody garden plants too, even though it is not an absolute ban on every cut in every situation.
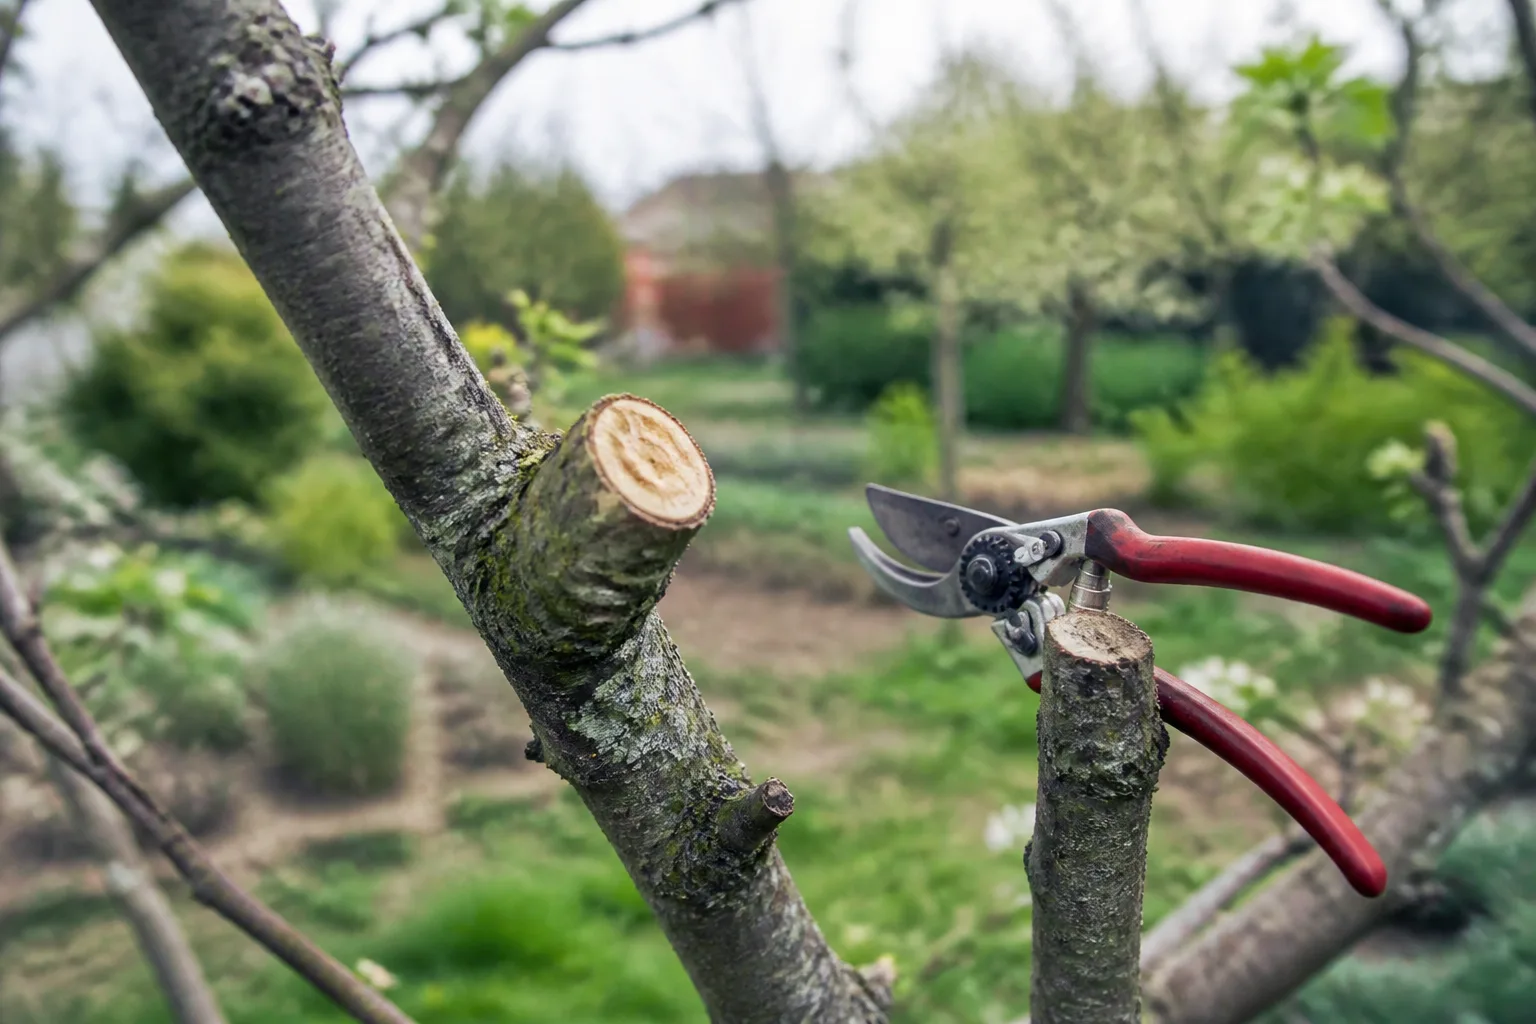
Cold adds a different problem. Frozen wood can split rather than slice, and a branch carrying ice or wind load can move unpredictably while you work. Gloves and a clear forecast do not make a heavy limb safe to handle from a ladder. If a branch threatens a roof, driveway, person, or power line, keep people away and call a qualified tree professional rather than trying to make a heroic cut in bad weather.
There is one important exception: a damaged or hanging branch may need prompt attention because it is a hazard or because a tear is continuing into healthy wood. In that case, do only the work needed to make the area safe, use clean sharp tools if the branch is within safe reach, and leave complex cuts for an arborist. “Wait for a dry day” is excellent routine advice; it is not permission to ignore an immediate danger.
Mistake 2: Pruning Before You Know When the Plant Flowers
The calendar mistake is assuming that leaf drop means every plant is ready for the same treatment. Deciduous plants may be easier to inspect after leaves fall, but the right pruning window still depends on flower-bud formation, sap flow, disease pressure, and the plant’s natural growth habit. Removing a few branches can be harmless; removing an entire season of flower buds is a frustrating consequence of a date-based rule.
Spring-flowering shrubs are the classic trap. They often carry flower buds on older branches, so a hard fall cut can leave a healthy-looking shrub that produces little or no bloom the following spring. For these plants, finish routine shaping soon after flowering, when you can see which stems have bloomed and which new framework should remain.
Summer-flowering deciduous shrubs are often more forgiving in late winter or early spring, before vigorous new shoots emerge. That is why a shrub’s bloom season gives you a better clue than “fall” or “winter” printed on a generic calendar. A good pruning guide should tell you both when to cut and what you may sacrifice by cutting at another time.
Old wood versus new wood
Old wood means stems that grew in a previous season and already hold the plant’s next flowers or fruiting spurs. New wood means shoots produced during the current growing season, which may not carry flower buds until they develop. The terms are simple, but the decision they control is consequential: cut old wood too early and you remove the display; wait too long on new-wood bloomers and you may be working around fresh growth.
Do not make the distinction from a plant’s common name alone. Hydrangeas, roses, fruit trees, and vines include groups and cultivars with different flowering behavior, and pruning recommendations can change with climate. When the plant is valuable or unfamiliar, take a photo and confirm the species and cultivar before making a renovation cut.
If you are not sure, restrict fall work to the lowest-risk tasks: remove dead, diseased, or broken material; take out branches that rub; clear a path or sightline with the smallest possible cuts; and postpone cosmetic reduction until the plant’s bloom habit is known. That pause protects future flowers without leaving a genuine hazard in place.
Mistake 3: Shearing Tips Instead of Making Purposeful Cuts
Repeatedly clipping the outer tips feels gentle because each cut removes only a little. On many woody plants it does the opposite of what you want: removing the terminal or apical bud releases lower buds, which can produce a cluster of new shoots just below each cut. You then shear the cluster, creating an increasingly dense shell of weak, crowded growth.
Fine Gardening describes this as a cycle of snipping that multiplies branches instead of controlling them. Its practical repair is to select one strong, well-directed branch from the cluster and remove the competing shoots back to a suitable supporting branch. The broader lesson is to make a few intentional thinning or reduction cuts rather than a large number of shallow heading cuts.
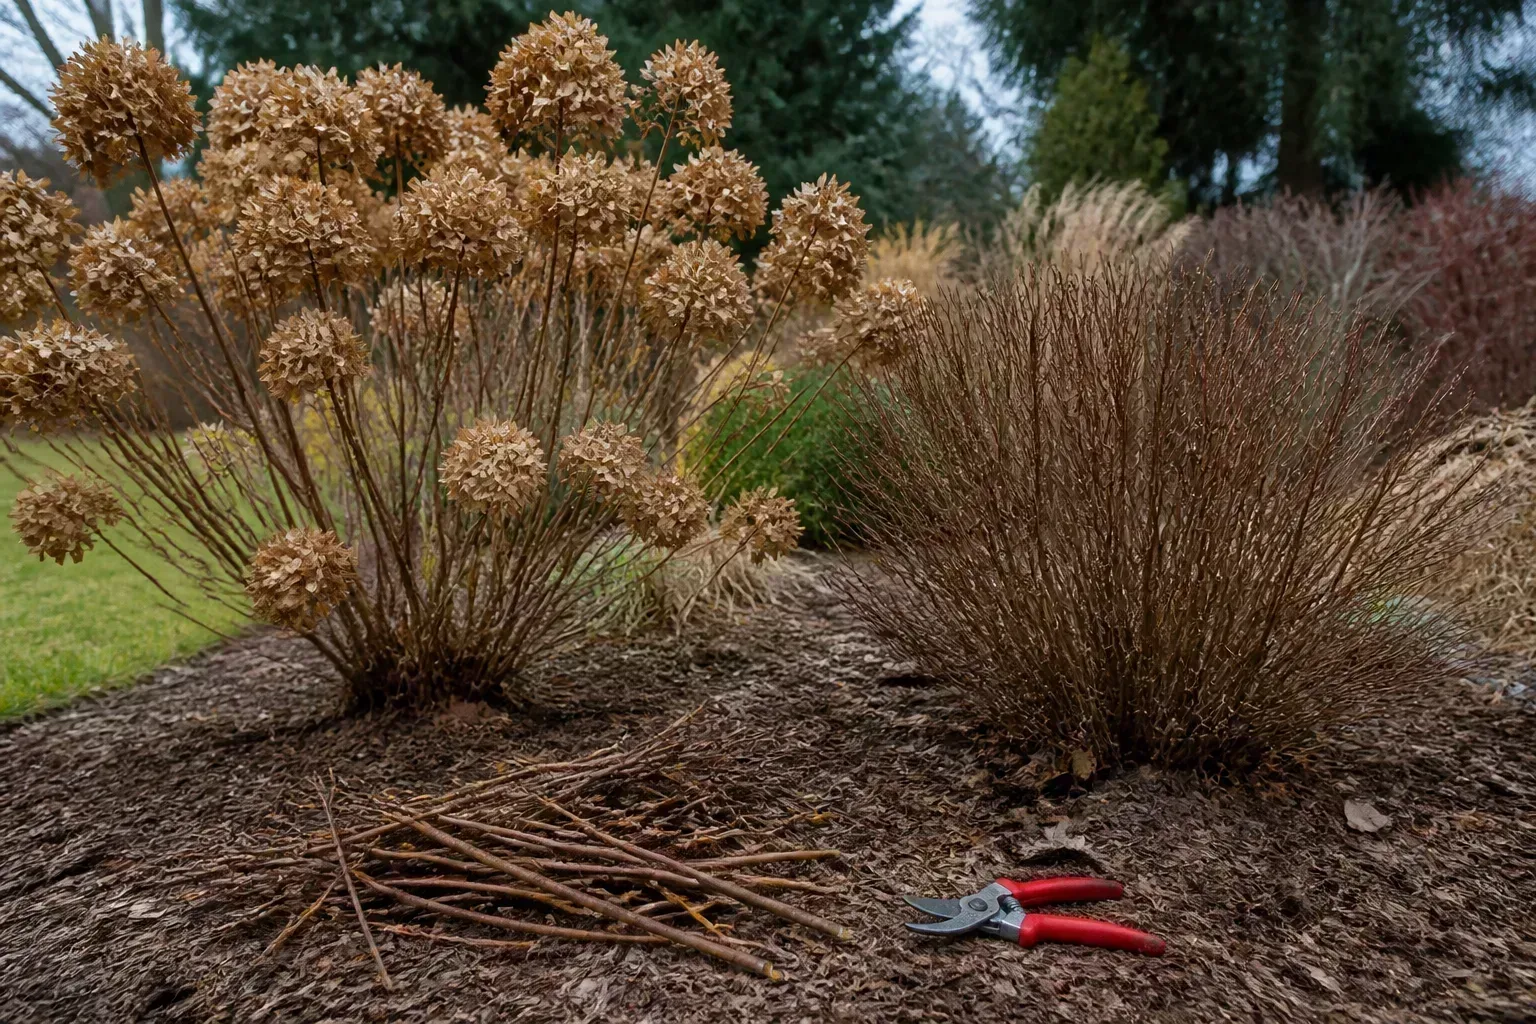
Shearing is appropriate for some formal hedges and plants that tolerate regular clipping, but even those plants need occasional thinning if the inside becomes dark and congested. It is a poor answer for a naturally arching shrub, a tree with a central leader, or a conifer that does not reliably produce new buds from old bare wood. Work with the plant’s natural outline instead of forcing it into a geometric shape it cannot maintain.
Where the cut belongs
For a small live stem, find a healthy bud or side shoot that points in the direction you want new growth to travel. Place the cut just above the bud, leaving enough stem that the bud is not damaged but not so much that a long dead stub remains. An outward-facing bud is usually the better choice for an open, balanced shrub because it directs the next shoot away from the center.
For a larger branch, cut back to the branch collar or to a healthy lateral branch that is substantial enough to take over. The branch collar is the slight swollen area where the branch joins the trunk or a larger limb. Do not cut flush against the trunk, and do not leave a long stub that dies back; both errors interfere with the plant’s natural compartmentalization of the wound.
The RHS tree-pruning guide recommends removing thin branches just above a healthy bud or side shoot and reducing thicker branches to a lateral at least one-third the diameter of the branch being removed. That ratio is a useful visual check: if the remaining side branch is a pencil-thin twig attached to a much heavier limb, it is unlikely to be a sound replacement leader.
Mistake 4: Topping Trees or Leaving Stubs
Topping means cutting a tree’s main stems back to arbitrary points without regard for branch structure. It may make the tree shorter for a moment, but it does not solve the tree’s mature size. The remaining buds respond with multiple vigorous shoots, often called watershoots, that attach weakly near the cuts and grow faster than the tree’s natural framework can support.
Fine Gardening’s pruning analysis explains why a topped tree often develops competing leaders rather than one stable central structure. The result can be a denser, less attractive canopy with larger future cuts and more opportunities for breakage. If a tree is too tall for its site, selective reduction to suitable laterals or replacement with a smaller tree is safer than repeatedly cutting the top.
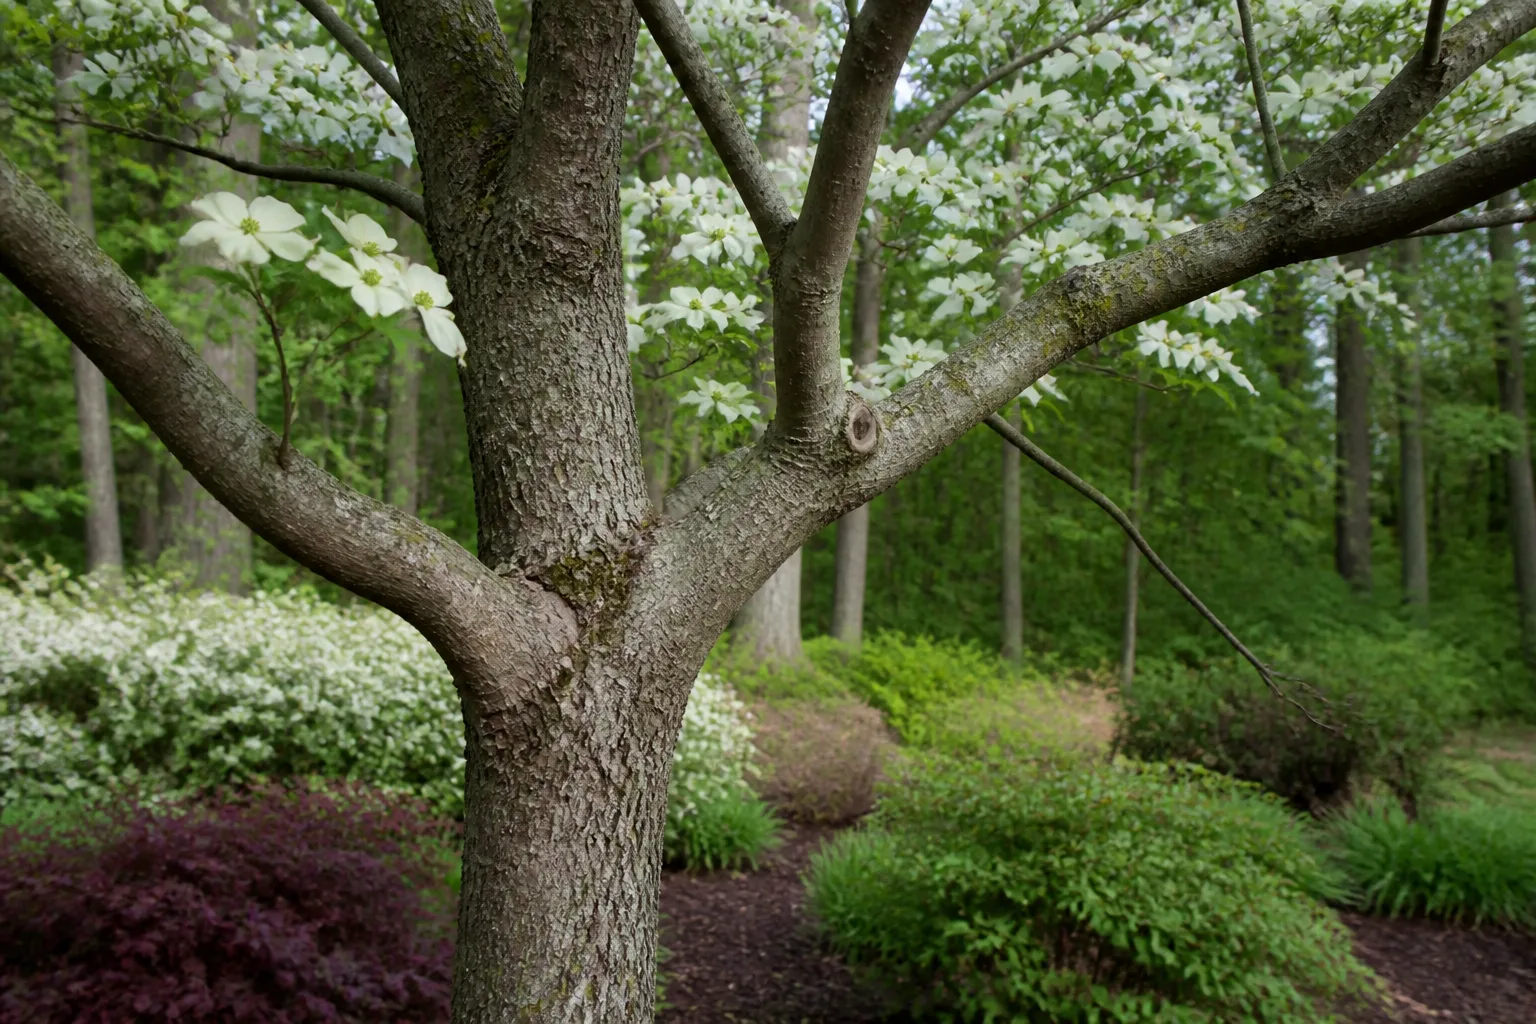
The same structural thinking applies to stubs. A branch removed partway back is not “finished” if the cut leaves a dead peg that cannot support new growth. Return to a sound lateral, the trunk, or the branch collar as appropriate, but do not keep shortening the branch into larger and larger wounds simply to make the outline look tidy.
Use the three-cut method for heavy limbs
A heavy branch can tear down a strip of bark when its weight drops. To prevent that, make an undercut on the underside a short distance out from the final cut, then make a top cut slightly farther toward the branch tip to remove most of the weight. Finish by removing the remaining stub just outside the branch collar.
The RHS describes this as an undercut and overcut sequence and recommends breaking very long limbs into manageable sections. The method protects the trunk, but it does not make a large tree a beginner project. If the branch requires a ladder, chainsaw, climbing, work near wires, or a position beneath the falling limb, stop and hire a qualified professional.
Never paint, wrap, or bind a routine pruning wound as a substitute for a correct cut. The RHS notes that wound paints are generally unnecessary and may not improve healing; particular fruit-tree disease situations can be exceptions, which is another reason to identify the plant before treating a cut.
Mistake 5: Using Dull, Dirty, or Wrong-Sized Tools
The tool should match the branch, not your determination to finish the job with one favorite pair of shears. Bypass pruners are suited to clean cuts on smaller live stems, loppers provide more reach and leverage for thicker branches, and a pruning saw is the right choice when the branch exceeds the safe capacity of a cutting blade. Forcing a small pruner through wood bends the tool and crushes the plant tissue.
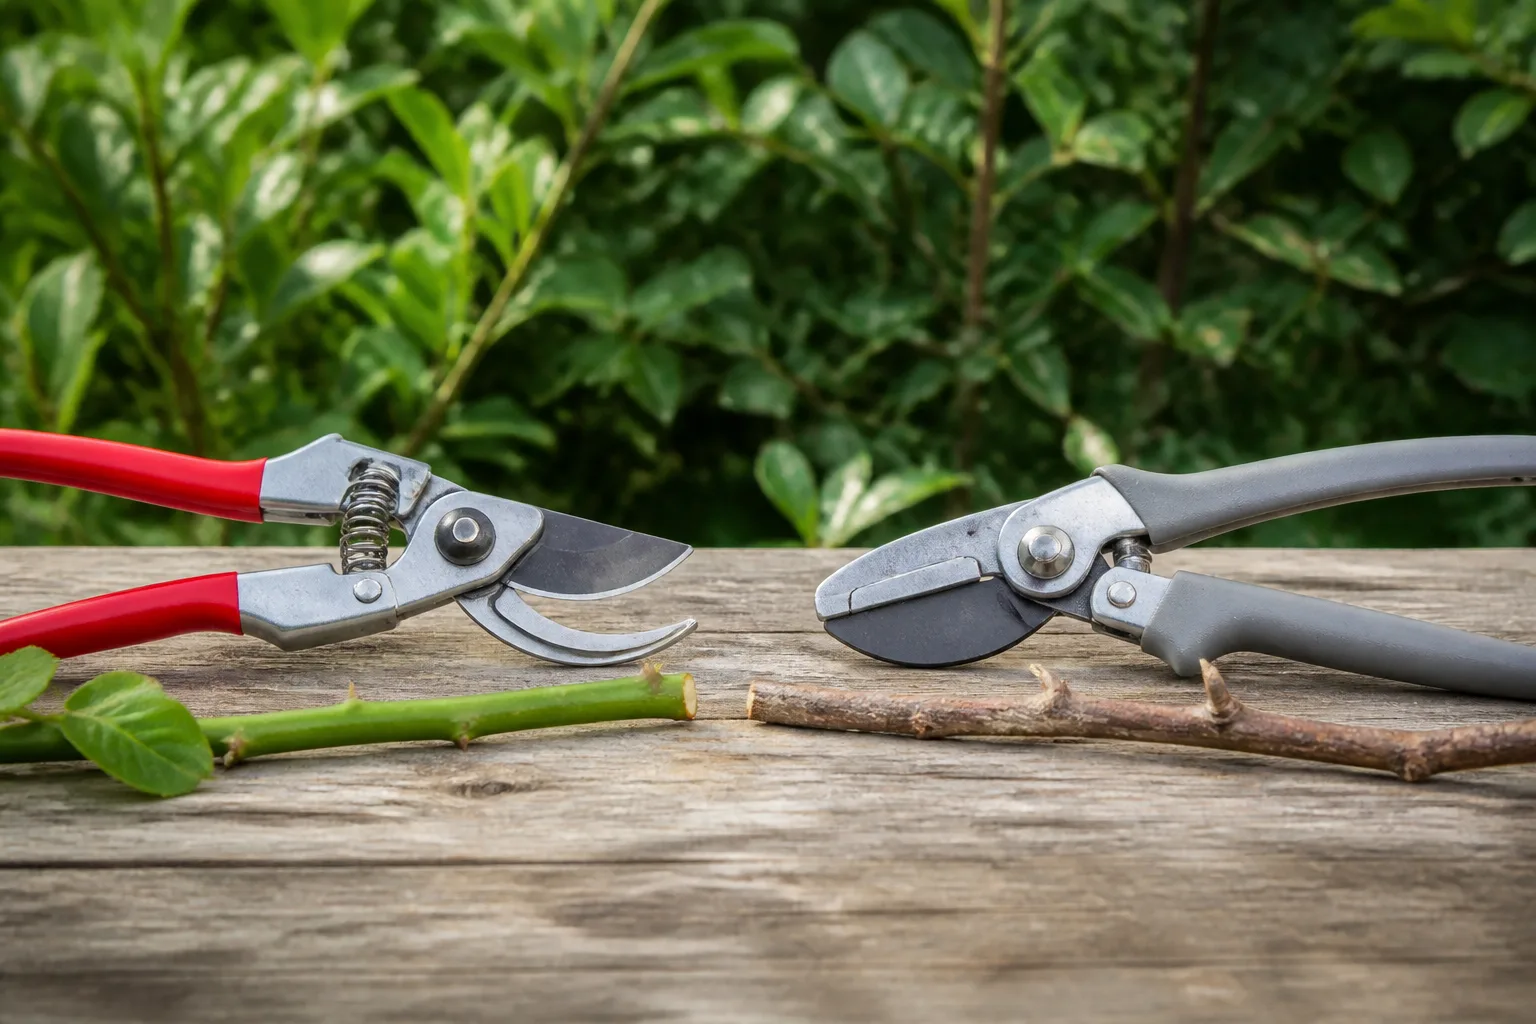
Sharp blades matter because a clean cut leaves less shredded tissue to dry back. Dirty blades matter because sap, soil, and diseased plant material can move from one host to another. The RHS specifically recommends cleaning tools with disinfectant between cuts when removing diseased wood, and Savvy Gardening recommends wiping tools between tomato plants to reduce the chance of spreading disease.
Clean the blade before you start, during a session when you move from a suspect plant to a healthy one, and at the end of the job. Follow the label for any disinfectant you use, keep the blade dry and lightly maintained afterward, and do not confuse disinfecting the tool with sterilizing every surface of a large tree. Good sanitation reduces avoidable spread; it does not cure a plant that already has a disease.
The Safer Fall Pruning Sequence
When fall is a suitable window for a particular plant, use a sequence that protects you from the most common escalation: one necessary cut turns into an hour of reshaping. Start by walking around the plant, viewing it from several angles, and identifying branches that are dead, diseased, damaged, crossing, or clearly out of place.
Then work in this order:
- Remove immediate hazards first. Deal only with branches that are broken, hanging, blocking a safe path, or rubbing in a way that is actively damaging bark.
- Clear the three D’s. Remove dead, diseased, and damaged wood back to healthy tissue or a proper branch junction, disinfecting the blade when disease is involved.
- Thin congestion selectively. Remove an entire branch at its origin instead of trimming every twig at the outside edge. Keep the plant’s natural scaffold and allow light into the interior.
- Make reductions to laterals or buds. Choose the branch or bud that can carry the next season’s growth, and check the final outline before making another cut.
- Stop before the plant looks “perfect.” A slightly uneven healthy plant is easier to correct next season than a plant that has lost too much canopy.
This order separates health work from cosmetic work. It also gives you a natural stopping point: once hazards and deadwood are gone, you can put the tools away and use the remaining time to confirm bloom timing rather than cutting from impatience.
How Much Can You Remove Without Setting the Plant Back?
There is no universal percentage that is safe for every species, age, climate, and pruning objective. A young, stressed, recently transplanted plant has less margin than an established vigorous shrub, and emergency removal of diseased wood follows a different logic from cosmetic shaping. “It will grow back” is not a sufficient reason to remove healthy branches.
For mature trees, use a conservative benchmark rather than a personal guess. In its tree-pruning guidance, the RHS advises avoiding removal of more than one-fifth of the canopy in a year because hard pruning can trigger vigorous watershoots and leave the tree struggling to rebalance its crown. Treat that as a useful upper boundary, not a target to fill.
For overgrown shrubs, renovation is often safer when spread across seasons. The RHS shrub guide describes removing a portion of old stems each year, with the exact schedule depending on the shrub’s flowering time. If a shrub needs more than light shaping, remove the oldest or weakest stems at their base and leave younger productive stems to carry the current season.
If the plant is already sparse, drought-stressed, pest-damaged, or recovering from a root problem, reduce the scope further. Fix the underlying stress, wait for healthy growth, and return with a smaller cut. A plant cannot replace lost foliage quickly if its roots, water supply, or light are already limiting it.
When Dead, Diseased, or Damaged Wood Cannot Wait
Dead, diseased, and damaged branches are the main reason to break a seasonal pruning rule. Dead wood can break and create an entry point for decay; diseased wood can spread into healthy tissue; and a torn branch can continue splitting after the original storm. The RHS recommends removing diseased or damaged wood when it is first noticed, provided the work can be done safely.
Look for clues before cutting. Dead twigs are brittle and lack living buds; a living stem may show flexible tissue, swelling buds, or green beneath a thin scratch, though scratching bark is not necessary on every branch. Disease can appear as cankers, discoloration, ooze, dieback, or unusual bark changes, but symptoms overlap, so do not diagnose a complex tree problem from a single photograph.
Cut below the visibly affected tissue and stop if the problem extends into a major limb or trunk. Bag or otherwise dispose of clearly diseased material according to local guidance rather than placing it into a home compost pile. If you are making repeated cuts into a tree’s main structure, seeing rapid dieback, or dealing with a protected or unusually valuable tree, get an arborist’s assessment.
What to Do After a Pruning Mistake
The first repair is to stop cutting. Put down the tool, step back, and take photos from all sides. Many gardeners worsen a bad cut by trying to “even things out,” removing healthy branches until the plant looks symmetrical from one angle but severely depleted from the others.
If you left a stub, do not automatically cut it shorter. Decide whether it is attached to a small stem, a larger branch, or the trunk, then wait for a dry, suitable day or ask a professional to assess the structure. If you cut too close to a bud or collar, the wound cannot be put back; the best response is correct aftercare and patience, not wound paint or an improvised patch.
Keep the plant’s root zone evenly cared for according to its normal needs. Avoid compensating with a heavy dose of fertilizer or constant watering, both of which can create a second problem while the plant is trying to recover. Watch for new growth, dieback below the cut, cracking, or signs of disease, and use the next growing season to make smaller corrective cuts if the plant remains vigorous.
Species and Situation Exceptions
The safest general rule is “identify first,” because exceptions are not rare. Conifers often do not regrow from old bare wood, so cutting beyond the green, bud-bearing growth can leave a permanent brown gap. Evergreens also retain foliage through winter, so a late fall cut can leave them with less leaf area at the very time cold and wind increase stress.
Some trees are best pruned outside the ordinary dormant-season pattern. The RHS lists cherries and plums as trees commonly pruned from spring into summer in its climate guidance because of silver leaf disease risk, while birch and Japanese maple may bleed heavily when sap rises. Magnolias and walnuts also have timing considerations related to sap flow and wound healing.
These are not instructions to copy blindly across continents. Disease pressure, frost dates, rainfall, cultivar, and local regulations vary. Use the examples as a reminder that “prune after the leaves fall” is a prompt to investigate, not a complete prescription.
Young trees and newly planted shrubs
Newly planted trees and shrubs usually need light shaping, not a dramatic makeover. Their first priority is root establishment, and removing a large portion of the top can reduce the foliage that supports that process. Keep only the cuts that correct a clear structural issue, remove damage, or prevent competing growth from becoming a larger problem later.
Young trees may benefit from formative pruning over several years to establish well-spaced branches and, where appropriate, one central leader. Inspect them annually, remove small problems while they are easy to reach, and resist the temptation to make the tree look mature before its trunk and root system are ready.
A 10-Minute Pre-Cut Checklist
Use this short pause before every fall pruning session:
- Identity: Do I know the plant and whether it flowers on old or new wood?
- Objective: Am I removing a hazard, deadwood, congestion, or only a cosmetic nuisance?
- Weather: Are the branches dry, unfrozen, and still enough to work safely?
- Wildlife: Have I checked for active nests or other protected habitat?
- Cut: Am I returning to a bud, healthy lateral, or branch collar instead of leaving a stub?
- Amount: Can I solve the problem with fewer cuts, and should larger reductions wait?
- Tools: Are the blades sharp, clean, and sized for the branch?
- Exit plan: What will make me stop before I start reshaping the entire plant?
If the answers are clear, begin with the smallest number of cuts that meets the objective. If two answers are uncertain — especially plant identity, structural safety, or the location of a power line — postpone the work or ask a local horticulture professional for help. Good pruning is as much about knowing when to stop as knowing how to cut.
Conclusion
Healthy pruning is selective, seasonal, and tied to the plant in front of you. Avoid wet, frozen, or dangerous conditions; learn the bloom habit before removing living wood; replace tip shearing with purposeful cuts; keep tree leaders and branch collars intact; and use sharp, clean tools that match the branch.
Fall can be a useful inspection and maintenance season, but it is not a universal pruning appointment. Remove genuine hazards and the three D’s when needed, then save major shaping or renovation for the window that gives that particular plant the best chance to flower, seal cuts, and replace growth.
The best result is not the most perfectly clipped outline on the day you finish. It is a plant with sound structure, enough foliage to recover, and a clearer path to healthy growth next season.



