Why Mold Grows in Toilet Bowls and How to Stop It
Learn why mold grows in toilet bowls, how to tell mold from scale or biofilm, and which cleaning, ventilation, and plumbing fixes actually last.
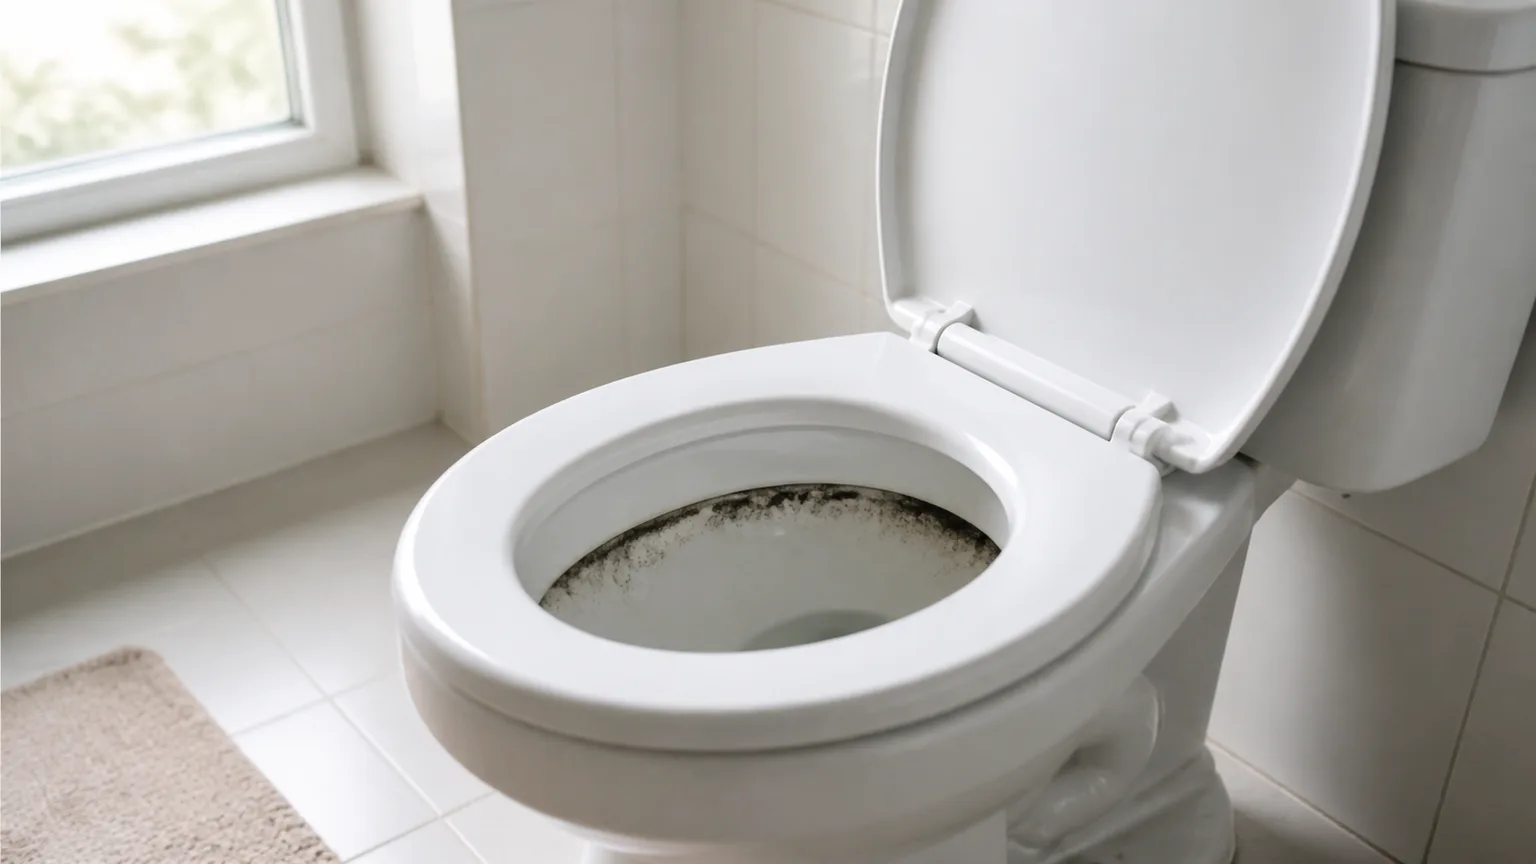
A toilet bowl is a hard, washable surface, but it is also a small reservoir that stays wet all day. If a dark ring returns soon after cleaning, the problem is usually not that you need a stronger fragrance or a more aggressive scrub. Something is preserving moisture, leaving a film behind, adding mineral scale, or quietly moving contaminated water from the tank into the bowl.
The useful fix is to treat the cause and the surface in the right order. First decide whether the dark material is actually mold. Then clean the porcelain with a product and tool that fit the job, test the toilet for a silent leak, and reduce the moisture that lets the stain return. The same process works whether the bowl is in a guest bathroom, a basement, or a toilet that sits unused for weeks.
First, Make Sure It Is Actually Mold
The word “mold” is often used for any dark or slimy toilet stain, but appearance alone cannot identify an organism. The UK Drinking Water Inspectorate explains that damp household fixtures can show biofilms, mold, slimes, and staining, including slimy deposits above the waterline in toilet cisterns and bowls. That means a black ring may be a mixture of fungi, bacteria, algae, mineral residue, and trapped soil rather than one named species of mold.
That distinction changes the first move only slightly: remove the buildup from the nonporous surface and correct the moisture source. You do not need a home test kit to decide whether to scrub a visible ring. You do need to avoid treating color as proof that you have toxic “black mold,” or assuming that one disinfectant can solve a recurring water and scale problem.
Mold, Biofilm, Algae, or Mineral Scale?
Use the texture and location as clues, not as a laboratory diagnosis.
| What you see | More consistent with | What to check next |
|---|---|---|
| Soft, fuzzy, or slightly raised dark patches that return in damp conditions | Mold or mildew mixed with residue | Moisture, ventilation, and how completely the ring is scrubbed away |
| Slippery or gelatinous pink, orange, gray, or black film | Biofilm or mixed microbial growth | Low-use toilet, tank, rim holes, and cleaning film |
| Greenish film in a bright bowl that sits unused | Algae or algae-like growth | Daylight, standing water, and flush frequency |
| Hard white, tan, or chalky crust with dark material caught in it | Mineral scale holding a film | Hard-water deposits and a toilet-safe scale remover |
| Orange, brown, or black discoloration that does not feel slimy | Iron, manganese, rust, or another stain | Water supply, old plumbing, and the manufacturer’s stain guidance |
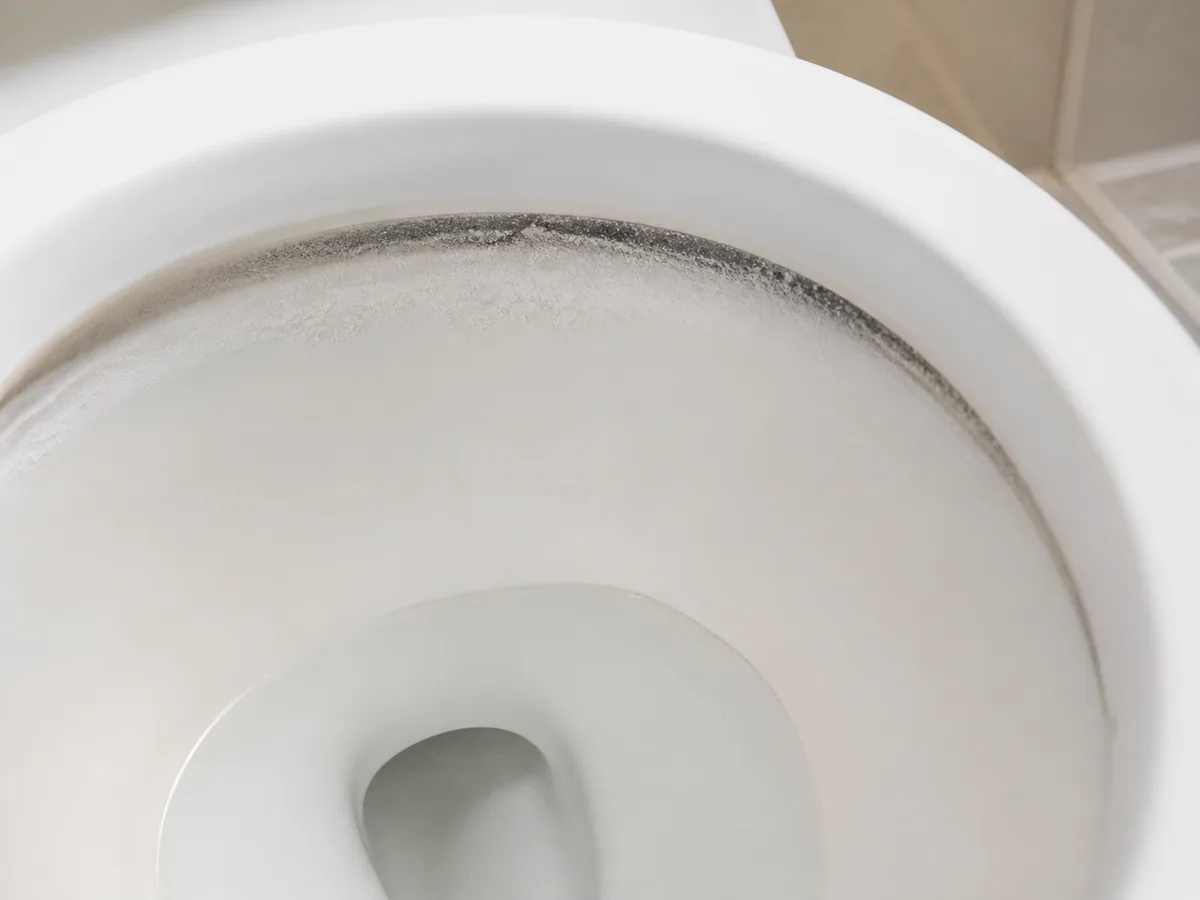
The ring may contain more than one layer. A rough scale ridge can hold a thin film, and scrubbing only the visible dark color can leave the anchor behind. If the ring disappears with a proper clean but returns at the same waterline, look for the repeat trigger rather than escalating immediately to a harsher chemical.
The One-Minute Triage
Before you clean, answer four questions:
- How quickly does it return? A mark that reappears within a few days points toward an unfinished film, a leaking flapper, tank contamination, or constant moisture. A mark that takes a month may be ordinary buildup accelerated by humidity or hard water.
- Is the toilet used regularly? A guest or basement toilet has more time for a film to develop undisturbed.
- Is the ring exactly at the waterline? A stable line suggests the bowl is repeatedly wet at that height; a spreading patch above the bowl suggests splash, condensation, or a nearby building-moisture problem.
- Does the tank look dirty too? If the tank has a dark film, rust, or scale, cleaning only the bowl is treating the downstream symptom.
If anyone in the home has asthma, chronic lung disease, severe mold allergies, or immune suppression, do not make that person clean the growth. The CDC cleanup guidance recommends protecting the mouth, nose, skin, and eyes during mold cleanup and identifies those groups as more vulnerable to serious effects.
Clean the Bowl Correctly Once
The goal is not to sterilize a toilet forever. It is to physically remove the film, dissolve or loosen scale with a compatible product when needed, rinse the surface, and leave the bowl less hospitable to reattachment. The EPA advises scrubbing mold from hard surfaces with detergent and water and drying completely; it also emphasizes that moisture control is the key to preventing regrowth.
A Safe Cleaning Sequence
For a small amount of growth on the porcelain, use this order:
- Ventilate first. Run an exhaust fan that vents outdoors or open a window if conditions allow. Put on waterproof gloves and eye protection. If you expect a lot of visible mold, splashing, or prolonged disturbance, use the level of respiratory protection recommended by the CDC rather than dry-scrubbing the surface.
- Lower the water level if the label allows it. Turn off the supply valve and flush once, or follow the toilet-cleaner label. A lower waterline exposes more of the ring and prevents the product from being diluted immediately.
- Apply one toilet-safe cleaner. For a film, an unscented detergent or a toilet-bowl cleaner used exactly as labeled may be enough. For hard scale, choose a product specifically labeled for toilet-bowl mineral deposits and check your toilet manufacturer’s care instructions.
- Give it the labeled contact time. A chemical that is rinsed off immediately may never do its stated job. Keep the lid, seat, and surrounding surfaces free of splash.
- Scrub the rim, bowl, and waterline. Use a toilet brush that reaches under the rim. Work around the full ring instead of polishing only the darkest spot. Mechanical removal matters because dead mold and loosened residue can still remain allergenic; the EPA notes that killing mold is not the same as removing it.
- Flush and rinse the brush. If the stain remains, stop and reassess whether scale or iron is holding it in place. Do not keep adding product on top of the first one.
- Dry nearby surfaces. Wipe splashes from the outside of the bowl, base, floor, and wall. Do not leave a wet bath mat or a puddle around the toilet to recreate the moisture problem.
For routine care, a weekly clean is a reasonable starting point for a toilet that repeatedly develops a film. Once the underlying cause is fixed, the interval may stretch, but the test is the bowl—not a calendar promise. If a toilet stays unused, flush it and inspect it on a planned schedule instead of waiting for a visible ring.
Why “Just Add Bleach” Often Fails
Bleach can disinfect under the right label directions, but it is not a substitute for scrubbing, rinsing, or fixing moisture. The EPA does not recommend biocides such as chlorine bleach as a routine mold-cleanup practice; it says dead mold may still trigger allergic reactions and must still be removed. The CDC likewise says to follow the bleach product label, ventilate, clean visibly dirty surfaces first, and never mix bleach with another cleaner or disinfectant.
Toilet products create an extra trap because many bowl cleaners are acidic while bleach is a chlorine product. Using one after the other without fully rinsing can release dangerous vapors. Choose one product for one cleaning session, follow the label, and do not pour a second chemical into the bowl because the first one “did not work fast enough.”
Avoid routine in-tank tablets unless your toilet maker specifically approves that design. Sterling’s toilet-care guidance warns that in-tank cleaners can damage flush valves and other parts, and it recommends using a bowl cleaner inside the bowl rather than treating every toilet surface with the same product.
Reason 1: A Thin Film Is Left Behind
The most ordinary reason mold or black biofilm returns is that the last cleaning removed the color but not the film. A quick squeeze of gel around the bowl can brighten the waterline while leaving residue under the rim, in the trapway, or on a scale ridge. The remaining film gives airborne spores and other organisms a damp surface to settle on again.
The correction is technique, not maximum chemical strength. Brush under the rim, across the entire waterline, and around the bowl’s curve. Use a separate cloth for the outside of the toilet, rinse the brush after use, and allow the brush to dry in its holder rather than sealing it wet in a container.
If the ring lifts with detergent and scrubbing, keep the routine simple. If it feels gritty or remains as a hard shadow, treat scale or rust next. A toilet brush will not dissolve a mineral crust, and a scale remover may not remove the microbial film by itself. Two different layers can require two different, fully separated cleaning sessions.
Reason 2: The Toilet Sits Unused
Unused water is not automatically dirty, but a quiet toilet receives fewer flushes and less disturbance. The waterline stays in one place, the rim may remain damp, dust can settle, and any film in the bowl or tank has time to build. This is why a guest toilet, vacation-home toilet, or rarely used basement toilet can look worse than the family toilet that is cleaned less carefully but flushed every day.
For an unused toilet, flush it periodically and clean it before a long vacancy. Keep the seat and lid open while the bowl dries between cleanings if that is practical and safe, but close the lid before flushing. The goal is modest air movement and regular turnover, not leaving the bathroom permanently open.
If the toilet is unused because it is cold or damp, address that room too. A cold bowl can collect condensation when warm humid air enters, especially in a basement. Insulate cold water pipes where appropriate, keep the room from becoming a sealed damp pocket, and check the floor and wall around the toilet for moisture.
Reason 3: Moist Bathroom Air Keeps Rewetting the Rim
Every shower adds water vapor to the room. When that humid air meets a cold toilet, tank, pipe, or tile surface, condensation can keep the rim damp long after the shower ends. The bowl then gets cleaned but is repeatedly re-wet before it has a chance to dry.
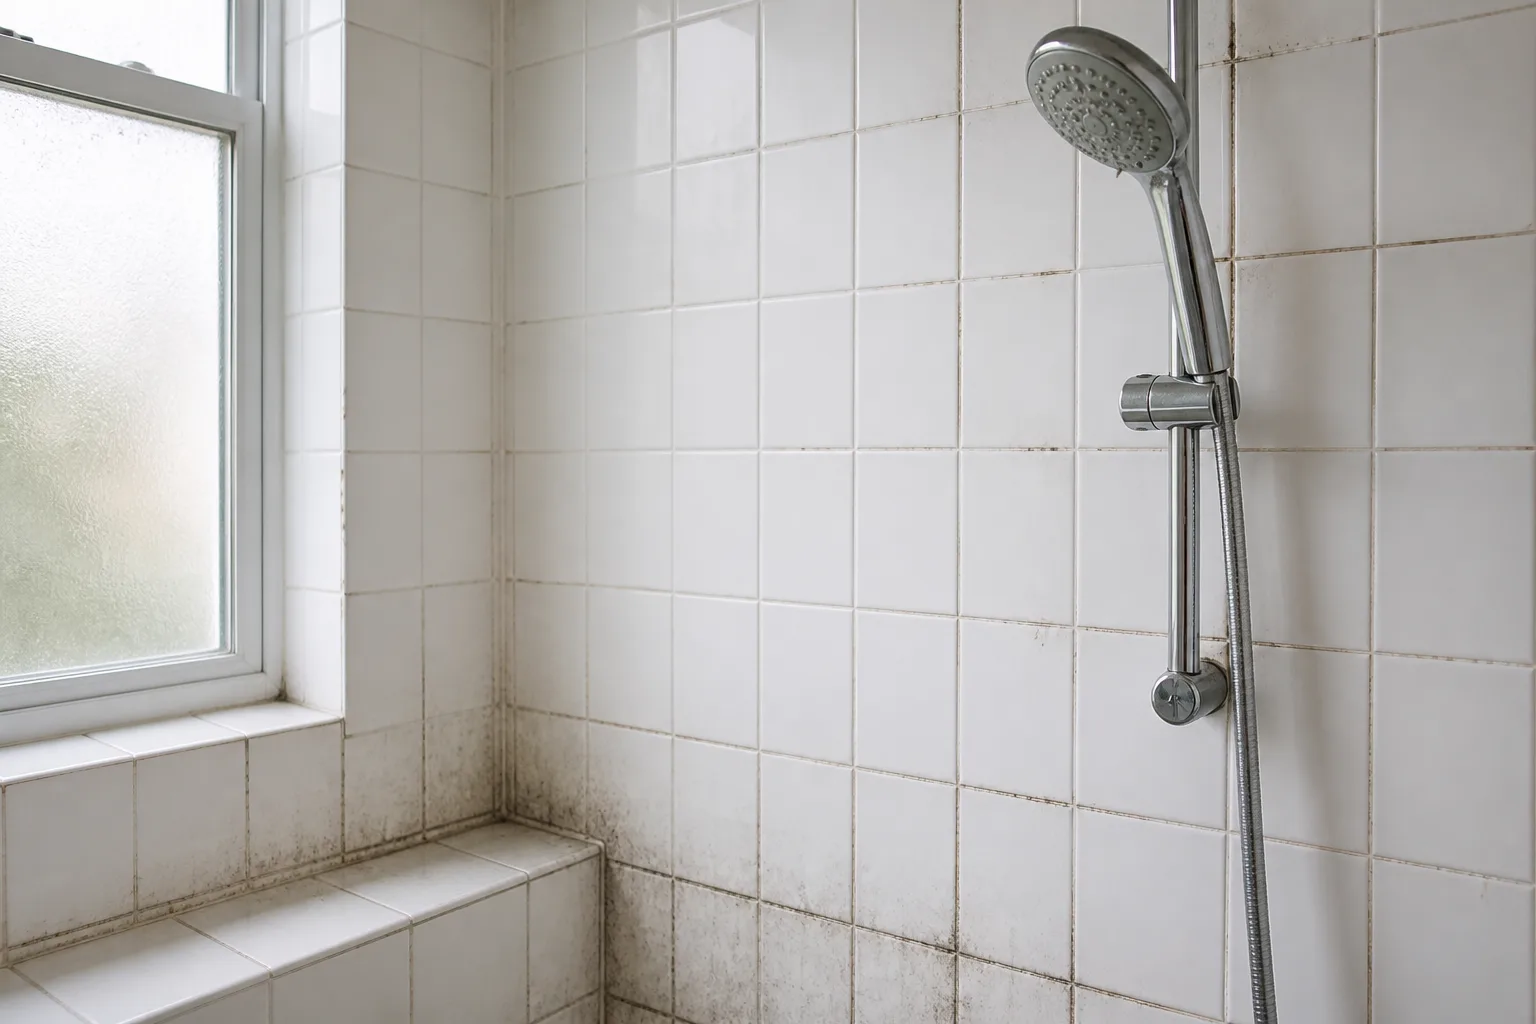
Use the exhaust fan during a shower and continue running it afterward according to the fan or timer instructions. It should exhaust outdoors, not into an attic or another enclosed space. If the fan makes noise but the mirror stays fogged and the room remains damp, check the grille, duct path, and exterior termination; a spinning fan is not proof that it is moving enough moist air.
The EPA recommends keeping indoor relative humidity below 60 percent when possible, ideally between 30 and 50 percent, and using a humidity gauge to measure rather than guess. If the bathroom stays above that range, a dehumidifier outside the splash zone may help, but it will not replace a fan that is venting incorrectly or a plumbing leak that is feeding water into the room.
Look for clues beyond the bowl: condensation on the tank, damp caulk at the base, peeling paint, swollen trim, musty odor, or mildew on the ceiling. If those appear, the toilet ring is only one visible symptom of a larger moisture problem.
Reason 4: Hard Water Scale Gives Buildup a Rough Surface
Hard water is water with higher concentrations of dissolved calcium and magnesium. The USGS explains that hard water can leave mineral buildup on plumbing fixtures and cause scale deposits. Hardness itself is generally a nuisance rather than a health risk, but the resulting crust changes the surface you are trying to clean.
Porcelain that is smooth to the touch gives residue fewer places to anchor. A chalky ridge or rough mineral deposit can trap soap, dust, iron, and microbial film at the waterline. That is a more defensible explanation than saying mold “feeds on” calcium or magnesium: the scale is a physical shelter and a sign that water chemistry is making cleaning harder.
Check for a white or tan crust under the dark ring, reduced flow from the rim holes, spotting on faucets, or scale inside the tank. Use a commercial mineral-deposit cleaner that is labeled for toilets and safe for your fixture, or follow your toilet maker’s instructions. Sterling recommends a commercial cleaner intended for hard-water deposits and says to follow the package directions.
Do not scrape porcelain with a knife, steel wool, or an abrasive pad. Scratches can make future residue harder to remove. If a product requires an acid cleaner, keep it completely separate from bleach and any other product, wear the protective equipment on the label, and rinse as directed before attempting a different cleaning step. A water softener may reduce future scale throughout the home, but it is a larger water-treatment decision—not the first response to one toilet ring.
Reason 5: The Tank or Toilet Is Feeding the Problem
The tank is the upstream part of the system. A tank with a dark film, rust, sediment, or scale can send some of that material through the flush valve and rim holes. The bowl may look clean for a day and then receive more residue with every flush. Cleaning the bowl alone cannot stop that cycle.
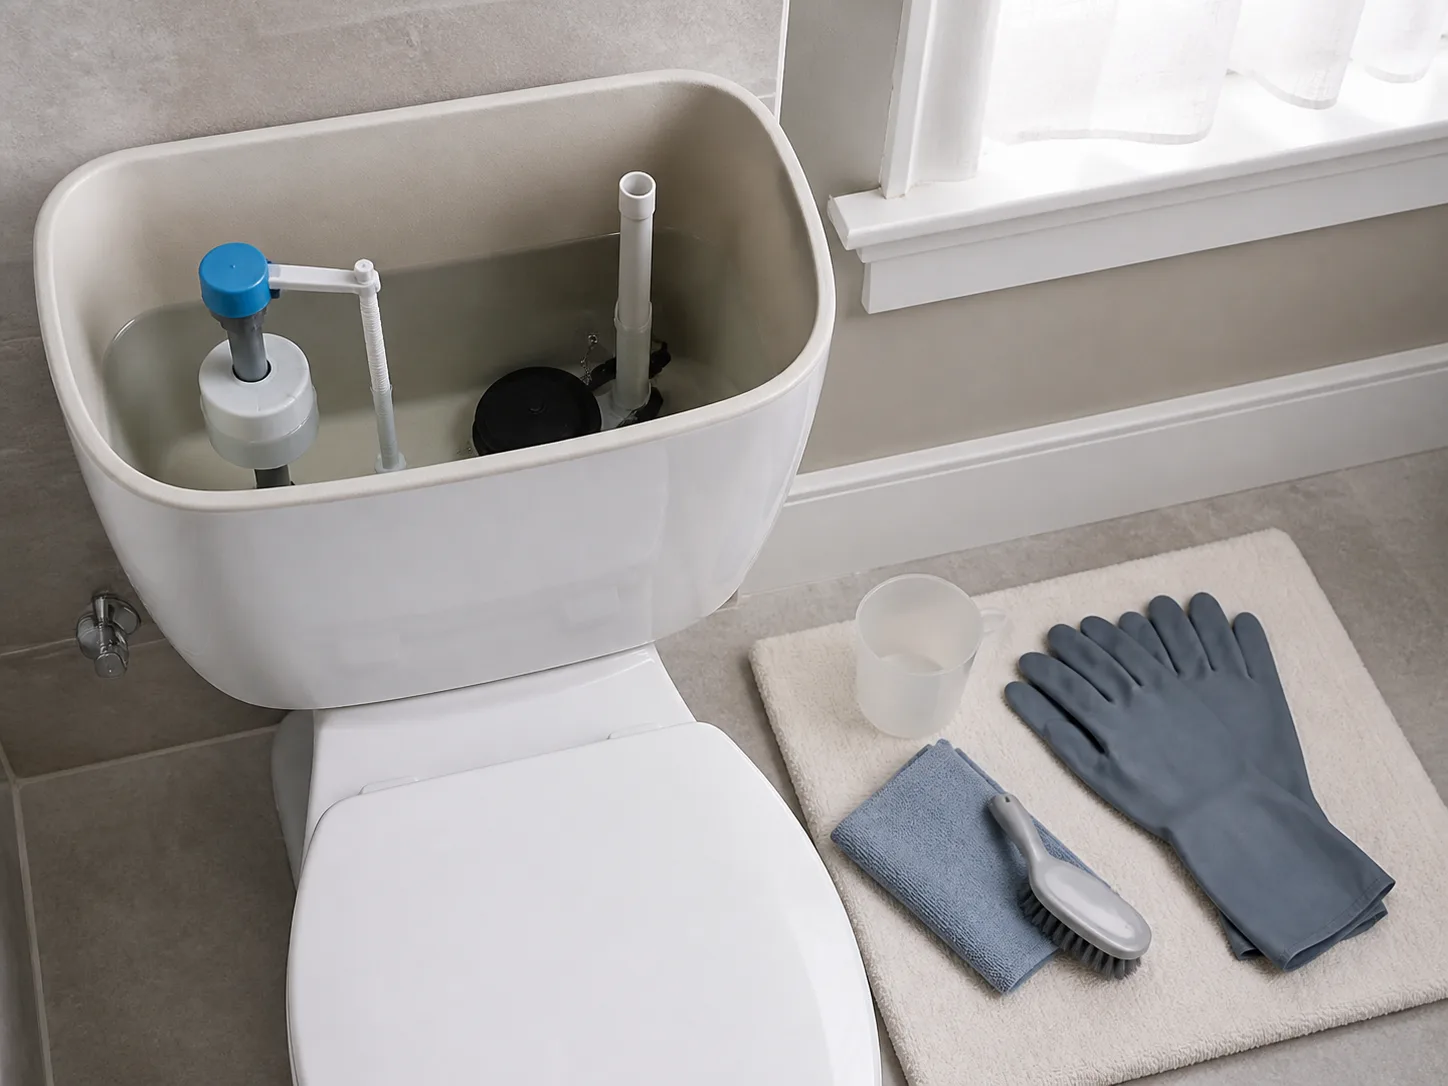
Turn off the water supply before inspecting the tank. Lift the lid carefully, look for a dirty waterline or scale on the walls and components, and check whether water is flowing continuously into the overflow tube. Do not pour bowl cleaner into the tank. Clean the tank only with a method approved for your toilet model, and rinse thoroughly so residue does not remain on the rubber and plastic components.
Check for a Silent Flapper Leak
A small leak can keep the bowl’s water moving and the rim wet even when the toilet does not sound as if it is running. The simplest check is the EPA WaterSense dye test: put a few drops of food coloring or a dye tablet in the tank, wait 5–10 minutes without flushing, and look for color in the bowl. Flush immediately after the test so the dye does not stain the tank or bowl.
If color reaches the bowl, the flapper or flush-valve seal is leaking. Check the chain for tangles, then replace the worn part with one that matches the toilet model. If the dye test is positive after a replacement, or if the toilet has a cracked tank, bowl, or supply connection, call a plumber instead of compensating with more cleaning.
A dye test does not diagnose every possible problem. It is aimed at tank-to-bowl leakage; it will not rule out condensation, a supply-line leak, a seal at the base, or water entering from a wall. Treat it as one useful branch in the diagnosis.
Inspect the Tank and Rim Holes
The underside of the rim is easy to ignore because it is hard to see. Scale or slime there can discolor the bowl with every flush and reduce the force of the rinse. Shine a flashlight under the rim after flushing, and look for blocked holes, dark streaks, or crust.
Do not poke metal objects into the holes or use a cleaner that the manufacturer says can damage internal parts. A toilet-safe scale product, a soft brush, and a careful rinse are safer starting points. If the rim holes are heavily blocked or the flush has weakened, a plumber may be able to restore the passage without replacing the toilet.
A Seven-Day Reset Plan
When the cause is not obvious, use a short reset that changes one variable at a time.
Day 1: Clean and document. Photograph the ring before cleaning, note whether it is soft or crusty, and clean the bowl and reachable under-rim surface with one compatible product. Rinse the brush and wipe nearby splashes dry.
Day 2: Inspect the tank. Look for film, rust, scale, overflow-tube flow, or a water level that does not match the toilet’s instructions. Do not add bowl cleaner to the tank. If you see continuous flow, repair or arrange a repair before judging the cleaning result.
Day 3: Run the dye test. Add dye to the tank, wait 5–10 minutes, inspect the bowl, and flush. A positive result moves the problem from “cleaning routine” to “flapper or flush-valve repair.”
Days 4–5: Measure the room. Use a hygrometer if the bathroom feels damp. Run the exhaust fan during showers and afterward, and inspect whether it actually vents outdoors. Wipe condensation from the tank and nearby surfaces.
Day 6: Check for scale. Feel the waterline and inspect the tank, rim holes, faucets, and shower for mineral crust. If scale is present, choose a toilet-safe labeled remover and use it in a separate session from bleach or any other cleaner.
Day 7: Recheck the pattern. If the bowl is clean and dry, keep a weekly inspection for a few weeks. If a film returns within days, stop cycling through products and address the positive clue: low use, high humidity, scale, tank contamination, or a leak.
This reset is deliberately slower than pouring several cleaners into the bowl, but it creates information. If the ring returns after each flush, inspect the tank and rim. If it returns after every shower, correct ventilation. If it returns only in a vacant bathroom, change the low-use routine. If it returns with a rough white crust, treat scale rather than calling the dark color a mystery.
What Not to Mix or Use
The safest toilet-cleaning rule is simple: one product at a time, exactly as labeled.
- Never mix bleach with vinegar, citric acid, toilet-bowl acid, ammonia, hydrogen peroxide, or another disinfectant.
- Do not layer a bleach product over an acid bowl cleaner because the bowl still smells “cleaner.” Rinse thoroughly and allow the area to ventilate before any separate product session.
- Do not use an unlabeled homemade concentration when the product label gives a dilution and contact time.
- Do not use steel wool, knives, wire brushes, or aggressive abrasives on porcelain or plated parts.
- Do not put a bowl cleaner into the tank unless the toilet manufacturer explicitly says it is safe for that model.
- Do not close a wet brush in a dark holder or leave damp rags around the toilet.
Bleach fumes are not a test of cleaning power. If your eyes or throat burn, leave the room, get fresh air, and follow local poison-control or emergency guidance if symptoms persist. Never ask a child, a person with asthma, or an immunocompromised household member to handle the cleanup.
When to Call a Plumber or Mold Professional
Call a plumber when the toilet runs continuously, fails the dye test, loses water for no obvious reason, has a cracked component, leaks at the base, or has a persistent weak flush with blocked rim holes. A plumber is also the right choice when you cannot tell whether water is coming from the tank, supply line, floor seal, or inside the wall.
Call a mold or water-damage professional when growth extends onto drywall, ceiling, flooring, or cabinetry; when there is a sewage backup or flood; when a hidden leak is suspected; or when the affected area is more than a small hard-surface spot. The EPA recommends professional help when a hidden mold problem is suspected. For a small bowl ring, the main reason to escalate is not the color—it is the unresolved moisture, the inaccessible source, or the health risk.
If the bowl keeps showing a faint stain but the toilet passes the dye test, the tank is clean, the room is dry, and the mark does not grow, you may be looking at permanent discoloration or a mineral/iron stain rather than active mold. Clean as your fixture allows, keep the surface dry, and avoid damaging the porcelain in pursuit of a perfectly white finish.
Conclusion
When mold or dark biofilm keeps growing in a toilet bowl, the recurring moisture is the real problem. Start by removing the film from the porcelain, then check the five repeat triggers: an incomplete clean, an unused toilet, humid bathroom air, hard-water scale, and a dirty or leaking tank.
The most useful next action is the one that matches the clue. Run the fan and measure humidity if the room stays damp. Flush and inspect a rarely used toilet. Test the tank with food coloring if the bowl stays wet or the toilet runs. Treat mineral crust with a toilet-safe labeled product in a separate session. If the problem reaches walls, floors, or hidden plumbing, stop escalating household chemicals and call the right professional.
You do not need to sterilize the bathroom or prove the exact species of mold to make progress. You need a clean nonporous surface, less standing moisture, a working toilet, and a routine that catches the ring before it becomes a layered buildup.



