How to Remove and Clean a Faucet Aerator
Step-by-step guide to removing and cleaning a clogged faucet aerator. Fix low pressure in 15 minutes without a plumber.
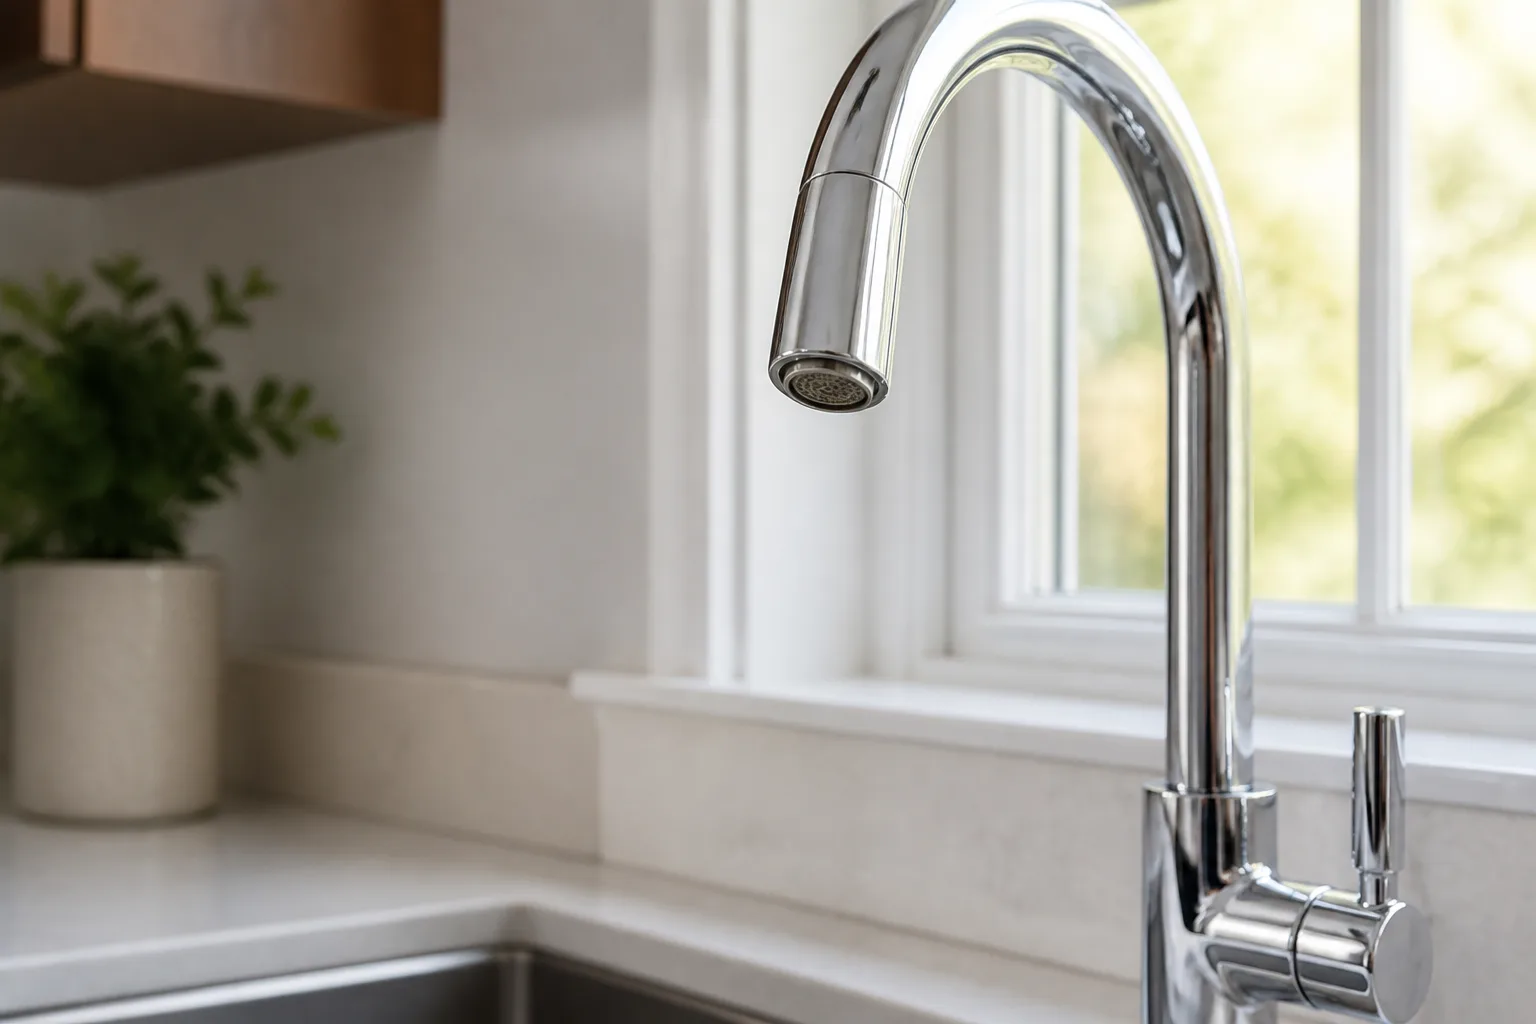
A weak, splattering faucet stream is one of those small household annoyances that feels like it should require a plumber. In most cases, the real culprit sits at the very tip of the spout: a faucet aerator—a screw-on screen assembly that mixes air with water, controls flow, and catches sediment. When mineral scale or grit clogs that mesh, pressure drops and spray goes sideways. Removing and cleaning the aerator usually takes 10 to 20 minutes, costs nothing beyond white vinegar, and restores flow without touching supply lines or cartridges.
This guide walks you through identifying which aerator you have, removing it safely (even when it is stuck), cleaning or replacing the parts, and putting everything back together so the stream feels normal again.
Why Your Faucet Aerator Deserves Attention Before You Call a Plumber
Homeowners often assume low pressure means a pipe problem, a failing cartridge, or an issue at the water meter. Aerator clogs mimic all three—but the fix is dramatically simpler. The aerator is the last restriction point before water leaves the spout, so any debris that makes it through household plumbing tends to collect there first. Kitchen sinks that handle dish rinsing see food particles; bathroom faucets in hard-water regions accumulate calcium within weeks.
Calling a plumber for an aerator clog wastes money and time. A service call for a five-dollar part is common enough that water utilities publish DIY cleaning guides encouraging residents to maintain aerators themselves (Denver Water). Before you schedule help, spend one afternoon on the aerator. If flow does not improve after a thorough cleaning, you have ruled out the easiest fix—and you can describe the symptom more accurately to a professional.
What a Faucet Aerator Actually Does
A faucet aerator is a small fitting threaded onto (or recessed inside) the spout outlet. Inside the housing you will typically find a fine mesh screen, a flow restrictor, a mixer plate that introduces air, and sometimes rubber washers or O-rings. Together these parts break one solid jet into many tiny streams, which feels fuller on your hands while actually using less water.
Aerators are not decorative. They are a deliberate water-efficiency device installed at the factory or added during retrofits. Federal standards cap most bathroom faucet flow at 2.2 gallons per minute (GPM); EPA WaterSense-labeled models run 1.5 GPM or less while still meeting performance criteria (EPA WaterSense). Denver Water notes that updating old high-flow aerators to efficient models can cut faucet water use substantially without changing how the stream feels at the sink (Denver Water).
How Aerators Save Water Without Ruining Pressure
The trick is air injection. By mixing air into the water column, aerators maintain perceived pressure even at lower flow rates. Remove the aerator entirely and water exits as a harsh, fast column that splashes everywhere—usable for filling pots quickly but wasteful for everyday handwashing. That is why bathtubs and clothes-washer hookups often omit aerators while kitchen and bathroom sinks include them.
When the mesh clogs, the restrictor cannot do its job. Flow drops, spray angles change, and you may hear sputtering as air pulls backward through partial blockages. Cleaning restores the engineered mix of air and water; replacing a worn unit can also upgrade you to a lower GPM rating if your existing aerator predates modern efficiency standards.
Signs the Aerator—not the Pipes—Is Your Problem
Aerator trouble has a distinct fingerprint. Look for these patterns before you touch a wrench:
- Slow flow on one faucet only while others run normally
- Uneven or off-center spray—water shoots to one side or fans outward
- Sputtering or pulsing when you open the handle fully
- White crust visible on the aerator housing or screen
- Reduced hot-water side only on a two-handle faucet (hot lines scale faster in some homes)
If every fixture in the house lost pressure simultaneously, suspect a main valve, pressure-reducing valve, or municipal supply issue instead. Aerator problems are almost always localized to a single spout.
Low Flow on One Faucet vs the Whole House
Run a quick isolation test. Turn on the problem faucet fully, then walk to another sink on the same floor. Normal pressure elsewhere strongly points to the aerator. For a more precise check, screw a pressure gauge onto an outdoor hose bibb—readings between 40 and 80 psi are typical for residential supply. Good pressure at the hose bibb plus weak flow at one sink confirms a fixture-level restriction, not a whole-house issue.
Compare hot and cold on the weak faucet. If only the hot side dribbles, sediment may have collected in the aerator after flakes traveled from the water heater. Clean the aerator first; if hot-side weakness returns within days, schedule a water-heater flush or inspect the hot supply line.
Identify Your Aerator Type First
Removal technique depends entirely on which aerator design your faucet uses. Spending thirty seconds on identification prevents scratched finishes, stripped threads, and the frustration of gripping a part that was never meant to turn by hand.
Standard Exposed Aerators
The most common type on older and mid-range faucets: a visible metal cap at the spout tip with knurled edges or flat gripping surfaces. You can see threads and often unscrew it by hand. These appear on many bathroom centerset faucets, utility sinks, and budget kitchen models.
Hidden (Cache) Aerators
Modern hidden, cache, or recessed aerators sit inside the spout opening so the tip looks flat and seamless. No external ridges to grab. Removal requires a cache aerator key—a small plastic or metal tool that fits notches inside the opening. Using pliers on a hidden aerator cracks the inner sleeve and gouges the finish. Keys cost a few dollars and come in multi-size sets; some manufacturers clip a key under the sink at installation (Outlook Homes).
Shine a flashlight into the opening. If you see small internal notches but no external cap, you have a cache aerator.
Pull-Down and Spray-Head Aerators
Pull-down kitchen faucets often hide the aerator inside the spray face rather than at a threaded spout tip. The entire face unscrews or releases with a key, exposing the screen and restrictor behind it. Some models use a drop-in aerator held by grooves that accept needle-nose pliers. Cover the sink drain with a towel before disassembly—washers and screens are easy to lose.
Check your faucet manual or the manufacturer’s website for spray-head diagrams. Forcing a threaded-spout method on a pull-down unit strips internal parts.
Tools and Supplies to Gather
Most jobs need only household items:
- Channel-lock or slip-joint pliers (for stubborn exposed aerators)
- Rubber band, jar grip pad, or rubber glove (friction without metal)
- Microfiber cloth or old T-shirt (buffer between pliers and finish)
- White vinegar (mineral dissolver—UAEX Extension lists vinegar among effective acid cleaners for mineral deposits and hard-water staining (UAEX Extension))
- Small stiff brush or old toothbrush
- Bowl or cup for soaking parts
- Penetrating oil (last resort for seized threads)
- Hair dryer (optional—metal aerators only)
- Cache aerator key (hidden types)
- Needle-nose pliers (pull-down spray faces)
Optional but useful: a dime-store aerator gauge or calipers to measure thread size if you plan to replace the unit. Aerators are sold by male vs female thread and diameter (metric sizes like M22 and M24 are common).
How to Remove a Standard Exposed Aerator
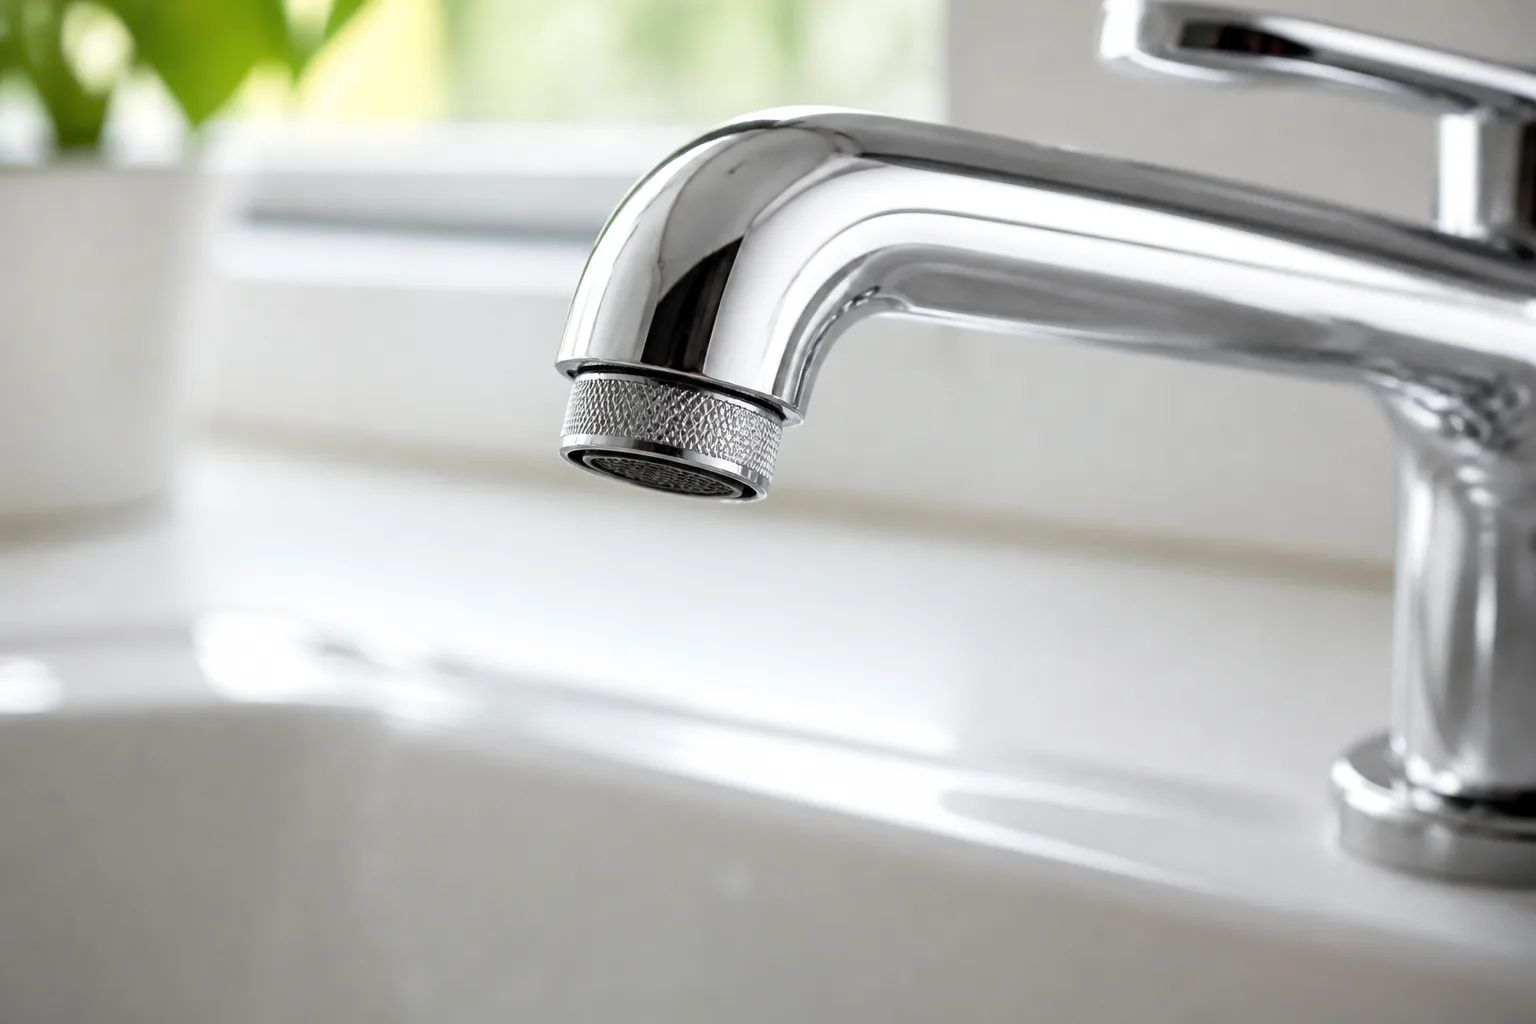
Work top to bottom: start gentle, escalate only as needed. Every step assumes counterclockwise rotation when viewed from below the spout—the same direction as loosening a jar lid. Aerators are not reverse-threaded; they only look reversed when you stare down from above the sink.
Try Hand Removal First
Dry the aerator and your hands for grip. Grip the aerator housing—not the faucet spout—and turn counterclockwise. Many aerators installed within the past few years break free with moderate hand force. If it moves even slightly, keep turning by hand until the assembly separates.
Stop if your fingers slip toward the spout. Slip marks on chrome or brushed nickel are hard to buff out. Move to the friction methods below instead of muscling it.
Use a Rubber Band or Jar Grip
Wrap a wide rubber band around the aerator barrel, covering the full gripping surface. Press firmly and twist counterclockwise. The band adds friction while protecting plated finishes—ideal for brushed nickel, matte black, and living finishes where pliers would leave jaws marks.
A silicone jar opener or thick rubber glove works the same way. This alone frees many aerators bound by light mineral film.
Cloth-Wrapped Pliers When It Still Won’t Budge
Fold a cloth around the aerator so no metal jaw touches the fixture. Position channel-lock pliers only on the aerator housing—never on the spout neck. Squeeze firmly but do not crush the soft brass housing; aerator shells deform easily, which makes removal harder.
Turn counterclockwise in short bursts. If the aerator moves a quarter turn then sticks, reposition the pliers and try again from a new angle. As soon as it loosens, switch back to hand turning for the final rotations.
Freeing a Stuck Aerator Without Damaging the Finish
When hand force and pliers fail, mineral cement—not corrosion alone—usually binds the threads. Hard-water regions across the western and midwestern United States see this routinely. Escalate in this order:
Vinegar Wrap for Hard-Water Buildup
Soak a cloth or paper towel in undiluted white vinegar and wrap it tightly around the aerator, saturating the threads. Let it sit 20 to 30 minutes—up to an hour for heavy scale. Vinegar dissolves calcium carbonate without attacking most faucet finishes (UAEX Extension).
Remove the wrap, wipe the surface dry (wet metal is slippery), and retry the rubber-band or cloth-plier method. Vinegar alone solves a large share of stuck aerators in hard-water homes.
Heat and Penetrating Oil—When and When Not to Use Them
Heat can expand metal threads slightly. A hair dryer on low aimed at the aerator for two to three minutes may help—but only if you are certain the aerator has no plastic internal parts. Heat melts plastic flow restrictors and rubber washers. Never torch an aerator or use open flame.
Penetrating oil (WD-40 or similar) is a last resort. Spray a small amount at the thread junction, wait five to ten minutes, wipe the exterior completely so pliers can grip, then attempt removal. Oil makes the surface slick; wiping is essential. Avoid soaking rubber O-rings inside the aerator—penetrating oil degrades them over time. Rinse all oil residue before reinstalling.
If the aerator still will not move after vinegar, moderate heat (metal only), and oil, the threads may be cross-threaded or the housing crushed from prior overtightening. At that point, replacement of the entire spout tip assembly or professional extraction costs less than replacing a damaged faucet body.
Removing Hidden and Pull-Down Aerators
Hidden/cache aerators: Select a cache key that fits the internal notches. Insert it straight into the spout opening, seat it fully, and turn counterclockwise. The aerator cartridge should back out as one unit. If the key slips, try the next size up or down—universal kits include four to six profiles.
Pull-down spray heads: Detach the spray wand per manufacturer instructions (some have a button release; others twist off at the hose coupling). On the spray face, look for grooves or a locking collar. Use the provided key, or needle-nose pliers in the grooves, turning counterclockwise. Lay parts on a towel in removal order.
Never pry a hidden aerator with a screwdriver blade. You will chip the spout lip and deform the retaining ring.
How to Clean a Faucet Aerator Properly
With the aerator off, separate the internal stack on a light-colored towel. Typical order from outlet side inward: outer housing, washer, screen, flow restrictor, mixer disc, another washer. Photograph the stack before you disassemble—reassembly order matters and parts look identical until they do not.
Disassemble, Soak, and Scrub
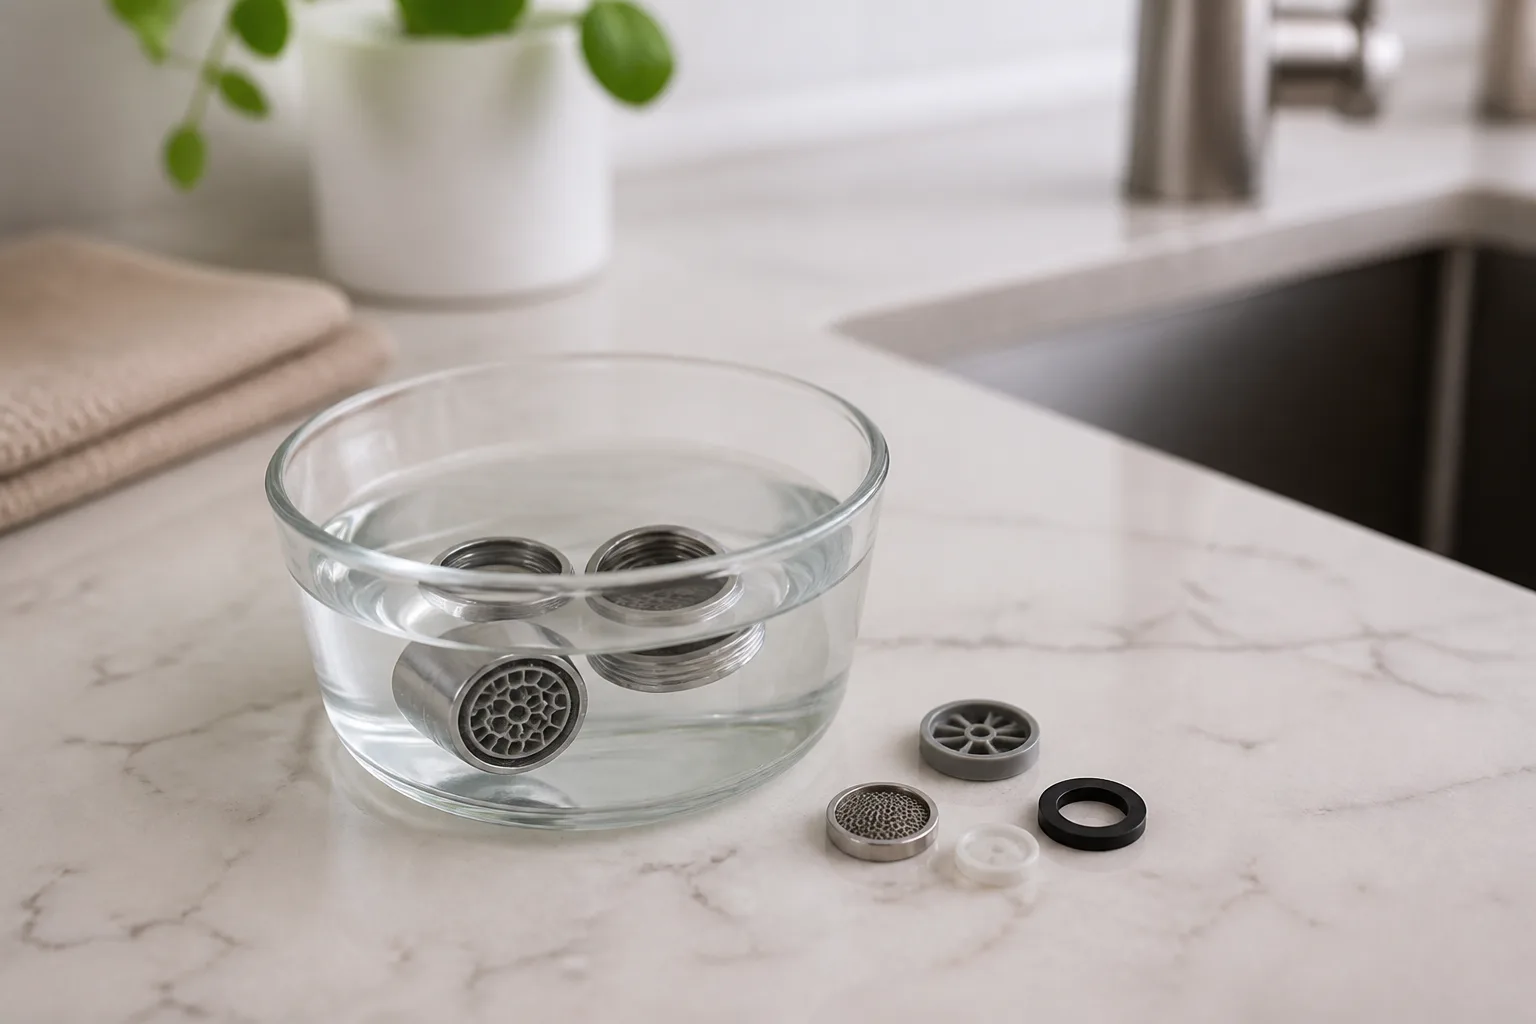
Rinse each piece under running water. Brush visible grit from the mesh with a stiff toothbrush. For chalky mineral scale, soak all metal and plastic parts (except rubber O-rings) in a bowl of equal parts white vinegar and warm water for 30 minutes to overnight. Heavy buildup may need a full-night soak.
After soaking, scrub again, rinse thoroughly, and hold the screen up to light—every hole should be open. Bent or torn mesh means replacement, not another soak. Reassemble the stack on the towel, matching your photo.
Flush the open faucet spout for 30 seconds before reinstalling the aerator. Sediment knocked loose during cleaning should exit the spout, not immediately re-clog the fresh screen.
The In-Place Vinegar Bag Trick
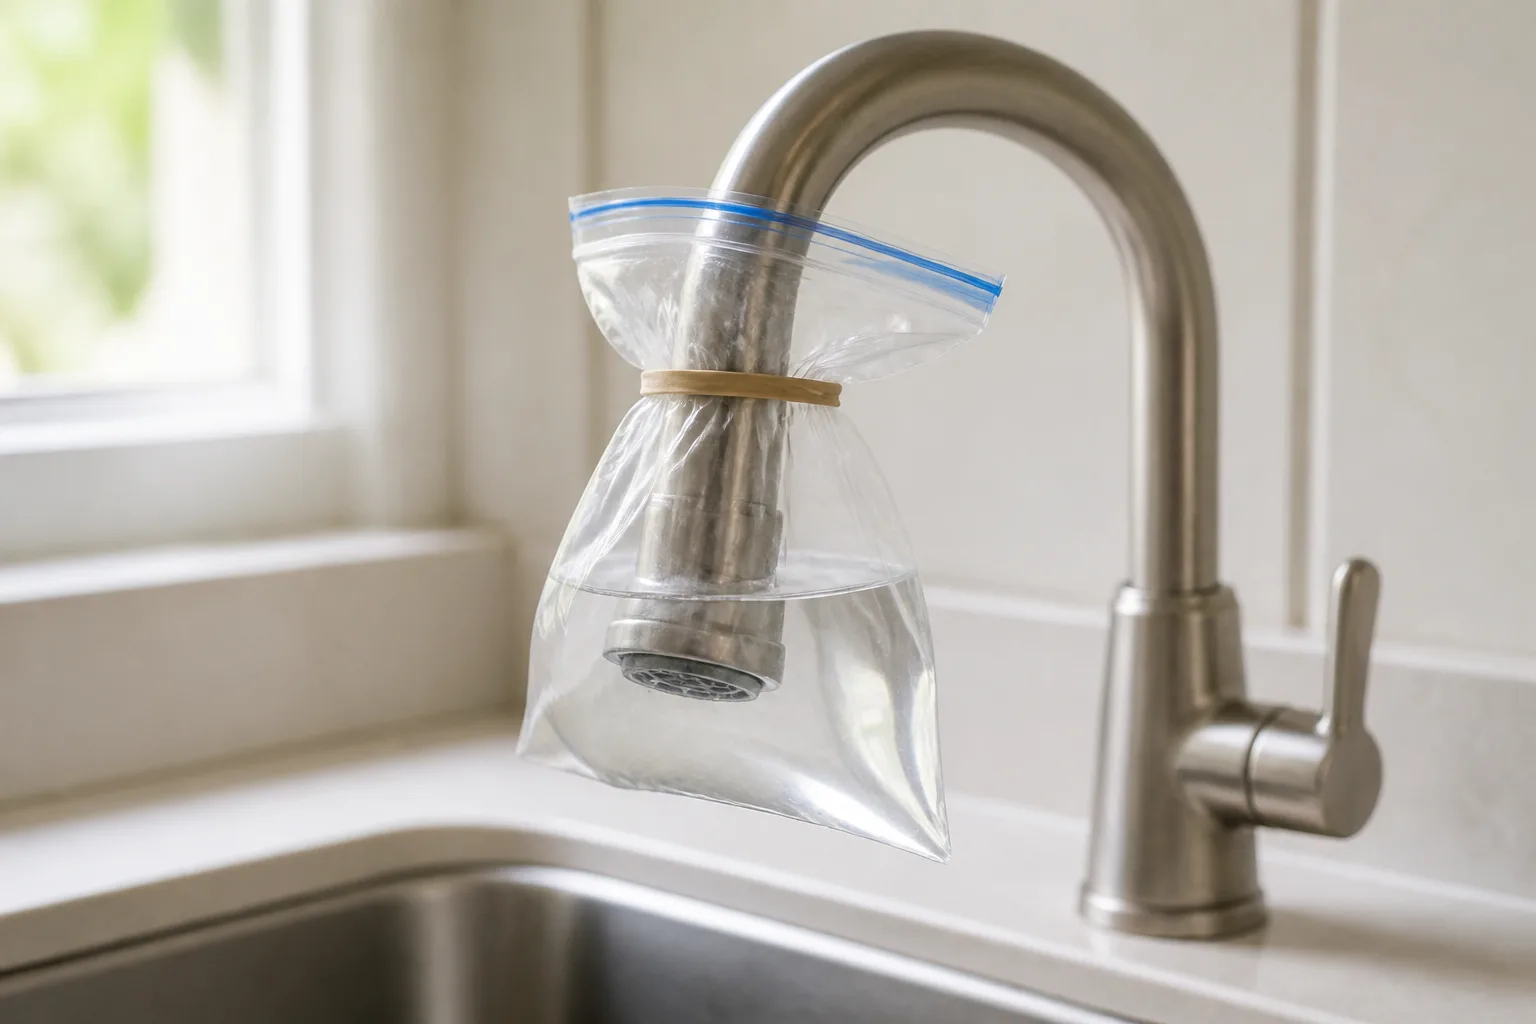
If the aerator will not budge and you need a temporary flow improvement, try cleaning in place. Fill a zip-top bag with vinegar, slide it over the faucet tip, and secure it with a rubber band so the aerator sits submerged. Wait 20 to 30 minutes, remove the bag, and run water. This dissolves external scale and some internal buildup without full disassembly.
In-place cleaning is a stopgap. It rarely clears packed sediment deep in the restrictor. Plan a full removal once the vinegar loosens the threads.
When to Clean, Replace, or Upgrade Your Aerator
Clean when flow is weak but the screen is intact and threads are undamaged. Most maintenance stops here.
Replace when you see rust through the mesh, cracked plastic restrictors, stripped housing threads, or bent metal that will not sit flat. Replacement aerators cost $3 to $15 at hardware stores. Match thread gender (male threads on the aerator screw into female spout outlets, and vice versa) and diameter.
Upgrade to a WaterSense-rated 1.5 GPM (bathroom) or 1.8 GPM (kitchen) model if your current unit is an old unrestricted type. Denver Water and EPA both emphasize that modern low-flow aerators maintain usability while cutting waste (Denver Water; EPA WaterSense). Swivel or adjustable aerators add spray patterns without removing the whole faucet.
Running without an aerator is possible temporarily—expect a harsh, splashy stream and higher water use. Do not leave a kitchen or bathroom faucet bare long term.
Reinstall, Test, and Fix Minor Leaks
Hand-thread the aerator onto the spout clockwise until snug. Do not start on a cross-thread—if it binds in the first turn, back off and realign. Run water at full volume and check for spray pattern and leaks around the aerator joint.
If water weeps around the threads, tighten one-eighth turn with cloth-wrapped pliers—no more. Overtightening crushes washers and makes the next removal miserable. Persistent leaking from the spout body (above the aerator) indicates a seat or cartridge issue, not an aerator problem.
In homes with older plumbing or recent water-main work, run both hot and cold for two minutes after reinstalling to clear loose sediment that cleaning dislodged. Properties with lead service lines or lead solder benefit from this flush step after any faucet disturbance; check your municipality’s guidance on post-work flushing if lead is a concern.
Maintenance Schedule for Hard-Water Homes
Preventive cleaning beats emergency removal of a seized unit. Use this cadence:
- Hard water (visible scale on showerheads and glass): inspect aerators every 3 months, soak in vinegar at the first sign of flow loss
- Soft water or filtered supply: annual inspection is usually enough
- After plumbing repairs or water-main breaks: clean all aerators once work completes—construction debris travels to the smallest screens first
- Vacation homes: clean on arrival; stagnant water accelerates mineral precipitation
Keep a cache key taped inside the sink cabinet if you have hidden aerators. Future you will not remember which size fit.
Conclusion
A clogged faucet aerator is one of the most common, most fixable causes of weak sink pressure—and one of the most overlooked. Identify whether you have an exposed, hidden, or pull-down spray aerator, remove it using the gentlest method that works, soak away mineral scale with vinegar, and reinstall hand-tight before snugging slightly with protected pliers. Most homeowners finish in under twenty minutes with tools already in the drawer.
If cleaning does not restore a full, even stream, you have still eliminated the cheapest variable—and you will know the problem lies deeper in the cartridge or supply line. For the majority of sputtering, slow faucets, though, the fix is sitting at the tip of the spout, waiting for a vinegar soak and a counterclockwise turn.



