Chaos Gardening: How to Start a Smart, Low-Risk Patch
Try chaos gardening with a plan: match seeds to your site, avoid invasive surprises, sow for better soil contact, and learn what to keep, thin, or remove.
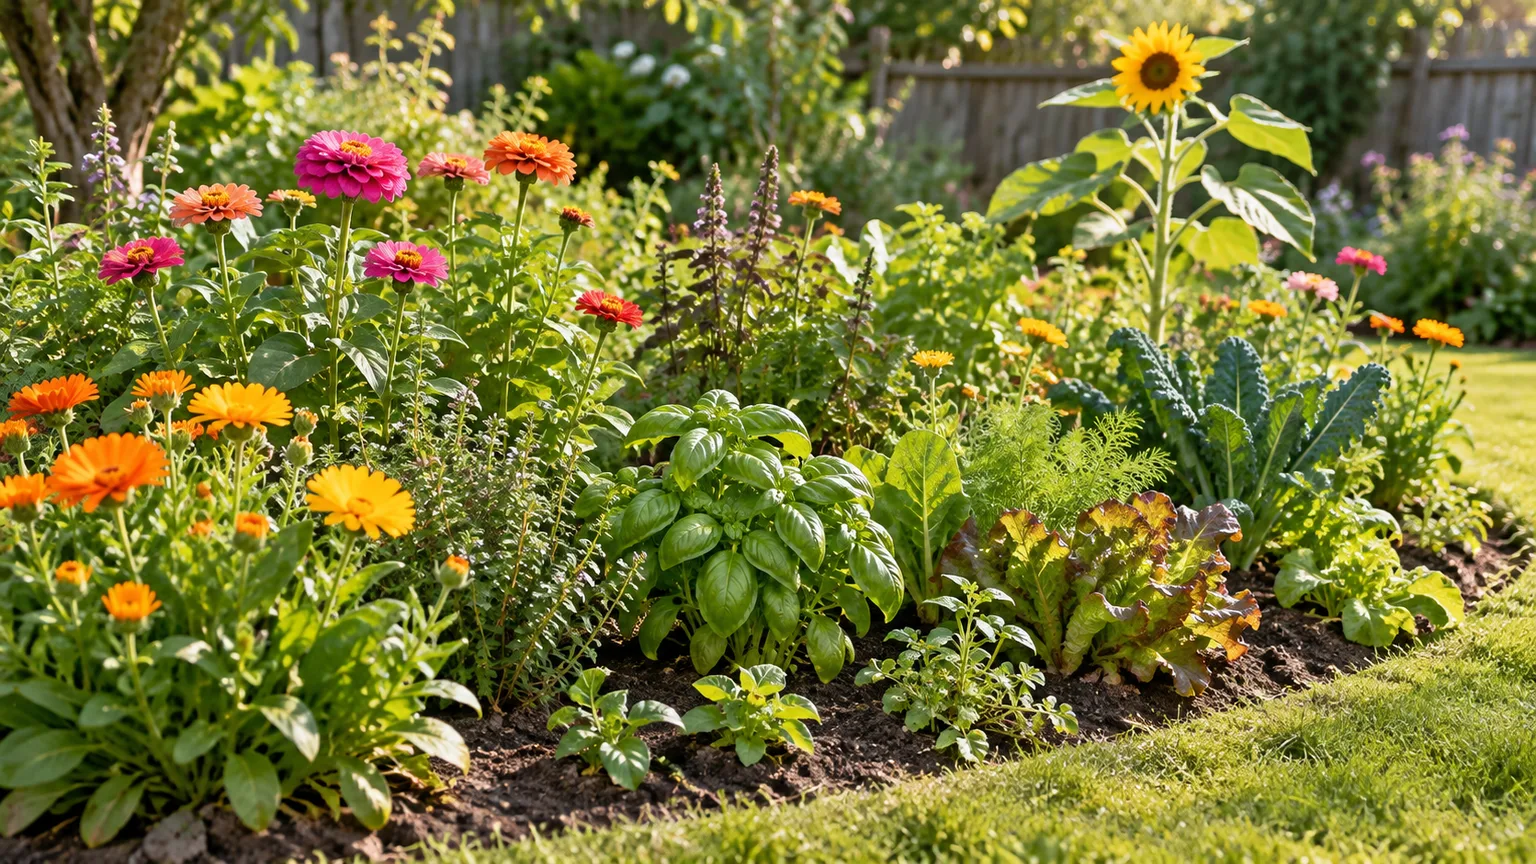
Yes, if you treat chaos gardening as a small, forgiving experiment rather than a promise that any handful of seeds will become a self-managing meadow. A relaxed planting can make room for surprise, but seed choice, site conditions, and early care still decide what has a chance to grow.
The most useful version has a clear boundary and a short, known seed list. That lets you keep the fun part—seeing which plants thrive—without surrendering the whole yard to mystery seedlings. If your goal is reliable native habitat, a productive vegetable bed, or a polished front border, use a more intentional planting plan and borrow the informal look instead.
The short answer: Try it small, but choose the seeds intentionally
Chaos gardening is worth trying when you have a spare corner, patio container, or prepared strip where uneven results would be acceptable. It is especially approachable for someone who wants to experiment, learn seedlings, or use a few compatible leftover packets. Start with an area you can inspect and maintain, not a whole lawn or the most visible bed.
The approach is less suitable if you expect a carpet of flowers in a few weeks, want a predictable harvest, or need to support a specific wildlife species. A seed packet is not a complete plan: its contents may want different light, moisture, sowing depths, or dormancy treatments. A little screening up front protects the spirit of spontaneity from the avoidable failures that come from putting mismatched plants in one place.
Think of it as loose placement, deliberate inputs. You can let plants decide their positions after germination while still deciding what species enter the patch, where seed lands, and what you will remove if it spreads. That balance is what makes the idea useful rather than merely random.
What chaos gardening means
“Chaos gardening” is an informal label for a relaxed planting style, not a standardized horticultural method with a fixed recipe. People use it for several different practices: scattering saved seeds, combining flowers and edible plants, allowing volunteers to remain, or creating a naturalistic bed without a rigid color or spacing plan. The common thread is less control over the final arrangement.
The name can make the process sound more hands-off than it is. Seeds still need conditions suited to their species, and germination remains dependent on weather, soil contact, moisture, light, and competition. UConn Extension’s 2026 discussion of the trend notes that results can range from a surprising mix to a disappointing patch, and recommends starting small, matching plants to site conditions, and learning to identify seedlings.
This is why a relaxed garden can still be knowledgeable. You do not have to map every plant in advance, but you should know whether the seed is appropriate for your region and whether the patch can support it. Randomness can decide placement; it cannot change a plant’s growing requirements.
The useful distinction: relaxed design versus random dumping
There are three different things that often get grouped under the trend. A prepared, bounded bed with a compatible seed mix is an informal garden. A native meadow is a deliberate habitat planting that uses species, seed rates, site preparation, and maintenance suited to an ecological goal. Tossing an unknown mix into dense grass and walking away is simply a low-odds sowing attempt.
The last approach usually disappoints because existing lawn and weeds already occupy the light, space, and soil surface that seedlings need. Gardeners’ World notes that broadcasting onto bare ground is easy but can produce irregular germination; it advises sowing thinly over moist, weed-free soil that has been raked level. That small preparation step does not make your design formal. It gives seeds a fair chance to meet the soil.
Use the following distinction when deciding how much structure to keep: be casual about where suitable plants land, careful about what you introduce, and attentive to the edges. An uneven mix inside a defined patch can read as intentionally naturalistic. Seedlings escaping into a vegetable row, a neighbor’s lawn, or a protected natural area create a different problem.
Why gardeners are drawn to it
The appeal is real: you can begin with inexpensive seed, avoid designing every inch, and learn from what actually thrives in your yard. A mixed planting also changes over time, so one season’s bare spots or unexpected blooms can inform what you sow next. For a new gardener, that trial-and-observation rhythm may feel less intimidating than trying to execute a perfect landscape plan.
There can be a habitat benefit when the chosen plants provide the right resources in the right place. Xerces Society guidance emphasizes regionally suitable seed mixes and plantings with species that support pollinators through a sequence of blooms. A random packet labeled “wildflower,” however, does not guarantee locally appropriate plants or meaningful habitat; check the species list and seed origin before making an ecological claim about your patch.
The style can also make gardening feel more expressive. Mixing a few flowers with herbs or vegetables can be attractive and productive, but edible plants have practical needs such as access for harvesting, room for mature growth, and reliable watering. Keep crops in a defined sub-area or container if you need to track varieties or avoid confusing edible leaves with ornamentals.
Where it works best
A chaos-style planting works best where you can tolerate uneven height, staggered bloom, and a few unsuccessful seeds. Look for a site that gets a reasonably consistent amount of sunlight, has workable drainage, and does not need to stay open for walking or play. A small patch beside a path or at the edge of an existing border is easier to observe than a broad, mixed-use lawn.
Match the format to your tolerance for uncertainty. Use a pot when you want easy containment and a quick reset; use a prepared bed when you want plants to establish and spread within a defined boundary; use an existing bed only where seedlings will not crowd prized plants. For a larger area, plan it as a meadow or lawn conversion instead of scaling up a handful of mystery seed.
Containers and small test plots
A container is a useful first trial because it limits where seeds can establish and makes watering straightforward. Choose a pot with drainage holes and a growing medium suited to the species; a container that dries quickly can be a poor match for seeds that need steady moisture. Mix only seeds with compatible light, temperature, and watering needs, then label the pot so you can identify what appears.
For an in-ground trial, outline a patch you can manage with a mower, edging tool, or hand weeding. A one-season test in a modest area teaches you which seeds germinate and how much attention they need before you commit a larger part of the landscape. If you want to compare results, make two small patches with different seed groups rather than one broad mixture that leaves you guessing which choice worked.
Existing borders and lawn edges
Established borders can accept spontaneous seedlings in open gaps, but scattering a mix over dense existing plants usually adds competition rather than diversity. Before sowing, make sure a new seedling can receive light and that you can distinguish it from plants you want to keep. Use a few marked pockets if the surrounding planting is valuable or has aggressive spreaders of its own.
Grass is an especially difficult surface because turf is already a dense competitor. A few seeds dropped into an intact lawn are unlikely to create a stable meadow; prepare a bare area first, or choose another spot. Keep a short-mown strip or crisp edge around a wilder planting when the patch borders a sidewalk, neighboring property, or community space. That visible cue can also make routine maintenance and local conversations easier.
When to skip it or scale it down
Skip broad seed scattering if you cannot identify the species in the mix, if the area has severe weed pressure, or if the planting could spread beyond your control. Avoid experimenting in a prominent front bed when your household, landlord, homeowners association, or municipality has rules about height, visible weeds, or unmaintained yards. Check the applicable rules before removing lawn or letting plants set seed; requirements differ by location.
Scale the idea down when the goal matters more than the surprise. A formal pollinator project should be designed around regional species, site conditions, and bloom timing. A vegetable garden should be planned around crop spacing, harvest access, and succession planting. You can still use a naturalistic arrangement within those systems, but an all-at-once mixture is a poor substitute for decisions that protect a specific outcome.
Also pause if you will not be able to water during establishment or check on the patch for a season. The idea is often described as low effort, but the easiest work is usually postponed to the beginning: selecting the seed, preparing soil, and removing unwanted seedlings before they mature. An unattended patch may need more cleanup later, especially if vigorous plants set seed or spread by roots.
Choose seeds before you scatter
Decide what you want the patch to do before opening seed packets. If the goal is color, select plants with overlapping but varied bloom windows and similar site needs. If the goal is local wildlife, prioritize regionally appropriate native plants and verify that the mix includes the species you actually want. If you want edible plants, keep the crop area legible and make sure you can harvest without trampling the rest.
A modest group of compatible species is often easier to understand than a grab bag of every leftover packet. This is a practical trial-design choice, not a universal ecological formula: use the seed supplier’s recommended mixture and rate for larger or habitat-focused plantings. Avoid combining tiny seeds that need surface sowing with large seeds that must be buried deeply unless you can sow each group separately at the correct depth.
Think about life cycle, too. Annuals may give earlier color, but whether they reseed depends on species, climate, and conditions. Many perennial wildflowers spend early growth establishing roots and may not flower in their first season. Penn State Extension cautions that mixtures can include both annuals and perennials, and that their bloom timing and persistence differ; treat the first season as information, not a verdict.
Match species to the site and purpose
Record the site’s sun exposure, soil moisture after rain, drainage, and approximate growing region. Then choose plants whose listed requirements overlap with those conditions. “Right plant, right place” matters even in an unstructured garden: a seed suited to a dry, sunny bed may fail in compact wet shade, while a shade-loving plant can disappear in a hot, exposed strip.
For a pollinator-focused patch, consult a regional Extension or conservation plant list and look for more than a single flush of bloom. Xerces Society seed-mix guidance describes regional mixes built for local conditions and a succession of resources; its regional habitat resources also direct gardeners to region-specific plant lists and suppliers. That does not mean every small garden needs a formal restoration plan, but it gives you a stronger starting point than a package image.
Native status is local, not a guarantee printed on a bag. A plant can be native to a broad country or continent yet unsuitable, non-native, or aggressive in your area. Check the botanical names against a state, provincial, or regional invasive-plant list. If a plant is restricted or considered invasive locally, leave it out; do not rely on a generic seller description to settle the question. Illinois Extension’s wildflower guidance recommends matching plants to their habitat conditions and sourcing native species from specialized nurseries.
Read the entire seed-mix label
Look beyond words such as “wildflower,” “pollinator,” “meadow,” or “native.” Read the species list and botanical names, and check the intended region, sun and soil conditions, annual or perennial status, sowing season, recommended depth, germination treatment, and spread characteristics. Illinois Extension explains that “wildflower” is not a defined botanical category and warns that mixes can include plants that are not native to the area or that may become problematic. Penn State Extension’s seed-mix review likewise recommends checking the botanical names and whether the mix suits the site.
If a packet does not identify its contents, find a different mix or sow it only where the consequences of uncertainty are low. Check for a supplier’s regional seed origin or provenance details when habitat value matters. For native plants, local ecotype can be relevant: a seed mix selected for a distant region may not be a suitable match simply because the species name looks familiar.
Do not pour every old packet into one bowl just because the seed is on hand. Some seed may be past its best viability, and packets may describe different planting depths, temperatures, or cold-moist treatment. Separate groups with incompatible instructions, keep each label, and use only seed that you can identify. If you cannot tell what a plant is after it sprouts, keep it in the trial area until you can identify it rather than scattering more of the same mix.
A low-risk way to start
The practical sequence is simple: choose a contained place, observe its conditions, screen the seed, clear competition, sow according to the packet, then watch and edit. This keeps the spirit experimental while avoiding the most common mistake—assuming that a packet’s attractive photograph tells you how its plants will behave in your yard.
Start with one small goal. For example: “I want a loose patch of flowers in this sunny strip, with no plant crossing the edging.” That is enough direction to choose a suitable mix and decide what you will remove, without prescribing a plant-by-plant layout. Keep the rest of your garden available for more predictable jobs such as cooking herbs or a walkway.
Map light, water, and boundaries
Watch the patch at different times of day and note where sunlight reaches it. Observe the soil after rain: does water drain quickly, sit in a puddle, or run downhill? You do not need a laboratory test for a small ornamental experiment, but a soil test or local Extension advice can be useful if the ground is unusual or you plan a larger planting.
Draw a simple boundary and decide how it will stay visible. Edging, a narrow mown border, a path, or a small container group can signal that the planting is intentional and help you avoid mowing seedlings by mistake. If the patch could spread toward a natural area, drainage channel, or neighbor’s property, choose non-invasive species with care and plan to remove seed heads before they disperse if needed.
Clear competing vegetation without overworking the soil
Seeds need access to soil and light, so do not scatter them over a dense lawn and expect them to push through. For a small test patch, remove turf and weeds manually or use a non-chemical smothering approach well ahead of sowing, allowing enough time for the chosen method and climate. Penn State Extension notes that wildflower mixes do not outcompete turfgrass or weeds; establishing a cleaner bed first can prevent the new seedlings from being shaded out.
Once the surface is clear, follow the species or supplier directions for seedbed preparation. A rake may be enough to loosen and level the top layer; deep cultivation can expose buried weed seed and create more work. Do not add rich compost or fertilizer automatically. Some wildflowers are adapted to lean soils, while vegetables and other species may have different needs; use local guidance or a soil test rather than feeding an unknown mixture.
If you choose a multi-season meadow or large lawn conversion, treat it as a separate project. Xerces’ meadow guide lays out site selection, preparation, plant selection, seeding, and ongoing management as connected steps. Those fundamentals still matter when the finished look is loose, but the scale and maintenance are beyond a casual scatter-and-see patch.
Mix, sow, press, and water
Follow the packet’s timing and sowing depth rather than a calendar date from another climate. Many small wildflower seeds need light or only a very shallow cover, while other species need deeper placement or cold-moist stratification. Fall sowing can supply winter dormancy conditions for some native perennials in cold climates; spring sowing is appropriate for other species or regions. Your seed’s instructions and regional advice should decide which applies.
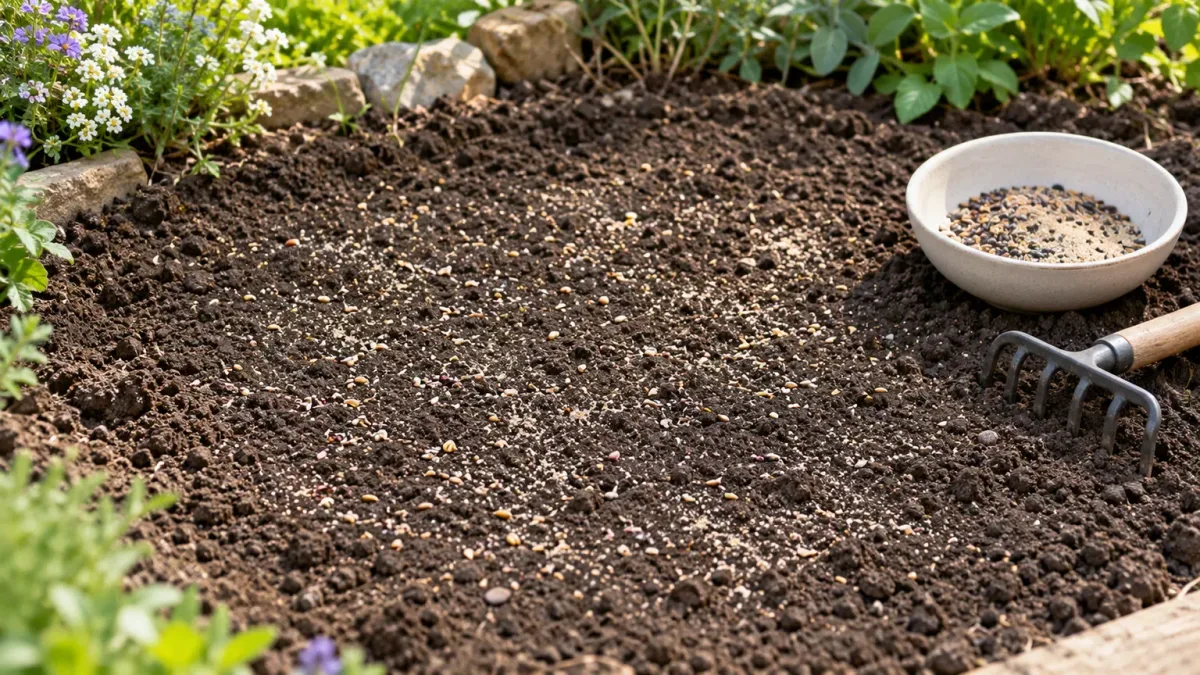
For small, similar seeds, a dry carrier such as clean sand can make the mixture easier to distribute. Divide the patch and seed into manageable portions, spread half while walking in one direction, then use the rest on a crosswise pass. This reduces the chance that most of the seed lands in one handful-sized clump. UNH Cooperative Extension’s wildflower-meadow guide likewise recommends dividing seed and sowing in perpendicular passes to spread small seeds more evenly. Do not add water to the seed-carrier mixture unless the supplier specifically recommends it; damp seed can stick and distribute unevenly.
After sowing, press seed gently against the soil or rake only as deeply as the seed instructions allow. The aim is contact, not burial. Water with a gentle spray so small seed is not washed into piles, and keep the seed zone moist through germination without leaving it waterlogged. The Old Farmer’s Almanac’s recent wildflower-seeding guide also stresses shallow sowing, moisture during sprouting, and matching the method to climate and seed requirements.
What to do during the first year
Give germination time, and learn what has emerged before editing heavily. Annuals may appear quickly in warm conditions; perennial seedlings can be slower or visually modest while roots develop. Keep the seed packets and compare young leaves with reliable plant references. Seedlings are easy to confuse, and pulling every unfamiliar plant can remove the plants you intended to grow.
Water according to weather and the seedbed, not a rigid daily schedule. Newly sown seed needs consistent moisture to germinate, but once plants are established, their water needs vary with species, soil, and rainfall. A container can dry much faster than an in-ground bed, and a hot, windy location can dry the surface even when nearby soil is damp. Check the patch directly before watering.
Remove plants you can confidently identify as unwanted, especially those on local invasive lists or those spreading beyond the boundary. For uncertain seedlings, wait for better identifying features or ask a local Master Gardener or Extension service. In a true meadow, first-year weed management can be more structured than this small garden trial; follow a region-specific meadow plan rather than applying a generic mowing height or frequency to every patch.
If the planting starts to crowd, thin selected seedlings to give the desired plants room. That is not a betrayal of the idea: it is the care that allows the plants you chose to grow well. Keep a simple record of sowing date, weather, which species appeared, and where they flourished. Those notes help distinguish a poor seed choice from a tough season.
How to judge the results and adjust
Judge the patch by its purpose, not by whether every seed germinated. A color experiment can succeed if it produces a few unexpected combinations that you enjoy; a habitat planting needs to be assessed against regional species suitability and resources for the wildlife you hope to support. A food patch should be assessed by harvest access and yield, not just visual fullness.
Walk the boundary and note four things: which plants established, which dominated, where bare spots remain, and what maintenance the patch demanded. If you get mostly one fast-growing species, do not automatically broadcast more seed; identify the plant and decide whether it belongs there. If the area remains sparse, consider whether the seed needed a dormancy treatment, whether sowing depth was off, or whether water drained or evaporated before germination.
Retain desirable plants selectively. Allowing a few compatible annuals to self-sow can preserve an informal look, while deadheading or removing seed heads from a plant that spreads too freely can keep the patch within bounds. Replace a failed seed group with plants suited to the conditions rather than increasing the number of species indiscriminately. A second season is a chance to improve the experiment, not evidence that the first had to be perfect.
Common failure modes and practical fixes
Nothing comes up. Check whether the seed was viable, planted at the instructed depth, sown at the right season, or dependent on cold stratification. Look for crusted soil, heavy rain that displaced seed, or a dry spell during germination. Before resowing, test a small amount under appropriate conditions or contact the seed supplier; repeating the same method may repeat the same failure.
The patch is mostly weeds. Existing weeds likely had a head start or the seedbed was not sufficiently clear. Identify the weeds before removing them, because some seedlings can resemble desired plants. For a next attempt, clear a smaller area more thoroughly and reduce ongoing seed production from problem weeds before adding seed.
One flower takes over. Fast germination, prolific self-seeding, or a mismatch in the mix may give one species an advantage. Identify it first, then deadhead, thin, or remove it before it sets seed if that fits local guidance. If it is invasive or regulated in your location, follow official removal advice; do not compost viable seed heads if that could spread them.
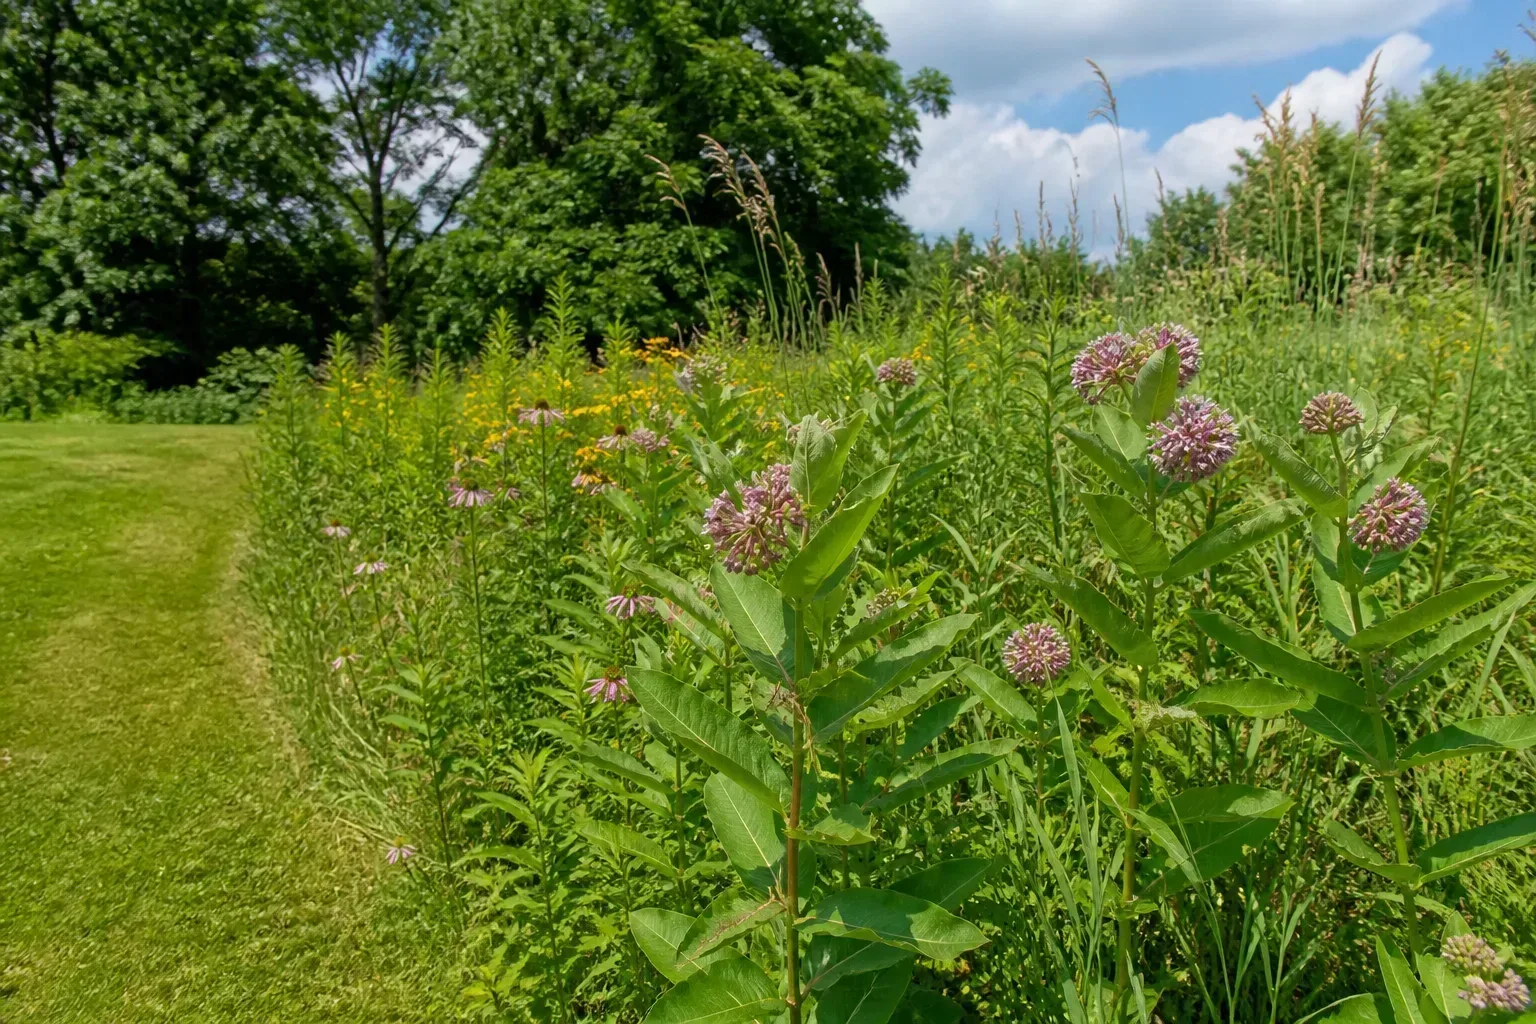
The planting looks messy rather than intentional. Create a boundary, keep a narrow mown edge, and preserve a path or open view. Selective editing around a few desired plants can make a spontaneous bed legible without arranging every stem. The line between naturalistic and neglected often comes from whether edges and unwanted spread are managed, not whether plants are perfectly aligned.
It needs more care than expected. Watering, weeding, and seedling identification are part of establishment. Reduce the area, use plugs where seed is slow or difficult, or choose a locally adapted plant group that matches your soil and rainfall. An established native planting may need less supplemental care than a newly sown bed, but no planting is maintenance-free in every climate or site.
Conclusion
Try chaos gardening if you enjoy watching a garden develop and can give a small patch a little attention while it establishes. Keep the planting bounded, select seeds that fit the light and moisture, check the botanical names and local spread risks, and follow each packet’s sowing directions. That gives chance a role without asking it to solve problems that seed choice and site preparation can prevent.
If the first mix produces one winner and several blanks, you have learned what your yard supports. Keep what belongs, remove what does not, and adjust the next planting with better information. The best result may be a colorful informal bed; it may also be a clear reason to use a more planned meadow, pollinator garden, or vegetable plot next time.



