Signs of Rats in the Garden: What to Look For
Fresh droppings, burrows, or gnawed fruit? Learn six reliable signs of rats in your garden, how to tell rats from mice, and what to do in the first 48 hours.
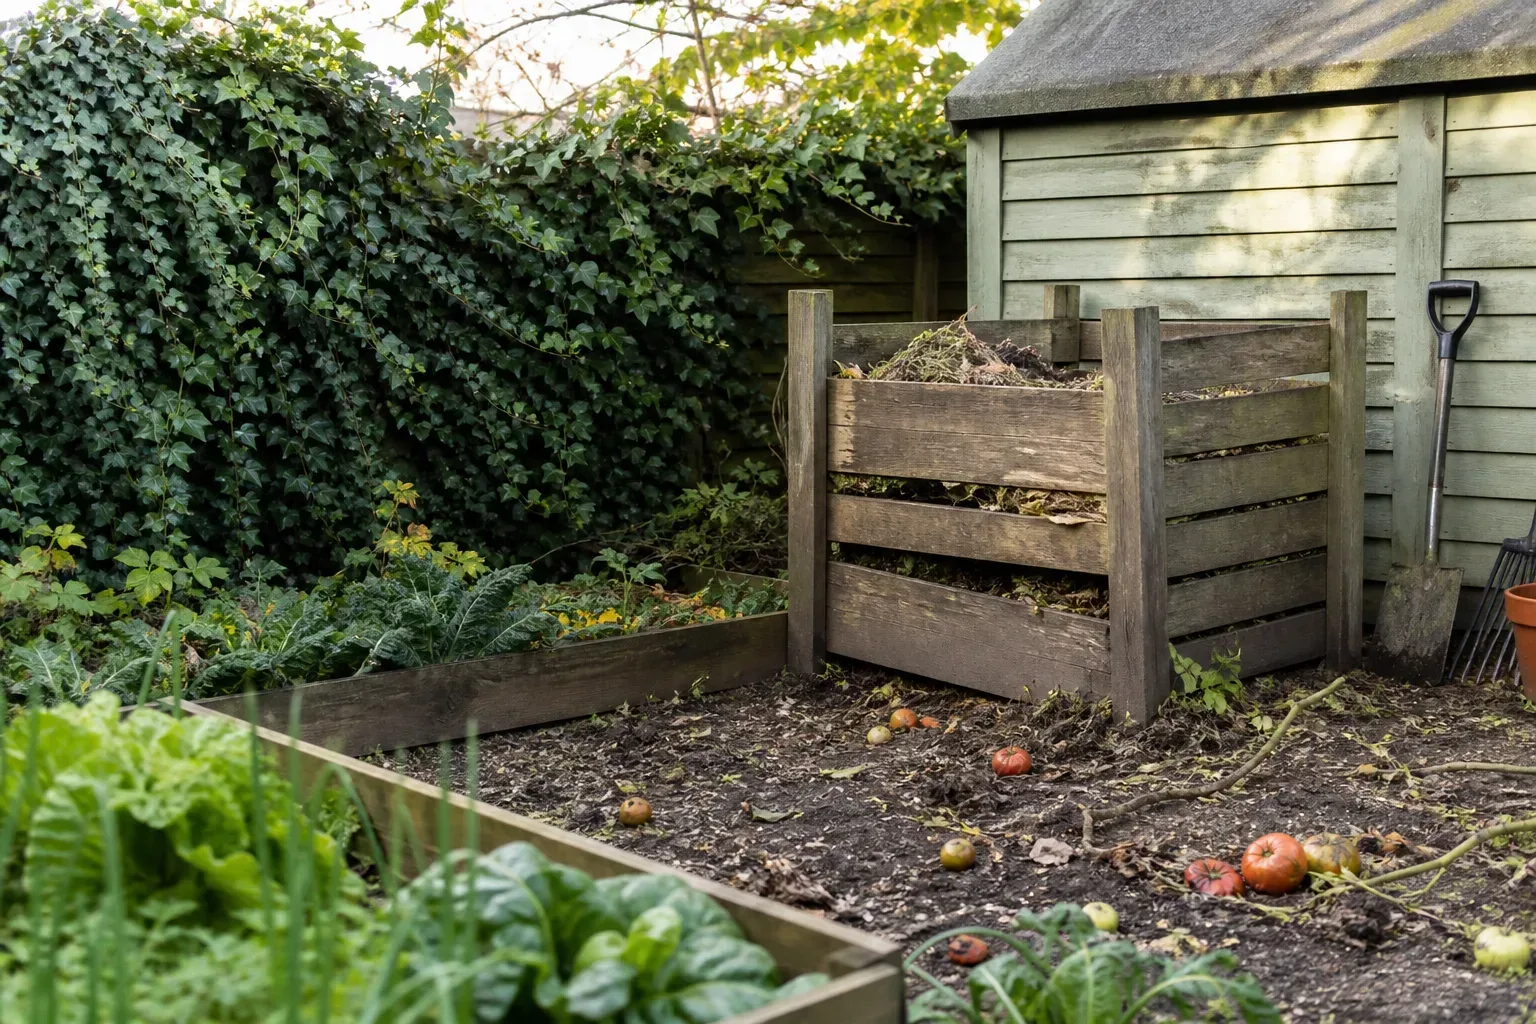
You watered the tomatoes, checked the compost, and still have not seen a rat—yet something feels off. Rats are mostly nocturnal, travel along hidden routes, and can live comfortably in a tidy-looking yard if food, water, and cover are available. That is why signs of rats in the garden matter more than a single daytime glimpse. The goal is not panic. It is early detection, correct identification, and a control plan that starts outside before rodents exploit gaps into sheds, crawl spaces, or your kitchen.
The Quick Answer: Six Signs and Your First Move
Look for fresh droppings, gnawed produce or pet food, burrows near structures, beaten-down runways with greasy rub marks, shredded nesting material, and live rats or dusk movement along fences and utility lines. When you find two or more signs in the same zone—compost corner, shed base, or fruit tree—treat it as an active site. Your first move is not poison scattered in the open. It is remove food and clutter, photograph evidence, clean droppings safely with wet disinfectant, and set protected snap traps on confirmed runways while you seal entry points toward the house (UC IPM).
Why Garden Rats Deserve Attention Before They Move Indoors
Garden rats are not harmless wildlife passing through. Norway rats (Rattus norvegicus) and roof rats (Rattus rattus) are commensal rodents—species adapted to living near people. Once established in landscaping, they rarely stay outside if shelter and food improve closer to the structure. UC IPM notes that after rats colonize a yard, indoor evidence often follows unless the building is genuinely rodent-proof (UC IPM).
Rats contaminate food surfaces, chew irrigation lines and wire insulation, and can transmit leptospirosis, salmonella, and other pathogens through urine and droppings (CDC). Commensal rats do not carry rabies, but that does not make droppings safe to dry-sweep. The health risk is real enough that cleanup protocol matters as much as trapping.
What pulls rats into gardens is predictable: unsecured compost, pet food left outdoors, fallen fruit and nuts, dense ground cover like ivy, water sources, and clutter that hides burrows. Fix those attractants and signs become easier to read because activity concentrates where food remains.
Norway Rats vs Roof Rats in Backyards
Misidentifying the species wastes time. Norway rats are stockier burrowers that nest along foundations, under woodpiles, and beneath compost. Roof rats are slender climbers that use fences, trees, vines, and utility lines, often nesting above ground in dense shrubs or eventually attics if they bridge onto the roof.
| Feature | Norway rat | Roof rat |
|---|---|---|
| Body build | Heavy, low to ground | Slim, agile climber |
| Tail vs body | Tail shorter than head + body | Tail longer than head + body |
| Typical garden sign | Burrows, soil mounds | Runways in ivy, fence-top travel |
| Trap placement | Ground, along walls | Ledges, branches, elevated paths |
| Droppings (approx.) | Up to 3/4 inch, blunt ends | About 1/2 inch, pointed ends |
When both species exist on one property—a common situation in warm climates—Norway rats often stay low while roof rats use upper routes (UC IPM). Your inspection should cover ground and overhead paths, not just the vegetable bed.
Sign 1 — Droppings Where Rats Feed and Travel
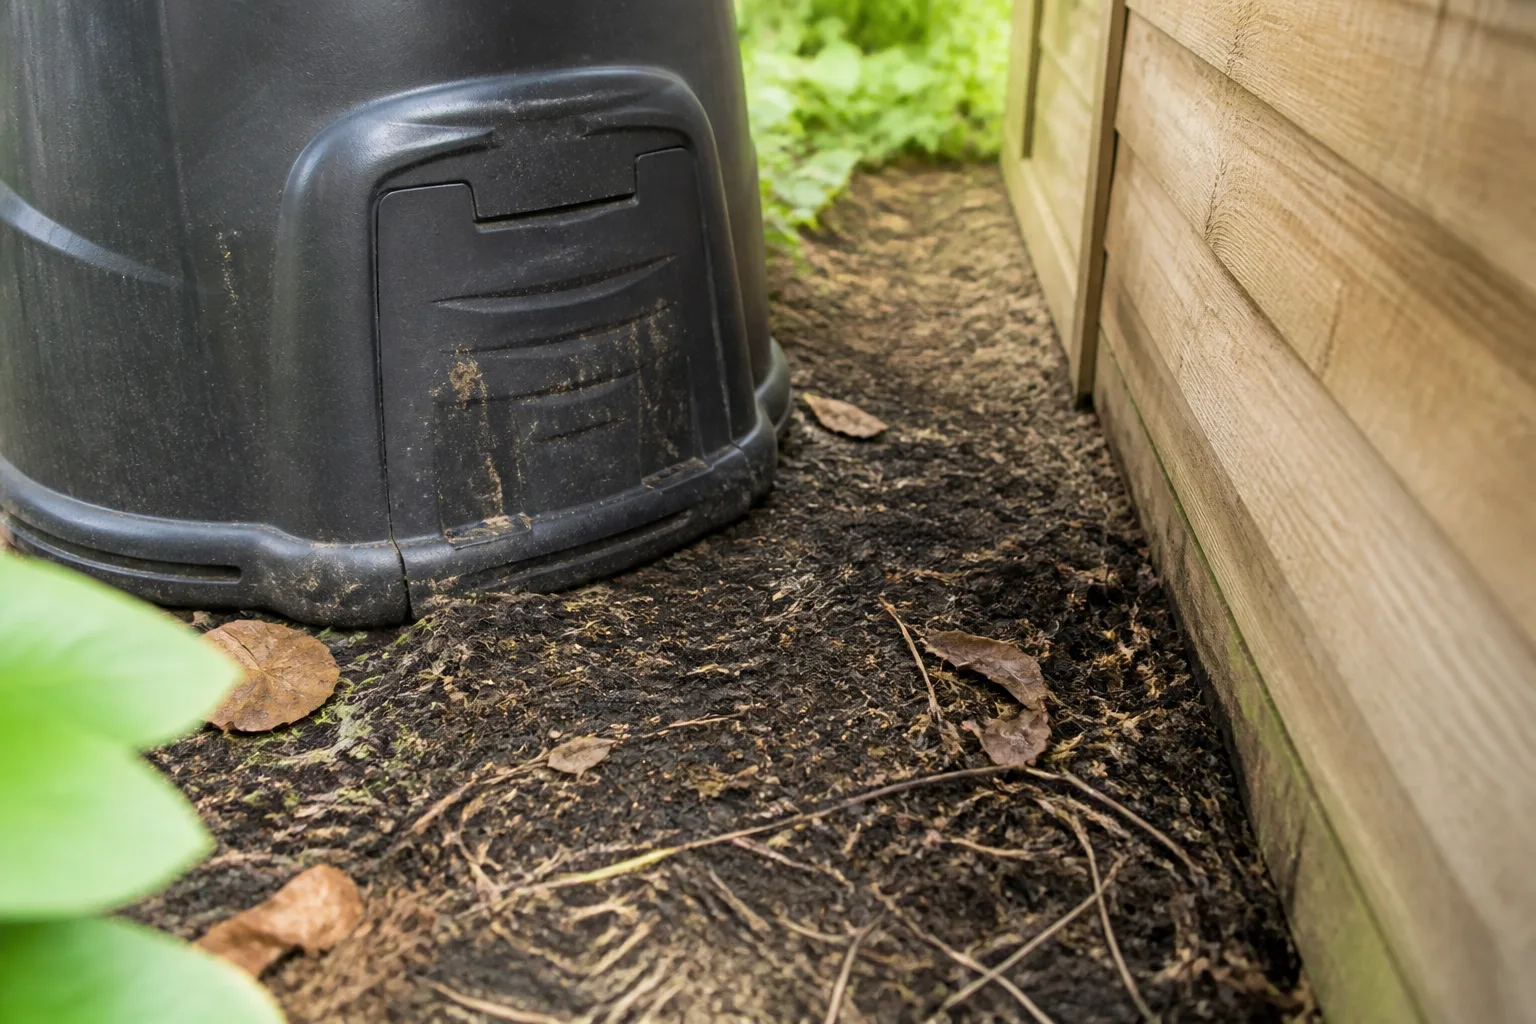
Rat droppings are the fastest sign to confirm and the easiest to misread if you only glance. Fresh rat feces are dark, moist, and shiny; they dull to gray-brown as they dry and may crumble when old. Norway rat droppings are typically capsule-shaped with blunt ends and can reach about 3/4 inch (19 mm). Roof rat droppings are slightly smaller with pointed ends, often near 1/2 inch (12–13 mm) (UC IPM).
Check high-traffic zones: under feeders, beside compost bins, along shed walls, behind stored pots, near pet dishes, and at the base of fruit trees. A handful of droppings in one corner repeated over several nights means regular use, not a one-time visitor. Take a photo with a coin or tape measure for scale—you will want it if activity persists or you call a professional.
Do not sweep or vacuum droppings dry. Disturbing dried feces can aerosolize pathogens. Wet the area with a disinfectant labeled for the contact time on the product, wipe up with paper towels, double-bag waste, and wash hands thoroughly (CDC). Wear gloves; a simple dust mask is reasonable if material is friable.
Rat vs Mouse Droppings (Field ID)
Mouse droppings look like dark grains of rice—about 1/4 inch (6 mm) with pointed ends. They scatter in larger numbers relative to body size. If every pellet is rice-sized, suspect mice first. If pellets are clearly larger than a grain of rice and blunt-ended, you are in rat territory. Young rats can confuse beginners, but rat droppings in quantity almost always outsize mouse feces (UC IPM). Control differs: mice enter smaller gaps and respond to different trap sizing. ID before you buy a dozen traps.
Sign 2 — Gnawed Produce, Nuts, and Stored Feed
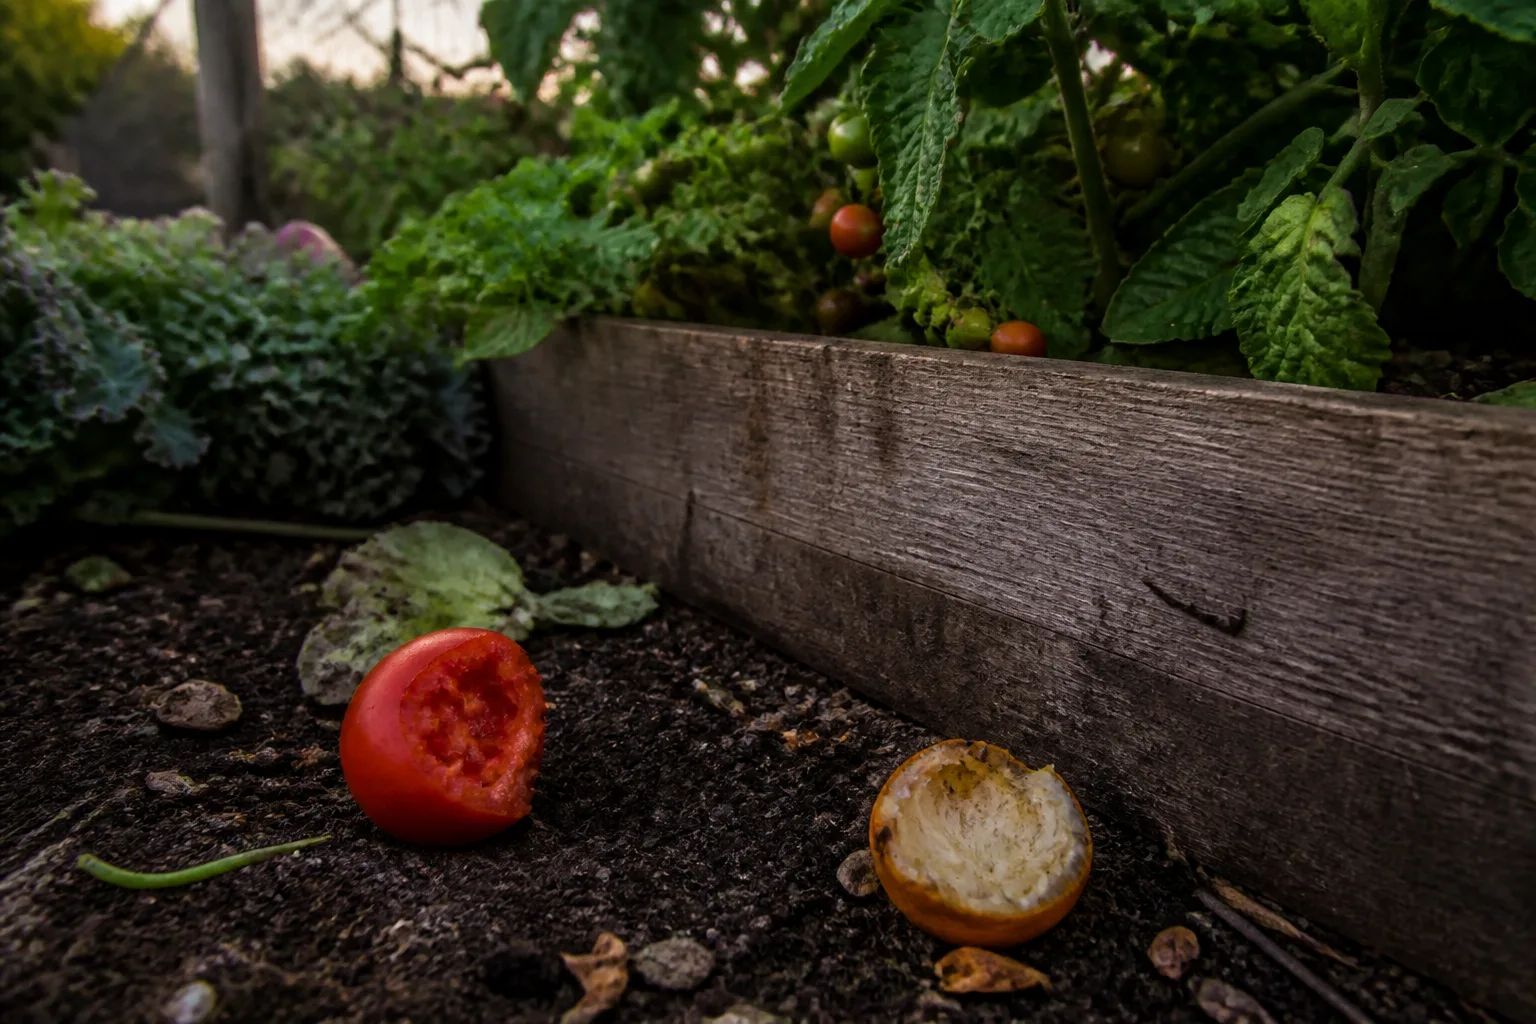
Rats are omnivores with strong jaws. In gardens they leave partially eaten fruit, hollowed citrus rinds, chewed corn ears, gnawed squash, and shallow tooth marks on nuts dropped from trees. Damage is not unique to rats—squirrels and raccoons steal fruit too—but rats often feed close to cover at night and may leave droppings or smudge marks at the same feeding station.
Roof rats commonly climb to tree fruit and vines; Norway rats more often damage low crops, root vegetables, and items on the ground. Rats may also gnaw irrigation tubing, plastic compost bins, and stored birdseed in sheds. Prompt harvest, daily pickup of fallen fruit, and rodent-proof storage remove the reward that keeps them returning (UC IPM).
If you only see damage but no droppings, spread a thin layer of flour or fine sand near the damage overnight. Rat footprints show four toes on the front foot and five on the hind foot with a drag mark from the tail in soft soil—useful when chew marks alone are ambiguous.
Sign 3 — Burrows, Digging, and Soil Disturbance
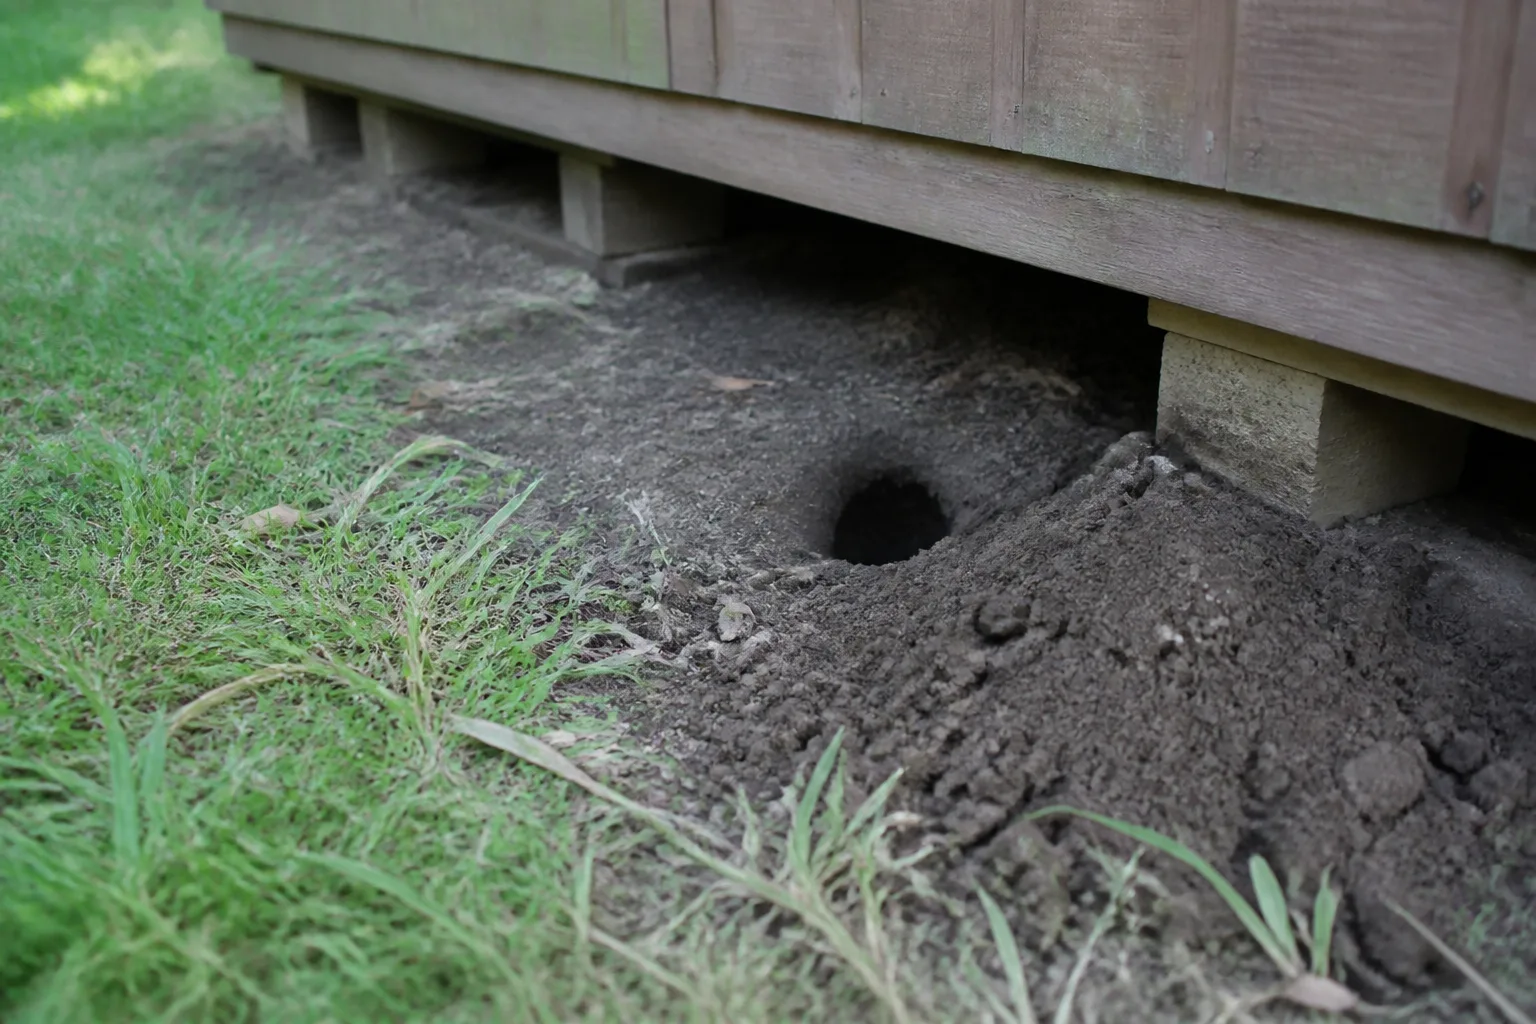
Norway rats excavate burrow systems with a main entrance, one or more escape holes lightly plugged with soil, and chambers for food storage and nesting (UC IPM). Look for openings 2–4 inches wide along foundations, under sheds, beside compost, beneath woodpiles, or where garden debris piles against a fence. Fresh digging shows moist, loose soil and clean edges; inactive holes may cobweb over or collapse partially.
Roof rats burrow less visibly in many yards but may dig under compost or planters when elevated nest sites are scarce. Do not assume every hole is a rat: voles create smaller runway systems in turf, chipmunks carry obvious cheek pouches and tidy entry holes, and crayfish mud chimneys appear in wet areas. Rat burrows near human food sources and paired with large droppings are the stronger call.
How to Read a Burrow Entrance
A active Norway rat burrow often has multiple openings within a few feet, with one entrance more heavily trafficked. You may see beaten paths leading to water or food. Stuffing a burrow blindly with soil rarely works long-term—rats reopen or dig adjacent tunnels. Effective response combines removing attractants, trapping along outside runways, and excluding access to the structure (EPA). After sustained trapping with no new signs, packed gravel or metal mesh over inactive entrances can reduce reinvasion.
Sign 4 — Runways, Tracks, and Greasy Rub Marks
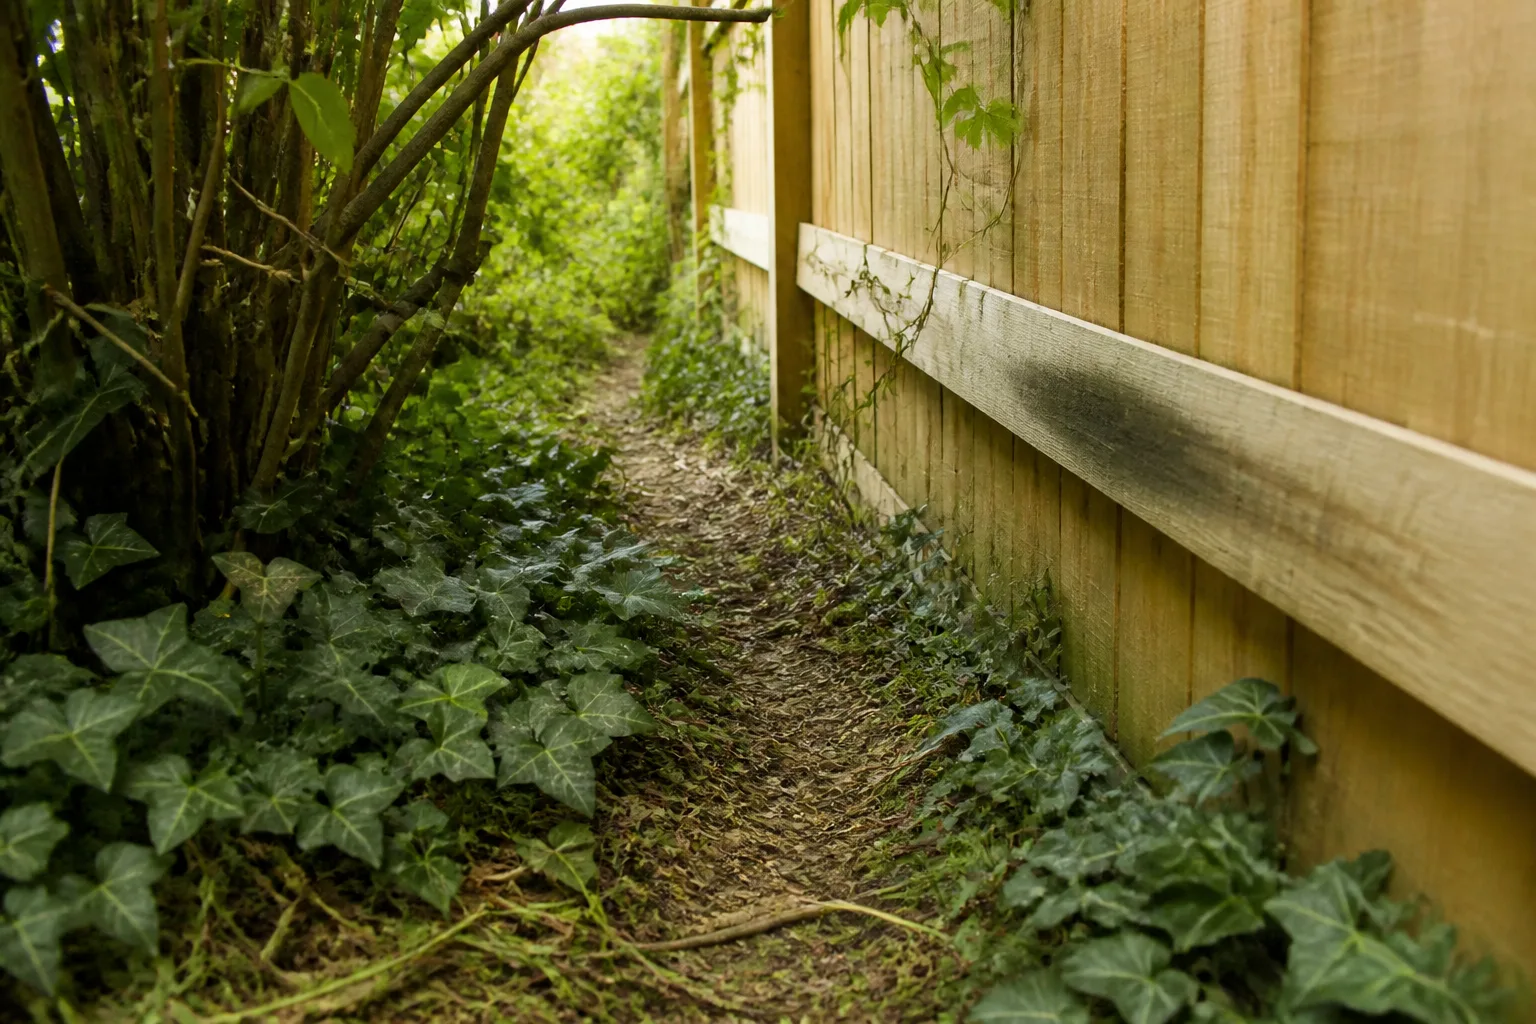
Rats memorize routes and reuse them nightly. In vegetation you will notice narrow, flattened trails through ivy, jasmine, or tall grass. On hard surfaces look for greasy rub marks—dark smudges along fence rails, brick ledges, pipes, and wall corners where fur contacts repeatedly (UC IPM). Rub marks smear if fresh; they flake when old.
Dusty paths, muddy edges, or flour tests reveal footprints and tail drags. Roof rats traveling fence tops or utility lines at dusk are a roof-rat signature; Norway rats more often leave ground-level runways along walls. These routes tell you exactly where to place traps—perpendicular to the wall with the trigger end near the runway, or paired traps for two-way travel (UC IPM).
Always use tamper-resistant placement: snap traps inside secured boxes, milk-crate tunnels, or commercial stations when pets, children, or chickens share the yard. Unprotected traps kill non-target wildlife and create safety liability outdoors.
Sign 5 — Nests and Shredded Nesting Material
Rats build nests from shredded plant matter, paper, fabric, insulation, and packaging. Outdoors, nests appear in unused pots, stacked lumber, thick ground cover, old nest boxes, and cluttered shed corners. Roof rats may nest in dense shrubs or palm skirts; Norway rats more often nest underground in burrows or inside crawl spaces.
Mice use similar materials but on a smaller scale. Combine nest finds with droppings size and runway height before you commit to a species. Clearing a nest without removing food and entry points often yields re-nesting nearby—roof rats especially show strong nest-site fidelity (UC IPM).
Store firewood 18 inches off the ground, keep plastic bins closed with metal hardware cloth if gnawing occurs, and thin ivy on fences to remove ready-made hideouts. Good yard housekeeping is not aesthetic—it is population control.
Sign 6 — Live Rats, Night Movement, or Pet “Gifts”
Seeing a rat at all confirms presence, but absence of daytime sightings proves nothing. Walk the property 30 minutes after sunset with a dim flashlight: watch fence lines, compost lids, chicken coops, and overhead wires. A quick, smooth runner along a fence top suggests roof rat; a heavier animal hugging the ground suggests Norway rat.
Cats and dogs sometimes deposit dead rats or alert repeatedly at a shed wall. That is a clue, not a control plan—pets can be injured by rodenticides or bites, and they rarely eliminate an entire colony. Motion-activated cameras aimed at burrow entrances or compost are inexpensive evidence tools if you still doubt what you are seeing.
If you see one rat repeatedly in the same hour, assume multiple individuals. Rats reproduce year-round where food is steady; early intervention uses fewer traps and less bait than waiting until droppings show up on the patio (UC IPM).
Extra Clues Homeowners Often Miss
Several secondary signs fill out the picture. A persistent musky ammonia odor near a hidden nest or urine pillar can precede visual confirmation. Gnaw marks on shed doors—tooth marks about 1/6 inch (4 mm) wide— differ from mouse scratches near 1/12 inch (2 mm) (UC IPM). Drowned rats in pools or hot tubs, droppings in recycling bins, and digging under doghouses all belong on the same inspection checklist.
Listen for scratching in attic or drop ceilings after garden activity appears—that bridge may already exist via overhanging limbs within 6 feet of the roof, a common roof-rat access route (UC IPM). Trim those limbs while you address ground attractants. For broader sanitation-first pest thinking that complements rodent work, see our natural ant control guide and integrated pest management indoors—different pests, same order of operations: remove food and access before escalating chemicals.
What to Do in the First 48 Hours
Treat the first two days as documentation and sanitation, not all-out baiting. Step one: map where signs cluster and photograph droppings with scale. Step two: remove food—secure compost, pick up fallen fruit, store pet and chicken feed in metal containers, clean grease from trash bins, and stop feeding pets outdoors overnight. Step three: clean droppings and urine-affected areas with wet disinfectant; never dry sweep (CDC). Step four: place protected snap traps on runways you confirmed, not randomly in lawn centers—rats avoid new objects for days (neophobia), especially roof rats (UC IPM). Pre-bait unset traps for two nights if activity is heavy. Step five: seal gaps larger than 1/4 inch on shed doors, crawl vents, and utility penetrations toward the house.
| Priority | Action | Why it matters first |
|---|---|---|
| 1 | Remove outdoor food for 48+ hours | Starves recruitment while you trap |
| 2 | Safe droppings cleanup | Cuts disease risk; reveals fresh activity |
| 3 | Trap runways, not open lawn | Higher catch rate, less pet risk |
| 4 | Trim ivy / roof bridges | Blocks roof-rat entry |
| 5 | Re-inspect at dusk | Confirms species travel height |
Avoid broadcast poison pellets in garden beds on day one. Outdoor rodenticides can harm hawks, owls, foxes, and pets through secondary poisoning, and dying rats may retreat into walls where odor and flies become a new problem (EPA). If you use bait later, choose tamper-resistant stations and follow label restrictions for outdoor commensal rodent control.
Safe Droppings and Nest Material Cleanup
Wear disposable gloves and old shoes you can disinfect. Spray droppings, dead rats, or heavily soiled nesting material until soaked with an EPA-registered disinfectant or a 1:10 bleach solution (if appropriate for the surface). Wait the label contact time, then wipe up with paper towels. Place waste in a plastic bag inside a second bag, seal, and discard in an outdoor trash bin with a tight lid. Disinfect tools and wash hands with soap and water for at least 20 seconds (CDC). Shower if you handled heavily contaminated material. Never use a leaf blower near feces.
Long-Term Control Without Making the Problem Worse
Sustainable rodent management outside mirrors integrated pest management (IPM): sanitation, exclusion, and population reduction together (EPA). Sanitation is ongoing—weekly compost turning with no meat or dairy, rinsed recyclables, and fruit pickup. Exclusion means 1/4-inch hardware cloth on vent openings, door sweeps, metal collars on pipe penetrations, and storing hoses and tools off the ground.
For population reduction, snap traps remain the most targeted low-chemical option for many homeowners when placed safely. Check traps daily, reset or relocate if no catches after a week, and move traps a few feet along the same runway rather than abandoning trapping entirely. Rats learn; your trap line should adapt.
Ultrasonic devices, mint spray alone, and single-bar soap hacks do not replace food removal—those may repel briefly but fail when compost and pet kibble remain. Dense repellent plant borders help other pests more predictably than they evict established rat colonies; see plants that repel ants for what scented borders can and cannot do. Rats require structural and food-source change.
Monitor monthly even after signs fade: one fresh dropping under the compost lid means the colony is rebuilding. Low numbers are cheaper to control than an attic infestation linked back to the same garden compost you meant to fix in spring.
When to Call a Pest Professional
DIY IPM works for many small yard infestations, but call a licensed pest professional when multiple active burrows ring the foundation, roof rats travel utility wires you cannot modify, activity persists after three weeks of documented sanitation and trapping, or you find rats indoors and outdoors simultaneously. Drain-linked Norway rat activity—sewer burrows, broken cleanouts—usually needs municipal or specialist assessment, not more backyard bait.
Also seek help if you cannot place traps safely away from children, pets, or poultry, if you are required to use rodenticides under local regulations, or if you manage a commercial garden or school plot where liability is higher. A good technician inspects first, proposes sanitation and exclusion, uses secured stations, and schedules follow-up monitoring—not a single perimeter spray unrelated to rodents.
Document your signs before the visit: dated photos, droppings measurements, burrow locations, and trap counts. That evidence speeds accurate species ID and keeps the plan focused on your garden layout instead of a generic treatment menu.
Conclusion
Signs of rats in the garden—droppings, gnawed produce, burrows, runways, nests, and dusk movement—are warnings you can act on before rodents settle inside. Identify whether Norway or roof rats fit your evidence, clean feces wet and safely, strip outdoor food and cover, trap confirmed runways in protected stations, and seal routes toward the house. Skip open poison and guesswork; early, targeted IPM costs less than emergency attic work. Re-walk the yard after sunset this week. If two or more signs show up in the same corner, start the 48-hour plan tonight—not after the next chewed tomato.