15 Tips for Cleaning Up Leaves Like a Pro This Fall
Learn when to rake, mow, blow, tarp, mulch, compost, or leave fall leaves—and the simple sequence that keeps cleanup faster and safer.
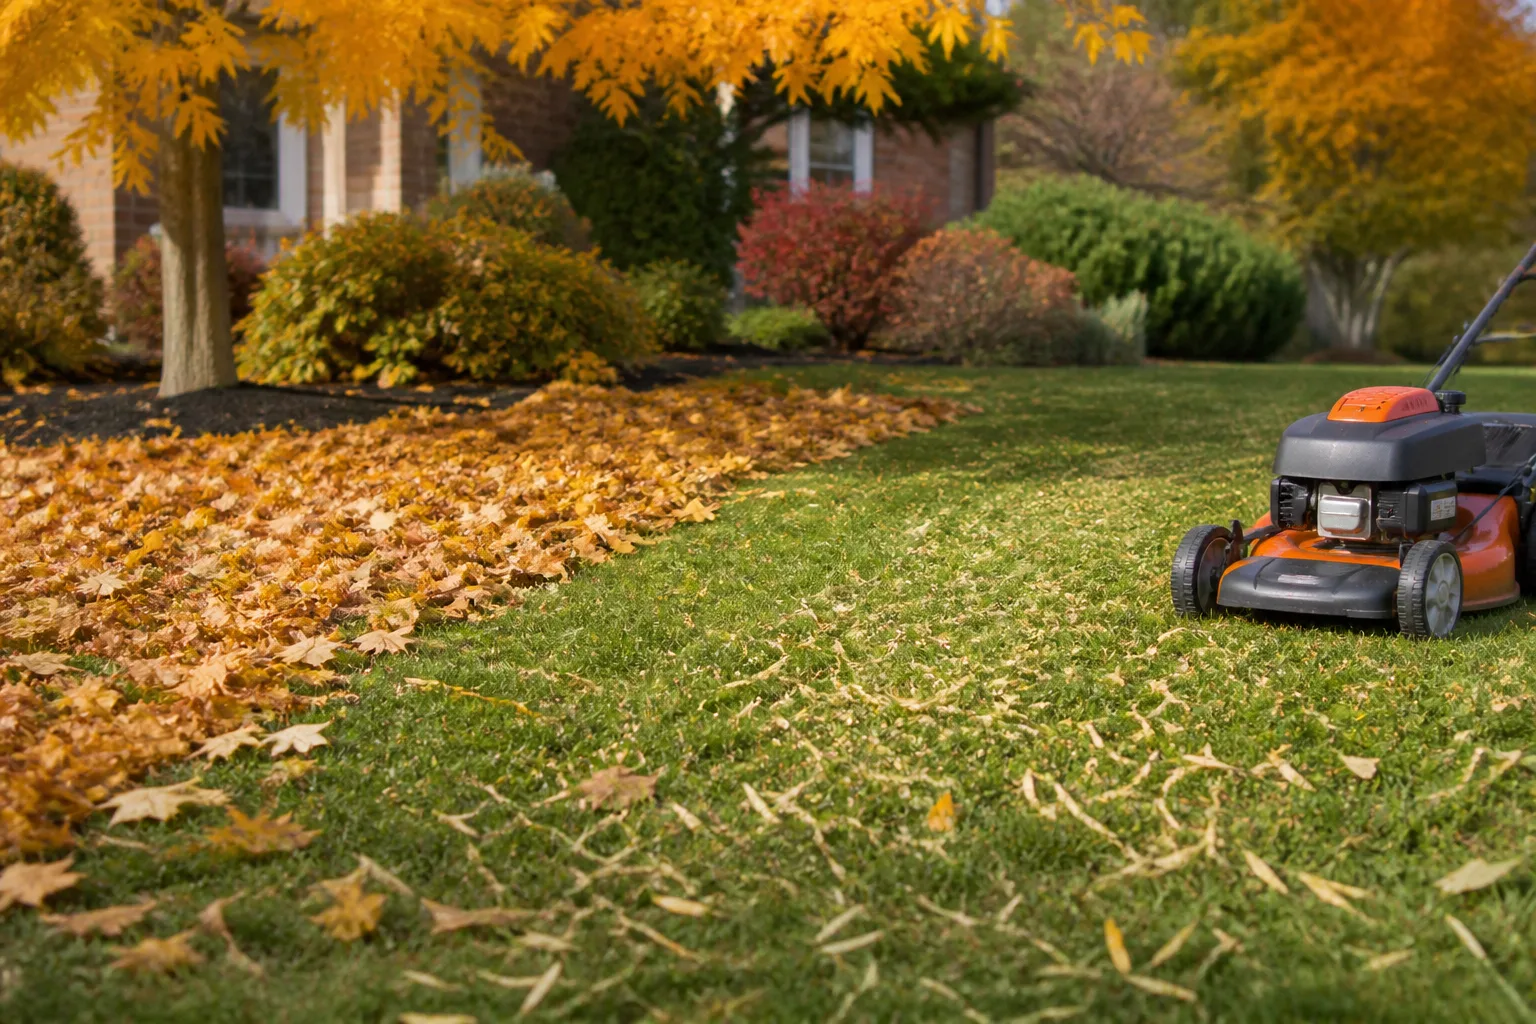
The fastest fall leaf cleanup is not one heroic raking session. It is a short series of decisions: keep useful leaves where they help soil, shred a thin layer into healthy turf, move the rest in small loads, and clear the places where leaves become slippery, moldy, or harmful.
Start by looking at your yard as several surfaces rather than one giant mess. Lawn, planting beds, paths, roof valleys, drainage inlets, and the strip beside the road each need a different treatment. Cleaning up leaves in your yard like a pro means choosing the right destination before you pick up the first tool.
The guidance from CSU Extension and the University of Saskatchewan supports a useful middle path: leaves can become lawn mulch, bed mulch, compost, or leaf mold instead of automatic landfill waste. But that only works when the layer is thin or shredded where turf needs air, intact where pollinators need cover, and kept away from safety and drainage trouble spots.
1. Start with a surface-by-surface leaf plan
Walk the yard once before raking and assign each zone a job. Mark the lawn as mulch, collect, or a mix; mark garden beds as leave, thin, or move; and identify hard surfaces, drains, steps, and the route to your compost area. This two-minute map prevents the common mistake of blowing every leaf into one enormous pile and deciding what to do with it only after your back is tired.
Use this quick decision rule:
- Lawn: mulch a thin, dry layer if grass remains visible after mowing; collect thick or wet cover.
- Beds under shrubs and trees: leave some intact leaf litter if it will not bury crowns, block paths, or wash away.
- Vegetable beds and bare soil: use shredded leaves as mulch or save clean leaves for compost and leaf mold.
- Walks, decks, steps, drains, and roof valleys: clear them completely because slipping and blocked water flow matter more than soil benefits.
- Road edge: follow local collection instructions; never push leaves into the street or a storm drain.
This approach also tells you what not to buy. A small yard with a few beds may need a fan rake, tarp, and mower. A large, open lawn may justify a blower-vac or lawn sweeper. A wildlife-friendly landscape may need more restraint, not more horsepower.
2. Choose a dry weather window
Dry leaves are lighter, slide across a tarp, pass through a mower more cleanly, and blow in a controllable stream. Wait until morning dew has evaporated, then work before the next steady rain. HGTV’s fall leaf guidance similarly recommends avoiding wet, matted leaves because they are harder to rake and can create a dense layer on turf.
Do not confuse “dry” with “windy.” A gentle breeze can carry leaves toward your planned collection zone; strong gusts will undo careful rows, fill the neighbor’s yard, and scatter leaves into drains. If the forecast gives you only a short opening, clear the safety zones and lawn first, then let bed leaves wait.
Wet leaves are not a reason to attack the yard with a stronger machine. They cling to grass, clog vacuum tubes, weigh down bags, and are surprisingly easy to turn into a back injury. If rain has already arrived, move only what blocks a walkway, door, drain, or vehicle route; finish the broader cleanup after the surface dries.
3. Match the tool to the job
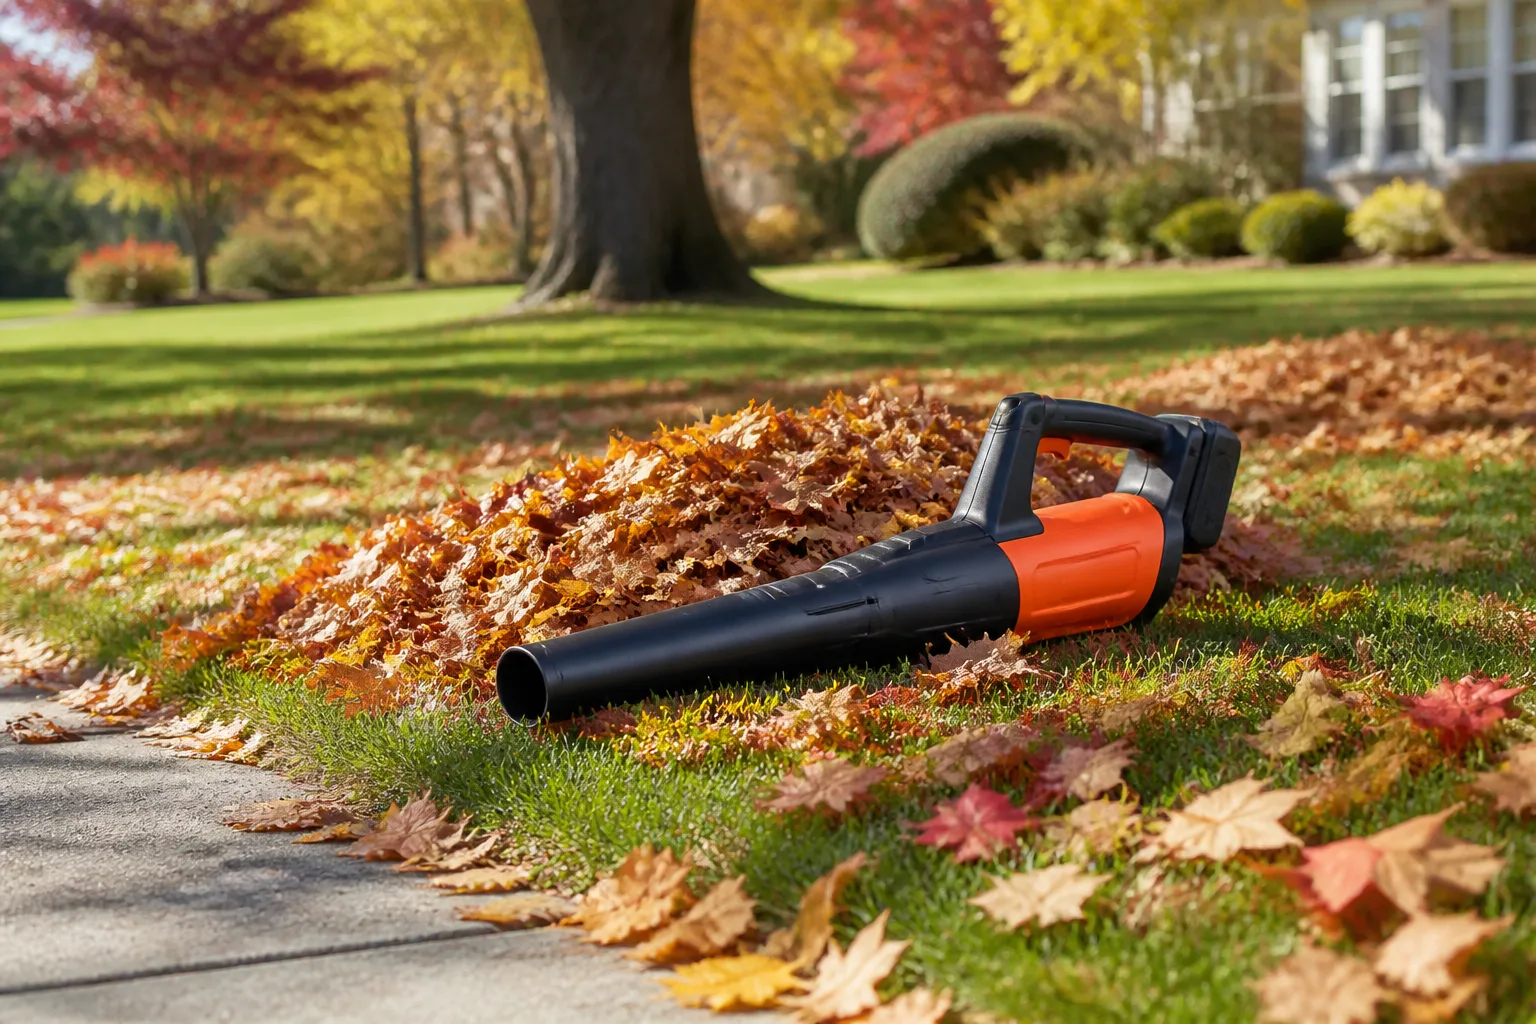
The right tool is determined by surface, leaf condition, and destination, not by which machine looks most professional. A wide plastic or flexible leaf rake is efficient on open grass. A narrow hand rake works between perennials. A blower is excellent on pavement and along bed edges, while a vacuum is more controlled near mulch when its intake can avoid stones and wood chips.
| Yard job | First-choice tool | Why it fits | Watch-out |
|---|---|---|---|
| Thin leaves on lawn | Mulching mower | Returns small pieces to turf | Stop if grass disappears under the layer |
| Dry leaves on paths or driveway | Blower or push broom | Clears hardscape without bending | Direct debris away from drains and neighbors |
| Leaves in a small bed | Hand rake or gloved hand | Gives you plant-level control | Avoid snagging crowns and stems |
| Large dry lawn | Rake plus tarp, blower, or sweeper | Divides the work into manageable loads | Do not create a pile too heavy to slide |
| Leaves destined for bags | Mower catcher or leaf vacuum | Shreds and collects in one pass | Remove sticks and stones first |
| Wet, matted leaves | Rake and pitchfork | Breaks the mat without clogging machinery | Work in smaller sections |
Before using a vacuum or mulcher, scout for stones, sticks, acorns, wire, and chunks of landscape edging. Those objects can damage an impeller or become dangerous projectiles. Wear eye protection for any powered tool, and use a dust mask when chopping dry leaves if allergies or asthma make dust a problem.
4. Rake in a low-strain pattern
Raking gets exhausting when you pull from the edges toward yourself with your arms extended. Stand upright, keep the rake close to your body, use short strokes, and move your feet instead of twisting your spine. A lightweight rake with a comfortable handle is more useful than an oversized head that clogs or forces you to wrestle a wet mat.
Work in narrow lanes. Rake a strip toward a row, walk forward, and add the next strip to the same row. When you reverse direction repeatedly, you spend energy moving leaves sideways and leave a ragged line behind; when you rake toward a destination, every stroke reduces the distance the leaves must travel.
Alternate sides and change tasks every 10 to 15 minutes. Rake for a while, then load a tarp or clear a path. If your shoulders start shrugging or you feel pain rather than ordinary muscle fatigue, stop. A leaf cleanup that takes two sessions is still faster than a strained back that removes you from the rest of fall gardening.
Frozen turf deserves a separate caution. Avoid repeated foot traffic and aggressive raking when the grass is frozen or brittle; the crowns can be damaged even though the surface looks firm. If leaves must move then, use a light blower from a standing path and postpone cosmetic work until the lawn thaws.
5. Blow hardscapes and edges first
Blow leaves off steps, walkways, decks, patios, and driveway edges before tackling the lawn. Hard surfaces give air a clean path, and clearing them first keeps you from walking over the same leaves later. Use the lowest effective speed and aim the nozzle slightly across the surface, not straight down into gravel, mulch, or loose soil.
Create a destination before switching on the blower. A lawn corner, tarp, compost corral, or paper-bag station gives the air stream somewhere to end. Blowing in random circles only redistributes the work, and sending a plume toward a road can create a traffic hazard or push leaves into a storm drain.
For delicate beds, lower the speed and angle the air above the leaf layer so it lifts leaves without excavating mulch. If the bed contains fine gravel, lightweight bark, or young plants, a hand rake or leaf vacuum may be more precise. The goal is not to remove every leaf from every surface; it is to remove the leaves that are in the wrong place.
6. Build rows, then use a tarp
A tarp works because it changes leaf removal from repeated lifting into sliding. First make two or three long, low rows instead of one mountain. Rake or blow each row onto the tarp, leave the corners accessible, and stop loading before the tarp becomes too heavy for the people moving it.
Use a tear-resistant outdoor tarp rather than thin plastic sheeting. When the load is ready, two people can hold or pull the corners while keeping the tarp low; the safer motion is a slide, not a shoulder-height lift. If you are working alone, fold one edge over the leaves and drag the bundle in short stages, or use several smaller loads.
Place the tarp beside the final destination whenever possible. Every extra trip is where leaves fall out, the tarp catches on a root, or a load becomes awkward. If the destination is a compost bin, leave space to tip or roll the tarp without stepping into the pile.
A tarp also helps when leaves are waiting for a municipal pickup. Keep the pile covered but ventilated enough to avoid a soaked, fermenting mass, and weigh the corners so the tarp does not become a neighborhood sail. Do not cover a pile for weeks and assume it will stay light; inspect it after rain and split it into smaller loads if it starts to mat.
7. Clear beds without stripping away good mulch
Garden beds are not lawns in miniature. A light, airy layer of intact leaves beneath shrubs can shelter soil and beneficial insects, while a thick, wet blanket over crowns, evergreen groundcovers, or small plants can restrict air and light. Before using a rake, uncover the tops of plants and locate the edge of the bed so you do not pull out stems or drag away all the existing mulch.
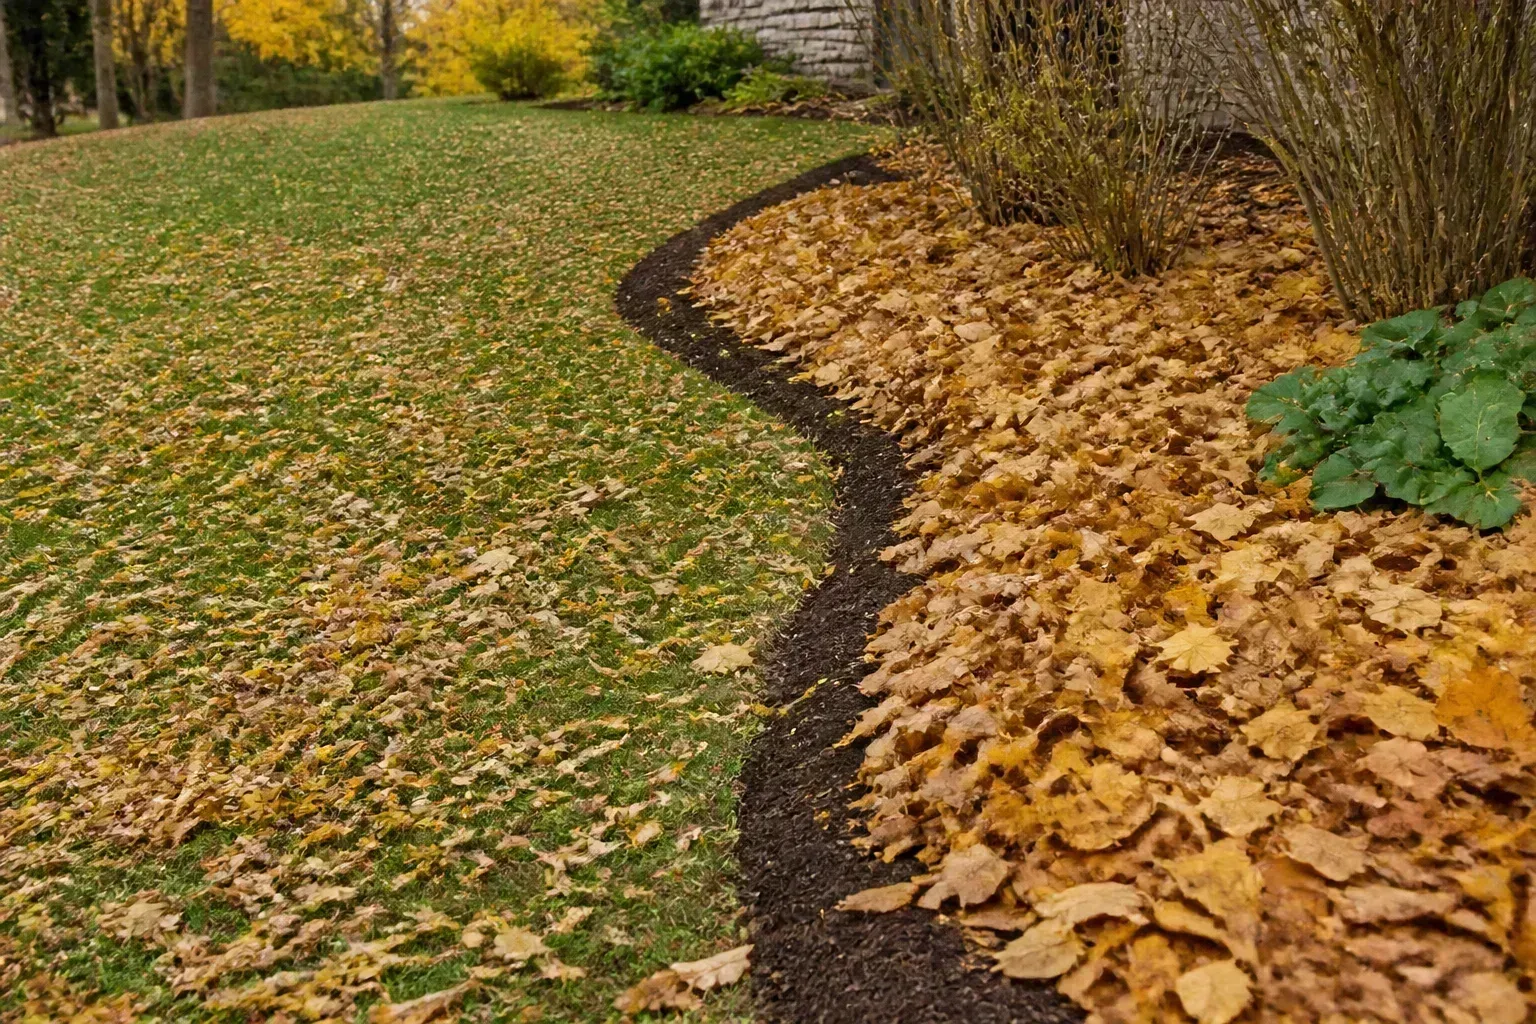
Use your hand, a narrow rake, or a gentle vacuum around delicate perennials. In open beds, spread leaves rather than piling them against a plant. If you want a winter layer, shredded leaves are less likely to mat and blow; Savvy Gardening’s leaf-mulch guidance explains why chopped leaves pass water and air more readily than a dense blanket of whole leaves.
For most established trees and shrubs, start with about 2 to 3 inches of shredded leaf mulch and keep it a few inches away from trunks and stems. The “volcano” shape that presses mulch against bark holds moisture in the wrong place and can encourage decay. On a vegetable bed that will sit empty, a deeper layer can be useful, but pull it back from overwintering crowns and perennial growing points unless the purpose is deliberate insulation.
8. Protect drains, steps, and other risk zones
Some leaves are worth saving; leaves on a stair tread are not. Clear steps, ramps, door thresholds, gutters, driveway low points, and drainage inlets before the next rain. A few minutes here prevents a slick walking surface and reduces the chance that a leaf dam sends water toward a foundation, path, or neighbor’s property.
Keep leaves out of streets and storm drains. They can block the inlet, wash into waterways, and create a liability or cleanup problem that is much larger than the original pile. If the curb is your collection point, follow the city’s rules about timing, bag type, and how far the pile must sit from the drain; collection systems differ by municipality.
Look above eye level too. Leaves packed into gutters, roof valleys, window wells, and the top of a retaining wall can become heavy when wet. Use proper access equipment or hire help for roofs and steep slopes. Do not climb a slick ladder while carrying a blower or rake; a professional cleanup is cheaper than a fall.
9. Mulch a thin layer back into the lawn
Mowing leaves into the lawn is often the fastest low-waste option, but only when grass remains visible after the pass. Set the mower at its high setting, mow when leaves are dry, and make a second pass if the pieces are still large. CSU Extension recommends using the mower’s highest setting and notes that dry leaves work better; the extension’s practical test is simple: if you can still see grass after mulching, the layer is not too thick.
The target is not a lawn that looks dusted in brown. It is small leaf pieces that fall between grass blades and disappear from view. When a thick layer remains on top, rake or vacuum it off instead of repeatedly mowing the same material into a mat. Wet leaves, large sycamore or magnolia leaves, and a shaded lawn may need collection even when a sunny patch could handle mulching.
If the mower clogs, stop the engine before clearing it and remove sticks or acorns from the route. Keep children and pets away from the operating area. A bagging pass can be more efficient than forcing a mulching pass when the lawn is already covered deeply.
Mulched leaves return organic matter to turf, but they do not erase every lawn problem. Compacted soil, poor drainage, shade, or weak grass will not be fixed by adding more leaf material. Think of leaf mulching as one autumn input to a lawn that already has enough light and air to use it.
10. Shred leaves before spreading or storing
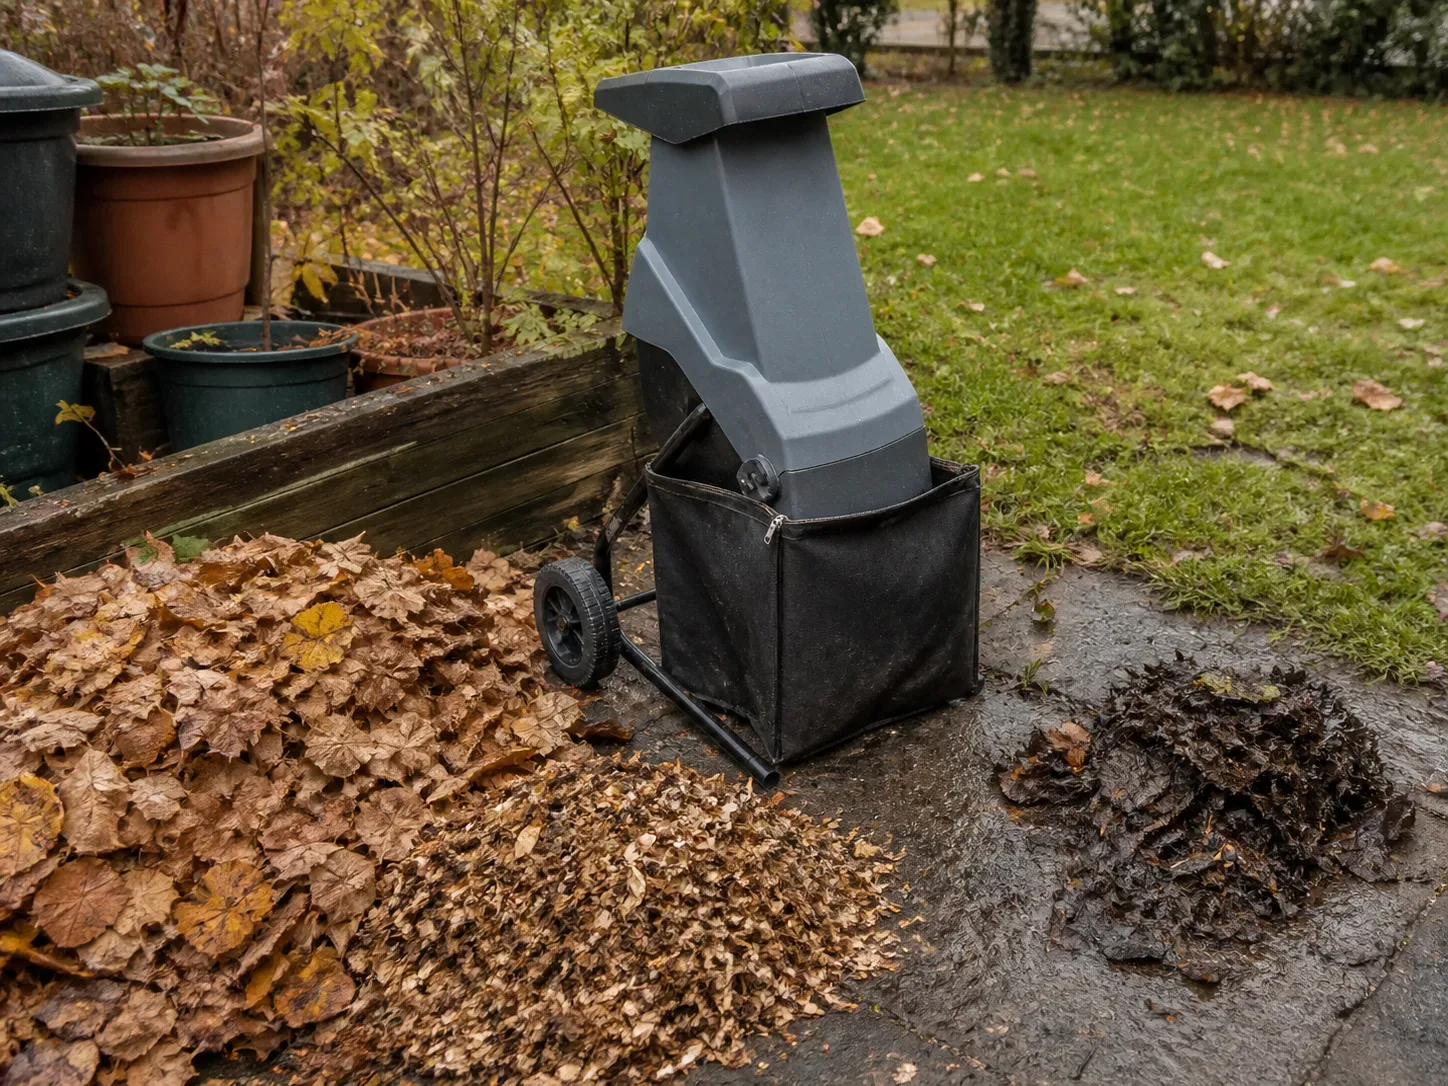
Shredding increases the number of useful destinations. Small pieces settle into lawn spaces, lie more neatly around plants, pack into bags, and begin decomposing faster than whole leaves. A mulching mower is enough for many yards; a leaf-vacuum mulcher or dedicated shredder helps when you need to process several bags without repeatedly raking the lawn.
Feed machines gradually. A large handful of dry leaves may bridge in a hopper, while a wet handful can form a heavy plug. Remove sticks, seed pods, stones, and trash before shredding, and let a clogged machine stop fully before you inspect it.
Do not assume finer is always better. Intact leaves are valuable where you are intentionally preserving overwintering habitat. The National Park Service explains that eggs, caterpillars, and cocoons can shelter in leaf litter, and recommends leaving or gently moving leaves rather than shredding them in those habitat areas. Shred the lawn and compost supply; leave the designated wildlife patch alone.
11. Make leaf mold when you have space
Leaf mold is a slow, simple product made mostly from leaves and moisture. It is not the same as hot compost: it contains less readily available nitrogen, but the finished material is valued as a soil conditioner that helps soil hold moisture and develop a crumbly texture. If you have a shady corner, clean leaves, and patience, it turns a seasonal burden into a future amendment.
Gather whole or shredded leaves into a wire corral, breathable bin, or sturdy bag with several air holes. Moisten the pile so it feels damp rather than soggy, and check it occasionally. University of Saskatchewan notes that leaf mold can take one to two years, depending on the leaf type and whether it was ground; small pieces and steady moisture shorten the wait.
Use leaf mold as a top dressing or mix it into beds after it has become dark, crumbly, and no longer recognizable as fresh leaves. Do not make the pile in a drainage swale, against a wooden fence, or where wind will carry leaves into a neighbor’s yard. If space is limited, store a few breathable bags of clean leaves and add them gradually to a regular compost pile instead.
12. Compost leaves with a balanced mix
Leaves are a reliable brown material: a carbon-rich ingredient that pairs with nitrogen-rich greens such as fresh grass clippings, vegetable scraps, or young plant material. A pile made entirely of dry leaves can sit for a long time, especially in cold weather. Add greens in alternating layers, keep the pile damp like a wrung-out sponge, and leave enough air space for decomposition.
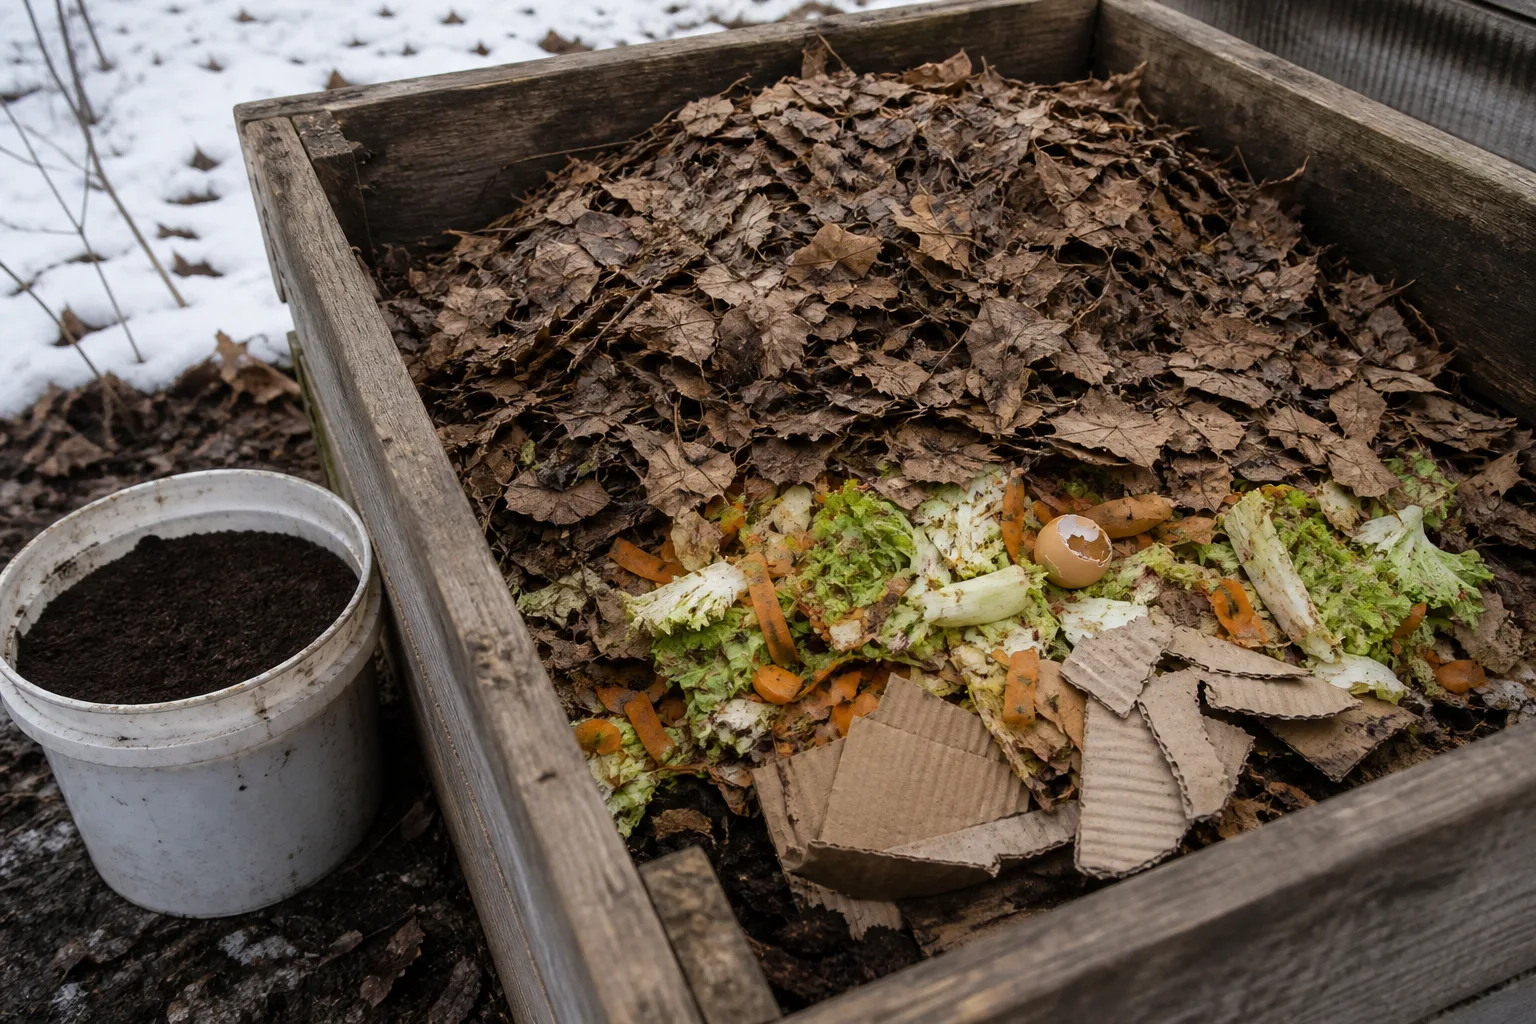
Shred leaves when speed matters, but do not pack finely chopped leaves into an oxygen-starved block. Pennsylvania Horticultural Society recommends combining shredded leaves with greens, maintaining moisture, and adding finished compost or soil to introduce decomposer organisms. Turning the pile helps when conditions allow, but a small pile can still make progress if it is moist and not compressed.
Be selective about what enters the bin. Remove litter, plastic, pet waste, and leaves from areas treated with products you are not permitted to compost. Keep heavily diseased plant material out of a cool home pile; a backyard bin may not reach the sustained heat needed to reduce every plant pathogen. When in doubt, use your municipal green-waste program or follow local extension guidance.
Black walnut leaves deserve caution because they contain juglone, a plant-growth-inhibiting compound. Avoid using large quantities around sensitive plants unless you know your composting process and site are appropriate. A mixed municipal program may be the simplest destination for an unknown or contaminated load.
13. Leave a deliberate habitat patch
“Clean” does not have to mean leafless. Choose one corner beneath shrubs, along a woodland edge, or in a low-traffic bed where leaves can remain intact through winter. This gives insects and other small wildlife cover while keeping the lawn, paths, drains, and entrances functional.
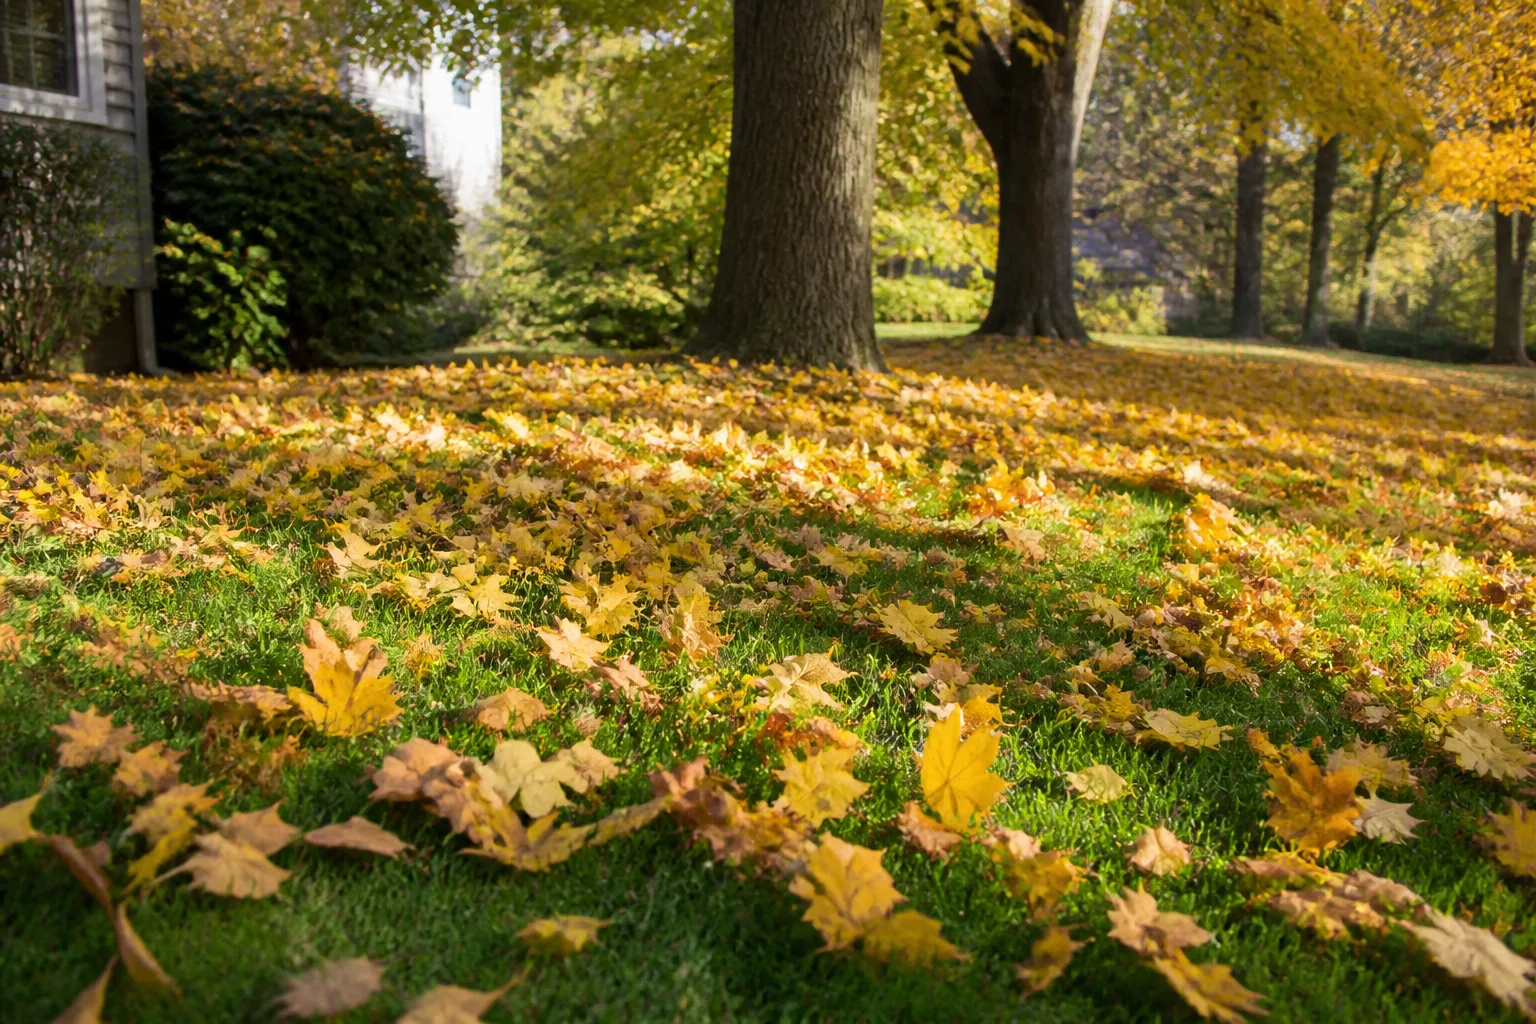
The National Park Service recommends leaving or gently moving leaves because pollinators can overwinter in the litter, and Michigan EGLE describes no-rake areas as useful habitat and soil cover. You do not need to make your entire yard a wildlife reserve. A visible sign, low fence, or tucked-away bed can make the choice legible to guests and neighbors.
Avoid shredding this patch, burning it, or clearing it in early fall just for appearance. If you must tidy it, move intact leaves a short distance rather than feeding them through a mower. In spring, wait until local pollinator activity has resumed before doing a thorough cleanup, then compost the remaining clean material if it is appropriate for your pile.
14. Keep diseased or contaminated leaves separate
Not every brown leaf is diseased, and not every spot means the leaf must be discarded. But leaves with obvious recurring fungal growth, severe disease symptoms, trash, pet waste, or unknown chemical contamination deserve their own route instead of being spread across a lawn or garden where the problem may persist.
Do not rely on a small home compost pile to sanitize questionable debris. In joe gardener’s compost guidance, diseased leaves and stems are kept out because many home systems do not stay hot enough for long enough to neutralize plant pathogens. Put suspect material in the disposal stream your municipality specifies, or use a managed compost facility that states what it accepts.
Clean tools after handling a visibly diseased batch, especially before pruning healthy plants. Do not burn leaves unless local rules, equipment, and conditions explicitly allow it; smoke, sparks, and shifting wind make open burning a poor default. The safest rule is simple: clean leaves can be recycled; questionable leaves should be contained and handled according to local guidance.
15. Dispose of the excess locally
After mulching, mulching beds, saving leaf mold material, and reserving a habitat patch, you may still have more leaves than your property can use. Check your city, county, or waste hauler for collection dates, accepted bags, curb placement, and whether leaves must be loose, bagged, or kept out of the street. Rules change by municipality, so a neighbor’s routine is not a reliable guide.
Shred dry leaves before bagging when the program allows it. They occupy less space and are easier to carry, but do not pack a paper bag so densely that it tears when wet. Tamp gently in layers, keep branches separate, and stage full bags somewhere accessible rather than carrying them one at a time across the yard.
If your community does not collect leaves, ask a nearby gardener whether they want clean leaf mulch, contact a registered compost facility, or store a manageable amount in a leaf corral. Michigan EGLE’s guidance emphasizes that leaves are a resource and that burning them harms air quality. Recycling is usually the better destination, but the correct choice depends on what your local program can safely process.
A 30-minute cleanup routine
When the forecast gives you only half an hour, use this sequence instead of trying to finish the entire yard:
- Minutes 0–5: Clear steps, walkways, door thresholds, driveway low points, and visible drains.
- Minutes 5–10: Blow or rake hardscape leaves toward one planned collection zone.
- Minutes 10–20: Mulch the thin, dry lawn layer or rake thick areas into two or three low rows.
- Minutes 20–25: Move the rows with a tarp, fill the compost corral, or stage approved yard-waste bags.
- Minutes 25–30: Check beds, plant crowns, fences, and the road edge; leave or create the habitat patch and remove anything that could wash into a drain.
On the next dry day, repeat the same route. Frequent small passes beat a single wet, exhausting cleanup because each pass keeps the leaf layer light and limits the distance leaves must travel. Stop when the safety zones are clear, the lawn can breathe, and every remaining pile has a deliberate destination.
Conclusion
Professional-looking fall cleanup is less about removing every leaf than about putting each leaf in the right place. Mulch a thin dry layer into suitable turf, shred leaves for bed mulch or compost, save clean intact leaves for leaf mold, and leave a modest habitat patch where it will not block grass, drains, paths, or doors.
Work during a dry window, use rows and a tarp instead of heroic lifting, protect your back, and choose the tool that matches the surface. If the leaves are wet, diseased, frozen into turf, packed into a gutter, or headed toward a storm drain, change the method rather than forcing the job. That decision-based approach makes the yard easier to manage now and healthier when spring returns.



