What Type of Potting Soil Do Succulents Need?
Learn what type of potting soil succulents need, how to read a bag, mix a gritty DIY blend, choose a pot, and fix soil that stays wet.
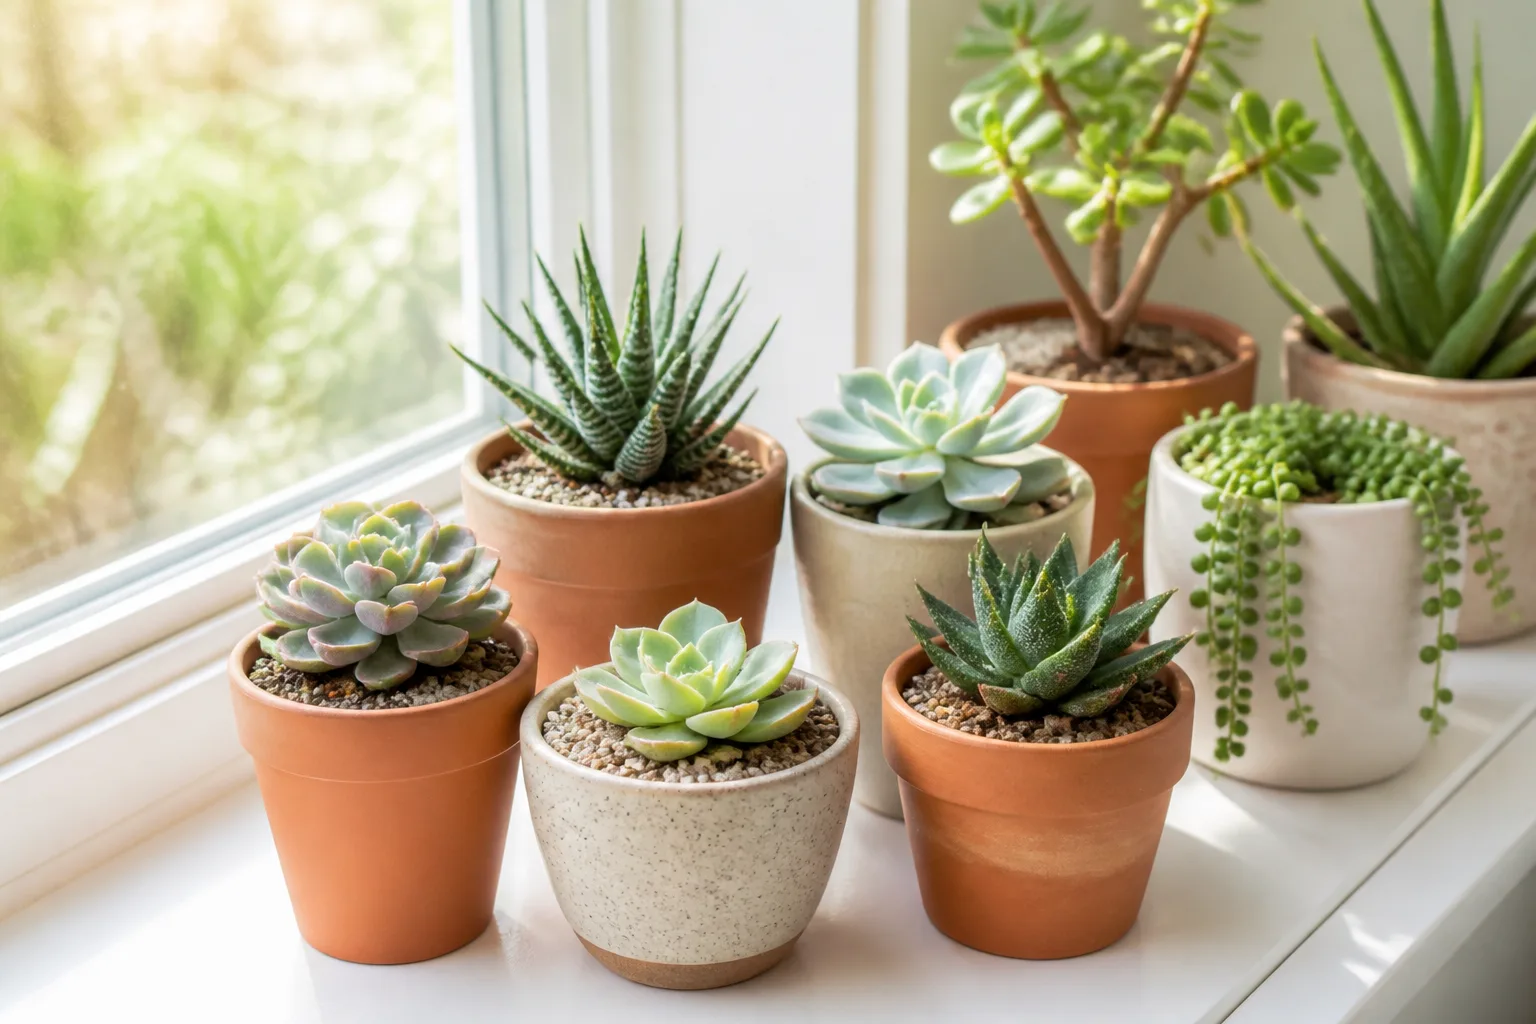
Succulents need a potting mix that drains quickly, stays porous after watering, and contains enough organic material to anchor roots and hold a small reserve of moisture. For most indoor echeverias, jade plants, aloes, haworthias, and common cacti, a reliable starting point is 2 parts potting mix, 1 part pumice or coarse perlite, and 1 part coarse mineral grit or horticultural sand, measured by volume.
That ratio is a starting line, not a law. A humid room, a plastic pot, low winter light, or an enthusiastic watering routine calls for a leaner mix; a hot, bright windowsill or a shallow-rooted plant that dries too quickly may need a little more moisture-holding base. The goal is not to make soil that repels water. It is to create a root zone that wets evenly, releases excess water, and dries at a predictable pace.
Quick Answer: Use a Gritty, Fast-Draining Mix
The best succulent potting soil is a light, crumbly, mineral-forward growing medium rather than garden soil or rich compost. It should contain an organic base such as a quality potting mix, peat-free coir blend, or fine bark, plus open-textured materials such as pumice or perlite and a coarse, stable mineral such as horticultural grit.
You should be able to wet a handful and squeeze it without making a sticky mudball. When you water a planted pot thoroughly, the medium should absorb some water instead of shedding every drop down the sides, while excess water should leave through the drainage hole rather than pooling around the roots. The National Capital Cactus and Succulent Society describes the same practical standard: there is no single perfect recipe, but a mix that stays porous and crumbles apart after moistening is moving in the right direction.
Commercial cactus and succulent mixes are convenient, but the label is only a starting point. If the bag feels fine and peat-heavy, stays heavy for days, or contains very little visible mineral material, amend a small test batch before repotting a whole collection. If it already looks coarse, contains plenty of pumice or perlite, and passes a wet-and-drain test in a pot, it may need no additions.
What Succulent Roots Need From Potting Mix
The fleshy leaves and stems that make succulents drought-tolerant also change the way you should think about their roots. Because the plant can store water aboveground, the root zone does not need to remain continuously damp; it needs a short, complete drink followed by enough air and drying for the roots to function normally.
“Drainage” is often used as shorthand for this, but the more useful concept is air-filled pore space. The Royal Horticultural Society explains that growing media contain pores that hold both water and air, and that compacted or waterlogged media can deprive roots of the air they need. Pumice, bark, and other irregular particles create air pockets that help keep a mix open rather than allowing every space to fill with water.
Most succulents do not come from one identical habitat. Echeverias, many aloes, and desert cacti are comfortable with a sharper dry-down; Christmas cactus and Rhipsalis are jungle cacti that naturally experience more organic debris and regular moisture. Lithops and other especially rot-sensitive plants can take an even more mineral-heavy blend, while a small jade plant on a bright, warm windowsill may appreciate more body so it does not dry before its roots can rehydrate.
This is why “as much grit as possible” is not automatically better. A mix with almost no organic base can dry too quickly, fail to hold a root ball in place, or force frequent watering that keeps a plant in a cycle of wetting and stress. Aim for fast release of excess water, not zero water-holding capacity.
Choose a Commercial Mix by Texture, Not Just Label
Store-bought cactus or succulent mix is a sensible choice when you want a repeatable, low-mess starting point. The RHS notes that specialist houseplant mixes are widely available, but the useful question is what the ingredients are doing, not whether the front of the bag uses a reassuring plant name.
Turn the bag over and look for a base that is loose and fibrous rather than a black, fine, compost-like mass. You want visible or named drainage ingredients—pumice, perlite, coarse sand, grit, or fine bark—without a long list of water-retaining additives. A commercial mix that is slightly too organic can be amended; one that has decomposed into fine, dusty particles is harder to restore because particle size and structure are already lost.
If you are choosing between two bags, compare them after opening when possible. The better candidate usually feels springy or gritty, has particles you can see, and does not collapse into a dense paste when wet. A mix that is only “fast draining” because water runs around a dry root ball is not a good result; it must accept water evenly as well as release the excess.
Read the Ingredient Panel
The first three ingredients tell you more than the word “premium.” Peat, coir, compost, and bark are useful organic bases, but they hold more moisture than pumice, perlite, or coarse mineral grit. Perlite and pumice are aerators; coarse sand and grit add mineral body; vermiculite, fine peat, and very fine compost generally move the mix toward longer moisture retention.
Do not reject peat or coir automatically. Either can work as the smaller organic portion of a succulent mix when paired with enough open mineral material. Coir is often near neutral in pH and can rewet more readily than completely dry peat, while peat can hold a larger reserve of moisture and may be more difficult to rewet once it shrinks away from the pot wall.
Avoid using garden soil, topsoil, or heavy outdoor bed soil as the main container medium. Those materials can compact in a pot, carry weed seeds or soil pests, and leave too few air spaces around roots. Also skip play sand, beach sand, and very fine masonry dust: small rounded or powdery particles can fill the spaces between larger ingredients and make the mix tighter instead of more open.
DIY Succulent Soil Mix: A Reliable Starting Ratio
For a small indoor collection, mix these ingredients by volume:
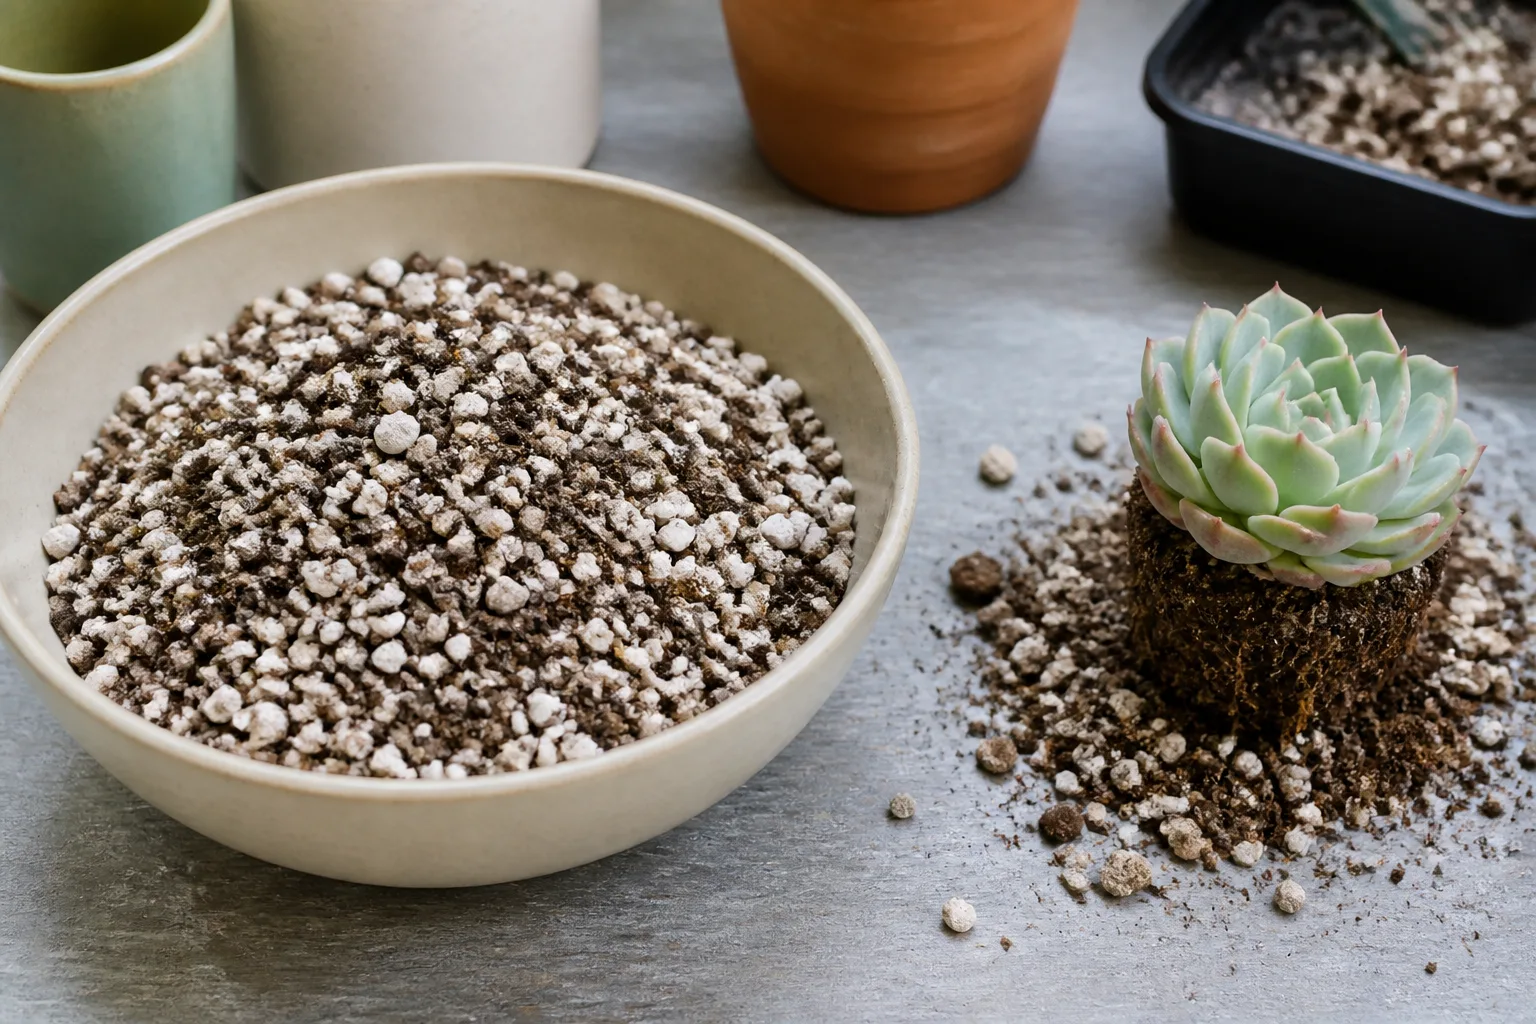
- Two parts quality potting mix or cactus mix for organic matter, nutrients, and root support.
- One part pumice or coarse perlite for air pockets and structural openness.
- One part coarse horticultural sand, granite grit, poultry grit, or small stable gravel for mineral body and faster water movement.
Use any scoop as your “part”—a measuring cup for one pot or a bucket for a batch—as long as every ingredient uses the same scoop. The National Capital Cactus and Succulent Society gives a comparable two-parts-organic-to-one-part-porous-material-to-one-part-grit example, while Epic Gardening describes a similar 2:2:1 potting-soil, coarse-sand, and perlite baseline. The useful agreement is not a magic number; it is the balance between a modest moisture-holding base and a substantial mineral fraction.
If all you have is regular indoor potting soil and perlite, begin with one part of each for a quick rescue batch, then add coarse grit if the mix still stays heavy or wet. That simple blend is better than planting directly into regular soil, but it may need a stronger mineral component for a plastic pot in a humid room or for someone who waters on a calendar.
Mix the ingredients thoroughly before filling the pot. Break up compressed chunks, remove sticks or clods, and keep the texture loose; the finished medium should not have a thick layer of fine base at the bottom and coarse pieces at the top. The root zone should be consistent from surface to drainage hole.
Adjust the Recipe for the Plant and Room
Shift the ratio only after considering how quickly the pot actually dries. For a bright, warm room with an unglazed terracotta pot, use a little more organic base if the mix becomes bone-dry immediately after the roots have taken up water. For a humid room, a glazed ceramic pot, low light, or a history of overwatering, increase pumice, coarse perlite, or grit rather than simply reducing watering forever.
For jungle cacti such as Christmas cactus and Rhipsalis, stay closer to the two-parts-base recipe and use a little less grit if your room is dry. For lithops, small haworthias, and other plants that repeatedly show trouble in damp mix, move toward equal parts base and mineral material, use a smaller pot, and make sure the plant receives enough light to use water.
For a top-heavy jade, aloe, or large cactus, pumice or granite grit has a practical advantage over a very light amendment: it adds weight as well as pore space. The USDA Agricultural Research Service summarizes a peer-reviewed nursery study in which pumice helped maintain air space over time in a bark-based substrate, but that result came from a specific production medium and does not turn pumice into a universal replacement for good watering or a suitable pot.
Perlite vs. Pumice vs. Coarse Sand
Perlite, pumice, and coarse sand all improve a succulent mix, but they do different jobs. Choosing between them is mostly a question of particle size, weight, availability, and how much structure the pot needs.
| Ingredient | Main job | Strengths | Watch-outs |
|---|---|---|---|
| Coarse perlite | Opens pore space and improves aeration | Inexpensive, widely available, very light | Can float or rise to the surface; dusty when dry; fine grades compact more easily |
| Pumice | Adds durable porous mineral structure | Heavier than perlite, less likely to float, useful for top-heavy plants | Often costs more and can be harder to find; wet the dust before mixing |
| Coarse sand or grit | Adds body, weight, and larger mineral particles | Helps the mix stay anchored and crumbly; useful as granite or poultry grit | Fine sand can fill pores and compact; rounded beach or play sand is a poor choice |
Perlite and pumice are not identical, even though either can be a good aeration ingredient. The RHS describes pumice as a porous volcanic rock that functions as an aerator and can hold some water; Epic Gardening notes that coarse perlite creates larger spaces and is especially useful in container mixes. In practice, use the grade you can source reliably and adjust by texture rather than treating one material as a plant-care requirement.
Pumice is usually the better choice when a plant or pot is unstable, when you want the mineral fraction to remain in place, or when you are growing outdoors where wind and repeated watering can move light perlite. Perlite is often the better choice when cost and availability matter, or when you need to lighten a mix that is already reasonably coarse.
Coarse sand is useful only when it is genuinely coarse. If the grains are fine enough to make a smooth beach-like paste when wet, substitute granite grit, poultry grit, crushed lava, or another horticulturally clean aggregate. Rinse dusty mineral ingredients if needed, but do not sterilize or bleach them into a chemical experiment; the important qualities are a stable, non-toxic material and a particle size that keeps the mix open.
The Pot and Environment Change the Mix
Soil cannot compensate for a sealed container, a dark corner, or a saucer full of old runoff. The same recipe can dry in a few days in a small terracotta pot on a bright balcony and remain damp much longer in a deep glazed pot indoors.
Start with a pot that has at least one real drainage hole and is only modestly larger than the root ball. A pot that is dramatically oversized contains more wet mix than the roots can use, while a deep pot can keep its lower layers damp after the surface looks dry. Use a saucer to protect furniture, then empty it after watering; a cachepot is fine only when the grow pot can drain freely and never sits in collected water.
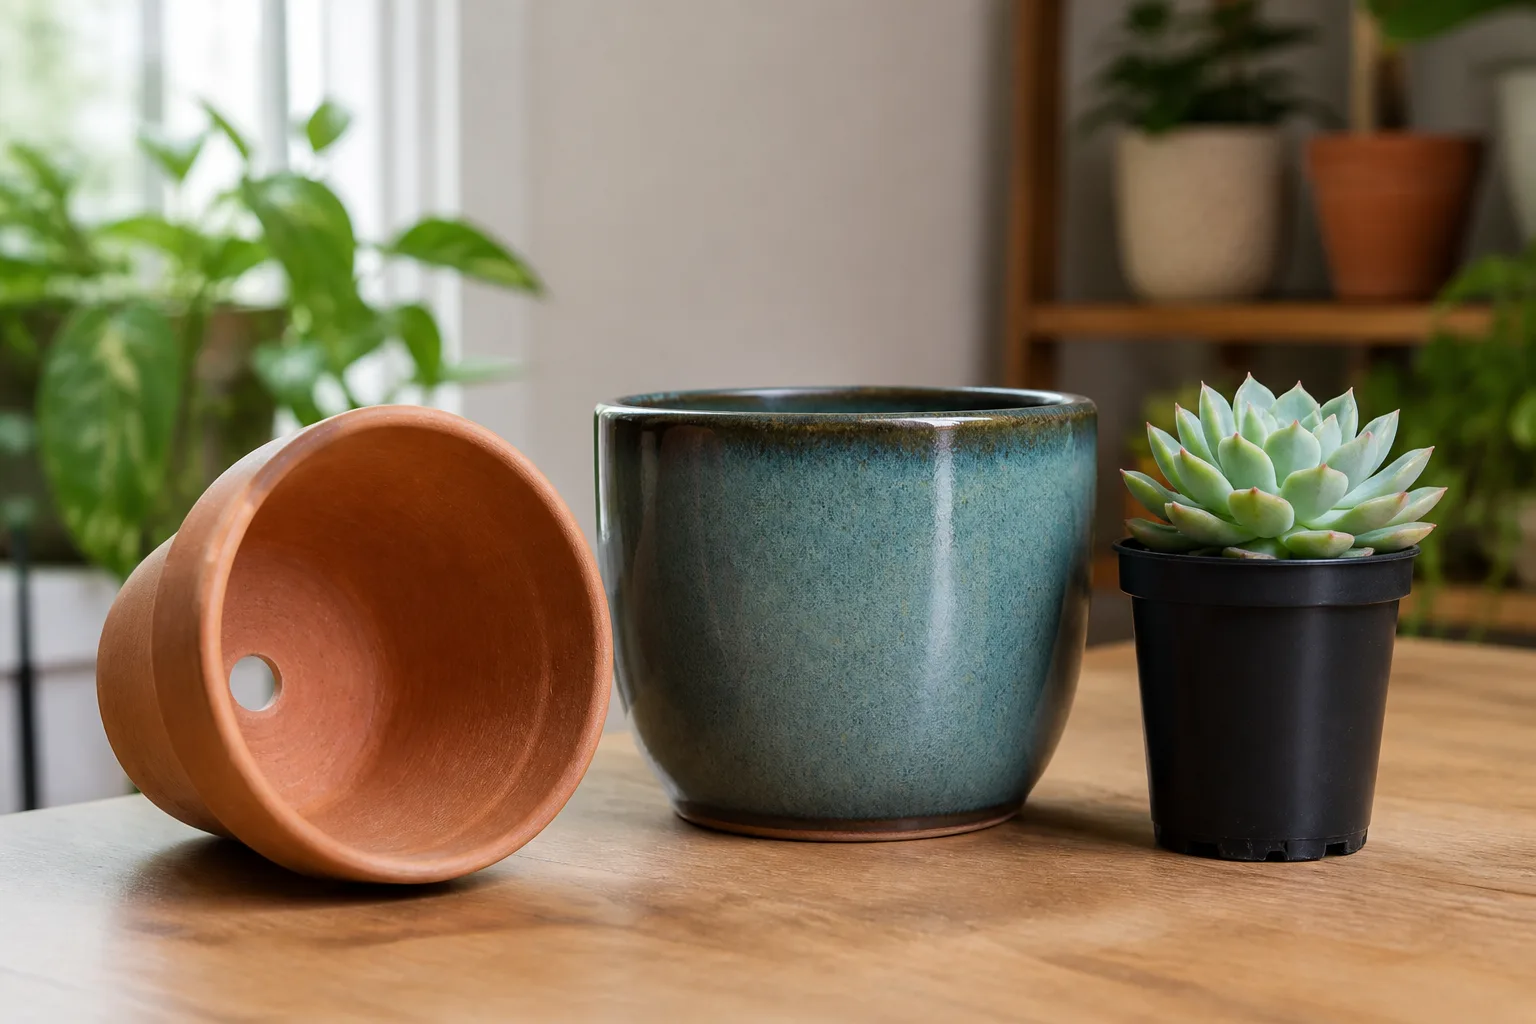
Do not build a “drainage layer” of rocks at the bottom as a substitute for a good mix. A 2025 study in PLOS One tested gravel, grit, sand, and lightweight aggregate layers under several potting media and found that the layers generally reduced or did not change total water retention, with the result depending on the medium and material. The study did not test living succulents, so it is not a prescription for every pot, but it does show why a layer is not a dependable shortcut; putting the right texture throughout the root zone and keeping the hole clear is simpler.
Match Drainage Holes and Pot Material
Unglazed terracotta usually dries faster than plastic or glazed ceramic because moisture can evaporate through the pot wall. That can make terracotta forgiving for an overwaterer, but it can also turn a small, gritty mix into a drought trap in a hot, dry room. Our guide to terracotta versus plastic pots explains the same trade-off for container plants more broadly.
Plastic and glazed ceramic reduce side evaporation, so they are not wrong for succulents, but they demand more attention to mix texture and pot weight. If a plastic pot stays heavy for a week after watering, changing to a more mineral-forward mix or a smaller container may be more effective than trying to water less often while the roots remain in a slow-drying medium.
Check the hole before planting. A decorative pot may have a tiny opening, a sealed base, or an internal foot that blocks water when it sits flat. If you want a particular cachepot for appearance, keep the succulent in a draining nursery pot inside it and lift the inner pot out to water.
Match Soil to Light, Humidity, and Watering
Light drives how quickly a succulent uses water. A plant that is stretched and pale in a dim room may also be sitting in wet soil because its leaves are not producing enough energy to support active growth. Moving it toward appropriate bright light and changing the watering interval can matter as much as adding another handful of grit.
Humidity and airflow alter evaporation, while season and temperature change how fast roots take up water. Check the pot by weight and feel the mix at root depth rather than following a fixed weekly schedule. Water deeply enough to wet the mix evenly, allow excess to escape, and wait until the medium has dried to the level appropriate for that plant before watering again.
Do not confuse a dry surface with a dry root ball. Large mineral particles can make the top look dry while the lower half remains damp, and a dry peat-heavy mix can shed water down the sides while staying dry in the center. Lift the pot, use a wooden skewer or finger where practical, and observe how long the plant remains heavy after a thorough watering.
How to Mix, Repot, and Test It
Wear a simple dust mask or wet down perlite, pumice, and grit before mixing so fine particles do not become airborne. Combine the ingredients in a bucket or tub, turn them several times with a clean scoop, and moisten a small amount if the dry components are difficult to judge by texture.
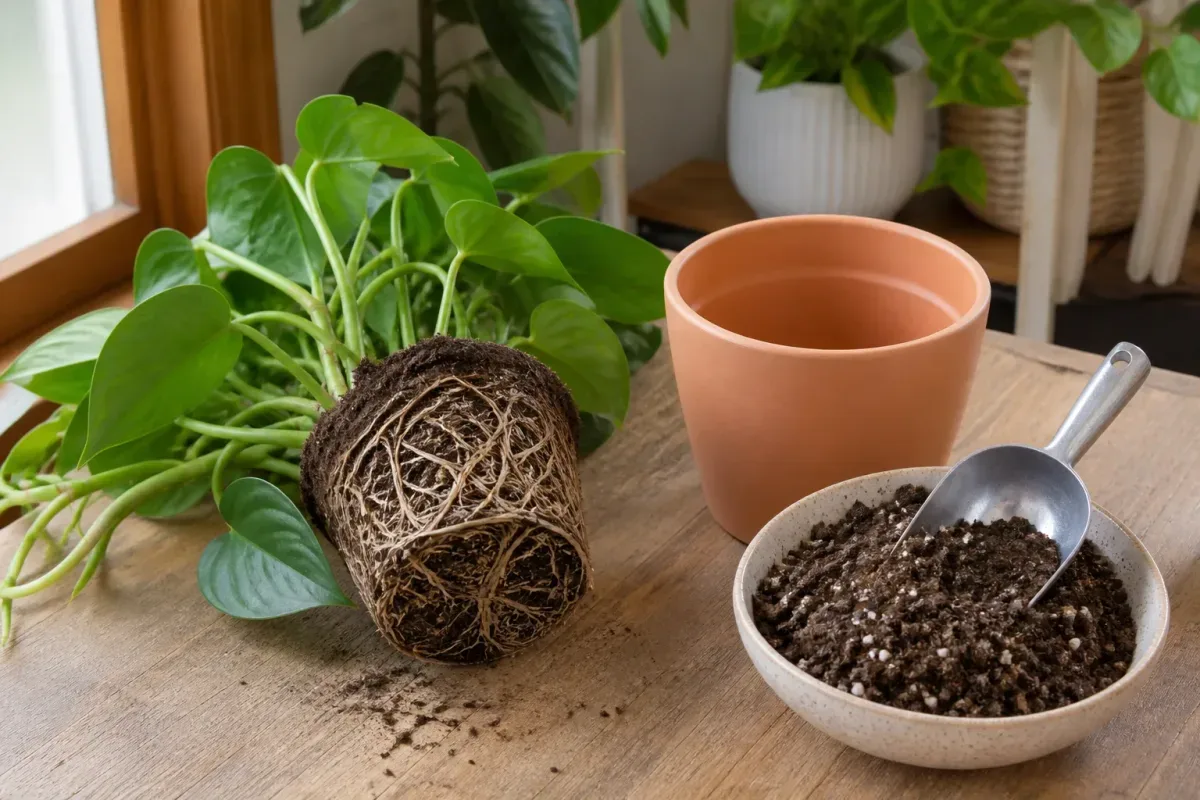
When repotting, slide the plant out gently and inspect the root ball before deciding whether the old medium must all be removed. Break away only the dense, sour-smelling, or persistently wet material you can separate without tearing healthy roots. Set the plant at the same depth, keep soil away from the stem or crown, and fill around the roots without tamping the mix into a hard plug.
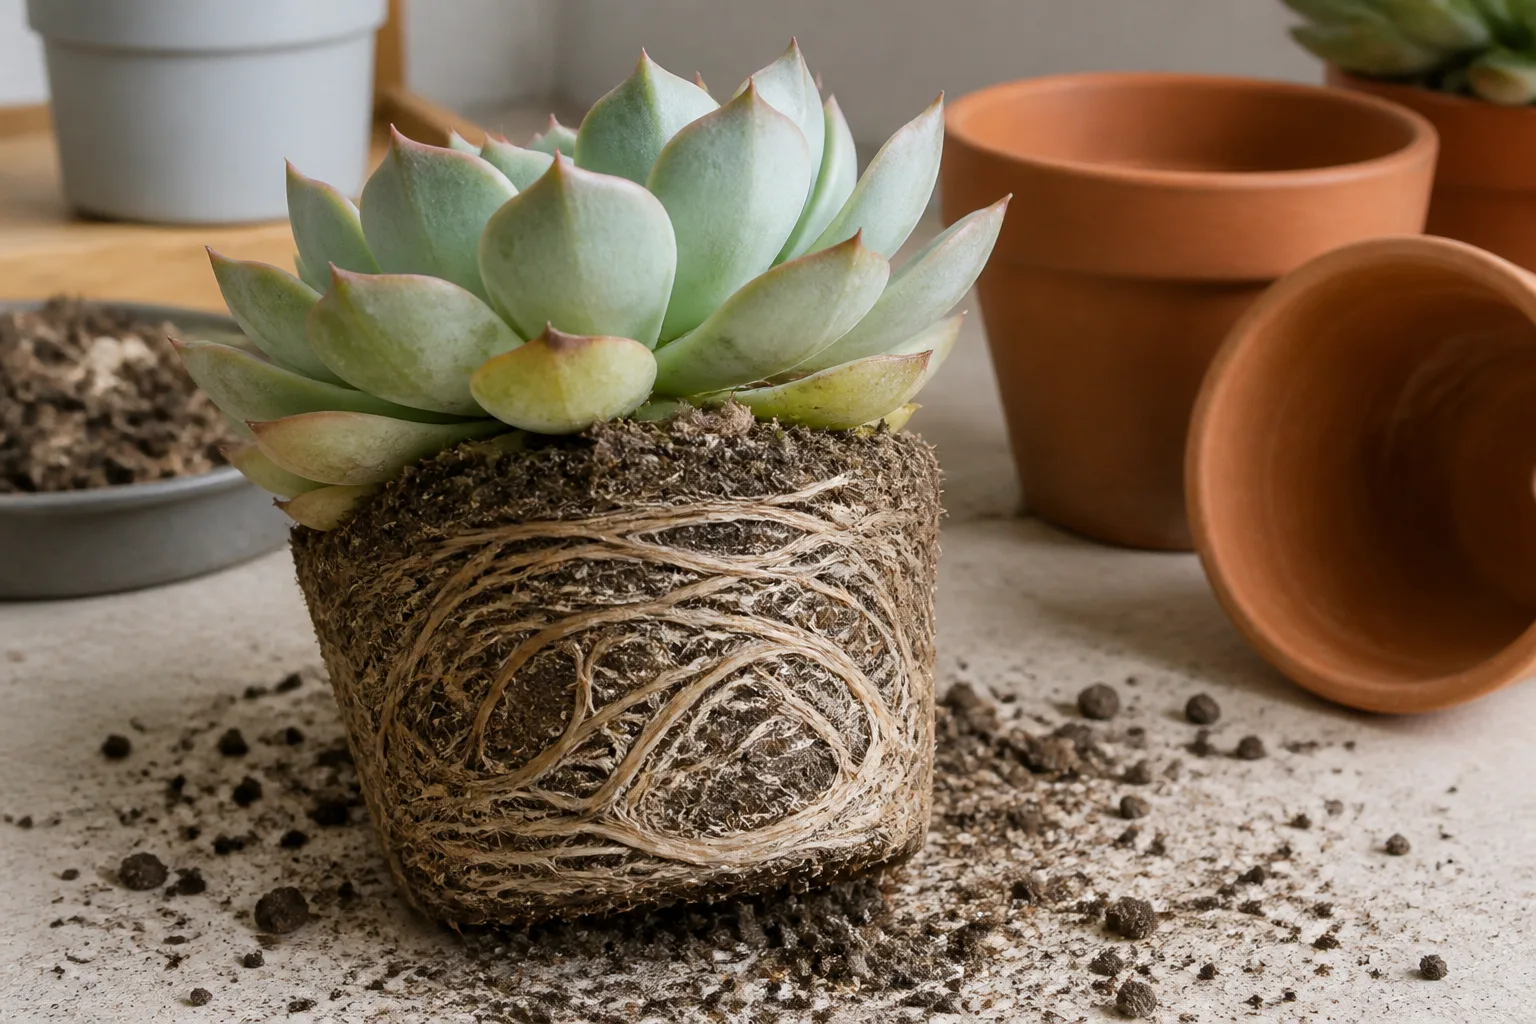
If roots were healthy and the new mix is only lightly moistened, a careful watering can settle it. If you removed mushy roots or made substantial cuts, let the plant and mix dry according to the species and conditions before giving a full drink. In either case, do not leave the pot sitting in the first runoff.
Run a Texture and Drainage Test
Test the batch before committing a valuable plant. First, moisten a handful and squeeze it. Good succulent soil should hold briefly from the moisture but fall apart when you open your hand; a sticky ball or smooth paste signals too many fine or water-retaining particles.
Next, test it in the actual type of pot you plan to use. Fill a small draining pot loosely, pour water slowly over the surface, and watch three things: whether the mix wets instead of shedding water down the sides, whether water eventually exits the hole, and whether the pot remains exceptionally heavy long after drainage stops. This is a practical comparison, not a timed universal standard, because pot size, ingredients, and room conditions change the result.
If the mix is too wet, add coarse mineral material in small batches and retest. If water races through without wetting the center, the problem may be a hydrophobic dried organic base or a gap around a compacted root ball rather than a need for even more grit. Adjust the specific failure you observed instead of rebuilding the recipe from scratch.
Troubleshoot Soil Problems Before You Blame the Plant
Soil symptoms overlap with light, watering, pests, temperature, and root damage. A succulent with slow growth does not automatically need leaner soil, and a wrinkled leaf does not automatically mean the potting mix is bad. Look at the plant, pot, roots, and recent watering pattern together.
When the Mix Stays Wet
If the pot is still heavy and the mix is visibly damp many days after watering, start with the setup. Confirm the drainage hole is open, remove any water from the saucer or cachepot, and move the plant to brighter appropriate light with better airflow. Do not keep adding water because the top looks dry while the lower root zone remains wet.
If the setup is sound, the likely causes are an oversized or deep pot, a fine peat-heavy mix, too much vermiculite or compost, or a room that is cool and humid. Repot into a smaller container with a coarser blend when the evidence points there, and inspect roots for brown, soft, or foul-smelling tissue. A new soil recipe cannot repair roots that are already rotting; it only removes one cause of continued stress.
When Water Runs Straight Through
Fast drainage is not the same as water bypassing the roots. Pouring water onto bone-dry peat or coir can send it down the gap between the root ball and the pot wall, leaving the center dry even though the saucer fills. A root ball that has shrunk from the pot or a compacted plug can produce the same pattern.
Water slowly in two or three passes, allowing each pass to soak in before adding more. If the center remains dry, remove the plant and inspect the root ball; replace a severely compacted or hydrophobic medium rather than repeatedly flooding the outside of the pot. Afterward, keep the recipe coarse but retain enough organic base for the mix to accept water evenly.
When Growth or Leaves Look Wrong
Soft, translucent, yellowing leaves alongside damp soil point more strongly toward excess water or root trouble than toward a nutrient shortage. Wrinkled leaves with a genuinely dry root ball may reflect underwatering, but wrinkling with a heavy pot suggests the roots are unable to function in saturated conditions.
Long gaps between leaves, weak stems, and a leaning rosette are usually light or watering clues before they are proof of nutrient-rich soil. Move through the simplest checks first: light level, pot weight, drainage hole, mix texture, and roots. Repot only when the medium is compacted, staying wet, contaminated, or otherwise failing a test—not merely because the plant had one slow week.
Conclusion
Most indoor succulents do well in a loose mix built from two parts potting or cactus mix, one part pumice or coarse perlite, and one part coarse grit or horticultural sand. The exact ratio matters less than the finished behavior: the medium should wet evenly, drain freely, stay crumbly, and dry at a pace that matches the plant, pot, light, humidity, and your watering habits.
Choose a commercial mix by its ingredients and texture, use the DIY ratio as a measured starting point, and adjust one variable at a time. A pot with a clear drainage hole, no standing runoff, and a consistent root-zone mix will do more for succulent health than a decorative rock layer at the bottom. Test the batch before repotting, then let the plant’s dry-down pattern—not a label or calendar—tell you whether the soil is working.