6 Tried-and-True Gardening Tricks for Better Harvests
Make six classic gardening tricks work harder: build healthy soil, pair plants by job, prune on schedule, and avoid eggshell and compost-tea mistakes.
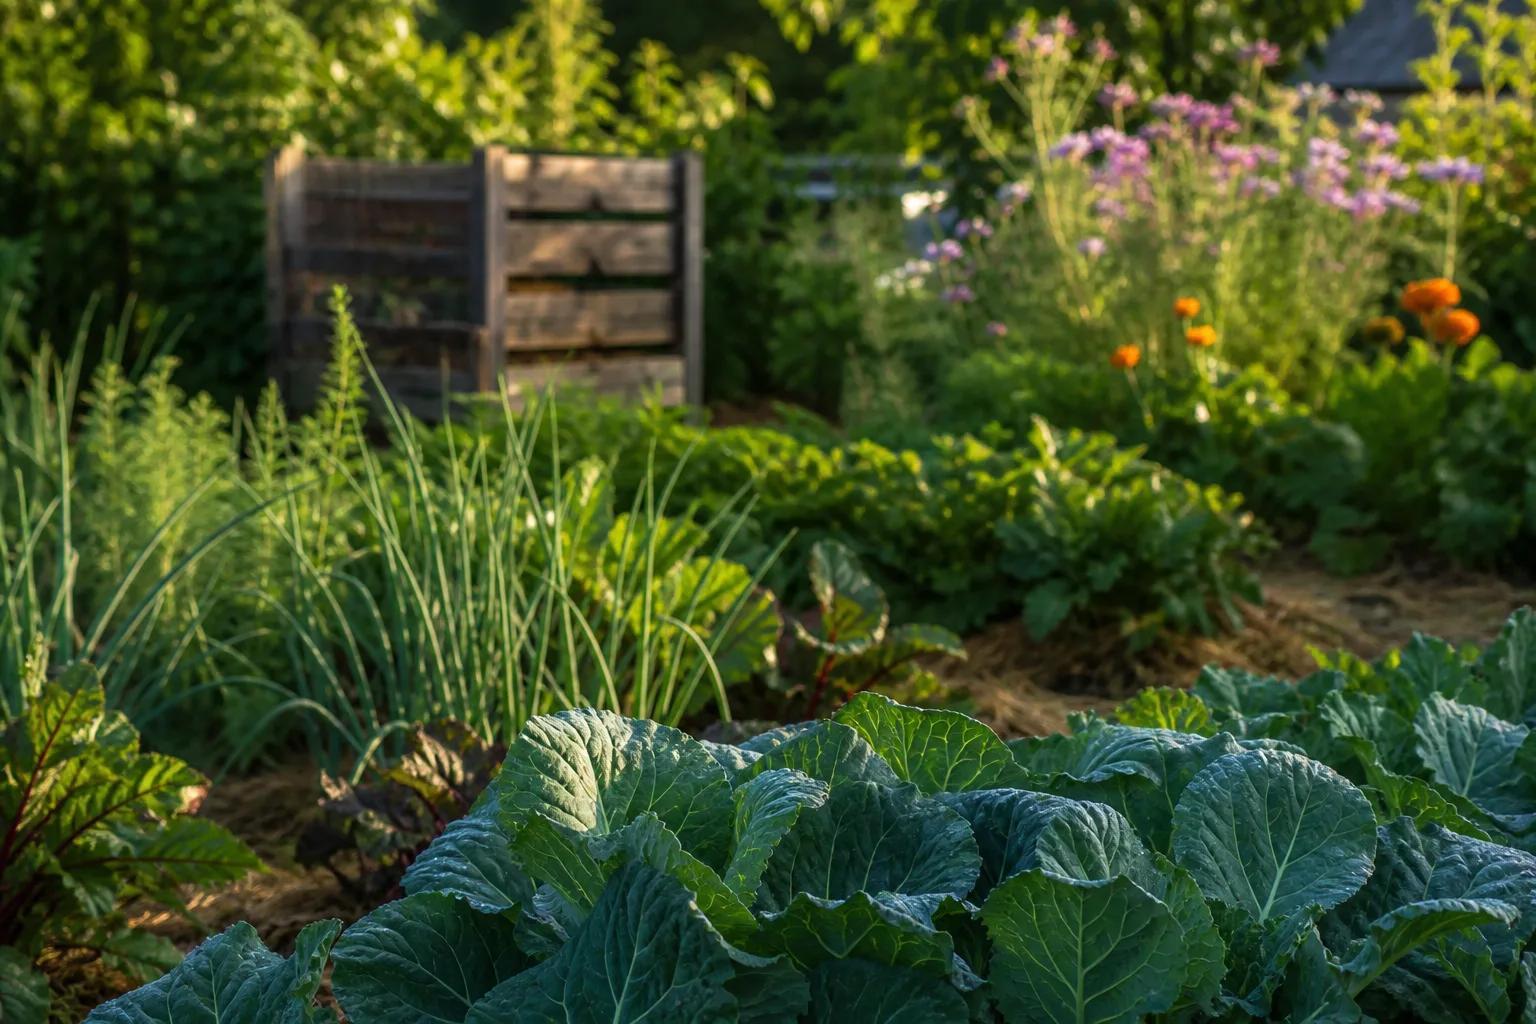
The best gardening tricks are usually less dramatic than a viral hack. They improve the conditions a plant has to work with: living soil, enough root space, useful neighbors, the right amount of leaf and branch growth, and a planting site that does not punish roots with compaction or standing water.
That distinction matters because a “trick” can be technically true and still be the wrong move for your garden. Eggshells contain calcium, but they do not act like a fast fertilizer. Raised beds can drain well, but a poorly sited bed can dry out quickly or become an expensive box of depleted soil. Use the six ideas below as a sequence of decisions, not a shopping list of garden magic.
What these tricks are actually trying to fix
Most disappointing harvests trace back to a small group of bottlenecks: roots cannot access air or nutrients, plants compete for light and water, pruning removes the wrong growth, or a plant goes into the ground at the wrong height. The visible symptom may be small fruit, weak flowering, yellow leaves, slow establishment, or a bed that demands watering every day.
Before changing anything, name the bottleneck. Feel the soil a few inches down, look for roots circling inside a container, check whether foliage is crowding the center of a plant, and note whether a crop is sharing space with an aggressive neighbor. If the problem is unknown, a soil test and a week of observation usually tell you more than adding three amendments at once.
The order below is intentional. Site and soil come first, layout comes next, then pruning and optional amendments. That order prevents a common mistake: trying to feed or “boost” a plant whose roots are stressed by poor drainage, compaction, or inconsistent moisture.
Trick 1: Build the soil before you feed the plant
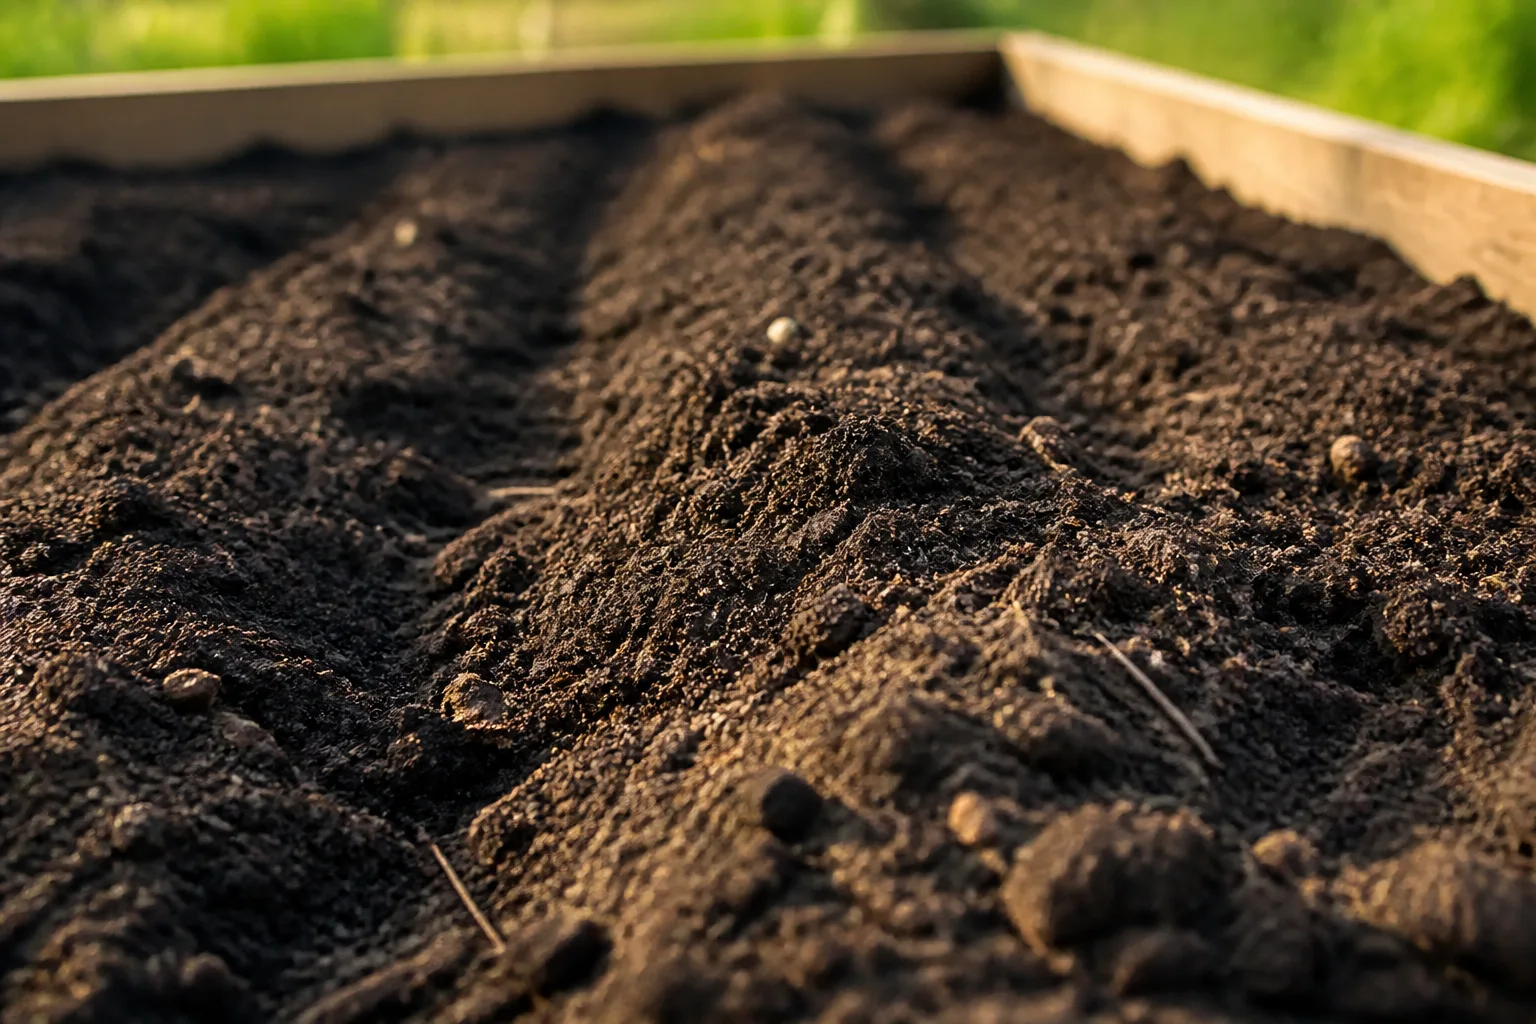
Healthy soil is not just a dark color or a high nutrient number. It has enough pore space for air and water, organic matter that supports organisms and structure, and a texture that lets roots move without staying waterlogged. The RHS describes garden compost as a soil improver because it can improve fertility, structure, and water-holding capacity; that is a more useful goal than chasing a miracle ingredient. RHS guidance on preparing soil also emphasizes loosening the surface, removing competing weeds, adding organic matter, and avoiding unnecessary foot traffic.
Start with a soil test and a bed-wide plan
If a bed has produced poorly for more than one season, start with a laboratory soil test rather than guessing at lime, sulfur, fertilizer, or calcium. Sample the actual growing area, follow the lab’s depth instructions, and keep the results with the bed’s planting notes. A pH result and basic nutrient panel are often more actionable for a home garden than a costly “soil health” package that you do not know how to interpret.
Soil tests are snapshots, not verdicts. University of Minnesota Extension notes that soil changes with weather, season, management, texture, and sampling location, and that no single test describes the whole health of a soil. Use the same depth, season, and general sampling pattern when you compare results over time; a trend from one bed is more useful than comparing two unrelated beds. The University of Minnesota’s soil-health testing guide recommends thinking about the question you want the test to answer before choosing the test.
Once you have results, amend the planting area rather than creating a pocket of rich material in each hole. A hole filled with very different soil can hold too much water, discourage roots from exploring the surrounding ground, or create a false sense that the plant has access to nutrients everywhere. Work from the bed’s recommendations and the crop’s needs, then reassess after the season.
Add mature organic matter without burying the biology
Use finished compost, well-rotted plant material, or another appropriate organic amendment as a surface layer or shallow incorporation, depending on your soil and the crop. The material should smell earthy, look stable, and contain no obvious fresh scraps, hot manure, or persistent weed roots. Add enough to improve the structure without turning the bed into pure compost; roots still need mineral soil, air spaces, and dependable drainage.
The best time to repair a bed is before planting, when you can spread the amendment evenly and let the soil settle. A broad fork or garden fork can open compacted soil with less disruption than repeatedly pulverizing it with a rototiller. University of Minnesota Extension reports that lower-tillage soils tend to have better aggregate stability, water infiltration, and resistance to compaction, while also acknowledging that some targeted loosening is useful when establishing a new bed or correcting a compacted layer. Its reduced-tillage guidance is a good reminder that “never disturb soil” is as simplistic as “turn everything over every spring.”
Keep traffic on paths, use a board if you must reach across a bed, and mulch bare soil after planting. You are protecting the air channels that roots and soil organisms need. In a small garden, that simple habit can be more valuable than a new fertilizer because it prevents the annual cycle of compaction followed by aggressive tilling.
Trick 2: Choose plant neighbors by job, not superstition
Companion planting works best when you treat it as thoughtful bed design. Put plants together because they share a season, occupy different heights, attract useful insects, provide a living mulch, or make it easier to monitor pests and harvest on time. Do not assume that every famous pairing creates a chemical shield around the crop.
Use flowers, height, roots, and timing as the design tools
Start with the main crop’s requirements. A tomato that needs strong light and a cage should not be surrounded by a fast-spreading herb that steals root space, even if the pairing appears on a chart. A lettuce crop may benefit from the temporary shade of a taller, young crop, but that same shade can reduce growth once the canopy becomes dense.
Flowers such as marigolds, nasturtiums, cosmos, and single-flowered herbs can make an edible bed more welcoming to pollinators and predatory insects. The dependable benefit is often habitat and diversity rather than a guaranteed repellent effect. BBC Gardeners’ World Magazine recommends mixing flowers and vegetables to increase biodiversity and describes companion planting as a long-practiced way to pair certain plants for pest or disease management, while its potager guidance also stresses that a diverse mix reduces the risk of concentrating one crop and one pest in the same space. See its potager design guidance.
Use a simple four-part layout test before planting a neighbor:
- Light: Will the taller plant shade the crop during the hours it needs sun?
- Roots: Do the two plants occupy different depths, or are both heavy feeders competing in the same small volume?
- Airflow: Will the combination create a damp, crowded canopy that makes inspection and watering difficult?
- Timing: Will one crop be harvested or cut back before the other reaches its full size?
The classic corn, beans, and squash combination illustrates the principle. Corn provides vertical structure, beans use that structure, and squash covers ground; the system only works when the planting density, variety, moisture, and season are suitable. A three-sisters-style bed planted too tightly can become a tangle that is hard to weed, feed, or harvest.
Know what companion planting cannot do
Companion plants cannot make up for weak light, diseased transplants, poor drainage, or an overcrowded bed. Marigolds are not a substitute for checking tomato leaves, removing heavily infected debris, or using a crop-rotation plan. Basil beside a tomato may be a sensible use of space and a pleasant harvest combination, but it is not a promise of extra tomatoes.
The most reliable companion-planting result is often operational: flowers bring you into the bed, mixed heights make space more efficient, and a diverse planting makes it less likely that one pest finds an uninterrupted buffet. If you want to test a pairing, leave one comparable section without it. Track plant vigor, pest counts, harvest weight, and watering needs rather than relying on a single season’s impression.

Trick 3: Prune with a purpose and a calendar
Pruning is not a routine haircut. Every cut changes the balance between roots and shoots, the amount of light entering the plant, and the buds that remain available for flowers or fruit. The right question is not “Should I prune this?” but “What problem will this cut solve, and where will the plant make its next growth?”
Match pruning time to the plant’s flowering wood
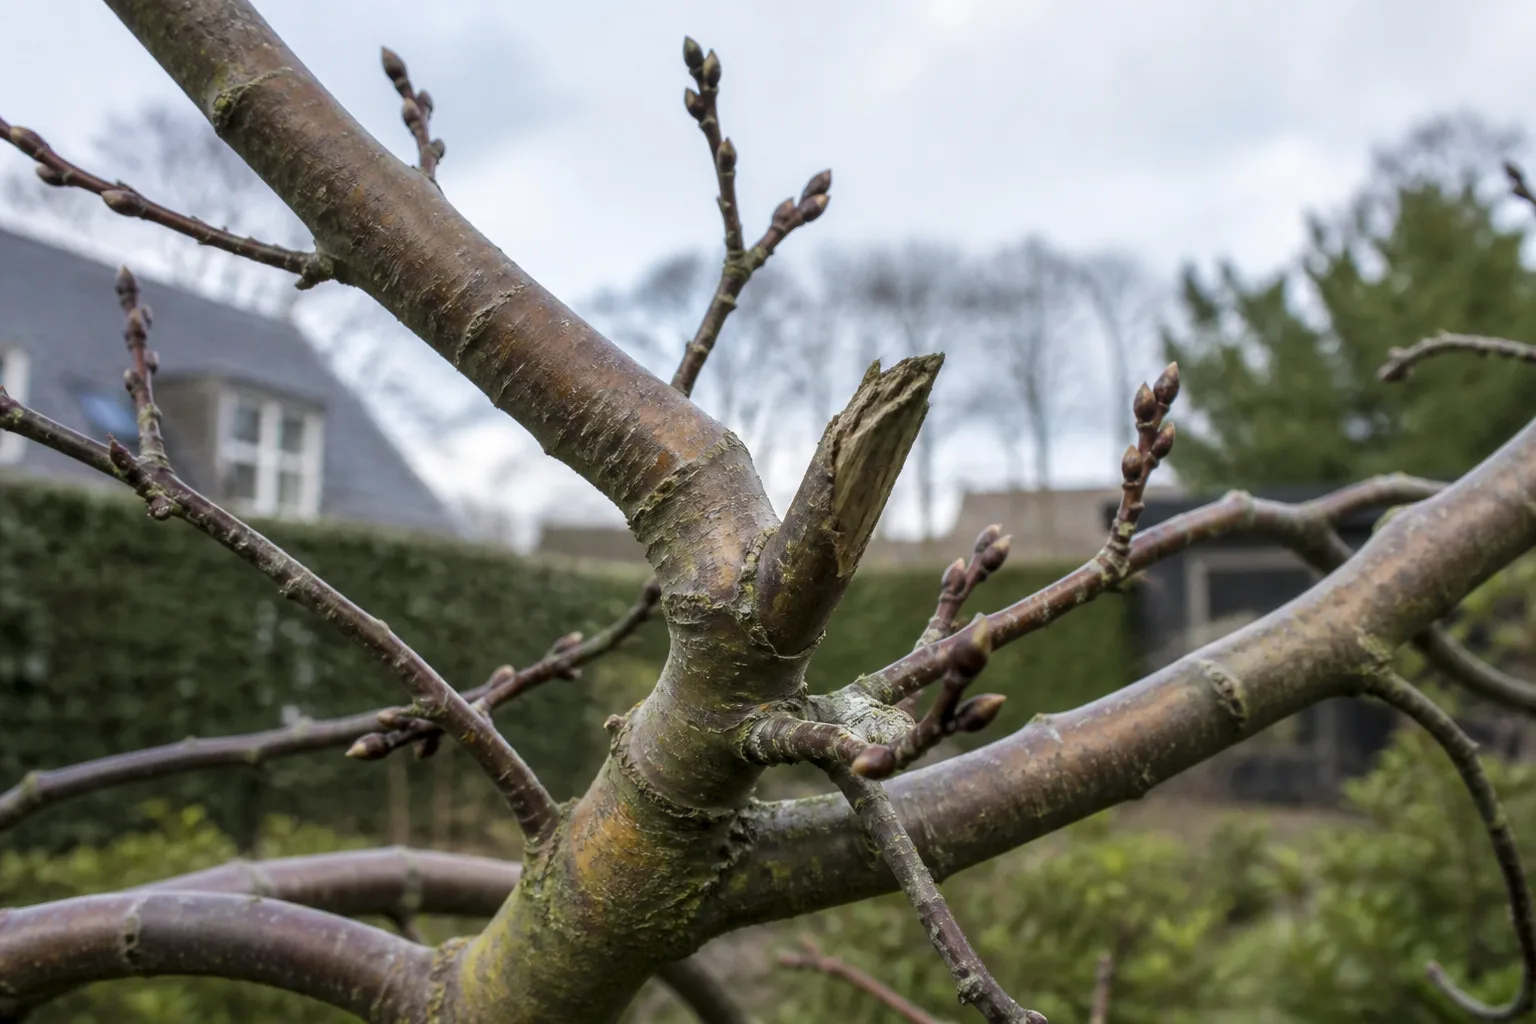
First remove dead, diseased, broken, or crossing growth when it is safe to identify and reach it. Timing matters most when you are removing healthy wood. Many spring-flowering shrubs form their flower buds on older growth, so a winter haircut can remove the display you wanted. Many summer-flowering shrubs bloom on new growth, making late winter or early spring pruning more appropriate. The species still decides the rule: a hydrangea, rose, fruit tree, evergreen, and ornamental shrub may each need a different calendar.
Clemson Cooperative Extension’s shrub guidance separates spring-flowering plants, which are generally pruned after flowering, from summer-flowering plants, which can often be pruned before spring growth begins. It also warns that severe renewal pruning suits some broadleaf shrubs but can damage or fail on narrow-leaf evergreens that do not produce new growth from old wood. Review the Clemson pruning table before a major cut, especially if you are working on a mature shrub rather than a soft-stemmed perennial.
For fruiting plants, pruning can improve light penetration and keep productive wood within reach, but more cuts do not automatically mean more fruit. Over-pruning can trigger vigorous leafy growth at the expense of flowers, expose bark to sun and weather, or remove the very spurs that carry next year’s crop. If you cannot identify the plant’s flowering habit, stop at deadwood and structural problems until you can verify the timing.
Make fewer, better cuts
Use sharp, clean tools sized to the branch. Make a thinning cut back to a side branch or trunk when you need to reduce congestion, and make a heading cut just above a healthy bud when you intentionally want branching. Favor thinning over repeated shearing on shrubs that should look natural; Clemson notes that thinning encourages growth farther inside the canopy, while indiscriminate heading produces a dense outer shell and a bare interior.
Stand back after every few cuts. Your goal is an open but not hollow plant, with branches that grow outward rather than rub together. Do not strip the lower canopy simply to create a “clean” trunk, remove more than the plant can replace in one season, or prune a drought-stressed plant as if it were dormant and healthy.
Trick 4: Treat eggshells as slow calcium, not magic fertilizer
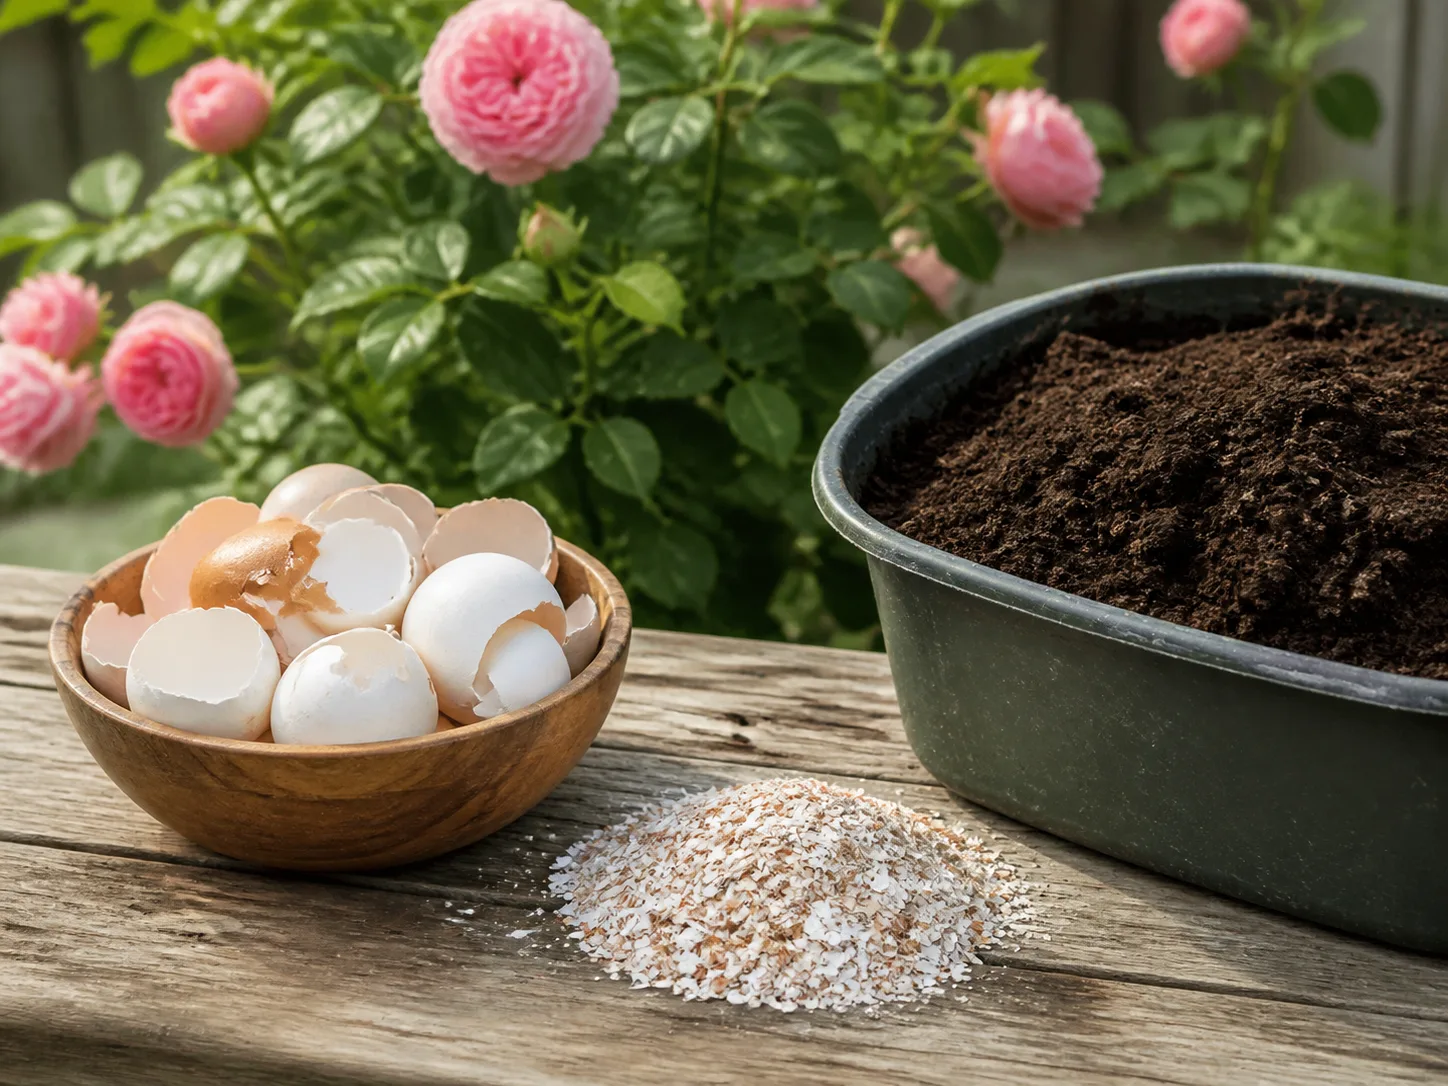
Eggshells are mostly calcium carbonate, so the basic claim contains a real fact. The useful conclusion is narrower: finely ground, clean shells can contribute calcium over time, particularly in a compost system or soil that needs calcium, but they are not a complete fertilizer and they are rarely a fast solution to a plant problem.
When eggshell powder is worth using
Use eggshells when you already have a reason to recycle them and your soil test suggests the amendment fits. Rinse the shells, let them dry, and grind them as finely as practical. More surface area allows the material to break down faster than large pieces, but “faster” still means slower than a soluble fertilizer.
Do not add a large handful to every planting hole by reflex. Calcium availability depends on particle size, soil chemistry, moisture, and time. Excessive calcium or repeated liming can shift pH and interfere with other nutrients, especially in a small raised bed where a modest amount is spread through a limited soil volume.
Blossom-end rot is the classic reason gardeners reach for eggshells, yet calcium in the soil is not the whole story. NC State Cooperative Extension explains that blossom-end rot is often linked to uneven watering that prevents the plant from taking up calcium, while UGA Extension likewise cautions that shell calcium is not immediately available and that the disorder is not always caused by a lack of calcium in the soil. NC State’s eggshell myth review and UGA’s tomato-garden experiment both point back to soil testing and consistent moisture as the more useful first moves.
For tomatoes, peppers, and squash, water deeply enough to wet the root zone, then keep moisture more even with mulch, drip irrigation, or a reliable schedule. Do not swing from bone-dry soil to a flood and expect powdered shells to correct the stress overnight. Remove affected fruit, correct the watering pattern, and use a soil test before adding calcium products.
Trick 5: Use compost tea as an optional experiment
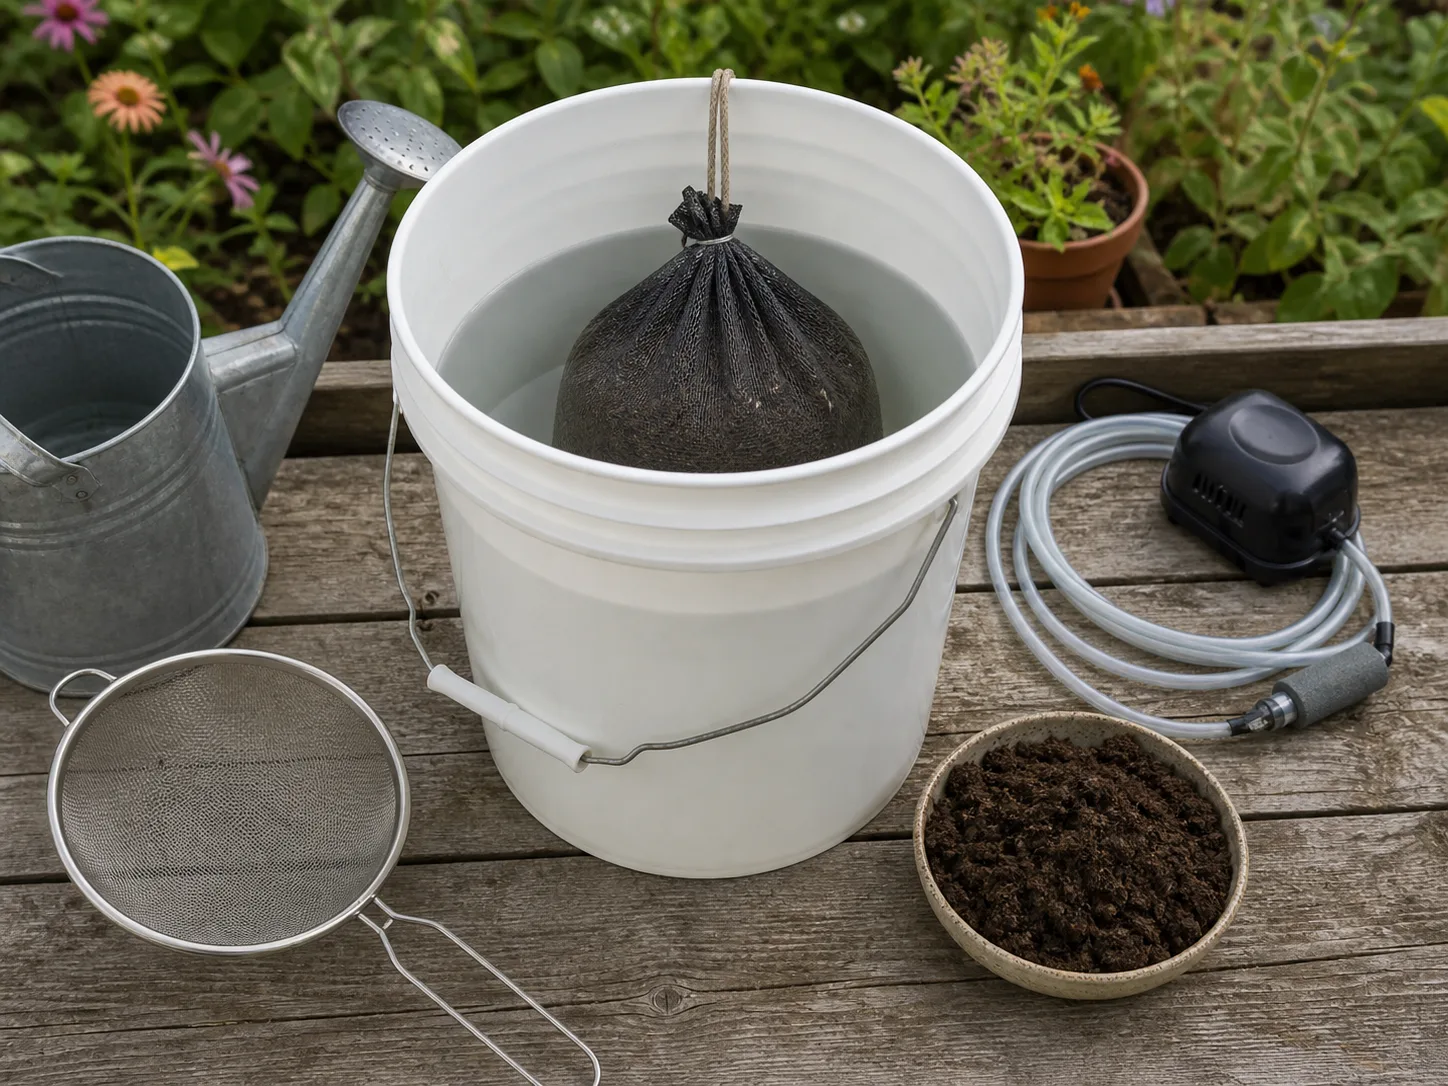
Compost tea means different things to different gardeners. A simple water extract leaches soluble material from finished compost; an actively aerated version uses a pump to keep oxygen moving through the brew. Neither should be treated as a replacement for building soil with finished compost, and neither has a universal, predictable effect on every vegetable.
The most honest use is as a small, low-stakes experiment on ornamentals or as a carefully considered soil drench when you already have mature compost. If your goal is to add organic matter, spread the compost. If your goal is to correct a nutrient deficiency, test the soil and use an amendment with a known analysis. If your goal is disease control, identify the disease first and use a method with evidence for that crop and pathogen.
Keep a homemade brew low-risk
Use only fully finished compost. Skip fish hydrolysate, molasses, kelp, or other “boosters” in a homemade brew that may touch edible crops; extra food can multiply undesirable microbes as well as the ones you hoped to encourage. Avoid spraying an uncertain brew over leaves or harvestable parts of raw-eaten crops. Directing an optional extract to the soil is a more cautious choice, but it is still not a guarantee of safety or efficacy.
If you brew, keep the batch small, well oxygenated when using an aerated method, and use it promptly rather than storing it. A healthy batch should smell earthy. Sour, rotten, or ammonia-like odors are a reason to discard it, clean the equipment, and start over—or decide that direct compost application is the better use of your time.
Current horticulture evidence summarized in this research-aware compost-tea review shows why broad claims deserve caution: results vary by crop, pathogen, year, brew, and application method, and aeration has not been shown to create a universal advantage. The practical takeaway is simple: compost tea is optional; finished compost, correct watering, airflow, sanitation, and crop rotation are the foundation.
Trick 6: Make raised beds and wide planting holes work together
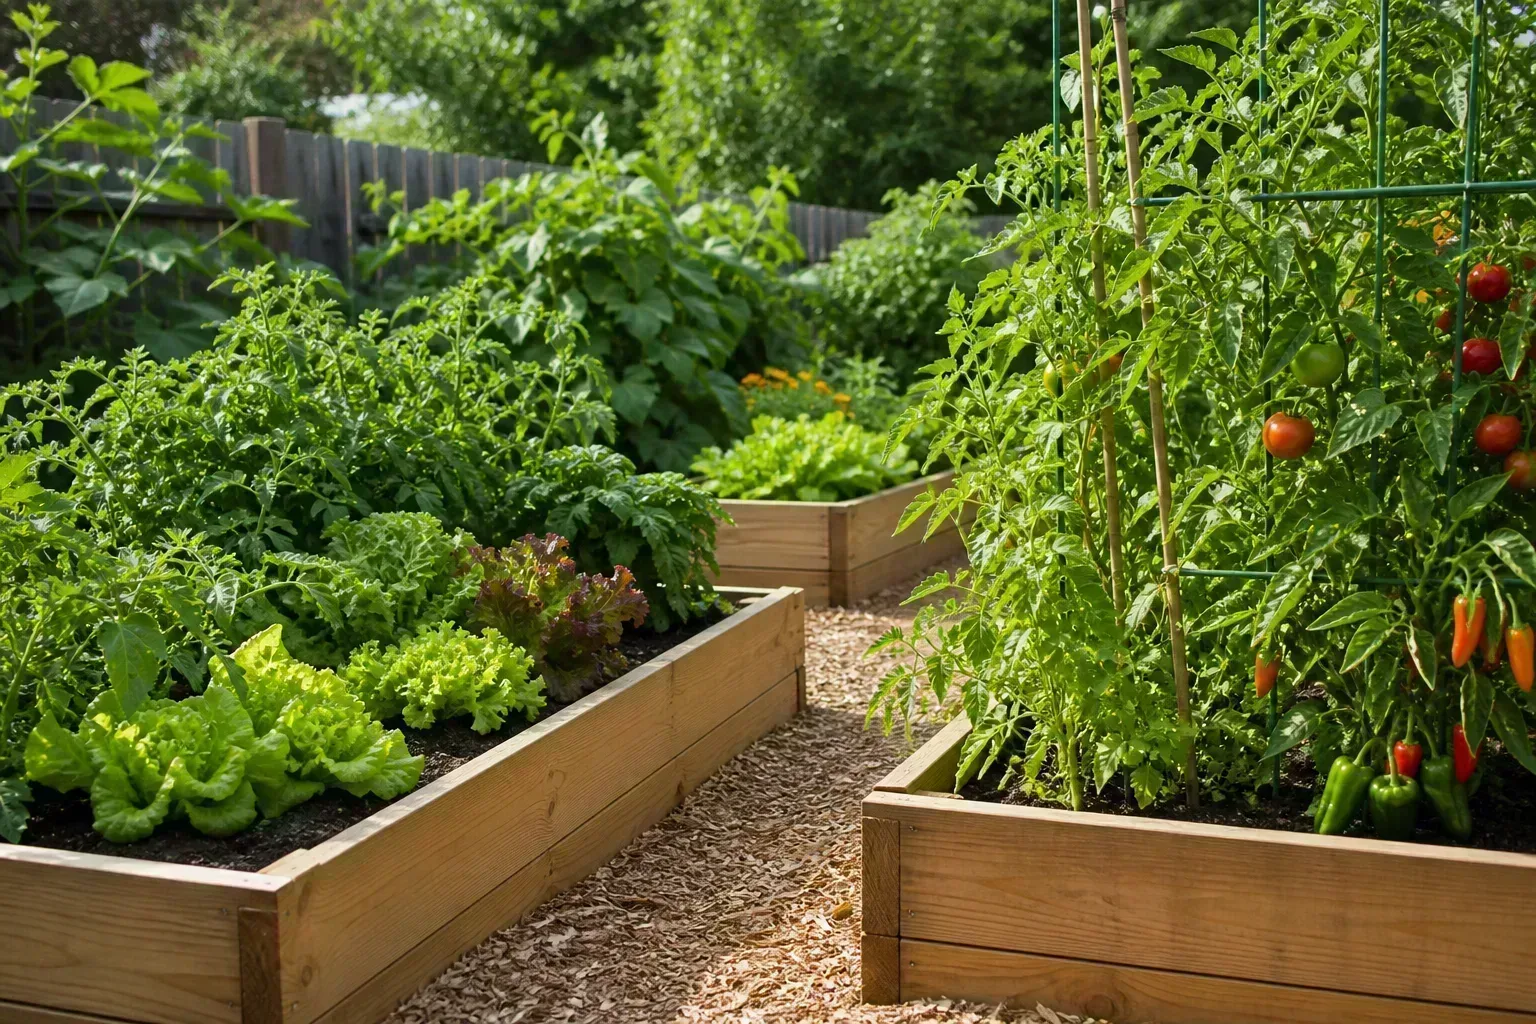
Raised beds solve specific problems: shallow or contaminated soil, slow drainage, difficult access, or a need to keep foot traffic out of a growing area. They also let you control the soil volume and extend the workable season in some climates. They do not automatically produce larger harvests, and they are not always the best answer for a healthy in-ground bed.
Decide whether a raised bed solves your problem
Choose a raised bed when you need a defined soil depth, better access, clearer paths, or a reliable boundary between growing soil and a compacted site. A permanent bed with paths can keep traffic out of the root zone and make no-dig management practical. BBC Gardeners’ World notes that beds no wider than about 1.2 meters can be worked from paths on either side without standing on the soil; adapt that dimension to your reach and mobility rather than treating it as a rigid rule. Its vegetable-bed preparation guide also emphasizes repairing edges, clearing problem debris, removing perennial weeds, and mulching.
Raised beds have costs and failure modes. They need construction materials, careful filling, watering attention, and sometimes protection from burrowing animals. A shallow bed over compacted ground may still drain poorly. A very tall, dark-sided bed can heat and dry more quickly, while a light, porous soil mix can lose nutrients and moisture faster than the native soil beside it.
If you build one, make the bed wide enough to be productive but narrow enough to reach the center, and plan paths before filling it. Use a soil blend appropriate for vegetables, incorporate compost based on the soil analysis, and leave room for mulch. Do not line the bottom with a layer of rocks as a universal drainage fix; correct the site grade, remove a compacted layer when appropriate, or choose a better location.
Dig wide, set the crown right, and protect the roots
When planting a nursery transplant, the hole is usually more important in width than in extra depth. Dig a broad, rough-sided hole so new roots can enter the surrounding soil. The depth should let the root ball or crown sit at the same level it occupied in its container, with species-specific exceptions such as tomatoes that can form roots along buried stems.
Do not bury a woody plant’s trunk flare, shrub crown, or perennial growing point. Settling soil can lower the plant after planting, so check the height before you water and again after the first heavy rain. Backfill with the soil you removed unless a soil test or site correction says otherwise, firm it gently to remove large air pockets, water thoroughly, and mulch in a broad, shallow ring that stays away from the stem.
The bed-wide soil principle applies here too. A wide hole gives roots an invitation to explore; it does not replace good soil beyond the hole. If the surrounding ground is compacted, improve the planting area, not just the small circle around the root ball. For a container-grown plant, tease only badly circling roots, protect the root ball from drying during the work, and support tall transplants until they establish.
A simple seasonal sequence for putting all six tricks to work
At the end of one growing season, record what actually happened: which beds dried out, where water pooled, which plants outgrew their space, and which crops were harvested before disease or heat ended the run. Remove diseased material through the appropriate waste route, but do not strip every bit of habitat from the garden simply because it looks untidy. A balanced cleanup leaves room for beneficial insects and keeps obvious disease sources from carrying into the next crop.
Before spring planting, test the soil in beds that underperformed, repair raised-bed edges, and plan paths so you will not walk on the growing area. Add mature compost or another recommended amendment across the bed, then give the soil time to settle. Sketch the tallest crops, trellises, and sun-sensitive greens before choosing companion flowers or herbs.
At planting time, set transplants at the correct height, dig wide, water the entire root zone, and mulch after the soil has warmed enough for the crop. Plant companions by job: a flower strip for insect habitat, a quick crop between slower plants, a shallow-rooted green near a deeper-rooted crop, or a trellis that saves ground space. Leave enough room to reach the plant, inspect leaves, and harvest without stepping into the bed.
During the season, prune only after identifying the plant and the problem, and keep moisture steady during flowering and fruit development. Treat eggshell powder as a slow amendment, not emergency medicine. Treat compost tea as optional, and stop any brew that smells wrong or creates a food-safety question. The most useful “trick” is keeping notes so next year’s choice is based on your soil, your weather, and your harvest rather than someone else’s garden.
Conclusion
Longtime gardeners often sound as if they possess secret shortcuts, but the durable tricks are really ways of paying attention. Build soil across the bed, choose neighbors by light and function, prune according to plant biology, and use eggshells or compost tea only when their limits fit the problem. Raised beds and wide planting holes help when they improve the root environment, not simply because they are fashionable.
Start with one underperforming bed and make one measured change. If the soil is compacted, protect it from traffic and add mature organic matter; if plants are crowded, redesign the spacing; if fruit shows blossom-end rot, stabilize watering before reaching for calcium. That steady, observation-led approach is what turns a collection of garden lore into healthier plants and more dependable harvests.



