How to Use Coffee Grounds for Plants
Learn how to use coffee grounds for plants: compost them, mix small amounts into soil, avoid thick mats, protect seedlings, and skip unreliable garden myths.
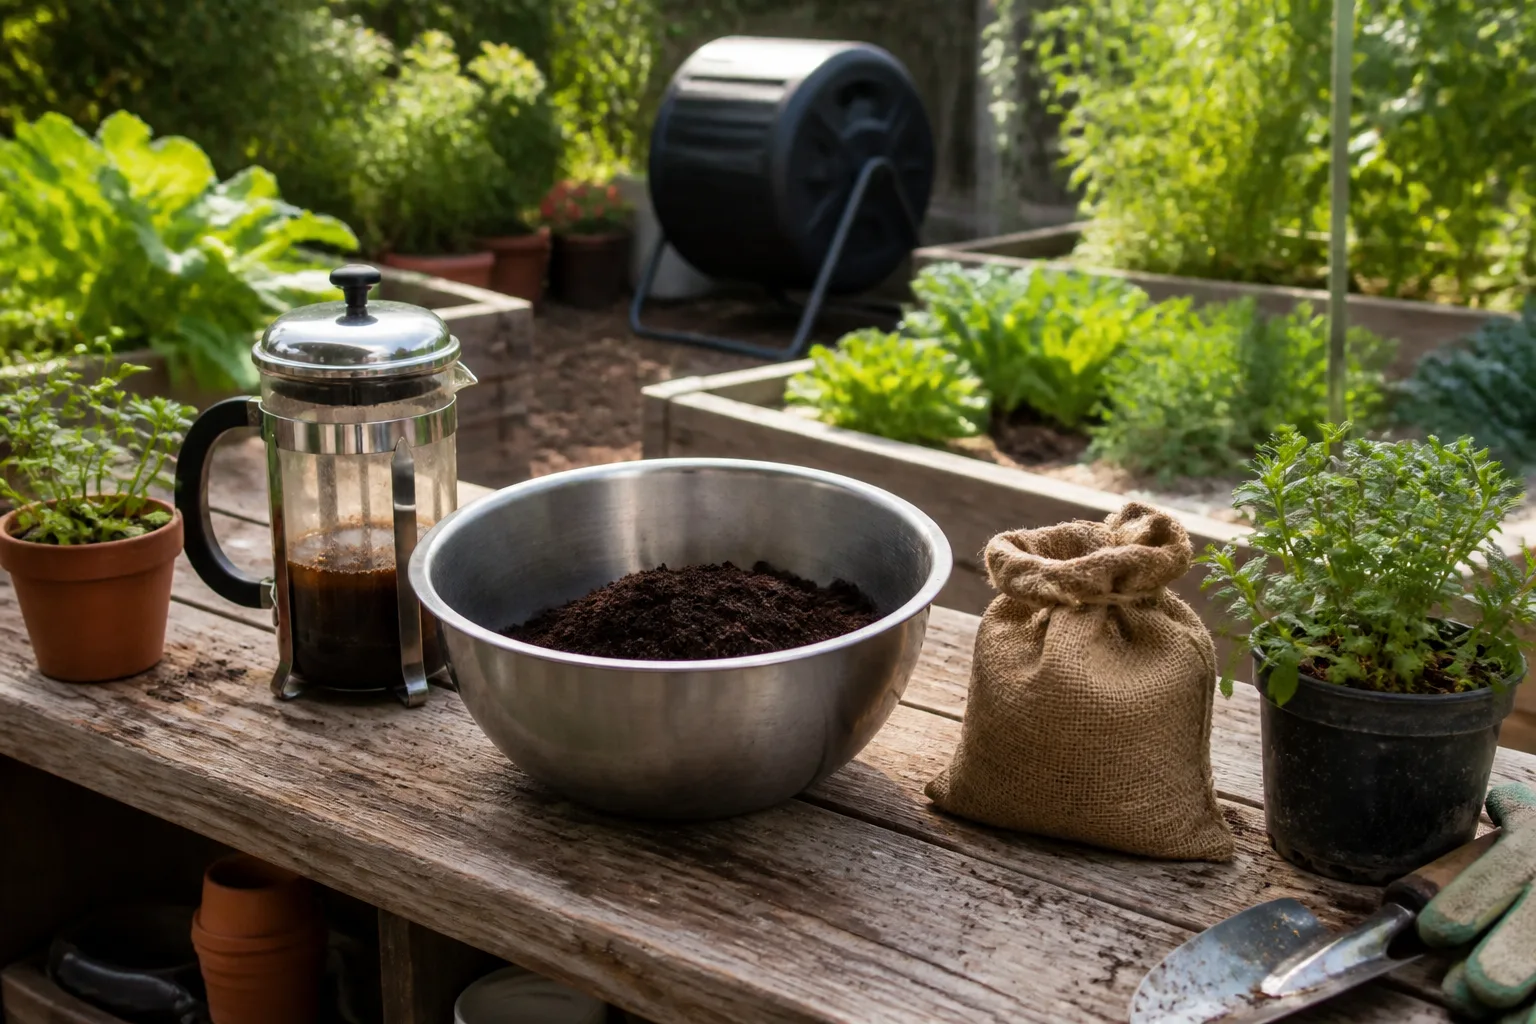
Coffee grounds can be useful in a garden, but the winning move is less glamorous than dumping a pile around a rose bush. Treat used coffee grounds as organic material: compost them when you can, or mix a small amount into soil so microbes can break them down. Do not treat them as a complete fertilizer, a dependable soil-acidifying product, or a thick mulch.
The distinction matters because coffee grounds are fine-textured and arrive wet. A thin, mixed-in amount can become part of healthy soil; a wet layer on top can dry into a crust that sheds water and limits air. This guide gives you a safe default, the exceptions for containers and seedlings, and a way to undo the mistake if you have already overapplied them.
The short answer: use grounds as compost material first
If you want one recommendation, put your spent grounds in compost with dry leaves, shredded paper, untreated wood chips, or other carbon-rich material. Coffee grounds count as a nitrogen-containing “green” ingredient, while the dry materials provide “browns.” That mix gives the grounds a useful job—feeding the decomposition process—without asking a handful of leftovers to supply every nutrient a plant needs.
The Royal Horticultural Society recommends incorporating spent grounds into compost and notes that their effect on soil pH is minor and temporary. Its guidance also warns that thick applications can block water and air from reaching roots. (RHS guidance on coffee grounds)
Direct use is reasonable when you have only a small amount from the day’s brew and a mature, established planting bed. Spread it thinly, mix it into the top inch or two of soil, and cover it with a loose layer of leaves or finished compost. If you have a tray of seeds, a struggling plant, a small houseplant pot, or a large bucket of grounds from a café, composting is the safer choice.
Used vs. fresh coffee grounds: choose the safe starting point
“Coffee grounds” can mean two very different materials. Used or spent grounds are the damp solids left after brewing. Fresh or unbrewed grounds are dry, unused coffee that has not been rinsed by hot water. Do not substitute one for the other in a gardening recipe.
Spent grounds have already lost much of the coffee’s water-soluble acidity and caffeine to the cup, although they are not chemically empty. A review of spent coffee grounds reports that residual caffeine varies with the coffee species and extraction conditions, so there is no single universal number that makes every batch safe for every plant. (peer-reviewed review of spent coffee grounds)
Fresh grounds contain more of the compounds that make direct application unpredictable. They may alter soil chemistry, interfere with germination, and inhibit young roots when used heavily. For routine plant care, use brewed grounds or, better, finished compost made with brewed grounds.
What brewing removes—and what it does not
Brewing reduces acidity and caffeine, but it does not turn grounds into a balanced, immediately available plant food. The remaining material still contains organic compounds and some nutrients, but the plant receives them through decomposition and soil biology rather than through a precise fertilizer dose.
That is why a fresh espresso puck is not a “stronger version” of used grounds. It is a different amendment with a higher risk of creating a harsh, concentrated pocket around roots. If you want to experiment with fresh grounds, keep them in the compost pile rather than the root zone, and keep them away from seeds and young transplants.
What coffee grounds actually add to soil
Spent grounds contribute organic matter and small amounts of nutrients such as nitrogen, phosphorus, potassium, and magnesium. Those are useful inputs, but the benefit is usually indirect: grounds become food for decomposers and part of the soil’s organic fraction, which can help a mix hold moisture while retaining pore space for air when the grounds are properly blended.
Compost is a better vehicle for that benefit because decomposition turns a variable kitchen byproduct into a more stable soil amendment. Fine Gardening describes finished compost as a way to add nutrients, improve soil structure, support the soil food web, and improve drainage and water-holding capacity; it also lists coffee grounds and paper filters among compostable inputs. (Fine Gardening compost guidance)
Do not read “organic matter” as “a cure for poor soil.” Coffee grounds cannot fix compacted clay, drainage that fails because of a hardpan, or a nutrient deficiency that a soil test identifies. They are one ingredient. The rest of the soil system—texture, drainage, pH, moisture, roots, and the amount of finished compost already present—determines whether that ingredient helps.
Nitrogen is not immediate fertilizer
Coffee grounds are often described as nitrogen-rich, but that does not mean a plant can use their nitrogen immediately. Soil microbes need to break down the organic material first. During that process, microbes can temporarily compete with plants for some available nitrogen, especially when a large amount of fresh grounds is mixed into otherwise low-organic soil.
That makes coffee grounds a poor emergency treatment for pale leaves or slow growth. Diagnose the actual problem—light, water, roots, pH, pests, or a measured nutrient deficiency—and use a fertilizer with a stated analysis when a known nutrient rate is needed. Grounds can support the soil-building side of the plan, but they should not replace it.
The best method: compost them before using
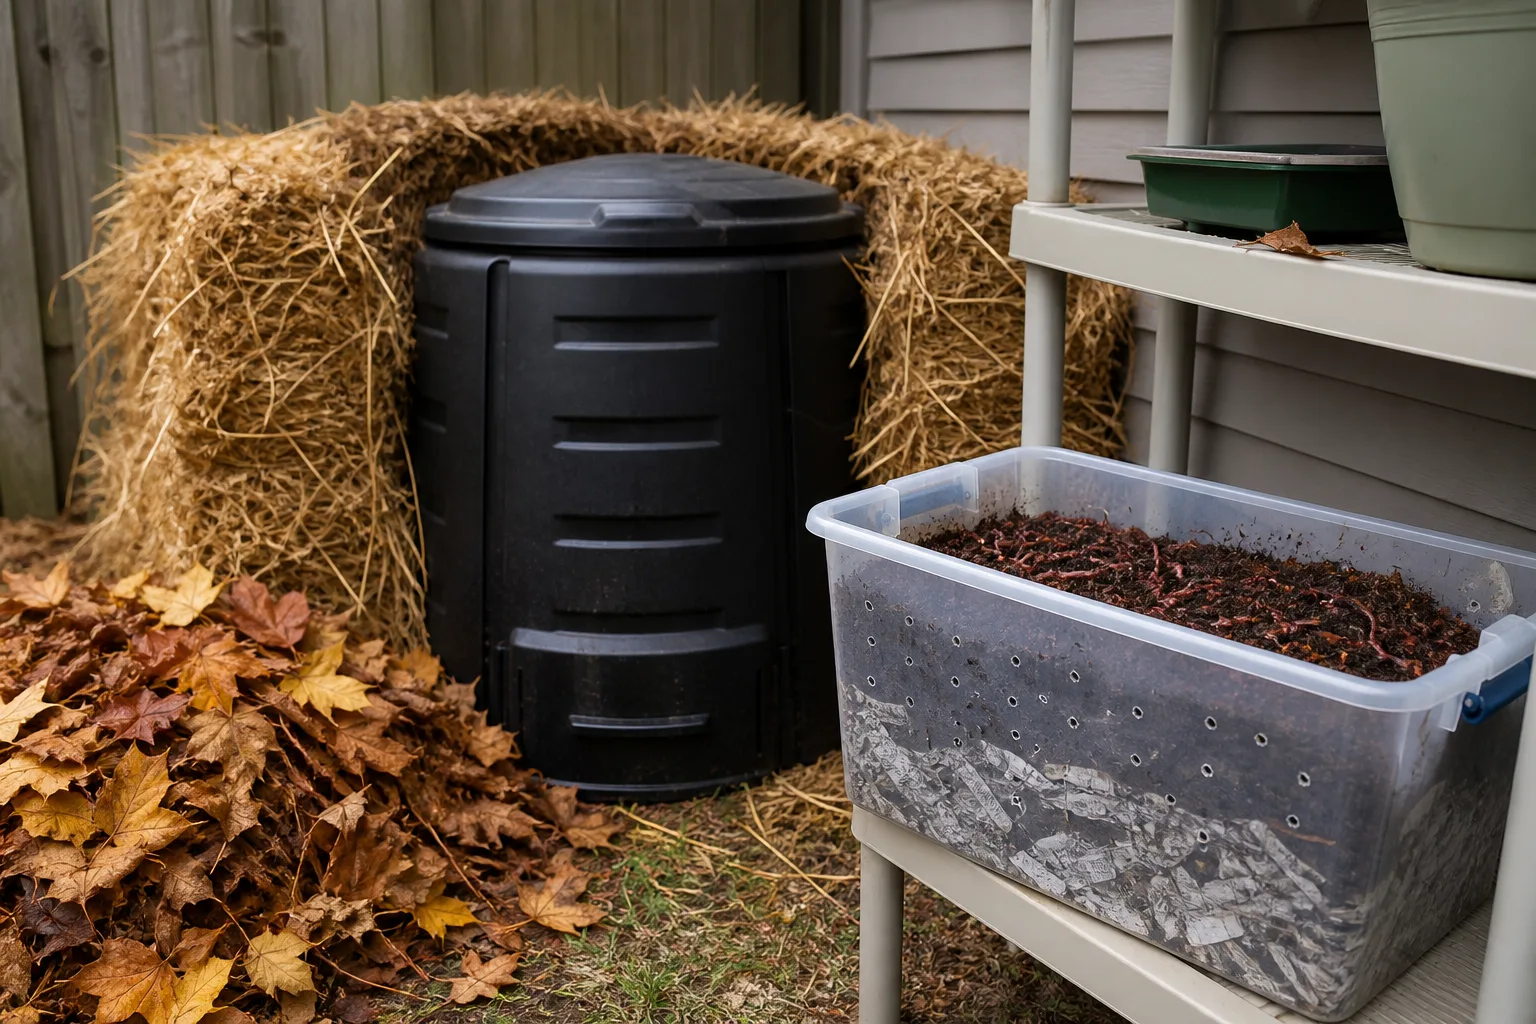
Composting is the most forgiving way to use coffee grounds because it dilutes their fine texture and distributes their nitrogen among a larger, airier mix. CalRecycle lists coffee grounds as a compostable “green” material and recommends managing the basic ingredients—greens, browns, water, and air—rather than treating any one ingredient as the whole recipe. (CalRecycle home composting guidance)
You can use a backyard pile, a tumbler, a small lidded bin, a community compost drop-off, or a worm bin. Choose the method you can actually tend. A neglected bucket of wet grounds is not a compost system; it is a dense, oxygen-poor mass that can smell and become difficult to spread.
Build a balanced compost mix
Start with spent grounds that are cool, not a hot liquid or freshly heated brewing waste. For a conservative household mix, pair one bucket of wet grounds with at least three buckets of dry, airy browns such as shredded leaves, shredded plain paper, or small untreated wood chips. This is a practical starting point, not a laboratory ratio; adjust until the pile is loose, evenly damp, and easy to turn.
The pile should feel moist but not drip when squeezed. CalRecycle gives a general moisture range of about 40% to 60% and recommends turning or fluffing when a pile becomes compacted. If the grounds arrive as a solid puck, break them apart as you add them. Bury fresh kitchen scraps inside the pile, and do not let the coffee become a single uninterrupted layer.
Paper coffee filters can usually go into a home compost system when they are plain paper and free of plastic or synthetic coatings, but local collection rules vary. If the filter has a shiny lining, a nonpaper pod, or added packaging, remove it instead of assuming it will break down.
If the pile smells sour, looks slimy, or stays compressed after turning, add more dry browns and coarse material. If it is dry and inactive, add a little water and mix it. The goal is not to make the pile “coffee-heavy”; the goal is to make a balanced habitat for aerobic decomposers.
Know when compost is ready
Finished compost is dark, crumbly, and earthy-smelling. You should no longer see a thick, distinct layer of coffee grounds, and the material should not heat back up when you mix a fresh handful into it. The exact timeline depends on particle size, moisture, temperature, oxygen, and how often you turn the pile.
Do not rush half-decomposed grounds into seed-starting mix. Use mature compost around established plants and blend it into garden soil or use it as a modest top dressing. Oregon’s Department of Environmental Quality recommends soil testing to understand fertility and pH, and it describes compost as an amendment that can be mixed into soil or applied in a thin layer. (Oregon DEQ residential composting guidance)
Direct application: how much and how to mix it
Direct application makes sense when you have a small amount of used, plain grounds and want to add organic matter to an established bed. The safe visual test is simple: after you apply them, you should still see the soil or mulch beneath. If the surface looks like a continuous coffee puck, there is too much.
Use this sequence:
- Let the spent grounds cool and drain so they are damp and crumbly rather than dripping.
- Scatter a thin dusting over the root zone, keeping it off stems and crowns.
- Mix the grounds into the top inch or two of soil with a hand cultivator or rake.
- Cover with finished compost, shredded leaves, or another loose organic mulch, then water normally.
The point of mixing is not to bury a concentrated pocket next to the plant. It is to distribute the fine particles through existing soil so water can move around them and microbes can work on them. Avoid applying on a fixed weekly schedule; wait and observe how the soil dries and whether the plant continues normal growth.
A simple small-garden application
For an established bed, begin with the amount produced by one or two brews rather than accepting a large café donation and spreading it everywhere. Apply it to a limited test area, mix it in, and watch that area through several waterings before expanding the practice.
If you have more grounds than the bed can absorb as a thin dusting, stop direct application and compost the rest. More is not a faster route to healthier soil. A compost pile, community garden, or municipal organics program is a better destination than a thick ring around every plant.
Why coffee grounds fail as a mulch
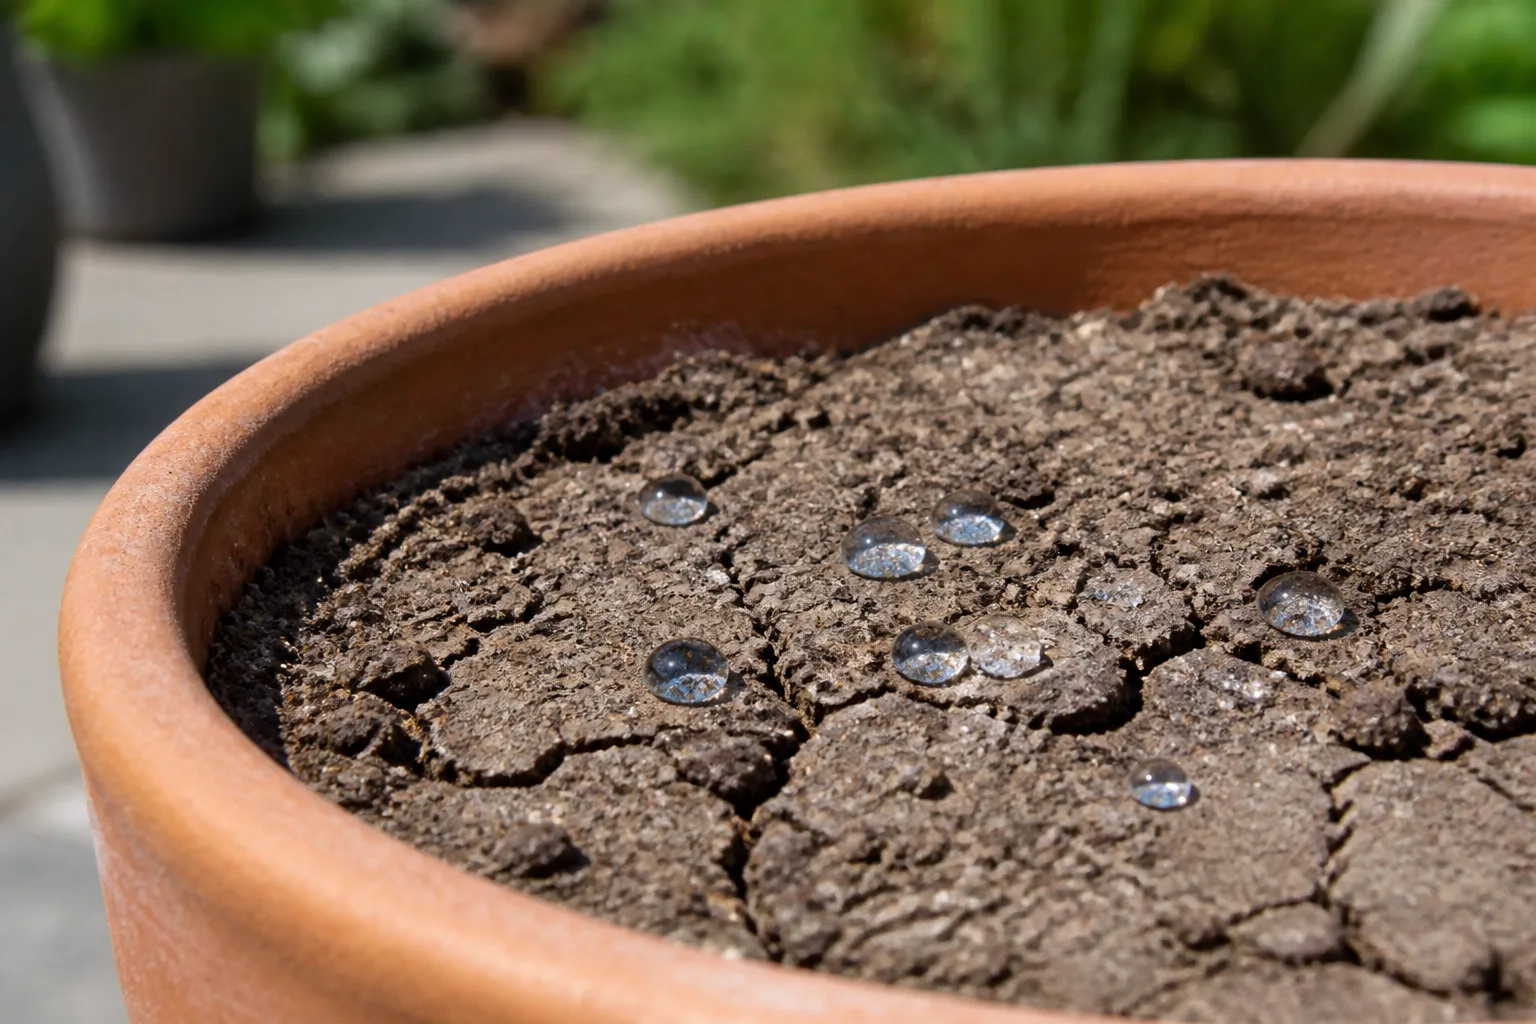
Mulch needs to cover soil while still allowing air and water to enter. Grounds are made of small particles that can pack together as they dry. A thick wet layer can form a crust, repel irrigation, and leave the soil underneath dry even though the surface looks dark and damp.
This is the most common way a helpful amendment becomes a problem. The layer may look neat on day one, but after drying it can behave like a lid. Rain then runs around the planting area, and the gardener adds more water and more grounds without realizing that the root zone is receiving less of either air or moisture.
Use coarse leaves, straw, bark, wood chips, or finished compost for the actual mulch layer. If you add a small amount of grounds, mix them into soil or compost first. Do not use coffee grounds as the top dressing that is supposed to control weeds or conserve water.
Coffee grounds in containers and houseplants
Containers have less soil volume, less biological buffering, and less room for a mistake to spread out. A thick layer of grounds can seal the surface of a pot quickly, slow infiltration, keep the upper root zone wet, and make it hard to tell whether the plant needs water.
For most indoor plants, skip raw grounds and use a reputable potting mix plus a fertilizer chosen for the plant’s needs. If you are adding finished compost to a large outdoor container, use a small amount blended through the mix rather than creating a top layer. A conservative starting point for a healthy 12-inch container is one or two tablespoons of spent grounds mixed into the top inch, then a long observation period; use less in smaller pots and do not repeat automatically.
Avoid direct grounds in containers with poor drainage, succulents and other plants that need a fast dry-down, recently repotted plants, or any pot already showing sour-smelling soil or root stress. If the pot stays wet for days, the remedy is better drainage and a more suitable mix—not more organic scraps on the surface.
Coffee grounds around seeds and seedlings
Keep fresh grounds away from seed trays, direct-sown rows, and newly transplanted seedlings. Young roots have little room to escape a concentrated layer, and caffeine or other compounds in unbrewed material can interfere with germination and early root or shoot growth.
Even spent grounds are a poor choice for the surface of a seed bed because the fine texture can crust over just when the seed needs steady air and moisture. Use a clean seed-starting medium with known texture, sow at the depth on the seed packet, and save the grounds for a separate compost pile.
Once plants are established, a well-managed compost amendment can be used around them if the soil needs organic matter. That is a different decision from putting coffee directly beside a germinating seed. The plant’s age and the material’s state matter.
Which plants might benefit—and which should wait
Nearly any established garden plant can benefit from improved organic matter when the amendment is used correctly, but that does not mean every plant needs coffee grounds. Acid-loving plants such as blueberries, azaleas, camellias, and rhododendrons are often named in coffee-ground advice because they grow in lower-pH conditions. The safer interpretation is that they may tolerate a small amount of spent grounds or finished compost—not that grounds are a dependable acidifier.
Plants growing in already wet, compacted, salty, or nutrient-rich soil should wait. The same is true for a plant with root rot, a new transplant recovering from disturbance, or a container that cannot drain freely. Solve the limiting problem first; an amendment cannot compensate for a root zone that lacks oxygen.
Acid-loving plants are not a license to lower pH
Soil pH is a property of the whole root zone, not a label you can reliably change with kitchen scraps. The RHS explains that spent grounds have a minor, temporary pH effect, and its general advice is to test soil so the pH and nutrient status are known before making amendments.
If a blueberry bed needs a lower pH, use a soil test and follow a product or extension recommendation designed for that job. Do not keep adding grounds until the leaves look better. Yellow leaves can come from pH-related nutrient availability, but they can also come from waterlogged roots, drought, pests, or a lack of light; coffee grounds do not diagnose which one is happening.
Can coffee grounds control slugs and snails?
There is a real reason this claim persists: Oregon State University reports that appropriately used coffee grounds can improve soil and kill slugs. That is useful evidence that coffee residues may have a pest-control role, but it does not make a coffee ring a dependable barrier or replace scouting and a broader integrated pest-management plan. (Oregon State University report on coffee grounds and slugs)
Treat the effect as a limited experiment, not a guarantee. Apply only spent grounds or compost where they will not form a crust, check the bed after rain, and remove hiding places such as boards, dense debris, and weeds. If slug pressure remains high, identify the damage and use a control method that is appropriate for the crop and label directions in your location.
Be skeptical of broad claims that coffee grounds reliably repel every ant, mosquito, wasp, flea, or mammal. A smell or texture that bothers one pest may do nothing to another, and any short-term effect can disappear after rain or decomposition. The practical benefit of grounds is soil recycling first; pest control is secondary and uncertain.
What not to add to your grounds
Keep the material going into the garden simple. Plain spent coffee grounds and an ordinary paper filter are very different from a sweetened latte, a flavored syrup, a dairy drink, a plastic coffee pod, or a packet containing nonpaper materials.
Do not pour coffee-shop leftovers with milk, cream, sugar, or syrup onto plant soil. Put those food residues into a compost system that accepts them, following local guidance, or discard them. They can attract pests and add ingredients whose breakdown has nothing to do with giving a plant a measured nutrient dose.
Do not apply grounds that contain plastic pod fragments, foil, glossy packaging, or cleaning chemicals. Do not mix coffee grounds with a pesticide, herbicide, fertilizer concentrate, or homemade foliar spray to “make it stronger.” An unknown mixture has unknown exposure and plant-safety behavior.
Finally, do not store wet grounds in a sealed container for long periods and then spread the sour mass around roots. If you need to save grounds for compost, keep them loosely ventilated or mix them with dry browns as you collect them.
Troubleshooting after you applied too much
If you spread a thick layer, act before the next dry spell. In a garden bed, rake or scoop away the visible mat, break up the remaining crust, and replace it with finished compost or a loose mulch. Do not simply water harder and hope the grounds disappear; that can move a concentrated layer into the root zone while leaving the surface sealed.
For a container, remove the top layer with a spoon or hand fork without tearing into the main roots. If water is running off the surface, rehydrate slowly in several passes, allowing each pass to soak in, and empty the saucer. If the soil smells sour, stays saturated, or the plant is wilting despite wet soil, unpot it and inspect the roots; repotting into fresh, draining mix may be safer than waiting.
If leaves turn brown, yellow, or limp after a heavy application, stop the grounds and any extra fertilizer. Check the pot’s drainage, moisture depth, light, and roots before assigning the symptom to caffeine or “fertilizer burn.” New growth and a return to a normal dry-down pattern are better recovery signals than one older leaf changing color.
Most small overapplications are recoverable because the problem is usually texture and concentration, not a permanent poisoning of the soil. Remove the mat, restore air and water movement, and let the plant or bed stabilize before trying another amendment.
Conclusion: make the grounds part of a soil plan
The best way to use coffee grounds for plants is to treat them as a modest organic input, not a miracle fertilizer. Compost spent grounds whenever possible. If you apply them directly, use a small amount, mix it into established soil, keep the surface open, and stop before the grounds become a continuous layer.
Use fresh grounds only as a compost ingredient, keep both fresh and heavy applications away from seeds and seedlings, and test soil before trying to change pH. With those boundaries, your morning coffee can become useful garden material without turning a recycling habit into a drainage, germination, or nutrient problem.



