12 Weed Pulling Tips That Actually Remove the Roots
Learn 12 expert weed pulling tips for wet-soil timing, root removal, tool choice, safe disposal, lawn repair, mulch, and long-term prevention.
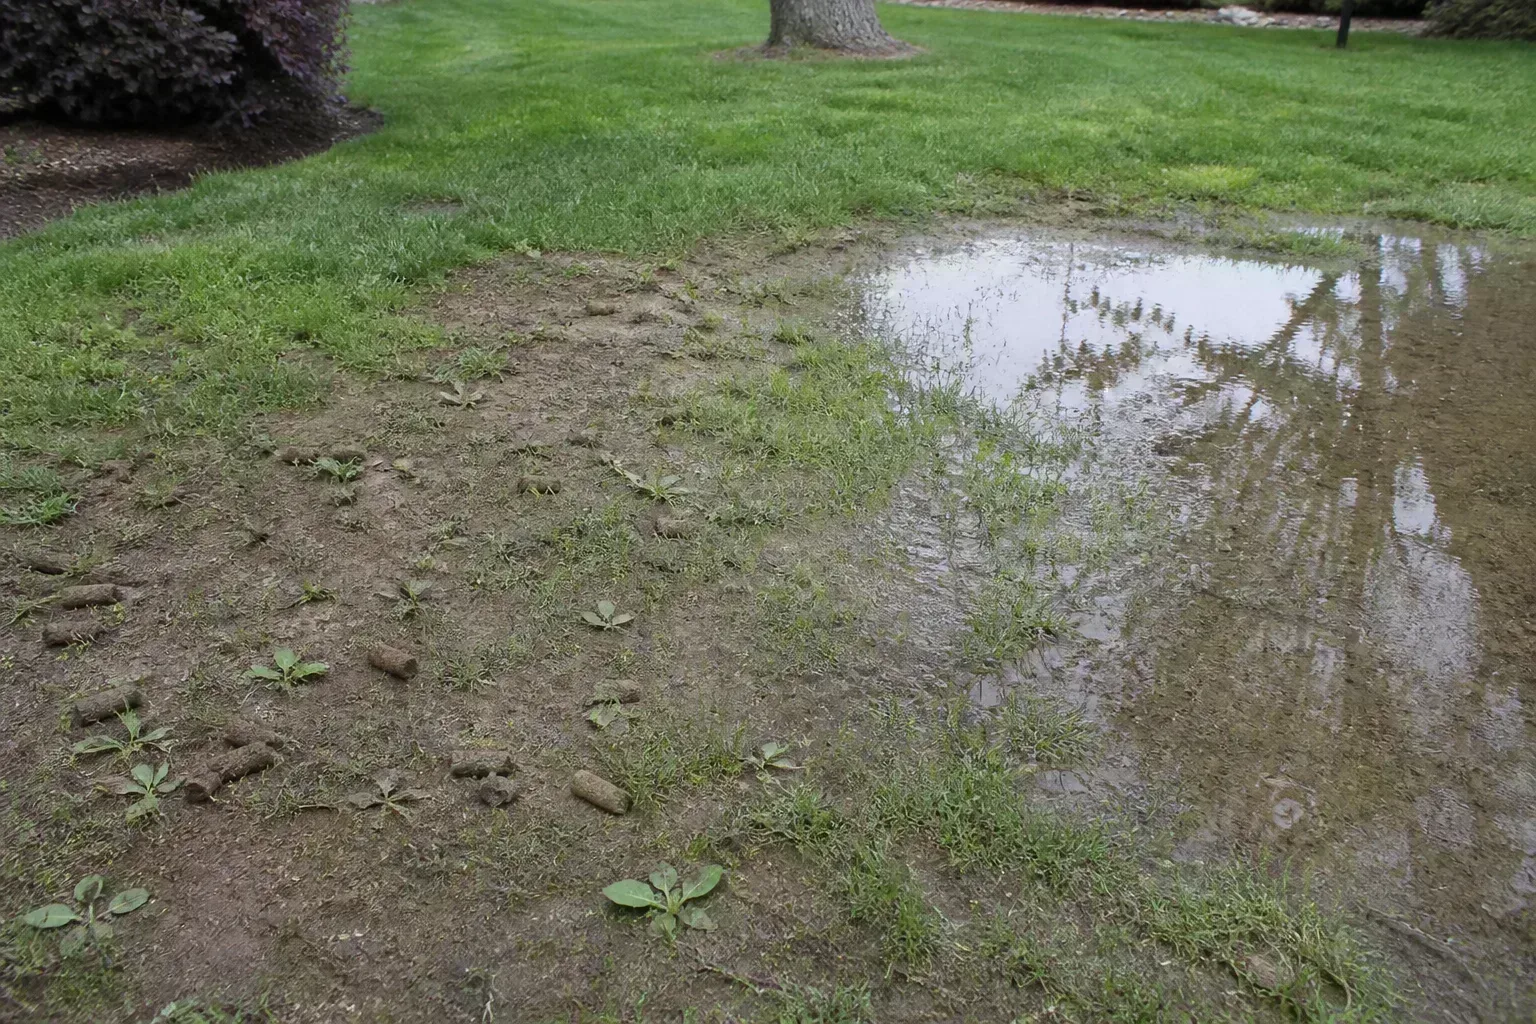
The best weed-pulling session is not the one that fills the biggest bucket. It is the one that removes the plant you targeted, avoids spreading it, and leaves the soil ready for something you want to grow.
That takes more than grabbing green leaves and yanking. A shallow annual seedling, a dandelion with a taproot, and a creeping grass with rhizomes need different handling. Use the following tips as a working system: identify first, pull under favorable conditions, inspect what came out, and close the opportunity for the next seedling.
Start by identifying the plant and the place it is growing
Before you touch an unfamiliar plant, photograph its leaves, stem, flowers, and growth habit. Look for clues such as a basal rosette, a square stem, milky sap, thorns, runners above the soil, or a triangular stem. Also note the site: a thin lawn, wet depression, compacted path edge, sunny vegetable bed, and deep shade each select for different weeds.
Identification changes the plan. A single dandelion in turf is a digging job; a mat of crabgrass in a bare patch is a density and renovation problem; a vine with three leaflets deserves a safety pause. The University of Illinois Extension’s poison ivy guidance recommends learning the plant’s identifying features and treating “leaves of three” as a warning when you are unsure.
Annuals, taproots, runners, and rhizomes behave differently
Most young annual weeds have fine roots and are easy to lift before flowering. Their main advantage is speed: remove them while they are small, and you prevent one season’s plant from adding to the soil seed bank. The Royal Horticultural Society’s non-chemical weed guidance notes that annual seedlings are especially responsive to hand removal and mulch.
Taprooted plants store energy in one main root. Dandelion, dock, and some thistles can regrow if the crown or lower root remains. Creeping perennials are a different challenge: bindweed, couch grass, and similar plants spread through runners or rhizomes, so a broken piece can be a new starting point. The RHS weeding guide separates fine-rooted annuals, which may be compostable, from thick-rooted perennial weeds that should be kept out of a normal home compost pile.
Use the least disruptive method that fits the infestation
Hand-pulling is precise. It protects nearby flowers and turf because you can choose exactly what to remove, and it avoids drift or accidental contact from a spray. It is also the wrong tool for some situations: hundreds of weeds across a large lawn, a persistent rhizome woven through a valued planting, or an unidentified plant that may irritate skin.
Think in terms of scale, selectivity, and root behavior. Pull a few seedlings. Dig isolated taproots. Use a narrow fork or hoe where roots are shallow and plants are spaced apart. For a large, recurring infestation, correct the site and consider a locally appropriate, labeled control method; repeated casual pulling can disturb soil and still leave the source intact. UC Integrated Pest Management recommends combining competitive planting, mulch, hand-weeding, and other controls rather than expecting one method to solve every landscape weed problem. UC IPM’s landscape weed guidance also cautions that established perennial weeds need special attention before planting.
When hand-pulling is not the right answer
Do not excavate a whole lawn to chase every broadleaf weed. If the turf is thin, short, compacted, or poorly matched to the site, more weeds will occupy the openings as soon as you finish. Likewise, do not rototill a patch of creeping perennial weeds without a plan: Penn State Extension warns that cultivation can break up and spread roots or underground stems.
1. Weed when the soil is moist, not muddy
Moist soil releases roots more readily than dry, compacted soil. The ideal window is after rain or after a deliberate soak, once the bed is workable and your shoes do not compress it into a slick paste. Pulling in saturated soil can collapse the hole, smear soil onto tools, and damage the structure around desirable plants.
If rain is not in the forecast, water the target area deeply enough to moisten the root zone and wait a little while. A surface sprinkle may make leaves look wet while the root remains locked in hard soil. Test with a trowel at the edge; if it enters with steady pressure and the soil crumbles rather than smears, conditions are usually workable.
Moisture helps, but it does not make every weed easy. A dry taproot can still snap, and a rhizomatous weed can still leave fragments behind. Treat the weather as an advantage, not a guarantee.
2. Protect skin, knees, eyes, and breathing space
Wear sturdy gloves with enough grip to hold a stem without squeezing hard. Closed-toe shoes protect against thorns and dropped tools, while knee pads or a foam pad make it easier to stay close to the soil rather than pulling from an awkward standing position. If you are working in dusty soil or among plants that release irritating sap, eye protection and long sleeves are sensible additions.
The important safety step is not the gear; it is recognizing when gear is insufficient. Do not hand-pull an unfamiliar vine or sap-filled plant until you have identified it. For poison ivy, gloves can become contaminated, and the oil can transfer from clothing, tools, or pets. If contact occurs, wash exposed skin promptly with soap and water and launder clothing separately according to local health guidance.
Keep children and pets away from a pile of uprooted plants until you know what they are. A “natural” removal method is not automatically harmless, and plant identification matters more than whether the job uses a chemical.
3. Grip the crown instead of the leaves
Place your fingers as low as possible, near the point where the stem enters the soil. For a rosette, gather the leaves at the crown rather than holding one leaf. For a tuft, collect several stems without crushing them. This transfers force to the plant’s base and reduces the chance that the foliage tears away while the root stays put.
Do not squeeze a thin stem so hard that it becomes a string in your fingers. A low, firm grip and a controlled lift are more effective than a powerful yank from the top. If the plant resists, stop pulling and loosen the soil; resistance is information that the root is anchored or the ground is too dry.
After the plant comes out, look at the base. A clean root with the crown attached is a good result. A hollow stem, torn crown, or missing taproot means you should probe the hole and expect a follow-up visit.
4. Loosen deep roots before lifting
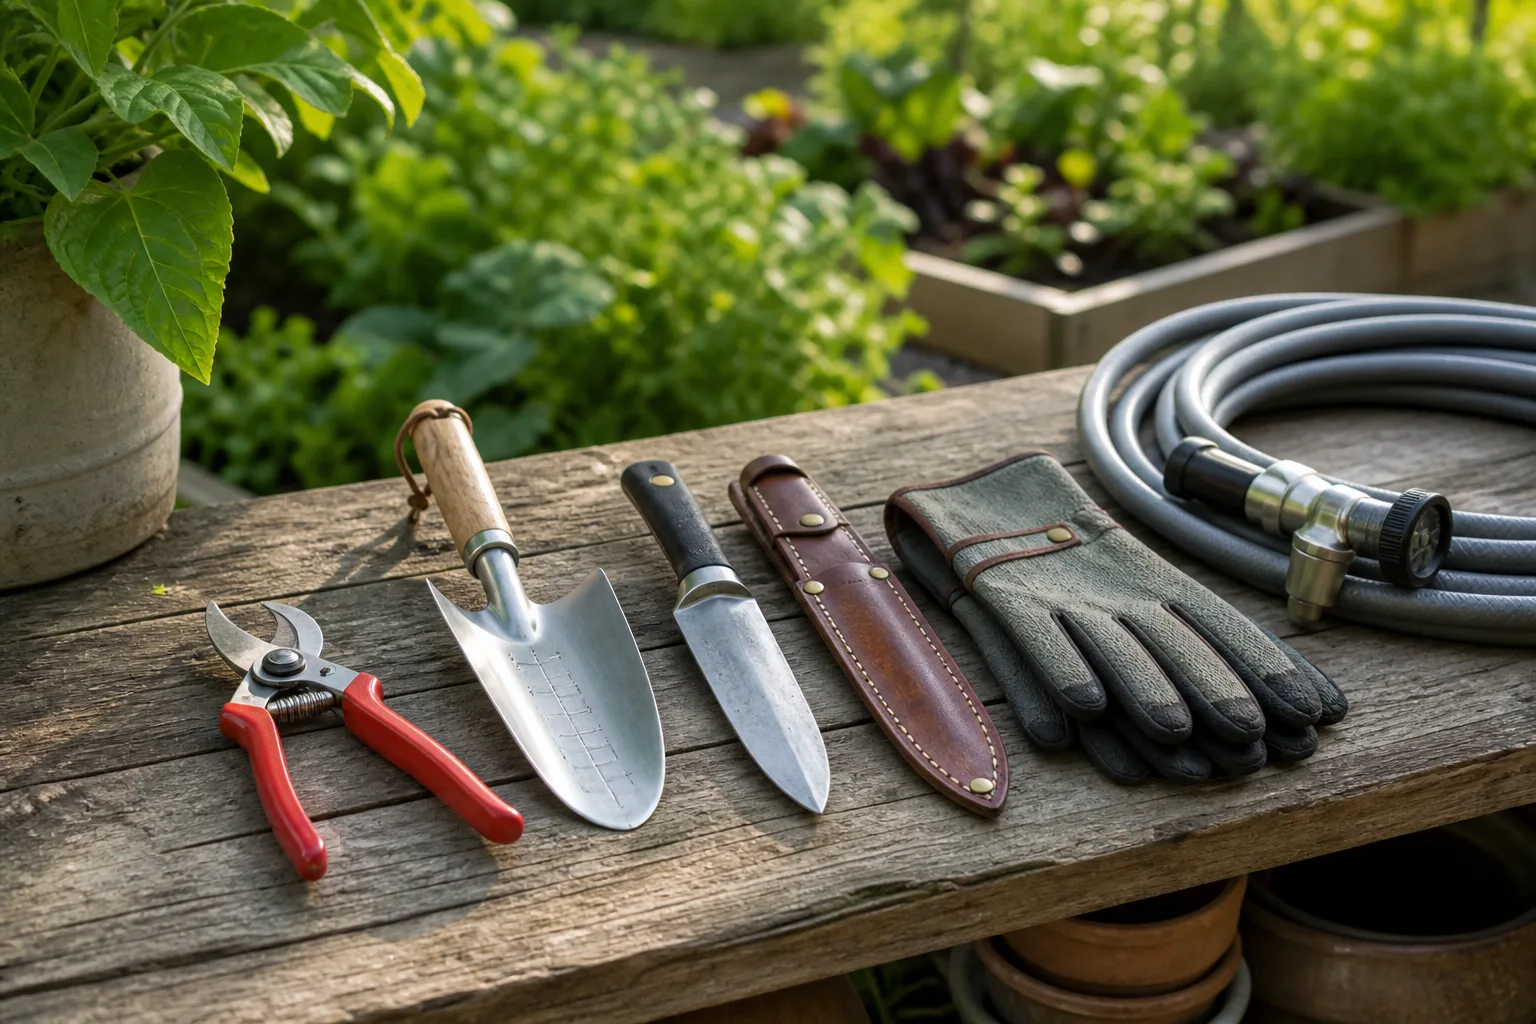
A narrow hand fork, dandelion weeder, hori hori, or trowel can separate soil from a taproot before you apply upward force. Insert the tool a short distance from the crown, push down alongside the root, and gently lever the soil—not the plant—away. Move around the root if necessary rather than forcing the blade through it.
For a long taproot, work in stages. Lift the top of the root slightly, loosen lower soil, then continue. This takes longer than yanking but often preserves the root and leaves a smaller crater. If nearby plant roots are tangled with the weed, accept that perfect extraction may not be possible; remove the crown, monitor the spot, and avoid injuring the plant you are trying to keep.
5. Pull slowly and straight when the soil allows
Once the soil is loose, pull with steady upward pressure close to the ground. A slow lift gives the root time to slide through the soil; a sudden sideways jerk turns the stem into a lever and increases breakage. If the root bends sharply or the stem begins to stretch, pause and loosen again.
This technique is especially useful for dandelions and other rosette weeds. It is less decisive for runners and rhizomes, where the goal is to trace the underground connection and remove as much as practical. Do not claim victory because the visible part is gone. New growth is a signal to return, not evidence that the first pull was useless.
6. Match the tool to the root system
The right tool reduces both effort and collateral damage:
| Weed situation | Useful first tool | Why it fits |
|---|---|---|
| Tiny seedlings in loose soil | Fingers or hand fork | Fast and precise; little soil disturbance |
| Rosette with a taproot | Dandelion weeder or narrow knife | Reaches below the crown |
| Large annual in a bed | Hand fork or trowel | Loosens a wider root mass |
| Weeds between paving | Crack weeder or stiff narrow knife | Works in a confined joint |
| Shallow seedlings between rows | Stirrup hoe or hand hoe | Cuts at the surface with less bending |
| Creeping perennial | Border fork and a clearing container | Helps trace and contain root fragments |
Use a sharp tool carefully and keep the non-working hand behind the blade’s path. Clean soil from tools before moving from an infested patch to a clean bed; that small habit can prevent you from carrying root pieces or seeds across the garden.
7. Work from the clean edge toward the dense patch
Start where weeds are sparse and the soil is easiest to see. Clear a small working area, then move toward the dense section. This lets you place pulled plants in a container, distinguish desirable seedlings from weeds, and avoid stepping on cleared soil.
In a flower bed, work around the base of desirable plants before opening the spaces between them. In a lawn, deal with the largest or most mature weeds first, then return for seedlings. In gravel or paving joints, sweep loosened material into a container instead of raking it into adjacent beds.
The edge-first approach also reveals the pattern behind the infestation. If weeds cluster where water runs, where foot traffic compacts soil, or where mulch has thinned, the removal is only half the job. Record that pattern while it is visible.
8. Shake soil off, but do not scatter root fragments
A gentle tap over the bed can return loose soil without wasting it. Do this only when the pulled plant is not carrying mature seed and its roots are not the kind that spreads from fragments. Soil stuck to a dandelion root is different from a piece of bindweed rhizome; one is a nuisance, the other may be a propagation unit.
When in doubt, keep the whole plant intact in a bucket. Avoid chopping persistent roots with a spade, dragging them across the bed, or leaving them on wet ground. Clemson Extension notes that hand-removed weeds should not be left near the removal site, where they can dry poorly, re-root, or shed seed.
9. Contain flowering weeds immediately
A flowering weed is a disposal problem as well as a pulling problem. Place it directly into a bucket or bag instead of making a pile at the edge of the lawn. Seedheads can mature after the plant is uprooted, especially when they remain warm and dry in a sunny spot.
Do not automatically put pulled weeds into home compost. Young, non-seeding annual weeds may be acceptable in a properly managed system, but seedheads, invasive plants, diseased material, and persistent rhizomes deserve caution. Use your municipality’s yard-waste rules, and when the rules are unclear, bag the material for the approved waste stream rather than returning it to your beds.
10. Check the ground and repair the opening
Run your fingers around the hole after removal. Search for a remaining crown, a broken taproot, or a pale runner leading into surrounding soil. You do not need to excavate the entire bed for every small annual, but you should know whether the plant came out cleanly.
Firm the soil back around the opening. In a lawn, fill a large crater with matching soil and add compatible seed when the season and moisture support germination. Keep seed-to-soil contact good and protect it from foot traffic while it establishes. A bare patch is not neutral space: it receives light, water, and new seed, so a repair is part of the removal method.
If you removed a weed from a bed where a desirable plant is already crowded, do not overfill the hole with rich compost just to make it disappear. Match the existing soil level, keep mulch away from stems and trunks, and avoid burying crowns.
11. Cover newly cleared soil with the right mulch
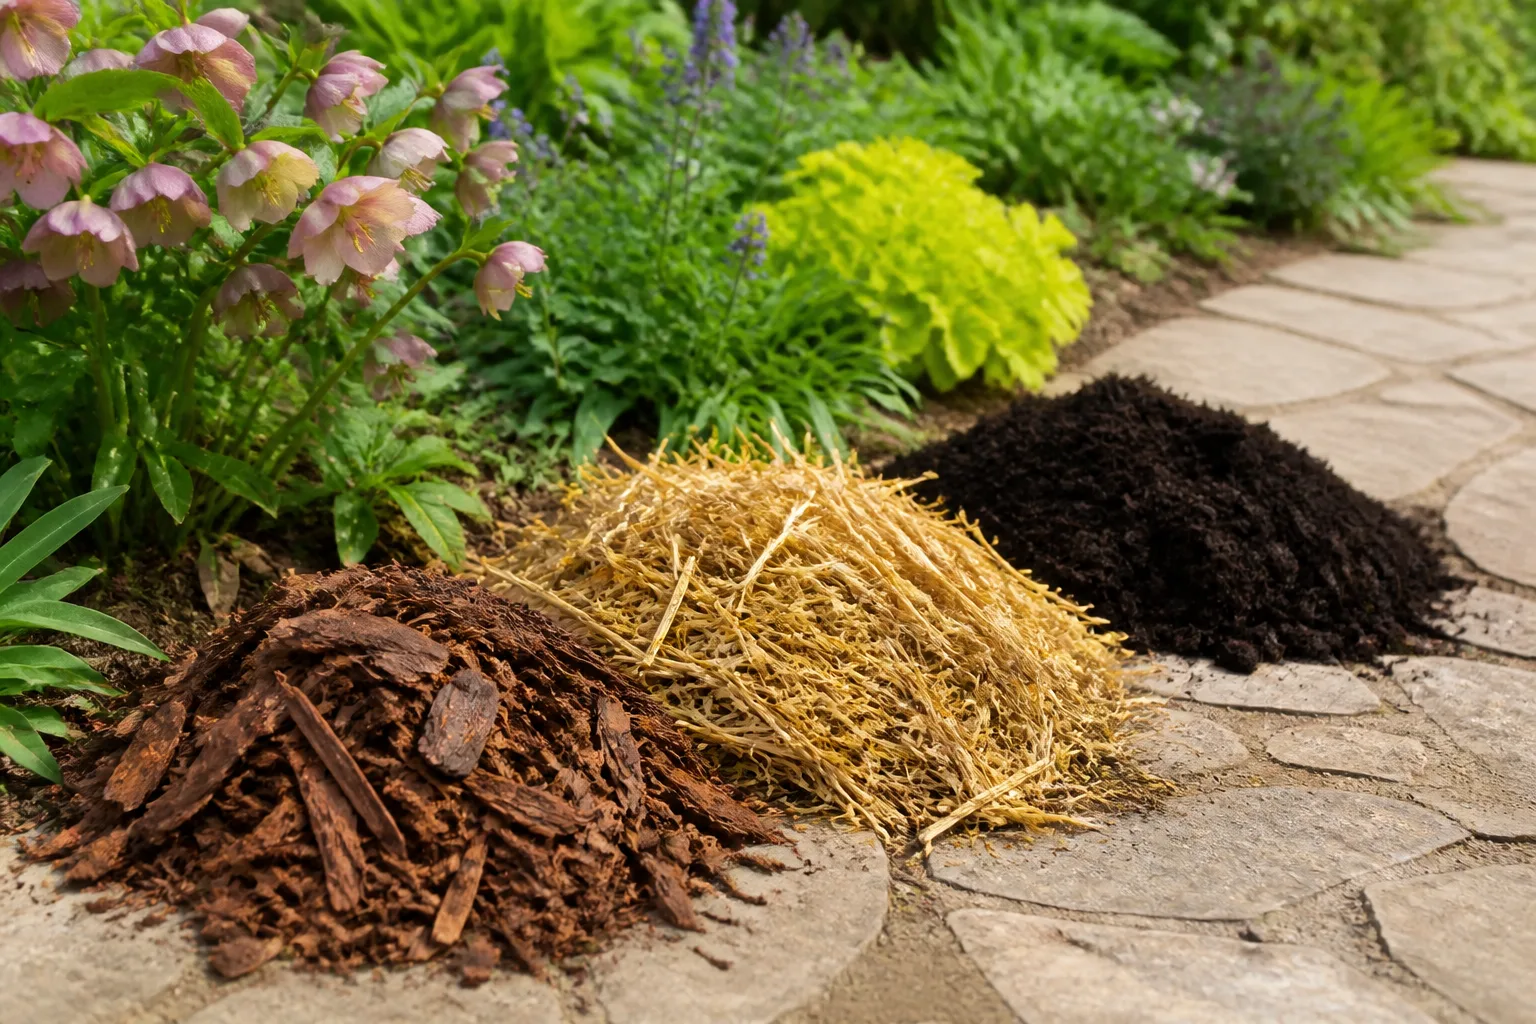
Mulch works by reducing light at the soil surface, buffering moisture, and making later seedlings easier to pull. It is most effective after you remove existing weeds and level the bed; a layer placed over a mature perennial often suppresses the top temporarily without solving the roots below.
Apply a consistent layer suited to the material and site, leaving a small gap around plant stems and trunks. Too little mulch will not close the gaps; too much can keep soil wet, limit oxygen, or stress plants. UC IPM cautions that mulch deeper than four inches can injure plants in some landscapes, so depth is not a contest.
Choose clean mulch. UC Agriculture and Natural Resources’ WeedCUT guidance recommends mulch that is free of weed seeds and plant diseases and says hand-weeding remains useful for the few plants that emerge. Check mulch periodically, especially after wind or heavy rain, and pull seedlings while their roots are still shallow.
12. Build competition so fewer weeds need pulling
Long-term weed control is mostly about reducing open opportunity. In a lawn, avoid scalping, mow with a sharp blade, water deeply enough for the grass type and weather, and correct compaction or drainage problems where they are obvious. In beds, plant at the spacing your chosen plants can actually fill, keep soil covered with healthy foliage or mulch, and avoid repeatedly disturbing the top layer.
Overseeding can help a thin lawn, but timing matters. Seed must match the turf species and local growing window, and many pre-emergent products interfere with new seed. If weeds occupy a large share of the area, compare selective repair with full renovation instead of scattering seed into a failing surface and hoping it wins.
Do not remove every plant simply because it is not the intended species. A low-input lawn may tolerate some clover or other non-turf plants, while a vegetable bed, play surface, or pollinator planting may have different standards. The useful question is whether the plant is competing, spreading, hazardous, or interfering with how you use the space.
A repeatable 15-minute weed-pulling routine
When the garden feels too large, use a short routine rather than waiting for a heroic clearing day:
- Scan for hazards. Identify unfamiliar plants, thorns, irritants, irrigation lines, and desirable seedlings.
- Choose one small zone. Work in a square you can finish and inspect.
- Pull seedlings first. Remove the smallest plants before they flower or anchor.
- Dig the stubborn plants. Loosen crowns and taproots rather than increasing force.
- Contain the harvest. Use a bucket, especially for flowering weeds and persistent perennials.
- Inspect and close. Check the hole, firm the soil, and replace mulch or seed where appropriate.
- Schedule a return. Recheck in seven to fourteen days for regrowth or new seedlings.
That final visit is what turns pulling into control. A root fragment that survives will show you where it is, and a new seedling will be much easier to remove while it is small. Keep the schedule flexible for weather, soil, and the growth rate of the weed.
Conclusion: remove what you can, then change the conditions
Effective weed pulling is a sequence, not a tug-of-war. Identify the plant, wait for workable moisture, grip low, loosen resistant roots, contain anything with seeds or persistent fragments, repair the opening, and cover or fill the soil so the next plant has less room.
Hand-pulling is excellent for targeted work and poor as a universal answer. If the same weed returns, treat that recurrence as useful evidence: a taproot may be breaking, a rhizome may be spreading, or thin turf and disturbed soil may be inviting replacement weeds. Adjust the method and the growing conditions together, and each short session becomes easier than the last.



