6 Things to Know Before Growing Potatoes
Growing potatoes for the first time? Learn how to choose seed potatoes, hill and water the crop, spot maturity, and cure a safer harvest.
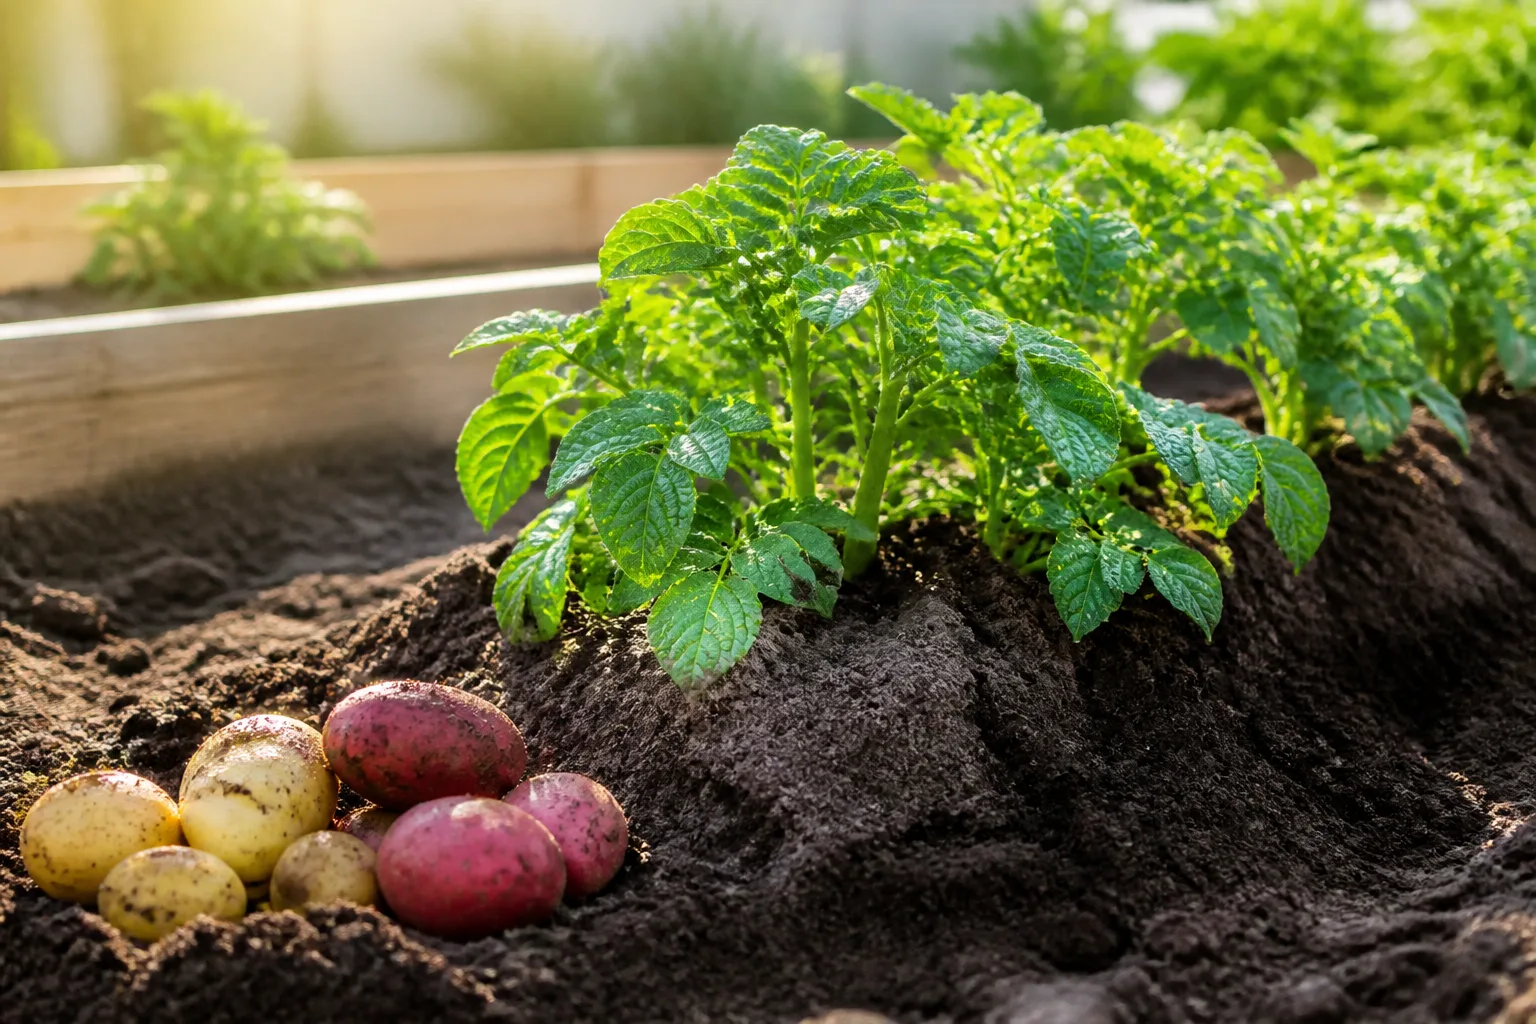
Potatoes are a friendly first crop until you discover that the part you want is hidden underground. You can have a lush plant and still end up with tiny tubers, rotted seed pieces, green potatoes, or a harvest that was dug before the skins were ready to protect it.
The fix is not a complicated schedule. It is a short chain of good decisions: start with planting stock that is meant for the job, wait for soil that is cool and workable, keep developing tubers covered, maintain even moisture, and harvest according to how you plan to use them. These six lessons make the crop much easier to read.
Lesson 1: Buy a Seed Potato Meant for Planting
A seed potato is not botanical seed. It is a small tuber or a piece of a larger tuber with eyes—the dimples from which new shoots emerge. For a reliable first crop, buy certified seed potatoes from a garden center, seed supplier, or farm store and choose a variety recommended for your growing region.
Certified does not mean the potato is guaranteed to produce a record harvest. It means the planting material has passed a disease-certification process that reduces the chance you are importing an avoidable problem into the bed. Potato diseases can be difficult to identify once symptoms appear, and a clean start is one of the few advantages you can secure before planting.
Early, midseason, and maincrop varieties also serve different purposes. Early types are useful when you want tender potatoes sooner or have a short cool window; later types are usually the better choice when your goal is a full-sized crop that can be cured and stored. Read the variety description alongside your local planting advice rather than treating one number of days as universal.
Why Grocery-Store Potatoes Are a Gamble
A grocery potato may sprout in a cupboard, but that does not make it dependable seed. Many commercial potatoes are treated to slow sprouting, and the package usually gives you no disease-certification information or variety guidance. NC State Extension lists both sprout inhibitors and the uncertain health status of store potatoes as reasons they may not be reliable for planting in its potato plant profile.
An untreated organic potato can sometimes grow, and a gardener may get lucky with one. Luck is a poor foundation for a first bed, especially when certified seed is available in varieties selected for your climate and harvest goal. If you are experimenting with a grocery potato, keep it out of a valuable long-term bed and do not mistake a successful sprout for proof that the tuber was disease-free.
Cut Around the Eyes and Let Pieces Callus
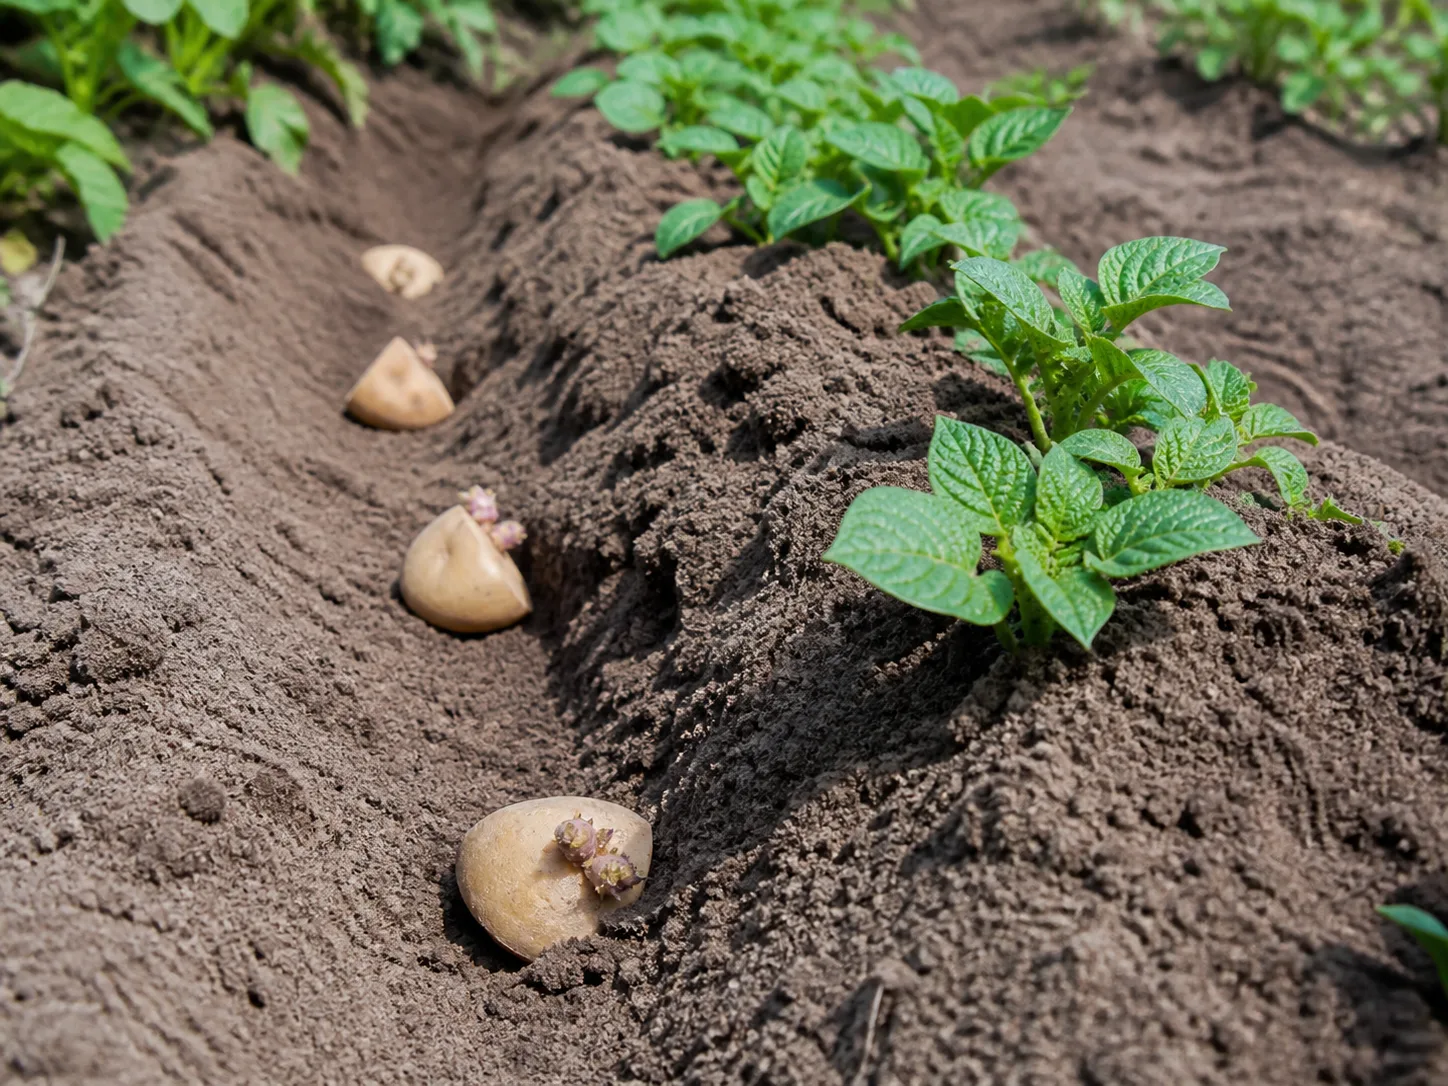
Plant a small seed potato whole when it is roughly golf-ball sized. Cut larger tubers into pieces with at least one or two strong eyes each, using a clean, sharp knife; a large piece without an eye has no obvious growing point and can sit in the soil until it rots.
Cutting based only on size or symmetry is the wrong shortcut. First find the end with the greatest concentration of eyes, then divide the tuber so each piece has enough stored food and at least one viable sprouting area. Leave the cut pieces in a dry, shaded, well-ventilated place for roughly a day to several days, depending on their size and local humidity, so the cut surface can dry and seal before planting.
You can also chit, or pre-sprout, the seed potatoes. Set them in an egg carton with the eyes facing upward in a cool, bright, frost-free place until short, sturdy shoots develop; the RHS container guide recommends planting when shoots are about 2–5 centimeters long. Chitting can give an early crop a head start, but it cannot rescue a variety that is poorly matched to your season or a seed piece left in cold, saturated soil.
Lesson 2: Plant When the Soil Is Ready
Potatoes are cool-season crops, but “early” does not mean “as soon as the calendar says spring.” Planting into cold, wet soil can delay sprouting and turn the seed pieces soft before roots develop. Wait until the soil is workable, drains after rain, and has warmed into a range your local extension service or seed supplier considers suitable; general home-garden guidance commonly puts the lower threshold around 45–55°F (7–13°C), depending on the source and conditions.
Use the local last-frost date as one reference, not as the only trigger. A light frost may damage emerging foliage while the underground seed piece survives, but repeated freezing, hard frost, or a hot spell arriving before the plant establishes can shorten the productive season. A layer of loose mulch can protect a young planting from a brief cold night, but it cannot correct a badly timed planting in waterlogged ground.
Choose Full Sun and Drainage Before Anything Else
Give potatoes at least six hours of direct sun where possible. They will tolerate some compromise, but too much shade produces weak foliage and leaves the plant with less energy to put into tubers. In a hot climate, morning sun with some protection from the harshest afternoon heat can be a useful compromise, provided the site remains bright and the soil does not stay hot and dry.
Drainage is the non-negotiable part. Potatoes need moisture, but water that lingers around the seed piece encourages rot, while heavy, compacted soil makes misshapen tubers harder to dig without damage. Garden Design and Gardening Know How both emphasize loose, well-drained soil; if your native bed is dense clay or stays wet after rain, a raised bed, deep trench filled with improved soil, or properly drained grow bag is easier to manage than repeated emergency watering adjustments.
Slightly acidic soil can also reduce the risk of scab, but do not add amendments merely because a potato article mentions a target pH. Test first, improve structure with finished compost, and avoid creating a nutrient imbalance in an attempt to force the crop. Potatoes need fertile soil, yet a soil test is a better guide than a large dose of fertilizer applied by guesswork.
Match the Setup to Your Space
An in-ground row gives roots room and usually buffers moisture better than a small pot. A trench makes later hilling straightforward, while a raised bed makes drainage and harvest easier to control. Whichever setup you use, leave enough space between plants for air movement and for your hand or tool to reach the tubers without slicing through them.
Containers and grow bags are useful when the ground is unsuitable or you want a small, visible experiment. Choose a large container with drainage holes, start with a shallow layer of loose growing medium, and leave room to add more as the stems grow. The RHS recommends placing chitted potatoes in a large drained container and gradually topping it up; its method is especially useful for a first-time gardener who wants to see exactly when the crop needs covering.
The trade-off is that containers dry faster and heat up faster than a bed. They are not a way to ignore watering, and a dark bag on hot paving can stress the root zone. Put the container where it receives good light but can be checked easily, and treat the moisture in the medium—not the color of the bag—as your watering signal.
Lesson 3: Keep Growing Tubers Covered
Potatoes do not form by simply growing farther down from the original seed piece. New tubers develop on underground stems called stolons, which is why covering part of the stem can increase the amount of protected underground growth. Hilling also blocks sunlight from reaching tubers near the soil surface.
Light-exposed tubers can turn green and accumulate glycoalkaloids such as solanine. NC State Extension identifies the green skin, sprouts, leaves, stems, and berries as parts that should not be eaten, while MedlinePlus explains the food-safety risk of green tubers and new sprouts. This is not a cosmetic issue: if a potato is green below the skin, extensively green, bitter, spoiled, or heavily sprouted, discard it instead of trying to salvage a questionable crop.
Hill in Small Lifts Instead of Burying the Foliage
When shoots are about 6–8 inches tall, pull 2–4 inches of loose soil, finished compost, or suitable organic mulch around the base. Keep the growing tips and most of the foliage above the cover so the plant can continue photosynthesizing. Repeat as the stems extend, usually once or twice more, until the hill or container is filled to the level your setup allows.
Gardeners often wait until they can see a potato before adding cover, but that is already a sign that light has reached the tuber. Inspect the hill after heavy rain, watering, or erosion and repair low spots promptly. Straw or shredded leaves can reduce moisture loss and weeds, but use clean material and keep it loose enough that it does not form a wet, compacted blanket around the stems.
Stop adding substantial cover once the plant is flowering or the container has reached its planned height. More material is not automatically better if it buries all the foliage, holds excess water against the crown, or makes the bed impossible to inspect. The goal is a stable dark zone for tubers, not the tallest mound in the garden.
Lesson 4: Water for Steady Tuber Growth
The first watering mistake is keeping freshly planted pieces wet all the time. A seed piece has no established root system yet, so a soggy bed can rot it before shoots appear. After planting, water enough to settle the soil, then keep it lightly and consistently moist rather than repeatedly soaking it whenever the surface looks dry.
Once plants are established and beginning to flower or set tubers, moisture becomes more important. A baseline of about 1 inch of water per week is commonly given for home-grown potatoes, but rainfall, temperature, soil, mulch, and container size change the actual need. Gardening Know How and Garden Design both stress the same practical rule: keep the root zone evenly moist, never permanently saturated.
Keep Moisture Even and Fertility Moderate
Water deeply enough to moisten the active root zone, then check the soil before watering again. In a bed, a finger check several inches down is more useful than a fixed weekday schedule; in a grow bag, check more often because the sides lose moisture quickly. Water at the soil line in the morning when possible, and keep mulch from touching the main stems.
Uneven moisture is hard on developing tubers. A crop that swings from very dry to very wet is more likely to produce cracked, misshapen, or unevenly sized potatoes than one kept on a steady rhythm. During hot, windy weather, increase checks rather than automatically doubling each watering; during a rainy spell, improve drainage and let the bed breathe.
Fertilize for a healthy plant, not an enormous canopy. Finished compost incorporated before planting is a sensible starting point, and a soil test can reveal whether additional nutrients are needed. Excess nitrogen encourages lush leaves and can delay the crop’s shift toward tuber production, so adding more feed to a green but unproductive plant may make the timing problem worse.
As the foliage naturally yellows and collapses near maturity, reduce routine watering if the weather is dry and the soil is safe. Continuing to keep mature hills wet can delay skin set and raise the chance of rot. Do not stop water early just to force a harvest while the plant is still actively growing; the crop needs moisture during leaf expansion and tuber enlargement.
Lesson 5: Treat Yellow Foliage as a Signal, Not a Deadline
Yellowing near the end of the season is often the plant winding down after it has finished much of its tuber-making work. It is not automatically a sign that the crop needs more water, and it is not an instruction to empty the bed that same day. Look at the timing, pattern, and condition of the whole plant before deciding what it means.
Uniform yellowing followed by natural dieback late in the variety’s expected season is different from sudden collapse, dark lesions, foul odor, or spreading damage while the plant should still be vigorous. NC State Extension lists late blight, bacterial and viral diseases, Colorado potato beetles, flea beetles, wireworms, and leafhoppers among potential potato problems. If decline is early, patchy, or accompanied by obvious spots or severe insect feeding, investigate the cause and do not assume the tubers are healthy just because they are underground.
Decide Between New Potatoes and a Storage Crop
Your harvest goal changes the right answer. New potatoes are young tubers lifted for immediate eating while the plant is still active; flowers are a useful sign that tubers may be large enough to sample, not a guarantee that every potato is ready. Carefully dig near one plant or the outside edge of a hill and take only what you will use soon, leaving the rest to enlarge.
New potatoes have thin skins and a fresh texture, but they are not the same as a cured storage crop. Handle them gently, keep them cool, and use them promptly. Do not try to cure them into long-keeping potatoes; the thin skin is part of what makes them desirable at this stage.
For a mature harvest, let the foliage yellow and die back naturally when the crop is healthy and the weather remains safe. NC State Extension gives roughly 7–8 weeks after planting for new potatoes and about 3–4 months for mature potatoes, while the broader ranges in Garden Design and Gardening Know How show why variety and climate matter. Treat those figures as planning windows and use the plant and a test dig to make the final call.
Lesson 6: Test-Dig Before You Harvest the Bed
An underground crop gives you a simple advantage: you do not have to guess about the entire bed at once. Test one plant or one edge of the hill before you pull everything. That small sample tells you whether the tubers are usable, how large they are, whether the skins are set, and whether wet soil or disease makes waiting risky.
Use Skin Set, Weather, and Your Intended Use Together
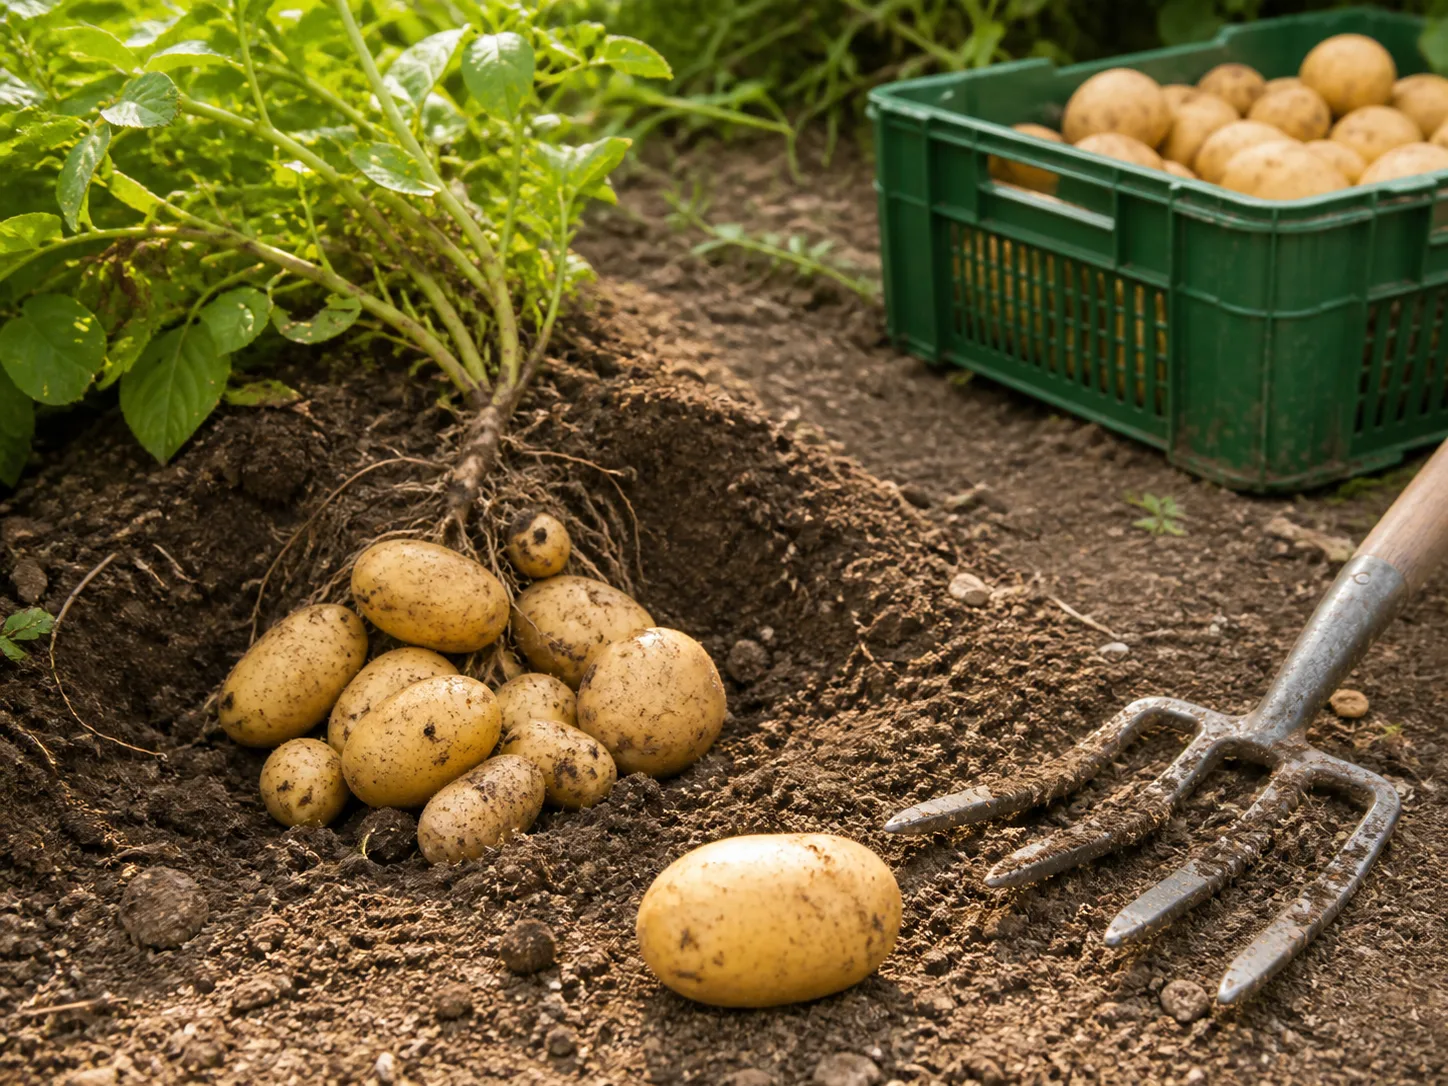
Gently lift soil away with your hands or a garden fork placed outside the hill. Mature potatoes have skins that stay attached when rubbed lightly with a thumb; if the skin slips off easily, they are still tender and will not store well. A test dig is more reliable than counting backward from a seed packet when planting was delayed, weather was unusual, or the variety label is vague.
Harvest on a dry day when the soil is workable. In a bed, begin outside the plant and lift the soil gradually so you do not spear the cluster; in a grow bag or container, tip or empty it carefully onto a tarp. The cached Garden Design guide and practical Grow Organic instructions both recommend gentle digging, shade during harvest, and keeping storage potatoes unwashed so their skins can dry without adding surface moisture.
Do not leave the crop in the ground indefinitely because a few potatoes are still small. Prolonged wet weather, hard frost, flooding, active disease, or pest damage can be a better reason to harvest early than the promise of a little more size. If the skins are firm and the weather is turning unsafe, a sound, well-handled harvest is more valuable than a theoretical maximum yield.
Cure and Store the Potatoes You Want to Keep
Curing is the step that turns a freshly dug storage potato into a more durable one. It gives the skin time to toughen and lets minor surface scrapes heal, but it cannot make a cut, crushed, leaking, diseased, or extensively green potato safe for long-term storage.
Sort Before Curing and Keep the Crop Dark
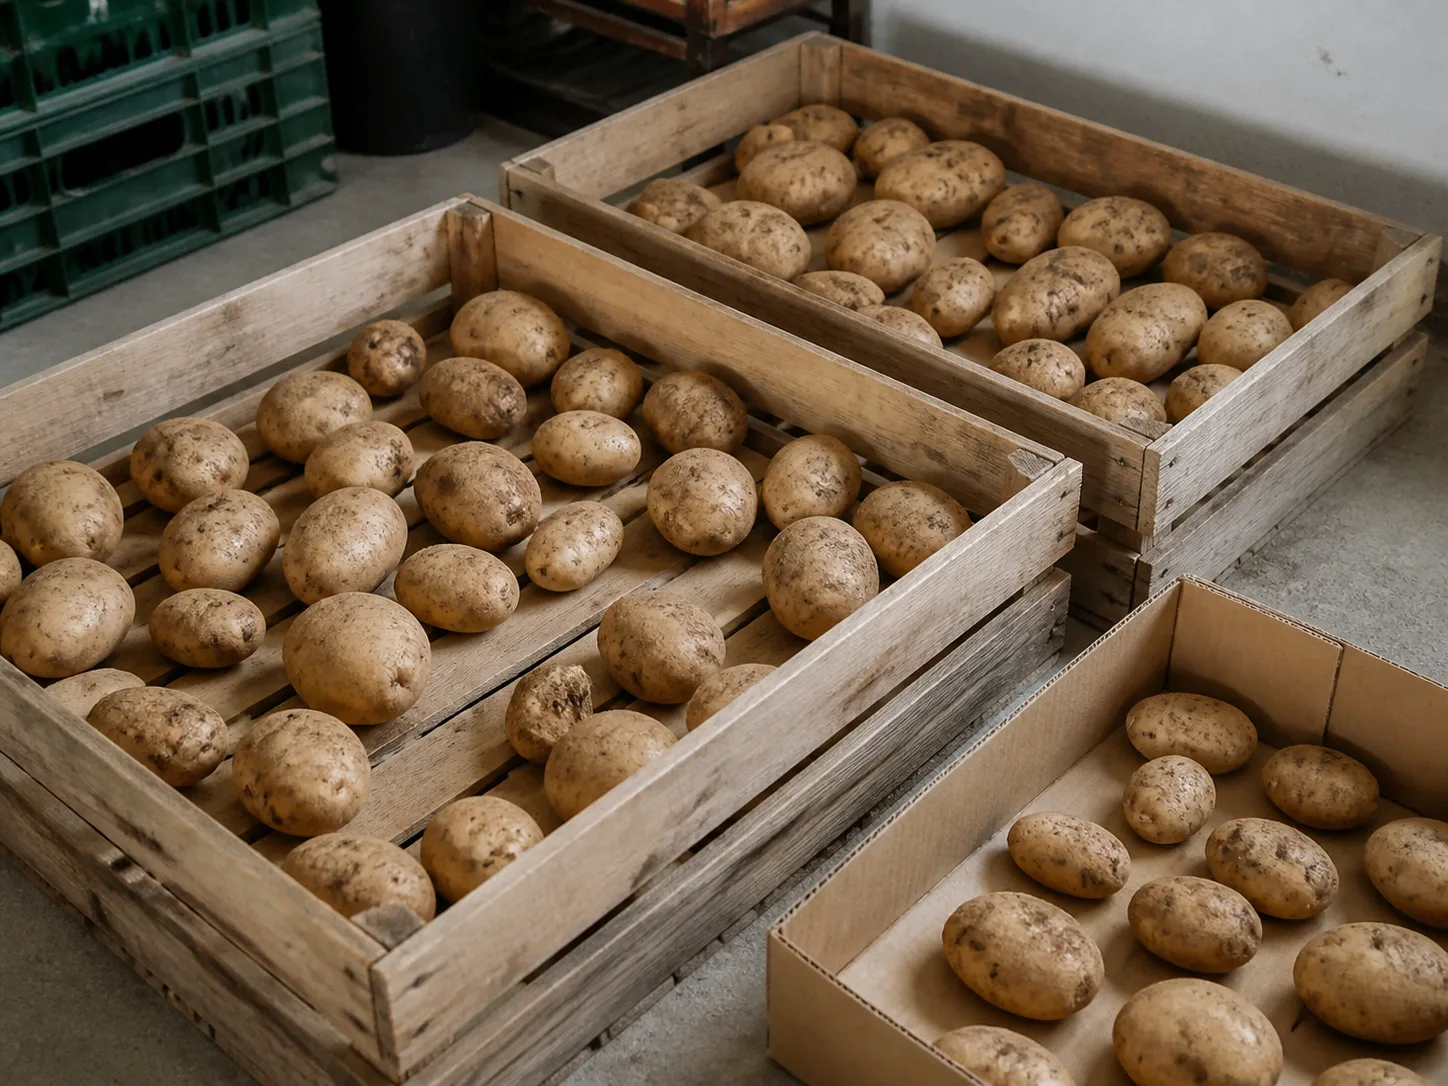
Brush off loose soil only after the potatoes have dried; avoid washing those intended for storage. Spread sound mature tubers in a single layer or a shallow, ventilated crate in a dark place with good airflow. Grow Organic recommends about 7–14 days at approximately 50–60°F (10–16°C) with high humidity, while the University of Alaska Fairbanks root-cellar guidance describes a warm curing period before moving potatoes to cold, moist storage.
Keep light out during curing and storage. Light exposure is what drives greening, and a breathable paper sack, ventilated box, or crate works better than an airtight plastic bag that traps condensation. After curing, move the crop to the coolest dark place you can provide without freezing it, and inspect the container every week or two.
Sort aggressively. Use cut or bruised potatoes first if they remain wholesome, but discard potatoes that are soft, leaking, moldy, foul-smelling, bitter, or green below the skin. Remove a rotting tuber from the storage area as soon as you see it; one failing potato can wet or contaminate its neighbors.
Troubleshoot the First Season by Symptom
If nothing emerges, check the seed pieces before changing everything else. Cold, saturated soil, treated grocery potatoes, a cut piece without a viable eye, or deep planting can all delay the first shoots. Dig up one piece gently: a firm piece with a dormant eye may simply need warmer conditions, while a soft or foul-smelling piece has rotted and should be replaced rather than watered more.
If foliage is abundant but the harvest is disappointing, look at light, spacing, hilling, and nitrogen before blaming the variety. Exposed tubers point to lost cover; a wet bed points to drainage; a very leafy plant with few tubers can reflect excess nitrogen, shade, or a season that has not reached its harvest stage. Correct the condition you can change and accept that a stressed plant may not fully recover its yield this season.
If leaves decline early, inspect the undersides and stems for insects, look for spots or lesions, and compare affected plants with healthy ones. Remove badly diseased plants and clean tools before working elsewhere; rotate potatoes and other nightshades such as tomatoes, peppers, and eggplants away from the same bed when space allows. Crop rotation cannot erase every disease, but it reduces the chance of repeating the same pest and disease cycle in the same soil.
The most useful first-season habit is to record the variety, planting date, weather, hilling dates, and harvest observations. That small log tells you whether next year’s problem was a late start, a poor spot, a water swing, or a harvest decision—not just that “potatoes failed.”
Conclusion
The easiest way to grow potatoes successfully for the first time is to stop treating them like a buried version of any other vegetable. Start with certified seed potatoes, cut pieces around their eyes, and put them into cool, workable soil with reliable drainage and full sun.
Then keep the tubers dark as stems rise, water steadily without creating a swamp, and read yellowing foliage in context. Sample new potatoes when you want a tender crop, but test-dig for firm skins when you want storage potatoes. Cure only sound tubers in darkness, sort before storing, and discard green or spoiled potatoes rather than taking a food-safety gamble.
Those choices do more than prevent beginner mistakes. They give you a way to see what the plant is doing underground and make the next decision with evidence instead of hope.



