When and How to Divide Hostas: Step-by-Step
Find the right spring or fall window to divide hostas, protect the crown, choose division size, and help each new plant establish without rot.
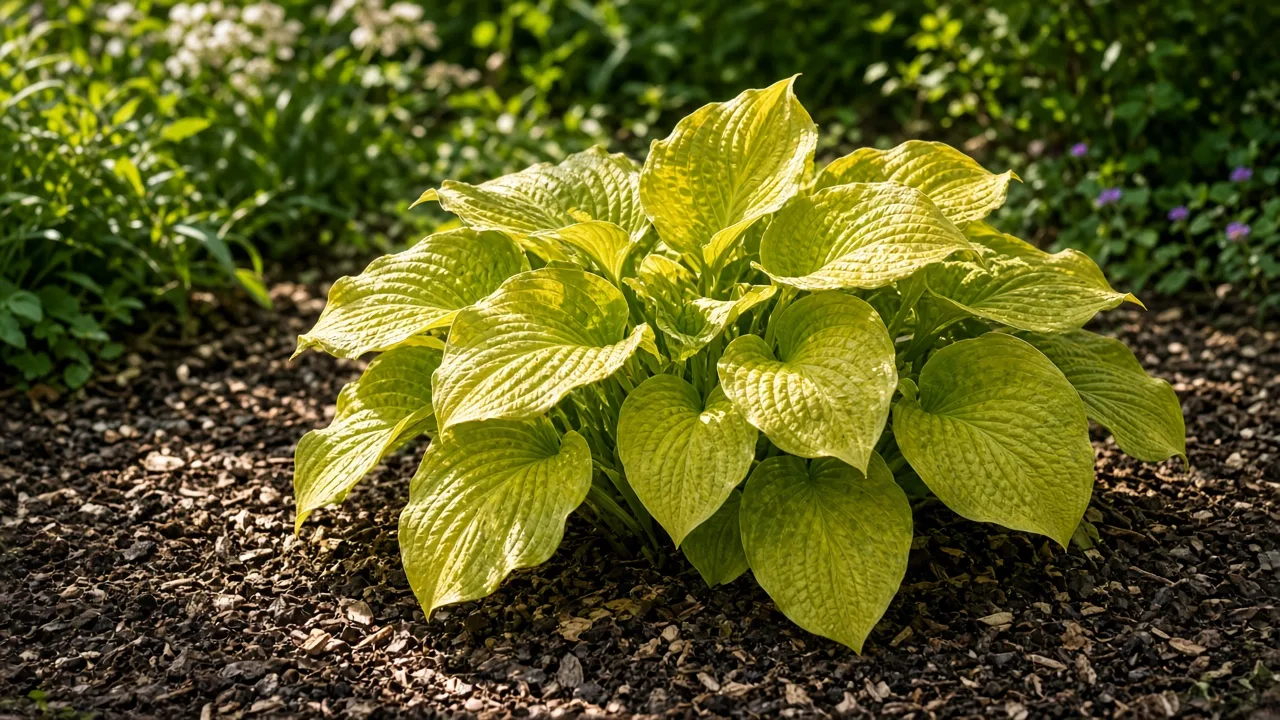
Quick answer: divide for a reason, then choose a cool, moist window
The best time to divide hostas is usually early spring, just as the pointed shoots emerge, or early fall while the soil is still workable and several weeks remain before hard freezing. Those windows reduce moisture stress because the plant has less fully expanded leaf surface to support, and they give the roots a better chance to settle before the most demanding weather arrives.
The best method is simple but precise: prepare the new planting holes, water the parent clump if the soil is dry, lift it with a generous margin, expose the crown, and split between growing points. Every piece needs a healthy section of crown, at least one viable eye, and enough roots to support it. For most home gardens, two or three shoots with a good root system are a more forgiving choice than dozens of tiny single-eye pieces.
Division is a form of asexual propagation, so a division is a genetic copy of the parent hosta. That makes it the dependable way to multiply a named cultivar while preserving its foliage color, shape, size, and growth habit. The NC State Extension hosta profile describes hostas as clumping, rhizomatous perennials with a wide range of mature sizes; that range is why the right division strategy for a miniature is not automatically the right strategy for a giant.
Should you divide this hosta or leave it alone?
Hostas are long-lived plants that often look better with age. A full, symmetrical mound in an appropriate site does not need to be lifted just because it has occupied the same bed for four or five years. A calendar interval can remind you to inspect the plant, but it should not overrule what the clump is telling you.
Divide when you have a clear job for the operation: you want more plants, the clump is pressing into a path, several crowns are fighting for the same space, the center is thinning, you need to relocate the plant, or a container is crowded with crowns and roots. If the only goal is to make a large cultivar look smaller, remember that division temporarily turns one mature plant into several younger ones. Relocating it to a site that fits its mature spread may be the better long-term fix.
Read the clump before you reach for a spade
Start by looking at the shape of the foliage from above. A mature hosta that has become a ring or crescent, with a noticeably weak or open center, is a reasonable division candidate. So is a clump that has pushed over edging, covered a path, or begun to overwhelm smaller neighboring plants. Distinct outer shoots may also let you remove only one section while preserving most of the parent.
Next, look at the plant’s mature size, not just its current width. Dwarf and miniature hostas can be crowded by nearby plants even when the clump looks small, while a giant hosta may be healthy precisely because it has formed a large mound. The Royal Horticultural Society’s hosta guide notes that hostas vary greatly in size and that miniature forms can be useful in containers; spacing and site fit matter more than an arbitrary division schedule.
If you want more hostas for a border, decide how many you truly need before cutting. The parent plant will not instantly become several mature specimens. A few large divisions can fill a bed faster, while many small divisions give you more plants but extend the period when each one looks sparse. Make that trade-off deliberately rather than dividing as finely as the crown allows.
When poor growth is not a division problem
A weak hosta is not automatically an overcrowded hosta. Before propagating it, check whether the problem is actually too much sun, dry soil, competing tree roots, poor drainage, repeated deer or rabbit browsing, slugs, or crown disease. Dividing a plant under chronic stress creates several stressed plants and makes the original diagnosis harder.
Hostas generally perform best in moist, organic-rich, well-drained soil and light to medium shade. Blue-leaved types often need more protection from direct sun, while some gold or yellow cultivars can hold better color with gentle morning light. The NC State profile also warns that soggy soil can contribute to root and crown rot. If the bed stays wet through winter, fix drainage or move the hosta before treating division as the answer.
Do not divide a plant with unexplained mottling, color bleeding along veins, puckering, or unusual distortion until you have investigated the possibility of Hosta Virus X or another disease. Sap on a knife or spade can move a problem from one plant to another. When the plant looks suspicious, keep it out of a propagation plan and clean tools between hostas.
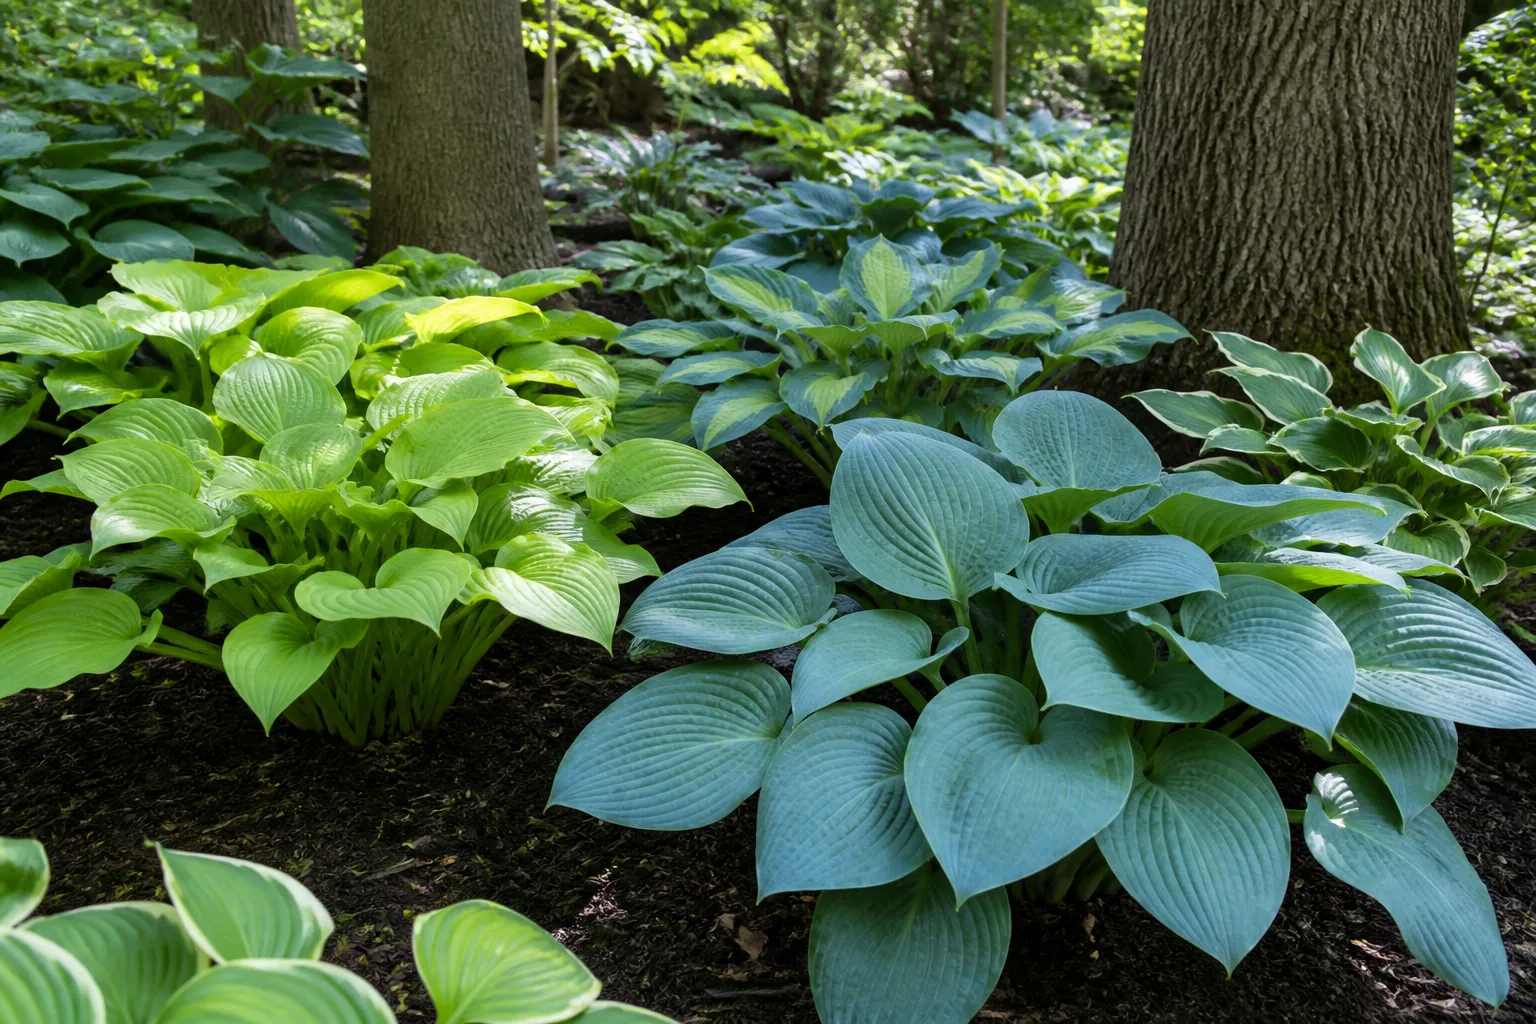
Pick spring or early fall by your local weather
The right season is less about a universal calendar date than the balance between root-establishment time and leaf stress. Emerging spring shoots lose less water than a full canopy, while early-fall soil may remain warm enough for root growth after the worst summer heat passes. In either season, choose a cloudy or overcast day if you can, and postpone the job during a heat wave, drying wind, or hard freeze.
Spring division: catch the emerging-shoot window
Spring is the easiest time for many gardeners because the eyes are visible and the leaves have not unfurled into a large, breakable canopy. Wait until the soil has thawed and can be worked, then look for compact shoots or noses pushing through the surface. You do not need to wait for a full mound of leaves; in fact, digging before full expansion usually means less leaf damage and less water loss from the disturbed plant.
In cold regions, protect newly emerging shoots from a forecast late frost if practical, but do not confuse a brief frost warning with a reason to delay every spring division. The important sequence is to avoid digging frozen soil, avoid leaving fresh divisions exposed to a severe freeze, and have the planting holes ready so roots spend as little time above ground as possible.
Spring divisions have the rest of the growing season to establish, but they also face summer ahead. Keep them consistently moist as temperatures rise, especially if the new site is more exposed than the original bed. Do not push a heavy dose of fertilizer into a freshly divided root system; stable moisture and good root-to-soil contact matter first.
Early-fall division: trade leaf stress for a frost deadline
Early fall can be excellent where the soil remains workable and the weather has cooled. The foliage may still be present, but evaporation is usually lower than in midsummer, and the roots can grow into surrounding soil before dormancy. The practical cutoff is not “September” everywhere; it is the number of weeks between replanting and the point when the soil begins to freeze.
Aim to finish about four to six weeks before your expected first hard frost when possible. A milder site may offer a longer window, while a short northern autumn may make spring the safer choice. The Piedmont Master Gardeners’ guidance on propagating hostas by division recommends leaving time for establishment before the ground freezes and emphasizes keeping divisions at their original depth.
Fall divisions still need water, but the rhythm changes as the plant loses its leaves and enters dormancy. Water thoroughly at planting and during dry spells, then reduce frequency when rainfall and cooler weather keep the soil moist. Avoid turning the bed into a wet blanket: roots need oxygen, and saturated soil is especially risky for a newly cut crown.
Summer, flowering, and winter exceptions
You can divide a hosta in summer, but it is a rescue or scheduling option, not the easiest default. Fully expanded leaves can lose water faster than the reduced root system can replace it. If summer division is unavoidable, work early in the morning or during a cool, cloudy spell, cut back only as much foliage as needed to reduce wilting, keep roots shaded and damp, replant immediately, and monitor the plant closely.
Flowering adds another layer of stress because the hosta is supporting mature foliage, flower scapes, and root activity at once. If the plant must be moved while flowering, preserve as many roots and leaves as practical and remove spent or damaged flower stalks. If you are planning the job, wait for spring emergence or early fall instead. The Gardenia division guide makes the useful distinction that flowering division is possible but less favorable than a low-stress window.
Winter division is only a realistic option where the ground does not freeze and the plant can be replanted immediately. In freeze-thaw climates, a fresh division has not had time to anchor roots into surrounding soil, so heaving can expose the crown or break new roots. If winter is your only available time, pot the division and shelter it from repeated freezing rather than leaving bare roots outdoors.
Prepare the new homes and clean tools first
The most preventable hosta-division mistake is lifting the parent before deciding where the pieces will go. Exposed roots dry quickly in sun and wind, and a gardener who is still digging holes while a clump sits on the path is more likely to rush the cuts. Prepare the destinations first, then lift the plant once you can move from division to planting without a long pause.
Choose a site with shade, moisture, and drainage
Choose a site with bright shade, dappled light, or gentle morning sun suited to the cultivar. Avoid a location that receives harsh afternoon sun, sits beside thirsty mature tree roots, or dries into a hard crust. At the same time, do not place the division in a basin where water stands after rain. Hosta roots appreciate even moisture, not an airless puddle.
Improve poor soil with finished compost or other well-rotted organic matter, but do not bury the crown in a mound of rich material. The RHS guidance recommends fertile soil improved with compost or well-rotted manure, regular watering during dry conditions, and planting at the same level as the previous root ball. Those principles are more useful than a universal recipe because soil texture and rainfall vary from garden to garden.
Dig each hole roughly as deep as the division’s roots and wide enough to spread them without folding. If you are planting multiple pieces, use the cultivar’s eventual spread as your spacing guide. A division may look tiny on planting day, but crowding it immediately recreates the problem you were trying to solve and makes future watering more competitive.
Assemble a root-safe workspace
Gather a garden fork or sturdy spade, a sharp knife for a dense crown, a tarp or board, a bucket of clean water, gloves, compost, mulch, and clean containers if you are potting pieces temporarily. A tarp keeps roots and soil together and gives you a stable surface for a large clump. The bucket is for keeping roots damp, not for soaking the crown indefinitely.
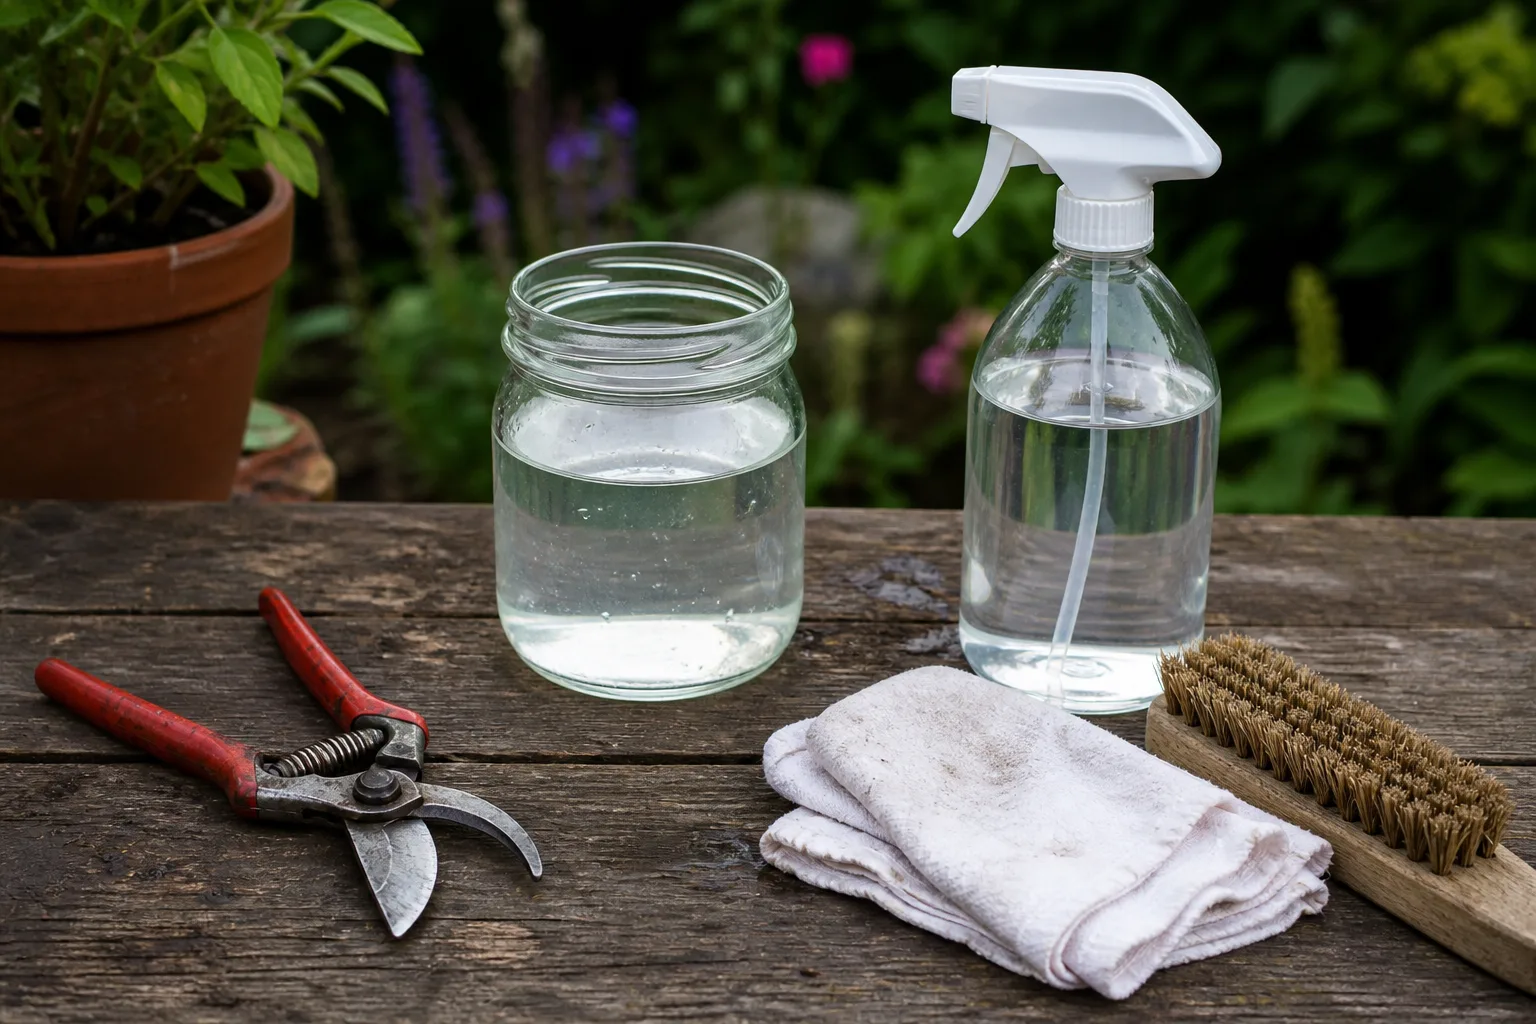
Clean soil from the cutting edge before disinfecting the knife or spade. If you are working with several hostas, clean and disinfect the blade between plants, especially if any plant has abnormal markings or decay. Tool hygiene does not replace diagnosis, but it removes one easy route for contaminated sap to travel through a collection.
Divide a hosta without sacrificing its crown
Think of the job as finding strong pieces, not making the maximum number of cuts. The hosta’s crown is the short, dense junction where roots and leaf-bearing growing points meet. Roots alone will not make a new hosta, and a leaf stem without crown tissue will not produce a durable division. Every piece must carry both sides of that partnership.
Lift the clump with a generous root margin
Water the parent clump thoroughly a day before dividing if the soil is dry. This hydrates the plant and softens the soil without making the work muddy. On the day of division, mark the approximate width of the mature foliage in your mind and start digging outside the main crown rather than slicing right beside the shoots.
Insert the fork or spade vertically, work around the clump from several sides, and loosen the soil before trying to lever it up. Large hostas can be surprisingly heavy. If the clump resists, make another pass around the perimeter instead of forcing the handle against the crown and snapping roots in one concentrated movement.
Once the root ball is loose, lift it onto the tarp or board. Shake away loose soil with your fingers, or use a gentle spray if the soil is too packed to see the crown. You do not need to strip every root perfectly clean. The goal is to reveal the growing points and natural seams while keeping the roots cool, shaded, and moist.
Expose the eyes and cut between growing points
The pointed shoots on a dormant or emerging hosta are commonly called eyes or noses. Trace each eye down to the crown and look for natural separations. A loose clump may pull apart with patient teasing. A dense, old, or fibrous crown may need a sharp, disinfected knife or a straight spade.
Make the cut between eyes whenever possible, rather than cutting directly through the center of a growing point. Keep a useful fan of roots attached to each section. If the piece contains one eye and a strong root mass, it is biologically capable of growing, but it is less forgiving and will usually take longer to produce a substantial mound.
Inspect each cut surface before planting. Firm, clean crown tissue and healthy roots are reassuring. Foul-smelling, watery tissue or extensive brown-black decay is a stop sign. Do not distribute questionable pieces to different corners of the garden; isolate the problem and seek a reliable diagnosis first.
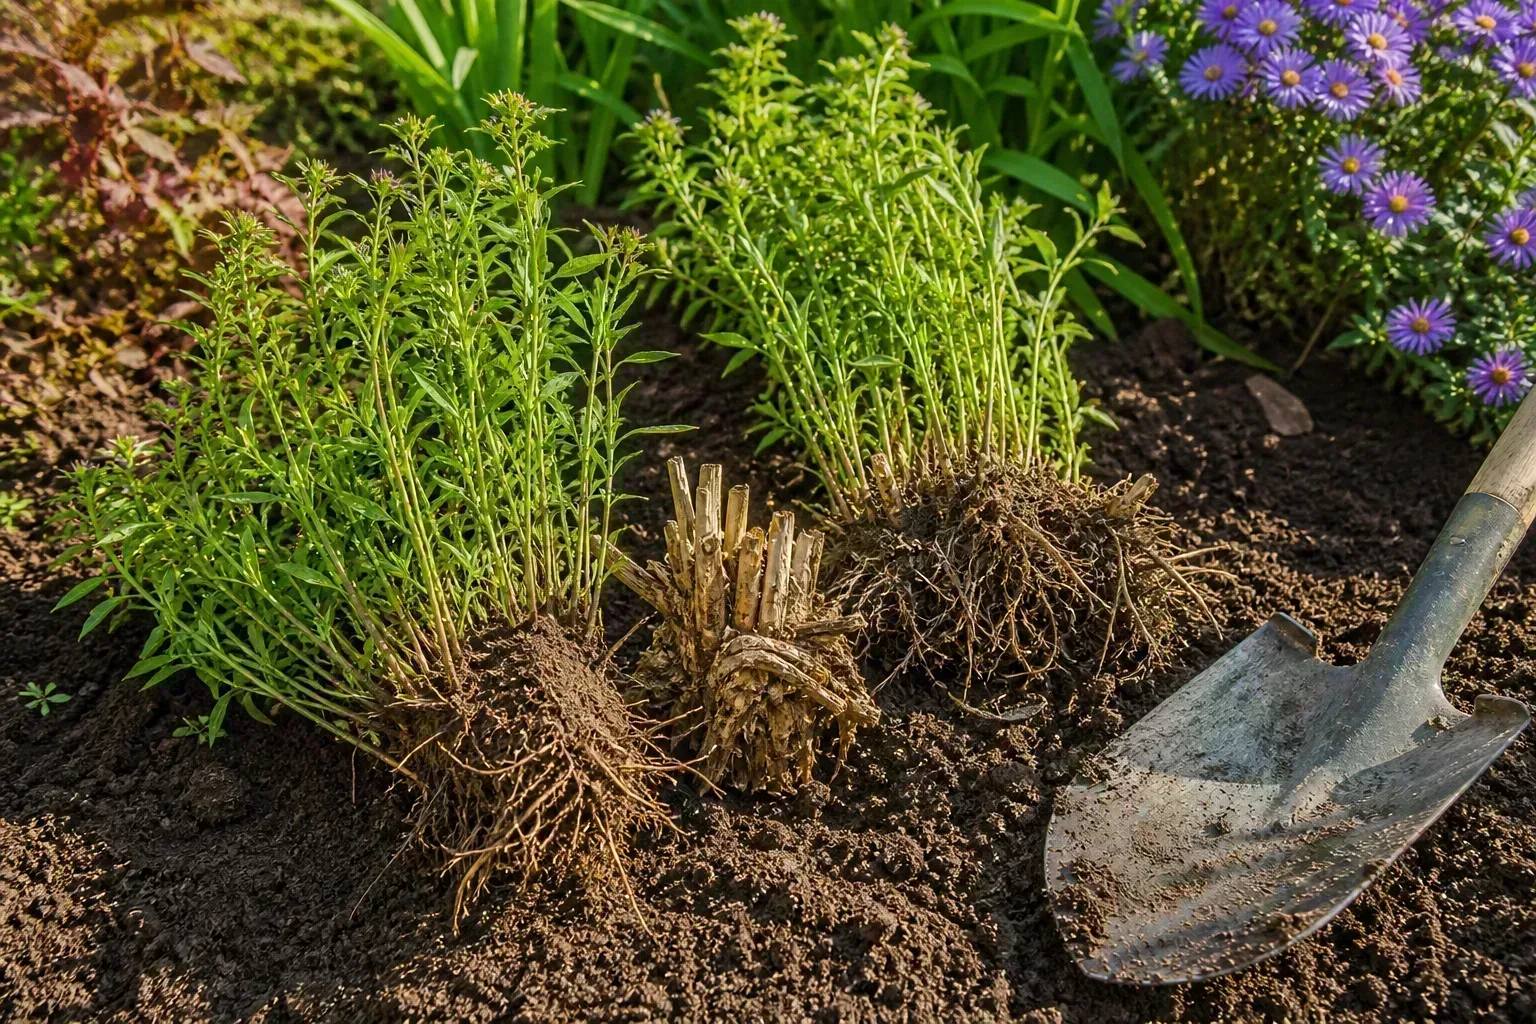
Choose division size by your real goal
There is no single correct number of shoots per division. The right size depends on whether you want the fastest visual recovery, a manageable number of new plants, or the highest possible multiplication rate.
| Division size | Best when | What to expect |
|---|---|---|
| One strong eye with roots | You need many plants or are preserving a rare clump carefully | Viable but slowest and least forgiving; the first season may be modest |
| Two or three shoots with good roots | You want a practical balance for a home border | Usually the best compromise between plant count and establishment |
| Five or more shoots | You want a full-looking specimen sooner | Fastest visual recovery, but you obtain fewer new plants |
For most gardeners, two or three healthy shoots and a generous root portion are the sensible middle ground. A giant hosta is easier to handle when divided into several substantial wedges rather than tiny chips. A miniature hosta may have smaller eyes and less crown tissue, so use a narrow tool and take time to identify the seams before cutting.
You may also remove only an outer section from a healthy, established clump. This is useful when you need one or two plants, want to preserve the parent’s garden presence, or cannot disturb nearby roots. Cut a clean vertical boundary around the outer section, dig deeply enough to capture roots, lift it, then refill and water the gap left in the parent.
Replant each division at the original depth
Move each division straight to its prepared hole. Set the roots downward and outward, with the crown at approximately the same soil level it occupied before division. In spring, the emerging eyes should be visible or just at the surface; do not bury them under several inches of soil to make the plant feel anchored.
Backfill around the roots and firm the soil gently to remove large air pockets. Do not compact it into a hard plug. Water slowly and thoroughly so soil settles around the roots, then add more soil if a hollow opens around the crown. The Ask Extension response on moving and dividing hostas gives the same practical priorities: keep two or three buds with plenty of roots, plant the buds just below the soil level, and replant within a day or two rather than storing the divisions as bare-root pieces.
If a division must wait briefly, keep it shaded, cool, and wrapped in damp material or sitting in a pot of moist medium. Do not leave roots spread on a sunny bench or submerged for hours. The safest temporary container is one that holds the roots in damp medium and has drainage, not a sealed, stagnant bucket.
First-season aftercare: water, mulch, and restraint
The new division has less root capacity than the original clump, so its first job is to reconnect with surrounding soil. Water deeply at planting, then check the root zone regularly. A surface that looks damp does not always mean the soil is moist where the roots are; push a finger into the soil near, not directly on, the crown or dig a small inspection spot.
Spring divisions usually need the closest attention through the first summer. Water when the upper root zone begins to dry, increasing frequency during hot, windy, or rainless weather. Fall divisions need enough moisture to establish before dormancy, but they generally use less water as temperatures fall and leaves decline. In both seasons, aim for even moisture with drainage rather than alternating drought and saturation.
Apply a light layer of organic mulch to reduce evaporation and buffer temperature swings. Keep mulch away from the crown and the bases of the shoots; a damp pile pressed against the crown creates a favorable place for decay. The Piedmont Master Gardeners guidance recommends roughly two to four inches around, not over, the crown. In a wet site, use less and prioritize drainage.
Avoid trying to force instant size with high-nitrogen fertilizer. A division that has not rebuilt roots cannot safely support a surge of soft foliage, and fertilizer salts are more concentrated in a small root zone. If a soil test or the site’s established fertility calls for feeding, apply a modest, appropriate product when the plant is actively growing and follow the label. Finished compost worked into the prepared soil is often enough for a reasonable garden bed.
Some leaf droop or a smaller mound in the first season is normal, especially when you chose small divisions or lost roots during a difficult cut. Judge success by whether the crown remains firm, the plant avoids progressive collapse, and new leaves appear in the next appropriate growth cycle. It may take more than one season for a single-eye division to look like the parent.
If leaves scorch, first check moisture and light rather than immediately adding fertilizer. Moveable containers can be shifted into more shade, while an in-ground division may need temporary protection from harsh afternoon sun. If the soil stays wet and the crown softens, stop watering on a schedule, improve drainage, and inspect the roots rather than assuming the plant needs more moisture.
Conclusion: make fewer, stronger divisions when recovery matters
Successful hosta division is a sequence of good decisions: divide because the plant or garden needs it, choose early spring or early fall when conditions are forgiving, prepare the new homes before lifting, and keep a healthy crown, growing point, and roots together. Replant at the original depth, water thoroughly, mulch without covering the crown, and give the new plants time to rebuild.
If you are unsure, err toward a larger division and a better planting site. A hosta can remain undisturbed for years, while a rushed job in summer heat, a poorly drained bed, or a handful of rootless eyes can set the plant back far more than necessary. The goal is not to turn one clump into the greatest possible number of pieces; it is to create new hostas that have enough strength to become the lush shade-garden plants you wanted in the first place.



