When Do Seeds Go Bad? Gardening Pros Weigh In
Do seeds go bad? Learn how crop, age, and storage affect seed life, test old packets at home, and decide when to sow extra or replace them before planting.
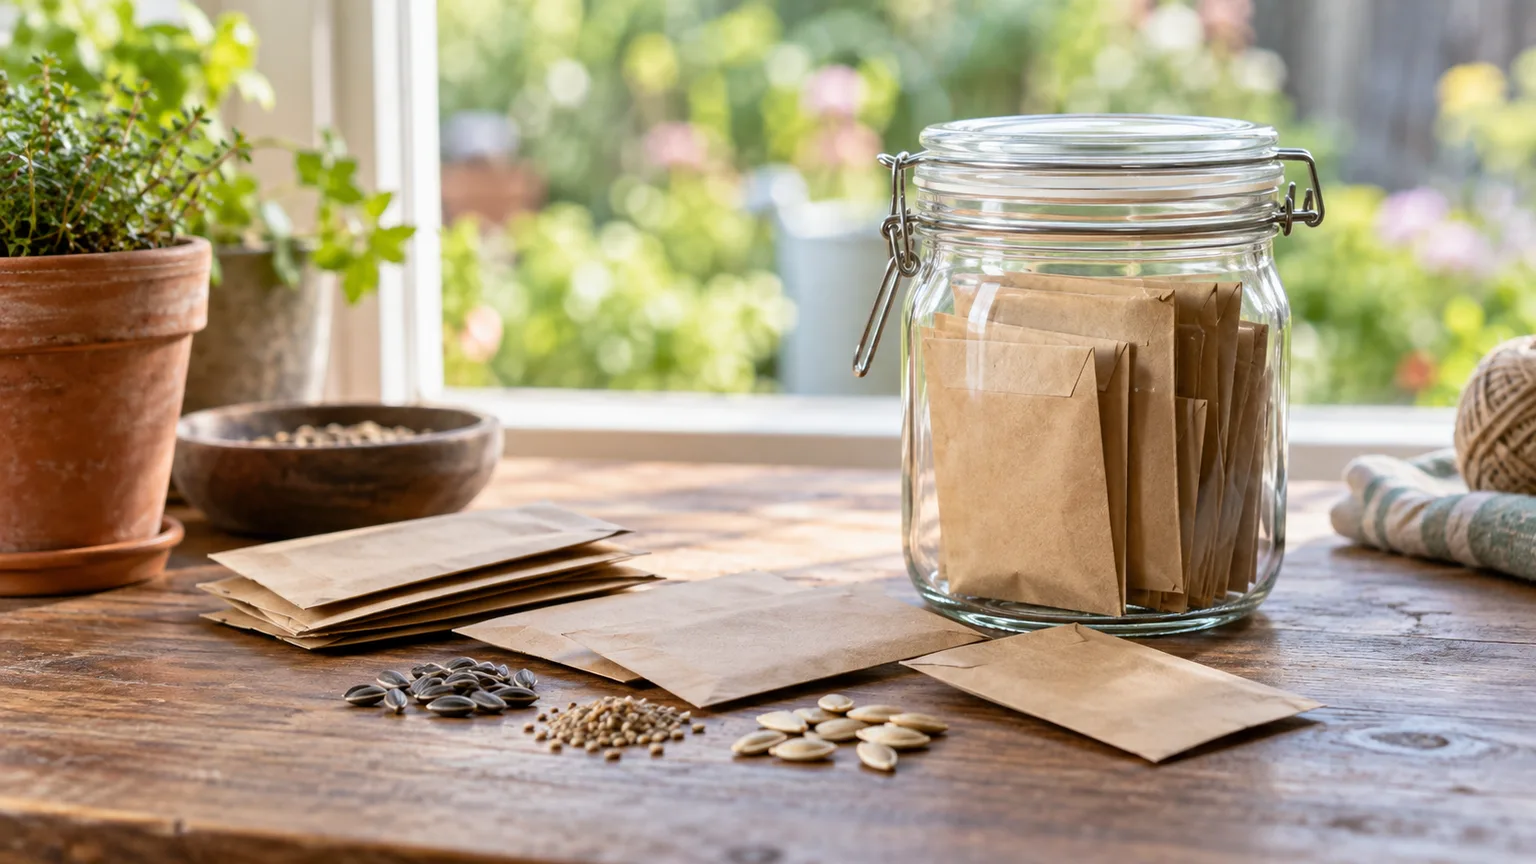
A seed packet marked for last year is not automatically useless, and a packet from this year is not automatically healthy. Seeds lose the ability to produce normal seedlings at different rates, depending on the crop, how mature and healthy they were when harvested, and what happened during storage.
That makes the best answer practical rather than calendar-based: inspect the packet for obvious damage, then test a small counted sample when the planting matters. A quick germination test tells you whether to sow the packet as-is, compensate with a few extra seeds, or replace it before you commit a bed or seed tray.
The quick answer: seeds do not have one universal expiration date
Seeds can remain usable beyond the year printed on a packet, but their germination percentage and vigor often decline as they age. Under cool, dry storage, many common vegetable seeds remain viable for several years; others, especially onion and parsnip in extension longevity charts, are comparatively short-lived. The date is useful for tracking age, not a precise countdown to the day every seed stops growing.
If an older packet was kept dry and cool, it is usually worth testing rather than tossing. If it sat in a hot shed, a damp basement, an open envelope near a sink, or a car through summer, the same age is a much weaker predictor because heat and humidity accelerate deterioration.
Use three pieces of information together: the crop’s typical storage life, the packet’s history, and a germination test. That combination is more useful than judging by color or assuming every seed in a packet has aged identically.
What “bad” means for a seed packet
Gardeners often use “bad” to mean several different things. A seed may be dead and unable to germinate, alive but slow or weak, contaminated by moisture or pests, or still able to sprout but no longer genetically true to the plant that produced it. Those are different problems, and only some can be identified by looking at the seed.
Germination is the emergence of a seedling under suitable conditions. Vigor describes how quickly and robustly seeds germinate and establish; a lot can still produce some sprouts yet perform unevenly in soil. For a packet you plan to use, count normal seedlings—not just seeds whose coats split—as the useful outcome.
There is also a difference between purchased seed and seed saved from the garden. A commercial packet usually comes from a cleaned, tested lot, while home-saved seed may be immature, insufficiently dried, or cross-pollinated. Even if a saved seed germinates, its offspring may not resemble the parent variety, particularly if it came from a hybrid or a crop that cross-pollinated.
How long common garden seeds last
The table below summarizes relative longevity ranges published by University of Nebraska–Lincoln Extension for vegetable seeds kept under cool, dry conditions. They are practical comparison points—not expiry dates for every brand, variety, or packet.
| Crop | Approximate relative longevity under cool, dry storage |
|---|---|
| Onion | 1 year |
| Parsnip | 1 year |
| Pepper | 2 years |
| Beans and peas | 3 years |
| Carrot | 3 years |
| Tomato | 3 years |
| Cucumber | 5 years |
| Lettuce | 5 years |
| Radish | 5 years |
These figures come from a reference table, not a controlled test of the seed packet in your drawer. The University of Nebraska–Lincoln Extension’s seed-storage guide stresses that longevity varies by species and storage conditions; Johnny’s Selected Seeds’ storage chart likewise describes its ranges as averages that can vary with the condition of the seed and its environment.
The practical takeaway is to prioritize short-lived crops for a germination test first. If an onion packet is two seasons old, test it before relying on it; if a well-stored cucumber packet is two seasons old, it may still be a sensible candidate, but a test remains the only way to estimate that specific lot.
This table covers selected vegetables, not every herb, flower, or wildflower. Flower seeds are especially diverse: do not assign calendula, delphinium, and native prairie species one shared life span. Use the packet’s crop name to find species-specific guidance; if no useful estimate is available, a small germination test is more defensible than transferring a number from tomato or lettuce.
Read a longevity chart as a guide, not a guarantee
A crop-level estimate cannot account for every seed’s starting germination rate, harvest maturity, packaging, or exposure to heat and moisture. Two packets of the same tomato variety can perform differently if one spent a summer in a climate-controlled closet and the other sat in a hot garage.
Seed counts also matter. If you have twelve seeds and need ten plants, a mediocre germination result leaves little margin; if you have two hundred seeds for a broad row, you can tolerate more uncertainty and sow a modestly higher rate. The same packet age can therefore be acceptable for one planting plan and risky for another.
Use a chart to decide which packets deserve attention first, not to decide the fate of every packet in the box. A ten-year-old, carefully stored seed lot may still produce seedlings, while a much younger lot exposed to damp heat can be disappointing. When a dependable stand matters, a short test on the actual packet is more relevant than an average drawn from many lots.
Can you tell if seeds are bad by looking?
Appearance can reveal a reason to reject a batch, but it cannot reliably certify that a normal-looking seed is alive. A firm, clean seed may still be dead inside, while natural variation in color or surface texture does not necessarily mean a seed has failed.
Look for clear warning signs: visible mold or fuzzy growth, a musty smell, damp clumping, insect holes or webbing, or seeds that are crushed, split, or badly shriveled. Those are especially concerning in home-saved seed because they can indicate poor drying, pest damage, or deterioration; do not mix visibly moldy or infested material into a clean stored collection.
What mold, pests, and damage can tell you
Discard a small batch that is visibly moldy or smells musty rather than trying to rescue it with a household cleaner. Surface mold does not tell you the exact germination rate, and cleaning or rinsing seeds that should have remained dry can add more moisture and make the problem worse.
A floating seed test is not a dependable universal shortcut. Whether a seed floats can reflect air pockets, coatings, shape, or trapped air—not just whether its embryo is alive—so use a counted germination test for a planting decision.
How to run a germination test before planting
A germination test uses a known number of seeds under suitable conditions, then records how many produce normal seedlings. It costs little, uses a small fraction of the packet, and can spare you from discovering poor seed performance after you have filled trays or prepared a bed.
Take a random sample from the packet rather than choosing only the largest or best-looking seeds. Ten seeds make a convenient home screen; if the packet contains plenty and the planting is important, testing 25 or 50 gives a more informative estimate. The UNL Extension procedure describes testing counted seed on a moist paper towel and notes that crop germination conditions vary.
Mix the packet gently before sampling, then take seeds from several parts of it if they are easy to separate. This reduces the chance that the test represents only a cluster of unusually large or small seeds. If you suspect a packet was stored unevenly—for example, part of it got wet—do not combine obviously damaged and clean seeds into one average. Keep the suspect portion separate so the result can guide the actual batch you intend to plant.
A second towel or separate mini-samples can help if you want to tell whether germination is even across the packet or concentrated in one cluster; for an ordinary home decision, that extra setup is optional. Keep the test away from direct sun or a heater, which can make temperature swing and dry the towel unevenly. Stable conditions make the result easier to interpret and repeat if you decide to run another sample.
- Write down the crop, variety, packet date, and number of seeds tested.
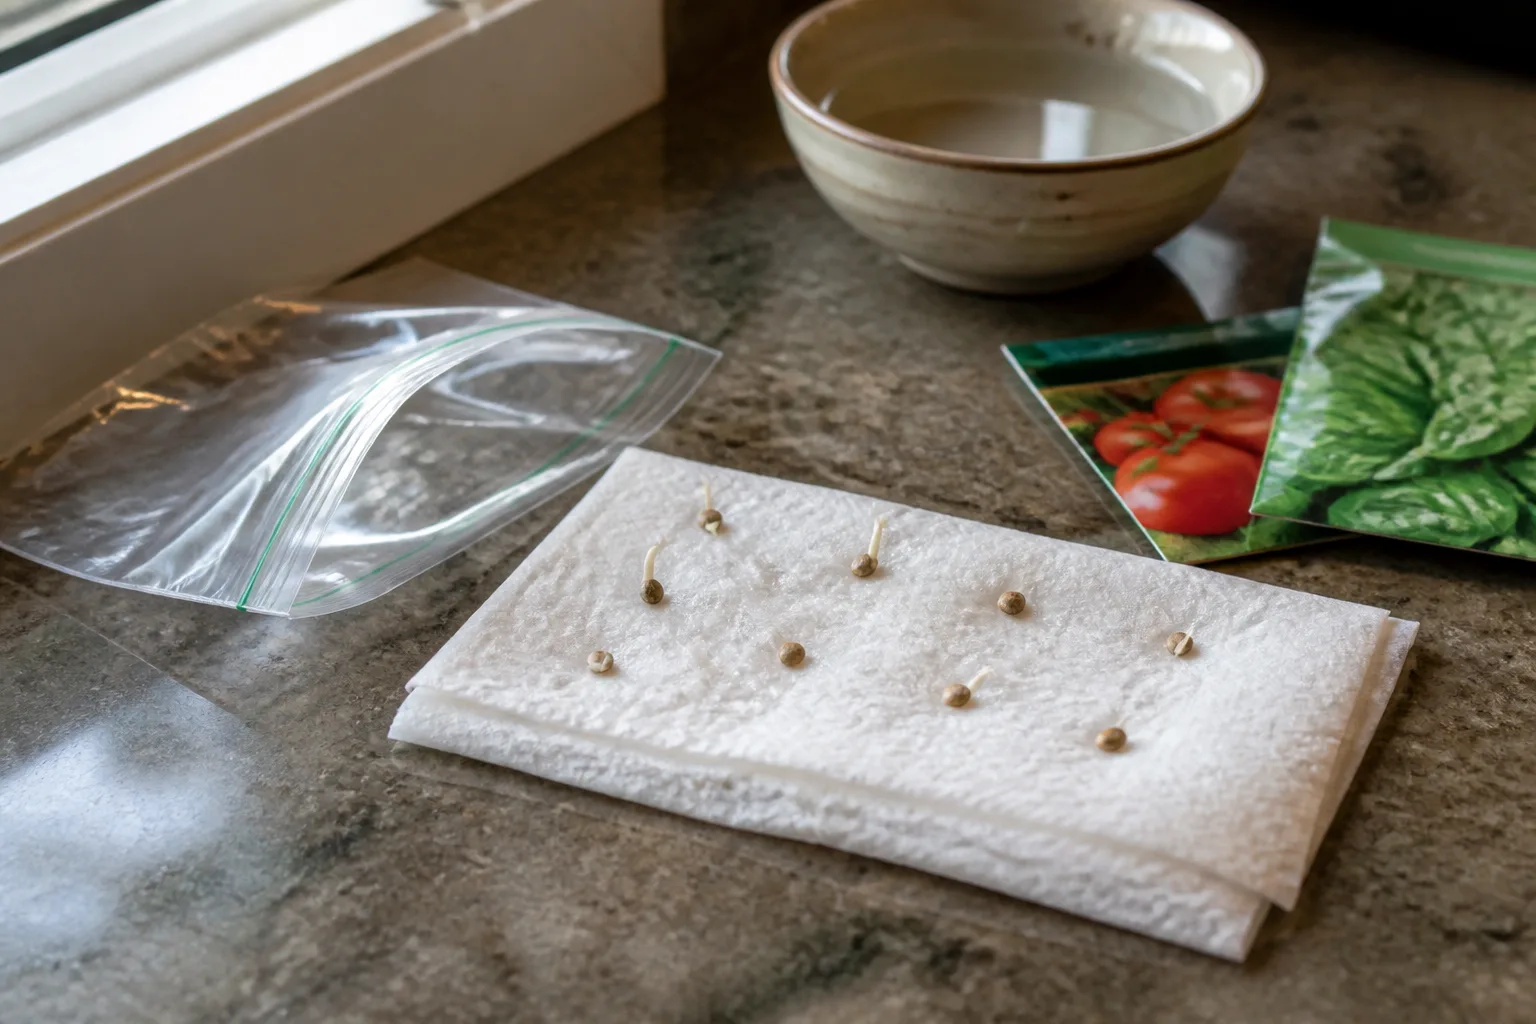
- Place the seeds between clean paper towels that are damp but not dripping. Fold or roll the towel and place it in a loosely closed bag or covered container so it stays moist while some air remains.
- Keep the sample at the temperature recommended on the packet or by a reliable crop-specific source. A warm kitchen is not automatically right: cool-season crops and warm-season crops have different germination ranges.
- Check daily or every few days, adding a little water only if the towel starts to dry. Keep a note of when the first seeds sprout and when the remaining seeds have had their full recommended germination window.
- Count seedlings that have a healthy emerging root and shoot, and look reasonably normal for that crop. Do not count a split seed coat or a rootless, rotted seed as a successful seedling.
Match the test conditions to the crop
Temperature and time are not universal. The UNL Extension guide gives general vegetable testing advice, but it also says requirements vary with the crop, seed source, age, and storage; use the packet’s germination range when it is available. Slow or dormant seeds may need a longer test, light or darkness, or a species-specific pretreatment before a non-sprout means much.
Some seeds need conditions that imitate a seasonal cue, such as a period of cold, before they will germinate. Other crops simply take longer than a quick kitchen-counter check allows. A test is fair only when it gives the seed the conditions and time it normally needs; if the packet provides an expected germination window, wait through that window before counting the holdouts as failures. If instructions are missing, verify the crop’s requirements in an extension or seed-supplier reference rather than adding a soak, cold treatment, or light exposure at random.
A towel that is soaked, sealed airtight for weeks, or left in a cold place can create misleading results. The aim is evenly moist—not submerged—and a stable temperature that suits the seed. If mold grows on the towel, replace it with a clean one and make sure the sample is not waterlogged.
Count normal seedlings and calculate the rate
Divide the number of normal seedlings by the number of seeds tested, then multiply by 100. If 8 of 10 seeds produce healthy seedlings, the observed germination rate is 80 percent; if 15 of 25 do, it is 60 percent.
A small test is a sample, not a guarantee. With only ten seeds, one seed changes the result by ten percentage points, so treat a borderline score as an estimate and repeat with a larger sample if the packet contains enough seed or the crop is important.
What the test result means for your planting plan
For a small backyard bed, a strong and even result—roughly 8 or 9 normal seedlings from 10—is usually a reasonable signal to plant the packet normally, provided the crop’s sowing window has not passed. Keep a backup plan for crops where a missed sowing date would cost the season.
With a middling result, such as 5 to 7 seedlings from 10, decide whether you can absorb uneven emergence. In a direct-sown row, modestly increase the amount you sow and thin to spacing if enough emerge; in plug trays, sow one or two extra seeds per cell only if there is room to thin without leaving crowded seedlings.
You can estimate a starting adjustment with a simple calculation: desired seedlings divided by the observed germination fraction. If you want 12 plants and the test result is 60 percent, 12 ÷ 0.60 suggests sowing about 20 seeds to get 12 on average. That is not a promise—seedling losses, soil conditions, and the small test sample still matter.
Translate that adjustment to the planting method. In cells, sowing two seeds per cell can hedge a moderate result, but remove extra seedlings early enough to avoid competition. In a narrow direct-sown row, sowing somewhat closer and thinning later may be easier than patching every gap. Do not seed so heavily that thinning becomes impractical or the remaining seedlings are crowded.
If only a few seeds sprout, or sprouts are weak and highly uneven, replace the packet for a high-value planting rather than multiplying the sowing rate dramatically. Thin seed lots can waste space and create a second problem: one vigorous seedling competes with several weak ones, and the whole tray may still be late.
Why seeds lose viability
Seeds are living structures in a resting state, not inert grains with a clock stamped on them. Over time, internal tissues deteriorate; the rate depends on the species, the seed’s condition at the start, and whether storage conditions keep it dry and cool.
A seed does not need to sprout in its packet to lose viability. Aging can reduce the ability of its embryo to resume growth, while stress can lower vigor so germination becomes slower or less uniform before a packet appears visibly changed.
Heat and moisture accelerate aging
Heat speeds the chemical processes associated with seed aging. Humidity lets seeds absorb water, which can raise respiration and make storage fungi more likely; Utah State University Extension cautions against storing seeds in hot or humid locations and emphasizes temperature and relative humidity.
That is why a cool, dry cupboard is often safer than a garage, greenhouse, shed, or kitchen shelf above an oven. A basement may feel cool but still be damp, and a windowsill may be dry but warm and bright; look for a stable place, not just one favorable feature.
Dark storage is sensible because it keeps packets out of direct sun and helps avoid heat, but a brief beam of light is not a universal seed killer. Light requirements differ among species; for ordinary storage, moisture and temperature deserve more attention than a claim that every seed will wake up when exposed to light.
Starting quality, seed type, and coatings matter
Storage cannot repair seed that was immature, damaged, or poorly dried before it reached the packet. Home-saved seed should mature fully on the plant, be cleaned in a way that suits the crop, and dry thoroughly before it is sealed; Growing in the Garden’s seed-saving guide explains why maturity and drying matter for gardeners saving their own seed.
Commercial treatment also changes the plan. Utah State Extension advises using primed seed in the current planting year because priming reduces its storage suitability; it notes that pelleted seed can be affected by humidity and that older pellets should be tested. If a packet is marked primed or pelleted, follow its label rather than assuming it will store like untreated, dry seed.
Seed age and genetic predictability are separate questions. Seeds from many F1 hybrids may germinate perfectly but produce offspring that do not match the hybrid parent; a viability test answers whether they sprout, not whether the next plant will be true to type.
Store leftover packets to slow the decline
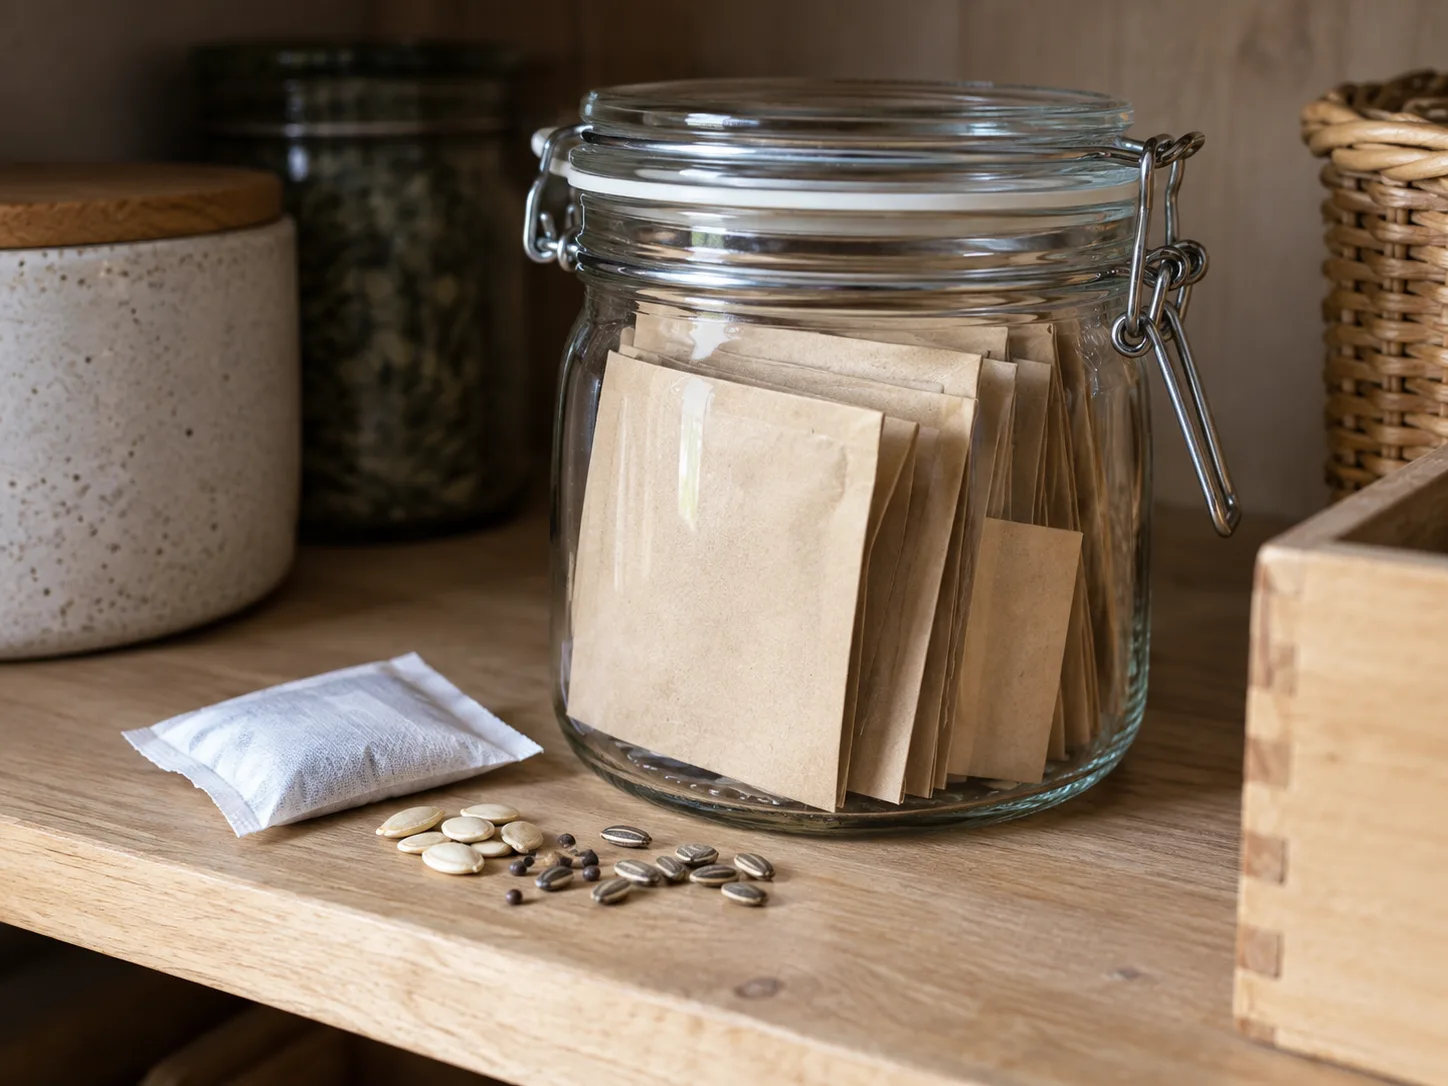
For next season, first keep each seed in its original labeled packet so the crop, variety, and date remain attached. Put the packets in a sealed outer container that blocks humidity and pests, then store the container in a cool, dry, dark place away from heaters, hot appliances, and seasonal temperature swings. Utah State University Extension describes 35–40°F and relative humidity below 40 percent as ideal storage conditions; that is a useful target for long storage, not a requirement to buy special equipment for a few packets used next spring.
Do not put freshly harvested seeds into an airtight jar just because refrigeration sounds protective. Seeds saved from fleshy fruit or seed heads need to be cleaned and fully dried first; trapping residual moisture can encourage mold. Epic Gardening’s seed-storage guide and the extension references both emphasize dry, cool storage, though their exact long-term recommendations differ.
For a typical home collection used next spring, a stable closet or cabinet is usually adequate. If you are organizing a larger collection, see our practical guide to storing seeds over winter; this article’s key point is that the storage location and the test result matter more than a single expiration year.
Storage protects viability only from this point forward; it cannot restore a seed that was already damaged by age, poor maturity, or moisture. Avoid turning a good-storage checklist into a promise of a fixed extra number of years. Species, starting quality, and the temperature and humidity history still vary, so label packets with the year and retest valuable leftovers before relying on them.
Use the refrigerator carefully
A refrigerator can work for dry seed when packets are protected inside a tightly sealed, moisture-resistant container. Refrigerators can be humid, so an open paper packet on a shelf is not the same as a sealed packet inside a sealed jar; a dry desiccant can help keep moisture down if it is kept separate from the seeds.
When you take the container out, let the closed container reach room temperature before opening it. Otherwise, humid room air can condense on cold packets or seeds. Johnny’s storage guidance recommends this warming step to reduce condensation, a practical detail that matters more than repeatedly moving packets in and out.
Freezing is not automatically safe for every seed and is not necessary for most gardeners keeping packets until next season. Seed banks use controlled moisture and stable cold storage; home seed moisture is often unknown, and repeated thawing can add moisture. If a crop-specific authority recommends freezing a particular, properly dried lot, follow that protocol; otherwise a dry, sealed refrigerator or cool cupboard is a simpler choice.
Home-saved seeds need a different first check
For seed you collected yourself, ask whether it was mature and dry before asking how many years it will last. Beans and many flower seeds should be fully mature on the plant before harvest; seeds from fleshy fruit often need pulp removed and more careful drying than dry pods.
Spread cleaned seed in a thin layer with airflow, out of direct heat, and allow it to dry before sealing. A seed that still feels cool, tacky, or soft may still hold moisture. Avoid using an oven, radiator, or hot car as a shortcut: high heat can damage the living embryo even if the outside looks dry.
Drying is not the same as driving every seed to the lowest possible moisture level with heat. Colorado State University Extension notes that beans and peas are particularly susceptible to hard seed after overdrying; their coats may resist water and produce seedlings over an extended period. If a test shows slow emergence, check crop-specific guidance before soaking or scarifying the entire batch; those treatments are not appropriate for every seed.
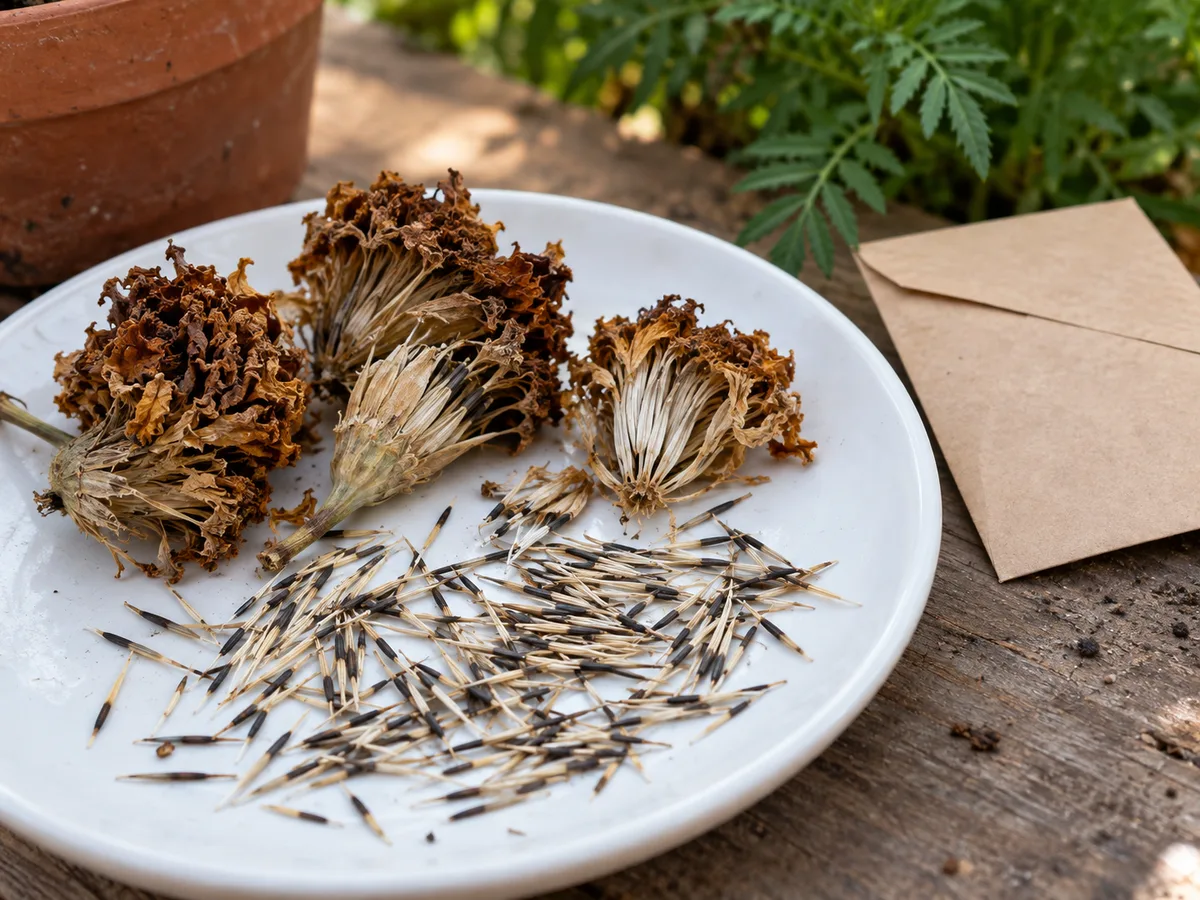
Label the crop, variety, harvest year, and any useful note about how it was prepared. Keep open-pollinated or heirloom seed separate from hybrids if you want similar plants next season, and remember that cross-pollination can change the next generation without changing whether the seed germinates.
When replacing a packet is the better choice
Replace seed when the packet is visibly moldy, pest-damaged, damp and clumped, or has a musty odor. Also replace it when a properly run test produces very few normal seedlings and you need a dependable stand, especially for a short-season crop, a limited tray, or a variety that is difficult to find later.
Fresh seed is not always necessary just because a date is old. If a test is strong, the packet was stored well, and a small amount of extra sowing is affordable, use it and record the result. That record—crop, year, storage place, and test percentage—will help you make a better call next season than memory or a printed year alone.
When you have only a few seeds, decide whether the value of the crop justifies a test that consumes some of them. You can plant a small portion as a trial while starting a backup packet or seedlings, but do not stake a whole garden plan on an untested handful when replacement is easy.
Conclusion: test first, then plant or replace
Seeds do not all go bad on the same schedule. Crop, starting quality, age, moisture, and heat shape how many will still produce normal seedlings, so treat printed dates and longevity charts as clues rather than verdicts.
If the packet looks dry and clean, test a counted sample under the crop’s recommended conditions. Plant a good result normally, adjust cautiously when germination is moderate, and replace a weak or damaged lot before it costs you a season.



